These vegan white chocolate macadamia nut cookies have a delightfully chewy and buttery base packed with rich white chocolate chips and chopped macadamia nuts. They’re just decadent enough and perfect for a cookie platter!

Baking with macadamia nuts always feels special because, well, they’re expensive! They’re not an everyday nut like almonds or peanuts, which means they’re worth taking some time to savor. These vegan white chocolate macadamia nut cookies are soft and buttery, sweet, and nutty all at the same time, and definitely worth the splurge. Oh my goodness, are they good!
Why These White Chocolate Macadamia Nut Cookies Are So Good
- Soft, chewy, and buttery cookie base. One thing that’s often lacking in vegan baked goods is buttery flavor, but this recipe has it in spades! It starts with a stick of vegan butter, then you get even more butteriness from the macadamia nuts and white chocolate.
- Heaps of white chocolate. While you could use dark chocolate chips , I highly recommend classic white chocolate in this recipe. The creamy flavor pairs so well with macadamia nuts.
- 100% vegan, with a gluten-free option. These cookies are a chewy, decadent treat, and when you make them to share, no one will guess that they’re vegan!
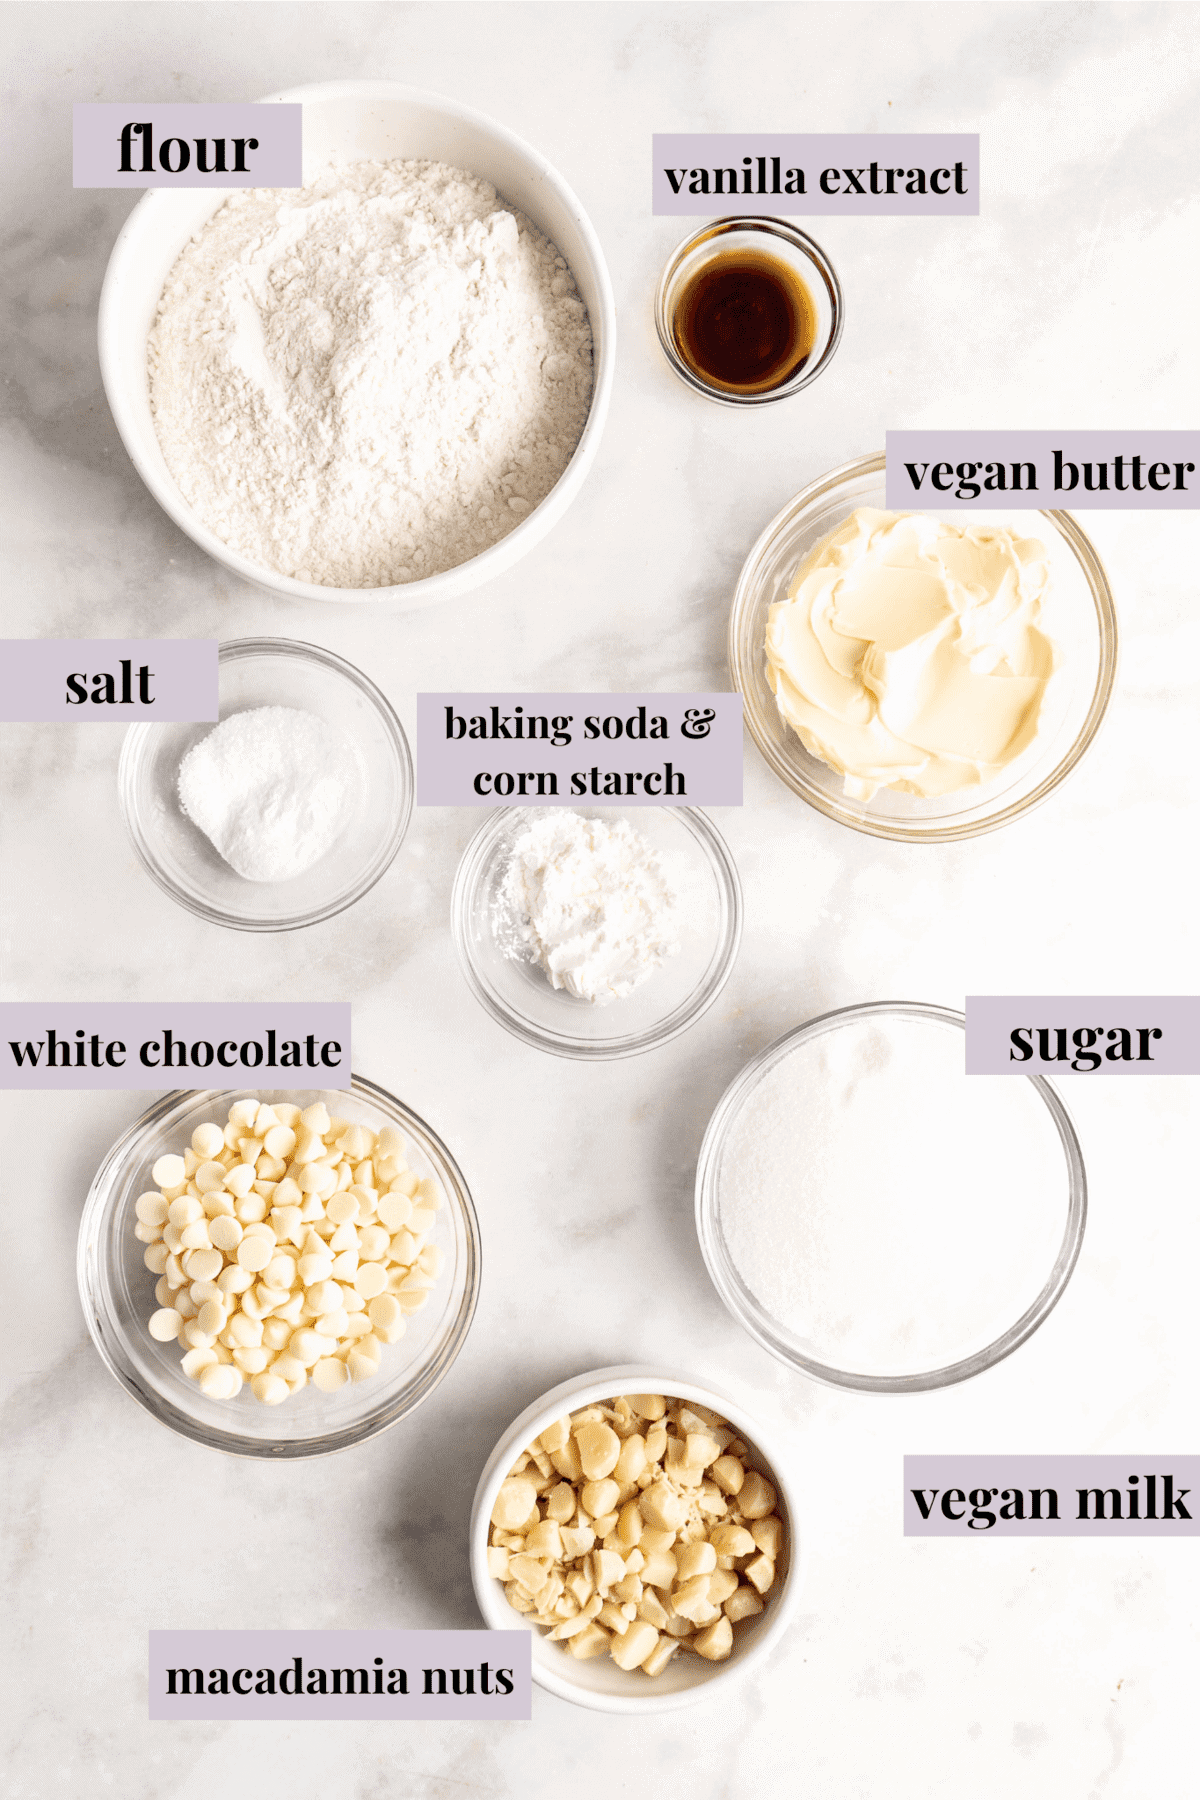
Notes on Ingredients
Please note that this is important information on the ingredients and instructions, and the FULL recipe with amounts and details can be found DOWN BELOW (scroll to it) in the recipe card.
- Vegan butter – Let the butter come to room temperature before you start the recipe.
- White sugar – Alternatively, you can use light brown sugar.
- Vegan milk – You can use any variety you have on hand (oat, almond, cashew, soy milk, etc.). Like the butter, the milk should also be at room temperature.
- Vanilla extract – Almond extract would taste delicious here, too.
- Flour – You can make these macadamia nut cookies with gluten-free flour if needed, see below.l
- Cornstarch – Cornstarch creates a softer, chewier texture and helps prevent the cookies from overspreading while they bake.
- Baking soda and salt – Make sure your baking soda is fresh. If it’s past its expiration date, you’ll need to buy new leavening.
- Vegan white chocolate chips – I love the ones from Pascha Chocolate.
- Raw macadamia nuts – Roasted is also an option, but I prefer the creaminess of raw macadamias.
Yes, I recommend swapping a cup-for-cup all-purpose baking flour substitute for the wheat flour if you want to make gluten-free white chocolate macadamia nut cookies. Bob’s Red Mill is my favorite gluten-free flour brand.
To quickly chop macadamias, place the nuts in a food processor and give them a few pulses. Or, dump them out on a cutting board and coarsely chop them using a sharp chef’s knife. It’s okay if the pieces are not uniform in size, as it adds to the texture of the cookies.

How to Make Vegan White Chocolate Macadamia Nut Cookies
These macadamia cookies are super easy to make. You’ll need to account for the 2-hour chilling time when planning your baking. Don’t skip this step, either, or your cookies will spread! Let’s get started.
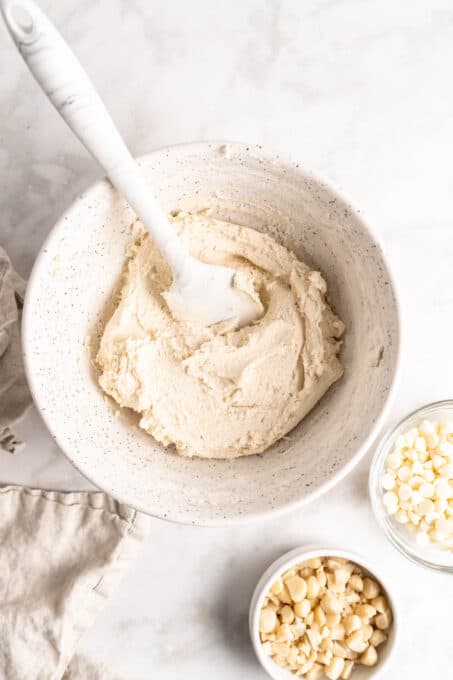
- Mix the wet ingredients. Cream the vegan butter and sugar for 3 minutes in a stand mixer, with a hand mixer , or using a whisk. Pour in the vegan milk and vanilla extract and mix for 30 seconds more.
- Mix the dry ingredients. In a second bowl, whisk the flour, cornstarch, baking soda, and sea salt.
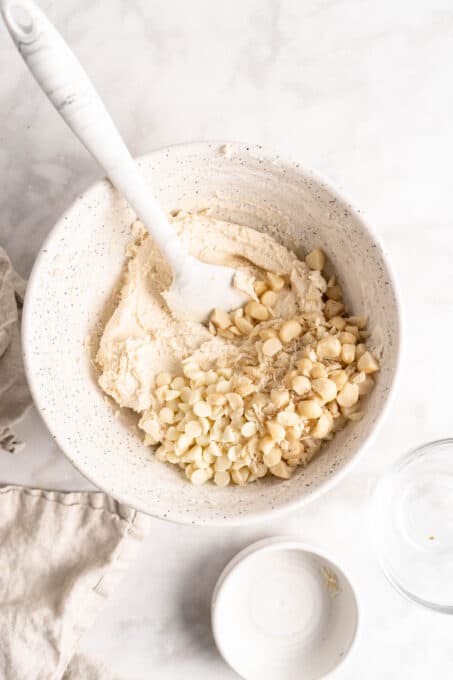
- Combine wet and dry ingredients. Pour the dry ingredients into the bowl with the wet ingredients. Mix gently until combined, which should take about a minute. Fold in the white chocolate chips and macadamia nuts, then place the bowl in the refrigerator and chill for 2 hours.
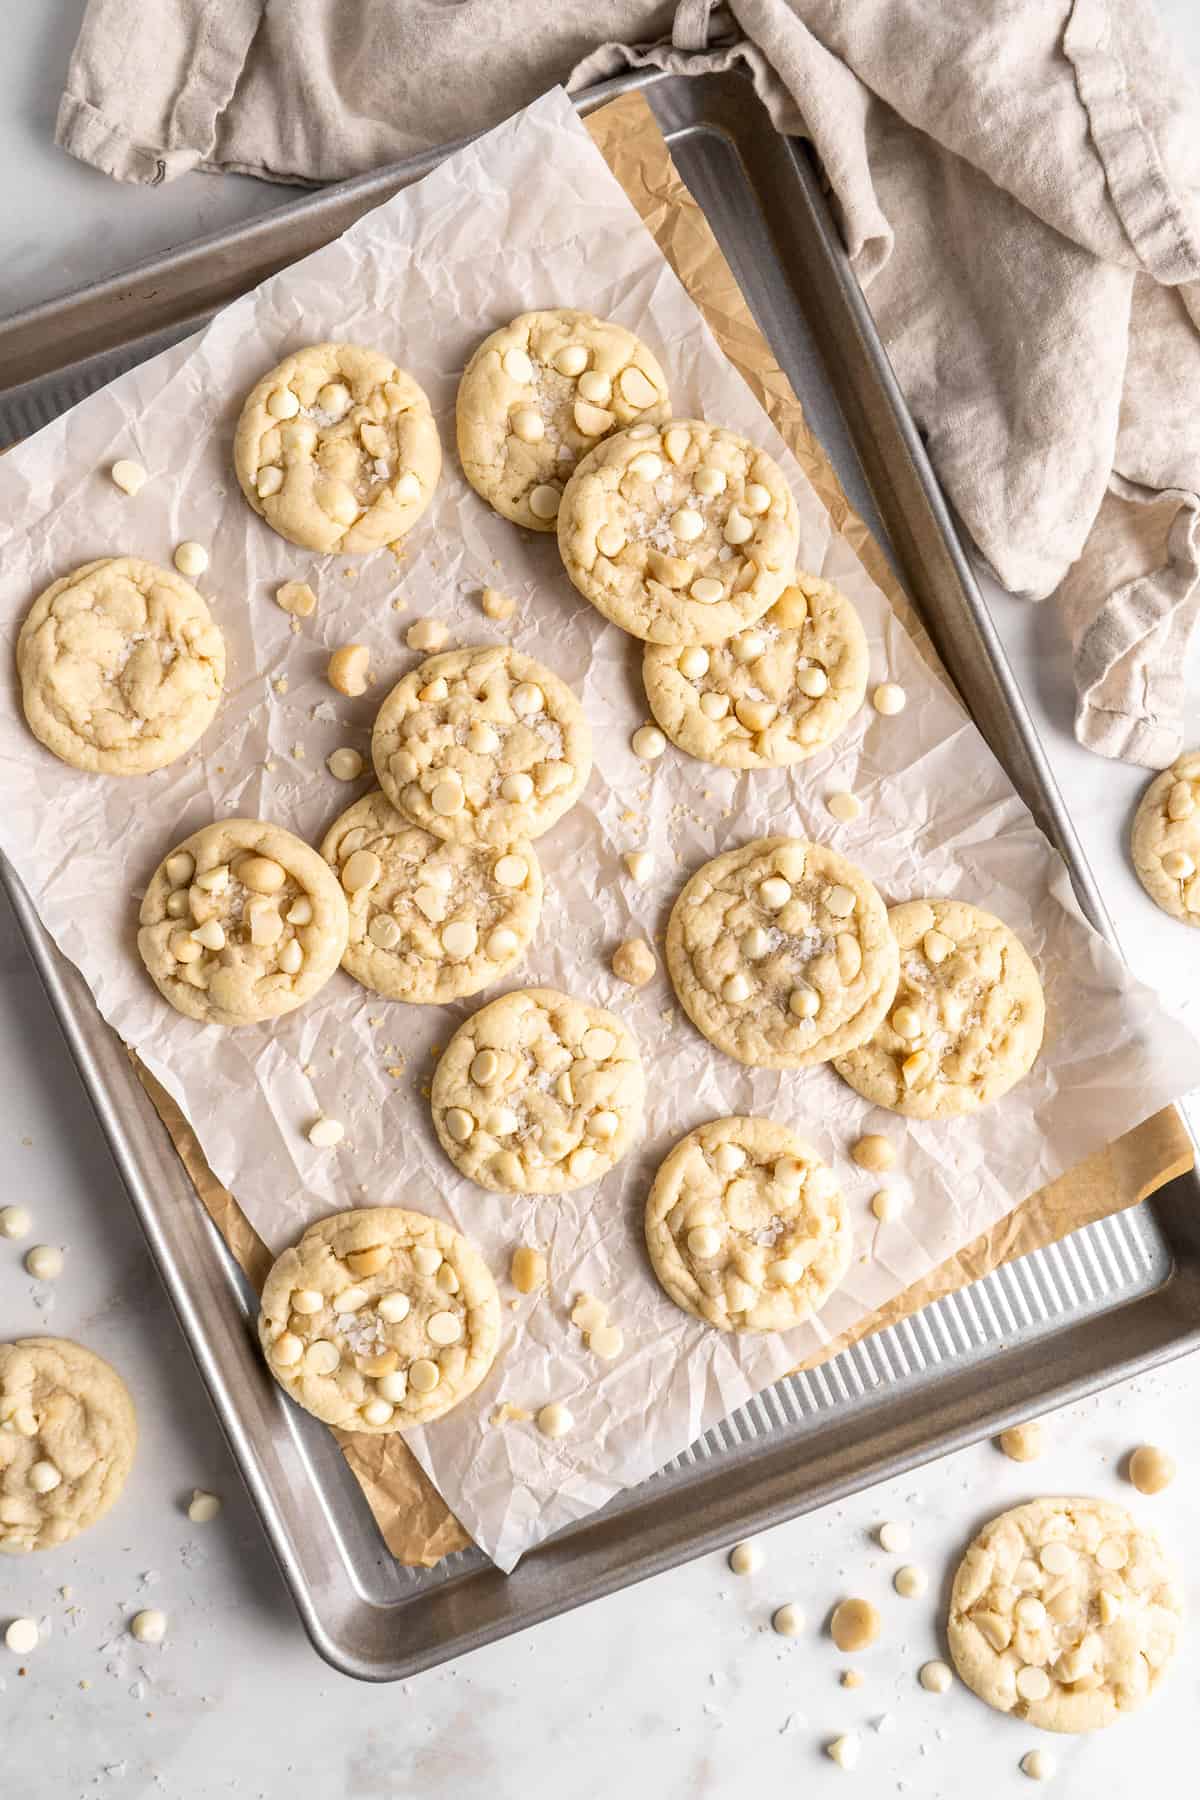
- Form the cookies. Use a tablespoon or cookie scoop to scoop a heaping tablespoon of dough for each cookie. Place the scoops of dough 3 inches apart on a parchment-lined baking sheet.
- Bake and cool. Bake the cookies at 350ºF for 11 to 12 minutes, then remove them from the oven. Let them cool on the baking sheet for 5 minutes, then transfer the cookies to a wire rack to finish cooling.
Make Them in the Air Fryer
You can “bake” these vegan white chocolate and macadamia nut cookies in your air fryer . Prepare and shape the cookies as written. Air fry at 325ºF for 7 minutes. Afterward, let the cookies rest inside the closed air fryer for 3 minutes, followed by another 5 minutes on the tray before moving them to a wire rack. Cook in batches, and leave the raw cookie dough in the fridge so it stays cold until it’s time to bake.

Cookie Baking Tips & Variations
- Don’t skip chilling the dough . When you’re craving cookies, the last thing you want to do is wait—I get it! But chilling the dough is an essential step to keep the cookies from spreading in the oven, which means maximum chewiness.
- Knowing when the cookies are done. When the edges are just beginning to brown, the cookies are done, even if the tops aren’t completely firm. The cookies will continue to bake from the residual heat on the baking sheet after you pull them out of the oven.
- About the macadamia nuts. I use raw macadamia nuts for this recipe, but you can use salted dry-roasted macadamia nuts instead for extra crunch and a sweet-salty contrast.
- Swap the nuts. If macadamia nuts aren’t available, substitute pecans, hazelnuts, walnuts, or almonds instead.
Make Ice Cream Sandwiches!
Why not go all out, right? Pair these cookies with my vegan mango ice cream or vegan vanilla ice cream to make white chocolate macadamia cookie sandwiches. To make them, place a scoop of ice cream on one cookie, flat-side up. Place a second cookie on top of the ice cream, flat-side down, and press them together gently just until the ice cream reaches the edges.
You can roll the sides in toasted coconut, extra chopped macadamia nuts, or white chocolate chips. Wrap the ice cream sandwiches in plastic wrap and freeze until the ice cream is firm.

How to Store
- Store airtight. Place the cookies in an airtight storage container and store them at room temperature for up to a week.
- Freeze. You can freeze these white chocolate macadamia nut cookies for up to 3 months. Let them thaw at room temperature before serving.
More Vegan Cookies Recipes
- Vegan Chocolate Chip Cookies
- Double Chocolate Chunk Cookies
- Peanut Butter Cookies
- Oatmeal Chocolate Chip Cookie
Ingredients
- ½ cup vegan butter , 1 stick or (112g) , softened to room temperature
- 1 cup organic white sugar or any sugar , (200g)
- 3 tablespoons vegan milk
- 1 teaspoon vanilla extract , room temperature
- 1 ¾ cups flour , sifted (210g)
- 1 tablespoon cornstarch
- 1 teaspoon baking soda
- ¾ teaspoon sea salt
- ½ cup vegan white chocolate chips
- ½ cup raw macadamia nuts , chopped
Instructions
- Cream together the vegan butter and sugar for 3 minutes. You can also use a whisk. Add in the vegan milk & vanilla extract and mix again for 30 seconds.
- In a bowl mix together the flour, cornstarch, baking soda and sea salt. Add that into the wet ingredients. Mix gently until fully combined (about 1 minutes). Fold in the white chocolate chips and nuts and mix until just combined. Chill in the fridge for 2 hours.
- Scoop out the cookies as 1 heaping tablespoon each. Allow 3 inches for each cookie. Keep the dough cold while doing this (don’t let it thaw too much).
- Bake at 350°F/180°C for 11-12 minutes. Remove immediately from the oven. Let them cool on the baking sheet for 5 minutes (don’t skip this part) then move the cookies to a wire rack to cool completely.
Notes

White Chocolate Macadamia Nut Cookies
Ingredients
- ½ cup vegan butter 1 stick or (112g) , softened to room temperature
- 1 cup organic white sugar or any sugar (200g)
- 3 tablespoons vegan milk
- 1 teaspoon vanilla extract room temperature
- 1 ¾ cups flour sifted (210g)
- 1 tablespoon cornstarch
- 1 teaspoon baking soda
- ¾ teaspoon sea salt
- ½ cup vegan white chocolate chips
- ½ cup raw macadamia nuts chopped
Instructions
- Cream together the vegan butter and sugar for 3 minutes. You can also use a whisk. Add in the vegan milk & vanilla extract and mix again for 30 seconds.
- In a bowl mix together the flour, cornstarch, baking soda and sea salt. Add that into the wet ingredients. Mix gently until fully combined (about 1 minutes). Fold in the white chocolate chips and nuts and mix until just combined. Chill in the fridge for 2 hours.
- Scoop out the cookies as 1 heaping tablespoon each. Allow 3 inches for each cookie. Keep the dough cold while doing this (don’t let it thaw too much).
- Bake at 350°F/180°C for 11-12 minutes. Remove immediately from the oven. Let them cool on the baking sheet for 5 minutes (don’t skip this part) then move the cookies to a wire rack to cool completely.
Video
Notes
Nutrition
White Chocolate Macadamia Nut Cookies https://jessicainthekitchen.com/white-chocolate-macadamia-nut-cookies/ March 9, 2022
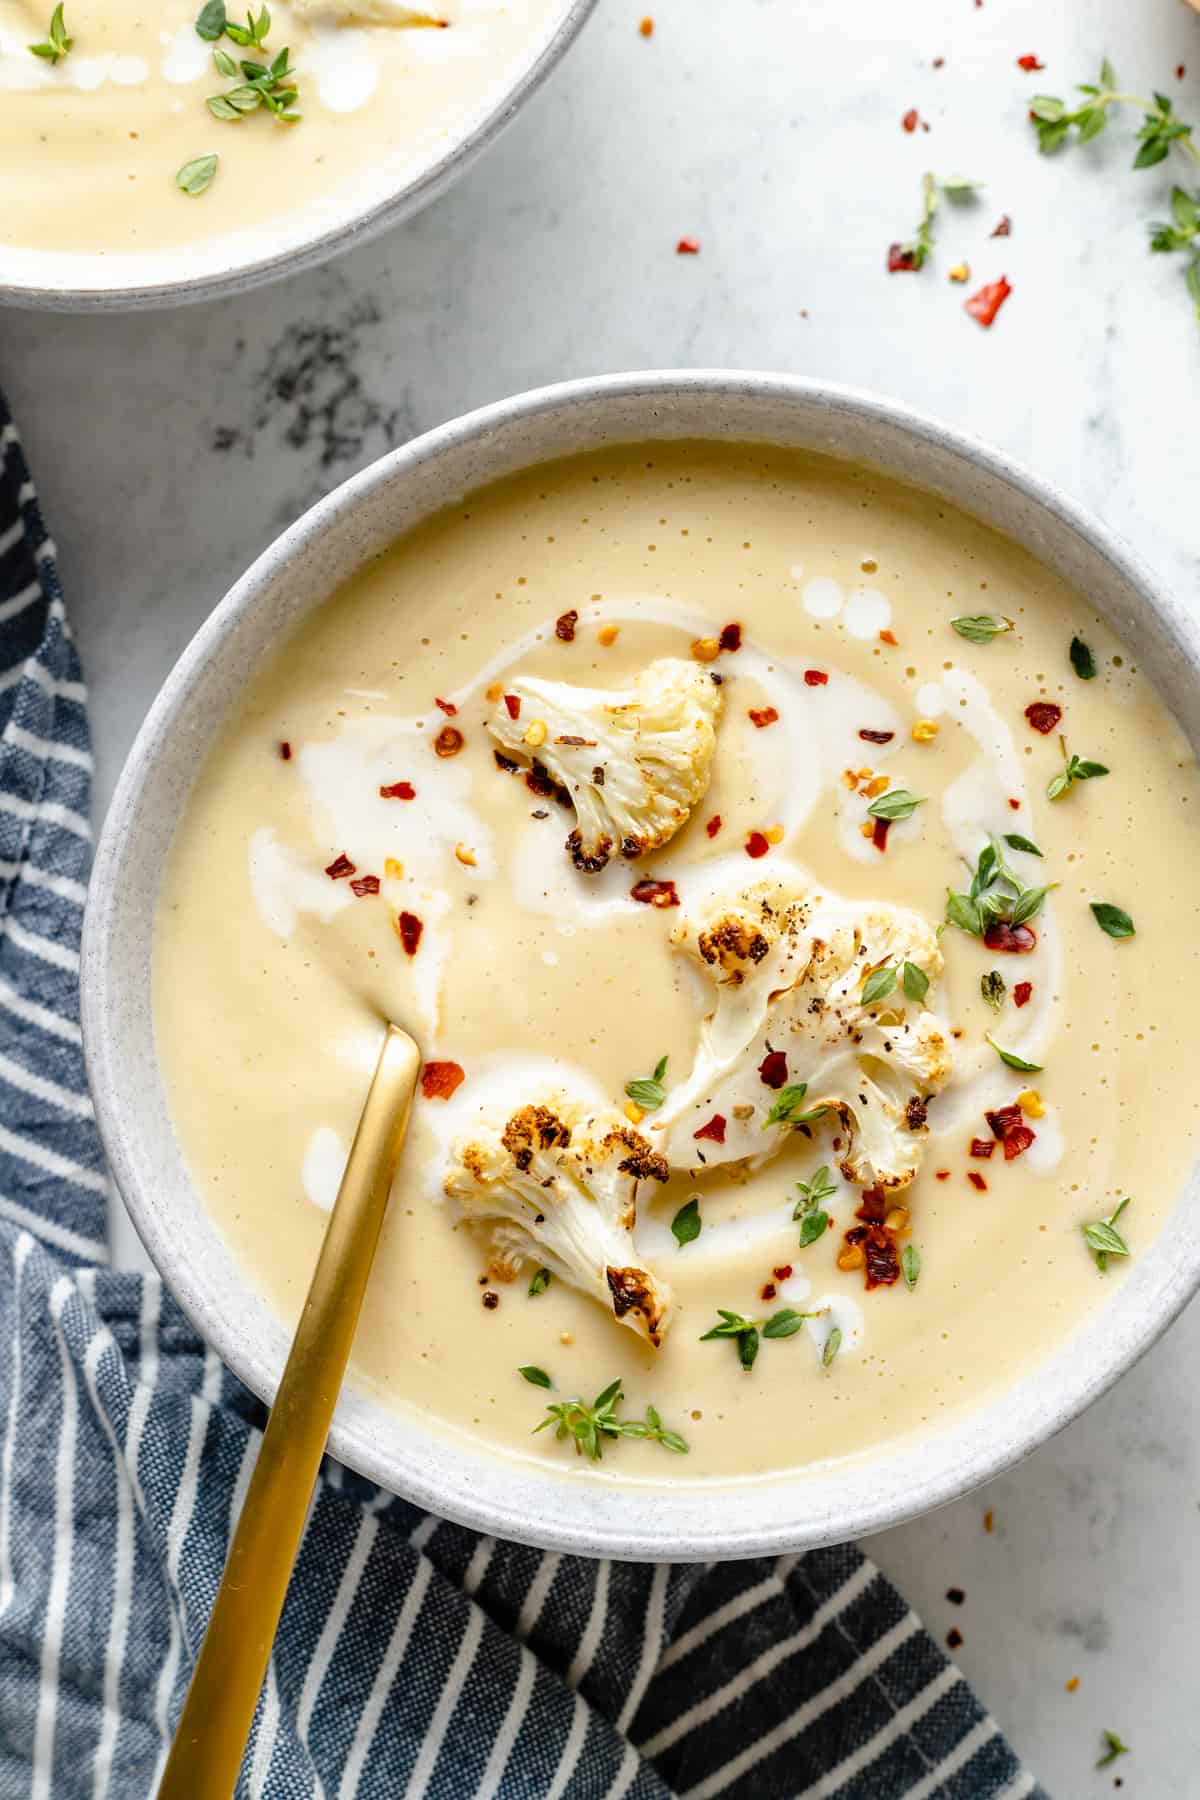
This Roasted Cauliflower Soup uses only a handful of ingredients, but it’s still super creamy and flavourful. Even better, it’s easy enough to whip up for a weeknight dinner!
WATCH THE VIDEO TO SEE HOW IT’S MADE:
You’d think soup would be easy, but so many soup recipes have you gathering a dozen or more ingredients, simmering on the stovetop for an hour or two—who has time for that on a weeknight?! This Roasted Cauliflower Soup isn’t one of those fussy soups, though. It requires only a few ingredients, it’s mostly hands-off, and you’ll have homemade soup ready to eat in under an hour.
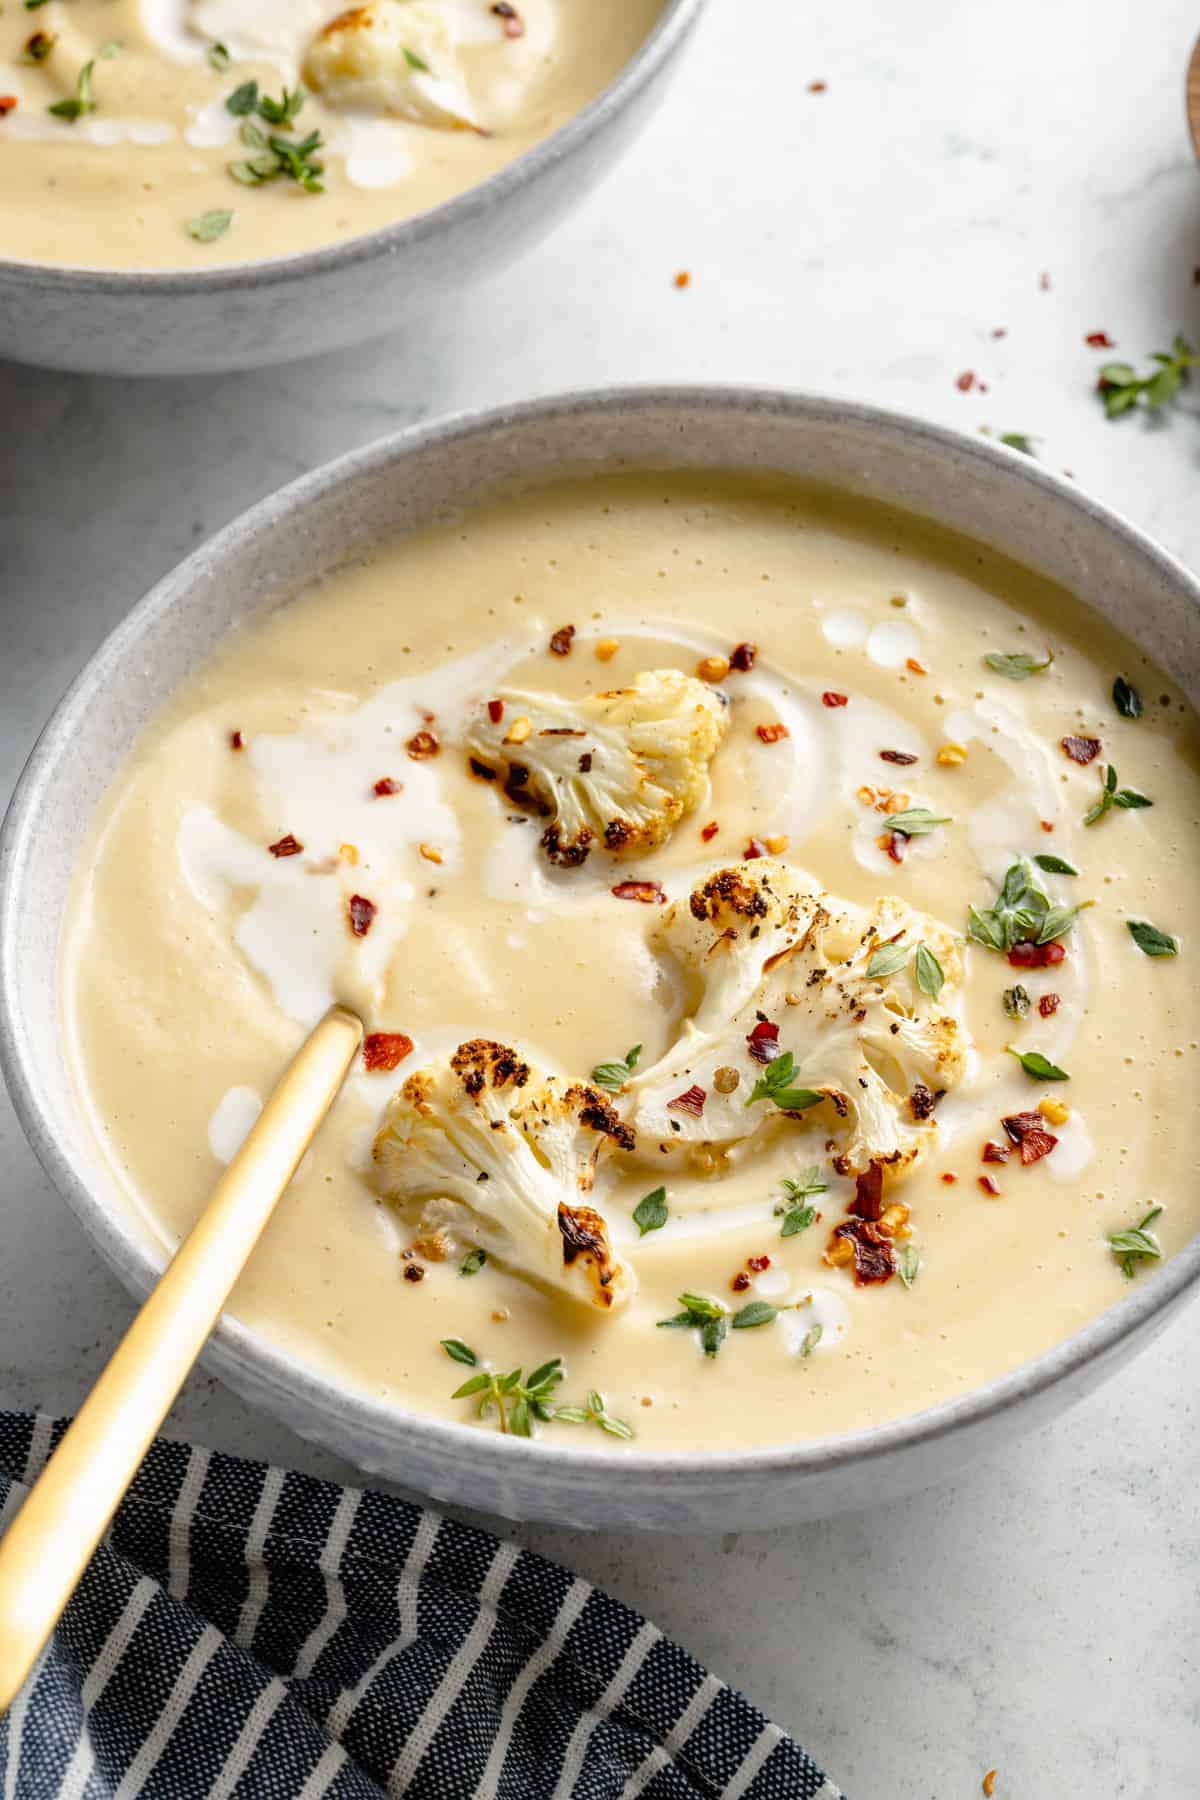
And not just any soup! The most delicious cauliflower soup you’ve ever had because instead of simply boiling the cauliflower in broth, it’s roasted first. Hello flavour! When cauliflower is roasted, it takes on a subtly nutty taste, with caramelised edges and a tender interior. To amp up the flavour even more, I roast the cauliflower with garlic and add that to the soup, too. This alone is enough to make for an incredible meal, but I highly recommend going the extra mile and adding some crispy chickpeas , tempeh bacon , or homemade croutons as a topping at the end.
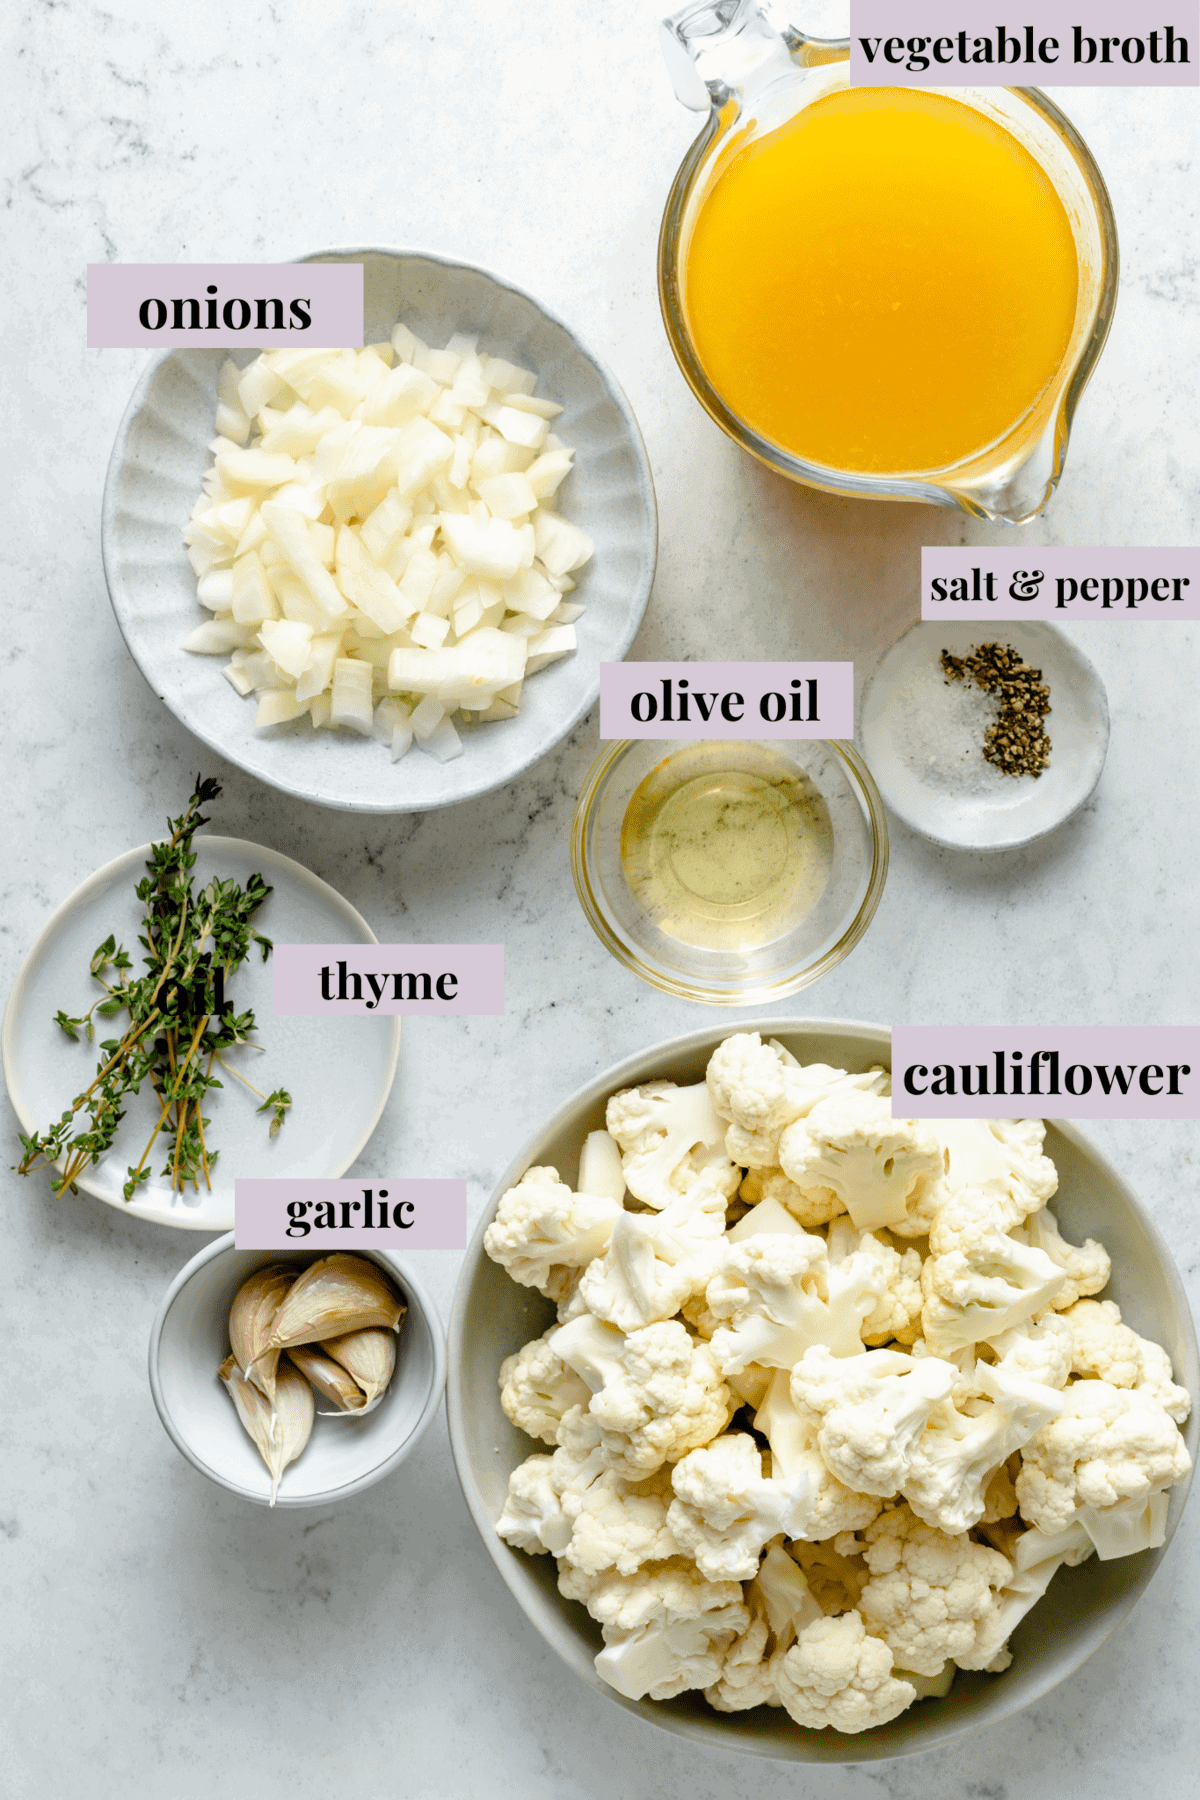
Notes on Ingredients
Please note that this is important information on the ingredients and instructions and the FULL recipe with amounts and details can be found DOWN BELOW (scroll to it) in the recipe card.
- Cauliflower
- Olive oil
- Salt
- Pepper
- Garlic – Smash the cloves while they’re still in the skins. Or, if you have roasted garlic on hand in the fridge, use that.
- Vidalia onion – Another variety of sweet onion will work, too.
- Thyme
- Vegetable broth – Here’s how to make your own vegetable broth .
How to Make Roasted Cauliflower Soup
Because the cauliflower needs to be roasted first, you can make this recipe in two steps: roast the cauliflower one day, and make the soup the next. Or you can double the roasted cauliflower and have half for dinner the first night and save the rest for soup!
Prepare. Preheat your oven to 450ºF and line a baking sheet with a silicone mat or parchment paper.
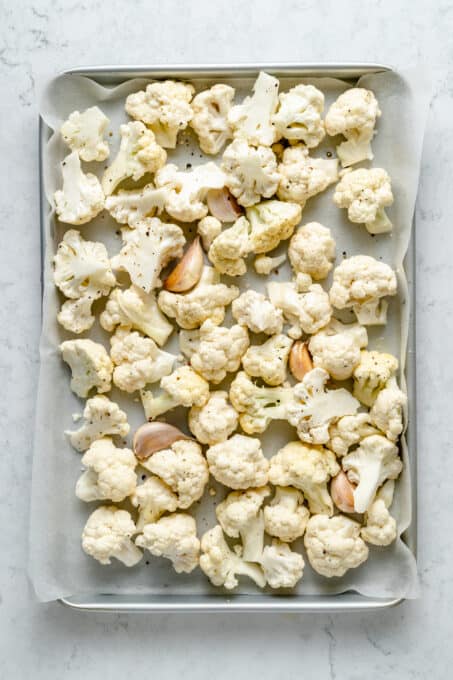
Roast the cauliflower. Place the cauliflower florets on the prepared baking sheet and toss them with olive oil, salt, and pepper. Add the smashed garlic cloves and roast for 15 minutes. Once cooled enough to handle, remove the garlic skins.

Sauté the onion. Warm a half tablespoon of olive oil in a large pot set over medium-high heat. Add the onions and cook for about 8 minutes, or until lightly browned.
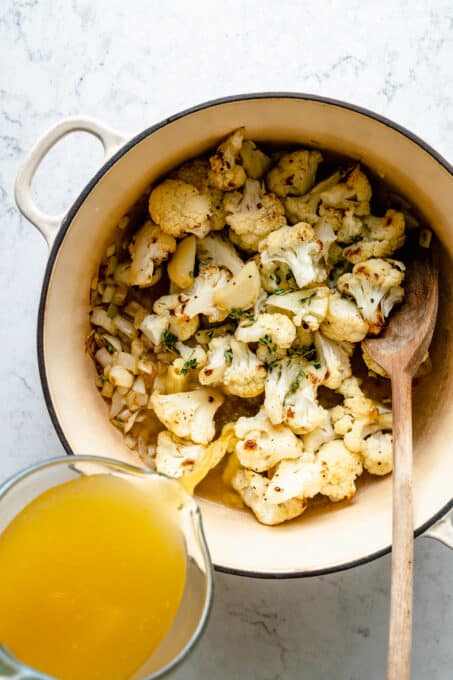
Cook the soup. Add the roasted cauliflower, garlic, 2 sprigs of thyme, and vegetable broth to the pot with the onion. Bring the mixture to a boil, then reduce heat to a simmer for 15 minutes.
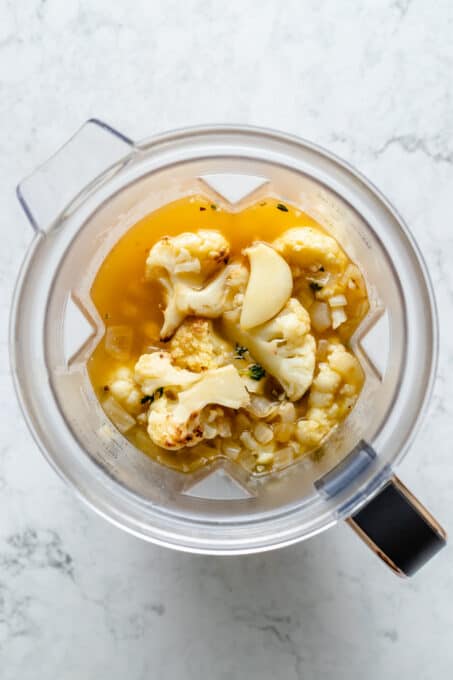
Blend. Use an immersion blender to puree the soup in the pot, or let the soup cool and transfer it to a blender to puree it. Season to taste with salt and pepper.
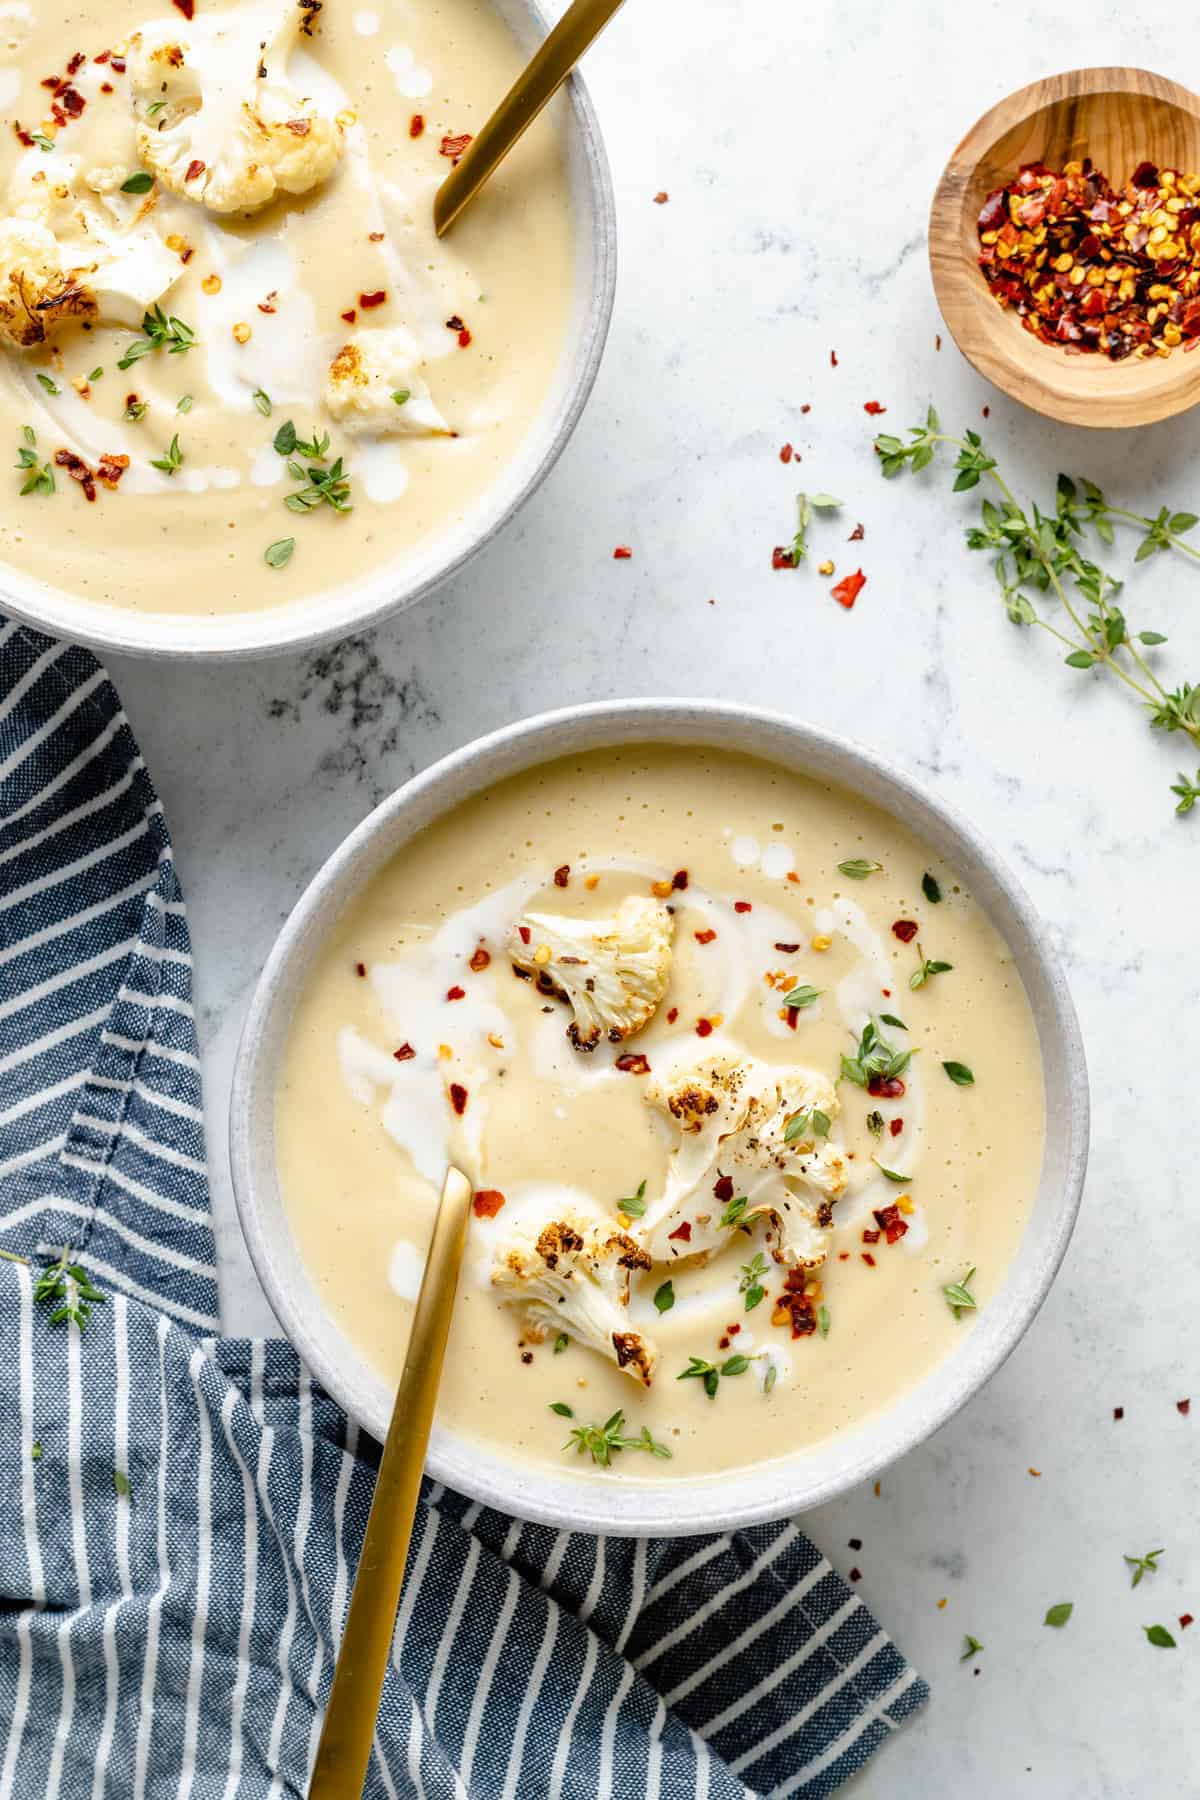
Serve. Divide the soup into bowls and top with additional cauliflower, crushed red pepper, thyme, and a drizzle of coconut milk, if desired.
Tips for Success
This soup is a cinch to make, but these hints and tips will make it even better!
- Blending safely. The soup needs to cool before you transfer it to a blender. If needed, you can pour it back into the pot after blending and reheat it a bit before serving.
- Adding texture. If you like a chunkier cauliflower soup, you can reserve some of the roasted cauliflower and stir that into the soup after pureeing.
- Creamier soup. You can also add coconut milk or cashew cream for a richer, creamier soup.
How to Store Leftovers
This soup keeps well in the fridge! Refrigerate Roasted Cauliflower Soup in an airtight container for up to 5 days.
Can This Recipe Be Frozen?
Yes, you can freeze cauliflower soup in an airtight container or freezer bag for up to 3 months. It can be reheated from frozen or you can let it thaw in the refrigerator, then warm it up on the stovetop or in the microwave.

Ingredients
Roasted Cauliflower Soup – Vegan, Incredibly Easy
- 1 large head cauliflower , de-stemmed and florets broken up
- 1 1/2 tablespoon olive oil
- salt & pepper to taste
- 5 cloves garlic , smashed with skins still on
- 1/2 large vidalia onion
- 2-3 sprigs thyme , stems removed
- 4 1/2 cups vegetable broth
Instructions
Roasted Cauliflower Soup – Vegan, Incredibly Easy
- Preheat oven to 450 degrees F. Line a baking sheet with a silicone mat.
- Add the cauliflower to the baking sheet and 1 tablespoon olive oil, about ½ teaspoon salt and grind some pepper over it all. Using your hands, mixing it all in, massaging the ingredients into the cauliflower. Add the smashed garlic (skins still on) on the baking sheet. The skins help to prevent it burning; you’ll remove thee afterwards. Roast for 15 minutes. I like to reserve a few pieces after roasting to top the soup with.
- Meanwhile, in a large high sided pot over medium high heat, sauté the onions in the ½ tablespoon olive oil until fragrant and browning, about 8 minutes, stirring infrequently.
- Add the roasted cauliflower, the garlic (skins remove), 2 sprigs of thyme and vegetable broth. Mix together with spatula.
- Bring to a boil, then reduce to a simmer for 15 minutes. Remove from heat and stir once more. If using an immersion blender, blend the soup together. If using a high powered blender, let cool slightly and add slowly to blender. Press the “soup” setting or blend on high until soup is thoroughly mixed and incorporated, at least 1 minute. Be careful that your soup is not too hot to crack your blender. Taste and salt and pepper to taste.
- Pour into bowls and top optionally with extra cauliflower, crushed red peppers, extra thyme and a drizzle of coconut milk. Enjoy!
