These festive vegan sugar cookies are classic Christmas cookies, but you can make them for any holiday or occasion! This fail-proof recipe has the buttery, vanilla-scented dough you know and love, and it bakes up crisp on the edges and perfect for decorating.

Sugar cookies are a year-round treat, but if you’re like most people, you probably associate them with Christmas. No other cookie is so well-suited for cutting into Christmas trees, wreaths, and snowman shapes, or for decorating with colourful icing! If you’re on a plant-based diet, there’s no reason sugar cookies have to be off-limits; vegan sugar cookies have everything you love about the original, minus the eggs, butter, and milk.
Why This Vegan Sugar Cookie Dough Recipe Works
- Authentic sugar cookie flavor. Yep, you can even nail that buttery sugar cookie flavour by using a high-quality vegan butter. These cookies are sweet, crispy, and have the perfect texture for cut-outs.
- Easy to make. I’m sharing my never-fail vegan sugar cookie dough that’s ideal for cut-out cookies. It comes together with just a few pantry ingredients and minimal chilling time.
- Your ultimate blank canvas. I decorated my sugar cookies for the holidays. You can also cut them into rounds using the rim of a glass or cup and add a simple, colourful glaze, or use cookie cutters to make shapes for any holiday, occasion, or interest. Easter, Valentine’s Day, you name it.
Notes on Ingredients
Please note that this is important information on the ingredients and instructions, and the FULL recipe with amounts and details can be found DOWN BELOW (scroll to it) in the recipe card.
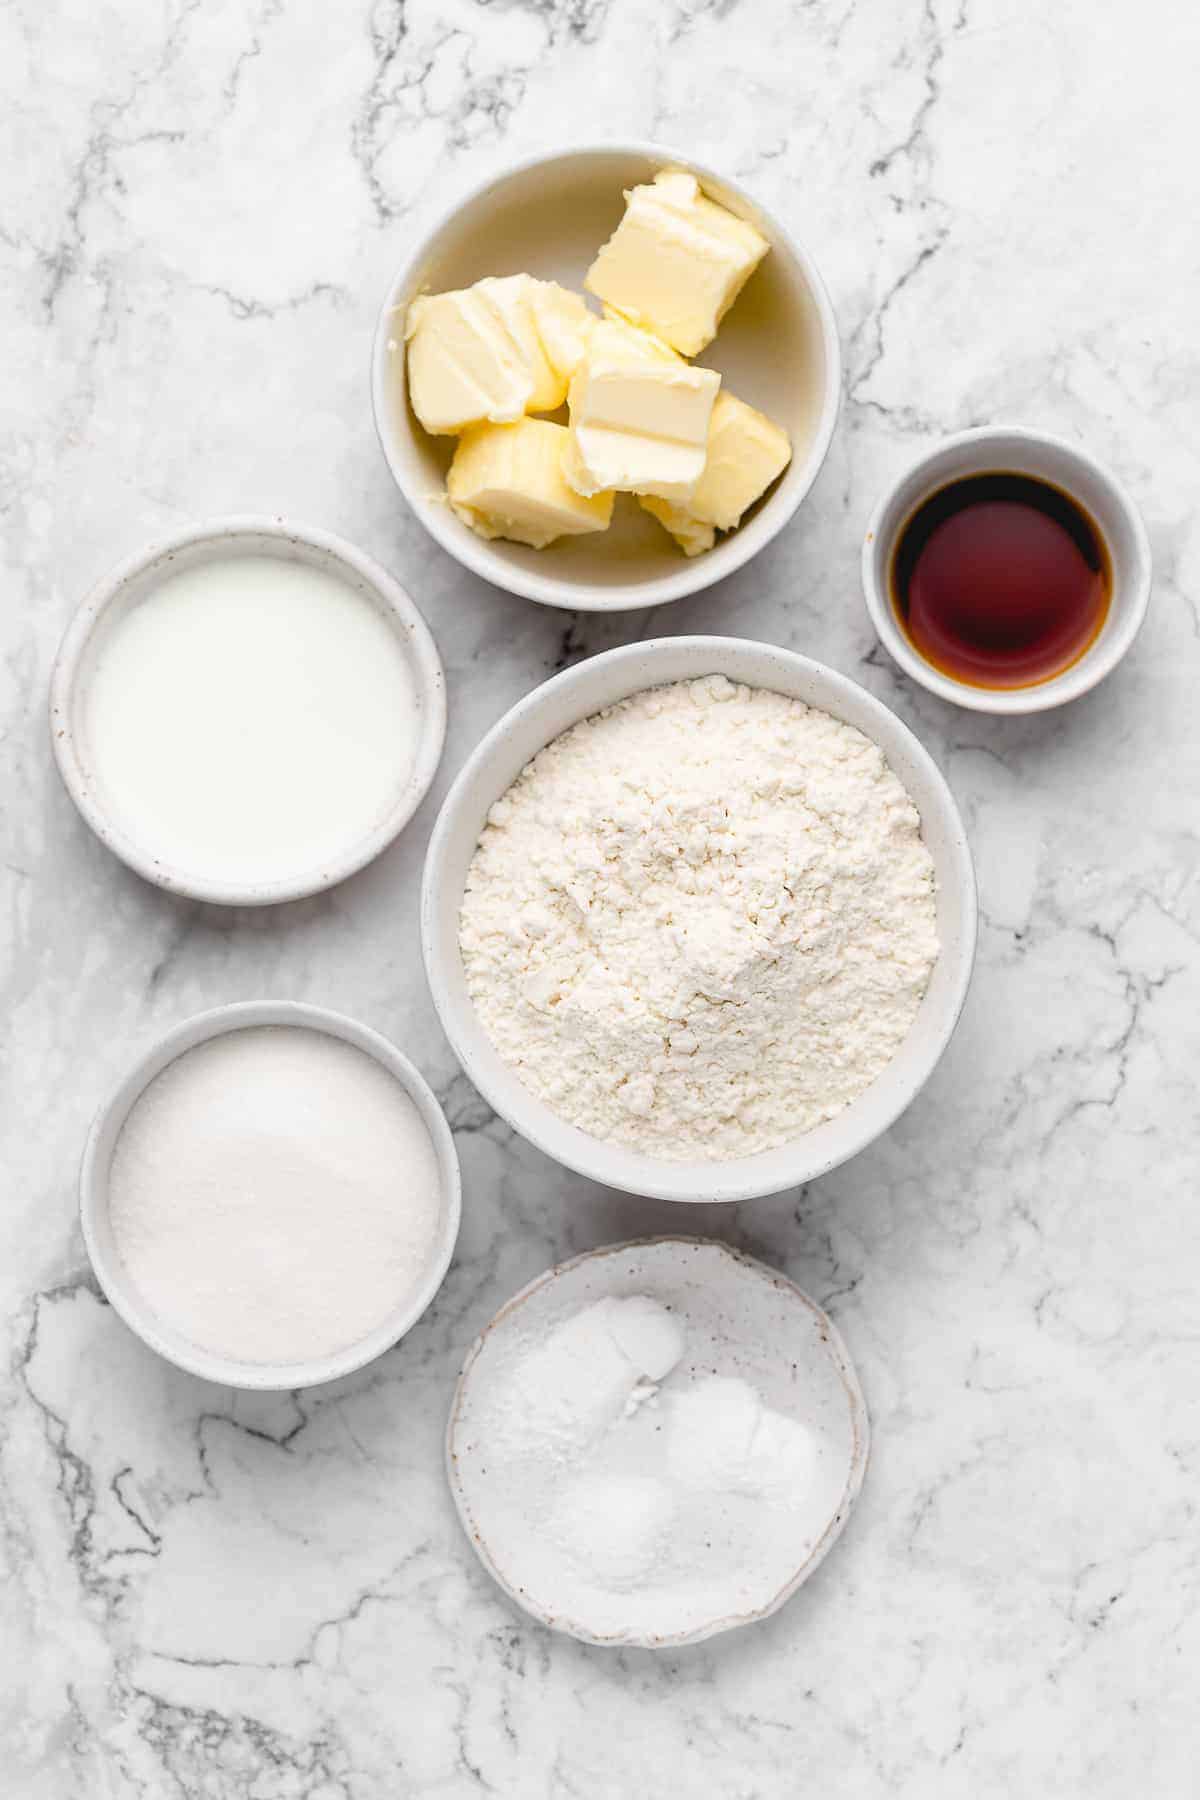
- Vegan butter – You can make vegan butter from scratch if you’re not able to find it at the grocery store. If using store-bought (like I usually do), I recommend Earth Balance Sticks for this or Miyokos butter. Quality counts, since we’re after that authentic buttery flavor.
- Organic white granulated sugar – White sugar is a classic choice for sugar cookies, though you can also make brown sugar cookies if you’d like.
- Vanilla extract – The vanilla flavour really shines through in sugar cookies, so choose a high-quality extract or an equal amount of real vanilla paste.
- Vegan milk – Use an unflavoured non-dairy milk like soy, oat, almond, or whichever kind you like or have on hand.
- Dry ingredients – These are your baking staples, like all-purpose flour, baking powder, baking soda, and sea salt. Check the expiration dates on your leavening agents to make sure they’re fresh.
Vegan Sugar Cookie Icing
The vegan icing for these frosted sugar cookies couldn’t be easier. All you need is powdered sugar (confectioner’s sugar), non-dairy milk, and lemon juice. I like to use lemon juice in my icing as it brightens up the flavour and adds a hint of tanginess, reminiscent of cream cheese frosting . You can add vanilla extract if you prefer. I recommend sifting the powdered sugar before you make the icing, so it’s free from lumps.
To make the icing, combine the ingredients in a small bowl and stir until the mixture is smooth. That’s it! You can do this in advance of making your cookies or whip up the icing while the cookies bake. It’s up to you.

Let’s Make Vegan Sugar Cookie Dough
If you don’t have a large block of time to make and frost the cookies, you can bake the cookies a day or two in advance and frost them later. The sugar cookie dough also stores well for 2-3 days in the fridge if you wrap it tightly with plastic wrap.
- Prepare a baking sheet. Line a baking sheet with parchment paper or a silicone mat and dust it with flour. Unlike traditional cookie dough that gets shaped into discs for chilling, you’ll roll this vegan dough out flat before you refrigerate it. Vegan cookie dough can be a bit stickier than traditional cookie dough, so the extra flour makes rolling and handling the dough much easier.
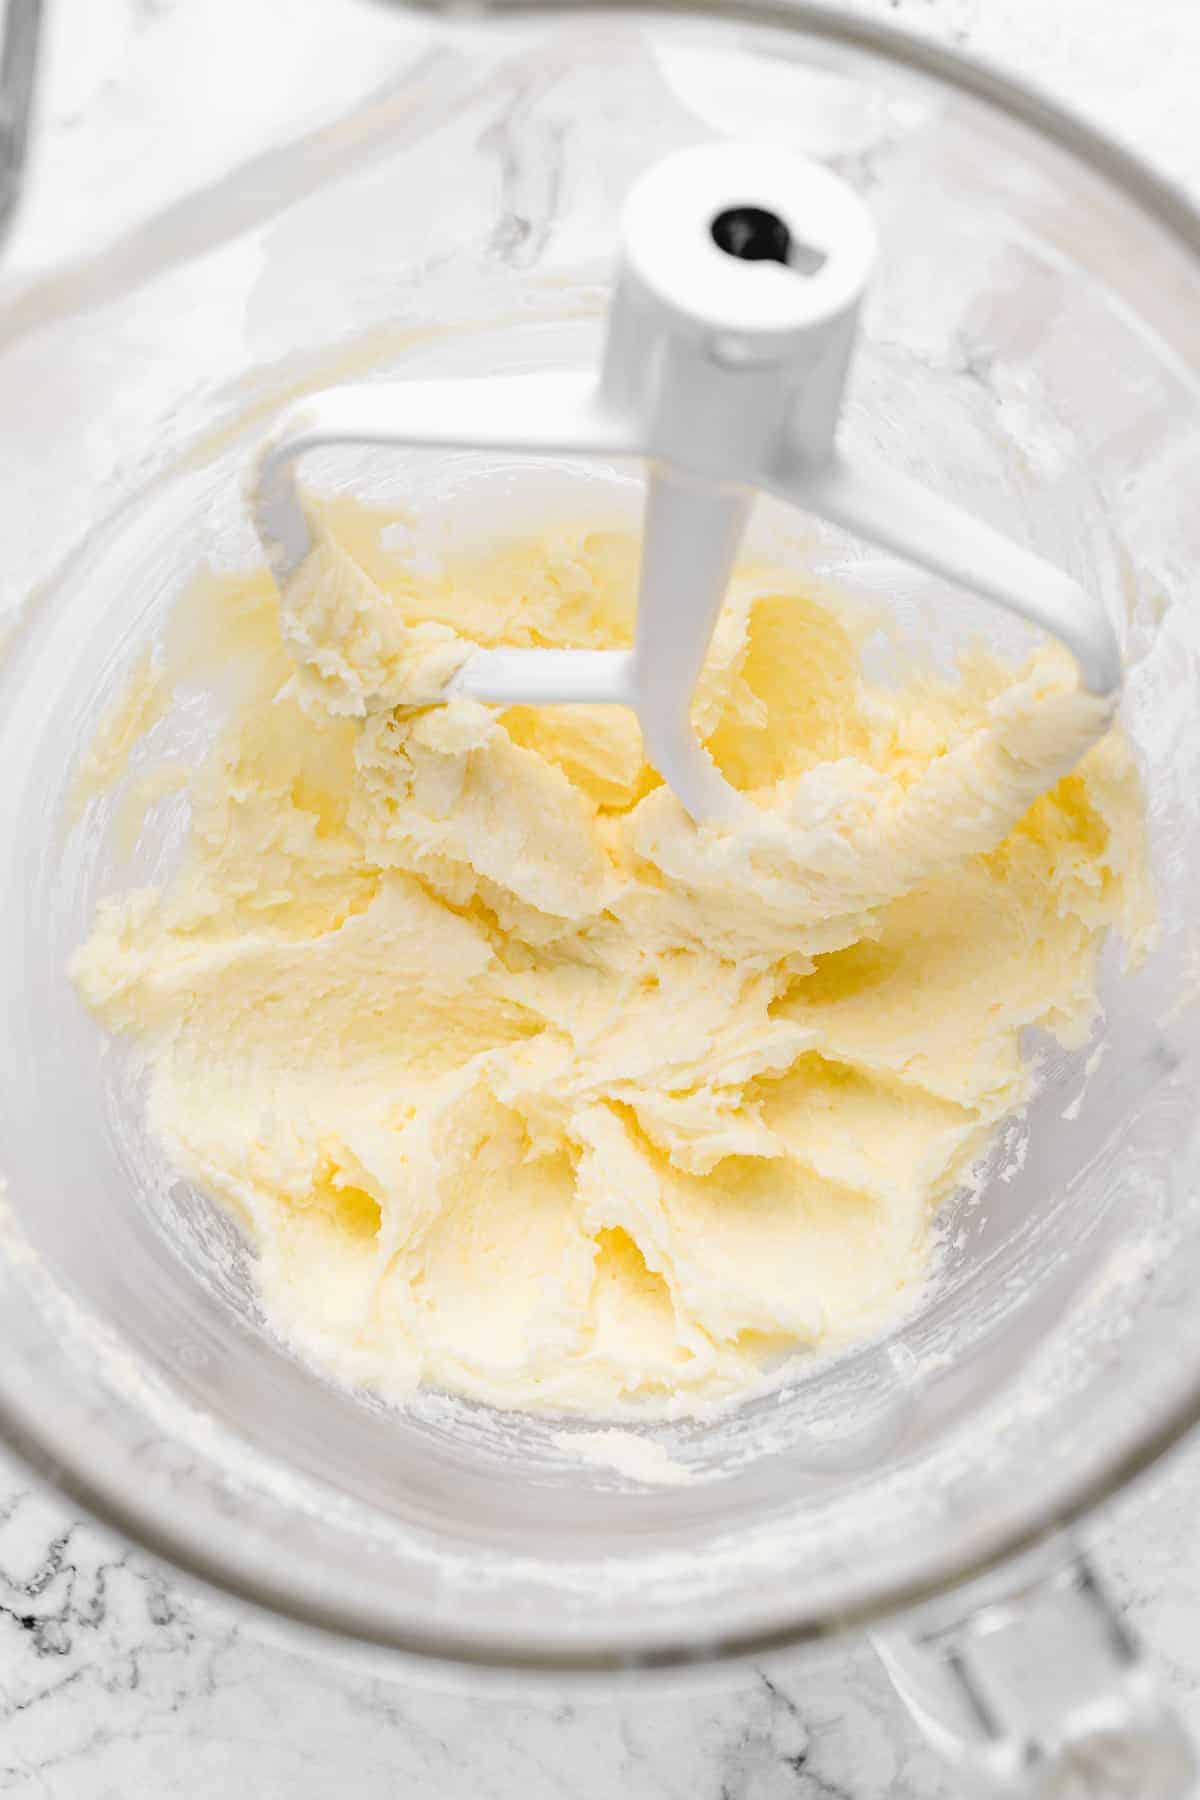
Cream the btuter and sugar.
- Next, mix the wet ingredients. In the bowl of a stand mixer, cream the butter and sugar for about 3 minutes on medium-low speed. Then, beat in the vanilla and milk for about 30 seconds.
- Add the dry ingredients. Sift the flour, baking powder, baking soda, and sea salt into a separate small bowl, and whisk to combine. Now, add the flour mixture to the wet ingredients. Beat slowly, then increase the speed to fully incorporate the flour; this should take about 2 minutes at most. The dough will be slightly sticky to the touch.
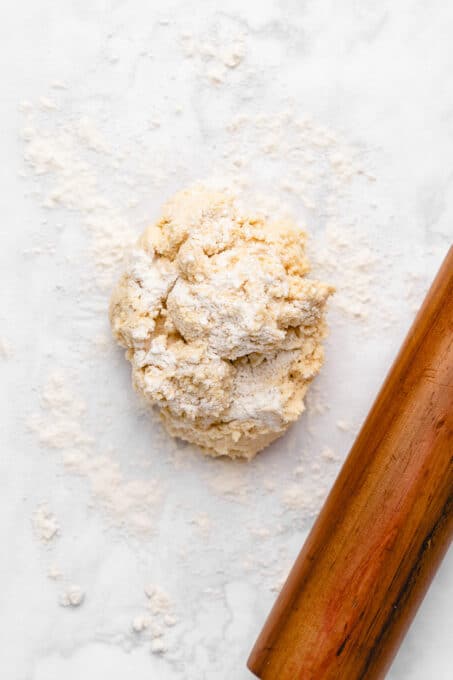
Turn the dough out into a ball.
- Roll out the dough. Use your hands to shape the dough into a ball, and turn it out onto your prepared baking sheet. Using a floured rolling pin , roll out the dough to about ¼-inch thickness. Lightly dust the top of the dough with additional flour, and place another piece of parchment paper on top.
- Chill the dough. Place the baking sheet with the rolled out dough in the refrigerator. The sugar cookie dough needs to chill for at least an hour, or up to overnight, before you cut out and bake your cookies.
How to Cut Out and Bake Sugar Cookies
- Get your sugar cookie dough ready . Start preheating your oven to 350ºF. Meanwhile, take out your chilled cookie dough and peel away the top layer of parchment paper.

Cut out the cookies.
- Cut out the cookies. Next, use your choice of cookie cutters to cut the sugar cookie dough into shapes. Collect the scraps, roll them out again, cut, and repeat until you have no more dough left. Leave the cut cookies on the parchment-lined baking sheet, arranging them so there’s at least an inch of space between each cookie.
- Bake the cookies. Place the baking sheet in the oven and bake the cookies for about 10 minutes. Cool on the sheet, then transfer to a wire rack to finish cooling completely.

How to Decorate Sugar Cookies
Mix and colour the icing, if desired, and use it to decorate your cookies. You can be as simple or as creative as you’d like. Check out the photos for some Christmas cookie inspiration, and there are so many fun tutorials that you can follow online. These are some quick tips:
- Get the right consistency for the icing. You can add the lemon juice a drop at a time and adjust its thickness by adding more powdered sugar or thinning with additional milk or lemon juice. If you’re adding liquid food colouring , I suggest starting with a thicker icing and adding a little less milk and lemon juice.
- Use a Ziploc bag. If you don’t have piping bags or piping tips for the details, don’t worry. Simply add the icing to a small Ziploc bag and snip off the corner. You’ll be decorating like a pro in no time!
- Can I use frosting? Yes. If you’d prefer to frost these cookies with buttercream instead, try my easy vegan buttercream frosting recipe that’s just as perfect for decorating cookies as it is for frosting cakes and cupcakes.

Tips for Perfect Sugar Cookies
To avoid thin, misshapen sugar cookies, keep the following in mind:
- Don’t over-beat the butter and sugar. Too much air in the butter mixture causes the cookies to spread.
- Chill the cookie dough. Very important! The dough and the butter inside it need to be chilled before it goes in the oven. Without this step, the butter will melt immediately, deflating your cookies.
- Keep it cold. If the dough warms up when you’re cutting the cookies, you can refrigerate it for another 15 minutes.
- Prevent the dough from sticking. If you need to, you can sprinkle additional flour on top of the dough before rolling it out.

Proper Storage
Vegan sugar cookies can be stored just like traditional sugar cookies, in an airtight container at room temperature for 3 to 4 days. To keep the icing perfect, you can place parchment paper between the layers.
How to Freeze Sugar Cookies
Or, you can freeze the baked and frosted cookies, or you can freeze the sugar cookie dough before baking. This way, it’s on hand whenever you’re ready to bake.
- To freeze the frosted sugar cookies, store them in an airtight container or freezer bag for up to 3 months. Thaw at room temperature before serving.
- To freeze the cookie dough, wrap the dough tightly in a double layer of plastic wrap. Freeze for up to 2 months, and thaw the dough completely before rolling it out on the baking sheet as directed. Chill the dough and proceed to cut it out and bake as directed.
Ingredients
- ½ cup vegan butter , 112g, room temperature
- ½ cup organic white granulated sugar , 100g
- 1 teaspoon vanilla extract
- 2 tablespoons vegan milk
- 1 ½ cups flour of choice regular all-purpose flour , 180g
- 1 teaspoon baking powder
- ¼ teaspoon baking soda
- ¼ teaspoon sea salt
- For the Sugar Cooking Icing:
- 1 cup powdered sugar , sifted
- 1 tablespoon vegan milk
- 1 teaspoon lemon Juice , fresh or processed
Instructions
- In a bowl of a stand mixer, cream together the butter and sugar for about 3 minutes on medium low speed until creamy and incorporated. You don’t want to over beat and incorporate too much air which can cause the cookies to spread.
- Add in the vanilla extract and vegan milk and blend for another 30 seconds until incorporated.
- In a small separate bowl, sift together your flour, baking powder, baking soda and sea salt until thoroughly combined.
- Add in your flour mixture into the wet mix. Start slowly then slightly increase speed to mix in the flour thoroughly into the dough, about 2 minutes max on medium low speed to thoroughly incorporate. Dough should be slightly sticky to the touch.
- Roll/mold your dough together into a ball.
- On a baking sheet, on a piece of floured parchment paper or a flour silicone mat, place the dough. Feel free to dust with a little bit of extra sifted flour on top. Using a floured rolling pin, roll out the dough to about ¼ inch thickness and no thinner than that. This helps so much when cutting out the chilled dough so you don’t over warm it trying to shape it properly. Dust with a little bit more flour, then cover the top with another layer of parchment paper.
- Place the rolled out dough on the baking sheet in your fridge for at least 1 hour. You can also chill overnight if needed.
- Remove the top layer of parchment paper. Cut out shapes with your cookie cutters. Re-roll the scraps and repeat the process to use up all of the dough. You want to ensure your dough stays cold during the process, otherwise refrigerate for another 15 minutes again.
- Preheat your oven to 180°C/350°F.
- Bake for 10 minutes (the cookies will continue to cook as they cool – you don’t want to overbake them as they brown quickly if overbaked). Bake cookies of the same size together to prevent under or over baking.
- Allow the cookies to cool for about 5 minutes on the baking sheet, then move to a wire rack to cool completely.
- Once completely cooled, decorate as desired.
- To make the sugar cooking icing:
- Mix together the powdered sugar, vegan milk and lemon juice until fully combined (about a drop at a time). Feel free to thicken if desired with more powdered sugar or thin out with more milk or lemon juice depending on which flavor you prefer.
- My top tip would be to outline your cookies first with a slightly thicker icing, then you can add a bit more milk for the inside to fill in the outline.
- If you are using food coloring, definitely add a little less milk since liquid food colours can make the frosting more runny. If you’re using a gel food colouring you can usually leave your milk quantity as the same.
- Use this icing recipe to decorate your cookies.
Notes

Vegan Sugar Cookies
Ingredients
- ½ cup vegan butter 112g, room temperature
- ½ cup organic white granulated sugar 100g
- 1 teaspoon vanilla extract
- 2 tablespoons vegan milk
- 1 ½ cups flour of choice regular all-purpose flour 180g
- 1 teaspoon baking powder
- ¼ teaspoon baking soda
- ¼ teaspoon sea salt
- For the Sugar Cooking Icing:
- 1 cup powdered sugar sifted
- 1 tablespoon vegan milk
- 1 teaspoon lemon Juice fresh or processed
Instructions
- In a bowl of a stand mixer, cream together the butter and sugar for about 3 minutes on medium low speed until creamy and incorporated. You don’t want to over beat and incorporate too much air which can cause the cookies to spread.
- Add in the vanilla extract and vegan milk and blend for another 30 seconds until incorporated.
- In a small separate bowl, sift together your flour, baking powder, baking soda and sea salt until thoroughly combined.
- Add in your flour mixture into the wet mix. Start slowly then slightly increase speed to mix in the flour thoroughly into the dough, about 2 minutes max on medium low speed to thoroughly incorporate. Dough should be slightly sticky to the touch.
- Roll/mold your dough together into a ball.
- On a baking sheet, on a piece of floured parchment paper or a flour silicone mat, place the dough. Feel free to dust with a little bit of extra sifted flour on top. Using a floured rolling pin, roll out the dough to about ¼ inch thickness and no thinner than that. This helps so much when cutting out the chilled dough so you don’t over warm it trying to shape it properly. Dust with a little bit more flour, then cover the top with another layer of parchment paper.
- Place the rolled out dough on the baking sheet in your fridge for at least 1 hour. You can also chill overnight if needed.
- Remove the top layer of parchment paper. Cut out shapes with your cookie cutters. Re-roll the scraps and repeat the process to use up all of the dough. You want to ensure your dough stays cold during the process, otherwise refrigerate for another 15 minutes again.
- Preheat your oven to 180°C/350°F.
- Bake for 10 minutes (the cookies will continue to cook as they cool - you don’t want to overbake them as they brown quickly if overbaked). Bake cookies of the same size together to prevent under or over baking.
- Allow the cookies to cool for about 5 minutes on the baking sheet, then move to a wire rack to cool completely.
- Once completely cooled, decorate as desired.
- To make the sugar cooking icing:
- Mix together the powdered sugar, vegan milk and lemon juice until fully combined (about a drop at a time). Feel free to thicken if desired with more powdered sugar or thin out with more milk or lemon juice depending on which flavor you prefer.
- My top tip would be to outline your cookies first with a slightly thicker icing, then you can add a bit more milk for the inside to fill in the outline.
- If you are using food coloring, definitely add a little less milk since liquid food colours can make the frosting more runny. If you’re using a gel food colouring you can usually leave your milk quantity as the same.
- Use this icing recipe to decorate your cookies.
Video
Notes
Nutrition
Vegan Sugar Cookies https://jessicainthekitchen.com/vegan-sugar-cookies/ December 17, 2021
These vegan Red Velvet Cupcakes are here to add a festive touch to your next party! They pair a moist, deep red chocolate cake with swirls of rich vegan cream cheese frosting.
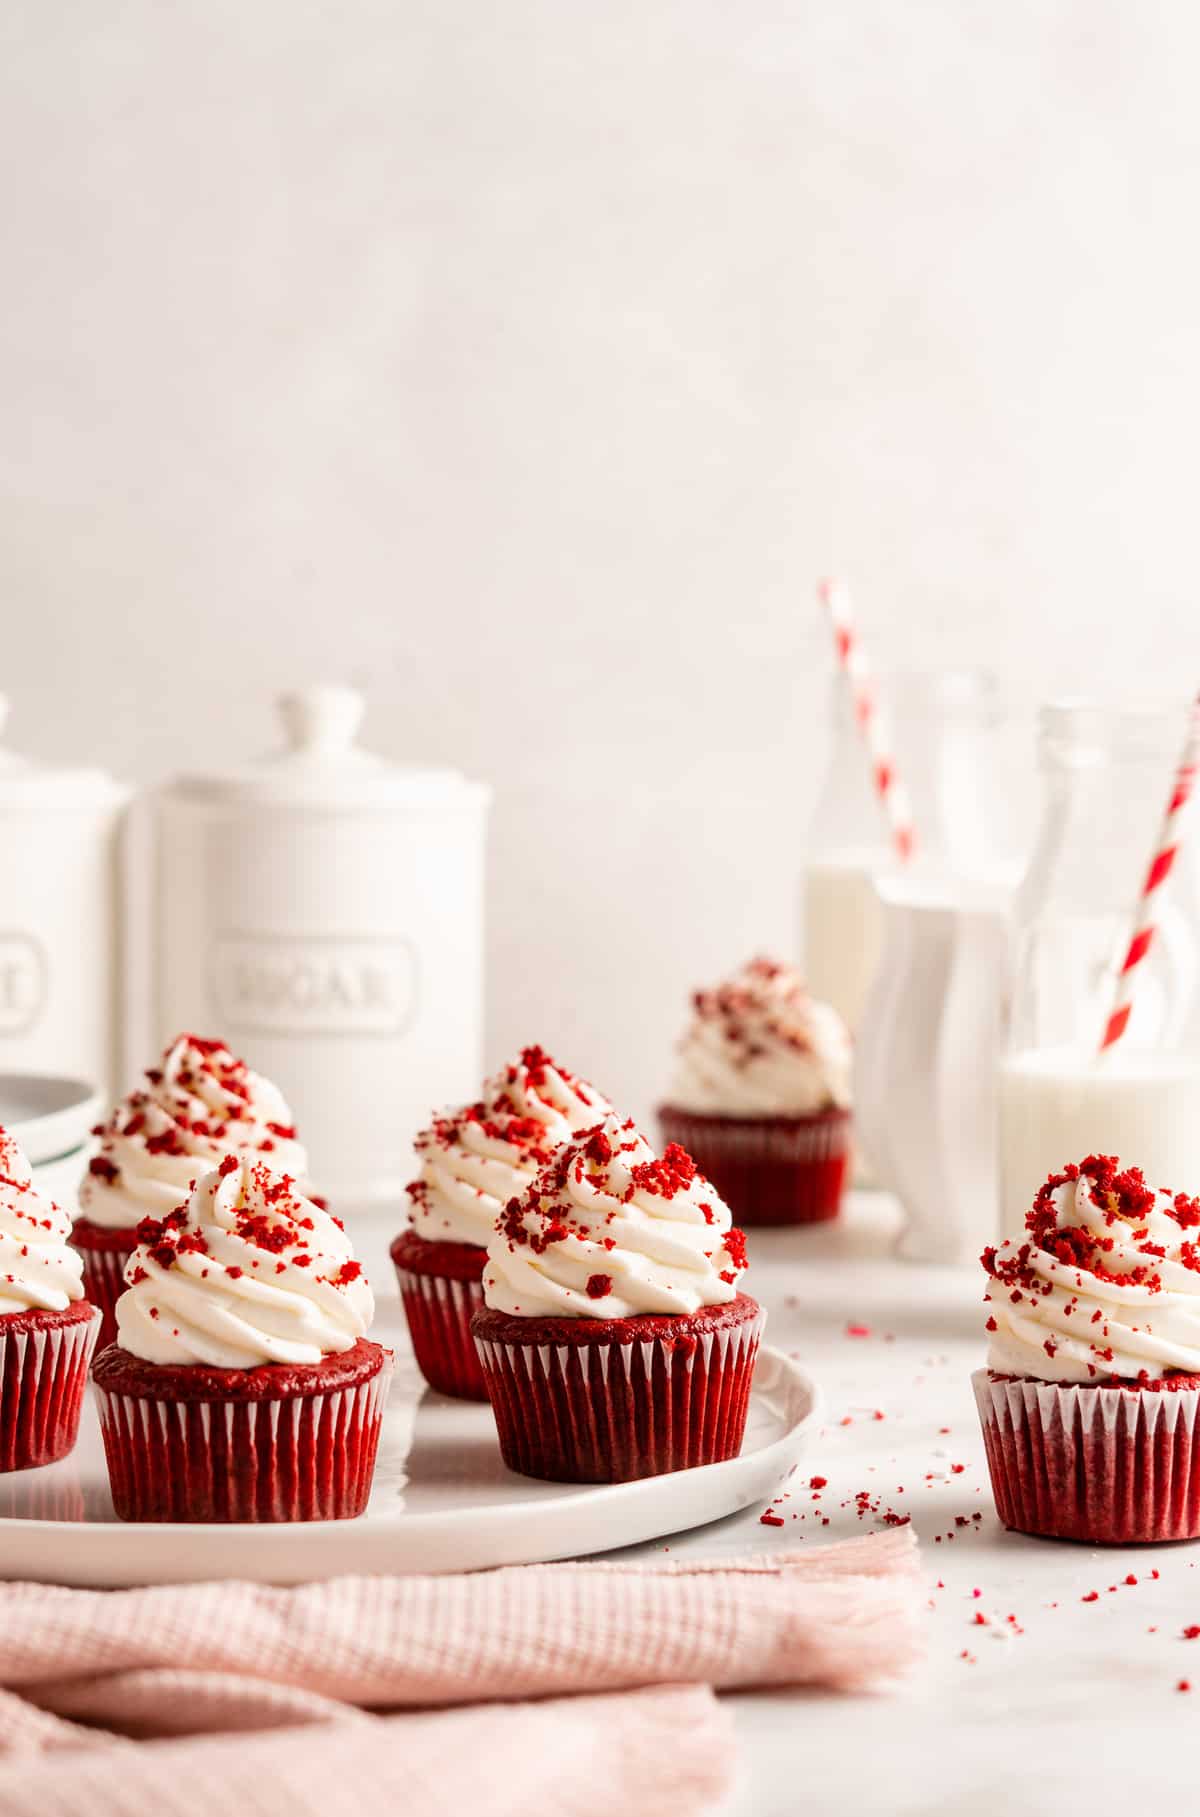
When we think about holiday baked goods, we usually think about Christmas cookies, but these vegan red velvet cupcakes are made for the holidays. The bright red cake and snowy white frosting remind me of Santa! Of course, you don’t have to limit red velvet cupcakes to holiday celebrations—they’re a perfectly portioned treat that you can enjoy anytime the craving strikes!
Making vegan red velvet cupcakes isn’t all that different from the traditional version—it’s just a matter of using different ingredients! Just like the classic recipe, this one includes vinegar to help give your cupcakes a little extra lift so they’re supremely light and fluffy. It also helps balance the sweetness, which is important when you’re topping your cupcakes with rich cream cheese frosting . Make sure you use a vegan cream cheese that tastes good on its own and has a nice, creamy texture—if it tastes off or has a gummy texture, it’s not going to make a good frosting either!
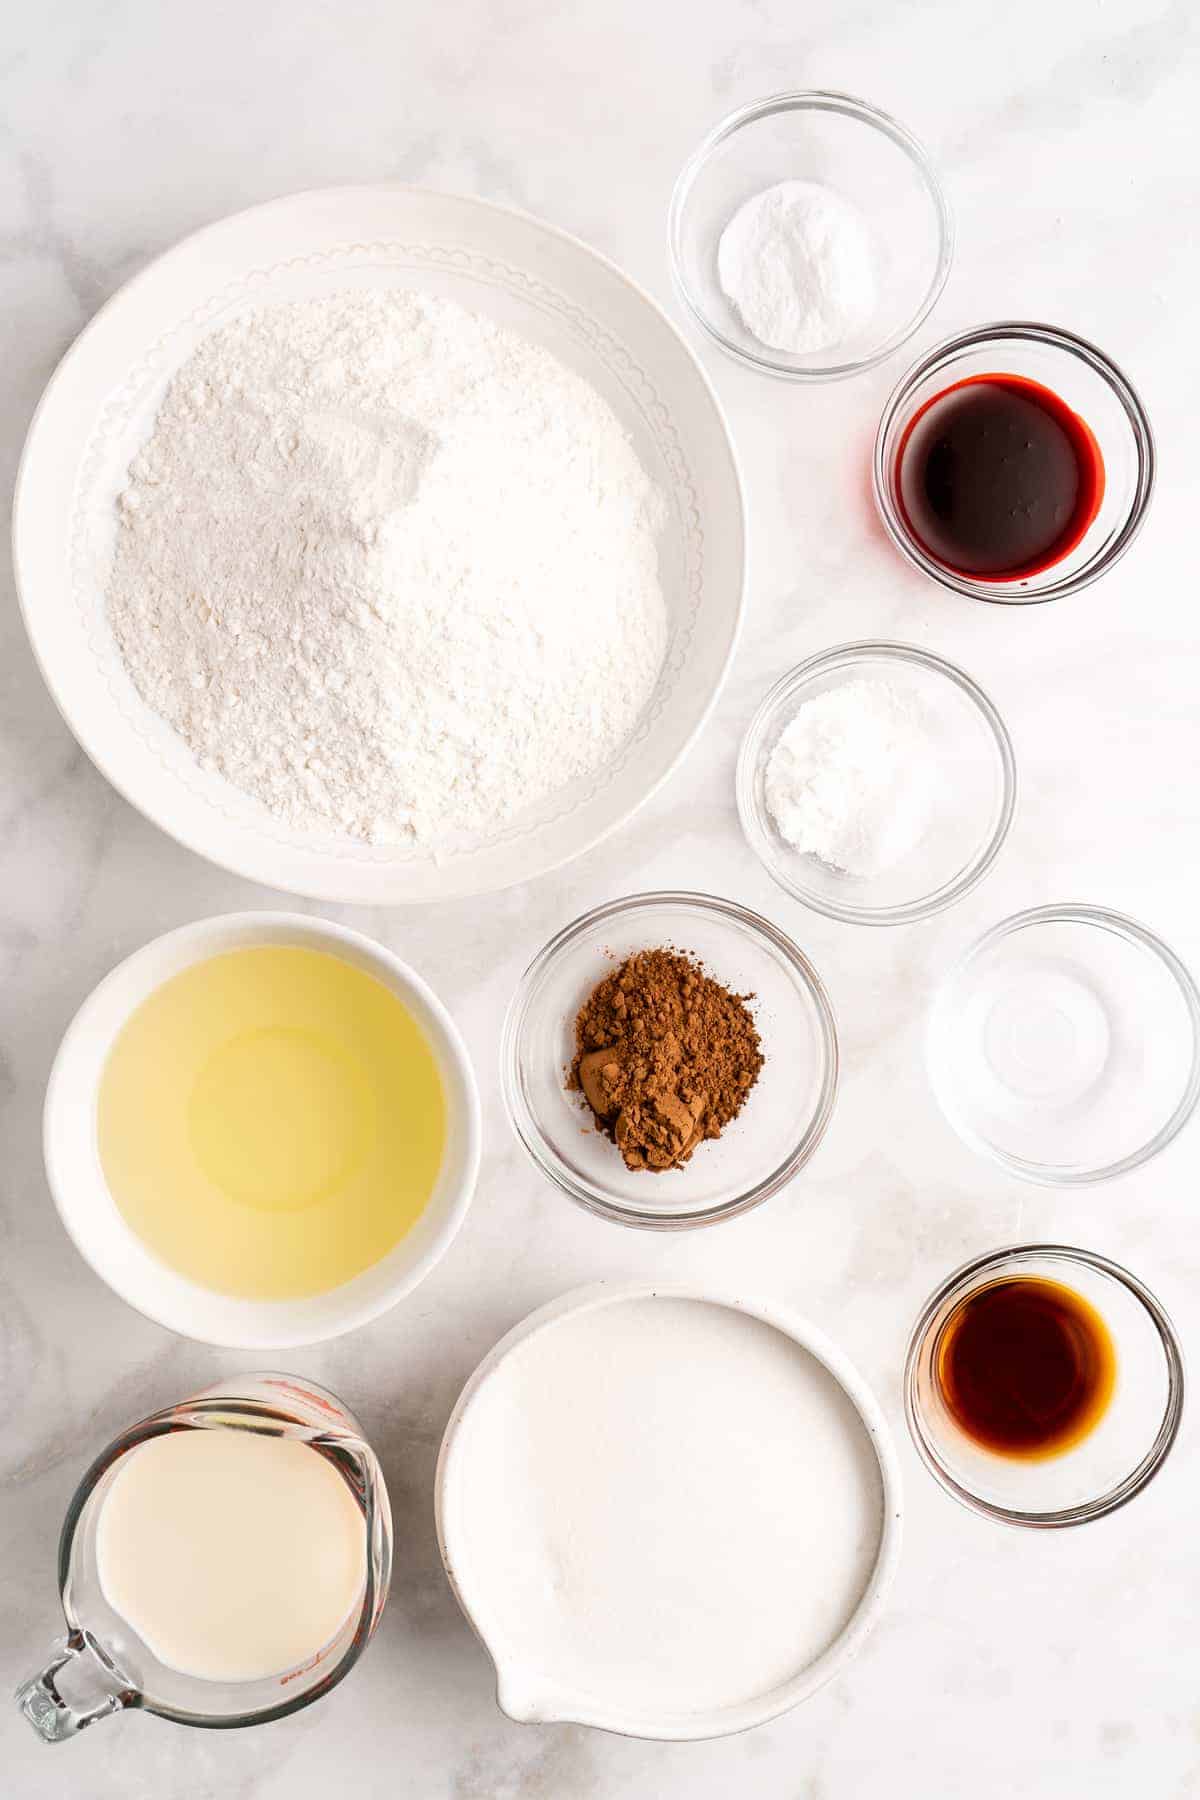
Notes on Ingredients
Please note that this is important information on the ingredients and instructions and the FULL recipe with amounts and details can be found DOWN BELOW (scroll to it) in the recipe card.
For the cupcakes:
- Apple cider vinegar or regular vinegar – This is used to make vegan buttermilk.
- Soy milk or other vegan milk
- White granulated sugar
- All-purpose flour
- Unsweetened cocoa powder
- Baking powder
- Sea salt
- Oil – Any neutral-flavored oil you like to bake with will work here.
- Vanilla extract
- Liquid red food colouring – Make sure you buy one that is vegan! A good example is AmeriColor or Chefmaster. You can also buy natural food colouring (I like the 365 one from Whole Foods) but note that it won’t be as bright in colour, more a brown/purple shade. It’ll still taste delicious! Long story short, you’re trying to avoid ingredients such as cochineal and carmine.
- Baking soda
- White vinegar – This gives the cake a light, airy texture.
For the frosting:
- V egan cream cheese – Make sure the cream cheese is room temperature.
- Sea salt
- V egan butter sticks – The butter needs to be at room temperature too.
- V anilla extract or vanilla paste
- P owdered sugar – This is also known as confectioners’ sugar.
- C ornstarch
How to Make Vegan Red Velvet Cupcakes
In a world filled with over-the-top, elaborately decorated and filled cupcakes, this recipe is an absolute breeze! I top mine with crumbs for a minimalist look, but mini chocolate chips are an excellent option, too.
Prepare . Line muffin cups with cupcake liners and p reheat the oven to 350°F/180°C.
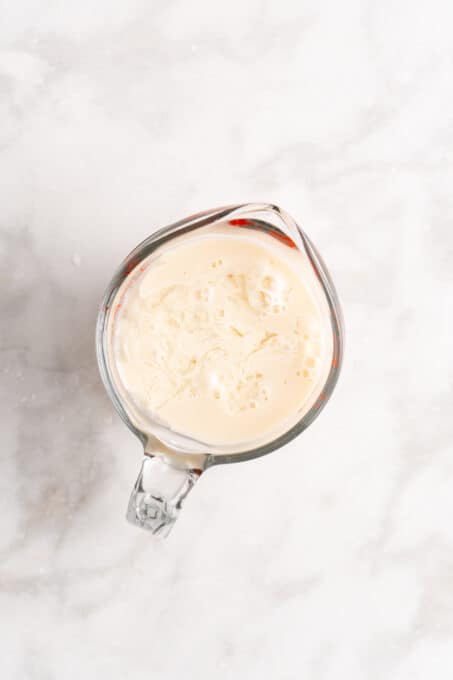
Make the buttermilk. In a jar, combine the tablespoon of vinegar and room temperature vegan milk. This will curdle and form buttermilk.
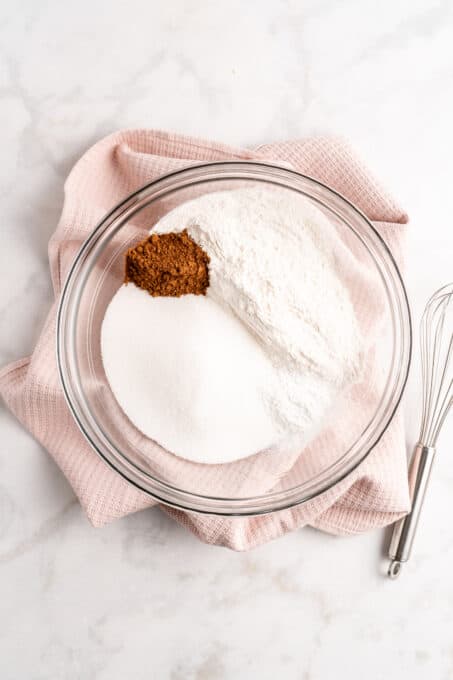
Mix the dry ingredients. In a large mixing bowl, whisk together the sugar, flour, cocoa powder, baking powder, and salt.
Add the remaining ingredients. To the dry mixture, add the oil, buttermilk, vanilla, red food colouring, and warm milk. Beat with an electric mixer on medium speed until just combined (about a minute), scraping down the sides of the bowl as necessary.
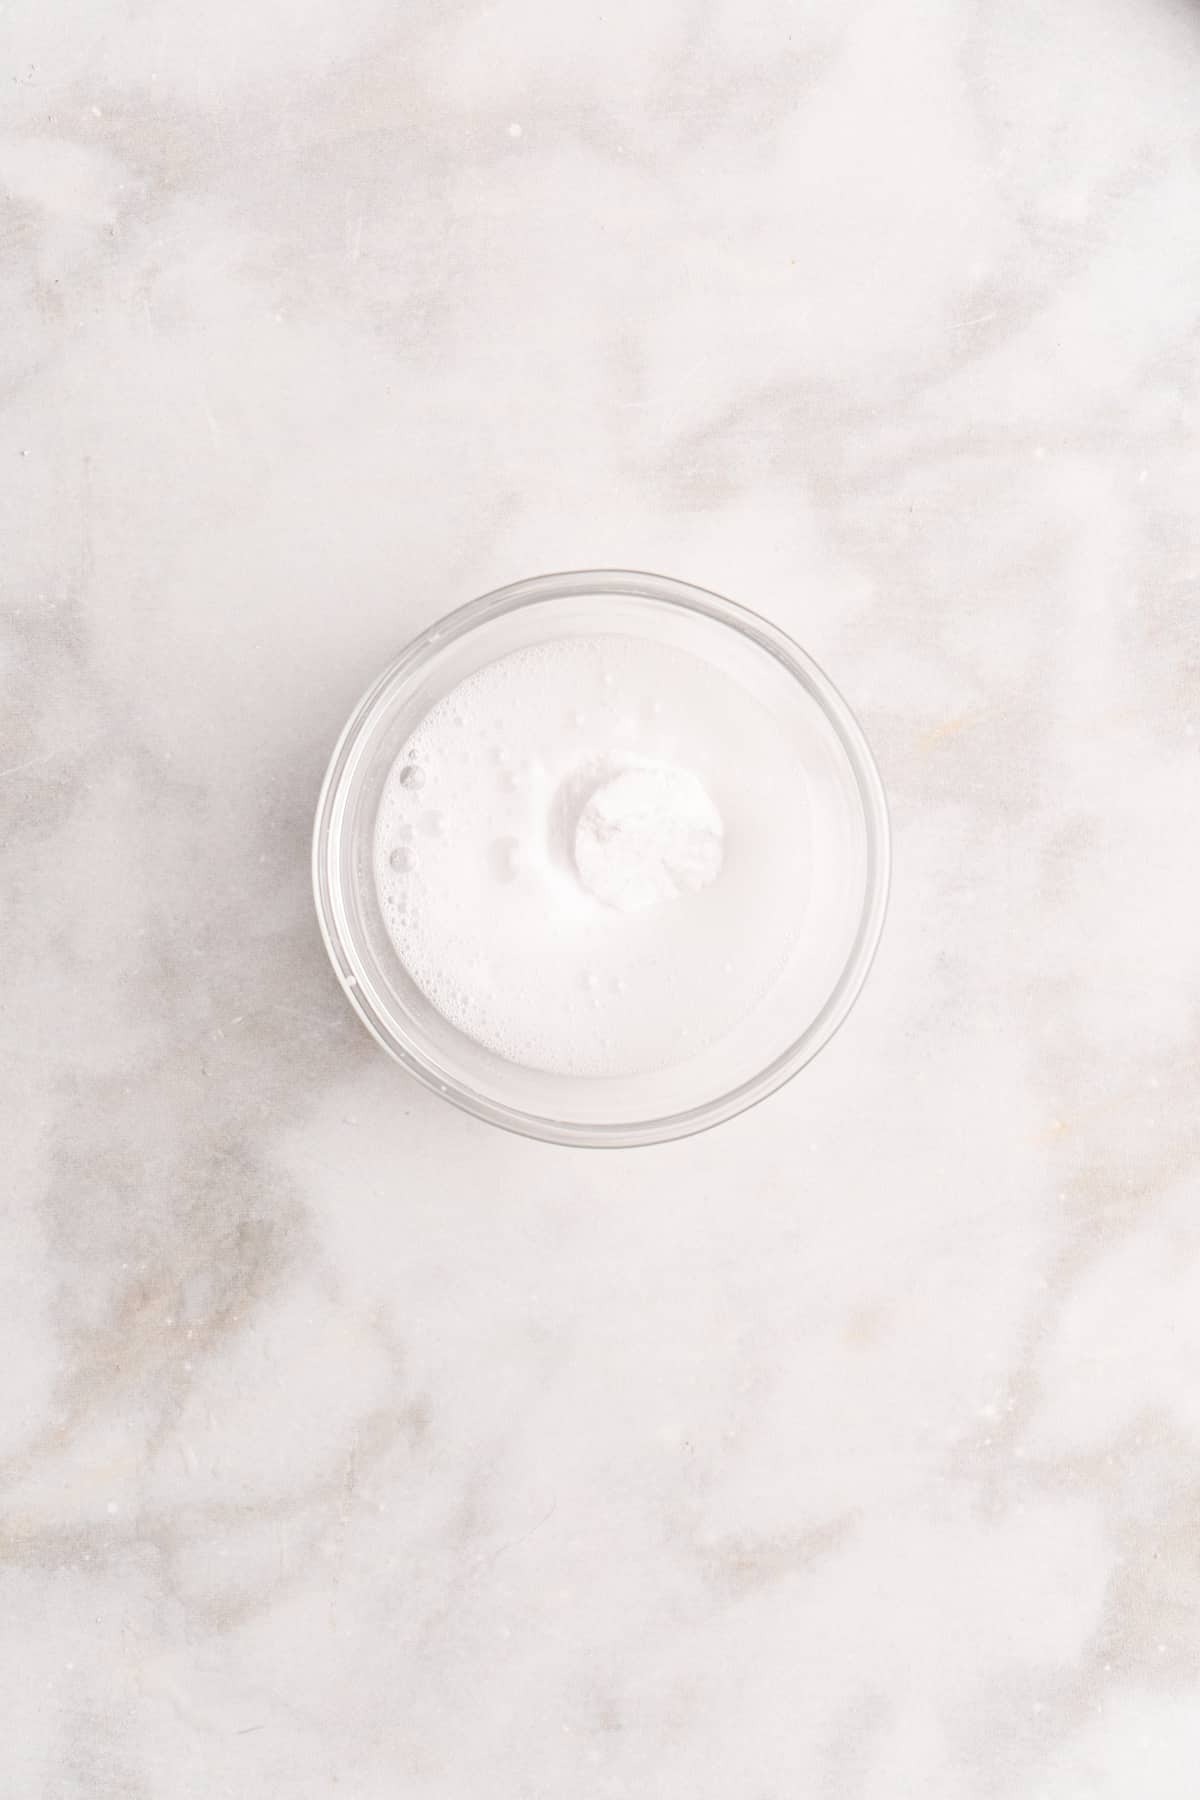
Combine the vinegar and baking soda. In a small bowl, mix together the white vinegar and baking soda. (It will fizz.) Stir into the batter.
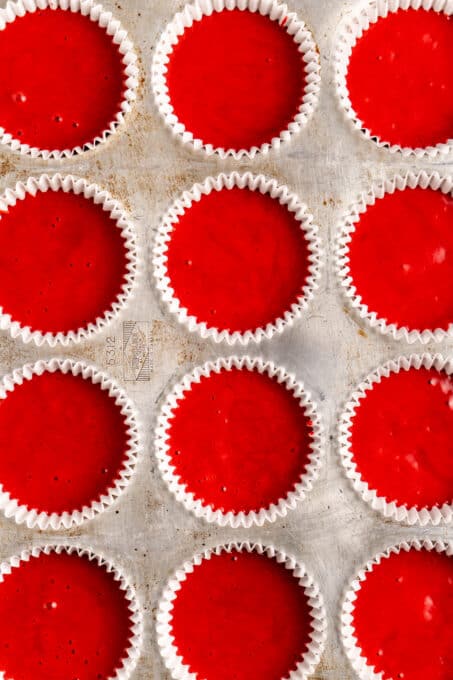
Fill the cupcake pans. Working quickly, divide the batter evenly between 24 cupcake liners; they should be about two-thirds full. Tap the cupcake pan on the counter a few times to remove any excess air bubbles before baking.
Bake. Place the pans in center of the middle rack in your oven and bake for 18 to 19 minutes.
Cool. Remove the cupcake pans from the oven and let the cupcakes cool in the pans for about 5 minutes, then transfer to a wire rack to cool completely.
Make the frosting. Beat the butter and cream cheese together in the bowl of a stand mixer for about 2 minutes, or until fluffy and well-mixed. Add in the vanilla and the pinch of salt, then beat in a cup of powdered sugar and all of the cornstarch until incorporated. Add the remaining powdered sugar a cup at a time until the frosting has reached the desired consistency.
Frost and serve. Transfer the frosting to a piping bag and pipe onto the cupcakes, or use an offset spatula to frost them the old-fashioned way. Garnish as desired and serve.

Tips for Success
These tips will help you make perfect red velvet cupcakes!
- Don’t over-mix. You only need to beat the batter until the ingredients are just combined. Any more than this will affect the texture of the cake.
- Make extra frosting if needed. Do you want big swirly poufs of frosting like the cupcakes they sell in fancy bakeries? You might want to make an extra half batch of the frosting.
- Getting the right frosting consistency. Using 4 cups of powdered sugar and chilling the frosting for at least 4 hours will help you get the perfect consistency for piping.

How to Store
You can store these cupcakes in an airtight container for up to 3 days. Let them come to room temperature before serving.
Can This Recipe Be Frozen?
Yes, you can freeze any extra cupcakes! Place them on a baking sheet, then put this directly in the freezer. Once the frosting is frozen solid, you can wrap the cupcakes individually or place them together in an airtight container. The cupcakes can be frozen for up to 3 months, then thawed in the refrigerator before serving.

Related Recipes
- Vegan Red Velvet Cake
- Red Velvet Brownies
- Vegan Cream Cheese Frosting
Ingredients
Red Velvet Cupcakes
- 1 tablespoon apple cider vinegar , or regular vinegar
- 1 cup soy milk , or other vegan milk, 240mL, room temperature
- 2 cups white granulated sugar , 400g
- 3 cups all-purpose flour , 360g
- 2 tablespoons unsweetened cocoa powder , 16g
- 2 teaspoons baking powder
- 1 teaspoon sea salt
- ¾ cup oil , 150g
- 1 teaspoon vanilla extract
- 1 oz. liquid red food colouring , bright red
- 1 cup warm soy milk , 240mL
- 2 teaspoons baking soda
- 1 teaspoon white vinegar
Vegan Cream Cheese Frosting
- 8 ounces vegan cream cheese* , bring to room temperature
- ½ cup vegan butter sticks , bring to room temperature, 4 ounces
- 1 teaspoon vanilla extract , or vanilla paste
- 1 pinch sea salt
- 3 to 4 cups powdered sugar , sifted, 480g for 4 cups
- 1/4 cup cornstarch , sifted32g
Instructions
- Red Velvet Cupcakes
- Line muffin cups with cupcake liners.
- Preheat the oven to 350°F/180°C.
- In a jar, add the tablespoon of vinegar and room temperature vegan milk together to curdle to form a buttermilk. Set aside.
- In a large bowl, add the sugar, flour, cocoa powder, baking powder and sea salt. Using a whisk, whisk all the ingredients together, removing any clumps that may form.
- Pour in the oil, the buttermilk mix from earlier, the vanilla extract and the red food colouring.
- Heat up that additional milk in the microwave for 40 seconds (or on stove top until warm, not boiling). You want it warm enough to dissolve but not boiling.
- Add it to the bowl on top of everything. Beat on medium speed of electric mixer for no more than 1 minute on medium speed, scraping down the sides of the bowl once in between to ensure that everything is incorporated. You want to mix until just combined.
- In a small bowl, mix together the 2 teaspoons of white vinegar and baking soda. Yes, it will fizz! Add it to the cake batter and stir well to combine, for about 30 more seconds.
- Working quickly, divide the batter evenly between 24 cupcake liners (about ⅔ ‘s full). You can use an ice cream scoop to help! Tap the cupcake pan on the counter three times (lift and tap down slightly) to remove any excess air bubbles before baking.
- Place the pan in the middle rack of your oven and in the center of that rack. Bake for 18-19 minutes until fully cooked. Remove from the oven and let them cool in the pans for about 5 minutes, then remove onto a wire rack to cool completely.
- After cooled, frost with vegan cream cheese frosting and some red velvet crumbs. Enjoy!
- Vegan Cream Cheese Frosting
- In the bowl of a mixer, beat the butter and cream cheese together for about 2 minutes until fully incorporated.
- Add in the vanilla extract or paste and the pinch of salt.
- Add in a cup of sifted powdered sugar and all of the sifted cornstarch. Mix for about 1 minute or until incorporated. Add in the powdered sugar 1 cup at a time until the frosting has reached the desired thickness.
- Place the frosting wrapped or covered into the fridge for at least 4 hours or overnight, until being used. You can enjoy it right away, but it will thicken up beautifully in the fridge.
- You can apply it immediately to cooled cupcakes, then place in the fridge (or cupcakes on counter if you live in a cool climate/air conditioned home), or place the frosting itself in the fridge for now, then apply to the cupcakes later. Enjoy!
