Here’s how to make the perfect vegan pizza ! Customise this recipe with your favourite toppings and enjoy a plant-based pizza night any day of the week!
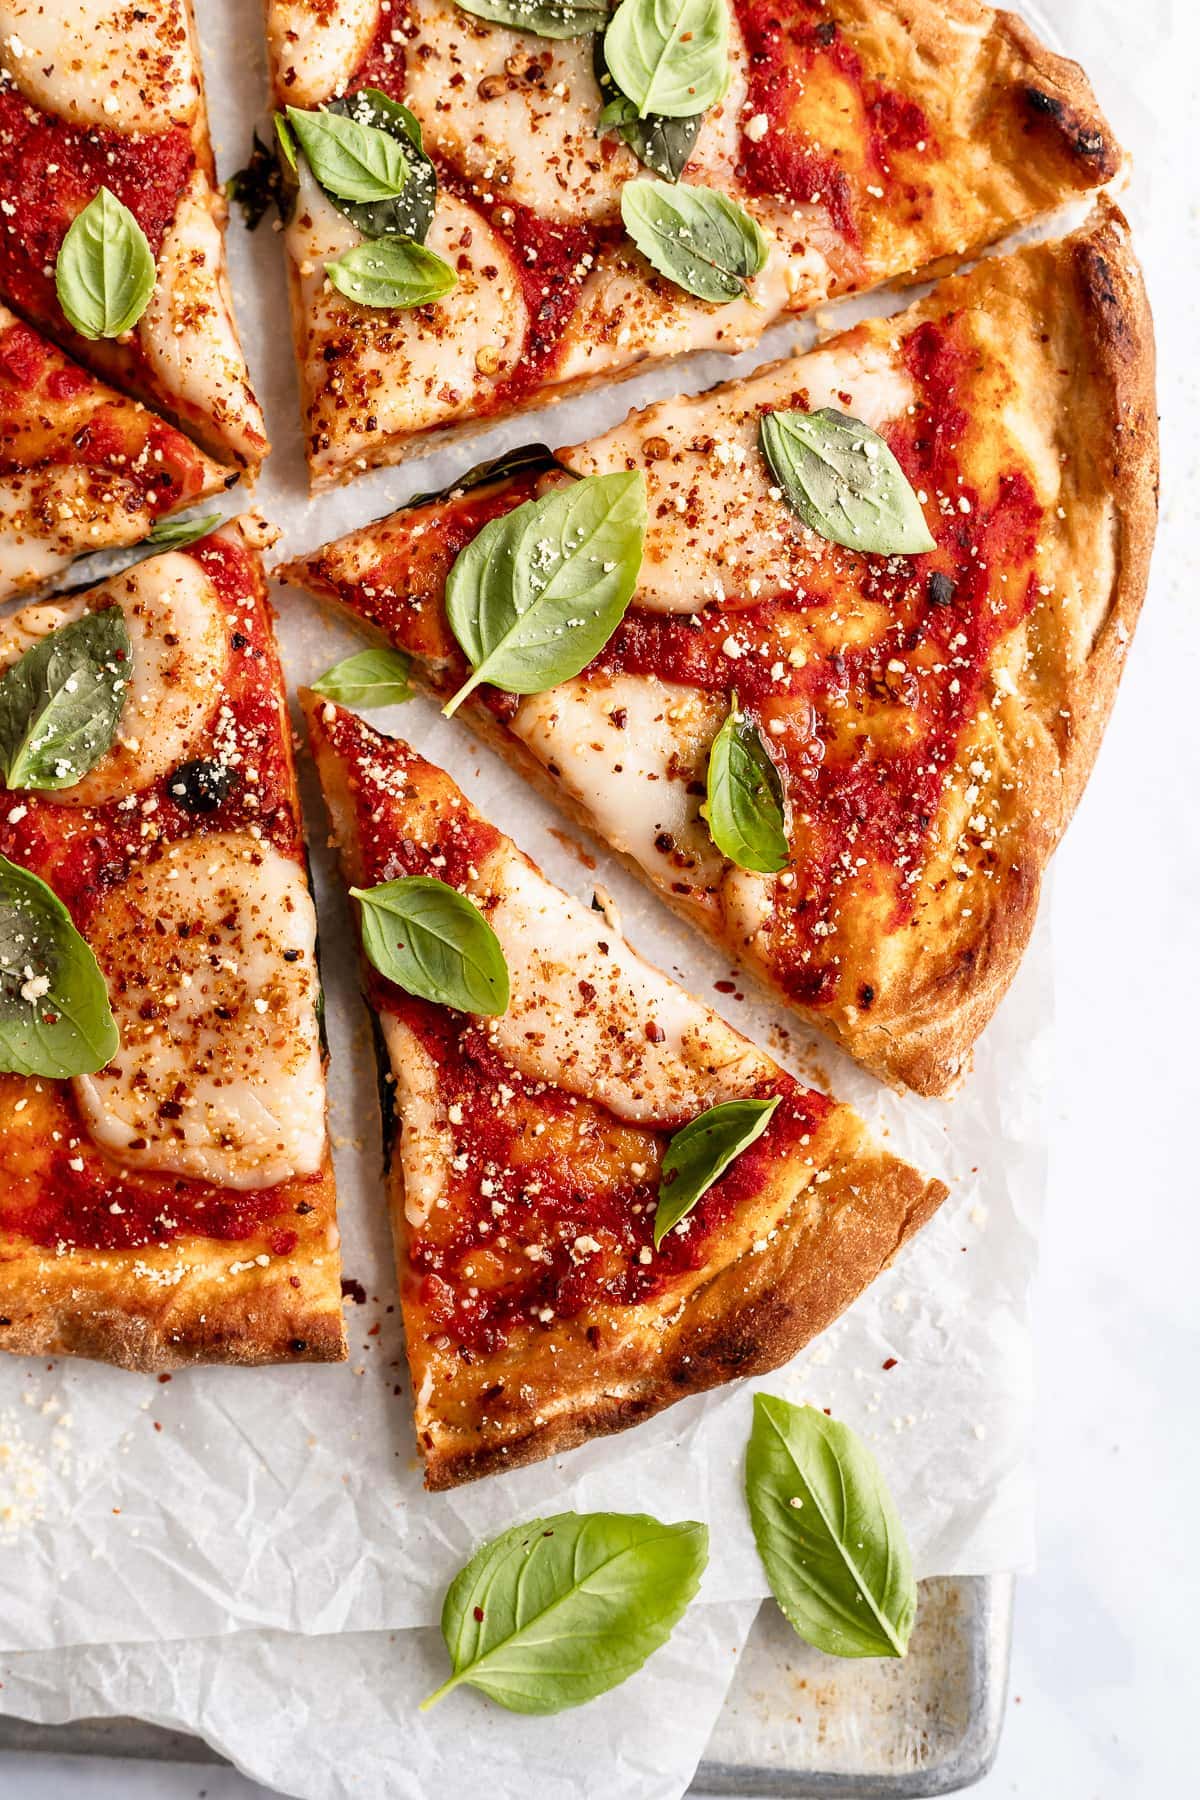
Pizza Fridays are a regular occurrence in our house, and while I’ll often make something like vegan spicy BBQ chickpea pizza or kale pesto pizza , I have to tell you that this homemade vegan pizza recipe is the one I keep going back to—a simple, classic pizza with an incredible crust, fantastic tomato sauce, and melty vegan cheese.
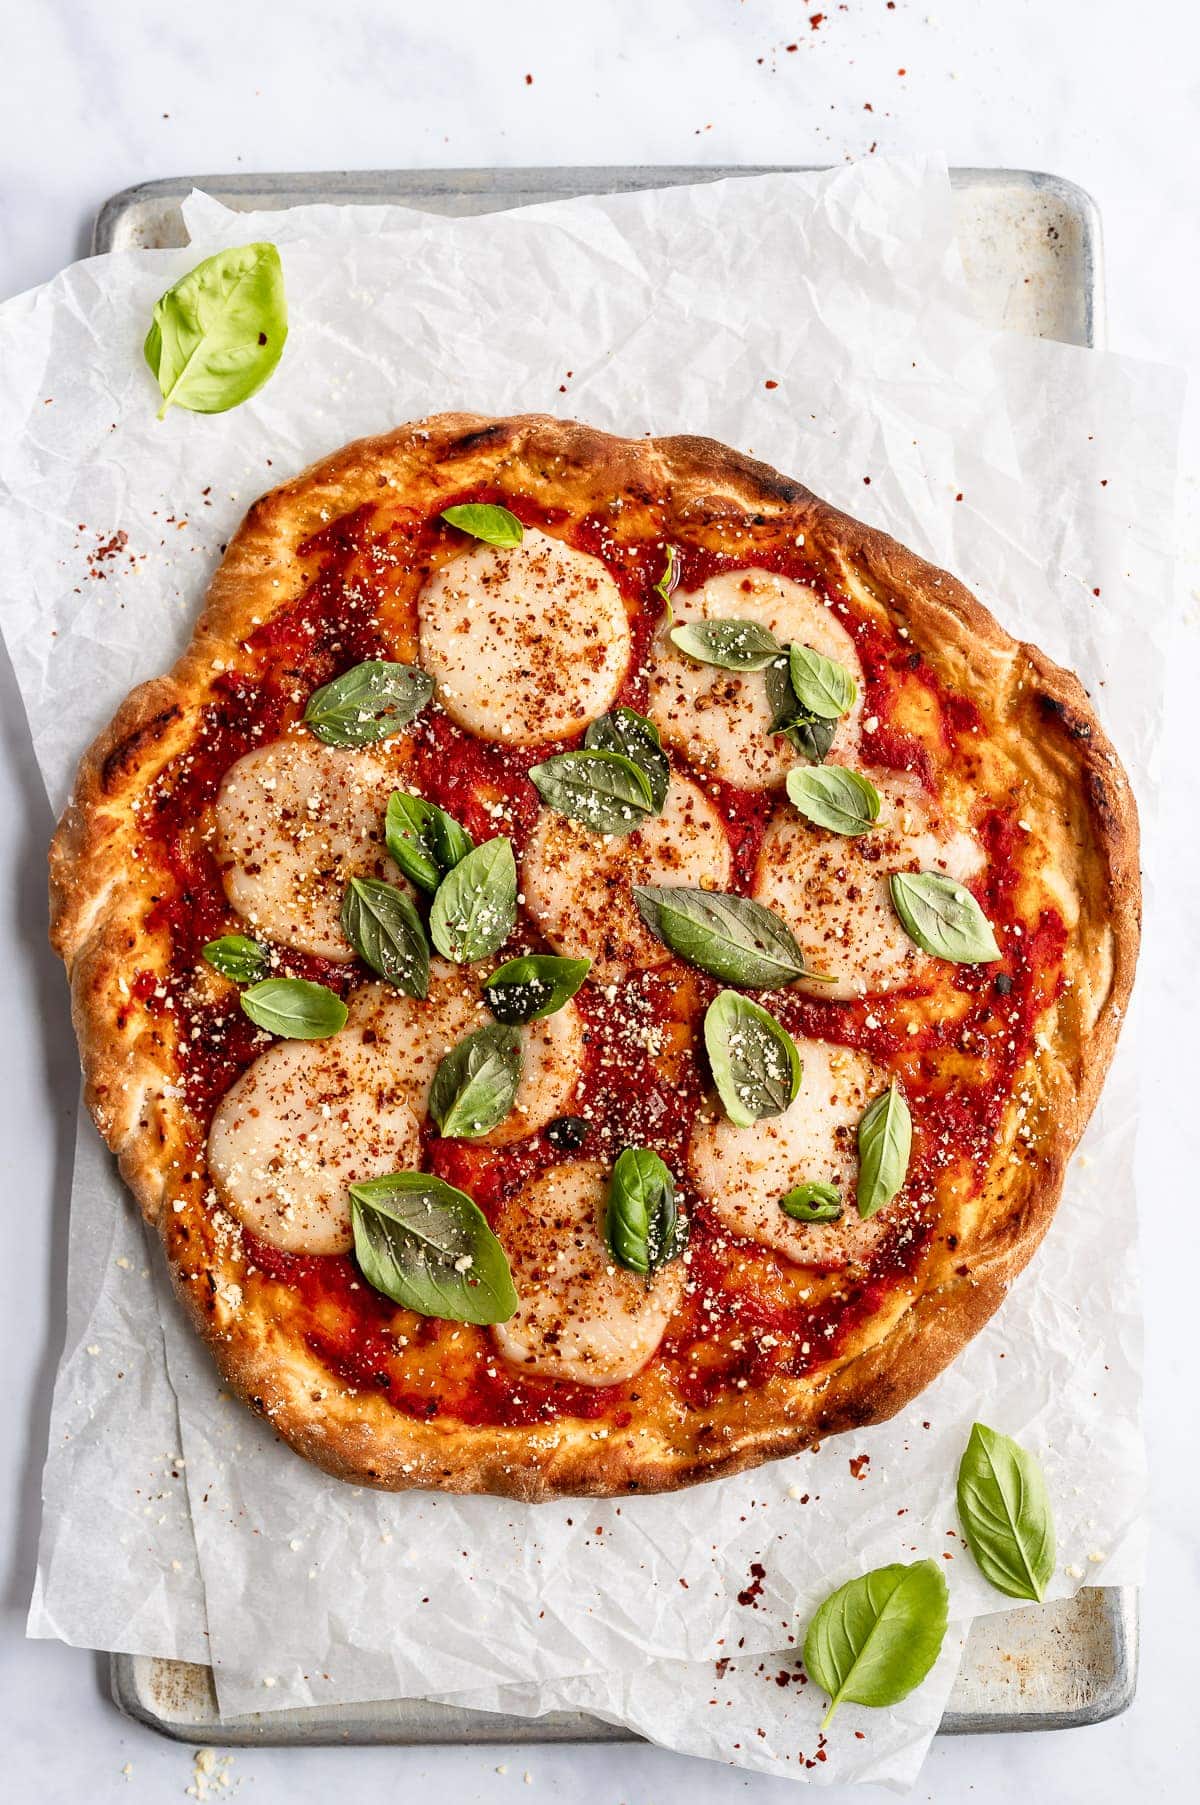
When you’re making such a simple recipe, it’s all about quality of ingredients and technique. The technique I use here is the steam method, which I learned during my two visits to Italy. It’s key to beautifully browned, bubbly crusts. Once you try it, you’ll never go back!
Why You’ll Love This Vegan Pizza Recipe
- Simply delicious . Don’t get me wrong, sometimes I do love to go wild with toppings. But If you start with a good crust—and this is a GREAT crust—you can make a really enjoyable pizza without all that.
- Authentic flavour . You probably don’t have a wood-fired pizza oven at home, but the steam method I describe below is the next best thing for vegan homemade pizza!
- Perfect for customising . Keep it simple with sauce and vegan cheese, or add some more toppings. It’s up to you!
Notes on Ingredients
Scroll down to the recipe card to find the ingredient quantities and recipe instructions.
- Pizza dough – Here’s my pizza dough recipe.
- Pizza sauce – And here’s my pizza sauce . Do not use store-bought jarred marinara or pasta sauce—it has a higher water content and will make your pizza soggy!
- Vegan mozzarella cheese – My favourites for homemade vegan pizza are Miyoko’s Vegan Mozzarella, Eat Harmless, Violife, Daiya, and So Delicious.
- Olive oil – For brushing the crust.
- Cornmeal – To dust the baking sheet or pizza stone.
How to Make the Best Vegan Pizza
- Prepare . Preheat your oven for 20 minutes at 500ºF or its highest temperature.
- Shape the crust . Roll out the dough on a floured surface until it reaches 10-inches in diameter. Place the dough on a pizza stone or baking sheet dusted with cornmeal.
- Top the pizza . Spread the sauce onto the crust, then add the cheese. Drizzle the olive oil on top and brush it on the edges.
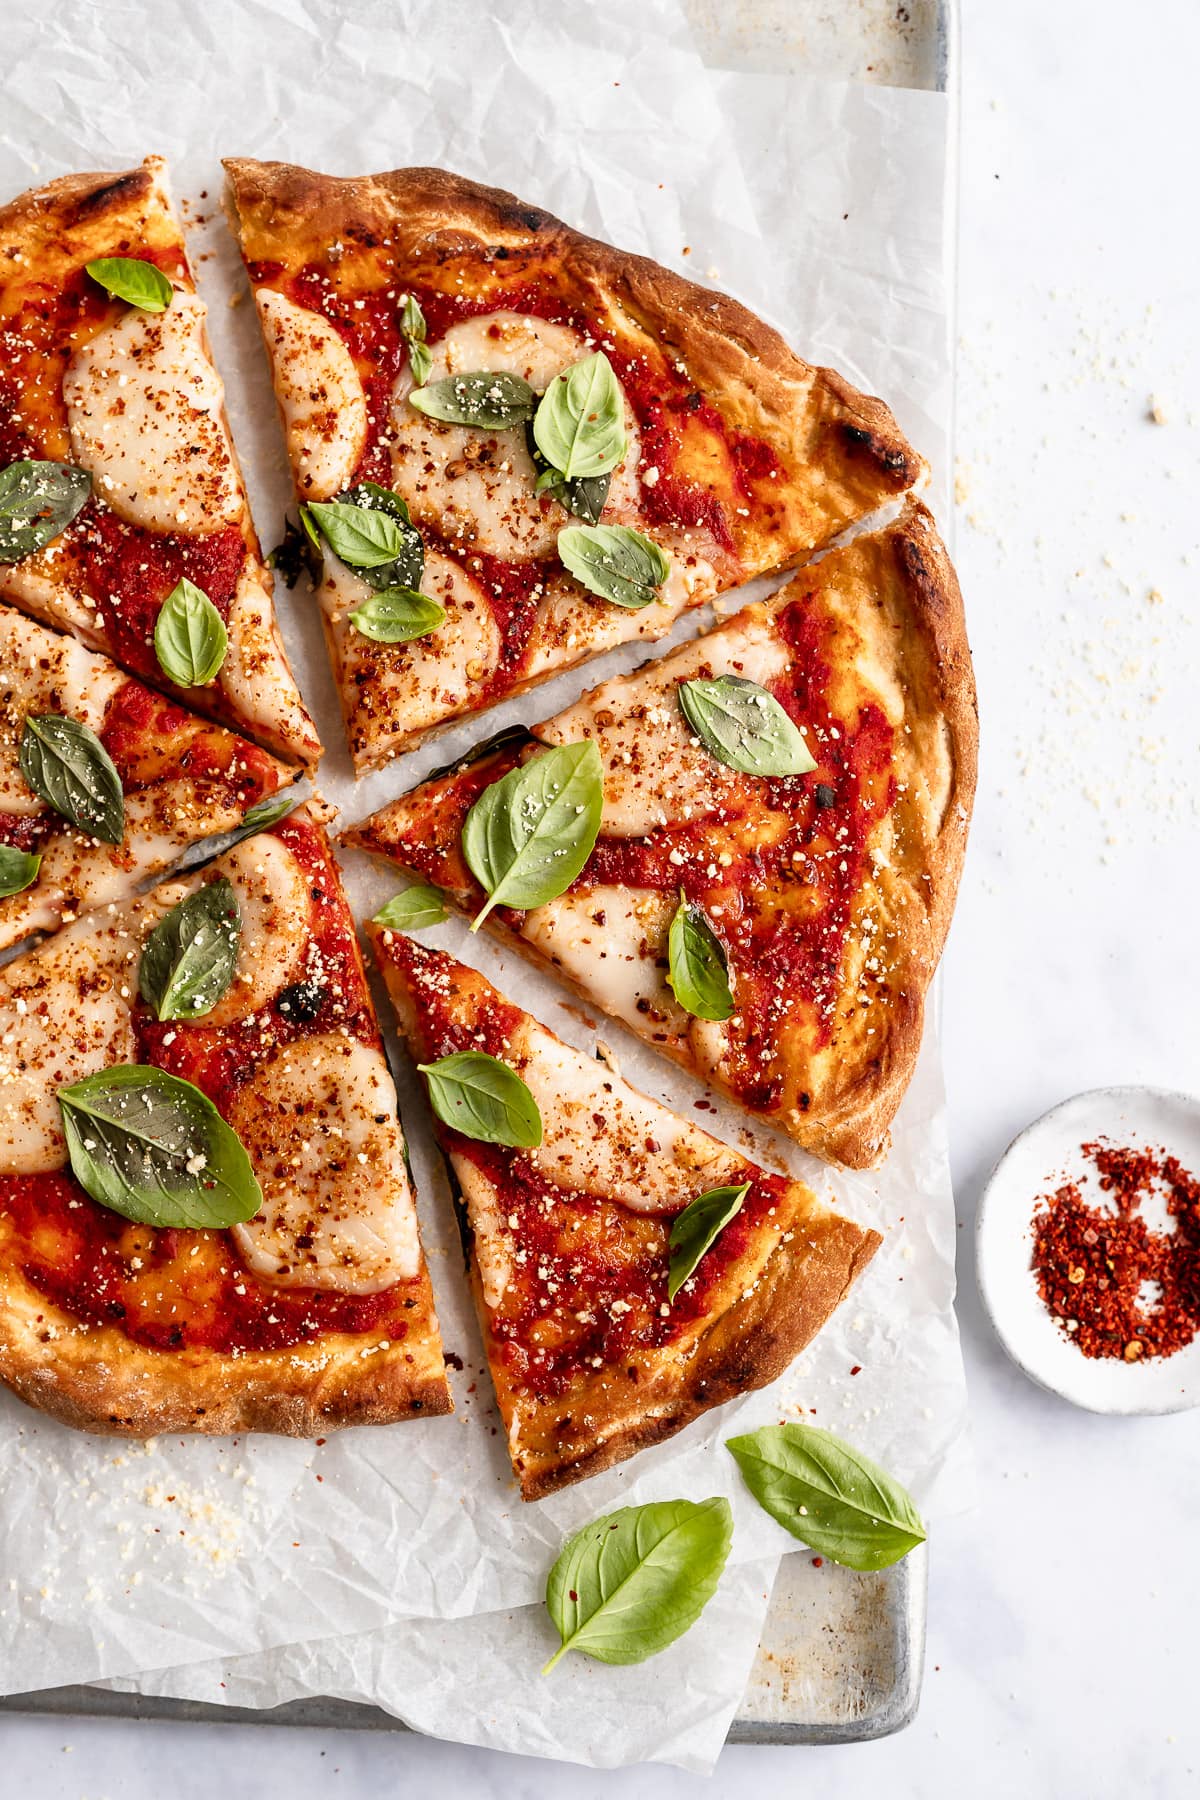
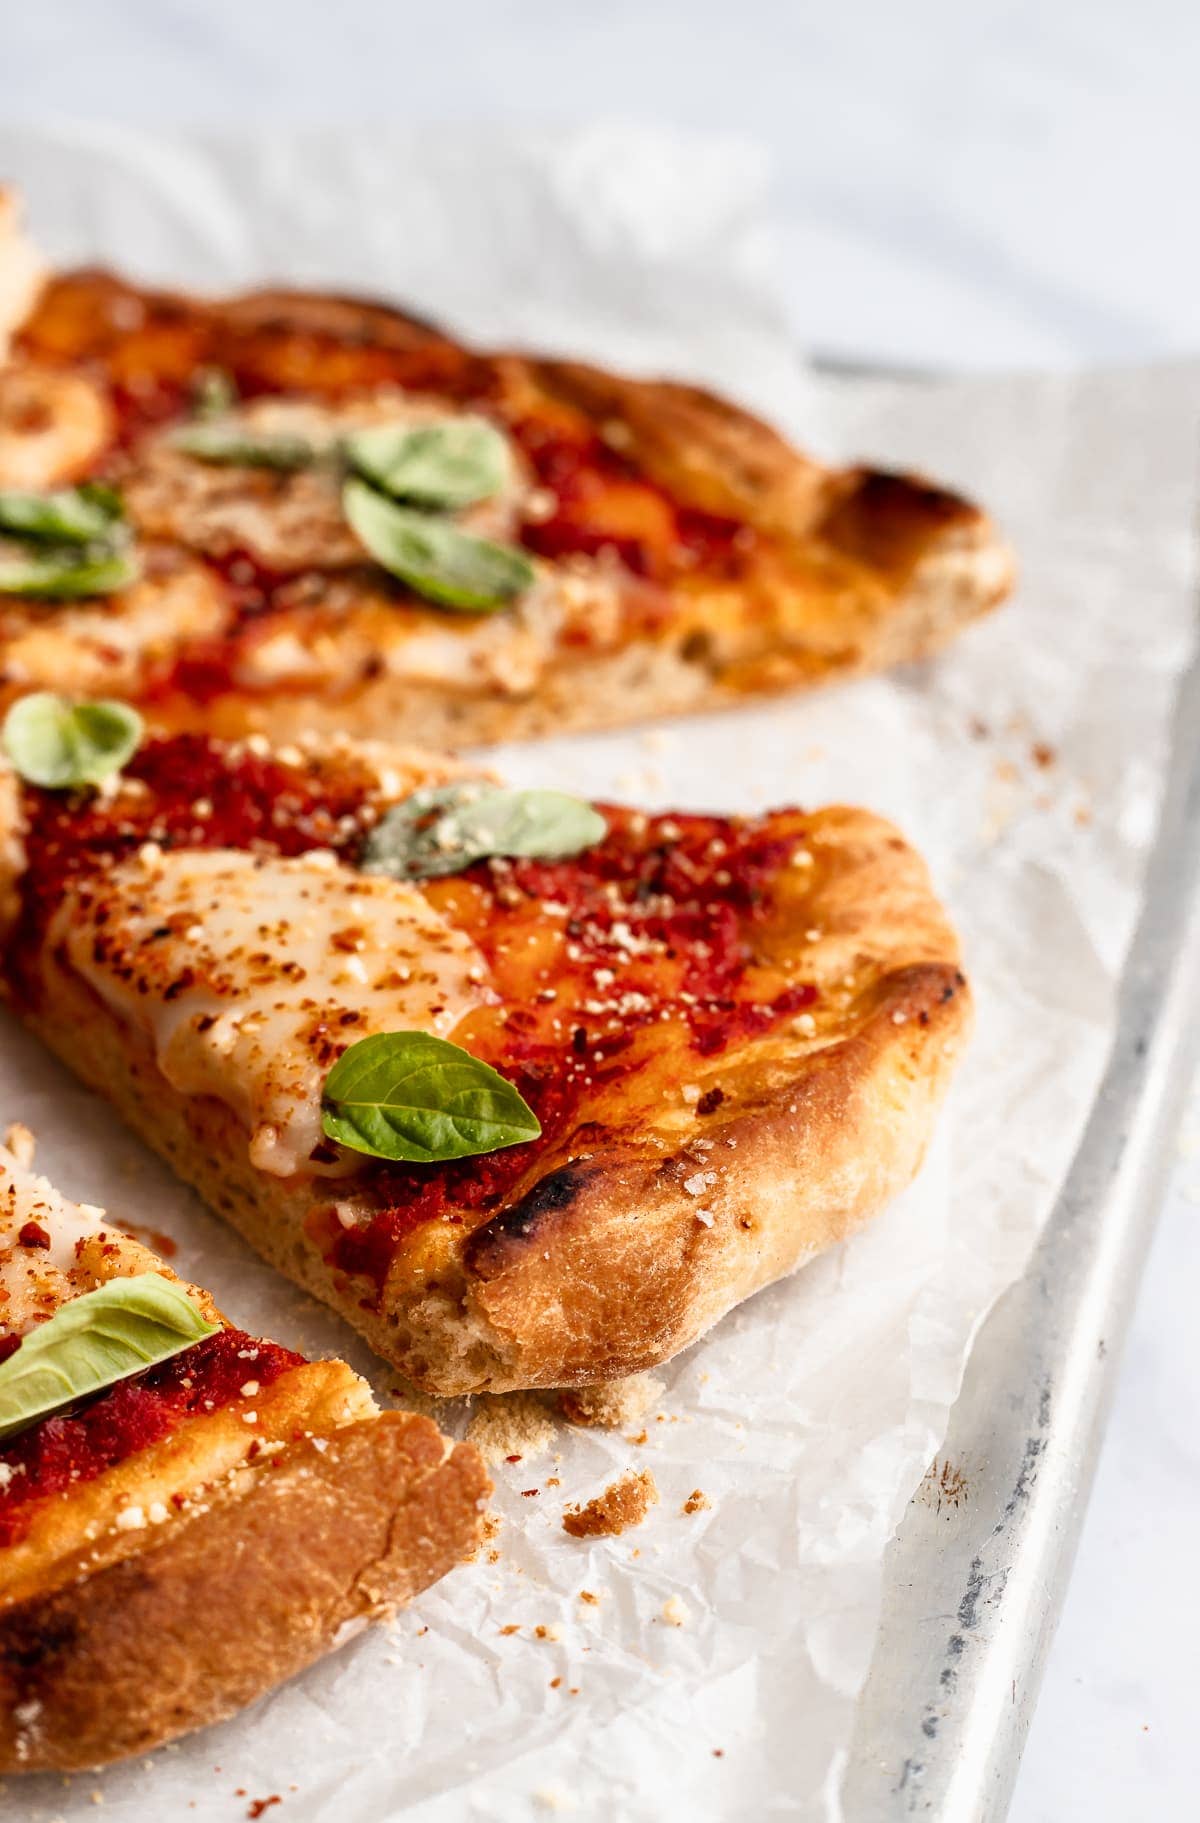
- Bake . Place the pizza in the oven and bake for 12 to 17 minutes, or until the dough is baked through and golden brown on the edges. Broil for a few minutes at the end if desired.
- Serve . Cool slightly, then slice and serve.
Tips for Success
- Don’t overdo the toppings . The biggest culprit when it comes to soggy pizza crust is too many toppings. Keep it around 1 cup of topping ingredients.
- Use the best ingredients you can find . They say even bad pizza is still pizza, but we want incredible vegan pizza, right? With such a simple recipe, you really taste everything, so make sure it’s good stuff.
- Try the steam method . To do this, place a loaf pan with hot water on the bottom rack of your oven once it reaches 500ºF. Let it sit in the oven for 10 to 15 minutes, then add the pizza. The crust will get bubbly and crisp!
- Use a pizza stone . A pizza stone will give you the very best results, so if you make pizza often, it may be worth the investment. If not, the back of a heavy baking sheet will also work or use a cast iron skillet . (I describe all of these methods in detail in the recipe card below.)
Simple Vegan Pizza Topping Ideas
As I mentioned above, we don’t want to overdo the toppings! But here are some simple combinations I love for vegan pizza:
- Tomato pizza sauce + Italian olives + vegan Parmesan cheese
- Olive oil (instead of pizza sauce) + vegan mozzarella + caramelized onions + Kalamata olives
- Tomato pizza sauce + torn vegan mozzarella + Roma tomato slices + fresh basil leaves (after baking)
- Olive oil + vegan mozzarella + garlic mushrooms + a drizzle of truffle oil before serving
How to Store Leftovers
Store leftover vegan pizza wrapped in foil or in an airtight container in the refrigerator for up to 3 days. You can eat it cold, warm it up in a 450ºF oven, or use my favourite method, which is reheating it covered in a skillet on the stovetop.
Can I Freeze This Recipe?
You can freeze homemade vegan pizza before or after baking. To freeze it before, place the assembled pizza on a parchment-lined baking sheet and freeze it until it’s solid. Wrap it tightly in plastic wrap then foil and freeze for up to 2 months. Bake as directed in the original recipe; you’ll just need to add a few extra minutes to the oven time.
To freeze after baking, wrap the slices in plastic wrap then foil and freeze for up to 2 months. Reheat from frozen according to the instructions above, or let the pizza thaw in the fridge first for faster reheating.
More Vegan Pizza Recipes
- Vegan Breakfast Pizza
- Vegan Naan Pizza
- Easy Vegan Almond Flour Pizza Crust (Gluten Free & Low Carb)
- Grilled Peach, Basil and Vegan “Goat” Cheese Pizza
- Fruit Pizza Recipe
Ingredients
- 1 pizza dough recipe , this is my recipe
- ½ cup to ¾ cup pizza sauce
- 1 ½ cups to 2 cups vegan mozzarella cheese , shreds or torn pieces
- 1 teaspoon olive oil for brushing crust , plus more for optional drizzling over
- cornmeal, for dusting baking sheet or pizza stone
Instructions
- Preheat oven to 500°F/260°C degrees or as hot as it will get. Let it preheat for at least 20 minutes on this heat. I would recommend also doing the steam method (in notes below) for an even hotter oven and the best crust.
- On your floured surface, shape your pizza dough into a circular shape. I use a well floured rolling pin and roll it out in all directions to form a circle. It should measure about 10 inches diameter. Create a crust by lifting the edges to create a sort of heightened rim.
- Dust a pizza stone or upside-down baking sheet with cornmeal. Lift and place the pizza dough on it. For help, sometimes I stretch/roll the pizza dough on cornmeal-dusted parchment paper, then transfer the pizza on the parchment to the pizza stone. Either method works. You can also use a cast iron for an extra crispy crust (see notes).
- On the pizza dough, spread the tomato sauce over the pizza. You don’t want to go all the way to the edges. Top with the cheese, and your desired toppings. They can overlap the edges of the crust if you’d like, or you can leave it bare for a solid crust edge.
- Drizzle some additional olive oil over the top and brush onto the crust too so it’s nice and crusty.
- Place in the oven and bake for 12-17 minutes, until cheese is bubbling, and the dough is fully cooked through. Check to ensure it isn’t burning after the 12 minute mark. If you want you can broil the pizza on low for a few extra minutes afterwards – just keep an eye on it to watch that it doesn’t burn.
- Remove, let cool slightly, slice and enjoy!
Notes
The Steam Method
Pizza Stone vs Baking Sheet
Cast Iron Method
What yeast to use?
Recipe by: Jessica Hylton – Jessica in the Kitchen | Photography by: Eat Love Eats

Vegan Pizza
Ingredients
- 1 pizza dough recipe this is my recipe
- ½ cup to ¾ cup pizza sauce
- 1 ½ cups to 2 cups vegan mozzarella cheese shreds or torn pieces
- 1 teaspoon olive oil for brushing crust plus more for optional drizzling over
- cornmeal, for dusting baking sheet or pizza stone
Instructions
- Preheat oven to 500°F/260°C degrees or as hot as it will get. Let it preheat for at least 20 minutes on this heat. I would recommend also doing the steam method (in notes below) for an even hotter oven and the best crust.
- On your floured surface, shape your pizza dough into a circular shape. I use a well floured rolling pin and roll it out in all directions to form a circle. It should measure about 10 inches diameter. Create a crust by lifting the edges to create a sort of heightened rim.
- Dust a pizza stone or upside-down baking sheet with cornmeal. Lift and place the pizza dough on it. For help, sometimes I stretch/roll the pizza dough on cornmeal-dusted parchment paper, then transfer the pizza on the parchment to the pizza stone. Either method works. You can also use a cast iron for an extra crispy crust (see notes).
- On the pizza dough, spread the tomato sauce over the pizza. You don’t want to go all the way to the edges. Top with the cheese, and your desired toppings. They can overlap the edges of the crust if you’d like, or you can leave it bare for a solid crust edge.
- Drizzle some additional olive oil over the top and brush onto the crust too so it’s nice and crusty.
- Place in the oven and bake for 12-17 minutes, until cheese is bubbling, and the dough is fully cooked through. Check to ensure it isn’t burning after the 12 minute mark. If you want you can broil the pizza on low for a few extra minutes afterwards - just keep an eye on it to watch that it doesn’t burn.
- Remove, let cool slightly, slice and enjoy!
Video
Notes
The Steam Method
Pizza Stone vs Baking Sheet
Cast Iron Method
What yeast to use?
Nutrition
Vegan Pizza https://jessicainthekitchen.com/vegan-pizza-recipe/ August 9, 2024
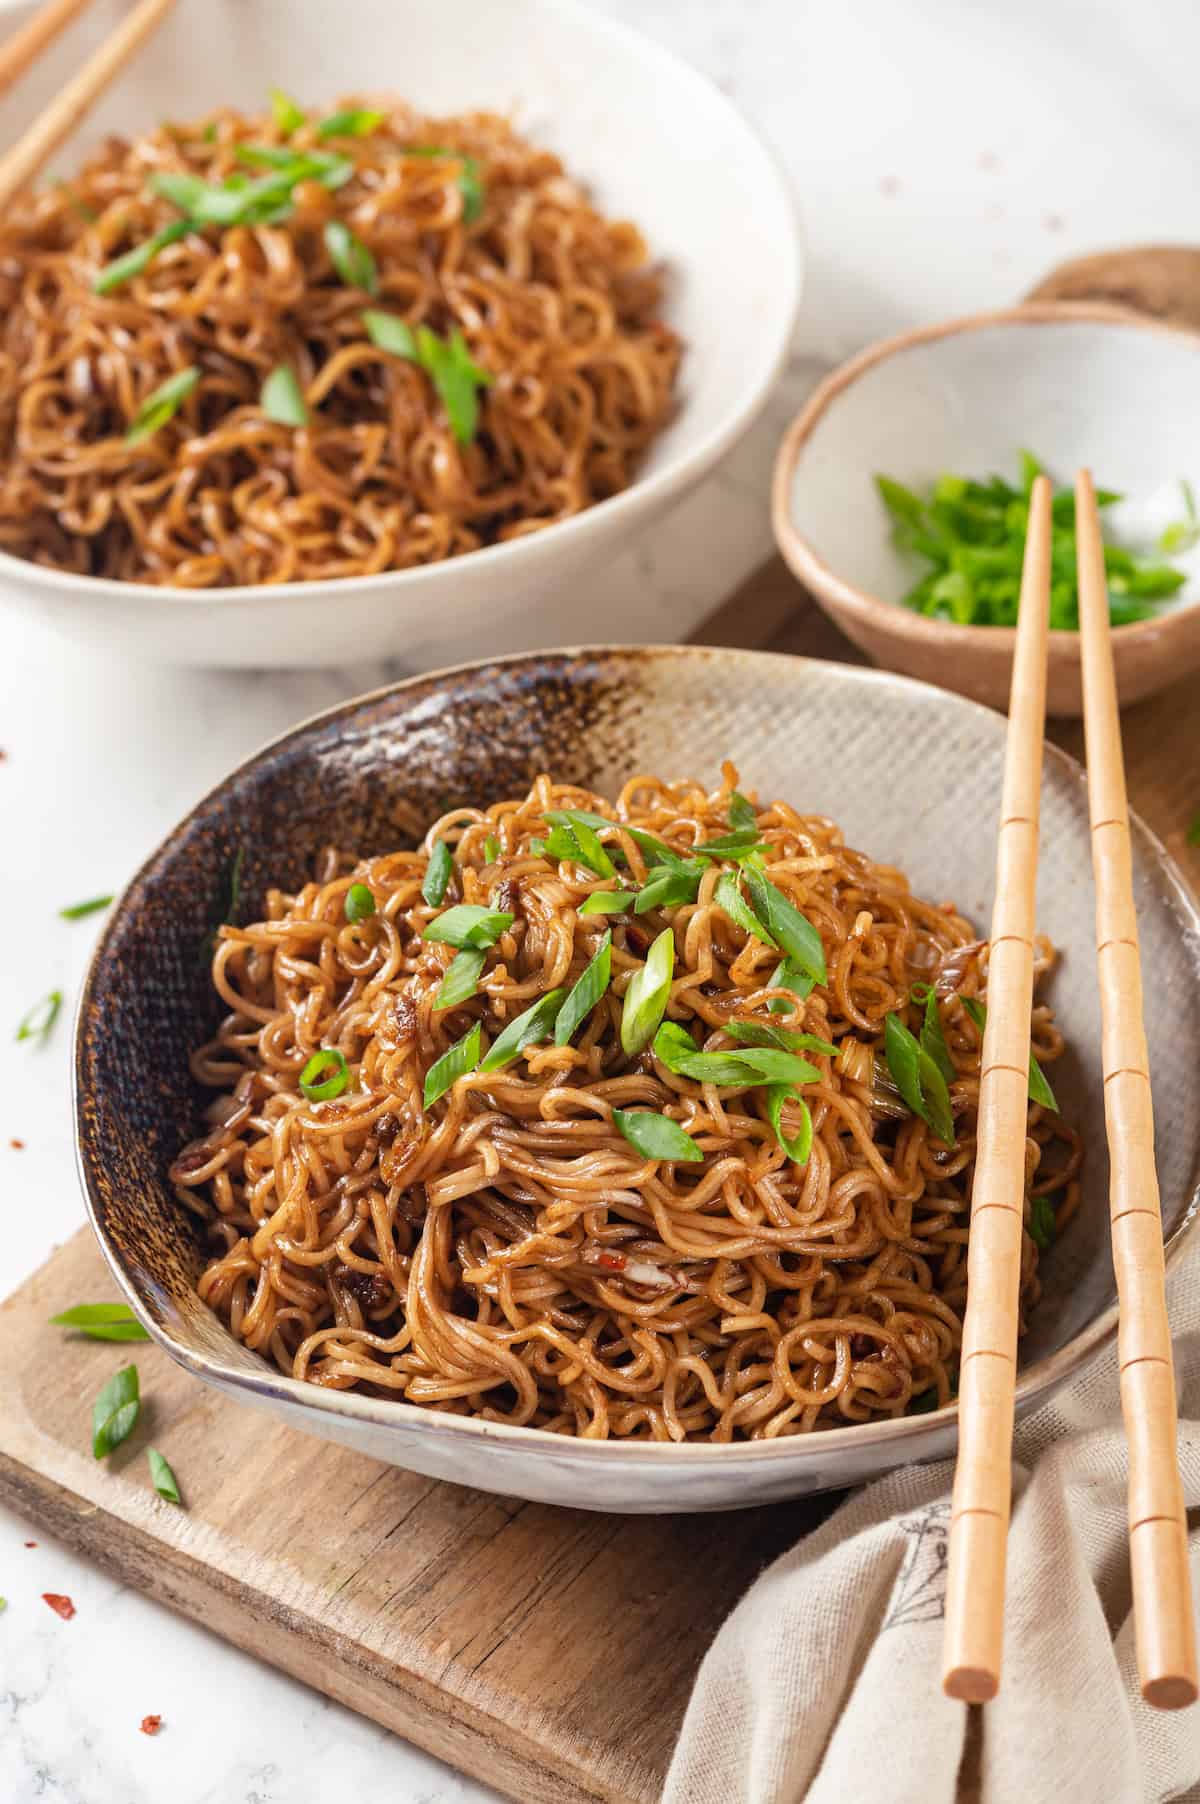
If you like your noodles fiery hot, this spicy ramen will be your new favourite! Chili oil and sweet chili sauce bring the heat and sweet, while bouncy, chewy ramen bring the fun.
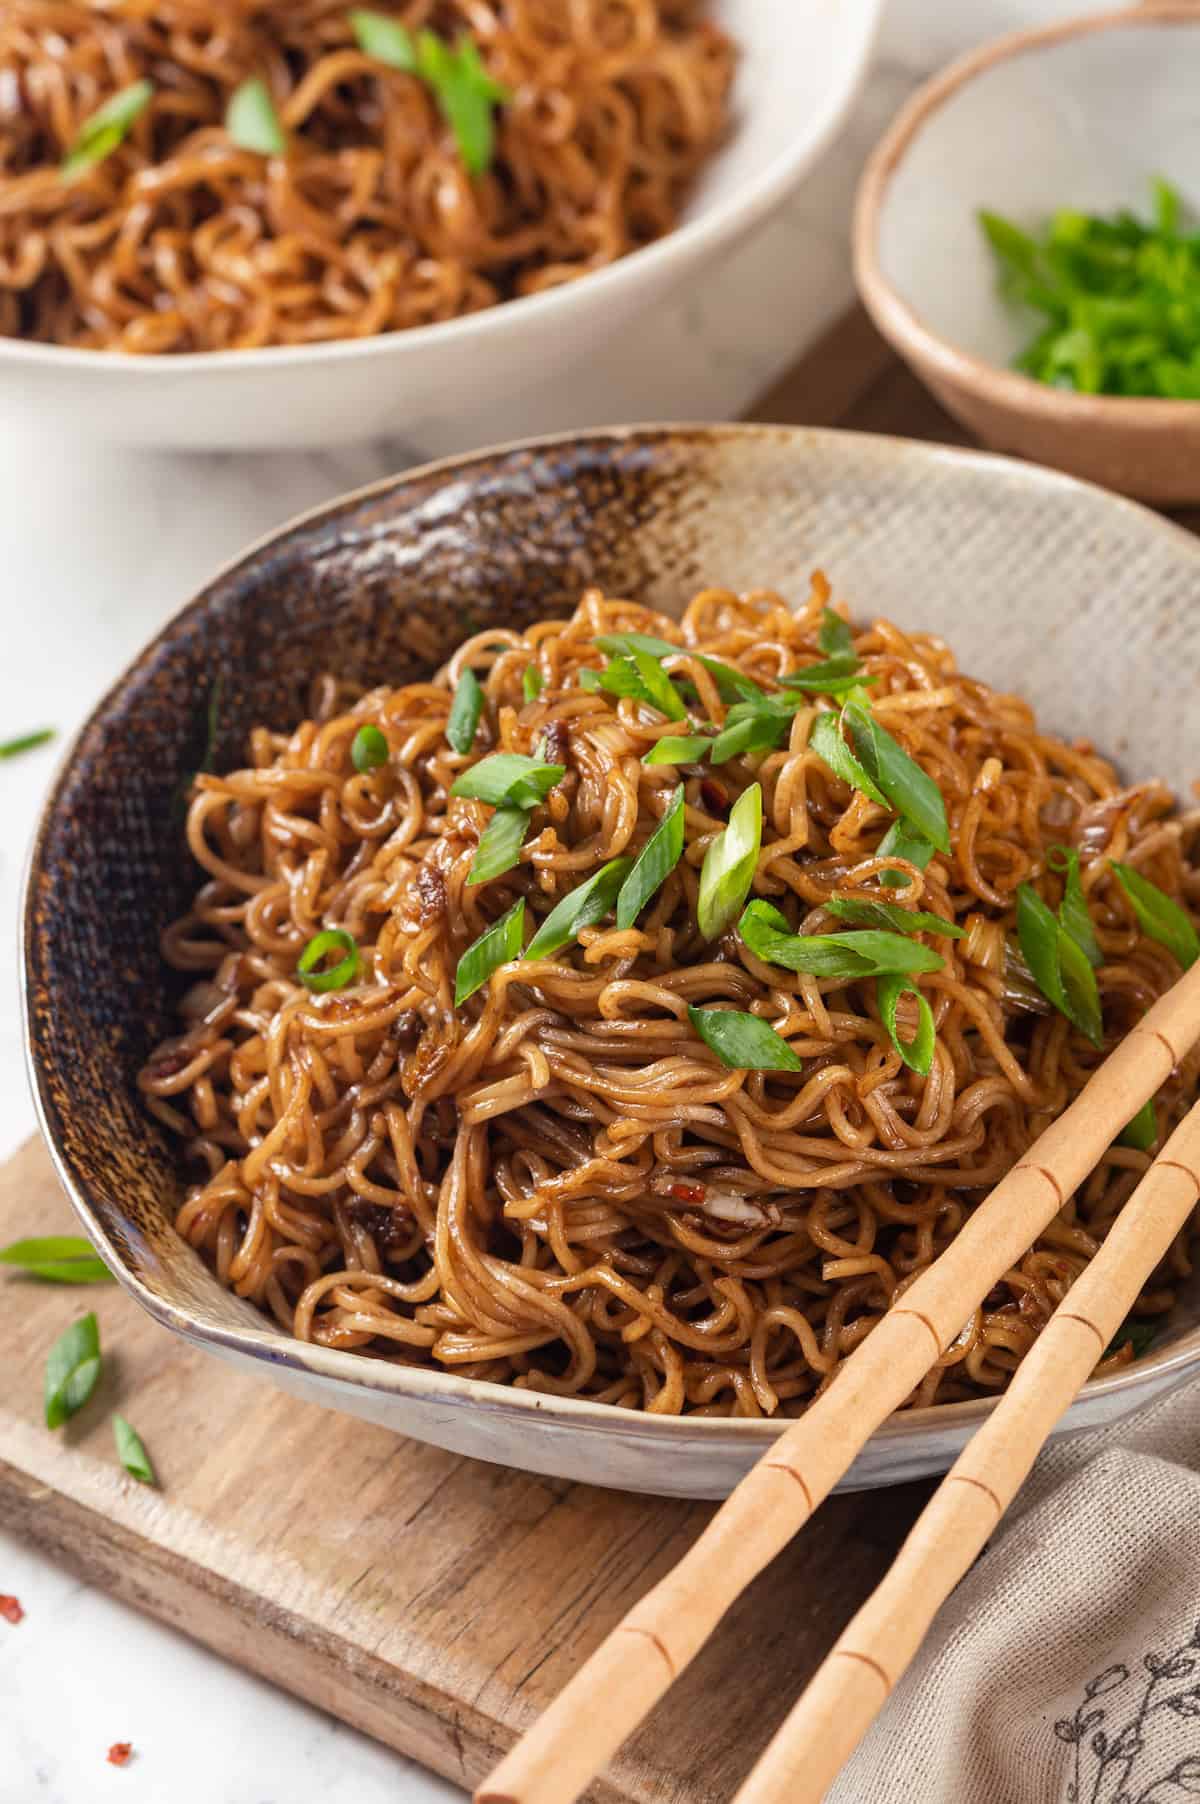
There’s just something about ramen! It’s delicious, inexpensive, and customisable, but I also love it because of all the noodle dishes out there— Thai peanut noodles , chow fun noodles —I think ramen wins the award for most fun. It’s springy and curly and oh, it’s also SUPER versatile, as you can see in this spicy ramen noodles recipe.
What sets this spicy ramen apart is the fiery kick it brings to the table. The combination of chili oil and sweet chili sauce creates a perfect balance of heat and sweetness, while soy sauce adds an umami element, so while it IS quite spicy, it’s not one note.
Why You’ll Love This Spicy Ramen Recipe
- A budget-friendly meal. Ramen is not only delicious, it’s also an affordable meal option for when you’re trying to stretch your grocery budget. This spicy ramen recipe is a great way to jazz it up!
- Easy to make at home. Like peanut butter ramen , this is a fantastic recipe for beginning cooks or anyone who doesn’t have a kitchen full of equipment.
- Customisable. Adjust the heat, add a protein, veg it up—the world is your oyster, friends!
Notes on Ingredients
Scroll down to the recipe card to find the ingredient quantities and recipe instructions.
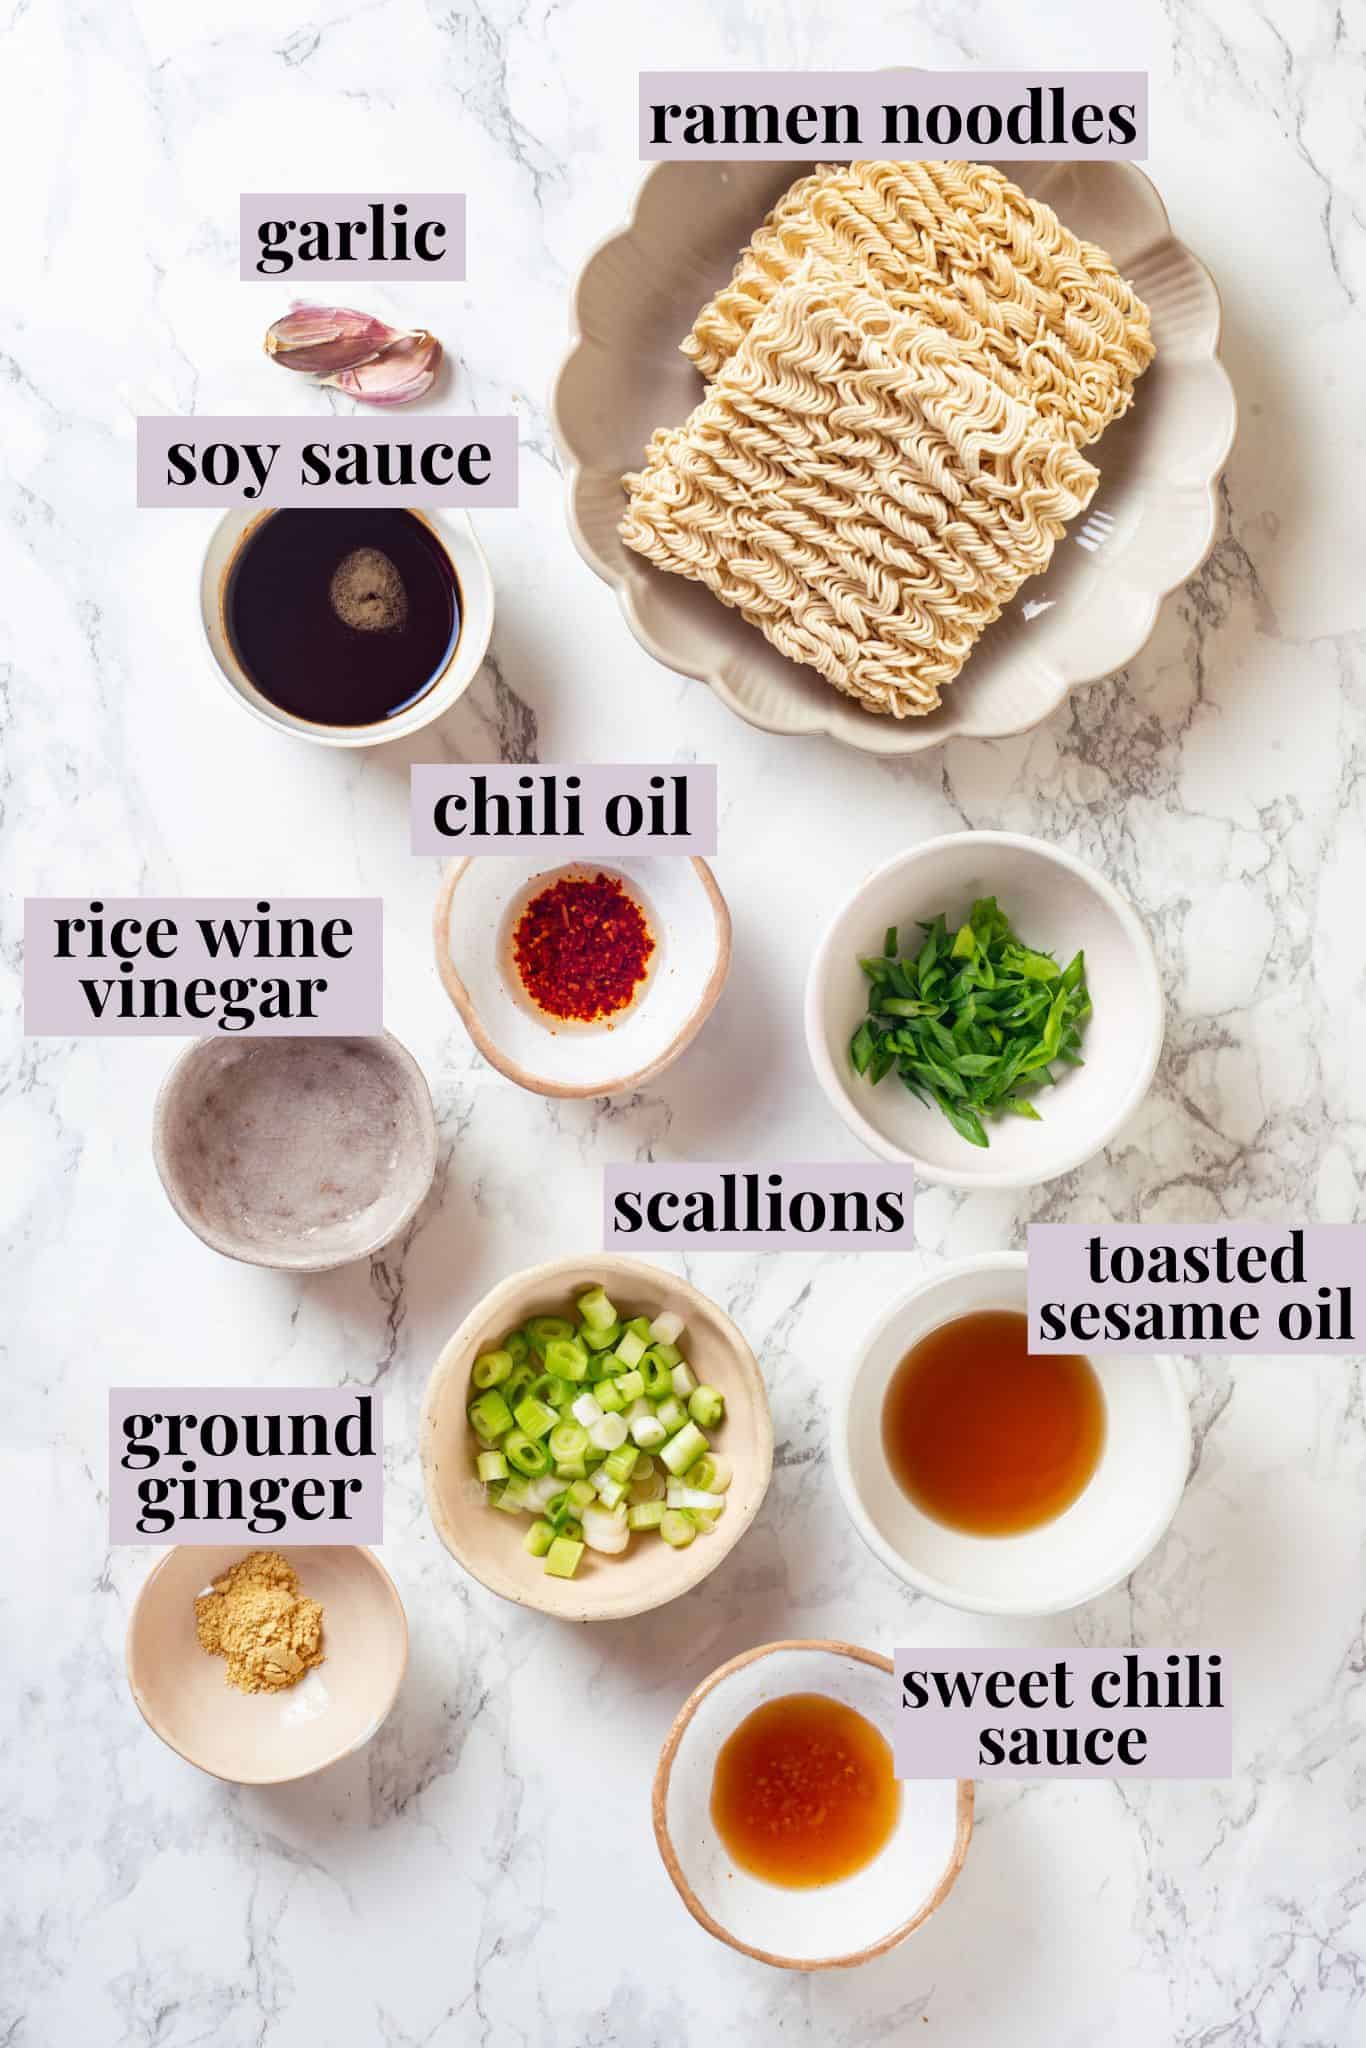
- Dry ramen noodles – Toss the seasoning packet—we don’t need it!
- Toasted sesame oil – Toasted sesame oil is much more delicious than regular sesame oil, as it has a fantastic nutty flavour.
- Scallions – You’ll need both the green parts and the whites.
- Garlic
- Soy sauce – Tamari, liquid aminos , or coconut aminos work too.
- Ground ginger
- Chili oil – You could also use the oil from chili crisp if you have a jar.
- Sweet chili sauce – The sweetness makes this spicy ramen irresistible!
- Rice wine vinegar – Make sure you’re using unseasoned rice vinegar, which isn’t sweetened.
How to Make Spicy Ramen Noodles
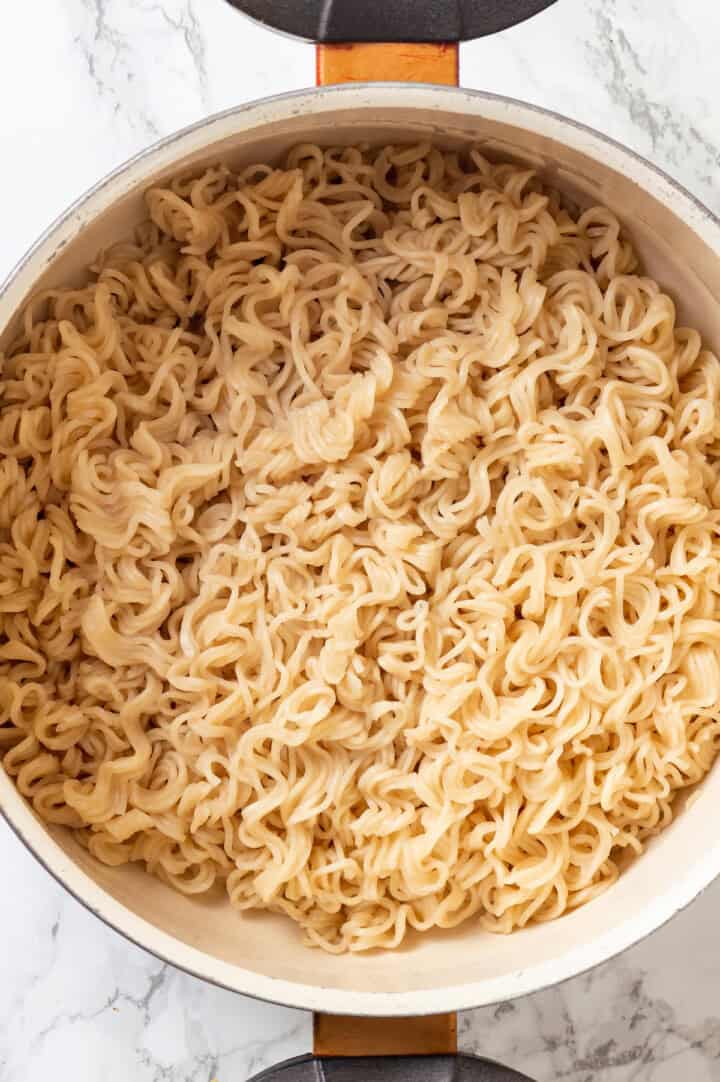
- Cook the ramen. Boil it in a pot of water until it’s al dente, stirring to break it apart. Reserve a cup of cooking water, then drain.
- Sauté the aromatics. Heat the sesame oil in a pan set over medium heat. Add the whites of the scallions and cook for a minute, then stir in the garlic and cook until fragrant.
- Build the sauce. Add the soy sauce, ground ginger, chili oil, sweet chili sauce, and rice wine vinegar. Bring the sauce to a boil, then remove from heat.
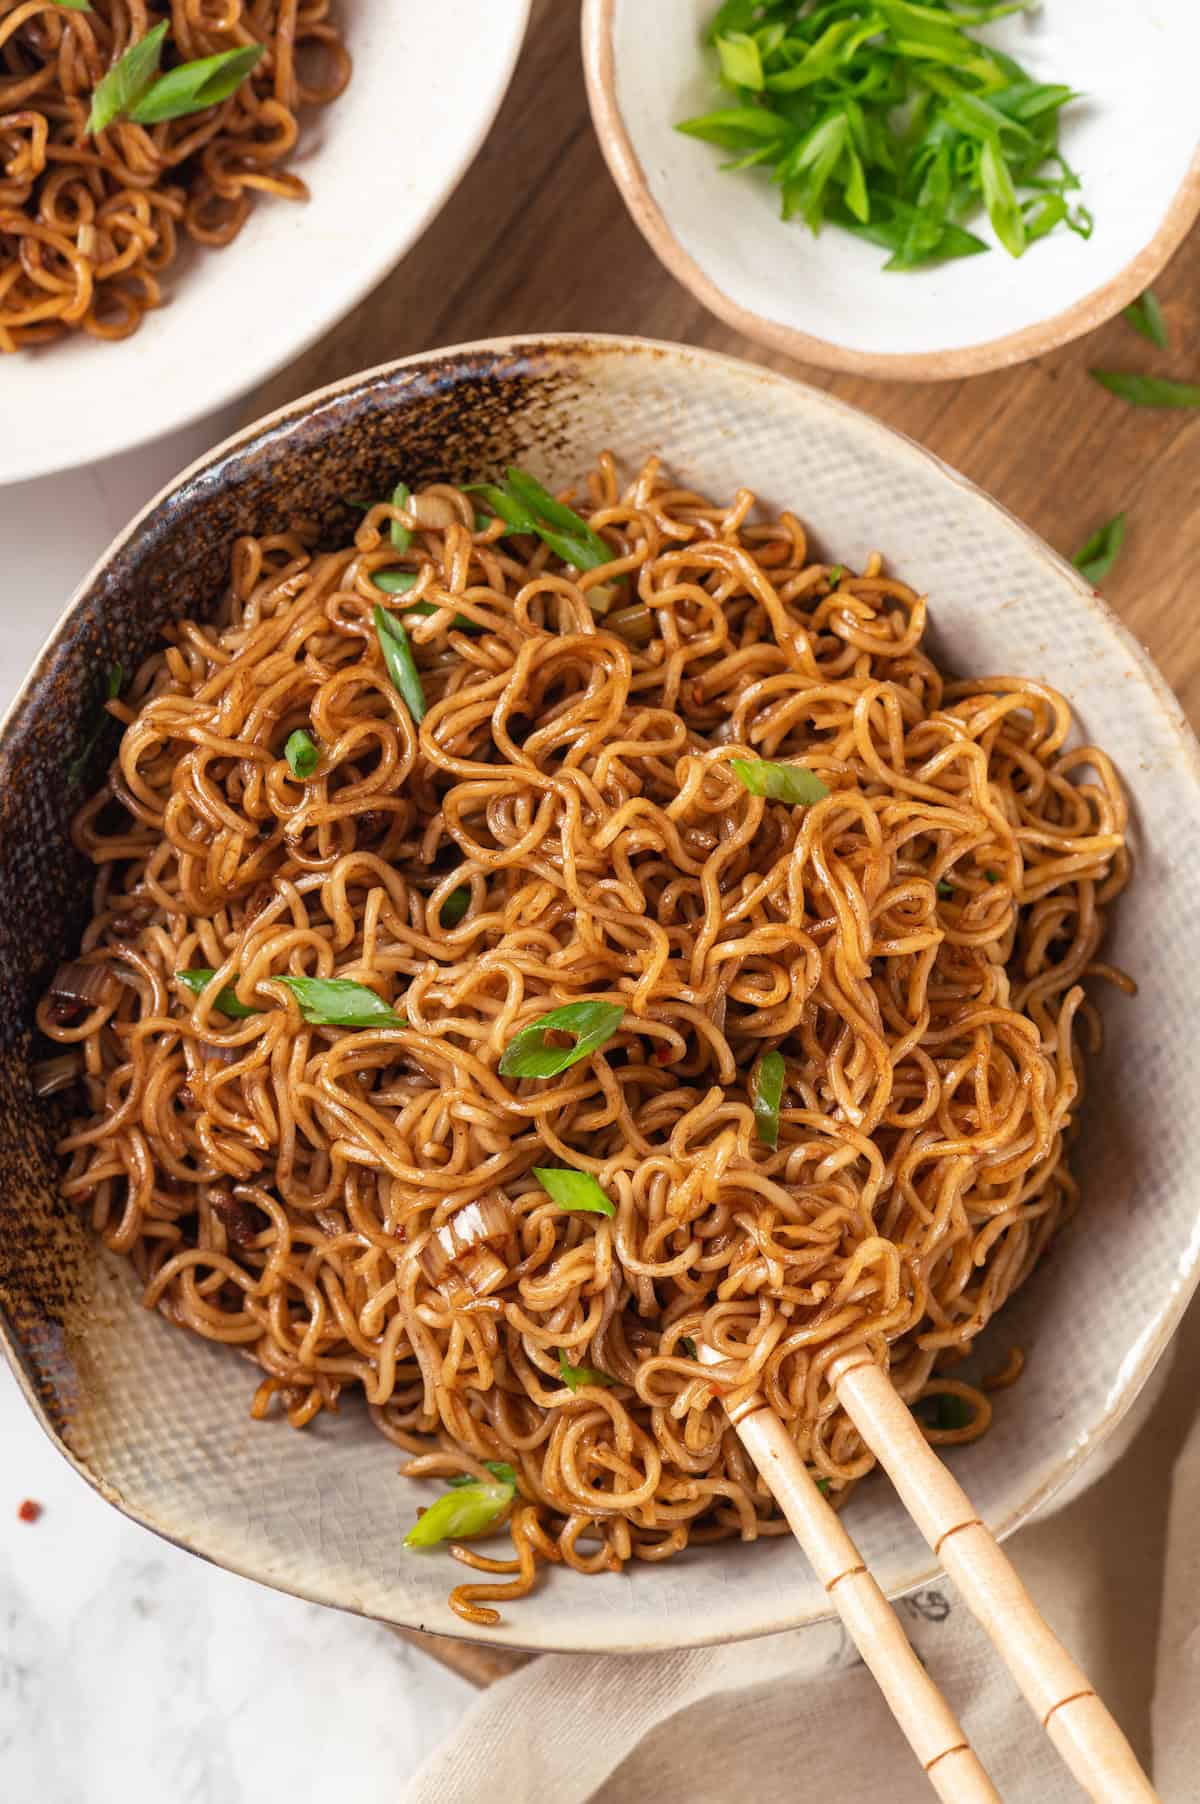
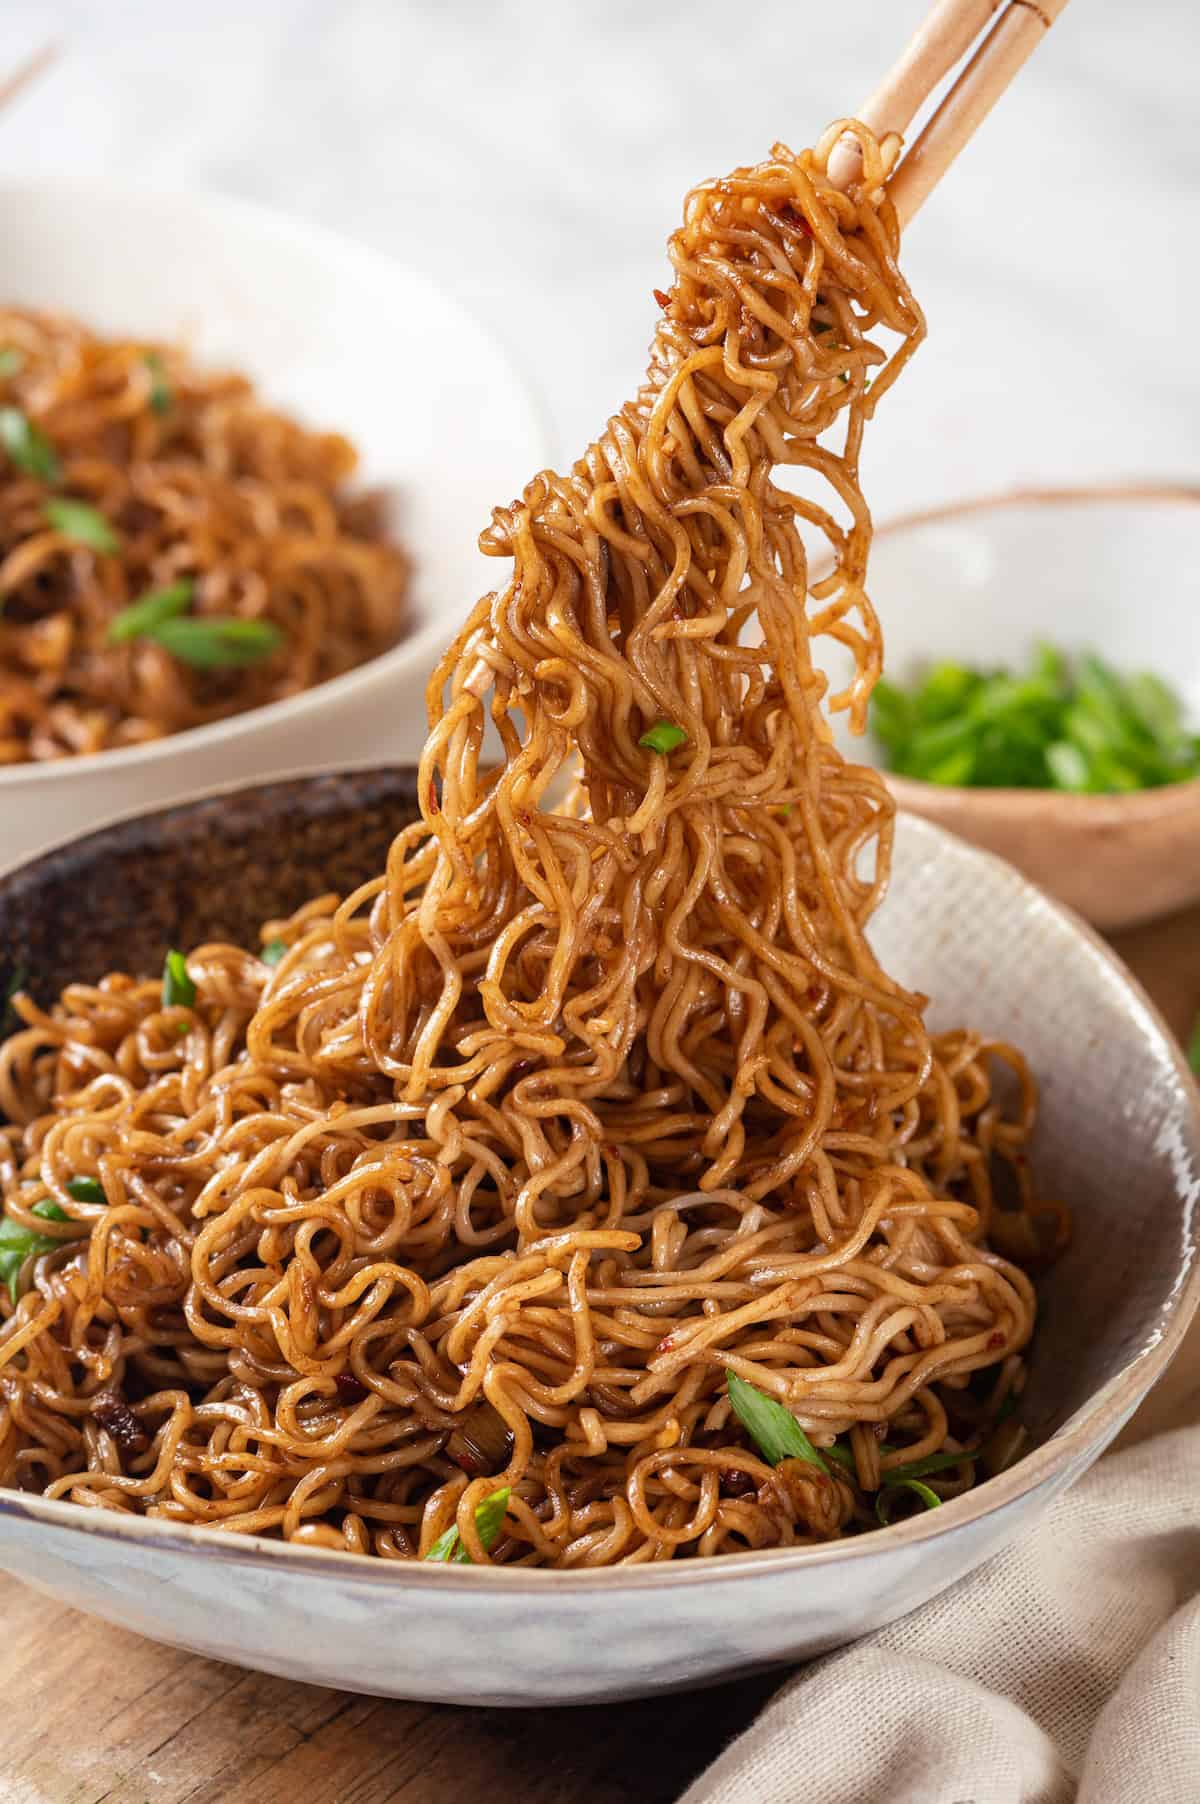
- Put it all together. Toss the ramen in the pan with the sauce, adding the reserved water a bit at a time as needed. Garnish with scallion greens and serve.
Tips for Success
- Customise the heat to your tastes . If you prefer a milder spiciness, simply reduce the amount of chili oil and sweet chili sauce in the recipe. On the other hand, feel free to add more, or add red pepper flakes, if you are a lover of all things spicy.
- Experiment with toppings . This spicy ramen is delicious on its own but adding your favourite toppings can take it to the next level. Try toasted cashews or peanuts, sesame seeds, chili crisp, basil, or cilantro.
- Add the water a little at a time . Don’t dump it all in at once! The purpose of the water is to help create a smooth sauce that coats all the noodles. You might not need any, or you could just need a splash or two.
Serving Suggestions
Add protein by serving this spicy ramen with crispy air fryer tofu or vegan chicken , or add a side of steamed or stir-fried vegetables for a more balanced meal. You can also pair it with some Asian-inspired appetizers like these vegan dumplings with dipping sauce .
How to Store
Transfer leftovers to an airtight container and refrigerate for up to 4 days. You can heat up the spicy ramen in the microwave or a skillet over medium heat, or eat the noodles cold.
Can I Freeze This Recipe?
To freeze spicy ramen, transfer it to an airtight container or freezer bag and freeze for up to 3 months. Let it thaw in the refrigerator before reheating.
More Vegan Noodle Recipes
- Vegan Sesame Noodles
- Thai Coconut Curry Soup
- Vegan Pad Thai
- Vegan Chicken Noodle Soup
- Vegan Pad See Ew
Ingredients
- 8 ounces dry ramen noodles , 227 grams
- 2 tablespoons toasted sesame oil , 30 ml
- 4 scallions , chopped (whites and greens divided)
- 2 cloves garlic , minced
- ¼ cup soy sauce , 59 ml
- ½ teaspoon ground ginger , 1 gram
- 1 teaspoon chili oil , 5 ml
- 2 tablespoons sweet chili sauce , 30 ml
- 1 tablespoon rice wine vinegar , 50 ml
Instructions
- Bring a medium pot of water to a boil and add the ramen noodles. Cook for 2-3 minutes or until al dente. Stir occasionally to help the noodles break apart. Reserving 1 cup of the cooking water, drain the ramen and set aside.
- While the ramen is cooking, heat the toasted sesame oil over medium heat in a medium-sized saucepan. Add the whites of the scallions and saute for 1 minute. Add the garlic and saute for 30 seconds.
- Add the soy sauce, ground ginger, chili oil, sweet chili sauce, and rice wine vinegar to the saucepan. Bring the sauce to a boil, and then turn off the heat.
- Transfer the ramen to the pan with the sauce and toss to coat. Add the reserved water from the ramen, ¼ cup ( 60 ml) at a time as needed, to help the sauce coat the ramen.
- Serve warm, garnished with the greens of the scallions.
