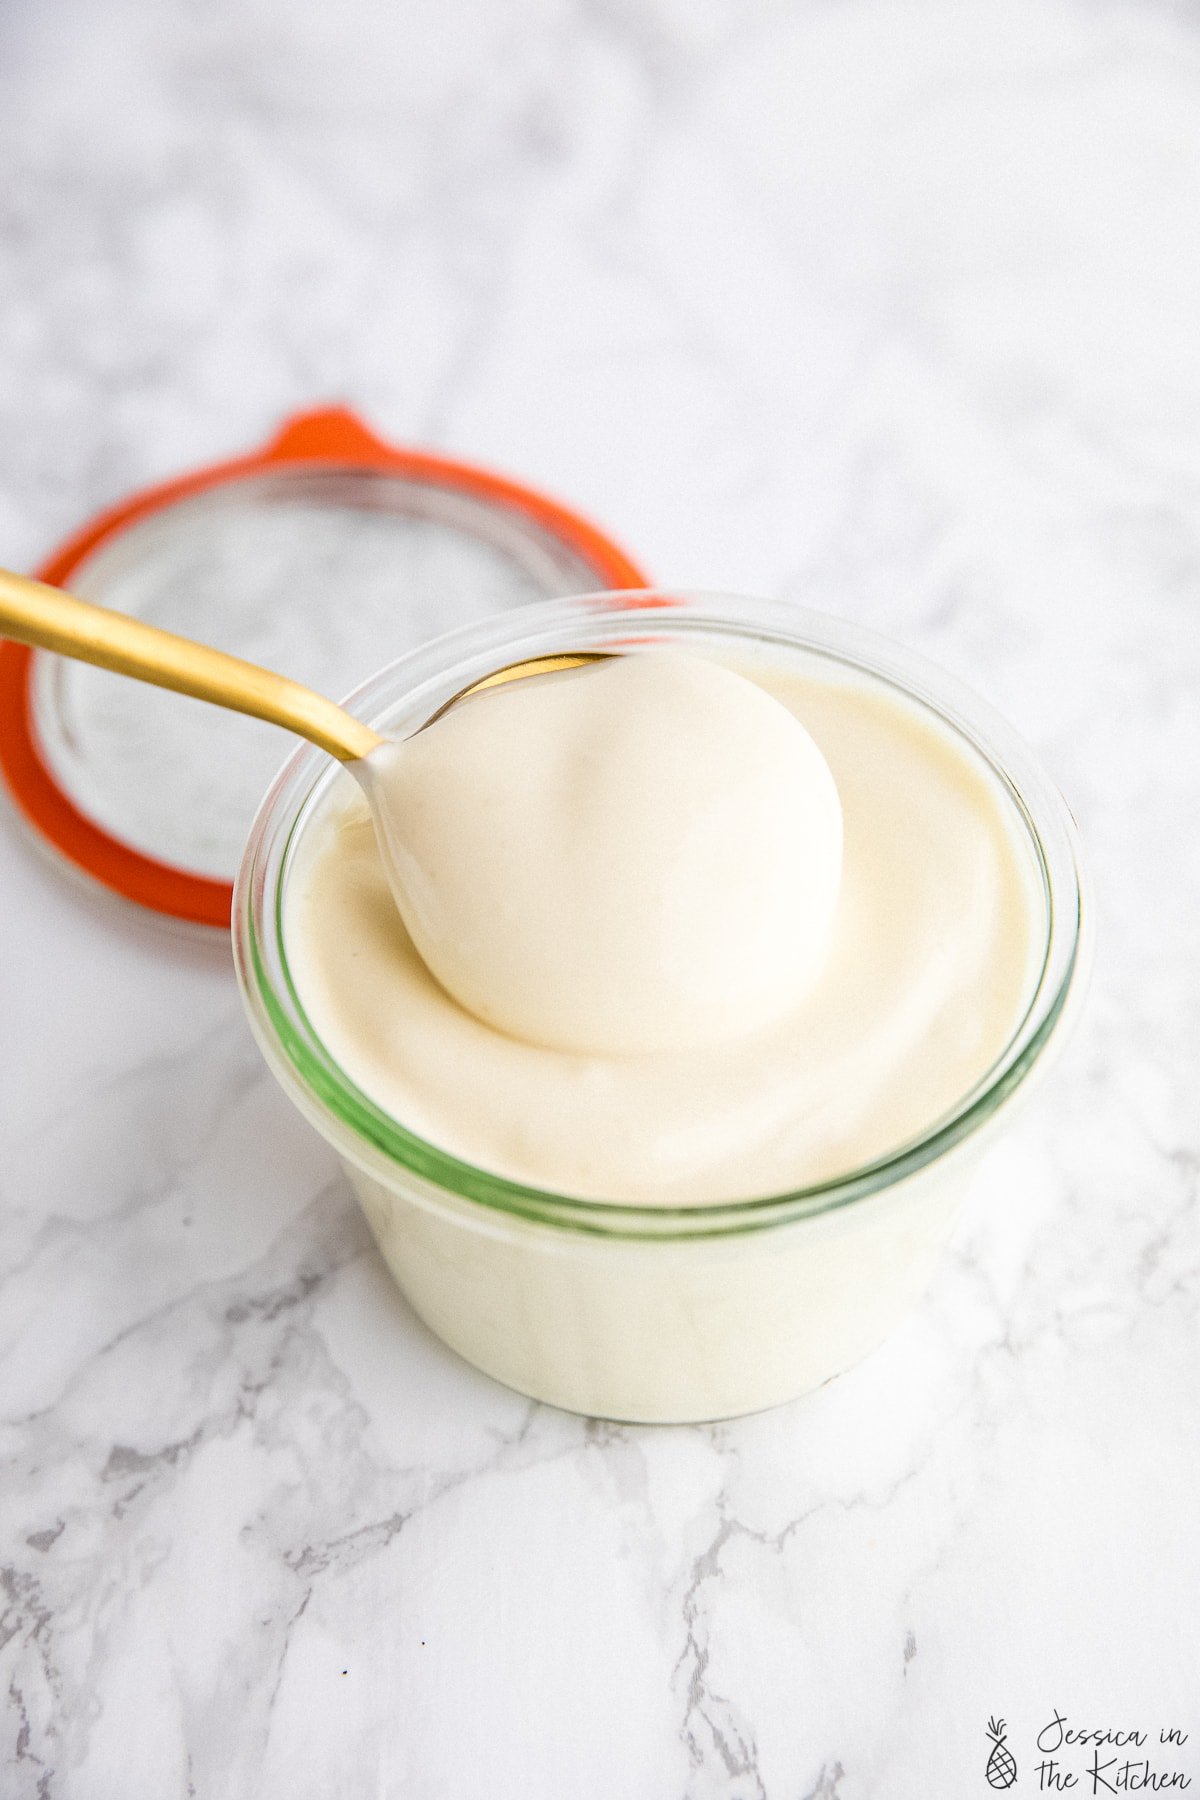
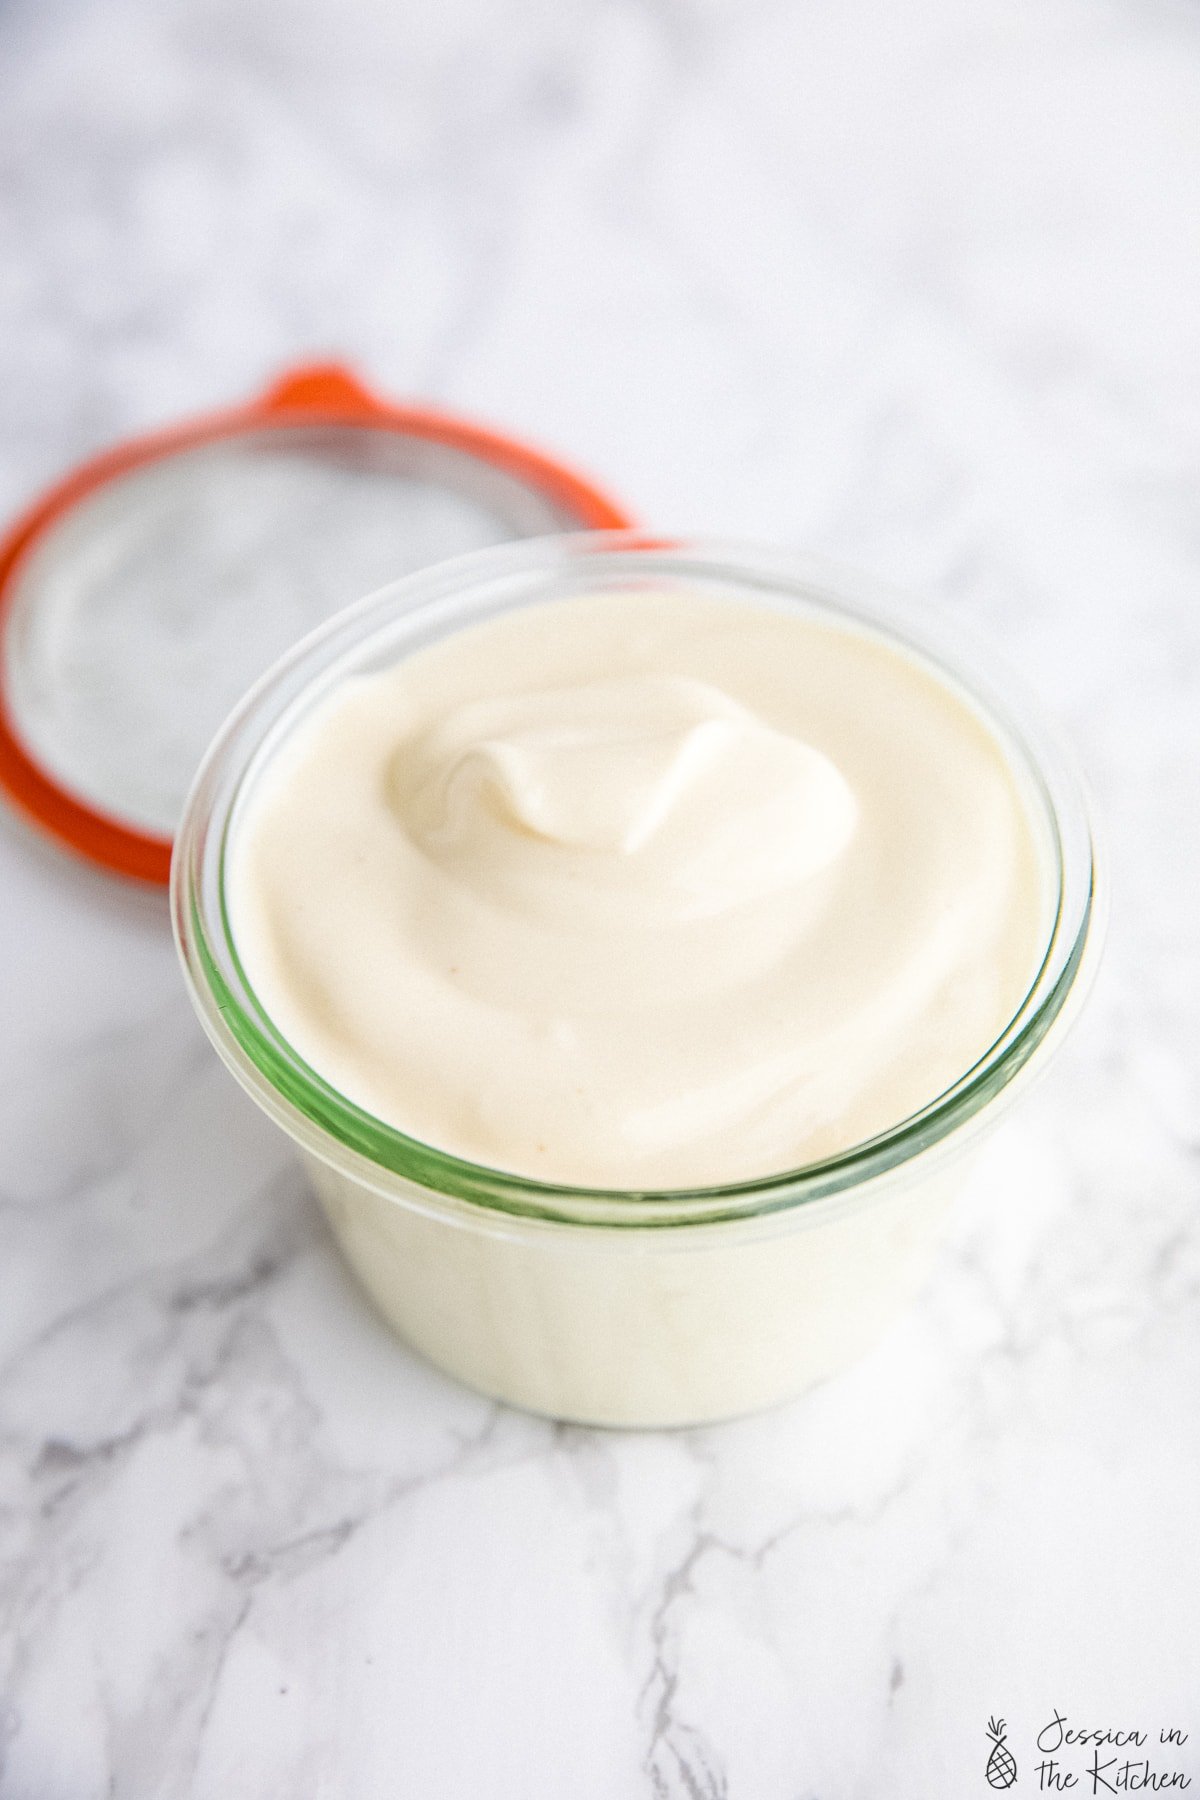
If you can’t live without mayonnaise, you don’t have to if you want to eat vegan. Here’s my fave Vegan Mayo recipe! It only takes 5 minutes, tastes incredible and uses easy ingredients!
I remember the first time I tried vegan mayo, or plant based mayo, about four years ago. It tasted just like regular mayonnaise and kind of blew my mind. It tastes exactly the same! Vegan mayo here costs me quite a lot, and I remember one day wondering if it was possible to make it at home and friends – here we are!
Not only is it possible to make vegan mayo at home, but it’s also easy and takes only a few minutes. It’ll save you a lot of money since it’s some basic affordable pantry ingredients (really), and tastes incredible!
What ingredients are in vegan mayo?
I’m so glad you asked! Vegan mayo is made up of three basic ingredients – soy milk, oil and salt. Let me break them down a bit for you.
- Soy milk – You’re going to need to use soy milk for this recipe. Truthfully, apart from almond milk, it’s the vegan milk I always have in stock. Why? Emulsification. Soy milk contains natural emulsifiers that make it perfect for so many purposes. I use it to make creamy and solid vegan butter, as the perfect buttermilk in pancakes and cakes and more, and here – in mayo! It works perfectly and binds to the oil to make it nice and fluffy and mayo like!
- Oil – oil adds the necessary fat and binds with the soy milk. You want to use a subtle/mellow and odourless oil for taste. I love olive oil and coconut oil but they can be a bit overpowering here, so I recommend a more neutral oil like sunflower seed, canola or grape seed oil.
- Salt – salt is such a superior ingredient to me. It acts as a flavour enhancer here and really boosts the flavour.
Now, for the other ingredients. I always add in some apple cider vinegar, mustard, black pepper and garlic powder which for me take it over the top and give it that quintessential mayonnaise flavour. If however you’re using this for a sweet dessert, leave those out.
- I go through this in detail in recipe, but the best tool to use is an immersion blender in an open cup (like the beaker that comes with it). Air is an essential ingredient and you need free-flowing air to allow the emulsification to properly take place.
- You can’t do this in a container that is completely sealed off (just like my whipped coffee recipe ). You can use a blender , but ensure it’s an open blender. I would do it that way by blending the soy milk first and then slowly streaming in the oil in the top. Cover it loosely with a cloth so it doesn’t splash. If you’re doing that, you might need to double the quantity so there’s enough for the blade.
- You should start with all your ingredients at the same temperature, preferably at room temperature.
Flavour Customisations/Add-ins
Feel free to customise this vegan mayo recipe with flavour add-ins. Here are some of my favourites:
- add in some dried Italian seasoning and an extra pinch of garlic powdered for herbed garlic mayo.
- Add in some sambal oelek or sriracha for a spicy mayo
Related Recipes
These are my favourite recipes where I use my homemade mayo:
- Bang Bang Broccoli
- Bang Bang Cauliflower
- Vegan BLT Sandwich
- Loaded Vegan Potato Salad
- Vegan Tuna Sandwich
- Vegan Tartar Sauce (with vegan fish tacos)
- spread on some No Knead Bread
Ingredients
- 1/2 cup original soy milk , (125mL) see notes for substitutions
- 2 teaspoons apple cider vinegar , or lime juice or white vinegar
- 1/2 teaspoon garlic powder
- 1/2 teaspoon sea salt
- 1 teaspoon dijion mustard
- 1 cup oil , I recommend any neutral oil (don’t use coconut or olive oil) (250mL)
Instructions
- Make sure all your ingredients are room temperature. If your milk is cold, you can microwave it for about 10 seconds.
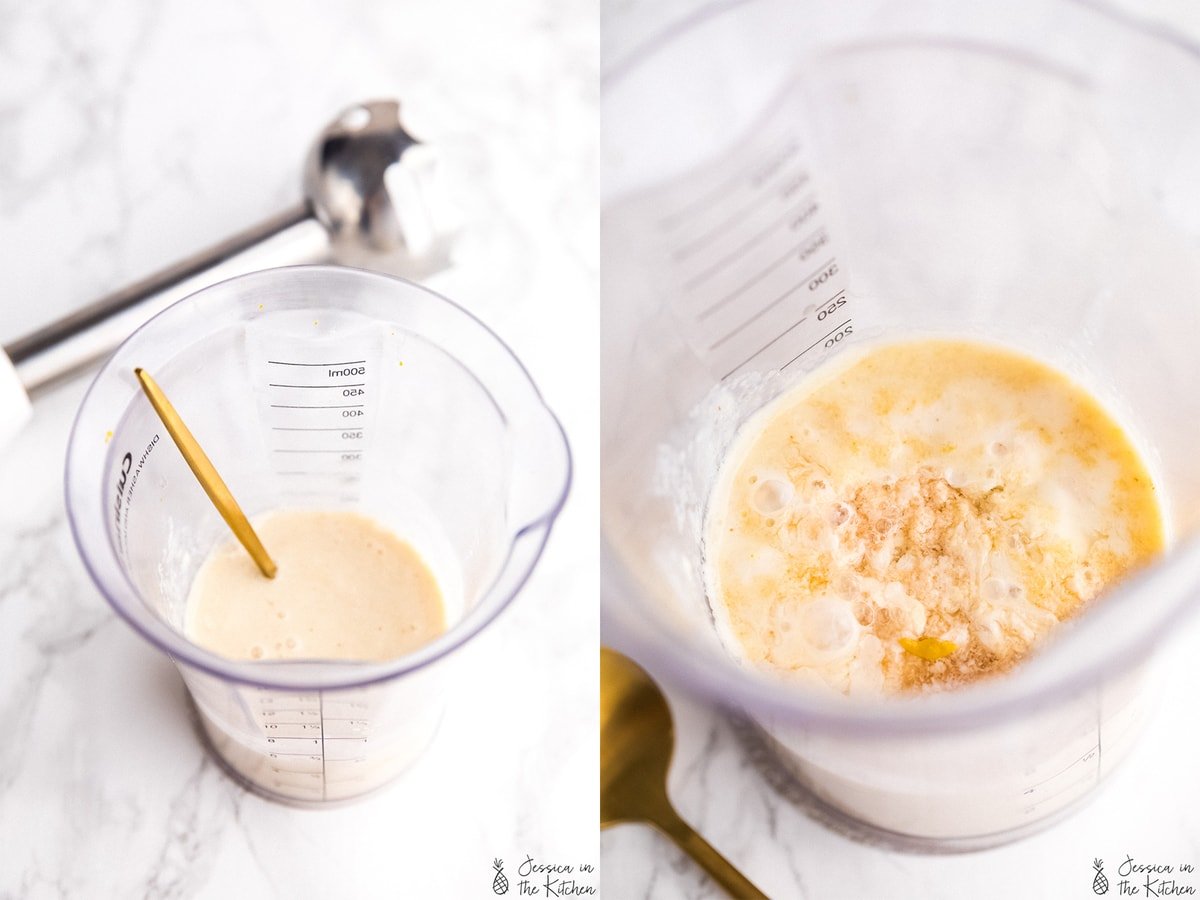
- Add the original soy milk, apple cider vinegar, garlic powder, sea salt and mustard in the immersion blender beaker/jar and stir together.
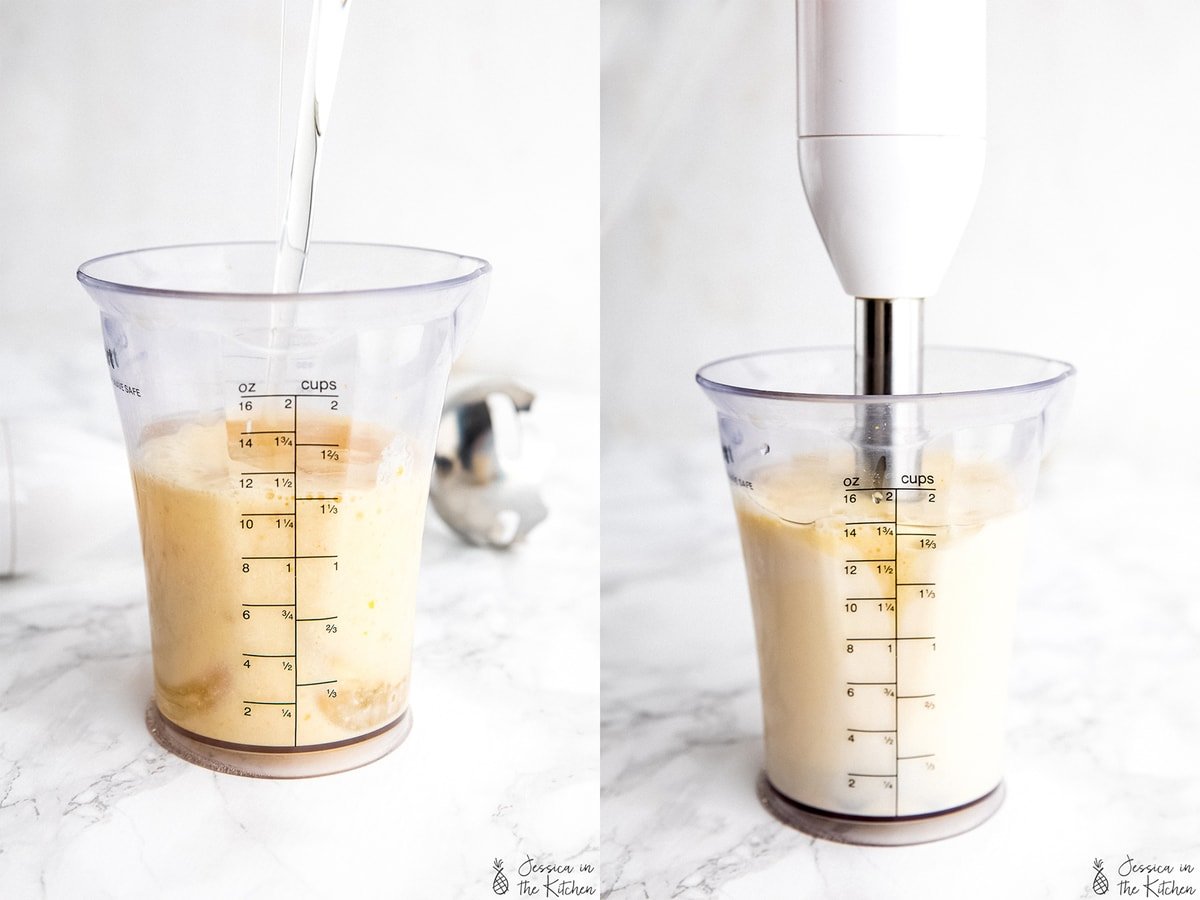
- Pour the oil over the soy milk mixture. Let it sit for about a minute.
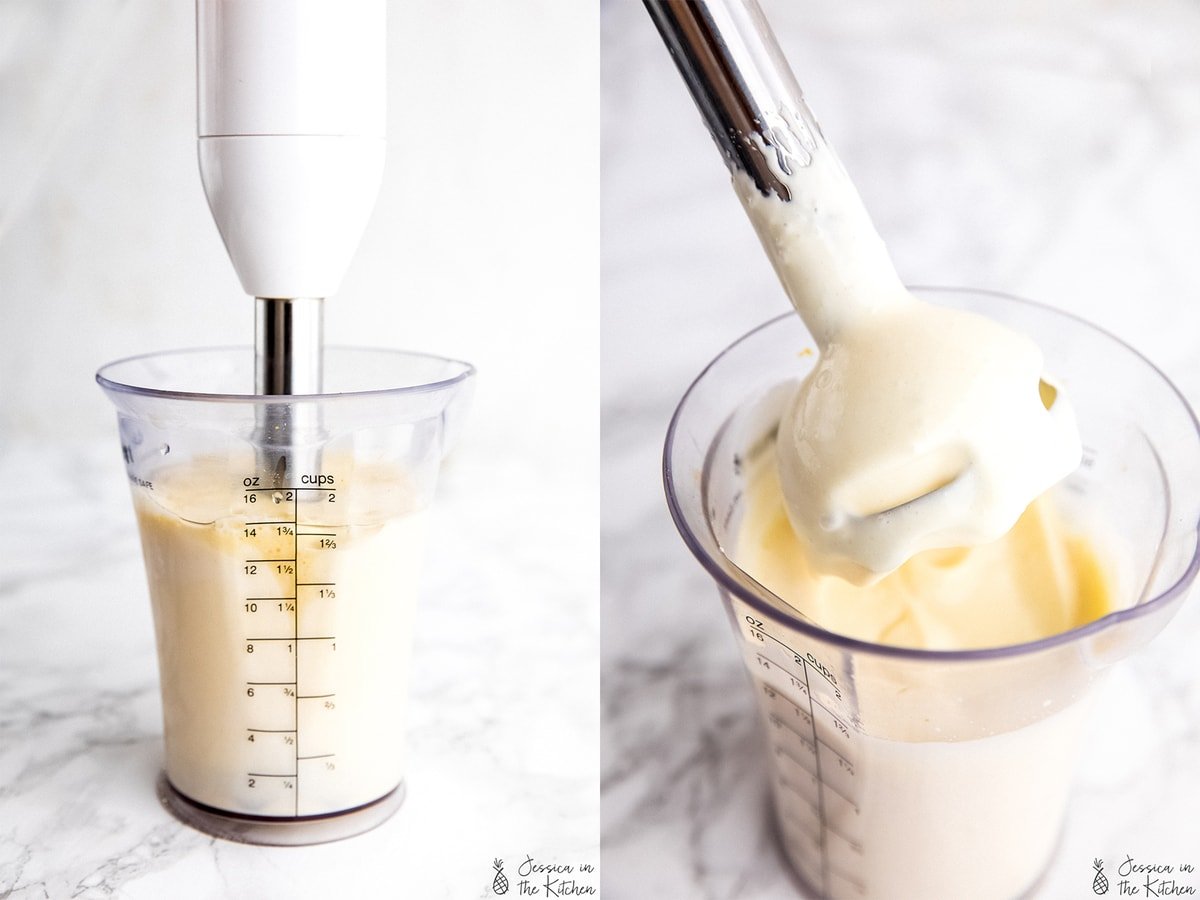
- Place your immersion blender into the bottom of the jar. Blend and keep it firmly pressed against the bottom for about 15 seconds while the mixture emulsifies. Slowly move the blender up and down to properly blend and incorporate all the ingredients until thick and fully combined.
- Taste and add/adjust any ingredients if needed. Place in a sealed jar in the fridge. It thickens up in the fridge even more. Enjoy!
Notes
- I go through this in detail in recipe, but the best tool to use is an immersion blender in an open cup (like the beaker that comes with it). Air is an essential ingredient and you need free-flowing air to allow the emulsification to properly take place.
- You can’t do this in a container that is completely sealed off (just like my whipped coffee recipe ). You can use a blender , but ensure it’s an open blender . I would do it that way by blending the soy milk first and then slowly streaming in the oil in the top. Cover it loosely with a cloth so it doesn’t splash. If you’re doing that, you might need to double the quantity so there’s enough for the blade.
- You should start with all your ingredients at the same temperature, preferably at room temperature.
- If you don’t have the immersion blender cup, be sure to use a tall and narrow jar (like a Weck Jar ).
If you can’t live without mayonnaise, you don’t have to if you want to eat vegan. Here’s my fave Vegan Mayo recipe! It only takes 5 minutes, tastes incredible and uses easy ingredients!
I remember the first time I tried vegan mayo, or plant based mayo, about four years ago. It tasted just like regular mayonnaise and kind of blew my mind. It tastes exactly the same! Vegan mayo here costs me quite a lot, and I remember one day wondering if it was possible to make it at home and friends – here we are!
Not only is it possible to make vegan mayo at home, but it’s also easy and takes only a few minutes. It’ll save you a lot of money since it’s some basic affordable pantry ingredients (really), and tastes incredible!
What ingredients are in vegan mayo?
I’m so glad you asked! Vegan mayo is made up of three basic ingredients – soy milk, oil and salt. Let me break them down a bit for you.
- Soy milk – You’re going to need to use soy milk for this recipe. Truthfully, apart from almond milk, it’s the vegan milk I always have in stock. Why? Emulsification. Soy milk contains natural emulsifiers that make it perfect for so many purposes. I use it to make creamy and solid vegan butter, as the perfect buttermilk in pancakes and cakes and more, and here – in mayo! It works perfectly and binds to the oil to make it nice and fluffy and mayo like!
- Oil – oil adds the necessary fat and binds with the soy milk. You want to use a subtle/mellow and odourless oil for taste. I love olive oil and coconut oil but they can be a bit overpowering here, so I recommend a more neutral oil like sunflower seed, canola or grape seed oil.
- Salt – salt is such a superior ingredient to me. It acts as a flavour enhancer here and really boosts the flavour.
Now, for the other ingredients. I always add in some apple cider vinegar, mustard, black pepper and garlic powder which for me take it over the top and give it that quintessential mayonnaise flavour. If however you’re using this for a sweet dessert, leave those out.
- I go through this in detail in recipe, but the best tool to use is an immersion blender in an open cup (like the beaker that comes with it). Air is an essential ingredient and you need free-flowing air to allow the emulsification to properly take place.
- You can’t do this in a container that is completely sealed off (just like my whipped coffee recipe ). You can use a blender , but ensure it’s an open blender. I would do it that way by blending the soy milk first and then slowly streaming in the oil in the top. Cover it loosely with a cloth so it doesn’t splash. If you’re doing that, you might need to double the quantity so there’s enough for the blade.
- You should start with all your ingredients at the same temperature, preferably at room temperature.
Flavour Customisations/Add-ins
Feel free to customise this vegan mayo recipe with flavour add-ins. Here are some of my favourites:
- add in some dried Italian seasoning and an extra pinch of garlic powdered for herbed garlic mayo.
- Add in some sambal oelek or sriracha for a spicy mayo
Related Recipes
These are my favourite recipes where I use my homemade mayo:
- Bang Bang Broccoli
- Bang Bang Cauliflower
- Vegan BLT Sandwich
- Loaded Vegan Potato Salad
- Vegan Tuna Sandwich
- Vegan Tartar Sauce (with vegan fish tacos)
- spread on some No Knead Bread
Ingredients
- 1/2 cup original soy milk , (125mL) see notes for substitutions
- 2 teaspoons apple cider vinegar , or lime juice or white vinegar
- 1/2 teaspoon garlic powder
- 1/2 teaspoon sea salt
- 1 teaspoon dijion mustard
- 1 cup oil , I recommend any neutral oil (don’t use coconut or olive oil) (250mL)
Instructions
- Make sure all your ingredients are room temperature. If your milk is cold, you can microwave it for about 10 seconds.
- Add the original soy milk, apple cider vinegar, garlic powder, sea salt and mustard in the immersion blender beaker/jar and stir together.
- Pour the oil over the soy milk mixture. Let it sit for about a minute.
- Place your immersion blender into the bottom of the jar. Blend and keep it firmly pressed against the bottom for about 15 seconds while the mixture emulsifies. Slowly move the blender up and down to properly blend and incorporate all the ingredients until thick and fully combined.
- Taste and add/adjust any ingredients if needed. Place in a sealed jar in the fridge. It thickens up in the fridge even more. Enjoy!
Notes
- I go through this in detail in recipe, but the best tool to use is an immersion blender in an open cup (like the beaker that comes with it). Air is an essential ingredient and you need free-flowing air to allow the emulsification to properly take place.
- You can’t do this in a container that is completely sealed off (just like my whipped coffee recipe ). You can use a blender , but ensure it’s an open blender . I would do it that way by blending the soy milk first and then slowly streaming in the oil in the top. Cover it loosely with a cloth so it doesn’t splash. If you’re doing that, you might need to double the quantity so there’s enough for the blade.
- You should start with all your ingredients at the same temperature, preferably at room temperature.
- If you don’t have the immersion blender cup, be sure to use a tall and narrow jar (like a Weck Jar ).
Vegan Mayo (Thick and Creamy)
Ingredients
- 1/2 cup original soy milk (125mL) see notes for substitutions
- 2 teaspoons apple cider vinegar or lime juice or white vinegar
- 1/2 teaspoon garlic powder
- 1/2 teaspoon sea salt
- 1 teaspoon dijion mustard
- 1 cup oil I recommend any neutral oil (don’t use coconut or olive oil) (250mL)
Instructions
- Make sure all your ingredients are room temperature. If your milk is cold, you can microwave it for about 10 seconds.
- Add the original soy milk, apple cider vinegar, garlic powder, sea salt and mustard in the immersion blender beaker/jar and stir together.
- Pour the oil over the soy milk mixture. Let it sit for about a minute.
- Place your immersion blender into the bottom of the jar. Blend and keep it firmly pressed against the bottom for about 15 seconds while the mixture emulsifies. Slowly move the blender up and down to properly blend and incorporate all the ingredients until thick and fully combined.
- Taste and add/adjust any ingredients if needed. Place in a sealed jar in the fridge. It thickens up in the fridge even more. Enjoy!
Video
Notes
- I go through this in detail in recipe, but the best tool to use is an immersion blender in an open cup (like the beaker that comes with it). Air is an essential ingredient and you need free-flowing air to allow the emulsification to properly take place.
- You can’t do this in a container that is completely sealed off (just like my whipped coffee recipe ). You can use a blender , but ensure it’s an open blender . I would do it that way by blending the soy milk first and then slowly streaming in the oil in the top. Cover it loosely with a cloth so it doesn’t splash. If you’re doing that, you might need to double the quantity so there’s enough for the blade.
- You should start with all your ingredients at the same temperature, preferably at room temperature.
- If you don’t have the immersion blender cup, be sure to use a tall and narrow jar (like a Weck Jar ).
Nutrition
Vegan Mayo (Thick and Creamy) https://jessicainthekitchen.com/vegan-mayonnaise/ May 27, 2020
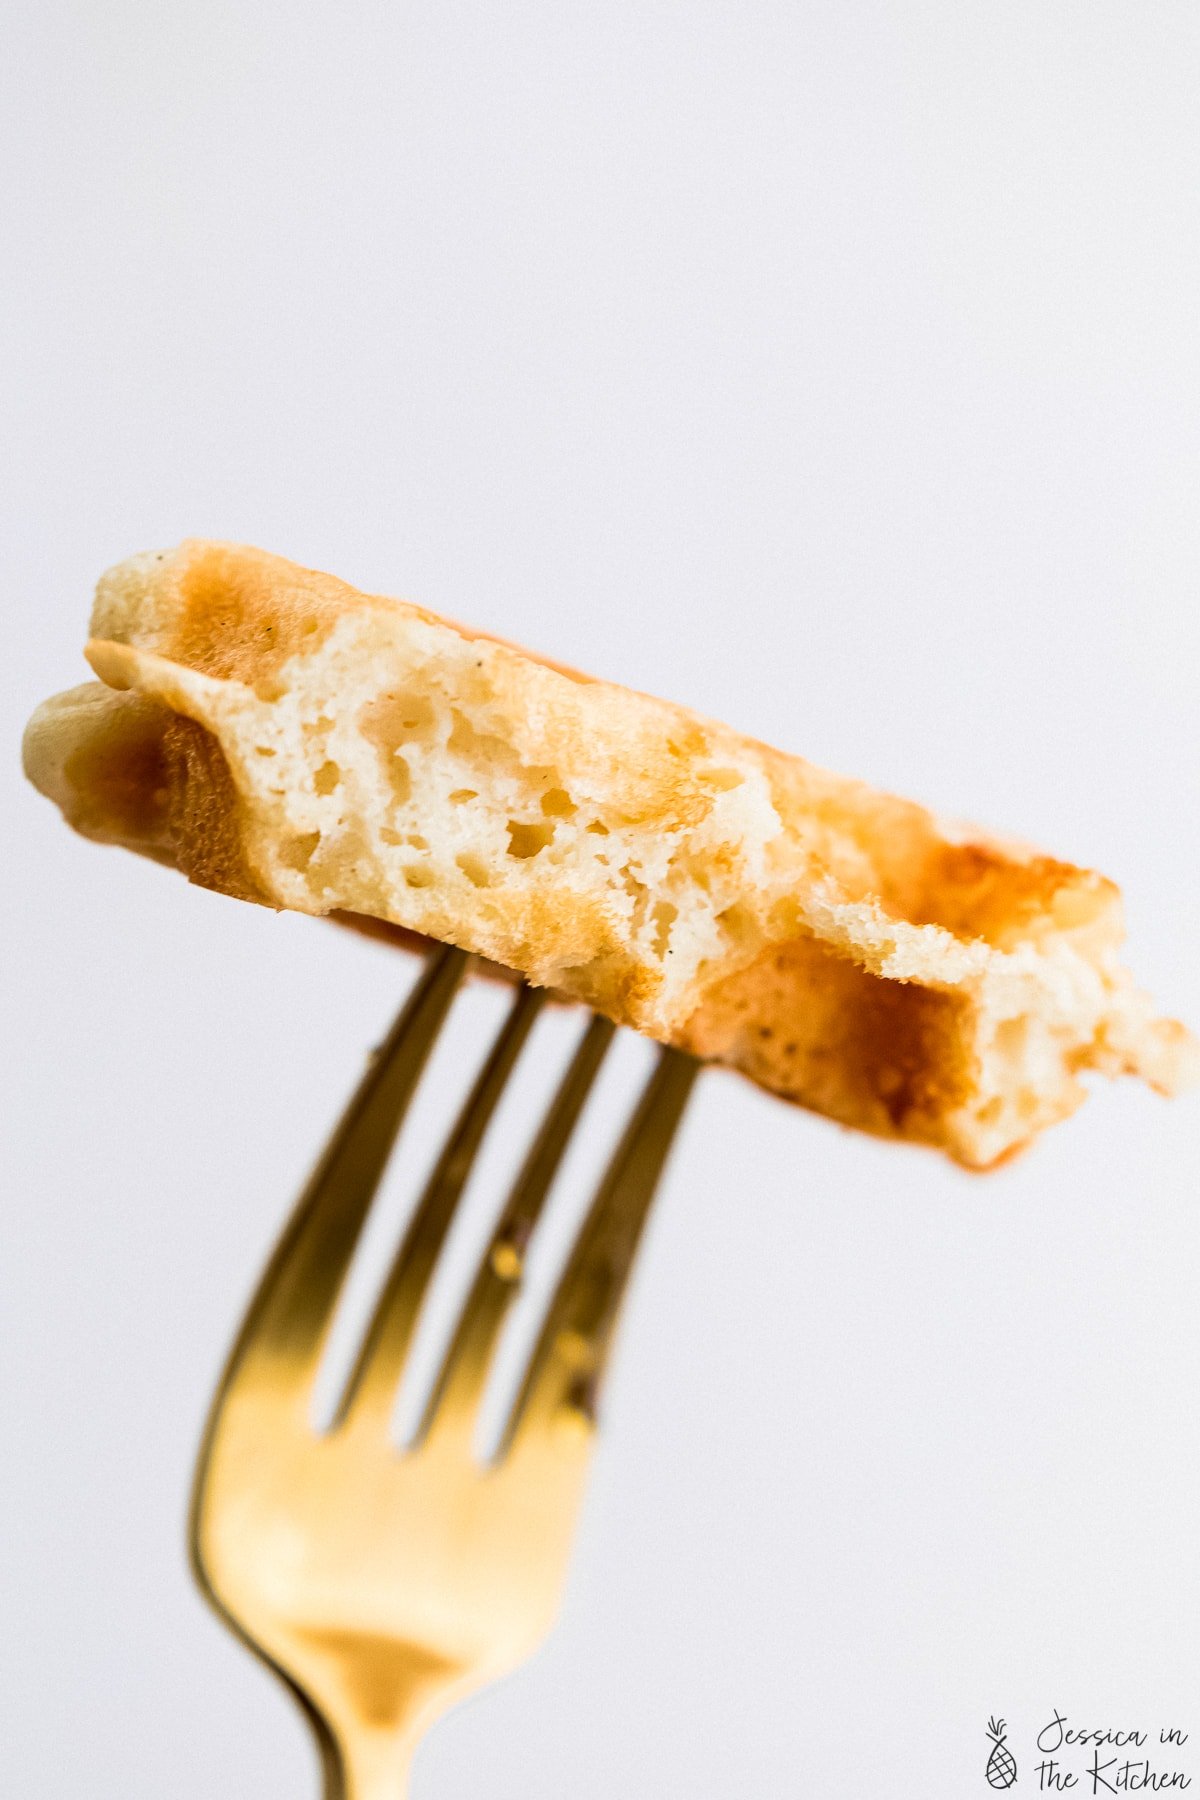
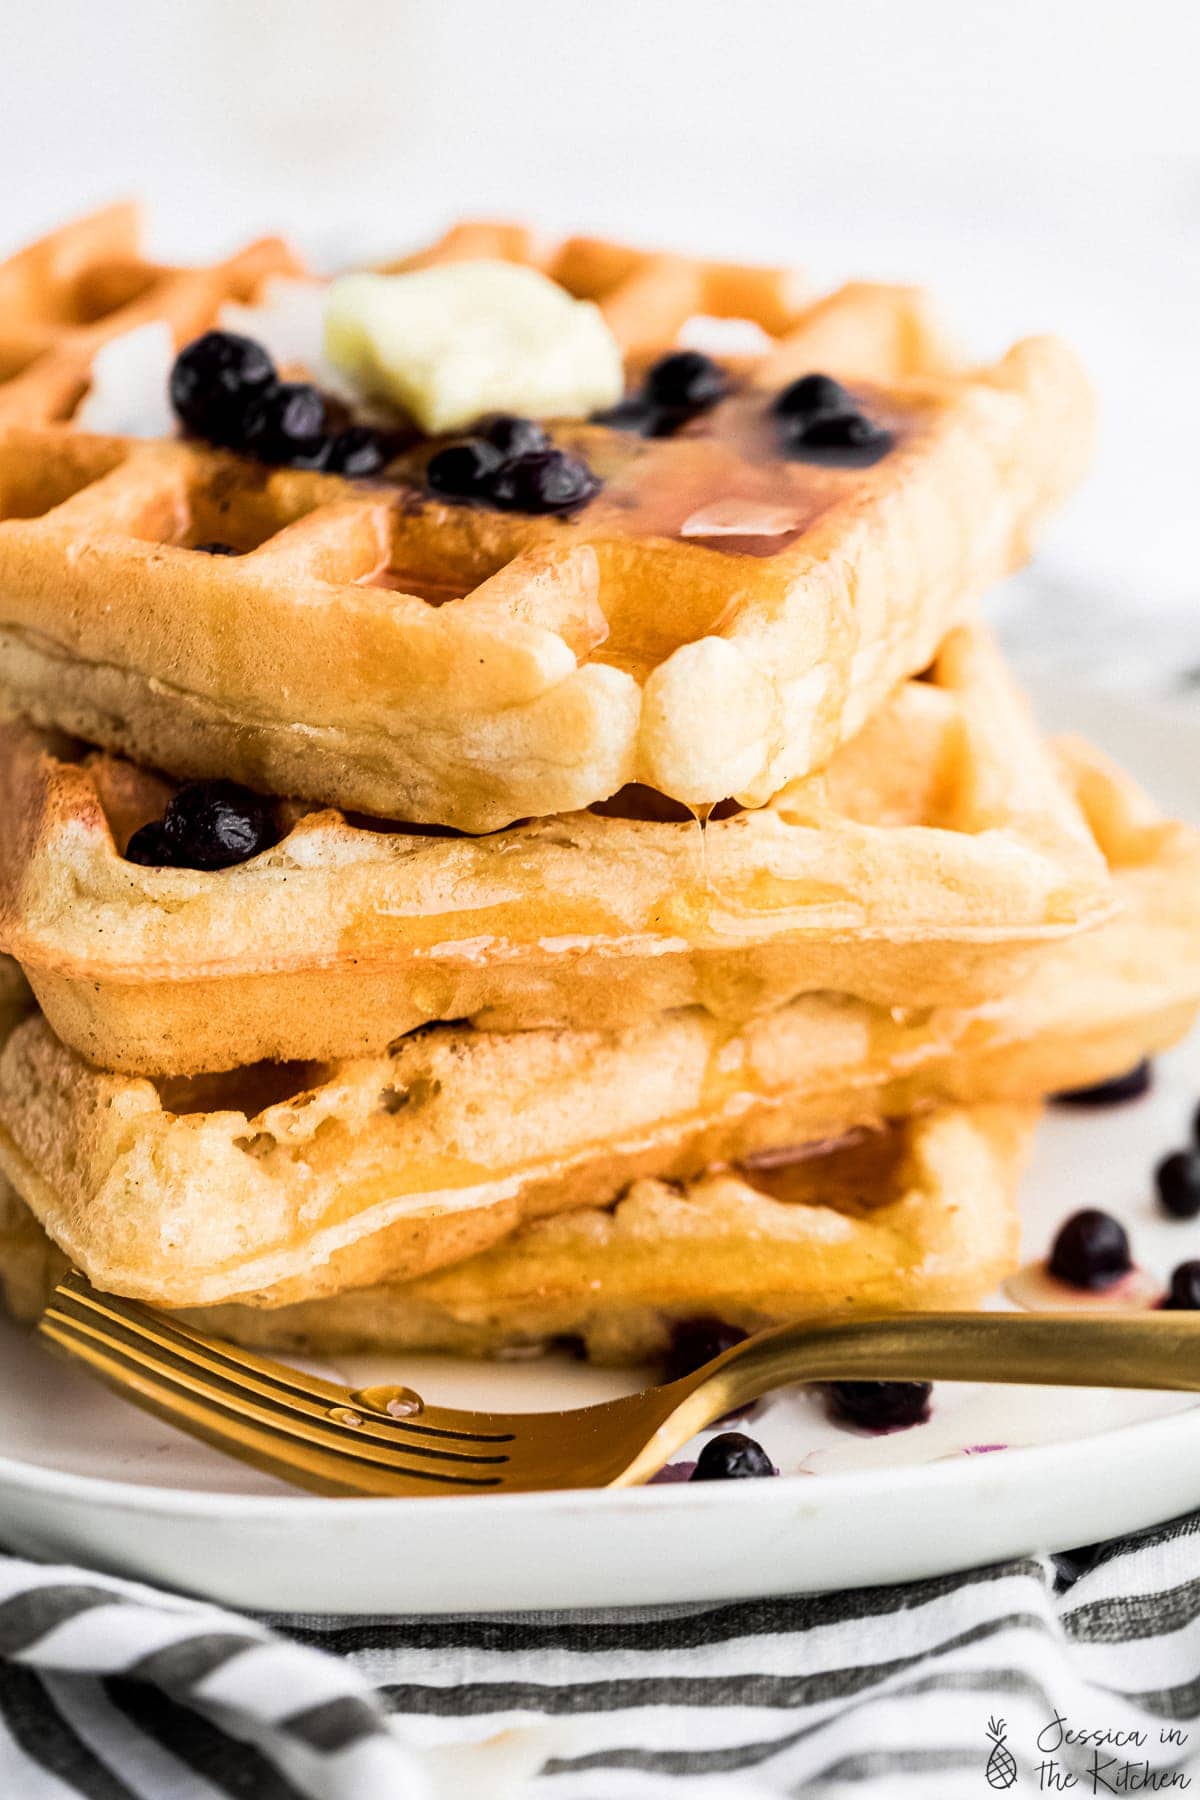
These are the BEST Vegan Waffles! They are crispy, so fluffy, and very simple with only pantry ingredients! I share some foolproof tips so they’re perfect and great for meal prep!
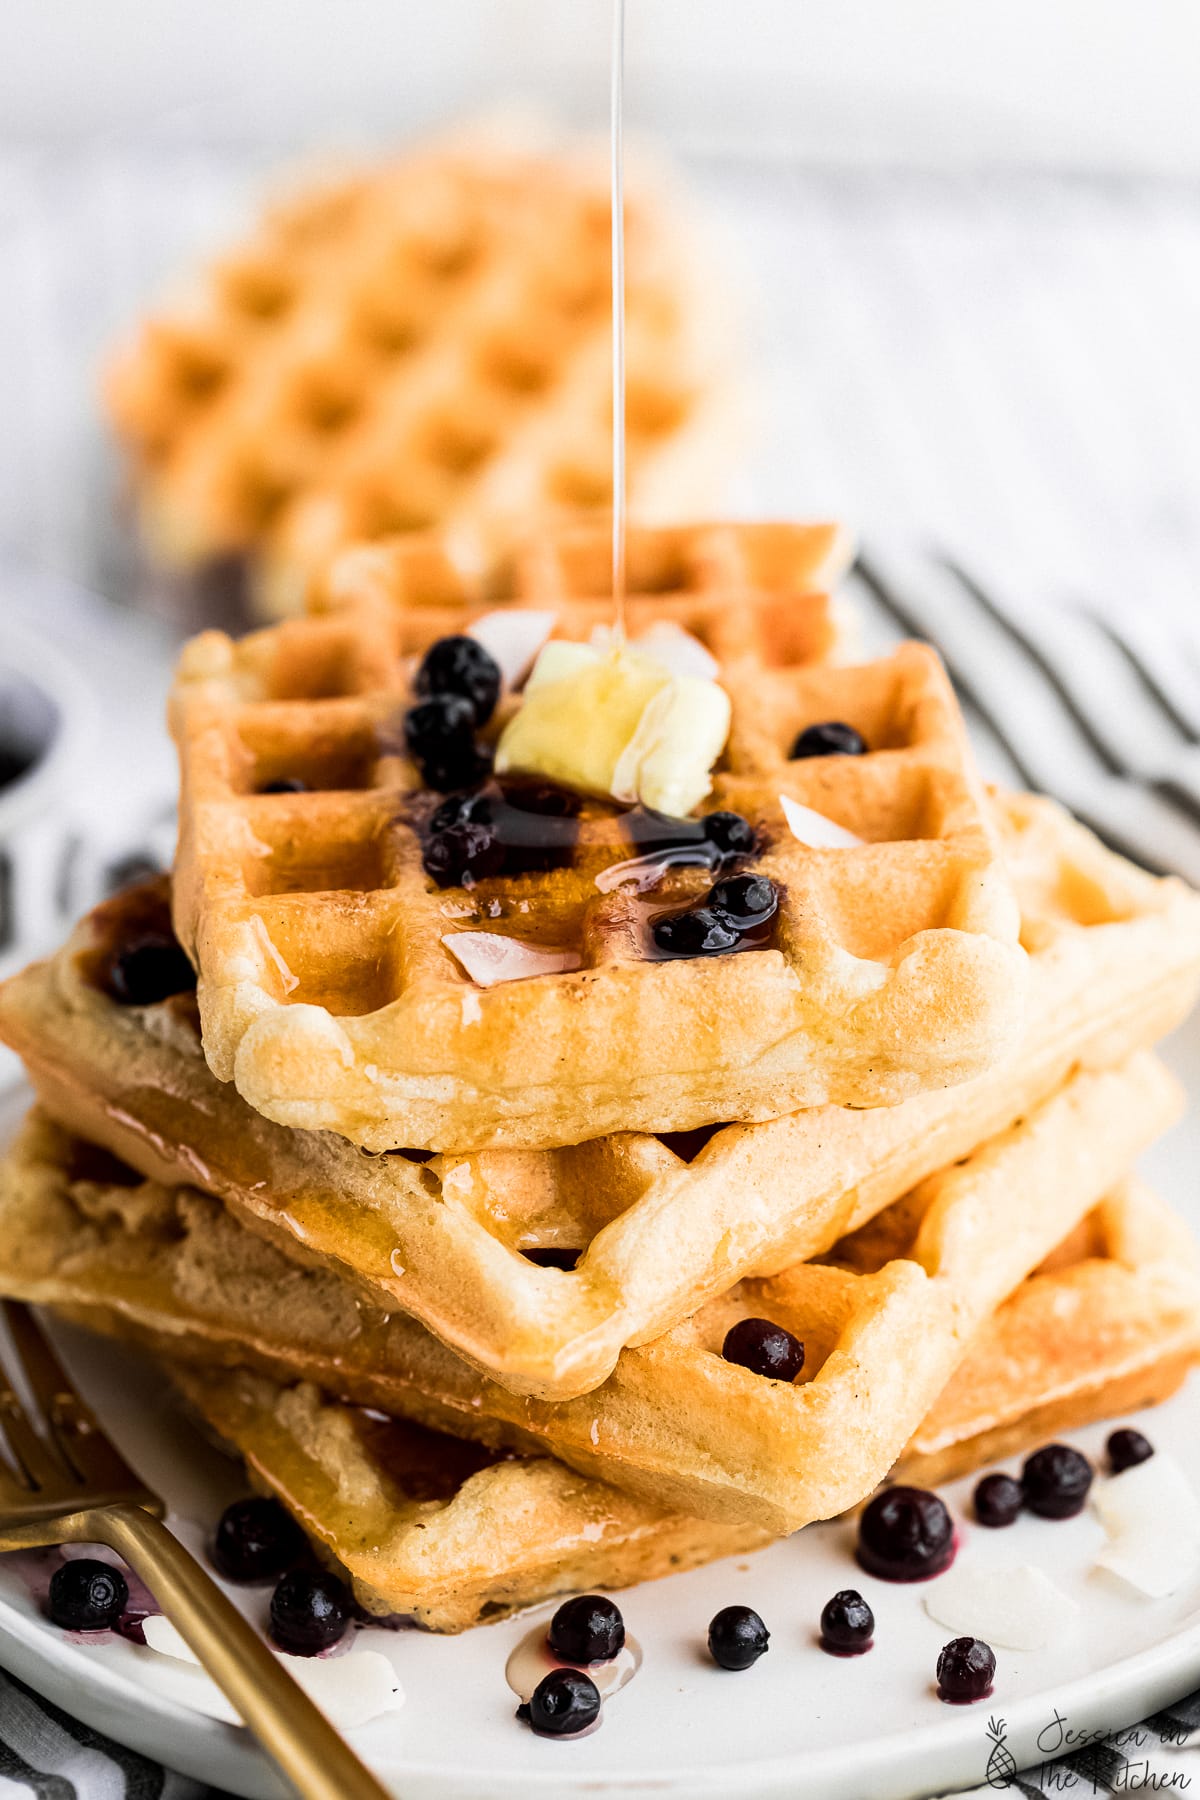
If there’s one thing I know for sure, I LOVE waffles. Waffles of all kinds. I love sweet waffles . I love savoury waffles . Gluten free waffles . Even Mac and cheese waffles ! Today I’m finally sharing some super easy, fluffy, classic buttermilk vegan waffles . These are honestly my absolute favourite, and they’re pantry friendly too! They have that ideal texture of crispy on the outside and fluffy on the inside, and they’re meal prep perfect. I usually just double a batch and I’m good to go.
When made properly, homemade vegan waffles taste like they’re fresh from your favourite diner or breakfast spot. Here are some of my top tips:
- Test to ensure that your baking powder is still active . Let’s just say I’ve confidently whipped up a double batch of pancakes only to realise I had tossed my good baking powder and kept the expired one. We don’t want that! It’s very easy to test and will make all the difference in getting your pancakes nice and fluffy!
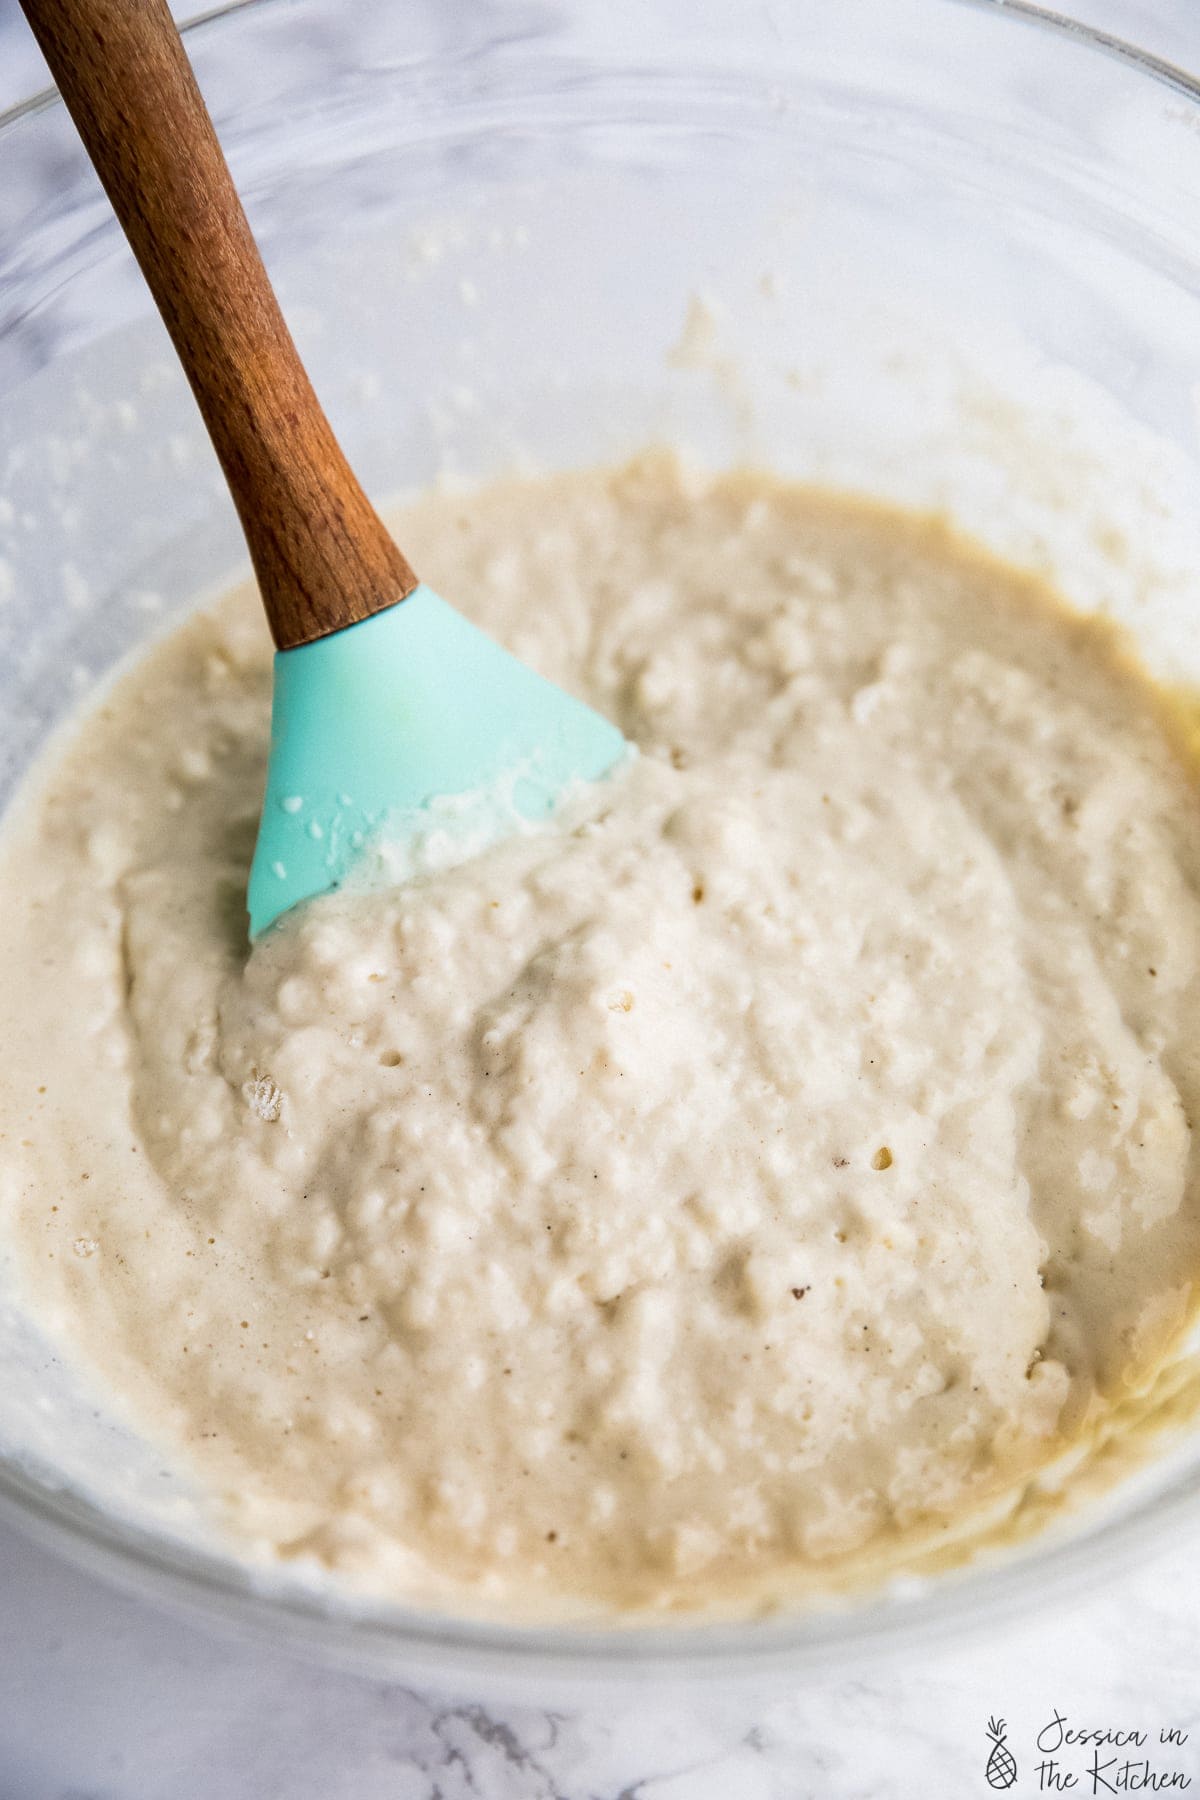
- Don’t overmix your batter. Like, seriously. Lumpy waffle batter is key for light and fluffy waffles, so ensure that it looks similar to the photos above.
- Sifting your ingredients really helps with the fluffiness. If you don’t have a strainer, sieve or sifter , that’s okay, you can still make the recipe. I do recommend it, however.
- While waffles aren’t as precise as baking a cake , I would still recommend weighing out your ingredients. It ensures the perfect consistency of the batter.
- Ensure all your wet ingredients are room temperature. Cold soy milk doesn’t mix very well, so I always pull a new container (I usually make several batches of waffles at a time) OR I take my bottle from the fridge, pour out what I need and warm it up in the microwave so it’s room temperature. If you’re planning ahead, you can always just leave it on your counter until it is room temperature.
- Always lightly grease your waffle iron. The oil in the batter is for crispiness but also helps with them not sticking to the waffle iron.
- ALWAYS let the steam from your waffle iron dissipate before you open the waffle iron. If there’s steam, it’s still cooking!!
- Freeze your vegan waffles so they last! I recommend flash freezing them, then heating them up in your toaster oven. They remain just as light and fluffy.
Related Recipes
- Lemon Poppyseed Waffles
- Vegan Waffles
- Orange Cranberry Waffles
- Banana Bread Waffles
- Mac and Cheese Waffles
- Jalapeño Cornbread Waffles
- Vegan Pumpkin Waffles
- PB and J Waffles
- Vegan Pancakes
- Top them with Blueberry Sauce
Ingredients
- 1 ½ cups unsweetened soy milk , (360mL) or coconut milk or any vegan milk
- 2 teaspoons apple cider vinegar , (10mL) or lemon juice
- 2 cups all-purpose flour , ( 240g )
- 1 tablespoon baking powder , ( 14.4g )
- ½ teaspoon sea salt , ( 2.8g )
- 1 tablespoon brown sugar , ( 12.5g ) or maple syrup
- ¼ cup melted coconut oil , (60mL) or melted vegan butter or any oil
- ½ teaspoon vanilla extract , (2.1g)
- fruits to serve or a dollop of vegan whipped cream
Instructions
- Mix the nut milk, vanilla extract and the lemon juice or ACV together in a small bowl/measuring cup. Set aside for about 5 minutes – this will make the vegan buttermilk.
- In a large bowl, sift the flour, baking powder and salt. The sifting really helps to make the waffles fluffy.
- Add the sugar, melted butter/oil, buttermilk mixture into the dry ingredients and using a spatula, gently mix the batter until JUST combined. It’s okay (and normal) to have some lumps. The batter should be thick and scoopable.
- Turn on and preheat your waffle maker according to which done level that you want. I set mine to about medium because I like mine crisp and golden but also very fluffy.
- Using a ½ cup ( 120mL ) measuring cup, scoop out some batter and pour/spread into the middle of the greased waffle maker. You don’t need to push it to the edges. Close and let cook until the steam has COMPLETELY stopped from the waffle maker. Don’t open it before the steam is finished!
- Remove each waffle and place on a baking sheet in your oven or toaster oven on “warm” or 200°F/95°C to keep warm and crispy until finished with the entire batter. Continue with the rest of the batter.
- Serve with your favourite toppings like blueberry sauce and enjoy!
Notes
- Test to ensure that your baking powder is still active . Let’s just say I’ve confidently whipped up a double batch of pancakes only to realise I had tossed my good baking powder and kept the expired one. We don’t want that! It’s very easy to test and will make all the difference in getting your pancakes nice and fluffy!
- Don’t overmix your batter. Like, seriously. Lumpy waffle batter is key for light and fluffy waffles, so ensure that it looks similar to the photos above.
- Sifting your ingredients really helps with the fluffiness. If you don’t have a strainer, sieve or sifter , that’s okay, you can still make the recipe. I do recommend it, however.
- While waffles aren’t as precise as baking a cake , I would still recommend weighing out your ingredients. It ensures the perfect consistency of the batter.
- Ensure all your wet ingredients are room temperature. Cold soy milk doesn’t mix very well, so I always pull a new container (I usually make several batches of waffles at a time) OR I take my bottle from the fridge, pour out what I need and warm it up in the microwave so it’s room temperature. If you’re planning ahead, you can always just leave it on your counter until it is room temperature.
- Always lightly grease your waffle iron. The oil in the batter is for crispiness but also helps with them not sticking to the waffle iron.
- ALWAYS let the steam from your waffle iron dissipate before you open the waffle iron. If there’s steam, it’s still cooking!!
- Freeze your vegan waffles so they last! I recommend flash freezing them, then heating them up in your toaster oven. They remain just as light and fluffy.
