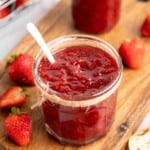
No canning needed! This is the easiest strawberry jam recipe you’ll ever make and the flavour is sweet, fruity, and bright. You only need 3 ingredients!
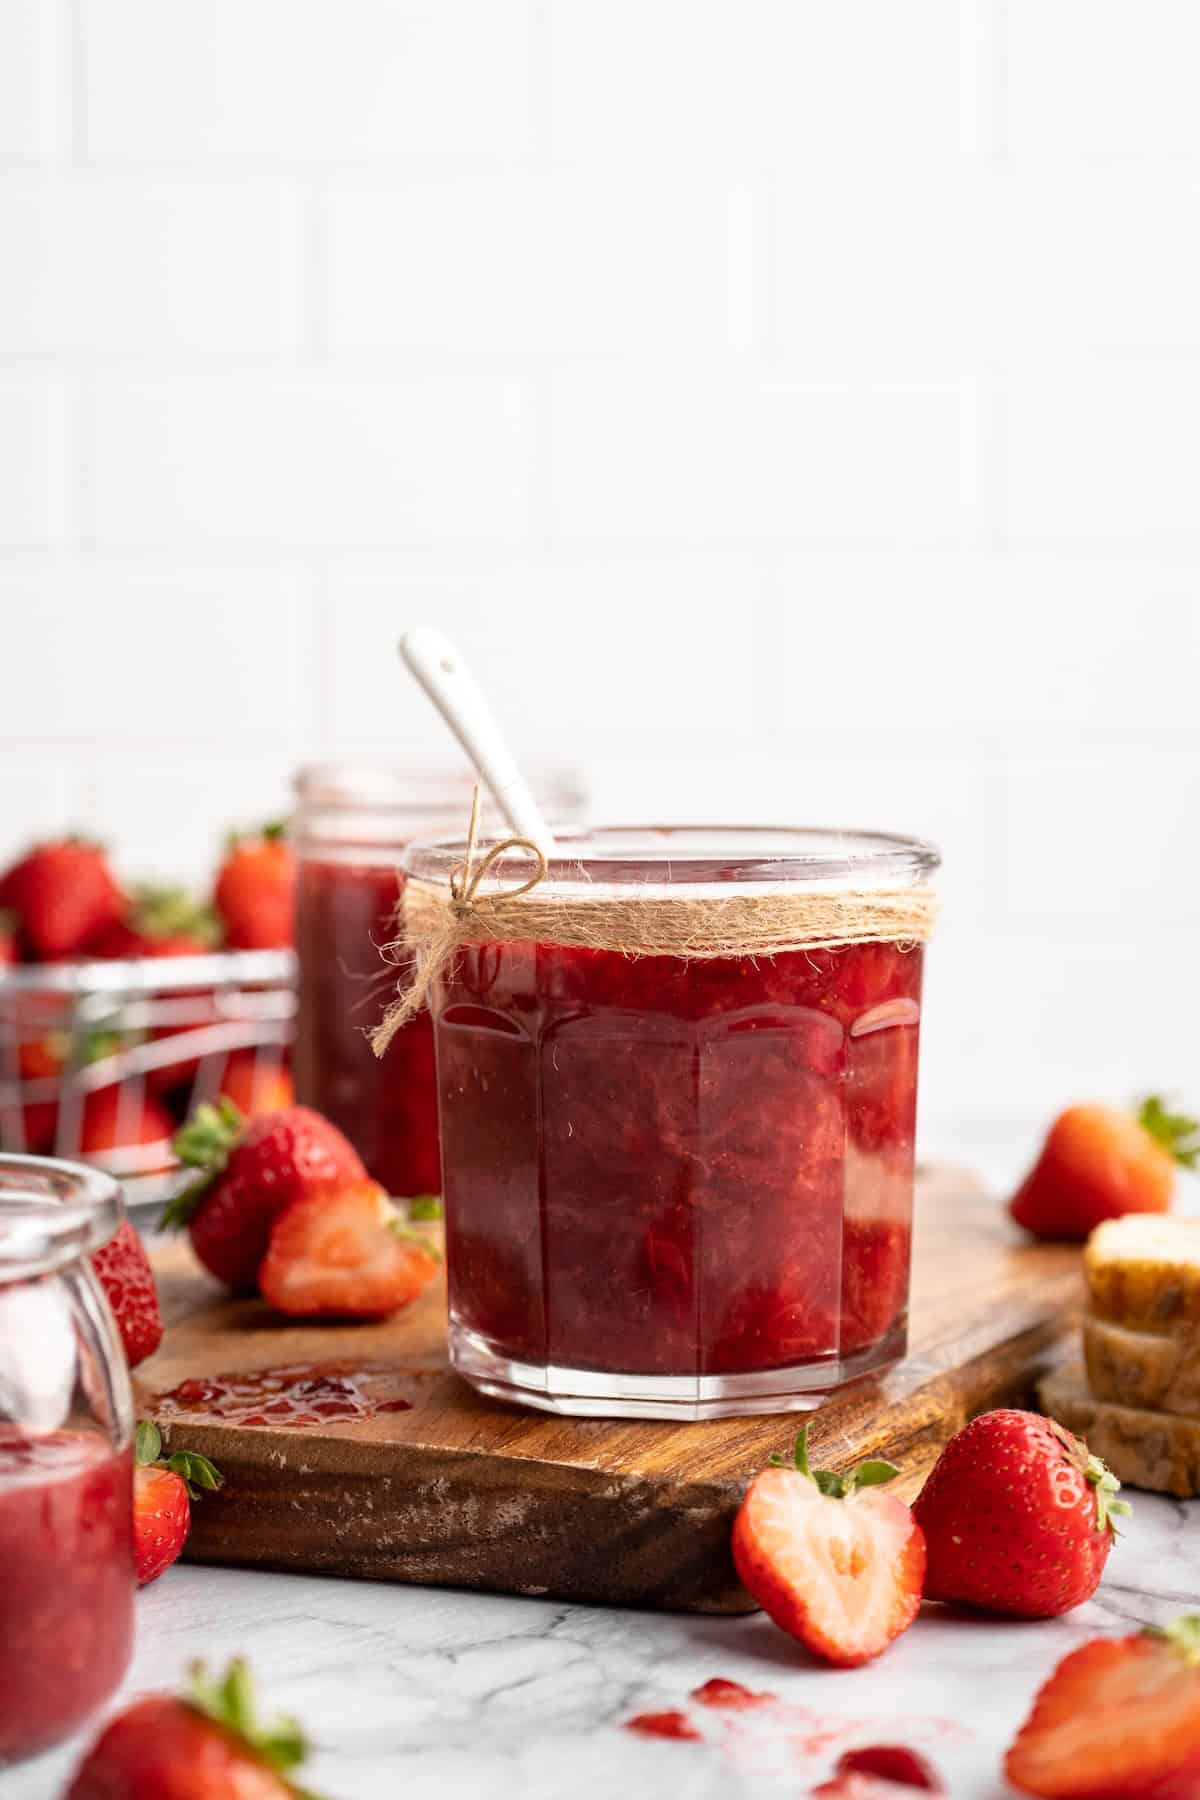
As much as I want to be that person who cans her own sauces and jams, at this point in my life, it’s just not in the cards. I have the time to make the sauces and jams, but mastering the canning process to preserve them—well, we’ll wait until my little one is no longer a toddler before we tackle that! So that’s why this strawberry jam is the EASY kind of jam that doesn’t need to be canned. Like my Homemade Refrigerator Pickles , you just store it in the fridge! The ingredients are simple, so the strawberry flavour really shines.
Why This Strawberry Jam Is My Favourite
There’s a lot to love about this simple strawberry jam recipe! Here’s what makes it so special.
- Super simple ingredients . You’ll only need strawberries, a lemon or lime, and sugar—that’s it! You don’t even need pectin for this recipe.
- No canning needed . As mentioned before, this jam doesn’t require any complicated canning process. Just make it and store it in the fridge!
- Fresh and bright flavour . Because it’s made without a lot of add-ins, this strawberry jam is bursting with fresh, fruity flavour that takes everything from Vegan Waffles to High-Protein Overnight Oats to the next level.

Notes on Ingredients
As promised, the ingredient list is short and sweet! Scroll down to the recipe card to find the ingredient quantities and recipe instructions.
- Strawberries – You can use fresh or frozen; if you use frozen berries, thaw them first.
- Lemon or lime – You’ll need both the zest and the juice. Zest the fruit before juicing it.
- Sugar – The amount of sugar is usually precise for jams that are canned because it helps with the preserving process, but the beauty of this refrigerator jam is that you can reduce the amount you use significantly—by up to half. Just don’t eliminate it all together because it does contribute to the jammy texture.
How to Make Strawberry Jam
You’ll find the full instructions for this strawberry jam recipe at the bottom of the page. Here’s a quick overview.

Combine ingredients.
- Combine . Add the strawberries, zest and juice, and sugar to a pot set over medium-high heat. Mash it all together a bit.
- Cook . Bring the mixture to a boil, then reduce the heat and simmer for about 30 minutes, stirring and mashing occasionally.
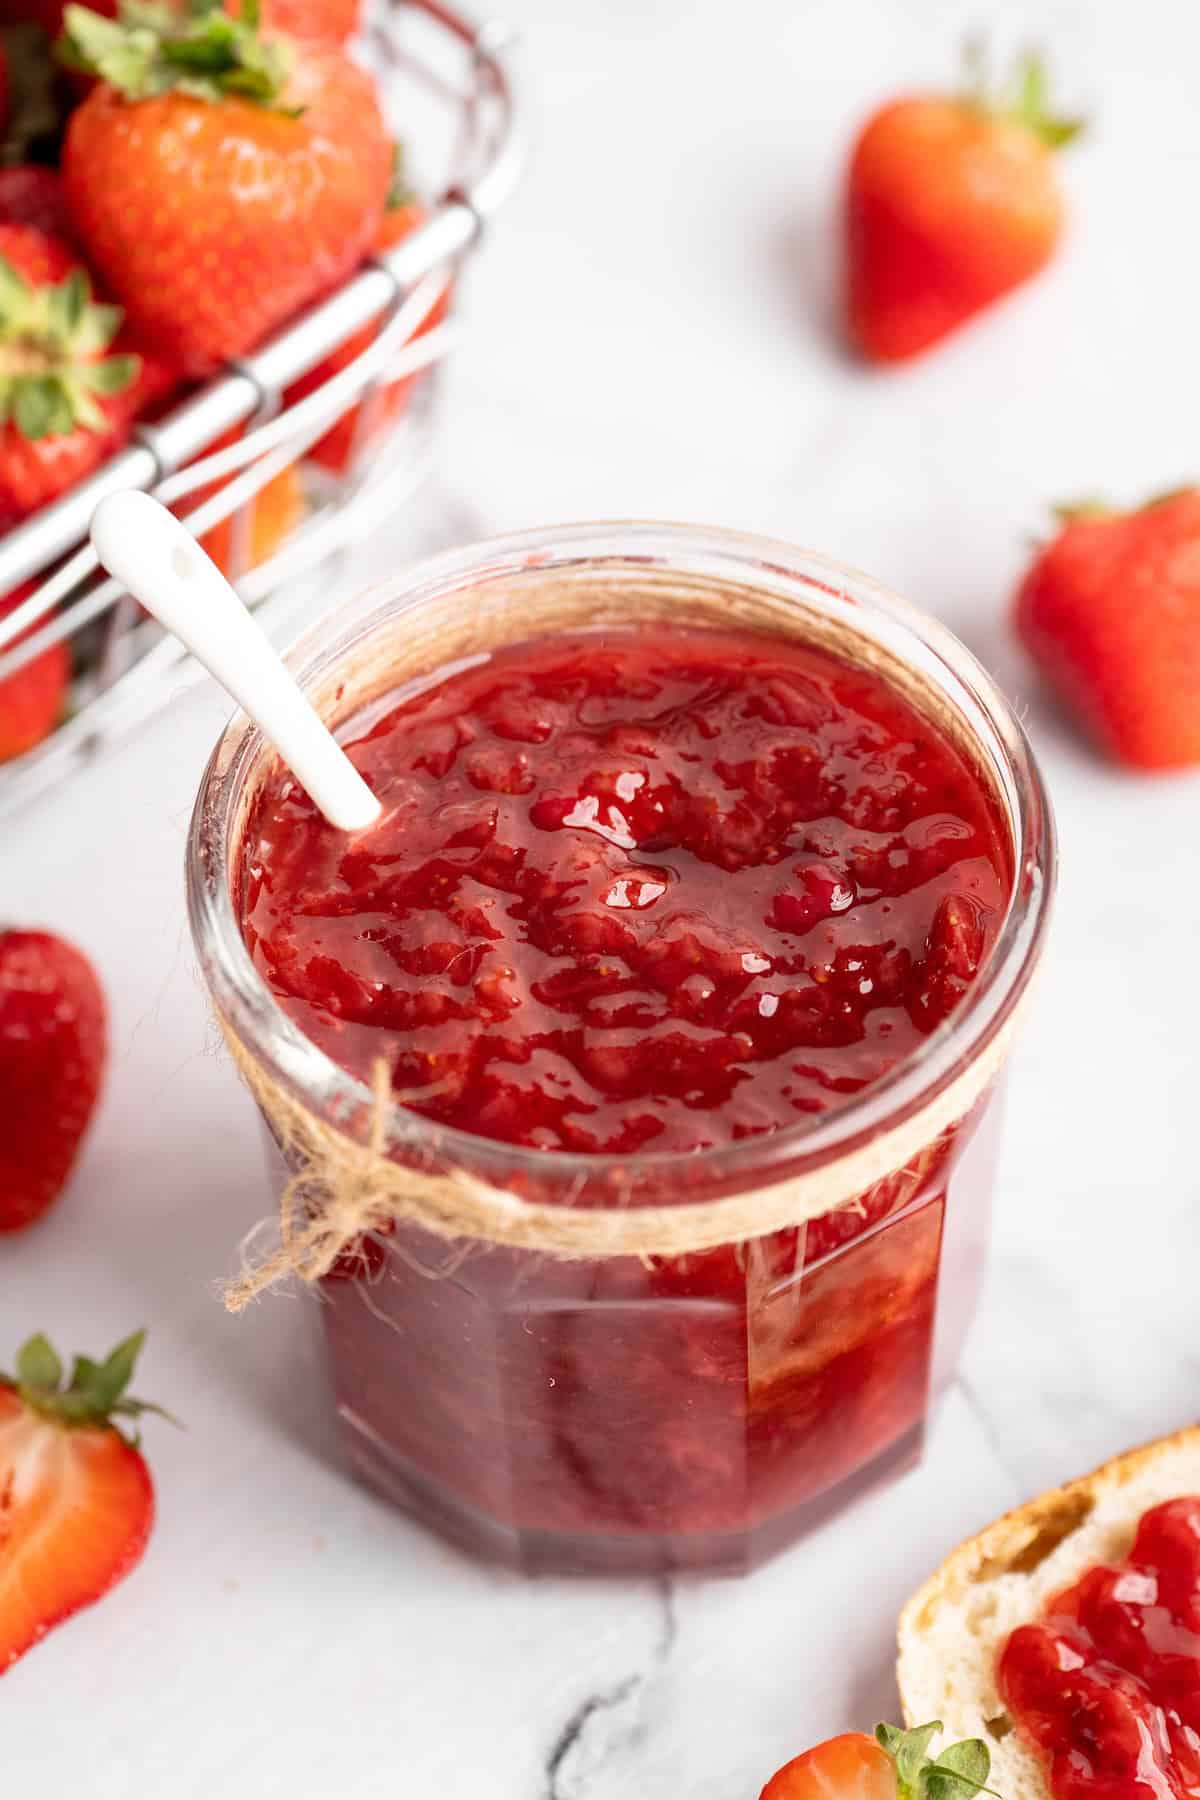
- Refrigerate . Once the jam reaches your desired thickness, taste it and adjust the ingredients as needed. Transfer to clean jars and store in the refrigerator.
Tips and Variations
Here’s how to make sure your strawberry jam turns out perfect—and some ideas to help you put your own spin on it.
- Add some herbs . Cook the strawberry jam with a sprig of fresh thyme, rosemary, or basil. (Don’t use dried!) Remove the herbs before storing. This will infuse your jam with lovely flavour and add a little complexity!
- Or try adding an extract . Almond extract or vanilla extract would be lovely. Alternatively, you can scrape the inside of a vanilla bean into the strawberry mixture, then toss the pod in the pot while the jam simmers. Discard the pod before storing.
- Use ripe, tasty strawberries . If your strawberries aren’t ripe and flavourful on their own, you won’t get a tasty jam. Make sure your berries are sweet and fragrant!
Serving Suggestions
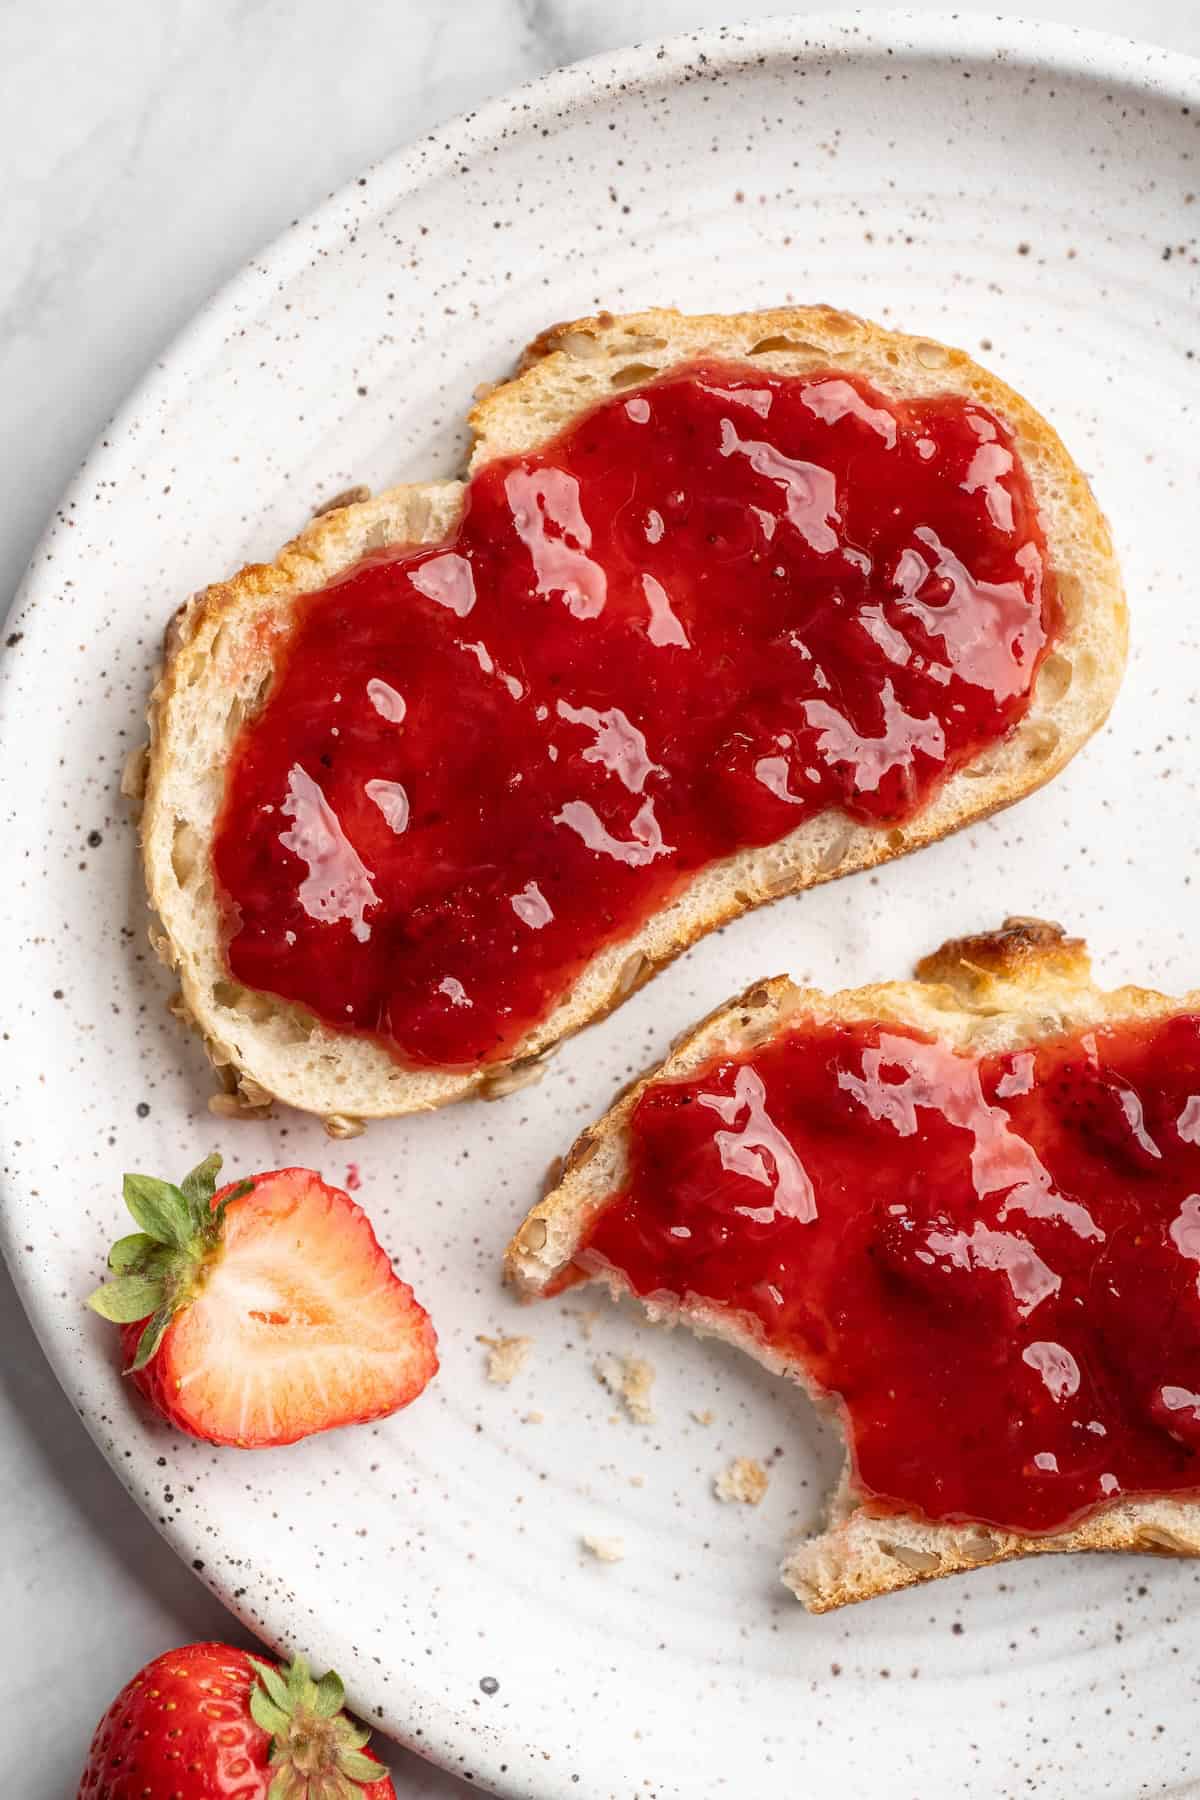
I love smearing slices of toast made from my Japanese Milk Bread with this homemade strawberry jam! It’s also amazing swirled into Homemade Vegan Yogurt , spooned over this 2-Ingredient Blueberry Ice Cream , or slathered onto these Vegan Scones .
How to Store
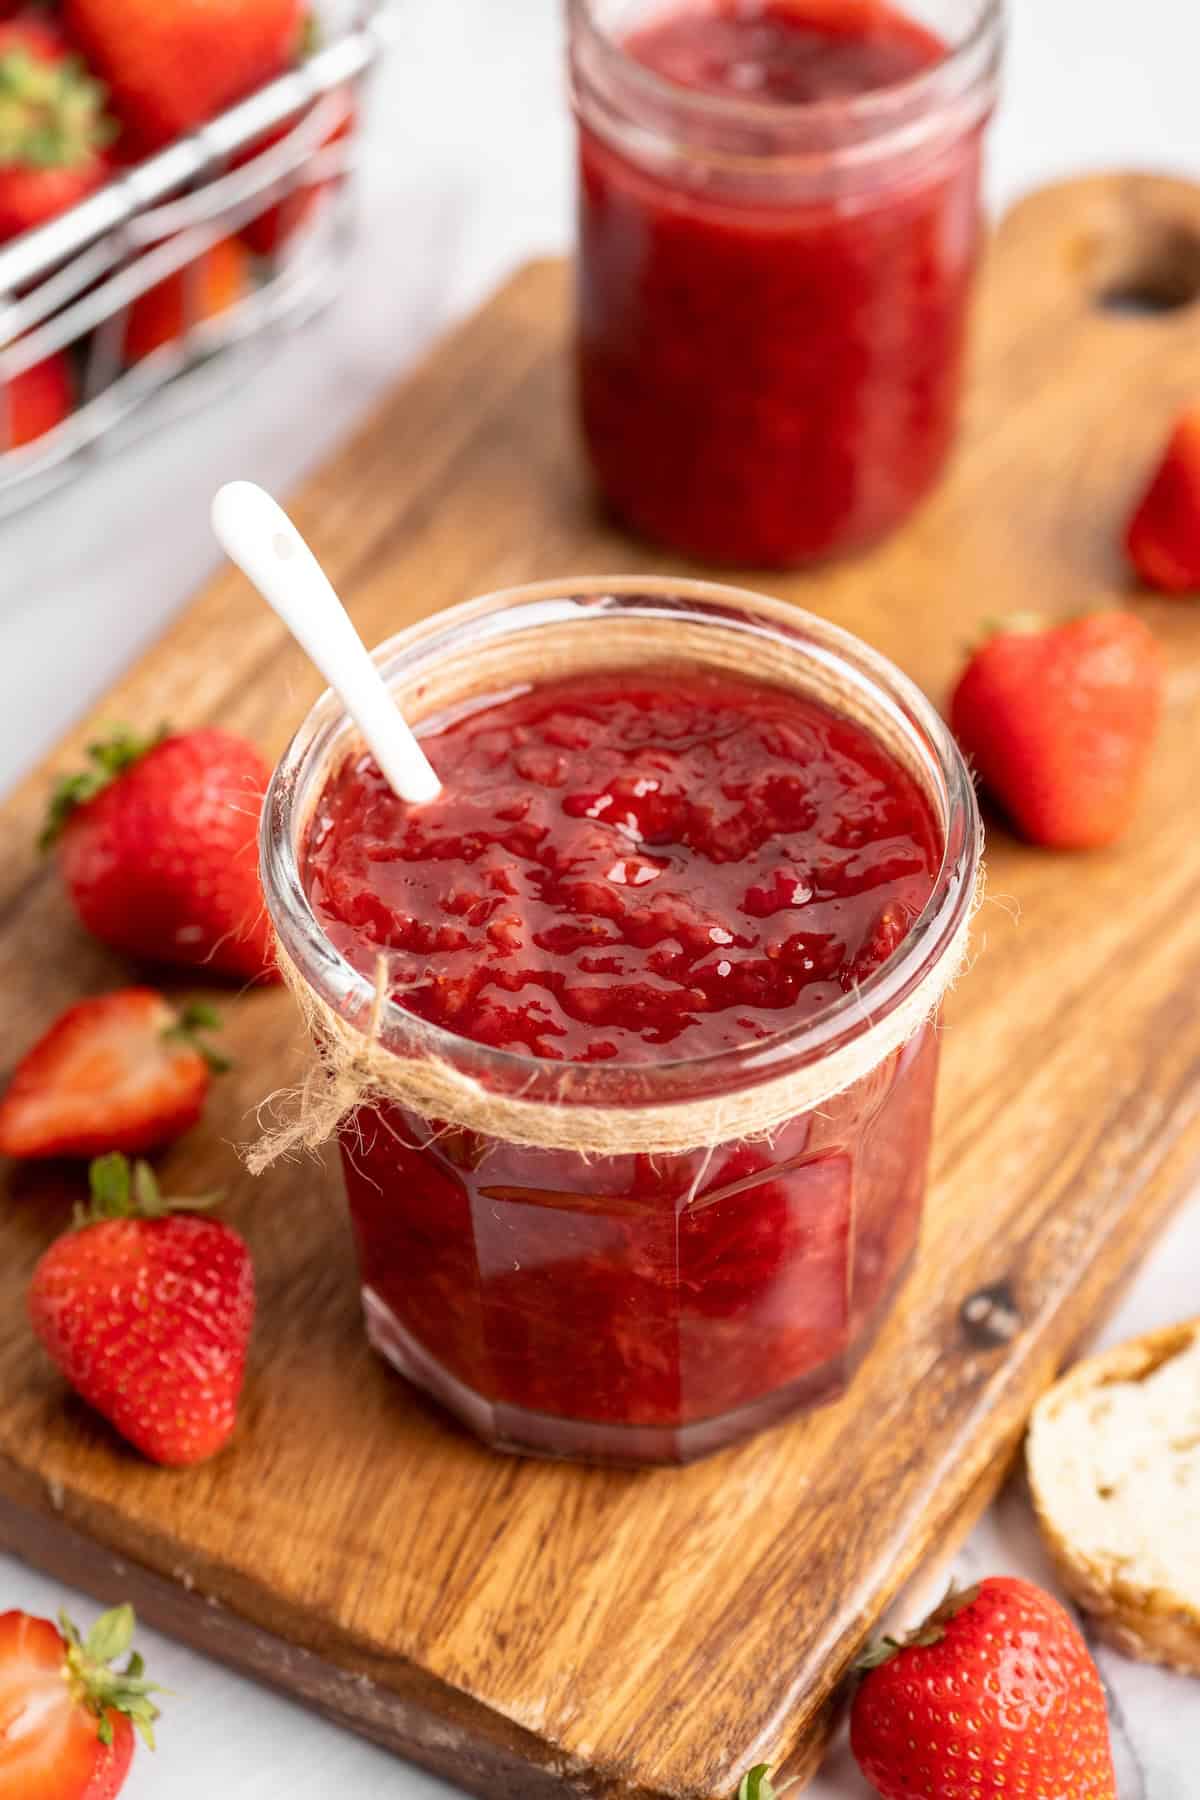
- Refrigerator : This strawberry jam can be stored in airtight containers or mason jars in the fridge for up to 2 weeks.
- Freezer : You can also freeze this jam for longer storage. Just make sure to leave some room at the top of your container for expansion, and thaw it in the fridge before using.
More Recipes With Strawberries
- Strawberry Salsa
- Strawberry Banana Bread
- Korean Strawberry Milk
- Strawberry Granita
- Strawberry Banana Smoothie
Ingredients
- 1 pound strawberries , fresh or frozen (if fresh, remove tops. If frozen, thawed), 454 grams
- Juice of one large lime OR lemon , (about 2 tablespoons or 30 grams)
- Zest of one large lime or lemon
- 1 cup sugar , (feel free to use ½ this), 200 grams
Instructions
- Add the strawberries, lime or lemon, zest and sugar into a pot over medium high heat. Stir everything together and mash the entire mixture together.
- Let the mix come to a rolling boil and lower to medium low heat (to an active simmer). Continue to simmer for 30 minutes to reduce, stirring and mashing every few minutes and watching that the bottom isn’t caramelising or burning (lower heat if it is). Test your jam on a cold plate from the freezer – if it sticks and doesn’t immediately slide it’s ready. I cooked mine for an extra 10 minutes at this point.
- Once ready, turn off heat and let cool for a few (3-5) minutes. Taste test to see if you need more or less of anything. Scoop the jam into sterilised and dried mason jars to store. Enjoy!
Notes
- Refrigerator : This strawberry jam can be stored in airtight containers or mason jars in the fridge for up to 2 weeks.
- Freezer : You can also freeze this jam for longer storage. Just make sure to leave some room at the top of your container for expansion, and thaw it in the fridge before using.
Strawberry Jam
Ingredients
- 1 pound strawberries fresh or frozen (if fresh, remove tops. If frozen, thawed), 454 grams
- Juice of one large lime OR lemon (about 2 tablespoons or 30 grams)
- Zest of one large lime or lemon
- 1 cup sugar (feel free to use ½ this), 200 grams
Instructions
- Add the strawberries, lime or lemon, zest and sugar into a pot over medium high heat. Stir everything together and mash the entire mixture together.
- Let the mix come to a rolling boil and lower to medium low heat (to an active simmer). Continue to simmer for 30 minutes to reduce, stirring and mashing every few minutes and watching that the bottom isn’t caramelising or burning (lower heat if it is). Test your jam on a cold plate from the freezer - if it sticks and doesn’t immediately slide it’s ready. I cooked mine for an extra 10 minutes at this point.
- Once ready, turn off heat and let cool for a few (3-5) minutes. Taste test to see if you need more or less of anything. Scoop the jam into sterilised and dried mason jars to store. Enjoy!
Notes
- Refrigerator : This strawberry jam can be stored in airtight containers or mason jars in the fridge for up to 2 weeks.
- Freezer : You can also freeze this jam for longer storage. Just make sure to leave some room at the top of your container for expansion, and thaw it in the fridge before using.
Nutrition
Strawberry Jam https://jessicainthekitchen.com/strawberry-jam/ March 19, 2025
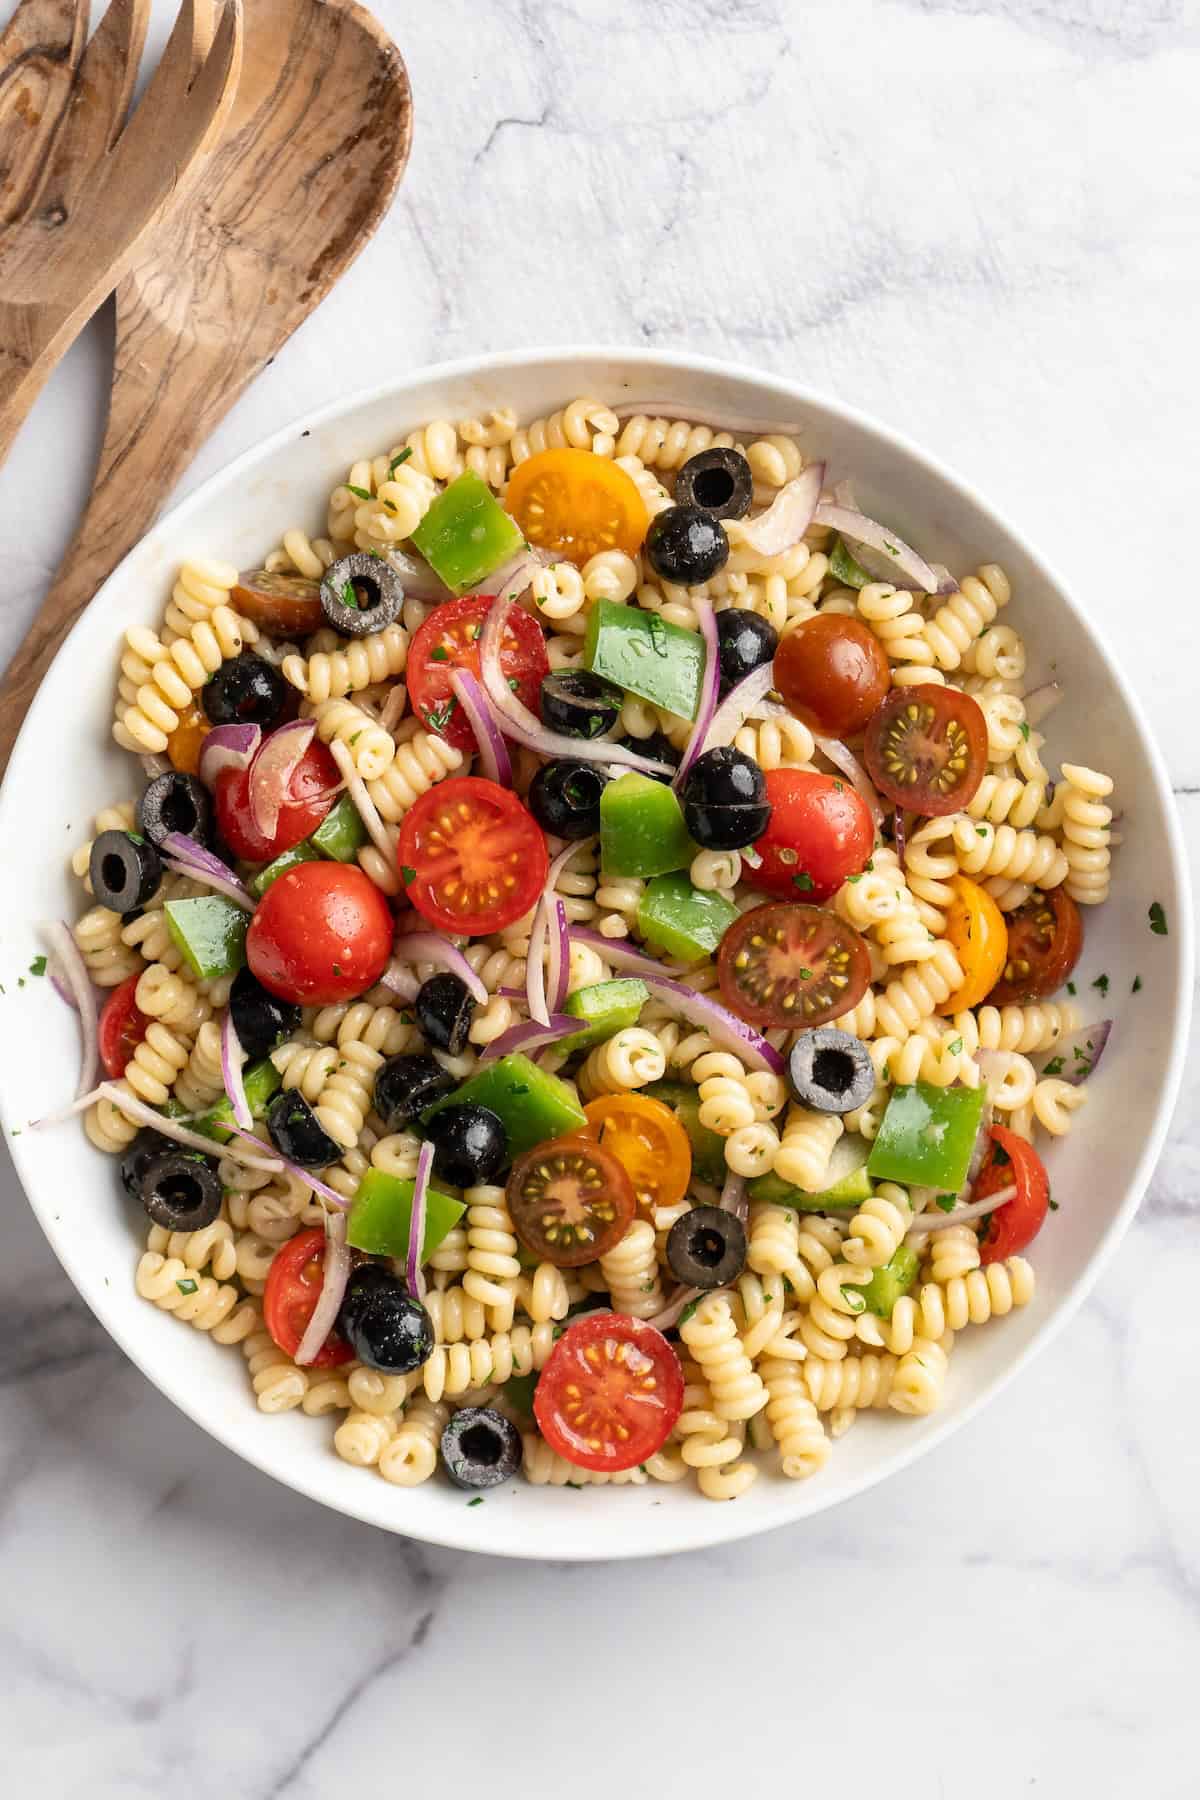
This 15 minute vegan pasta salad is perfect for a meal prep lunch or a quick weeknight dinner. It’s loaded with veggies and tossed with a bright and tangy homemade Italian vinaigrette!
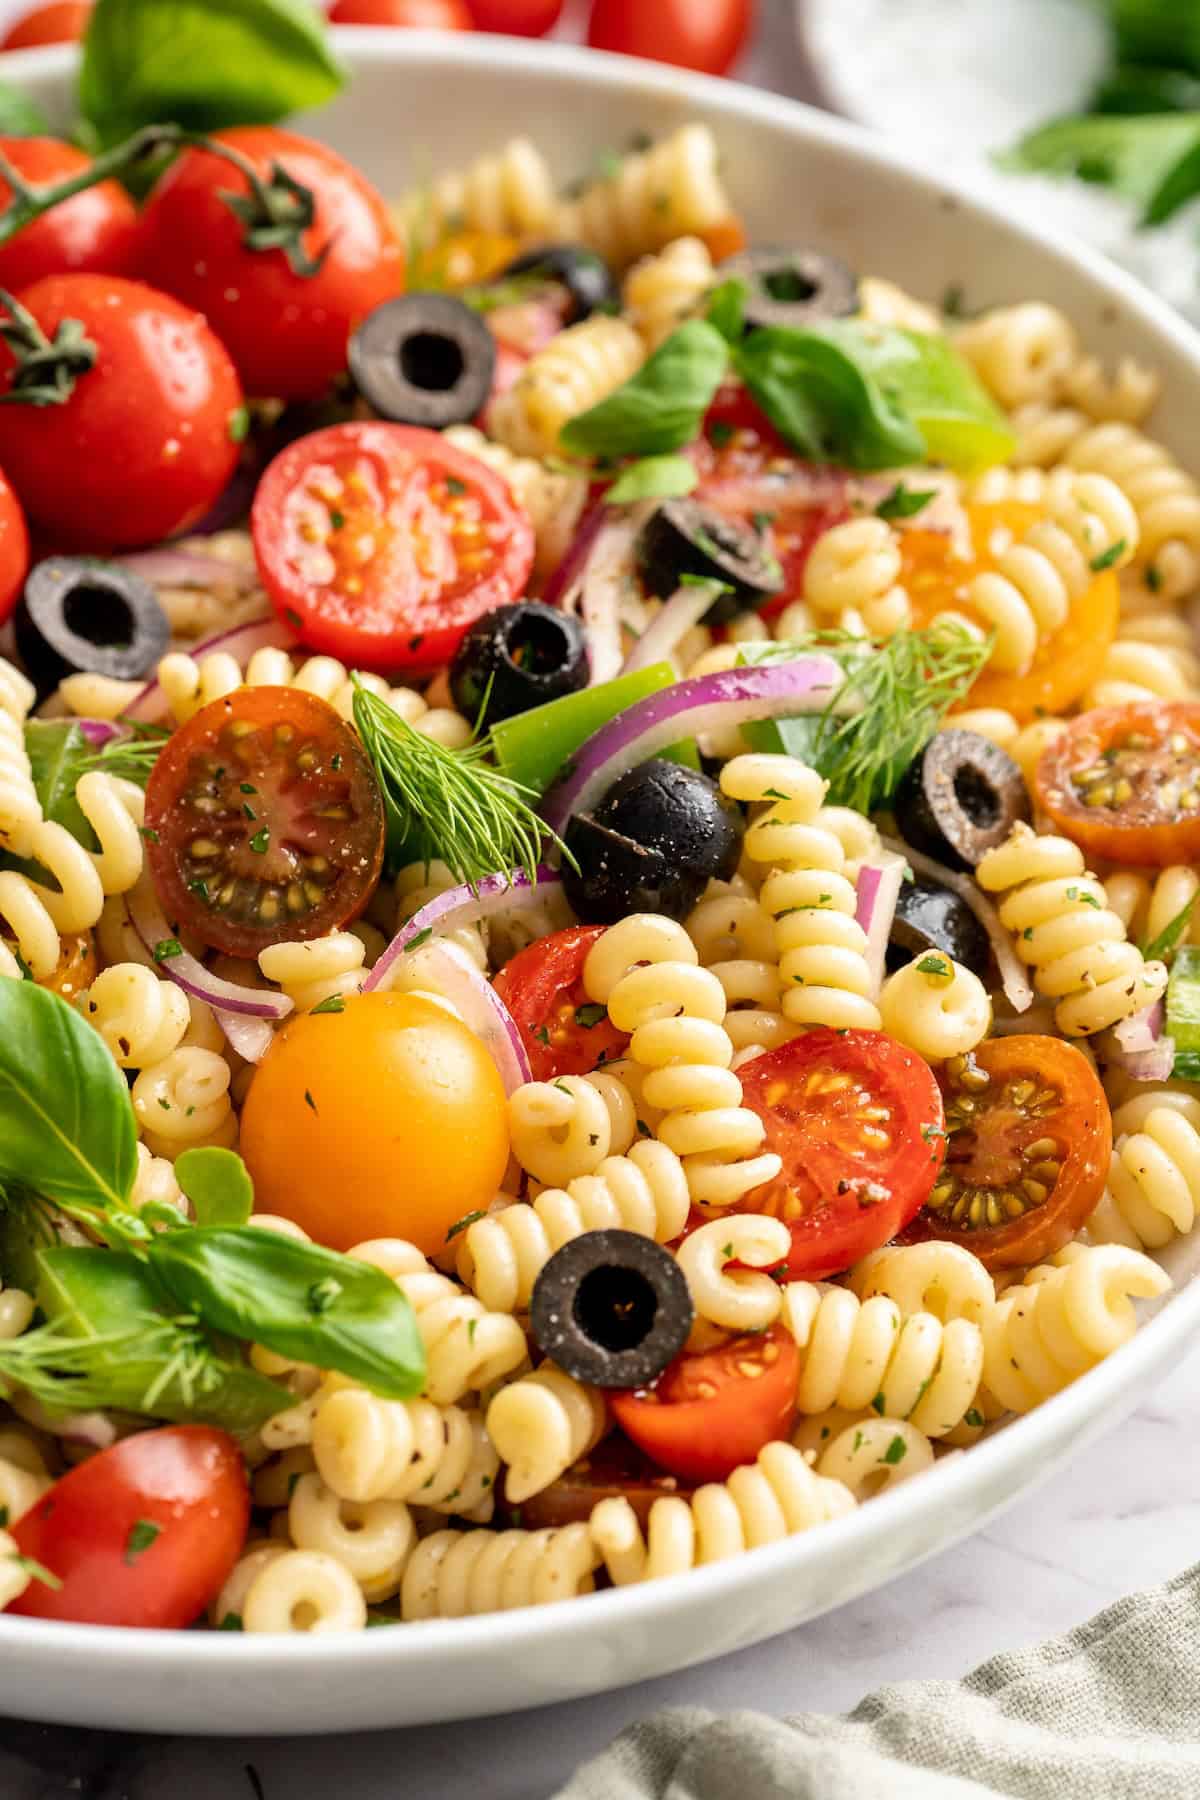
There are two kinds of pasta salads in this world: the ones that are soggy and drowning in a mayo-based dressing and the ones that are tossed with a light vinaigrette. (You can guess which one I prefer.) This 15 minute pasta salad is full of colour and flavour—no mayo to be found! Just lots of veggies, briny olives, and the most divine vinaigrette to tie it all together.
Why This Is My Go-To Vegan Pasta Salad
I’ve been making this pasta salad recipe for ages now, switching up the vegetables based on the seasons and what I have on hand. Here’s why I love it so much!
- Practically effortless . The 15 minutes in the name is no lie! While the pasta is boiling, cut the veggies and make the dressing. Drain the pasta, cool slightly and mix it all in. Done and done.
- So versatile . This pasta salad works for a lunch, a quick weeknight dinner , a side dish, potlucks, summer parties , and it can be served cold or hot (I prefer it cold so the veggies are crisp—just my humble opinion).
- That vinaigrette though . Vinaigrettes are so incredibly easy to whip up and once you give this one a taste, well, let me just say, you will never buy a bottle at the grocery store again. It’s bright, lemony, and fabulous!
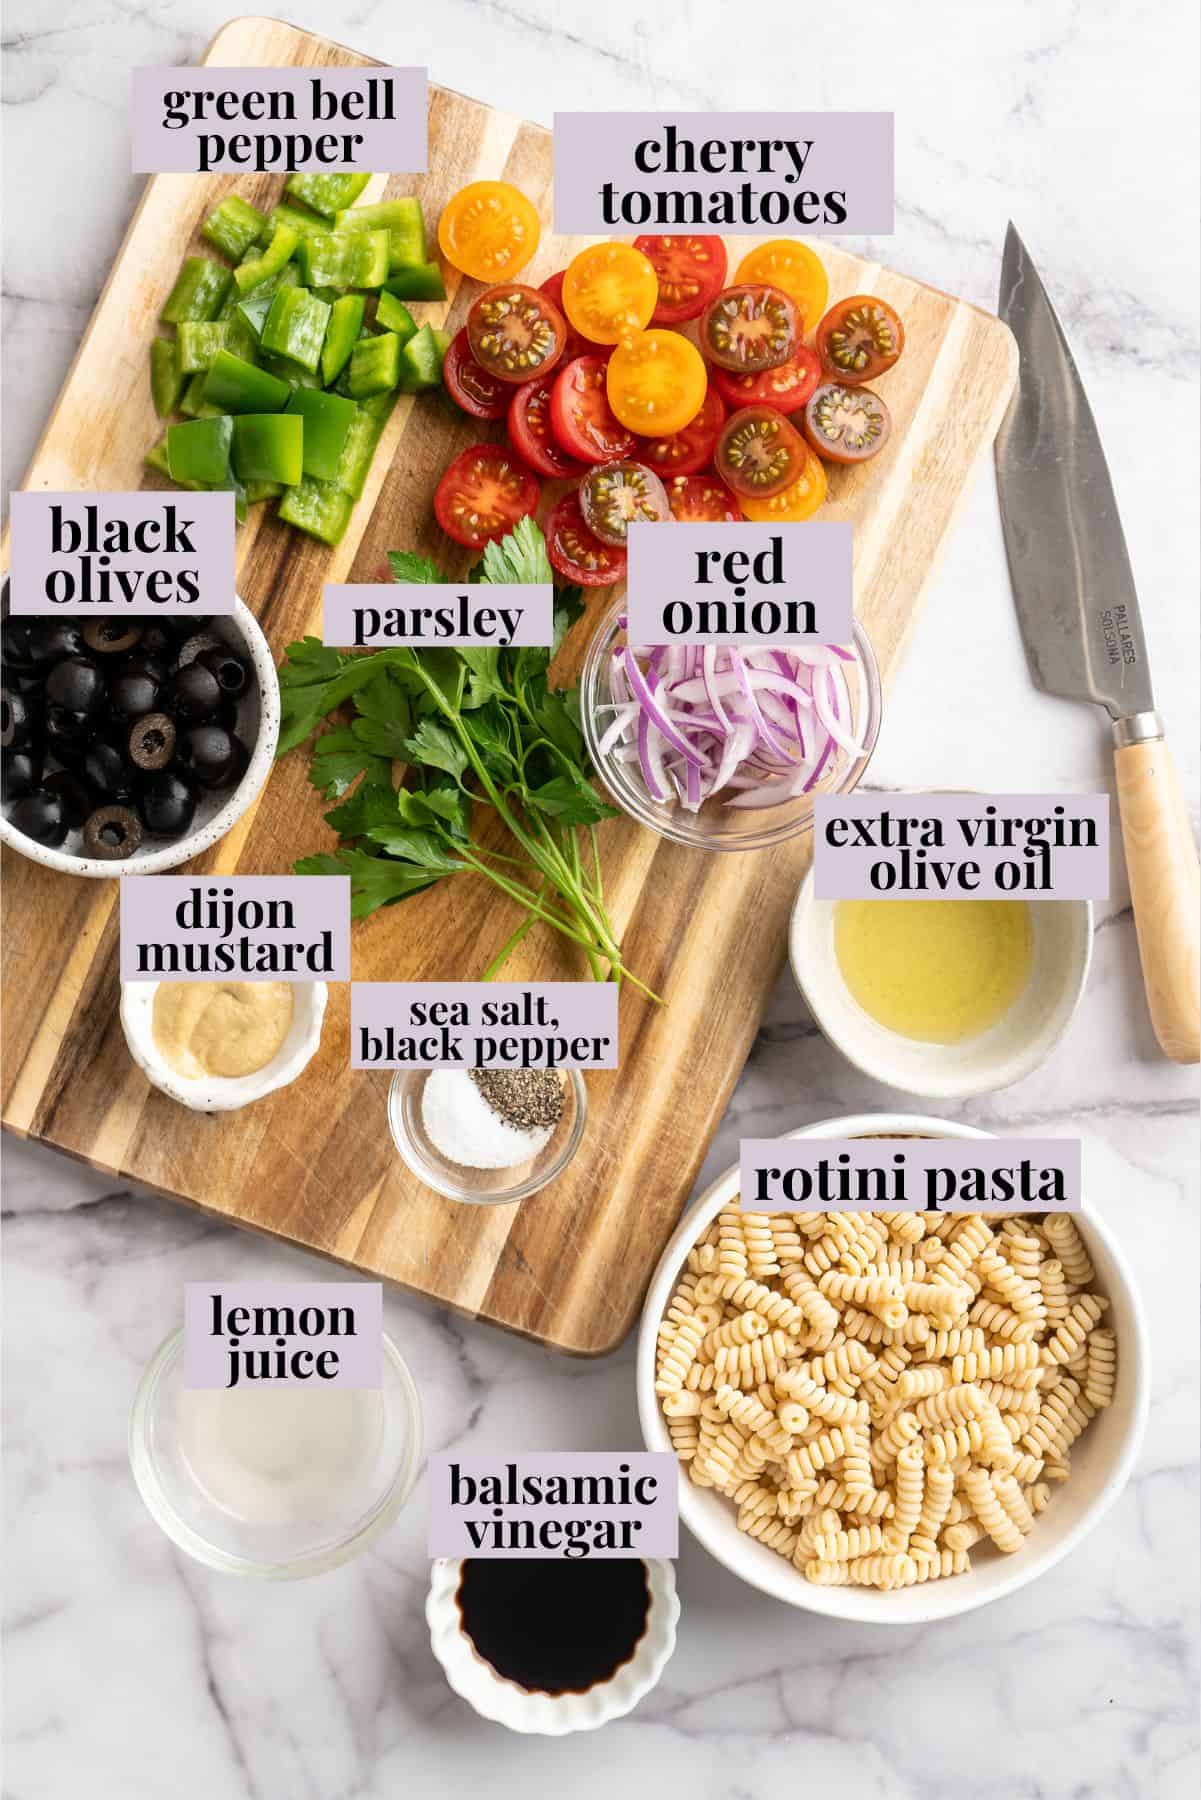
Notes on Ingredients
Here’s what you’ll need to make this simple vegan pasta salad. Scroll down to the recipe card to find the ingredient quantities and recipe instructions.
Italian Vinaigrette:
Extra virgin olive oil
Balsamic vinegar – I like to use a good, syrupy balsamic vinegar that has some natural sweetness to it. If yours isn’t so sweet, you might want to add a small pinch of sugar to the vinaigrette for balance.
Lemon juice – Or apple cider vinegar.
Dijon mustard – A common addition to vinaigrettes, this adds some depth to the equation.
Sea salt and ground black pepper
Rotini pasta – Or another pasta shape you like or have on hand.
Green bell pepper – Green bell pepper has a nice little bite to it! Red, yellow, or orange bell peppers can be swapped in for a sweeter flavour.
Cherry tomatoes
Parsley
Black olives – Canned olives are just fine, or go fancy and throw in some Kalamata olives.
Red onion – If you’re not a fan of raw onion, don’t worry—the acid in the vinaigrette will mellow its flavour so it’s not as sharp.
How to Make Vegan Pasta Salad (in 15 Minutes!)
If you’re making this recipe right now, scroll to the bottom of the post for the full instructions. This is just a quick overview!
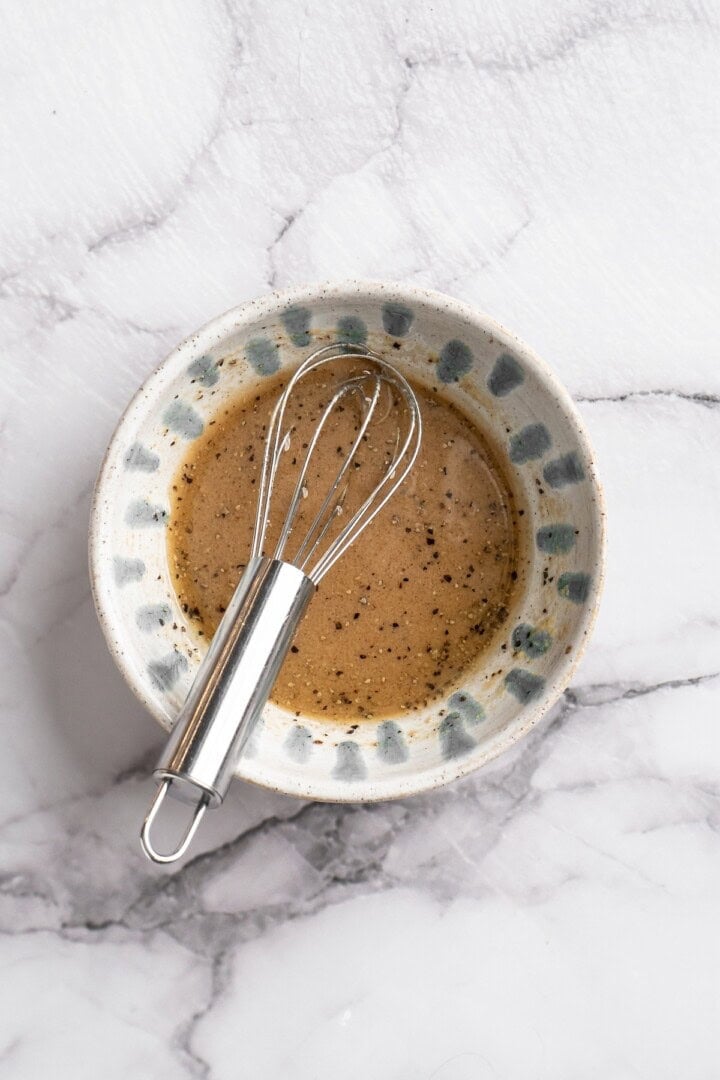
Make the vinaigrette.
- Make the vinaigrette . Combine all the ingredients in a jar or a bowl and shake (for the jar) or whisk (for the bowl) until the oil and vinegar emulsify.
- Cook the pasta . Follow the package directions and be sure to salt the water. Drain and cool the pasta slightly.
- Put it all together . Toss the pasta with the vinaigrette and the rest of the veggies, then serve.
Tips for Success
- Meal prep it . This recipe is ideal for meal prep since it keeps well in the refrigerator for a few days. (That said, if you’re making this for a party, I wouldn’t assemble it more than a day in advance to make sure the veggies are at their freshest.)
- Let the flavours meld . After you’ve assembled the salad, if you can let it sit for 30 minutes, the flavours will intensify even more.
- Serve it warm or cold . I prefer this pasta salad chilled, but you can also serve it warm, right after you’ve mixed in all the ingredients. Either way is delicious!
Variations
Want to switch things up? This is definitely a recipe where you can do that!
- Make it gluten-free . You can swap in your favourite gluten-free pasta to make this pasta salad gluten-free. I do recommend under-cooking the pasta slightly, as gluten-free pastas have a tendency to soften more than wheat pasta when added to sauces and dressings.
- Try other veggies . I’ve made this recipe with zucchini, carrots, spring onions, broccoli, baby spinach—truly, almost any vegetable will work here. You can even use leftover Balsamic Roasted Vegetables !
- Add some protein . I love tossing in my Vegan Feta Cheese , which is made with tofu so it adds some protein to the mix too.
Serving Suggestions
If you’re making this recipe as a side dish, I think it would pair well with Marinated Tofu or Lemon Pepper Tofu , or a sandwich like this Vegan Chicken Parm Sandwich or Caprese Sandwich with Parsley Pesto .
How to Store
This pasta salad recipe holds up really well in the refrigerator, stored in an airtight container; it lasts for about 5-6 days. I do not recommend freezing it, as there are too many fresh ingredients and their textures and flavours will suffer.
More Satisfying Salads
- Fattoush Salad
- Thai Quinoa Salad
- Tofu Egg Salad
- Mediterranean Chickpea Salad
- Vegan Cobb Salad
Ingredients
Italian Vinaigrette
- 3 tablespoons extra virgin olive oil , (about 42 g)
- 2 tablespoons balsamic vinegar , ( 30 g)
- 2 teaspoons lemon juice , or apple cider vinegar ( 10 g)
- 1 teaspoon dijon mustard , ( 5 g)
- ½ teaspoon sea salt , ( 3 g)
- ¼ teaspoon ground black pepper , ( 0.6 g)
Pasta Salad
- 8 ounces rotini pasta , uncooked ( 227 g)
- ¼ cup green bell pepper , ½ green bell pepper ( 70 g)
- ½ cup cherry tomatoes , sliced ( 95 g)
- ¼ cup parsley , ( 8 g)
- ¼ cup black olives , sliced ( 37 g)
- ¼ red onion , sliced ( 57 g)
Instructions
Italian Vinaigrette
- Add all the ingredients into a mason jar or a bowl. Shake the mason jar to combine, or stir vigorously in the bowl. Shake/stir again right before you’re about to add it to the pasta salad.
Pasta Salad
- Cook the pasta according to package directions in a boiling pot of salted water. While the pasta is cooking, you can cut up all the ingredients and make the dressing.
- Drain the pasta according the package directions, then allow to cool slightly (I like to run mine under cold water to stop the cooking). Add in all the pasta salad ingredients. Pour the vinaigrette over it and stir to combine.
- You can taste and add more salt or acid if you like. You can eat it right away or let it sit for about 30 minutes for the flavours to meld even more. Eat and enjoy!
