What is granita made of?
First things first, granita is an Italia-style flavoured ice. Think, a fancy version of the shaved ice you used to eat as a child. This granita is like a grown up version that still tastes absolutely amazing, except without the pounds of syrup on ice. It is so incredibly refreshing, a real cooler-down in this crazy summer heat and perfect for pretty much every occasion.
How long does strawberry granita last in freezer?
Ingredients
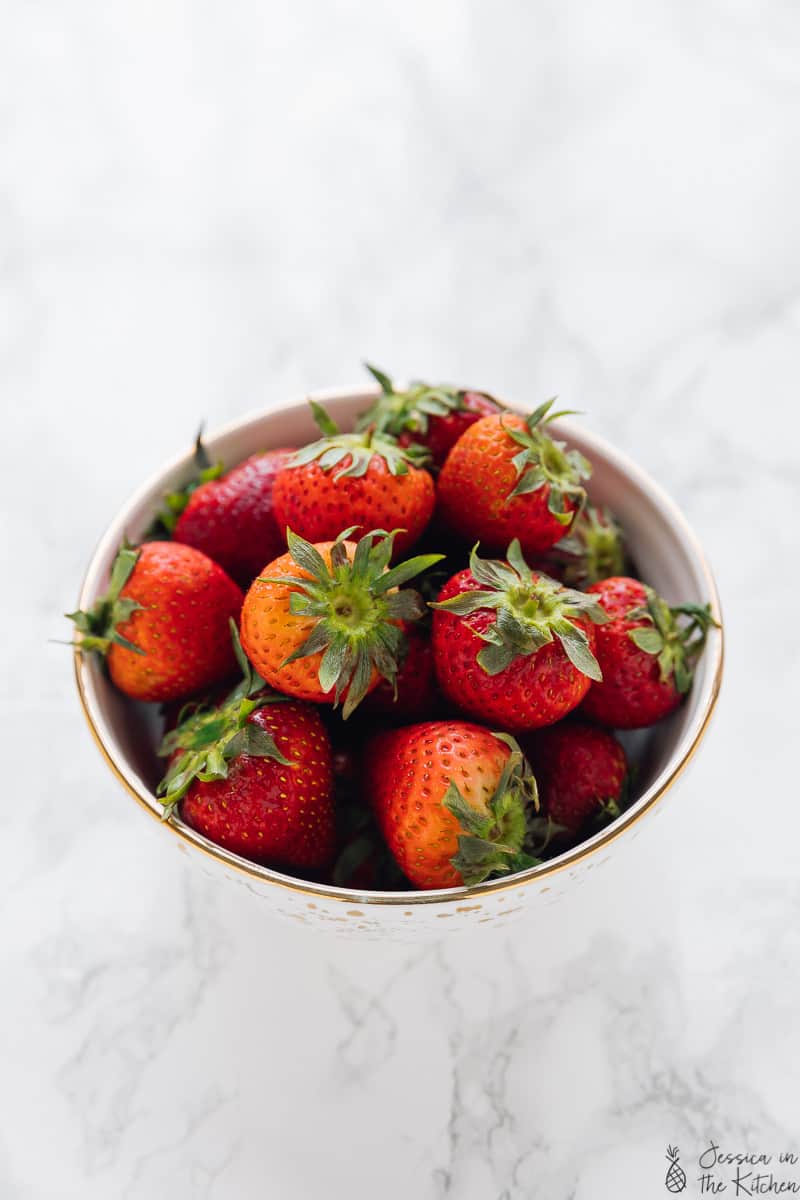
- 4 cups 1lb Strawberries, stems removed and chopped
- 2-3 tablespoons lemon juice
- 3 tablespoons maple syrup or agave nectar
Instructions
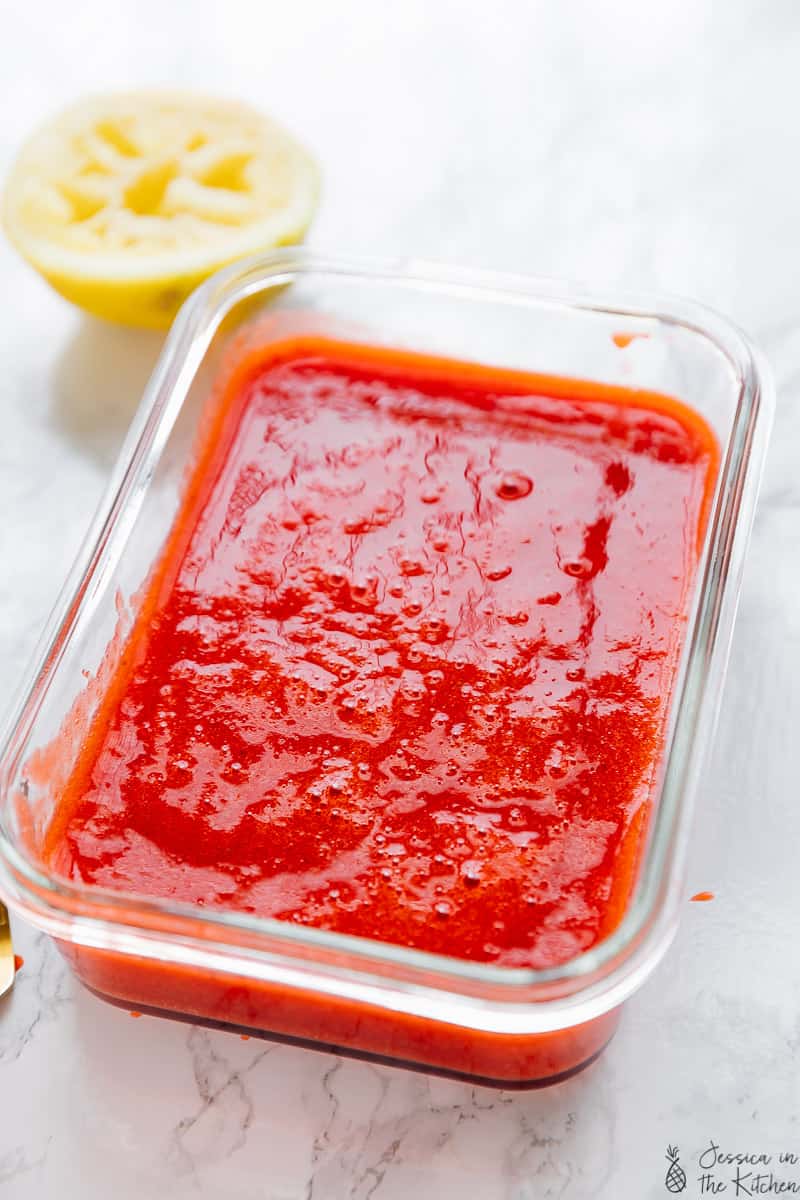
- Blend the strawberries, lime juice and maple syrup/agave nectar together in a blender or food processor.
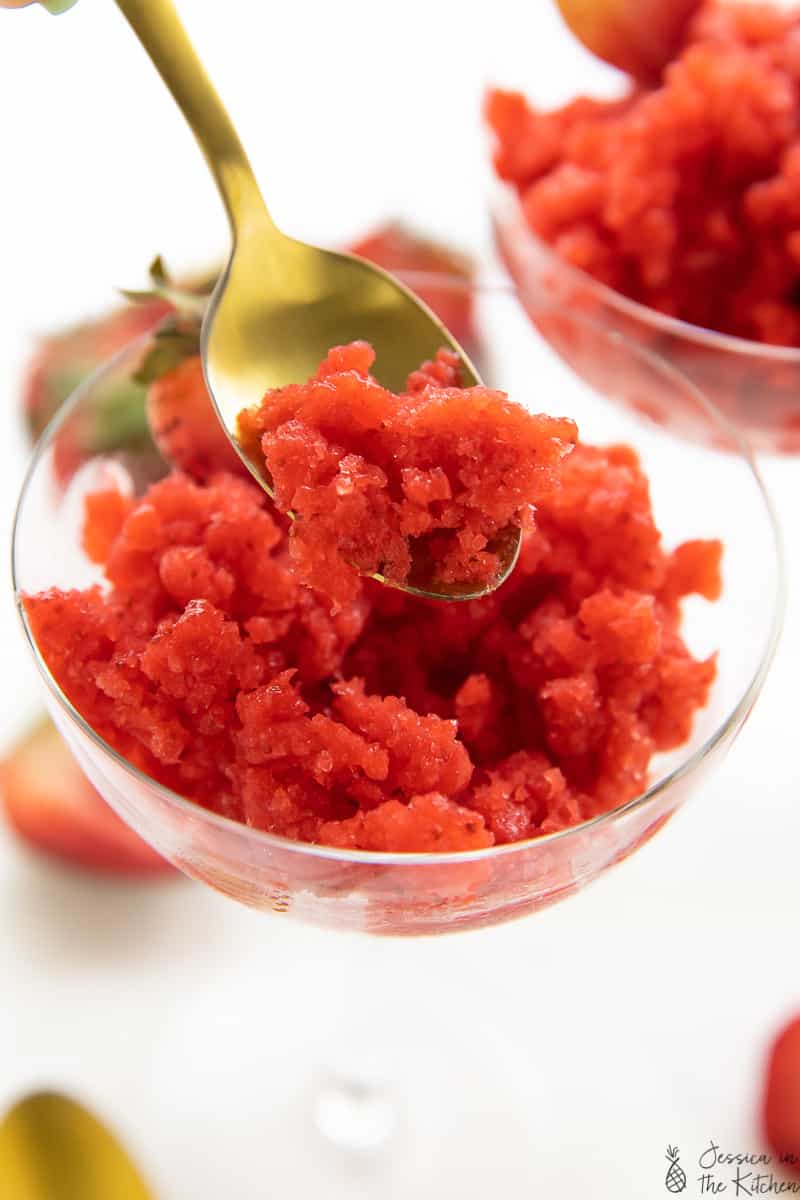
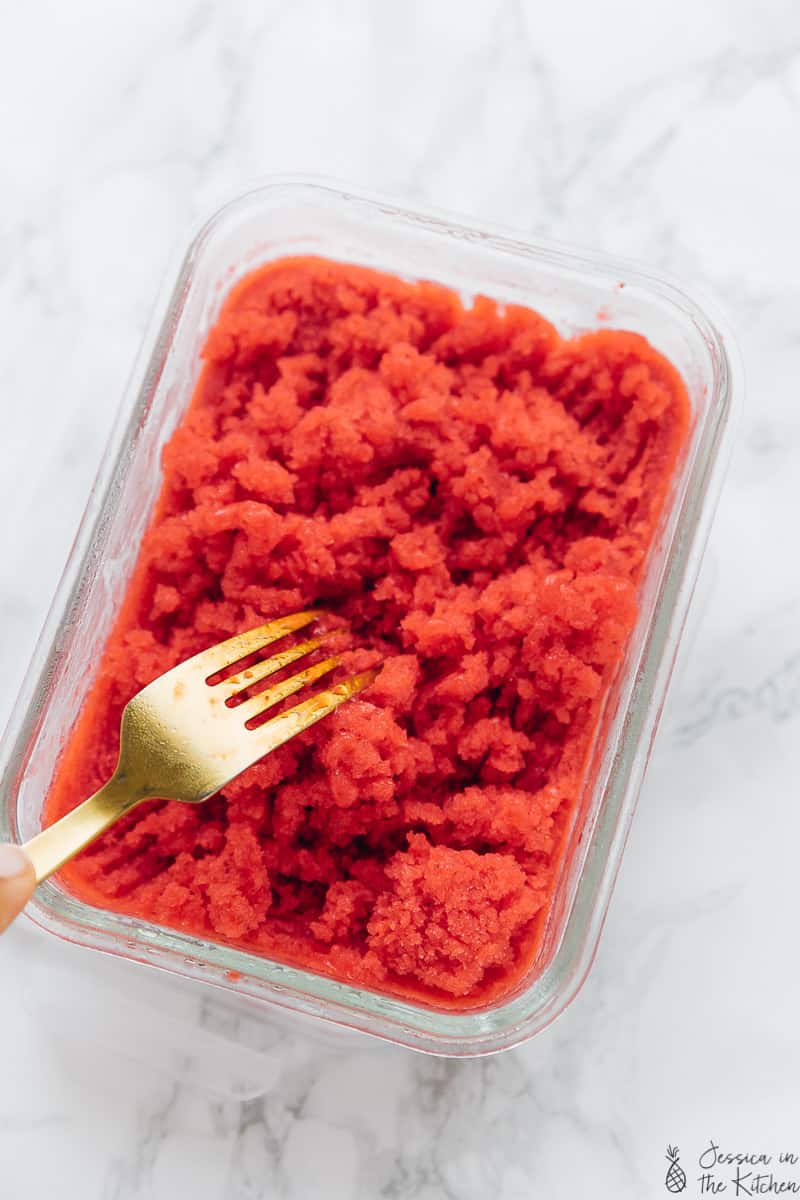
- Pour the mixture into a square 8×8 container of a 5 x 9 loaf pan. Spread it across the container and allows to freeze for at least four hours, preferably overnight. When the mixture has set, use a fork to scrape it gently to form a shaved ice texture.
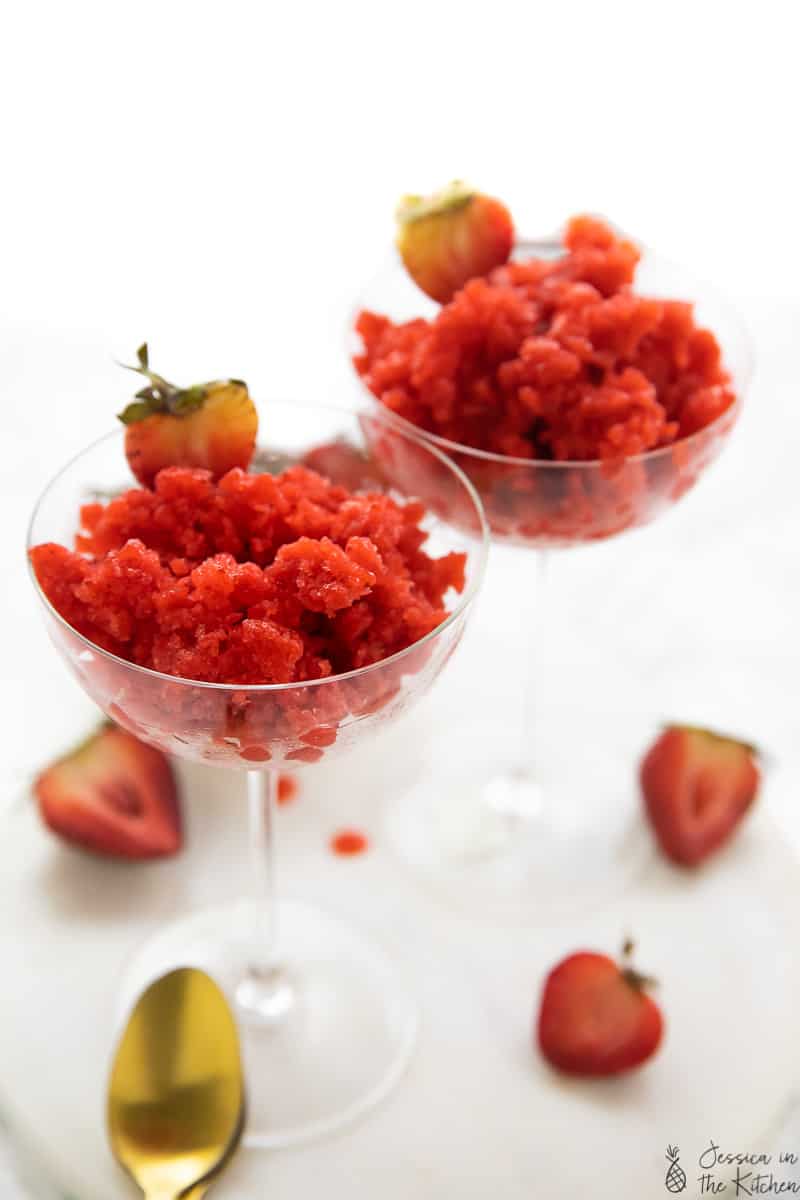
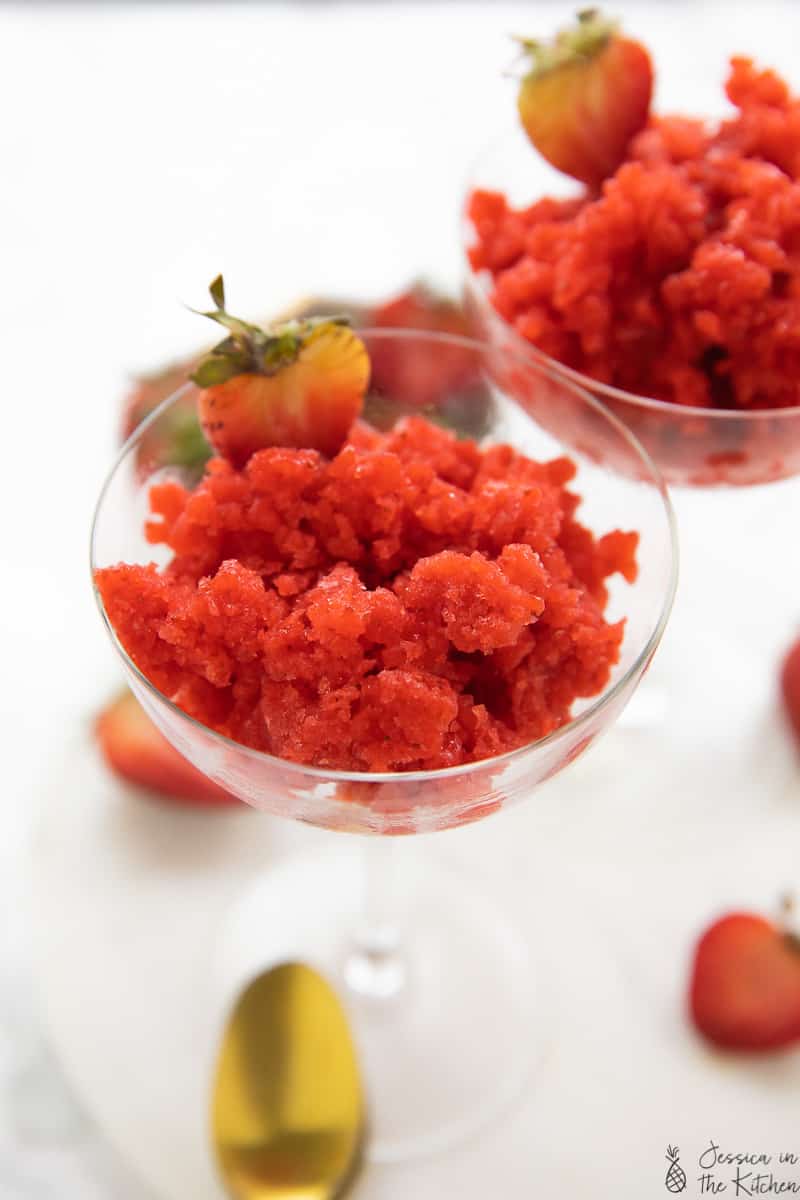
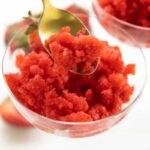
- Serve immediately and enjoy!
Strawberry Granita
Ingredients
- 4 cups 1lb Strawberries, stems removed and chopped
- 2-3 tablespoons lemon juice
- 3 tablespoons maple syrup or agave nectar
Instructions
- Blend the strawberries, lime juice and maple syrup/agave nectar together in a blender or food processor.
- Pour the mixture into a square 8x8 container of a 5 x 9 loaf pan. Spread it across the container and allows to freeze for at least four hours, preferably overnight. When the mixture has set, use a fork to scrape it gently to form a shaved ice texture.
- Serve immediately and enjoy!
Nutrition
Strawberry Granita https://jessicainthekitchen.com/strawberry-granita/ July 15, 2019
Low Carb Vegan Waffles vs. Regular Waffles
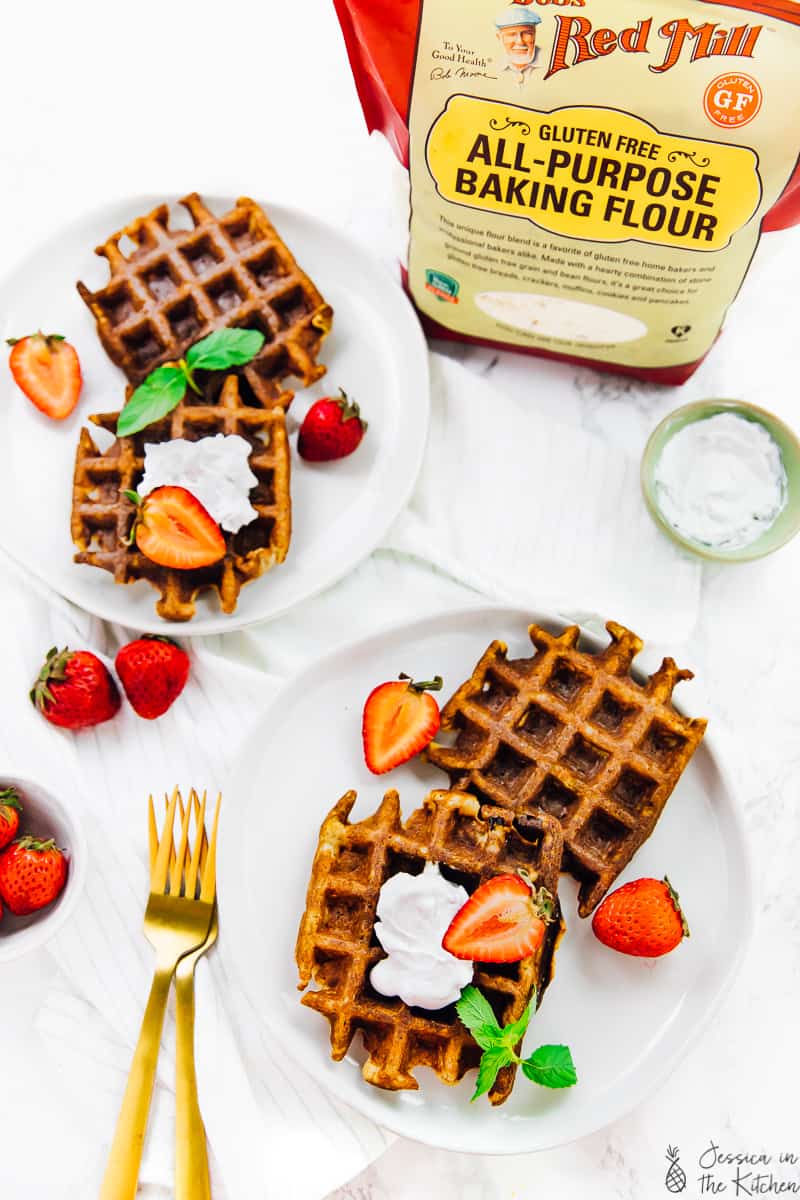
By the way, for context, my regular waffles recipe (which are absolutely delicious by the way) have 38.5g net carbs, in comparison to these waffles which have 13.2g of net carbs per waffle! This post is not to say one is better than the other, but rather that I want to start providing you guys with all the dietary requirements that you need.
How to Make Low Carb Vegan Waffles
Ingredients
- 1 cup unsweetened almond milk , or coconut milk*
- 2 teaspoons apple cider vinegar
- 2 tablespoons ground flaxseed , (aka flaxmeal)
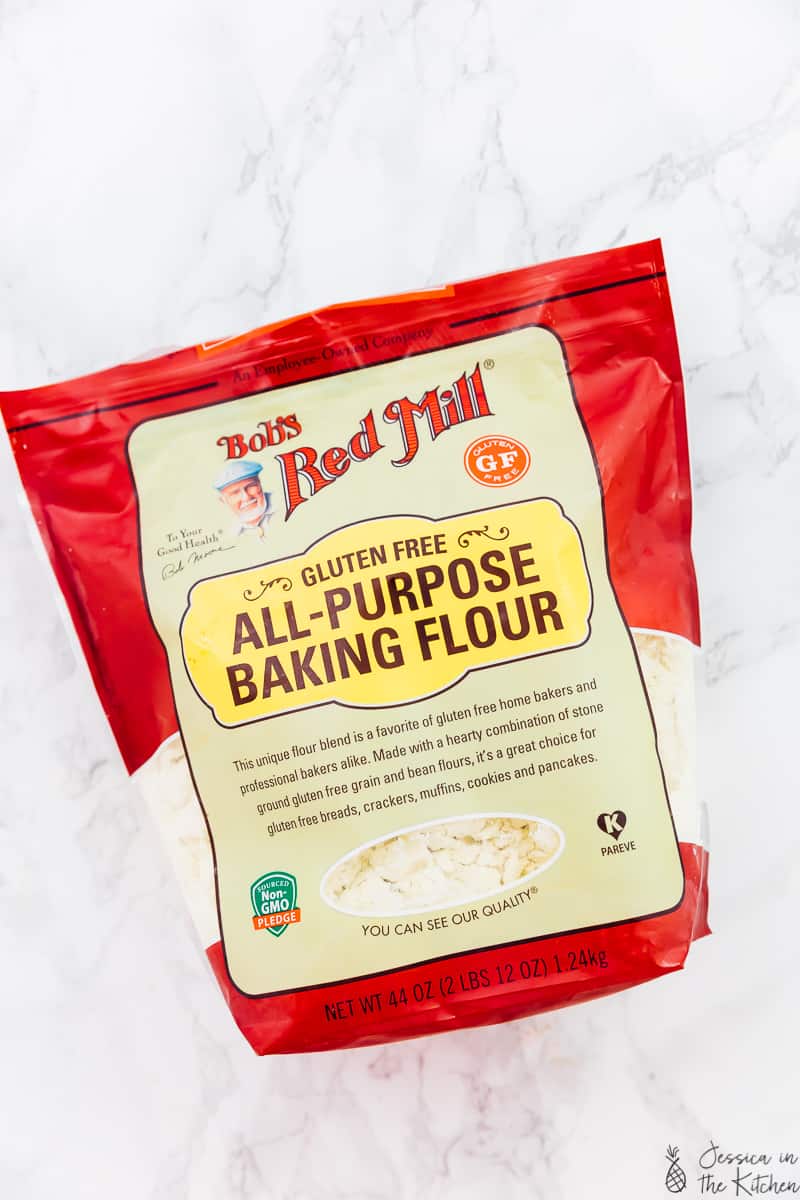
- 1/2 cup Bob’s Red Mill Unbleached White All Purpose Flour
- 1/4 cup Bob’s Red Mill Organic Coconut Flour
- 1 tablespoon baking powder
- 1/4 teaspoon sea salt
- 1 tablespoon coconut oil
- 1 tablespoon maple syrup
- 1/2 teaspoon vanilla extract
- Strawberries , for serving
- dollop vegan whipped cream
Instructions
- Mix the unsweetened nut milk and apple cider vinegar together in a large bowl or large measuring cup. Let sit for one minute to create a vegan buttermilk. Whisk in all of the flax meal until fully incorporated. Place in your fridge to set up for 15 minutes until thick and gelatinous. After 15 minutes stir it one more time to fully incorporate.
- In a large bowl, mix the Bob’s Red Mill All Purpose Flour, the coconut flour, baking powder and sea salt. Set aside.
- Pour the nut milk flax mixture into the dry mix. Add the coconut oil, maple syrup and vanilla extract on top and mix until combined. Mix for about 1 minute until fully incorporated. It doesn’t need to be fully smooth.
- Turn on and preheat and grease your Waffle Maker according to which done level that you want. I set mine in about the middle because I like mine slightly crisp on the edges crisp and brown but also very fluffy.
- When preheated, use a heaping 1/4 cup/62.5ml measuring cup, scoop out some batter and pour/spread into the middle of each side of the waffle maker (so 1/4 cup per side*). You don’t need to push it to the edges. Close and remove when the timer on the Waffle Maker is finished and the waffle maker beeps.
- Remove each waffle (I use a chopstick since it’s wooden and easy to scoop under the waffle) and place on a baking sheet in your oven or toaster oven on “warm” or 200F/95C to keep warm and crispy until finished with the entire batter. Continue with the rest of the batter.
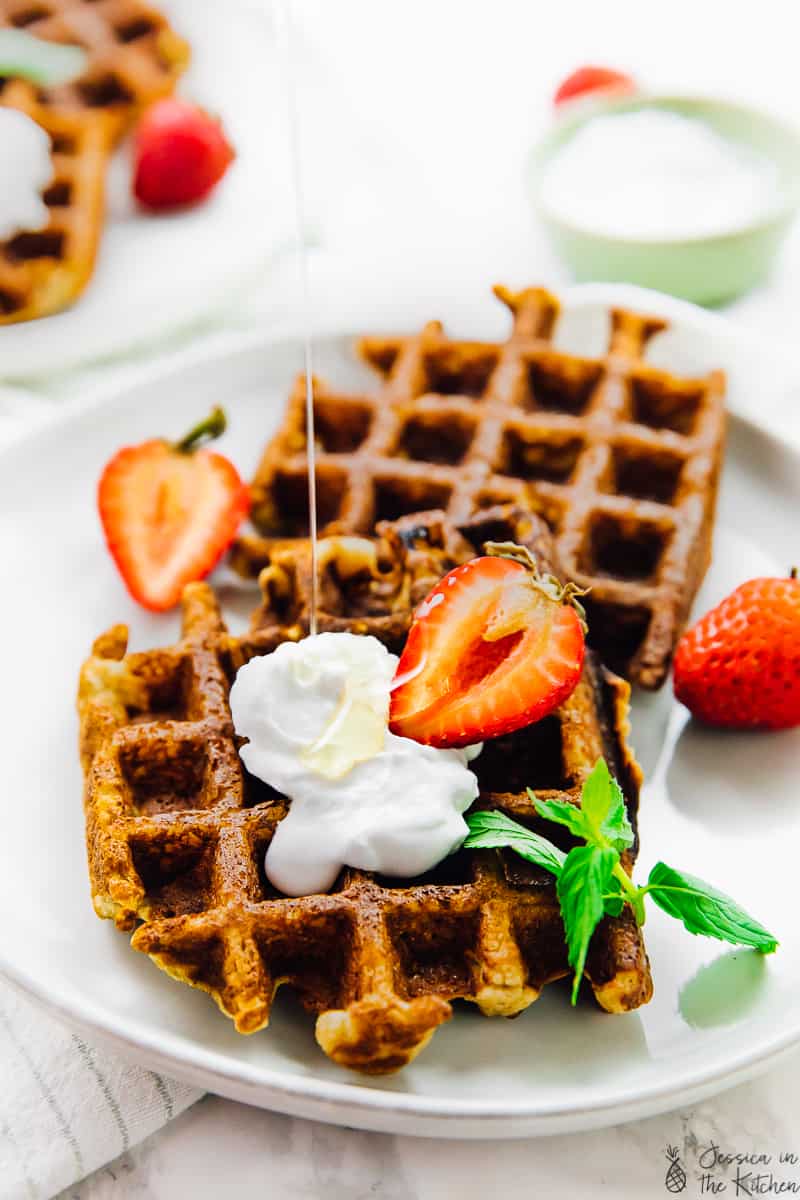
- Top with your favourite toppings like chocolate chips, sliced strawberries and maple syrup (optional). Enjoy!
