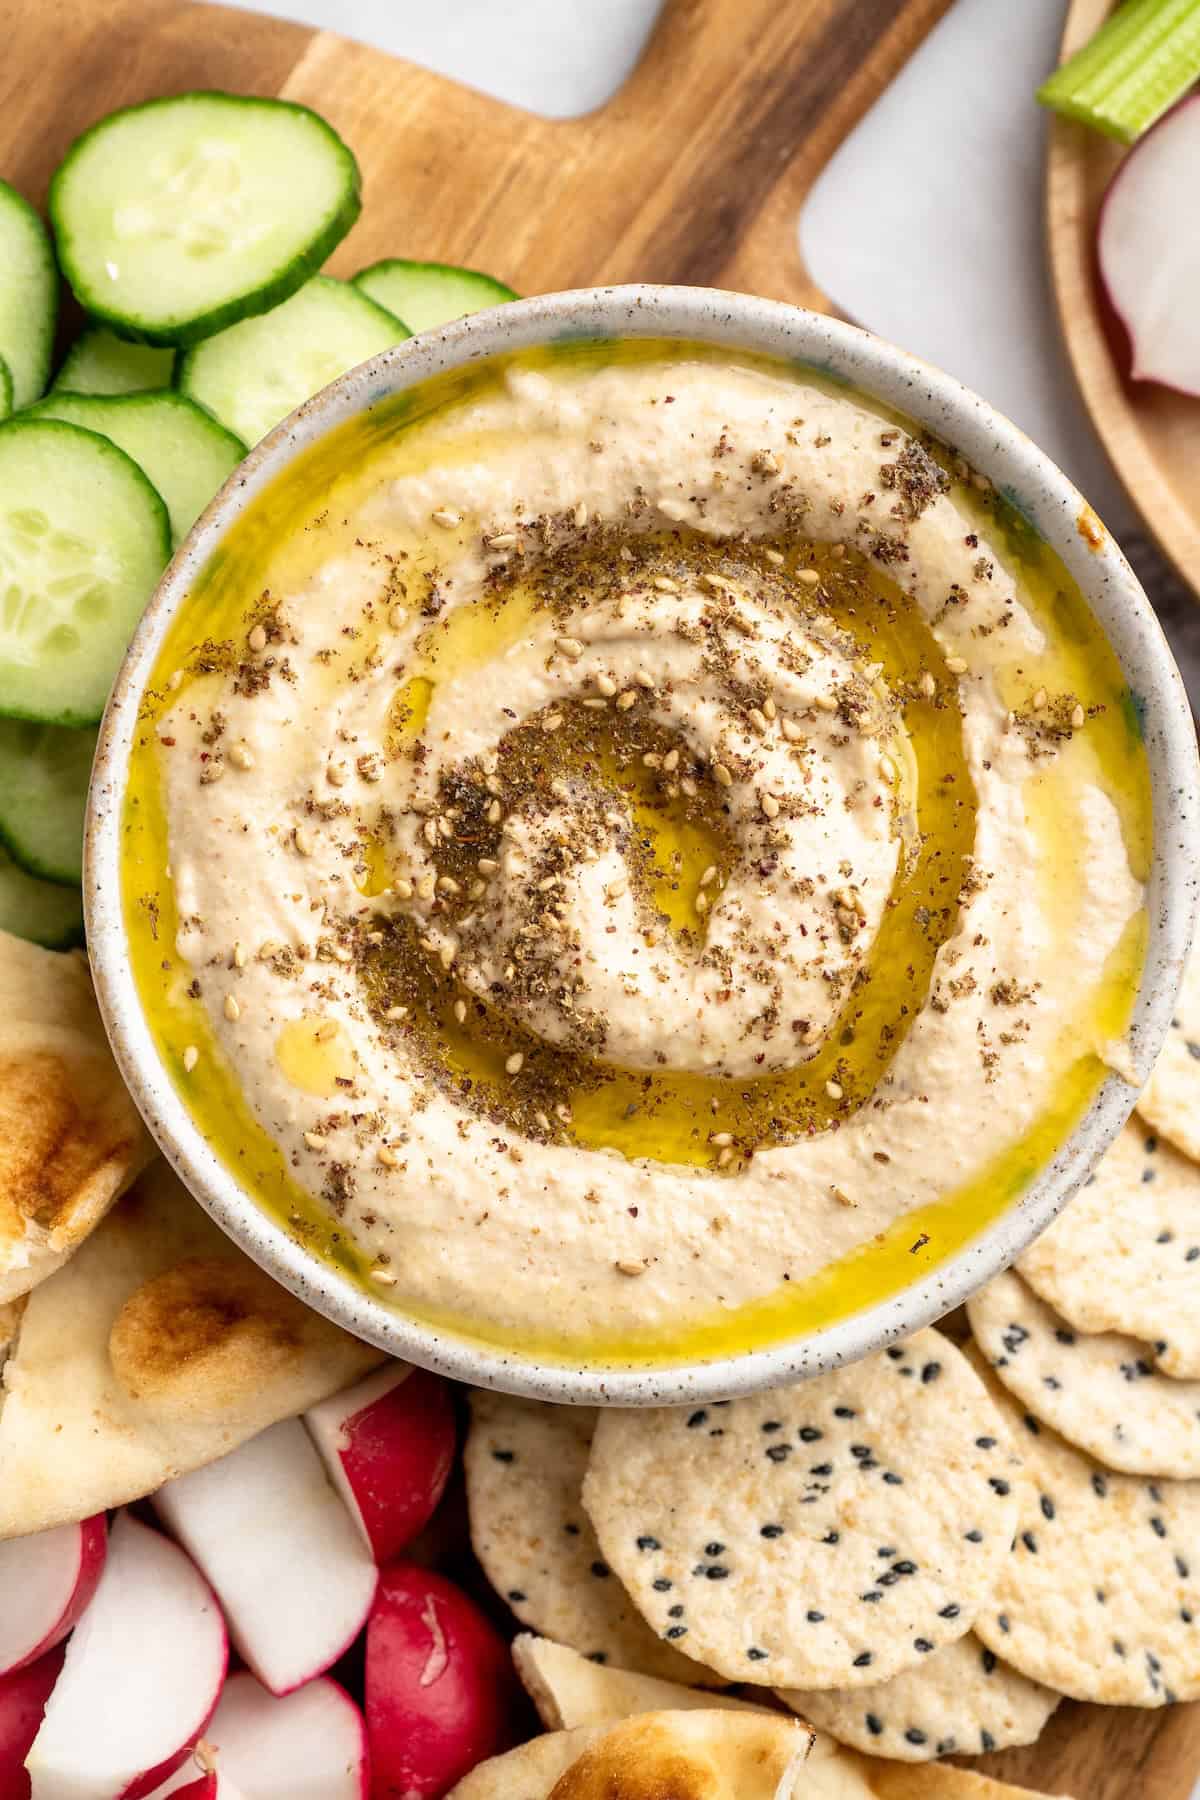
Roasted Cauliflower Hummus gives the classic dip a low-carb makeover! It’s absolutely smooth and creamy and I add roasted garlic too, which makes it extra delicious.
Cauliflower is definitely the most versatile vegetable. You can make it into Cauliflower Gnocchi , bake up some epic BBQ Cauliflower Wings , and you can even turn it into cauliflower hummus! Because it’s made with tahini, this roasted cauliflower hummus recipe tastes surprisingly similar to traditional hummus made with chickpeas, but it’s got a slightly caramelised flavour and much less bite than hummus made with fresh garlic because I roast the cloves first. It’s fabulous!
Why You’ll Flip for This Cauliflower Hummus Recipe
I hope you give this dreamy roasted cauliflower hummus a try, friends! Here’s why it’s going to be a hit.
- Use it for ALL the things . I’m talking spread on everything, from your sandwich, to your wraps, to pizzas. And then dip veggies and Pita Chips and crackers in it. Don’t forget to add a scoop your salads either!
- Hummus without the carbs . This cauliflower hummus comes in at 3 net carbs per serving, which is a whole 1/4 cup, making this keto-friendly!
- Roasted cauliflower makes it delicious . The first thing you need to do is roast your cauliflower. Just like in my Roasted Cauliflower Soup , roasting not only brings out the best of its flavour, but also makes it easy to puree until it’s smooth and creamy.
Notes on Ingredients
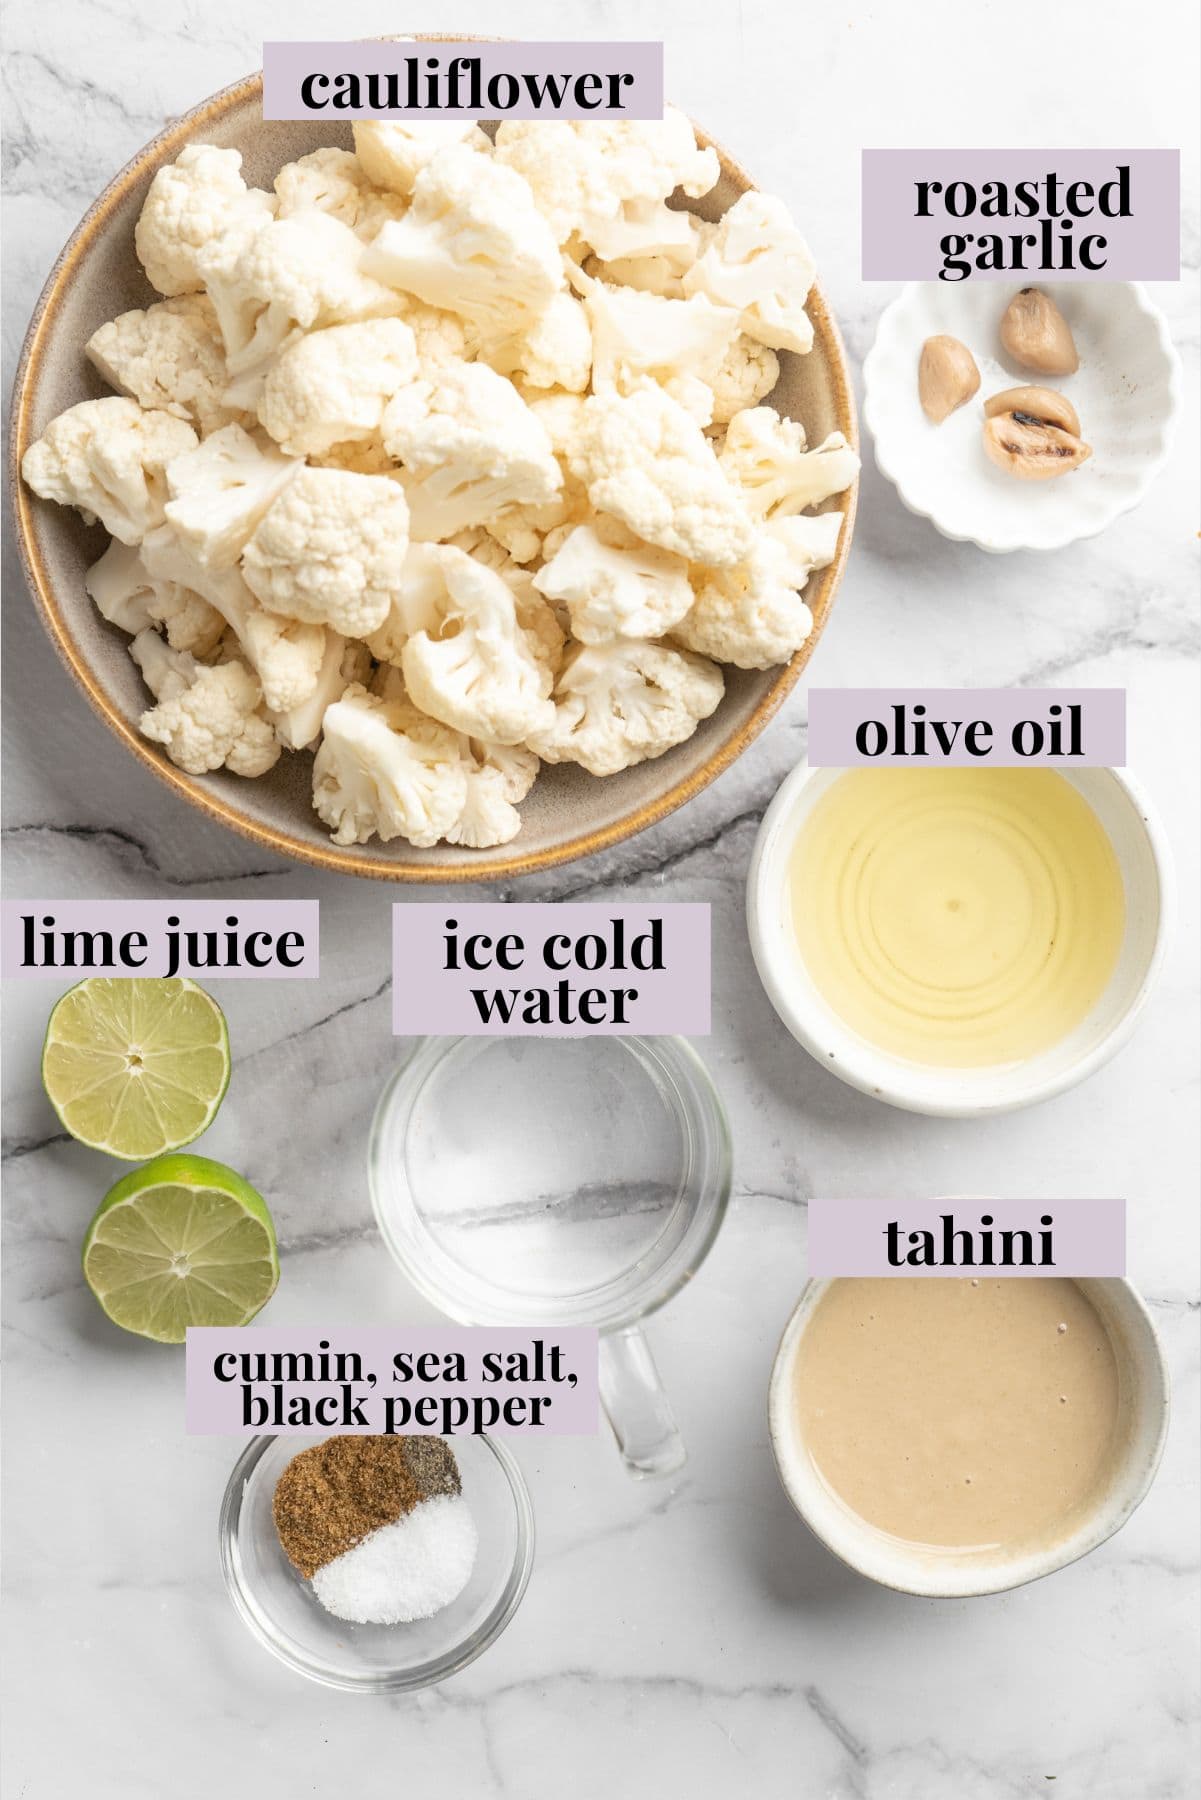
Here’s the short list of ingredients you’ll need to transform your cauliflower into creamy hummus. Scroll down to the recipe card to find the ingredient quantities and recipe instructions.
- Cauliflower – You can save on some prep time by buying a bag of pre-cut cauliflower, but don’t use frozen; it doesn’t roast very well.
- Olive oil – Use a good extra-virgin olive oil for the best flavour.
- Roasted garlic – You can use Oven Roasted Garlic or Air Fryer Roasted Garlic .
- Seasonings – Sea salt, ground black pepper, and cumin.
- Lime juice – Or lemon juice, for a more traditional flavour.
- Tahini – When I went to the Middle East, I fell in love with tahini . It’s what turns this from a cauliflower dip to cauliflower hummus!
- Ice cold water – I learned while in the Middle East that ice cold water really sticks to and activates the fat in the tahini, making hummus super fluffy. It’s what I do now every time I make hummus!
How to Make Cauliflower Hummus
Let’s get ready to snack! Here’s what you’ll need to do.
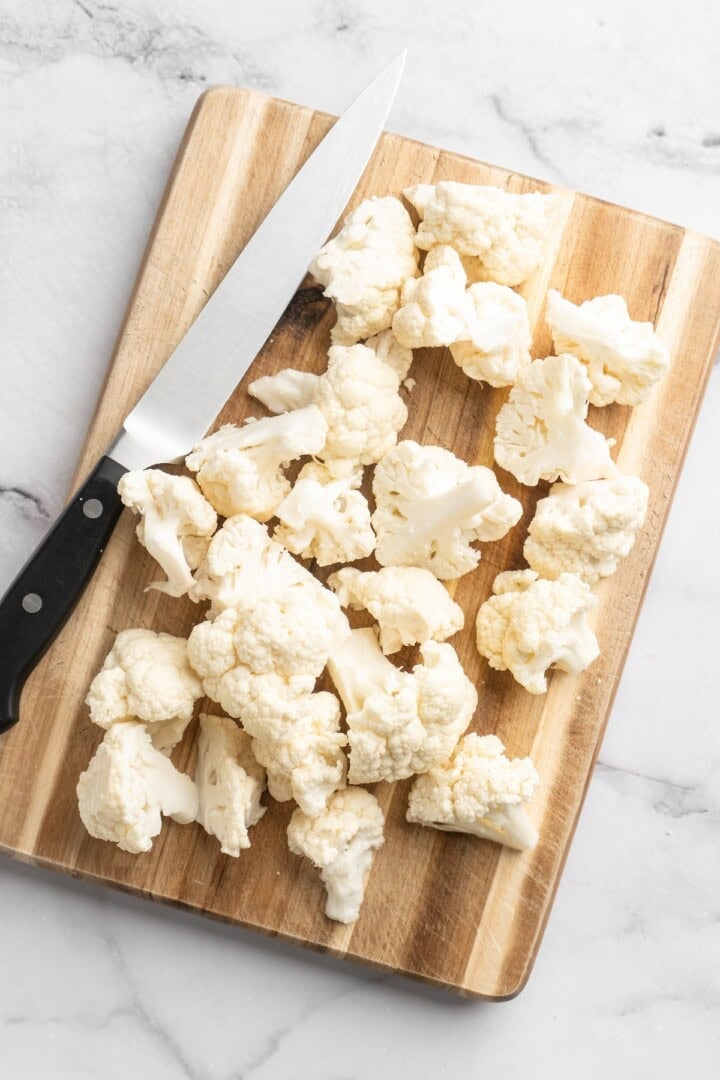
Cut the cauliflower into florets.
- Prepare . Preheat your oven to 450ºF and line a baking sheet.
- Roast the cauliflower . Break the cauliflower into florets and toss with 1/2 tablespoon of oil. Spread onto the baking sheet and roast for 15 minutes, then let it cool for 5 minutes.
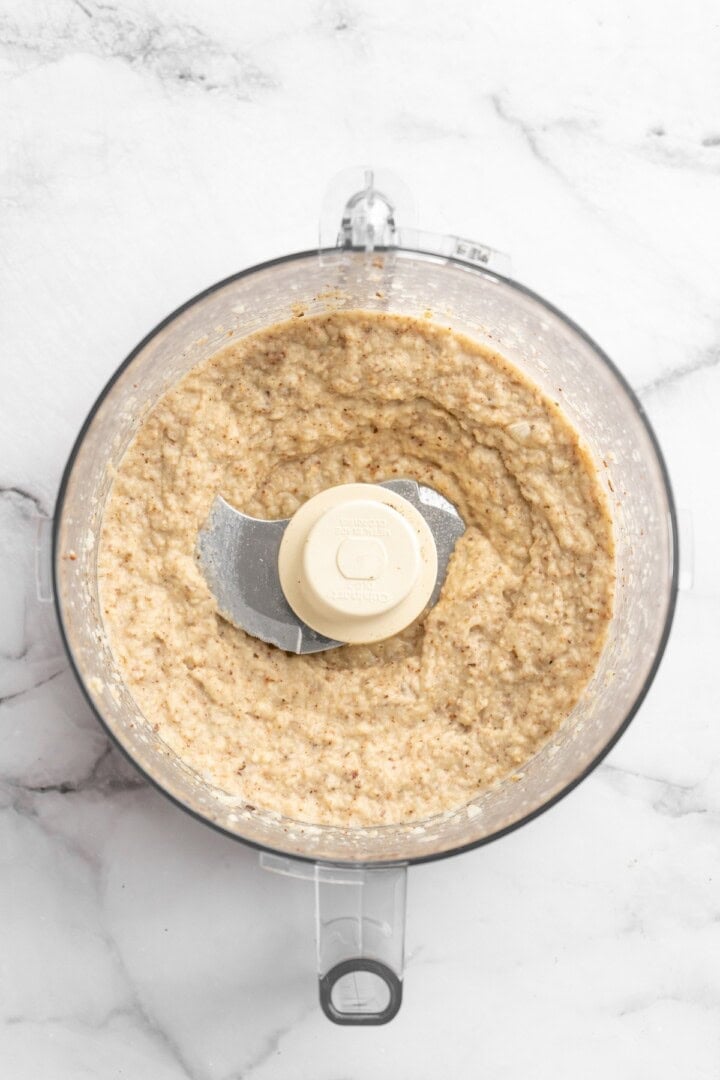
Puree.
- Process . Add the cauliflower to a food processor with the remaining oil, roasted garlic, seasonings, and lime juice. Turn on the food processor and slowly stream in the tahini; once it’s incorporated, stream in the ice water and process for about 5 minutes, or until smooth, creamy, and fluffy.
- Finish . Season to taste and process again. Serve as desired, whether it’s as a spread, with veggies, as a dip for pita bread or Vegan Naan , whatever!
Tips for Success
Here are a few more pointers to help you make perfect cauliflower hummus.
- Stop to scrape down the sides . I stop my food processor every minute and half, scrape down the sides, and blend again. By the time it’s done, it will be completely smooth and creamy.
- Use a blender if you don’t have a food processor . A high speed blender is best, but even a regular blender should work! Be sure to vent the lid, though, because the warm cauliflower will release steam.
- Roast the cauliflower longer if needed . If your florets are larger, you might need a little extra time in the oven. You want it fork tender so it purees smoothly.

Variations
There are so many ways to put your own spin on this recipe!
- Use raw garlic . You can add a clove of raw garlic instead of the roasted garlic if you want more pungent garlic flavour.
- Make it smoky . Add smoked paprika to the cauliflower hummus or sprinkle it on top of the hummus before serving.
- Top it . Add the hummus to a bowl and drizzle on a swirl of extra-virgin olive oil. To take it to the next level, you can add toasted pine nuts, za’atar, Crispy Roasted Chickpeas , sun-dried tomatoes, or Kalamata olives on top for garnish.
My Favourite Ways to Use This Hummus
It’s not just for dipping! I love slathering this cauliflower hummus onto tortillas and wrapping them up with romaine, diced tomatoes, cucumbers, and Crispy Homemade Falafel . You can also spread it onto buns with veggie burgers (like these Quinoa Burgers !) as a lighter vegan alternative to mayo.

How to Store Leftovers
- Refrigerator : Transfer leftover cauliflower hummus to an airtight container and refrigerate for up to 4 days.
- Freezer : Freeze this hummus in an airtight container or freezer bag for up to 3 months. Thaw in the refrigerator before serving.
More Vegan Cauliflower Recipes
- Cauliflower Steaks
- Orange Cauliflower
- Whole Roasted Cauliflower
- Cauliflower Pizza Bites
Ingredients
- 2 ½ cups cauliflower , 250 g
- 2 ½ tablespoons olive oil , 37.5 mL
- 4 cloves roasted garlic
- ½ teaspoon sea salt , 2.5 g
- ⅛ teaspoon ground black pepper , 0.25 g
- ½ teaspoon cumin , 1 g
- juice of 1 lime
- ¼ cup tahini , 60 g
- ½ cup ice cold water , 120 mL
Instructions
- Preheat your oven to 450 F/230 C. Prepare a baking sheet by lining it with a silicone baking sheet or greased foil.
- Remove florets from the cauliflower (aka don’t use the stem). Chop the cauliflower into smaller pieces like in the photo above. Drizzle the cauliflower with ½ tablespoon of olive oil and rub all over. Place on the lined baking sheet and roast for 15 minutes in the oven.
- Remove the cauliflower and let cool for about 5 minutes. Add to a food processor.
- Add in the leftover 2 tablespoons of olive oil, roasted garlic, sea salt and black pepper, cumin and the juice of one lime. Turn on the food processor to high to blend everything together. While blending, slowly stream in all of the tahini while the food processor is still running. Blend for about 2 minutes and then stop to scrape down all the sides.
- Turn the food processor back on and slowly stream in the ice cold water while the food processor is still running. The water should immediately begin to incorporate into the cauliflower hummus mixture. Let blend for 5 minutes straight or more depending on how powerful your food processor is, scraping down the sides every so often as needed.
- Your hummus should be smooth and creamy when you’re done. Taste test and add more salt, lime, tahini or water depending on your taste. Blend again until all incorporated. Serve with veggies and crackers and enjoy!
Notes
- Refrigerator : Transfer leftover cauliflower hummus to an airtight container and refrigerate for up to 4 days.
- Freezer : Freeze this hummus in an airtight container or freezer bag for up to 3 months. Thaw in the refrigerator before serving.

Roasted Cauliflower Hummus
Ingredients
- 2 ½ cups cauliflower 250 g
- 2 ½ tablespoons olive oil 37.5 mL
- 4 cloves roasted garlic
- ½ teaspoon sea salt 2.5 g
- ⅛ teaspoon ground black pepper 0.25 g
- ½ teaspoon cumin 1 g
- juice of 1 lime
- ¼ cup tahini 60 g
- ½ cup ice cold water 120 mL
Instructions
- Preheat your oven to 450 F/230 C. Prepare a baking sheet by lining it with a silicone baking sheet or greased foil.
- Remove florets from the cauliflower (aka don’t use the stem). Chop the cauliflower into smaller pieces like in the photo above. Drizzle the cauliflower with ½ tablespoon of olive oil and rub all over. Place on the lined baking sheet and roast for 15 minutes in the oven.
- Remove the cauliflower and let cool for about 5 minutes. Add to a food processor.
- Add in the leftover 2 tablespoons of olive oil, roasted garlic, sea salt and black pepper, cumin and the juice of one lime. Turn on the food processor to high to blend everything together. While blending, slowly stream in all of the tahini while the food processor is still running. Blend for about 2 minutes and then stop to scrape down all the sides.
- Turn the food processor back on and slowly stream in the ice cold water while the food processor is still running. The water should immediately begin to incorporate into the cauliflower hummus mixture. Let blend for 5 minutes straight or more depending on how powerful your food processor is, scraping down the sides every so often as needed.
- Your hummus should be smooth and creamy when you’re done. Taste test and add more salt, lime, tahini or water depending on your taste. Blend again until all incorporated. Serve with veggies and crackers and enjoy!
Notes
- Refrigerator : Transfer leftover cauliflower hummus to an airtight container and refrigerate for up to 4 days.
- Freezer : Freeze this hummus in an airtight container or freezer bag for up to 3 months. Thaw in the refrigerator before serving.
Nutrition
Roasted Cauliflower Hummus https://jessicainthekitchen.com/roasted-cauliflower-hummus-vegan-low-carb/ August 11, 2025
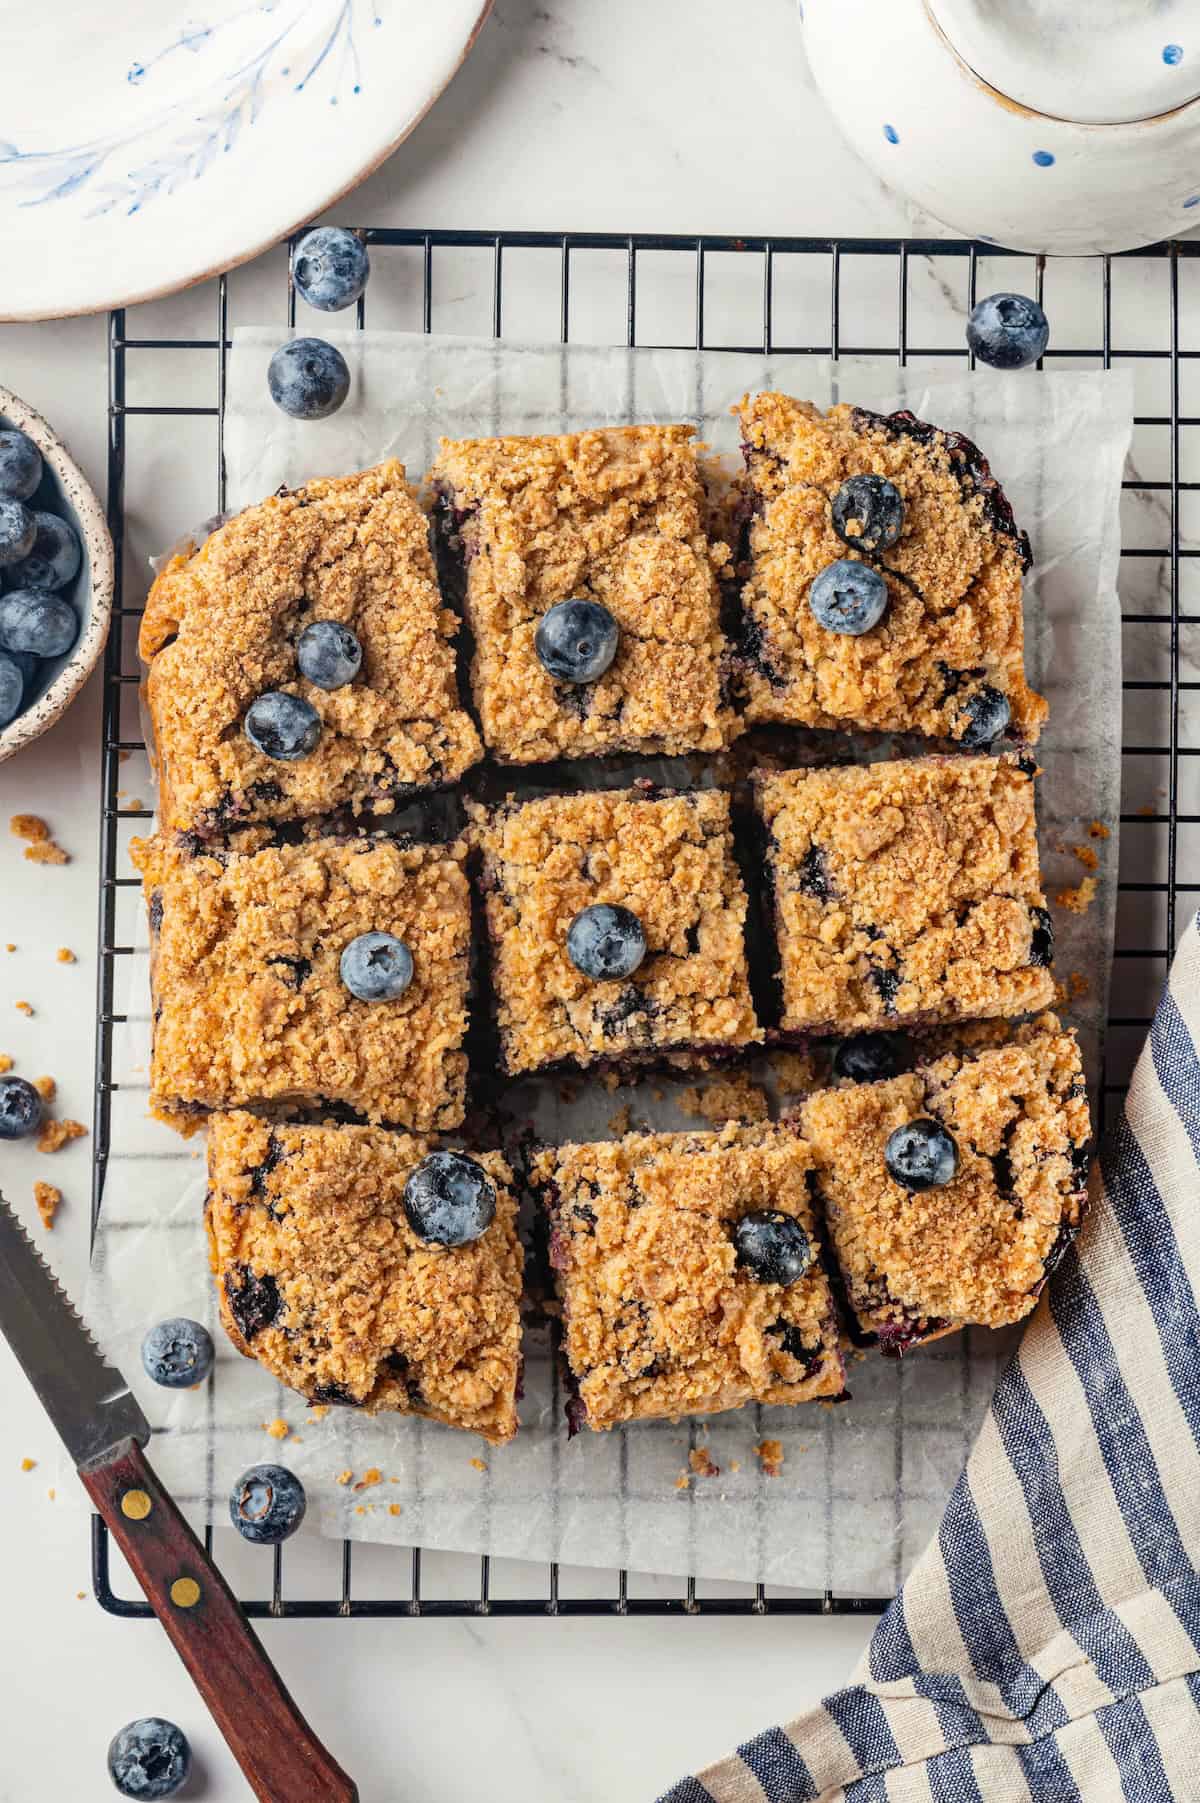
A little bit like coffee cake, this Blueberry Buckle is loaded with jammy berries, then topped with an irresistible brown sugar cinnamon streusel. Plan on having it for breakfast and for dessert because you’ll want to eat it all day long!
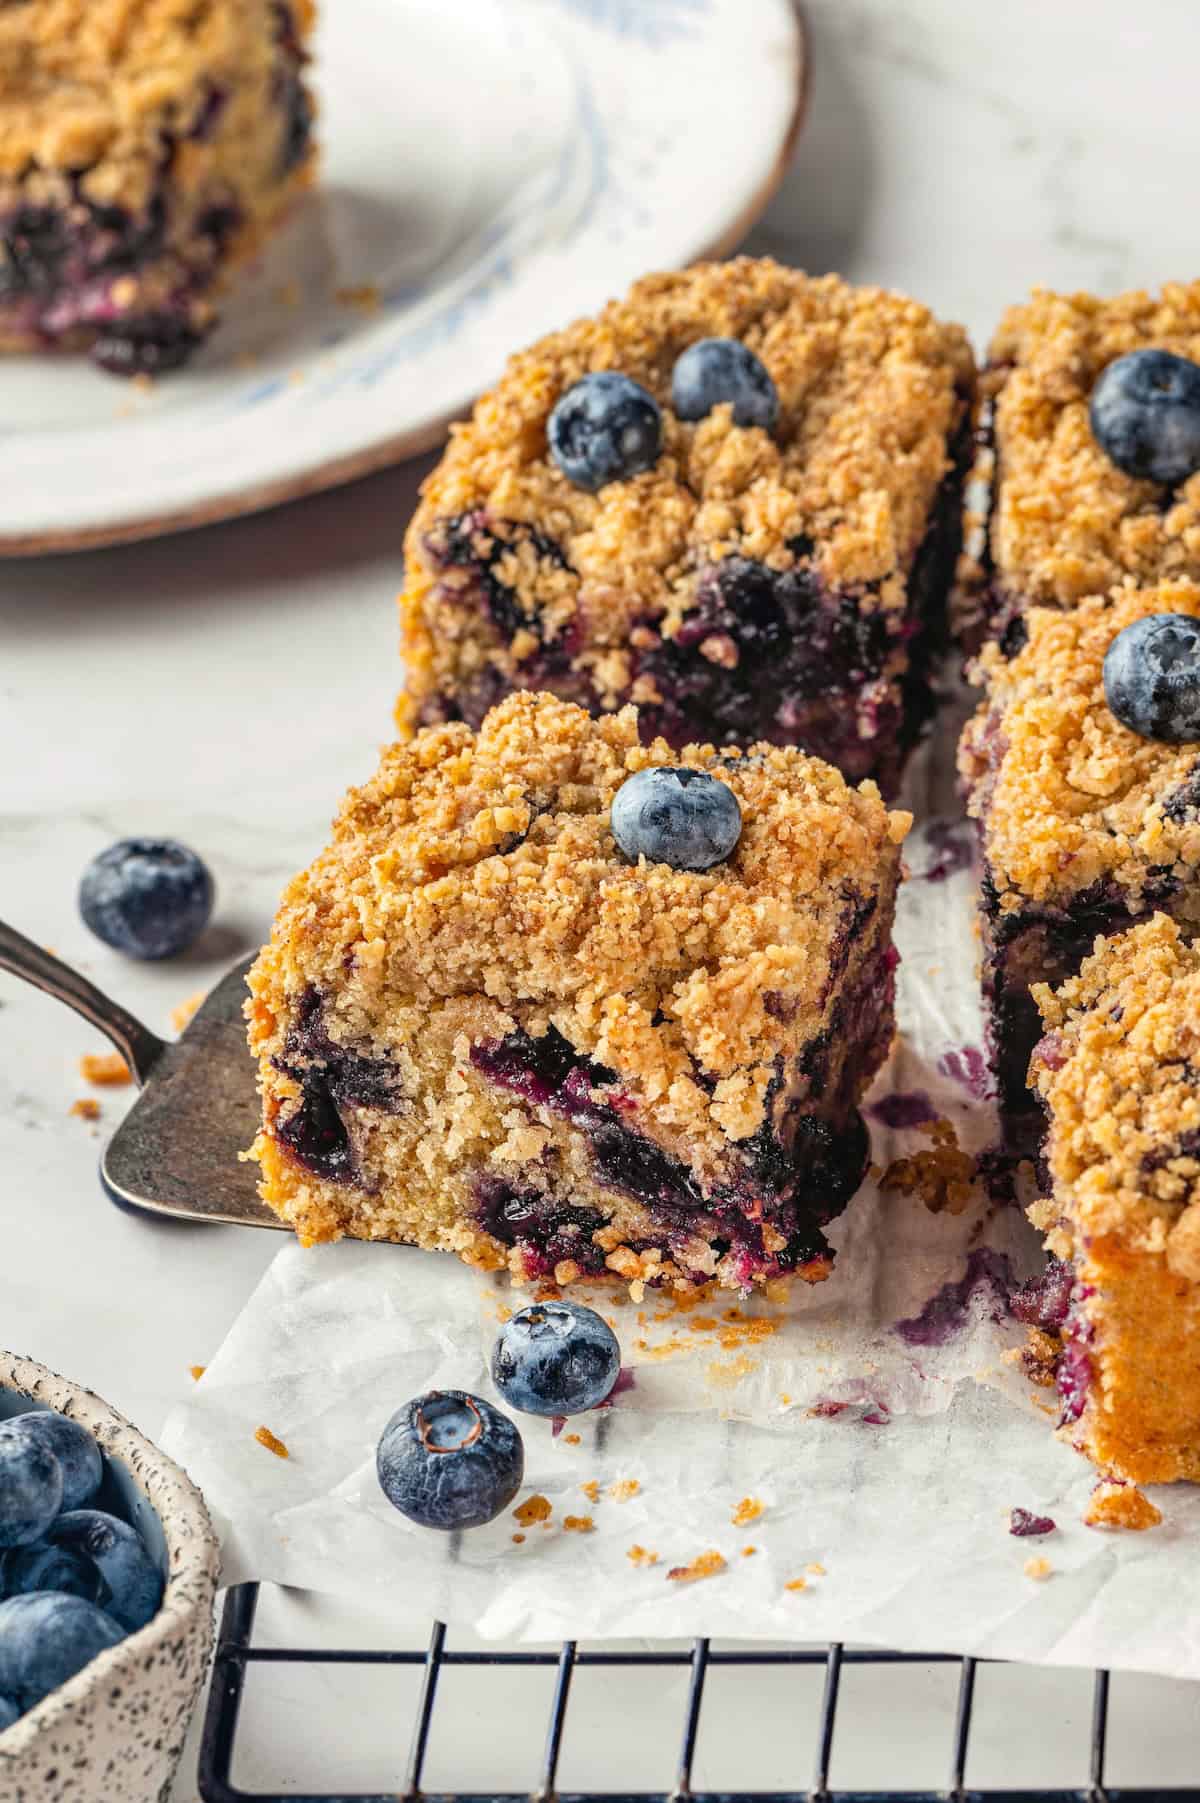
From pies to Vegan Blueberry Muffins , there are so many classic recipes that you can make with blueberries, and here I am, about to throw another one at you: a blueberry buckle! Buckles are basically a cake, and this one has a moist, tender crumb thanks to those beautiful blueberries. And then to make a good thing even better, we sprinkle buttery brown sugar cinnamon streusel over the top. With that streusel, you definitely get breakfast-y coffee cake vibes, but this blueberry buckle is delicious enough to make a proper dessert too!
Why This Vegan Buckle Recipe Belongs on Your Summer Baking List
Do you have a summer baking list too? Mine is ever-growing, but I’m glad I made room for this blueberry buckle and I know you will be too! Here’s why it’s a must-make.
- Easy to put together . The process of making this blueberry buckle really isn’t much different from making muffins or quick bread. So if you’ve made blueberry muffins, you can handle this recipe too!
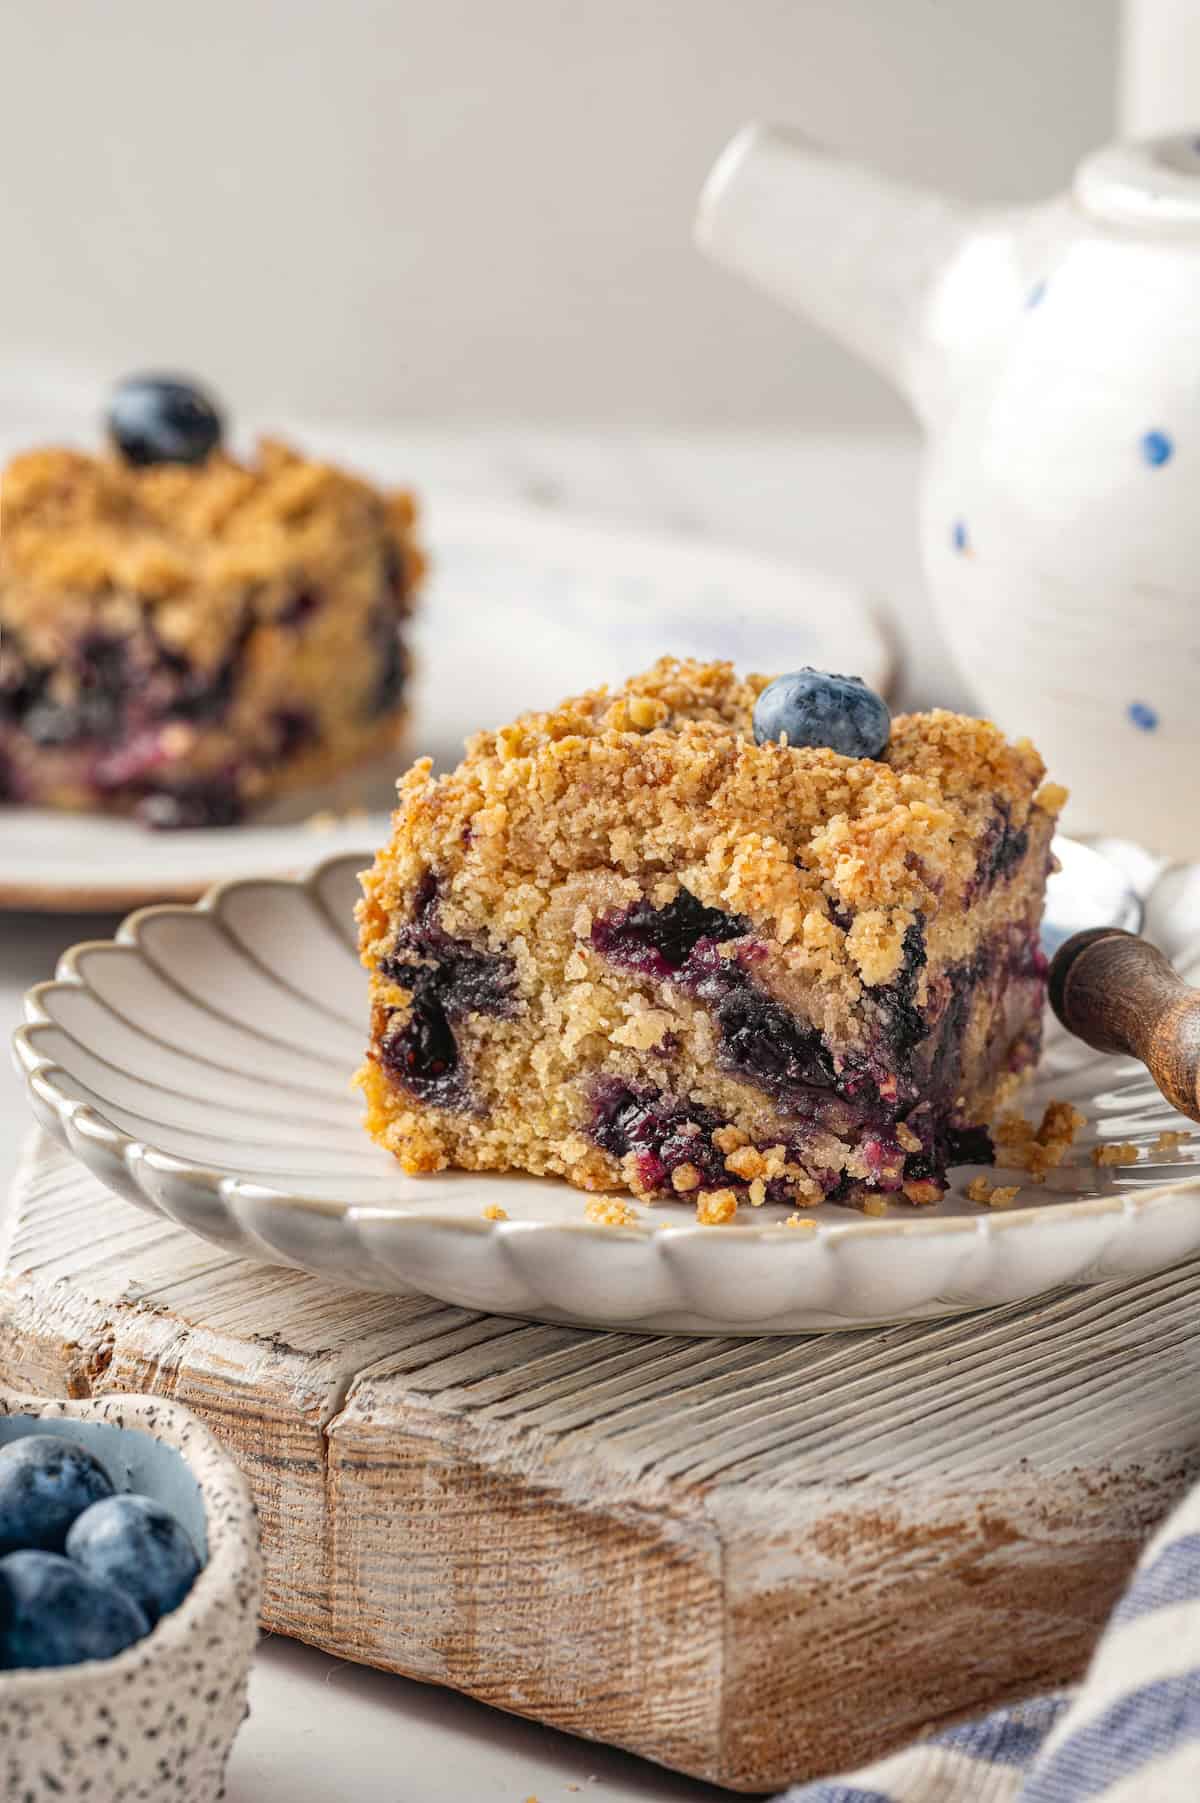
- Super moist . There are a few different ingredients that help make this cake moist: the brown sugar, the butter, and the blueberries. Put them together and you’ve got the perfect tender crumb!
- The coziest flavour . Between the blueberries, the brown sugar, and all that glorious cinnamon, this is the kind of old-fashioned cake that feels welcoming and familiar in the best kind of way.
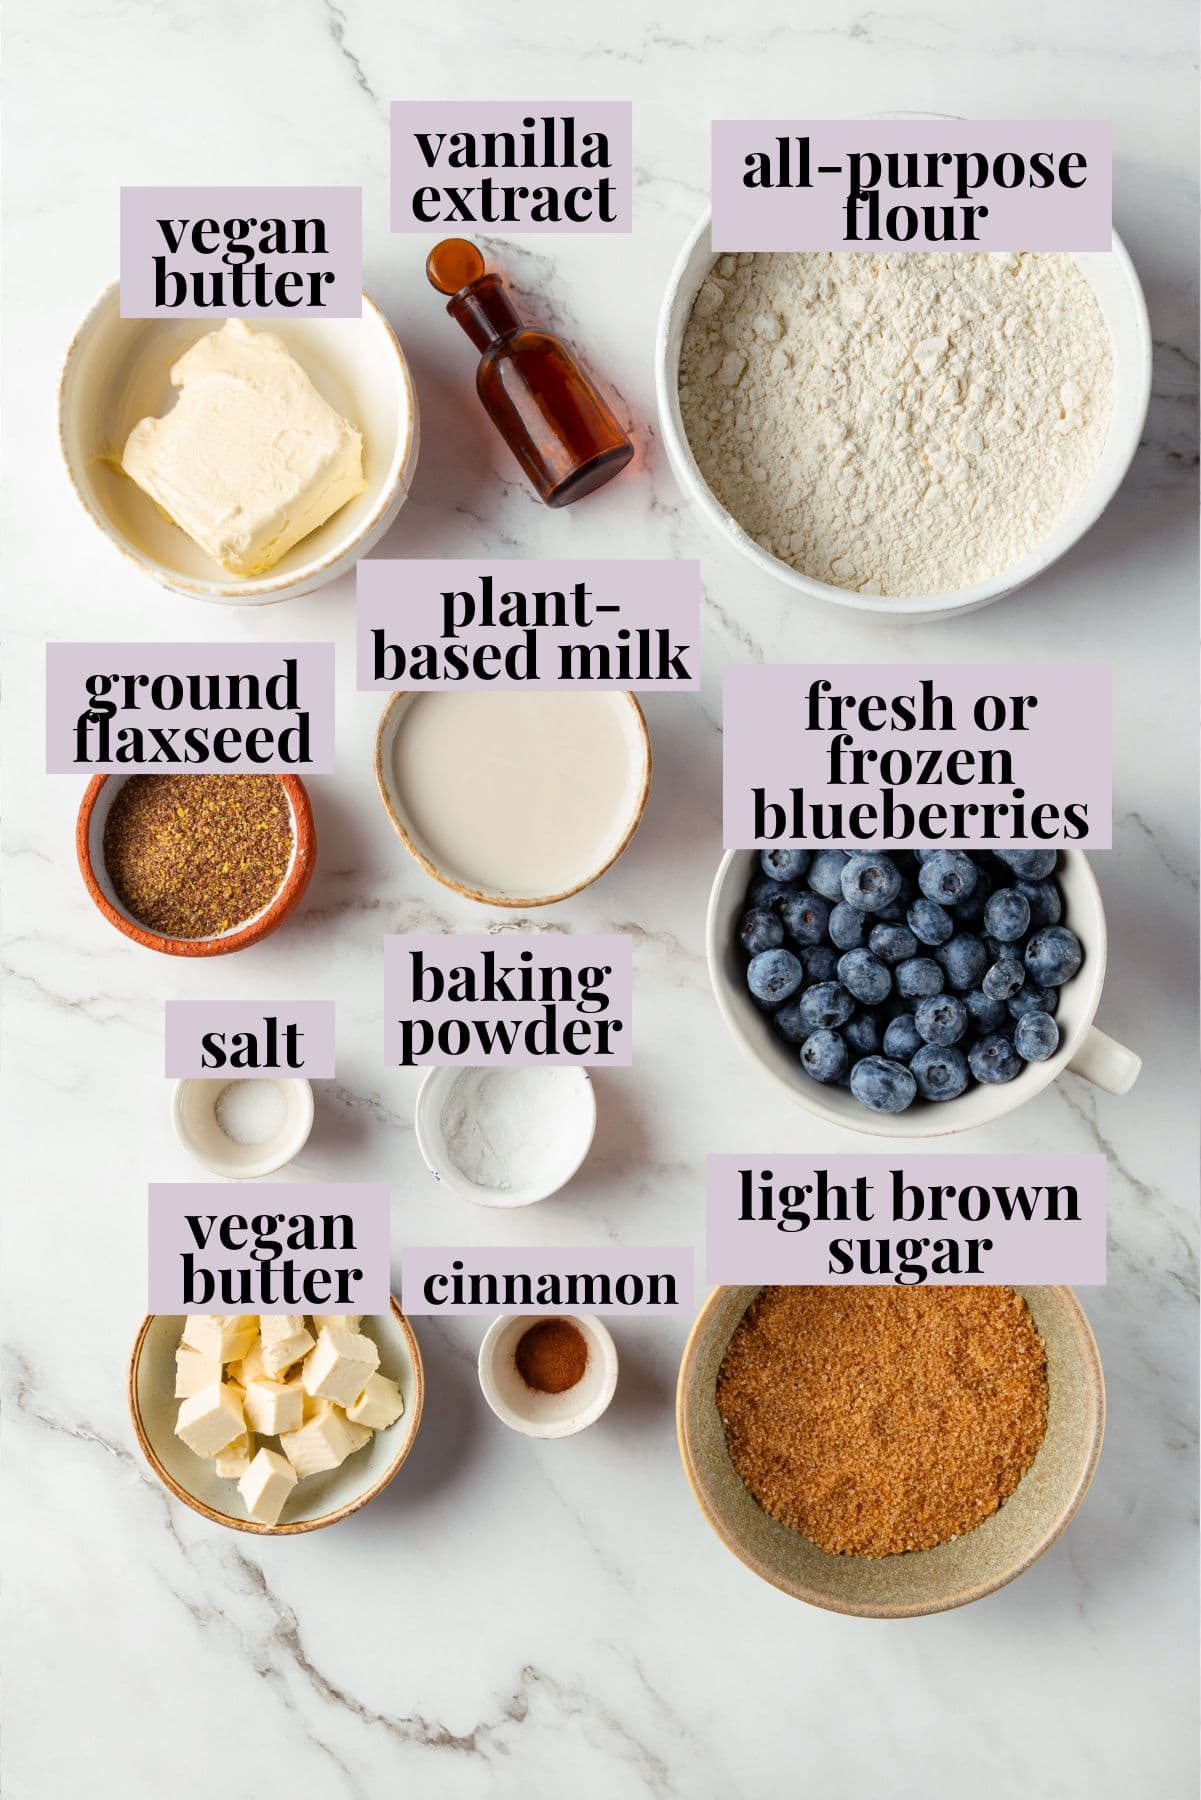
Notes on Ingredients
Many of the ingredients for the streusel and cake overlap, so you don’t need all that much for this recipe! Scroll down to the recipe card to find the ingredient quantities and recipe instructions.
Streusel Topping:
- All-purpose flour
- Light brown sugar
- Ground cinnamon – Be sure your cinnamon is fresh and fragrant when you open the jar. If it doesn’t have a strong aroma, it may be past its prime; as it gets older, its flavour and aroma fade.
- Salt
- Vegan butter – You can use store-bought or homemade Vegan Butter .
Cake:
- Ground flaxseed – For a Flax Egg .
- Vegan butter – Soften this before you start the recipe.
- Light brown sugar
- Vanilla extract – Almond extract would also work in this blueberry buckle.
- All-purpose flour
- Baking powder
- Salt
- Unsweetened plant milk – You can use any kind you like, as long as it’s unflavoured.
- Blueberries – Fresh or frozen blueberries both work.
How to Make a Blueberry Buckle
This blueberry buckle is a cinch to make! Here’s what you’ll need to do.
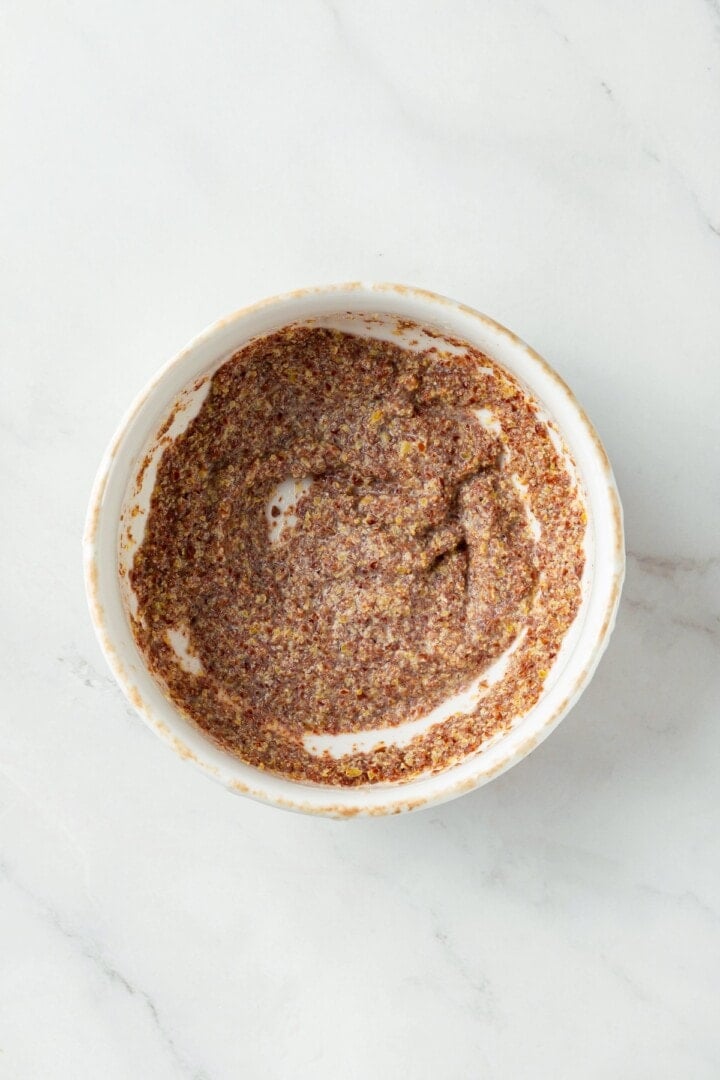
Make the flax egg.
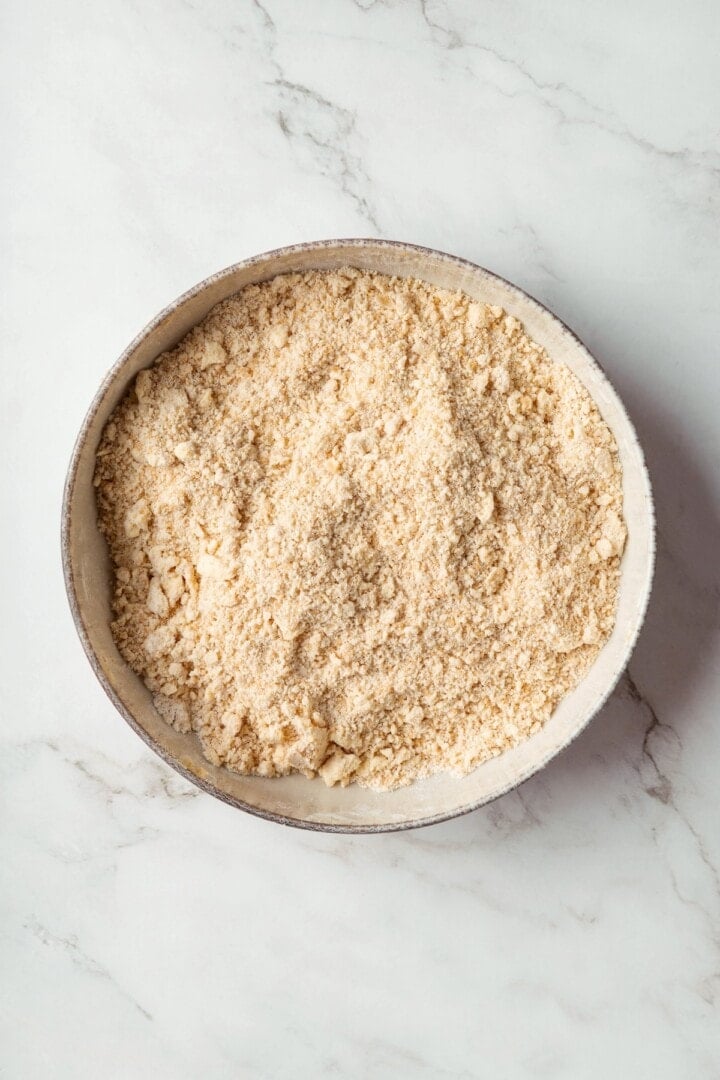
- Make the streusel . Whisk together the dry ingredients, then cut in the vegan butter until coarse crumbs form. Refrigerate to keep cold.
- Prepare . Preheat your oven to 350°F. Grease an 8×8 inch baking pan, then line it with parchment paper.
- Make the flax egg . Whisk the flax with 4 tablespoons of plant milk and set aside to thicken.
- Cream the butter and sugar . Beat the vegan butter with the brown sugar until it’s light and fluffy.
- Finish mixing the wet ingredients . Beat in the vanilla and flax egg.
Mix the dry ingredients.
- Mix the dry ingredients . In another bowl, whisk the flour, baking powder, and salt.
- Combine wet and dry . Add the flour mixture and plant milk to the wet ingredients in three additions, beginning and ending with the flour.
- Finish the batter . Fold the berries into the batter with a spatula.
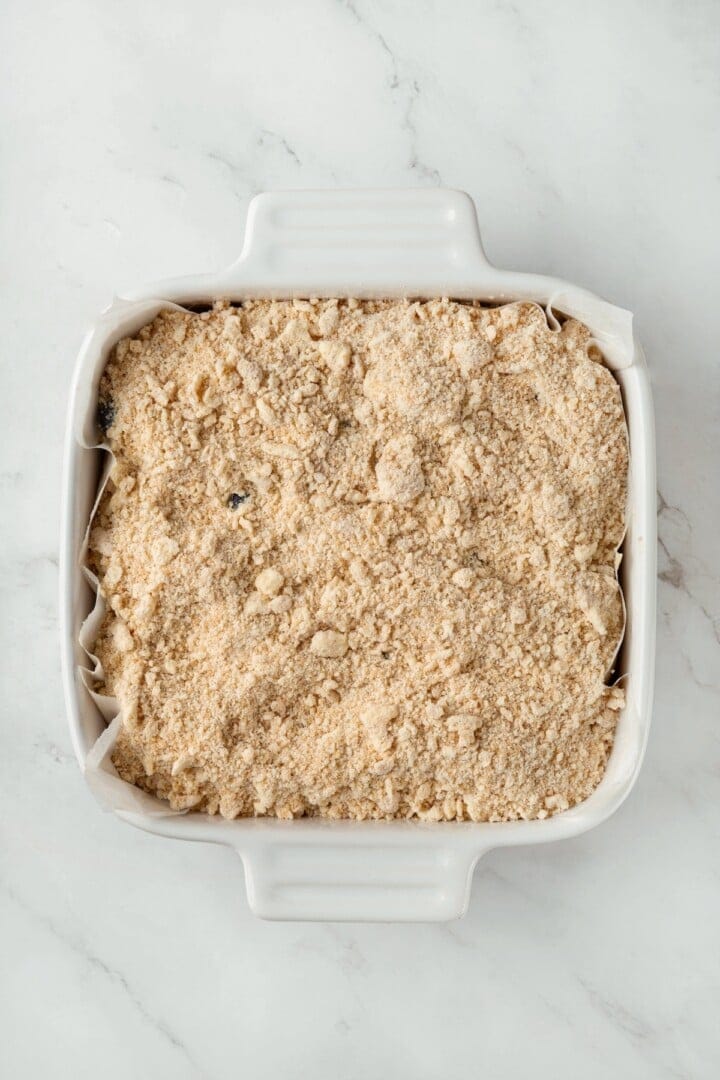
Assemble in baking pan.
- Bake . Transfer the batter to the prepared pan. Add some blueberries on top if you’d like, then sprinkle on the streusel. Bake for 45 to 50 minutes, or until a toothpick inserted into the center comes out clean.
- Cool . Let the blueberry buckle cool in the pan for 15 minutes, then use the parchment to lift it onto a wire rack. Cool completely before serving.
Tips for Making the Perfect Buckle
These additional pointers will help you make sure your blueberry buckle turns out tasty and picture perfect!
- Don’t thaw frozen blueberries . Thawed frozen blueberries will make your buckle soggy and they’re also likely to tint it an unappetizing blue-green color.
- Avoid over-mixing . If you over-mix the batter, your buckle will end up dense, without as much rise. Just mix until the dry ingredients are incorporated, then gently fold in the berries.
- Let the buckle cool completely before serving . This will help it hold its shape when you slice into it!
Variation Ideas
Want to switch things up a bit? Here are some ideas!
- Make it gluten-free . Simply swap in a measure-for-measure gluten-free baking flour like King Arthur or Bob’s Red Mill.
- Try other berries . You can make a mixed berry buckle by swapping a portion of the blueberries for raspberries or diced strawberries.
- Add some lemon zest . Some blueberry buckle recipes call for lemon zest too. If you’d like to give it a try, mix the zest of 1 lemon into the batter.
How to Store
- Room temperature : Store blueberry buckle in an airtight container at room temperature for 3 to 4 days.
- Freezer : You can freeze leftovers by wrapping individual pieces in plastic wrap, then placing them in an airtight container or freezer bag. Freeze for up to 2 months; thaw at room temperature before serving.
More Blueberry Recipes
- Lemon Blueberry Bread
- Easy Vegan Blueberry Pancakes
- 2-Ingredient Vegan Blueberry Ice Cream
- Lemon Blueberry Bundt Cake
Ingredients
Streusel Topping:
- ½ cup all-purpose flour , 60 g
- ¼ cup light brown sugar , packed – 50 g
- ½ teaspoon ground cinnamon , 2.5 g
- Pinch of salt
- ⅓ cup vegan butter , cold and cubed – 56 g
Cake:
- 2 tablespoons ground flaxseed , 7 g
- ½ cup vegan butter , softened – 112 g
- ¾ cup light brown sugar , packed – 150 g
- 1 teaspoon vanilla extract , 5 mL
- 1 ½ cups all-purpose flour , 180 g
- 1 ½ teaspoons baking powder , 6 g
- ¼ teaspoon salt , 1.5 g
- ½ cup unsweetened plant milk , almond, oat, soy, etc. – 120 mL
- 2 cups fresh or frozen blueberries , if frozen, do not thaw; 300 g
Instructions
- Prepare the Streusel Topping: In a small bowl, whisk together the flour, brown sugar, cinnamon, and salt. Add the cold cubed vegan butter and use a pastry cutter or fork to blend until the mixture forms coarse, sandy crumbs with some pea-sized clumps. Refrigerate while preparing the cake batter.
- Preheat the oven to 350°F (175°C). Lightly grease an 8×8 inch (20×20 cm) baking pan and line with parchment paper for easy removal. 9×9 inch pan will work too.
- In a small bowl, mix ground flaxseed with 4 tablespoons of plant milk from the total amount. Set aside for 5–10 minutes to thicken.
- In a large mixing bowl, beat the softened vegan butter with the brown sugar for 2–3 minutes, until light and fluffy.
- Mix in the vanilla extract and thickened flaxseed mixture until well combined.
- In a separate bowl, whisk together the flour, baking powder, and salt.
- Alternately add the flour mixture and plant milk to the creamed mixture in three additions, beginning and ending with the flour. Mix just until combined—do not overmix.
- Gently fold in the blueberries using a spatula. If using frozen blueberries, fold them in straight from the freezer.
- Spread the batter evenly into the prepared baking pan. Optionally, scatter a few extra blueberries over the top. Sprinkle the chilled streusel evenly over the batter.
- Bake for 45–50 minutes, or until the top is golden brown and a toothpick inserted into the center comes out clean.
- Let cool in the pan for 15 minutes before transferring to a wire rack. Serve at room temperature.
Notes
- Room temperature : Store blueberry buckle in an airtight container at room temperature for 3 to 4 days.
- Freezer : You can freeze leftovers by wrapping individual pieces in plastic wrap, then placing them in an airtight container or freezer bag. Freeze for up to 2 months; thaw at room temperature before serving.
