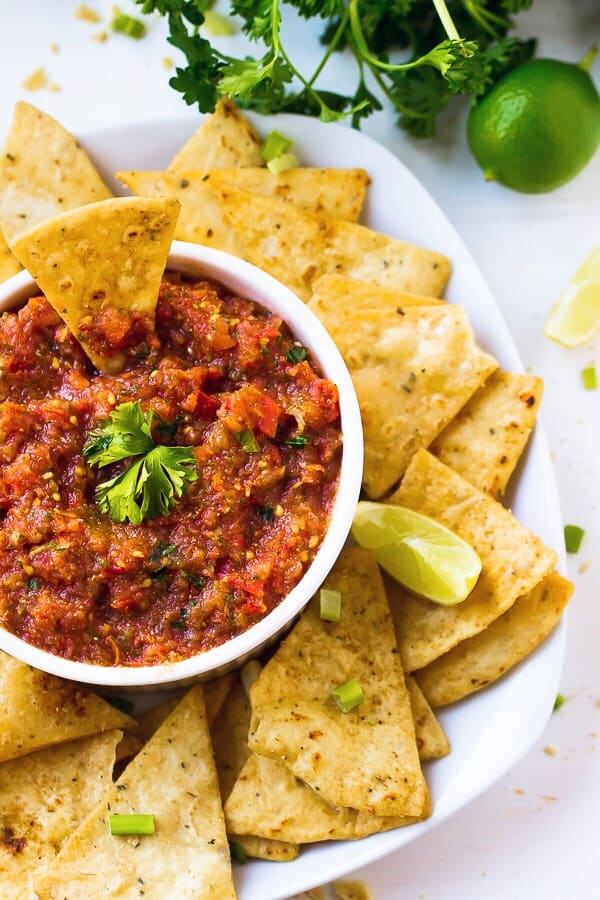
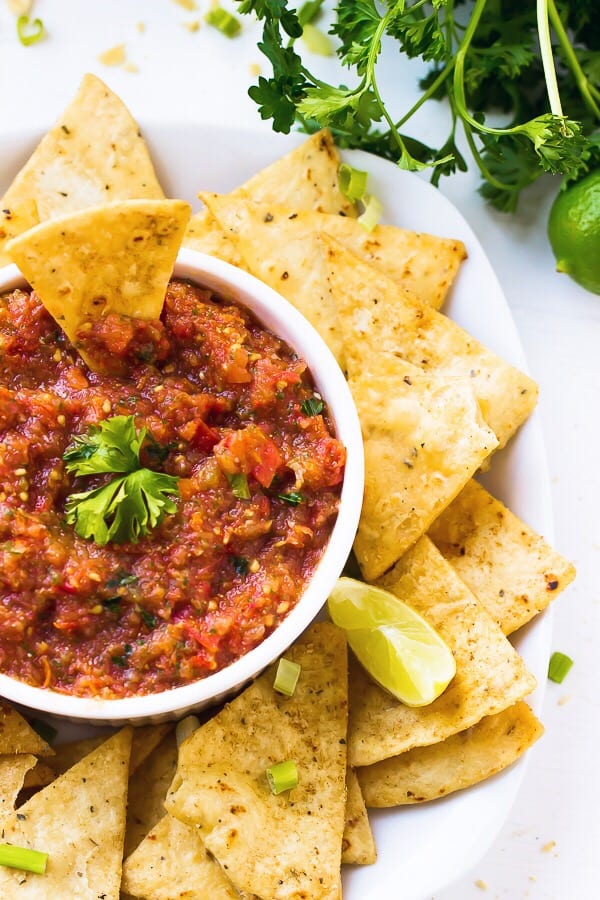
This easy restaurant-style blender salsa is made with fresh tomatoes for lots of bright flavour. Just add your favourite tortilla chips and dig in!
Salsa is always good, whether it’s Strawberry Jalapeño Salsa , Black Bean Salsa , or Pineapple Salsa . But there’s something special about restaurant-style salsa. The flavour is fresher, the consistency is smoother, and it seems to be tailor-made for spooning onto all your favourite Mexican foods, from Vegan Tacos to Loaded Vegan Nachos .
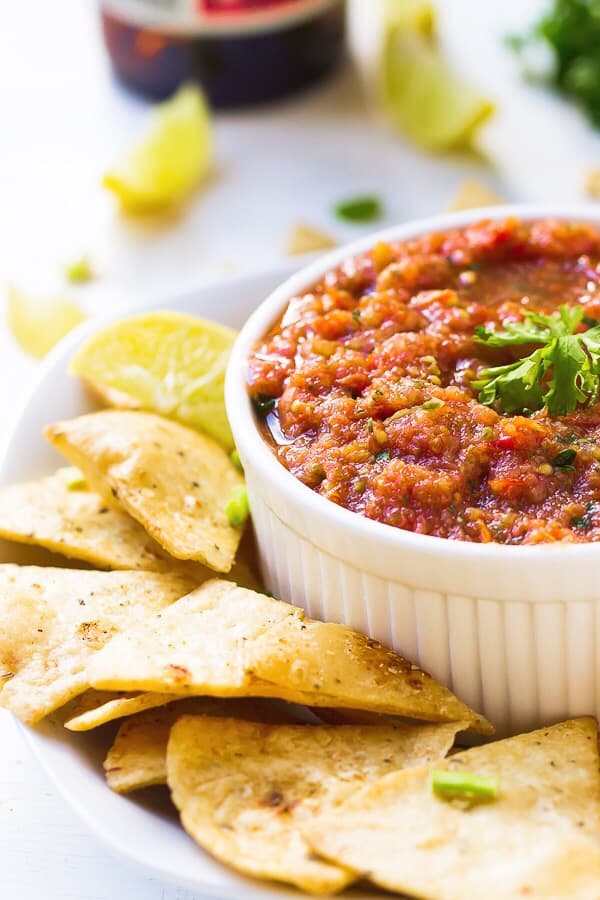
In case you couldn’t tell, this restaurant-style blender salsa is definitely my fave salsa recipe. The best salsa ever , if you ask me. It’s the perfect mix of heat, brine, and acidity, with bold flavour and a great texture. Every bite makes you want even more and pretty soon, you’ll be saying “I thought this recipe made 2 cups…how is it finished already?!”
Don’t worry—in just a few minutes, you can whip up some more!
Notes on Ingredients
Scroll down to the recipe card to find the ingredient quantities and recipe instructions.
- Fresh tomatoes – If you don’t have fresh tomatoes you can use canned, but as you can imagine, fresh is best!
- Onion – Yellow or white work best, but red onions are fine too.
- Jalapeño – Use more or less, according to your heat preference.
- Garlic
- Coconut sugar – Granulated sugar works too!
- Ground cumin
- Limes
- Salt
- Ground black pepper
- Parsley or cilantro – Cilantro is the traditional choice, but if you’re not a fan, use parsley instead.
What’s the Best Way to Juice a Lime?
Take the limes out of the fridge well-before you plan on starting the recipe—you’ll get more juice out of them that way.
When you’re ready to start juicing, roll them on the counter a bit with the palms of your hands, then cut and juice them with a citrus press or reamer. If you don’t have a reamer, you can use a fork instead; squeeze the juice into a small bowl so you can remove the seeds.
How to Make Restaurant-Style Salsa in a Blender
Here we go! It’s time to make the best salsa you’ve ever had.
Combine the ingredients. Add all of the salsa ingredients to a blender.
Blend. Turn on the blender and blend for a few seconds until everything is incorporated and the salsa reaches your desired consistency—either completely smooth or with some chunks.
Season. Taste and adjust the salt and seasonings as desired.
Chill. Transfer the salsa to a bowl, cover, and chill in the refrigerator for at least 30 minutes to allow the flavours to meld.
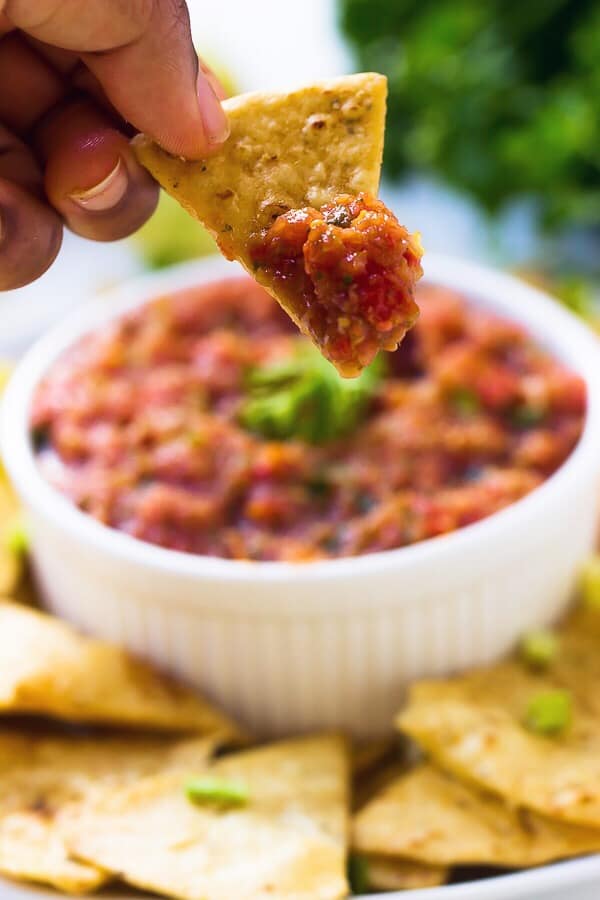
Serve. Pair your restaurant-style salsa with tortilla chips and enjoy!
Tips for Success
These simple tips will help you make sure your restaurant-style blender salsa turns out perfect:
- Don’t use cherry or grape tomatoes. Smaller tomatoes have more seeds, making them potentially more bitter when blended.
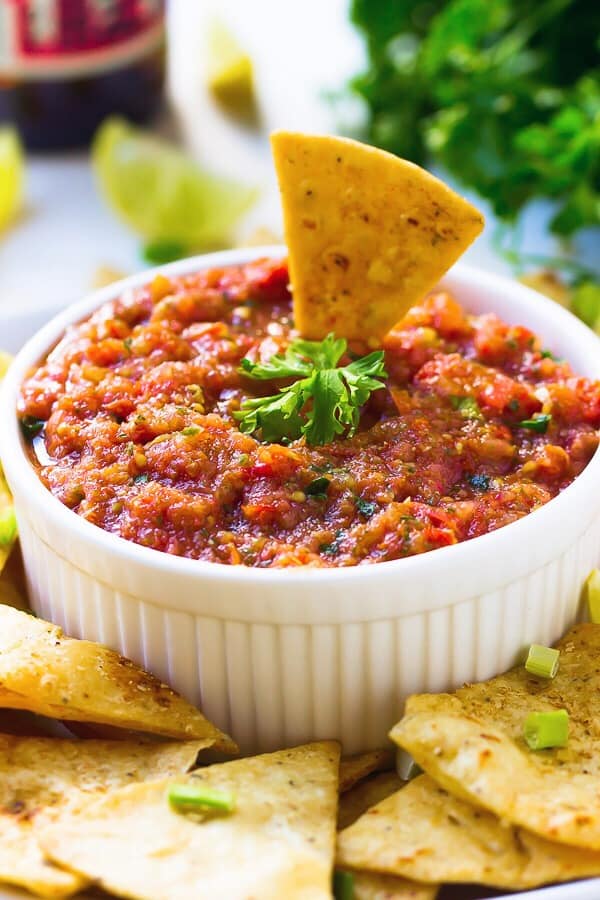
- Take the time to chill the salsa. When you first blend the salsa, it will be pink. During the 30 minutes of chill time, the colour will change to red and the flavours will really come together.
- Strain if desired. If you like your salsa a bit thicker, you can pour it into a fine mesh sieve and let some of the liquid drain off before serving.
Serving Suggestions
Tortilla chips are the obvious choice here, but there’s no need to limit yourself! Spoon your salsa over baked sweet potatoes, add it to vegan taco salad , use it as a garnish for black bean soup, or try it with one of these recipes:
- Vegan Crunchwrap Supremes
- Quinoa and Black Bean Burrito Bowl
- Mexican Quesadillas
- Easy Southwestern Tofu Scramble
- Crispy Cauliflower Tacos
How to Store
Store blender salsa in an airtight container in the fridge for up to 4 days.
Can This Recipe Be Frozen?
While you can freeze this restaurant-style salsa, keep in mind that because it’s made with fresh ingredients, the flavour and consistency won’t be quite as good upon freezing and thawing. That said, it will keep for up to 3 months in the freezer when stored in an airtight container or freezer bag.
P.S. Here are some of the items I used to make this recipe if you’d like to use them too:
| WHAT YOU’LL NEED // SHOP MY FAVORITE INGREDIENTS & PREP PRODUCTS |

Ingredients
- 20 oz fresh tomatoes* , chopped (if you don’t have fresh tomatoes you can use canned) 567 g
- 1/4 cup chopped onion
- 2 tablespoons jalapeño slices
- 3 cloves garlic , peeled and chopped
- 1/2 teaspoon coconut sugar
- 2 teaspoons ground cumin
- Juice of 2 limes , about 3 tablespoons worth
- 3/4 teaspoon salt , add more to taste
- 3/4 teaspoon ground black pepper to taste
- 3-4 tablespoons parsley or cilantro , de-stemmed
Instructions
- Add all the ingredients to your blender. Blend for a few seconds until everything is incorporated, leaving maybe only a few chunks if you desire.
- The salsa will be pink, but will turn red soon (see notes**). Taste and decide if you want to add more salt, heat or seasonings.
- If you like your salsa a bit thicker, strain over a sieve like I did and remove excess liquid.
- Allow the salsa ingredients to marry for about 30 minutes in the fridge.
- Serve with tortilla chips and enjoy!
Notes
- *Smaller/cherry tomatoes have more seeds, making them potentially more bitter when blended. If you can use larger tomatoes that would produce a better fresh tomato salsa.
- **I would strongly recommend allowing the salsa to rest in the fridge. The pink colour will turn red after just about 30 minutes in the fridge or up to an hour. The flavours will blend much better if the salsa is left to rest in the fridge.
- You can store your salsa in an airtight Tupperware container in the fridge for up to 4 days, although I doubt you’ll have salsa in your fridge for four days and not eat everything.

Restaurant-Style Blender Salsa
Ingredients
- 20 oz fresh tomatoes* chopped (if you don’t have fresh tomatoes you can use canned) 567 g
- 1/4 cup chopped onion
- 2 tablespoons jalapeño slices
- 3 cloves garlic peeled and chopped
- 1/2 teaspoon coconut sugar
- 2 teaspoons ground cumin
- Juice of 2 limes about 3 tablespoons worth
- 3/4 teaspoon salt add more to taste
- 3/4 teaspoon ground black pepper to taste
- 3-4 tablespoons parsley or cilantro de-stemmed
Instructions
- Add all the ingredients to your blender. Blend for a few seconds until everything is incorporated, leaving maybe only a few chunks if you desire.
- The salsa will be pink, but will turn red soon (see notes**). Taste and decide if you want to add more salt, heat or seasonings.
- If you like your salsa a bit thicker, strain over a sieve like I did and remove excess liquid.
- Allow the salsa ingredients to marry for about 30 minutes in the fridge.
- Serve with tortilla chips and enjoy!
Notes
- *Smaller/cherry tomatoes have more seeds, making them potentially more bitter when blended. If you can use larger tomatoes that would produce a better fresh tomato salsa.
- **I would strongly recommend allowing the salsa to rest in the fridge. The pink colour will turn red after just about 30 minutes in the fridge or up to an hour. The flavours will blend much better if the salsa is left to rest in the fridge.
- You can store your salsa in an airtight Tupperware container in the fridge for up to 4 days, although I doubt you’ll have salsa in your fridge for four days and not eat everything.
Nutrition
Restaurant-Style Blender Salsa https://jessicainthekitchen.com/restaurant-style-blender-salsa/ February 7, 2023
This vegan caramel popcorn is crispy, buttery, and it has all the caramel flavour you love, minus the dairy. You won’t believe how easy it is to make!
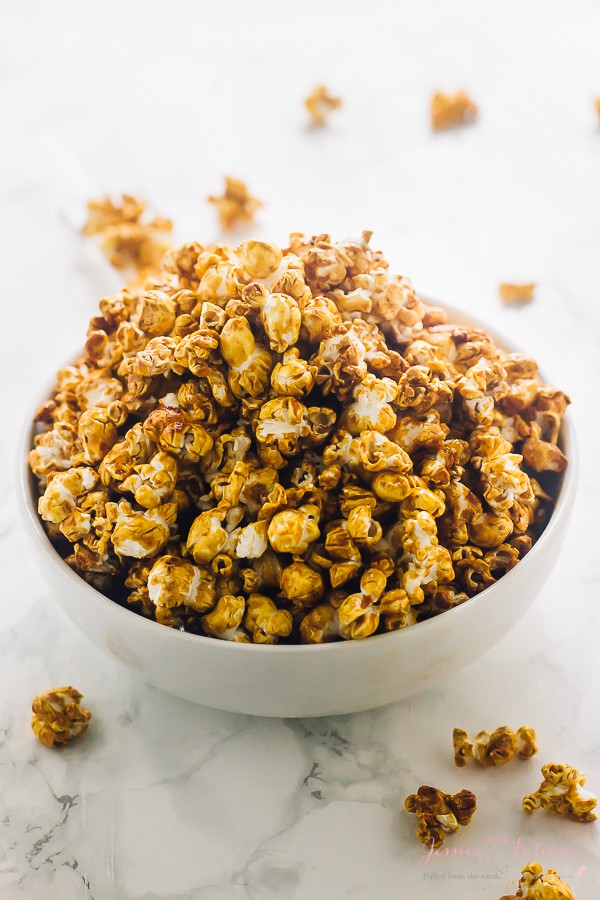
If you’ve spent your life buying caramel popcorn, you’re going to be kicking yourself after reading this post. Why? Because making homemade caramel popcorn is so flippin’ easy—and it tastes miles better than the store-bought version. Plus, when you make caramel corn yourself, you can make it vegan with a few simple swaps. Yes!
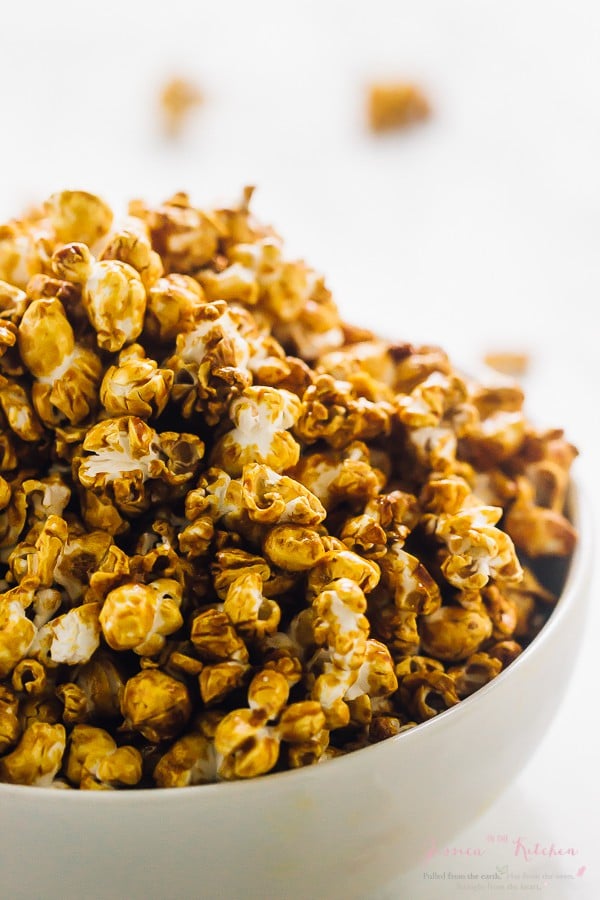
We’ve been making this vegan caramel popcorn for years, and it’s one of our favourite snacks for a movie night in or when we’re craving a little sweet-and-salty goodness. You only need 7 ingredients to make it, and it comes together in 25 minutes—and most of that time is hands-off!
The key ingredient in this recipe might surprise you—nope, it’s not the vegan butter or the sugar, but baking soda! Baking soda completely changes the texture of the caramel as it’s bubbling and makes it much lighter, and much easier to coat the popcorn with.
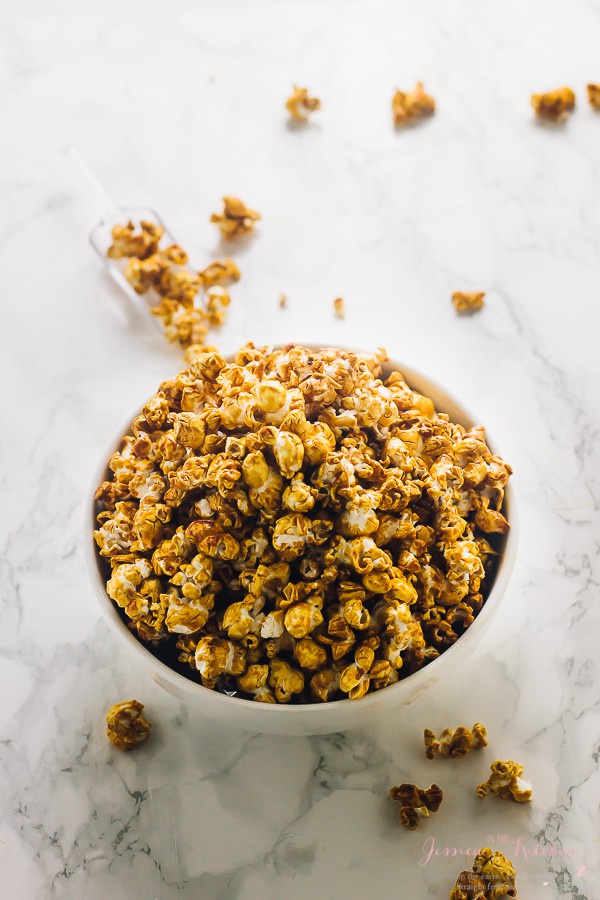
Pour the caramel mixture over the popcorn, bake it to crispy-crunchy perfection, and then try to resist eating it all at once!
Notes on Ingredients
Scroll down to the recipe card to find the ingredient quantities and recipe instructions.
- Freshly popped popcorn – Use my stovetop popcorn recipe , but don’t add salt, butter, or other seasonings.
- Vegan butter – Use store-bought or my homemade vegan butter .
- Salt – For extra crunch, you can use a flaky salt like Maldon or fleur del sel. If you go this route, add a little extra to account for the bigger flakes.
- Almond milk – Or another unflavoured plant milk you like or have on hand.
- Maple syrup – No corn syrup! This recipe is made with maple syrup instead.
- Coconut sugar or raw cane sugar – Granulated sugar is just fine too.
- Vanilla extract
- Baking soda
Is White or Yellow Popcorn Better for Caramel Corn?
You can use white popcorn, yellow popcorn, or even one of those fancy red, purple, or blue heirloom varieties of popcorn to make this vegan caramel corn recipe.
How to Make Vegan Caramel Popcorn
Get ready for the best caramel corn you’ve ever had! Here’s what you’ll need to do.
Prepare. Preheat your oven to 300ºF and line a baking sheet with parchment paper or a silicone mat. Pour the popcorn into a large metal bowl.
Start the caramel mixture. In a large pot set over medium-high heat, combine the vegan butter, half of the salt, the almond milk, maple syrup, coconut sugar, and vanilla. Stir the mixture as the butter melts.
Finish the caramel. Let the caramel mixture come to a boil, then add the rest of the salt. Add the baking soda; the mixture will change colour and it is more susceptible to burning at this point. Reduce the heat and stir for 1 minute.
Coat the popcorn. Remove the caramel from the heat and pour the mixture into the bowl with the popcorn. Working quickly, toss the popcorn with a spatula, making sure it’s evenly coated.
Bake. Spread the popcorn onto the baking sheets and bake for 15 minutes. Allow the popcorn to cool on a fresh sheet on parchment paper. The popcorn will get crispy as it cools.
Tips for Success
Here are a few tips for making perfect vegan caramel popcorn.
- Use big, fluffy popcorn. Avoid “ladyfinger” popcorn varieties, since these pop very small and won’t give you that satisfying caramel corn texture.
- Work quickly. As soon as the caramel is done, remove it from the stovetop, pour it over the popcorn, and then spread the popcorn onto the baking sheets. This isn’t the time to pause and answer a text from your BFF!
- Be patient. The popcorn really needs that cooling time to get the perfect crispy exterior. Warm caramel corn is not as good as it sounds!
Serving Suggestions
This vegan caramel corn is delicious as-is, but I have a few ideas for taking it to the next level.
- Make a vegan caramel-and-cheese mix. If you’ve been missing those bags of caramel and cheese popcorn since going vegan, you can DIY it at home by making a batch of cheesy popcorn with nutritional yeast and a batch of caramel corn; let them cool, then toss them together for the ultimate sweet-and-savoury snack.
- Gift it. Package your popcorn in cellophane bags, tie them with pretty ribbons, and give friends and family homemade vegan caramel corn for the holidays.
- Make it decadent. Add pecans or peanuts to the bowl of popcorn and coat them with the caramel sauce too. Once the mixture bakes and cools, drizzle melted dark chocolate over the top. Let the chocolate harden before serving.
How to Store
If you don’t eat your vegan caramel corn immediately, you can store it in an airtight container to keep it crispy for up to 1 week at room temperature, or 3 weeks in the refrigerator.
Ingredients
- 10 cups organic, freshly popped popcorn , unsalted
- 2 tablespoons vegan butter
- ½ teaspoon salt
- 2 tablespoons almond milk
- ¼ cup maple syrup
- ¼ cup coconut sugar , or raw cane sugar
- 1 teaspoon vanilla
- ¼ teaspoon baking soda
Instructions
- Preheat oven to 300 degrees. Line a baking sheet or two with parchment paper or a silicone mat. Place popcorn into a large metal bowl. Set aside.
- In a pot over medium high heat, add the vegan butter, half the salt, the almond milk, maple syrup, coconut sugar and vanilla and stir to combine.
- Allow to come to a boil and then add in the rest of the salt. Add the baking soda and watch closely. The mixture will change colour and is more susceptible to burning now, so reduce heat and stir frequently for 1 minute. Remove from the heat and pour over popcorn. Working quickly, toss with a spatula to evenly distribute over all the popcorn.
- Spread popcorn onto the baking sheets until evenly distributed.
- Bake for 15 minutes. Remove from oven and allow the popcorn to cool on a fresh sheet on parchment paper. They popcorn will crisp up.
- Eat immediately, or place in an airtight tupperware container to keep crispy. Enjoy!
