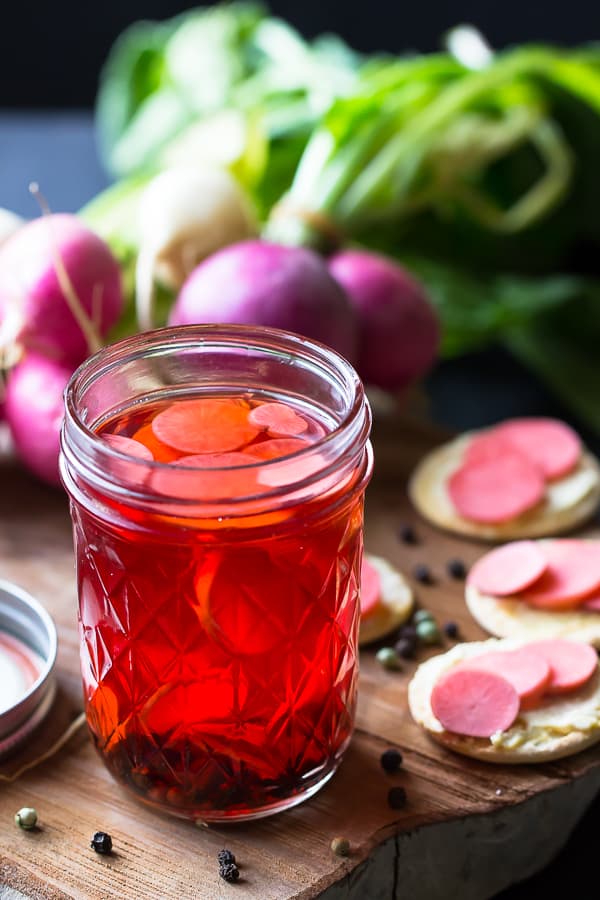
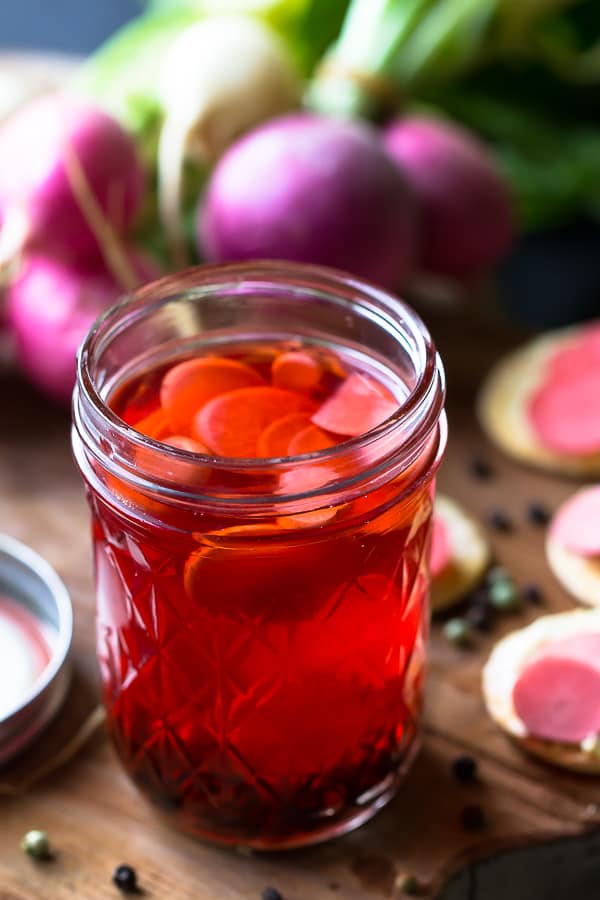
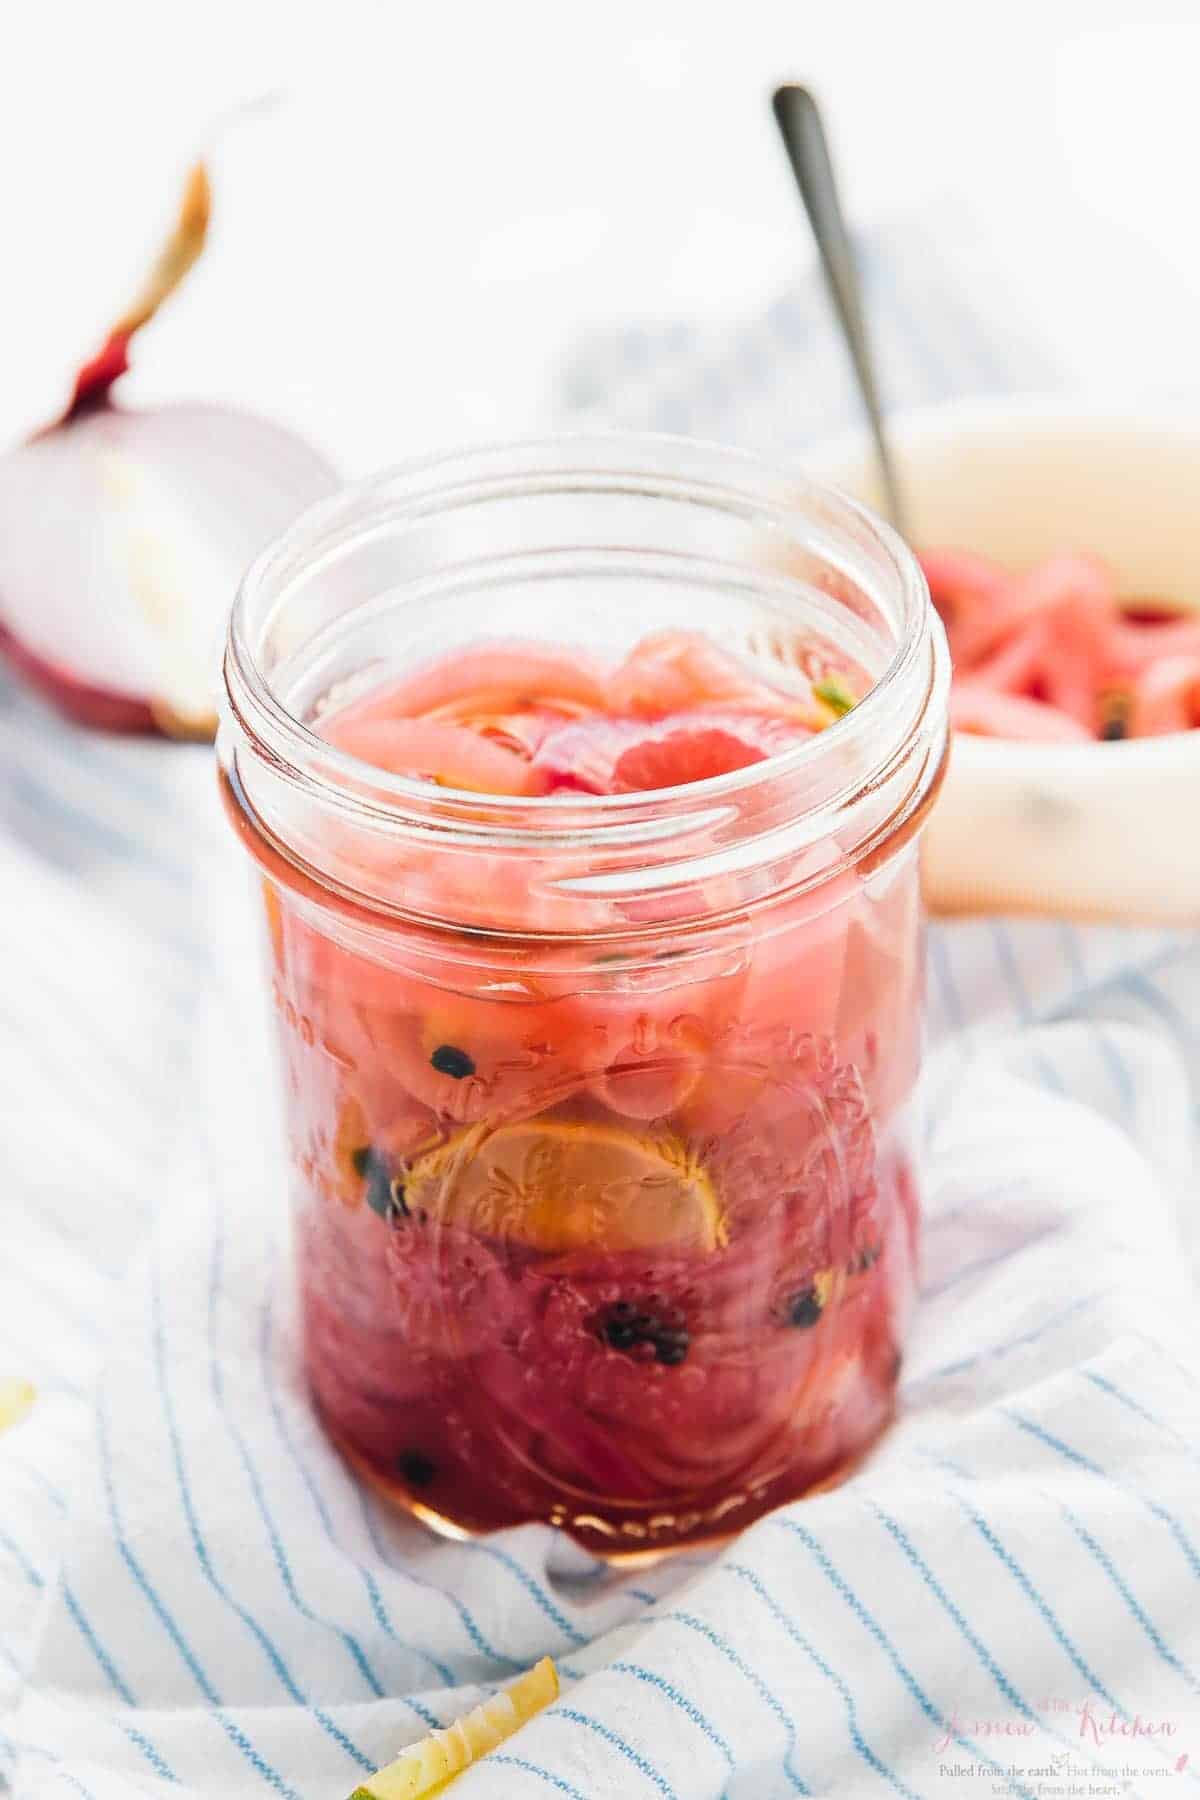
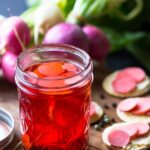
These Quick Pickled Radishes are so easy to make and are delicious crunchy and spicy bites that can go on everything from sandwiches to salads to tacos!
Some vegetables like cucumbers, carrots, and bell peppers are fantastic on their own, pure and simple, with nothing else added. They can instantly enhance other dishes without any effort on your part. That doesn’t mean they’ve reached their full flavor potential yet. Have you ever had any of those veggies pickled?
Cucumbers are the classic pickle, spiked with mustard seed, garlic, and dill; shredded carrots are a classic accompaniment on Bahn mi sandwiches, tangy and bright to cut through the rich fillings; bell peppers soften while their natural sweetness intensifies. The same transformation happens to these radishes. They get even spicier, retain their crunch, and go with EVERYTHING. Once you have a batch on hand, you won’t be able to resist dipping into it for every meal.
Why You’ll Love These Easy Pickled Radishes
If you’re not crazy about raw radishes, I’d implore you to give them a second chance. They’re like a whole different vegetable given the right treatment. Here’s why you’ll fall in love:
- No experience necessary. These pickled radishes are so simple to make, they barely need a recipe. You’ll have the formula memorized in no time
- Quick-pickled for instant gratification. Quick-pickling is different from traditional ( lacto-fermentation ) pickling because it doesn’t require you to do proper canning, which seals the jars in boiling hot water. Plus, they’re ready to eat in minutes, not weeks or months!
- Zero allergens. These pickles are for everyone! They’re vegan, gluten-free, soy-free, sugar-free, nut-free, keto, and paleo.
- Only 4 ingredients, not including water or salt. Even if your pantry is bare, there’s a good chance you can whip up a batch without hitting the grocery store.
Notes on Ingredients
Please note that this is important information on the ingredients and instructions and the FULL recipe with amounts and details can be found DOWN BELOW (scroll to it) in the recipe card.
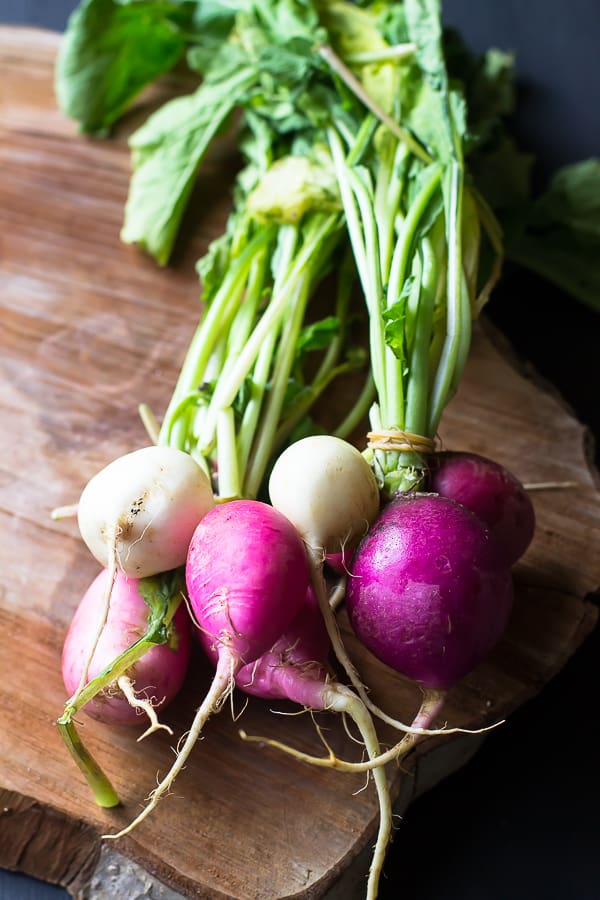
- Radishes – Watermelon radishes are especially beautiful, but you can use any type you prefer.
- White vinegar – Rice vinegar or apple cider vinegar are good substitutes in a pinch.
- Water
- Maple syrup – 100% grade B is a must for the best earthy, woodsy, and sweet flavor.
- Salt
- Peppercorns – I used a mixture for color. Plain black is more common and just as tasty.
How to Make Quick Pickled Radishes
Prepare your radishes. Wash and using a mandolin to slice very thin circles. You could also use a sharp chef’s knife.
Place the cut radishes in a glass jar.
In a small pan, combine the remaining ingredients except for the peppercorns. Bring to a boil, stir periodically, then remove from heat.
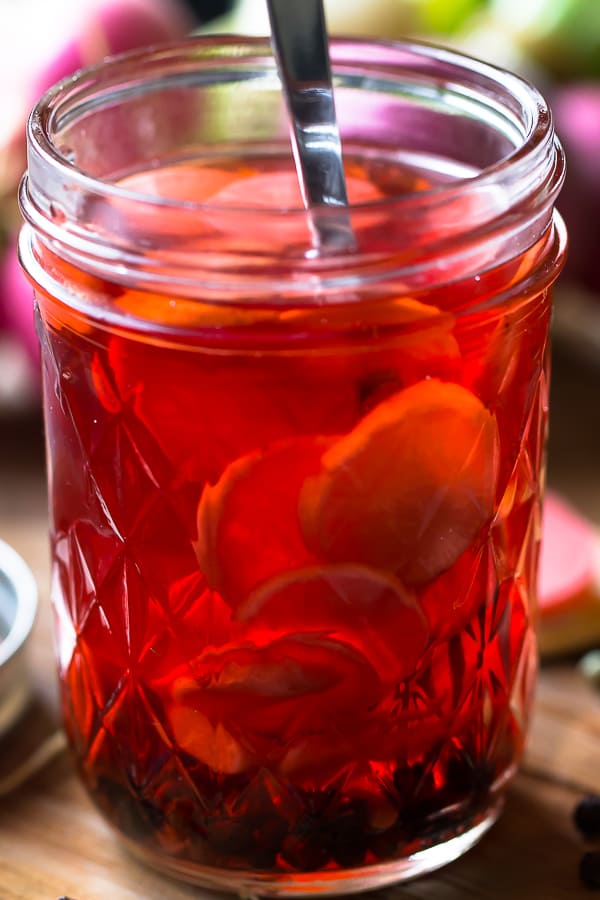
Let the mixture cool for a few minutes. Pour the hot mixture over the radishes in the jar. Add the peppercorns and stir everything together.
Allow to cool to room temperature before serving . They can be served immediately but taste much better after a day of the flavors marrying together in the fridge.
Tips for Success
You can easily master this recipe on the first try. If you’re still daunted by the idea of pickling, here are a few quick tips to guarantee success:
- Use a mandoline for the thinnest, most consistent slices. You can use a very sharp knife too, but it does take more time and skill.
- To make this recipe sugar-free, you can use sugar-free maple syrup or simply omit it.
- The longer you keep them, the more flavorful they become. These pickles are delicious right away, as soon as they cool, but your patience will be rewarded if you can wait!
- Since they’re quick pickled, they must be kept in the fridge, not out on the shelf at room temperature. If you want to preserve them longer to store them in your pantry, it’s important to learn how to properly can vegetables.
- Don’t throw out that brine! You can re-use it for the next batch.
Flavor Variations
Consider this recipe just the start of your pickling adventure. It’s a simple formula that can easily be customized for any specific meals, preferences, or cravings. Here are a few ideas to get started:
- Garlic dill: add sliced garlic cloves and fresh dill
- Curry: add curry powder or paste
- Garden: add sliced carrots and zucchini
- Spicy: add sliced jalapenos, crushed red pepper, hot sauce, or horseradish
- Sweet heat: add minced habanero and double the amount of maple syrup
- Floral: add dried lavender and a few drops of rose water
What To Serve With Radish Pickles
Anywhere you’d use a conventional pickled cucumber, you can use pickled radishes! They’re great snacks to nibble on when you’re craving salt, but don’t fill up when you could also use them in:
- Sandwiches and wraps
- Salads
- Buddha Bowls
- Pizza
- Buffalo cauliflower wings
- Tacos
- Sushi
- Chili
- Avocado toast
- Bloody Mary
How Long Will Quick Pickled Vegetables Last?
These quick-pickled radishes will last in an airtight glass jar in the fridge for up to 8 weeks. They’ll be crisper earlier, gradually becoming softer in texture over time. I don’t recommend freezing them because the radishes will get downright mushy when thawed.
More Vegan Vegetable Sides:
- Candied Yams
- Sticky Sesame Shiitake Mushrooms
- Air Fryer Asparagus
- Balsamic Roasted Vegetables
- Maple Roasted Brussels Sprouts with Apples and Pecans
Quick Pickled Onions
Ingredients
Quick Pickled Radishes
- 1 bunch radishes , sliced thinly preferably with a mandolin
- 1 cup white vinegar
- 1 cup water
- 3 tablespoons maple syrup
- 2 teaspoons salt
- 1 tablespoon peppercorns , I used mixed peppercorns
Instructions
Quick Pickled Radishes
- Prepare your radishes by washing them, slicing off the tops and wispy bottoms, and using a mandolin to slice very thin circles. You could also use a sharp chef’s knife.
- Add the circles to a canning jar such as a Ball jar.
- In a small pan, add the vinegar, water maple syrup and salt. Bring to a boil, stirring, then remove from heat.
- Let the mixture cool for a few minutes so that’s it’s no longer boiling hot, then pour the hot mixture over the radishes in the jar. Add the peppercorns and stir everything together with a fork or spoon.
- Allow to cool to room temperature before serving. They can be served immediately but taste much better after a day of the flavors marrying together in the fridge.
- Enjoy!
Notes
- Use a mandoline for the thinnest, most consistent slices. You can use a very sharp knife too, but it does take more time and skill.
- To make this recipe sugar-free, you can use sugar-free maple syrup or simply omit it.
- The longer you keep them, the more flavorful they become. These pickles are delicious right away, as soon as they cool, but your patience will be rewarded if you can wait!
- Since they’re quick pickled, they must be kept in the fridge, not out on the shelf at room temperature. If you want to preserve them longer to store them in your pantry, it’s important to learn how to properly can
- Don’t throw out that brine! You can re-use it for the next batch.
Quick Pickled Radishes
Ingredients
Quick Pickled Radishes
- 1 bunch radishes sliced thinly preferably with a mandolin
- 1 cup white vinegar
- 1 cup water
- 3 tablespoons maple syrup
- 2 teaspoons salt
- 1 tablespoon peppercorns I used mixed peppercorns
Instructions
Quick Pickled Radishes
- Prepare your radishes by washing them, slicing off the tops and wispy bottoms, and using a mandolin to slice very thin circles. You could also use a sharp chef’s knife.
- Add the circles to a canning jar such as a Ball jar.
- In a small pan, add the vinegar, water maple syrup and salt. Bring to a boil, stirring, then remove from heat.
- Let the mixture cool for a few minutes so that’s it’s no longer boiling hot, then pour the hot mixture over the radishes in the jar. Add the peppercorns and stir everything together with a fork or spoon.
- Allow to cool to room temperature before serving. They can be served immediately but taste much better after a day of the flavors marrying together in the fridge.
- Enjoy!
Notes
- Use a mandoline for the thinnest, most consistent slices. You can use a very sharp knife too, but it does take more time and skill.
- To make this recipe sugar-free, you can use sugar-free maple syrup or simply omit it.
- The longer you keep them, the more flavorful they become. These pickles are delicious right away, as soon as they cool, but your patience will be rewarded if you can wait!
- Since they’re quick pickled, they must be kept in the fridge, not out on the shelf at room temperature. If you want to preserve them longer to store them in your pantry, it’s important to learn how to properly can
- Don’t throw out that brine! You can re-use it for the next batch.
Nutrition
Quick Pickled Radishes https://jessicainthekitchen.com/quick-pickled-radishes/ April 24, 2017
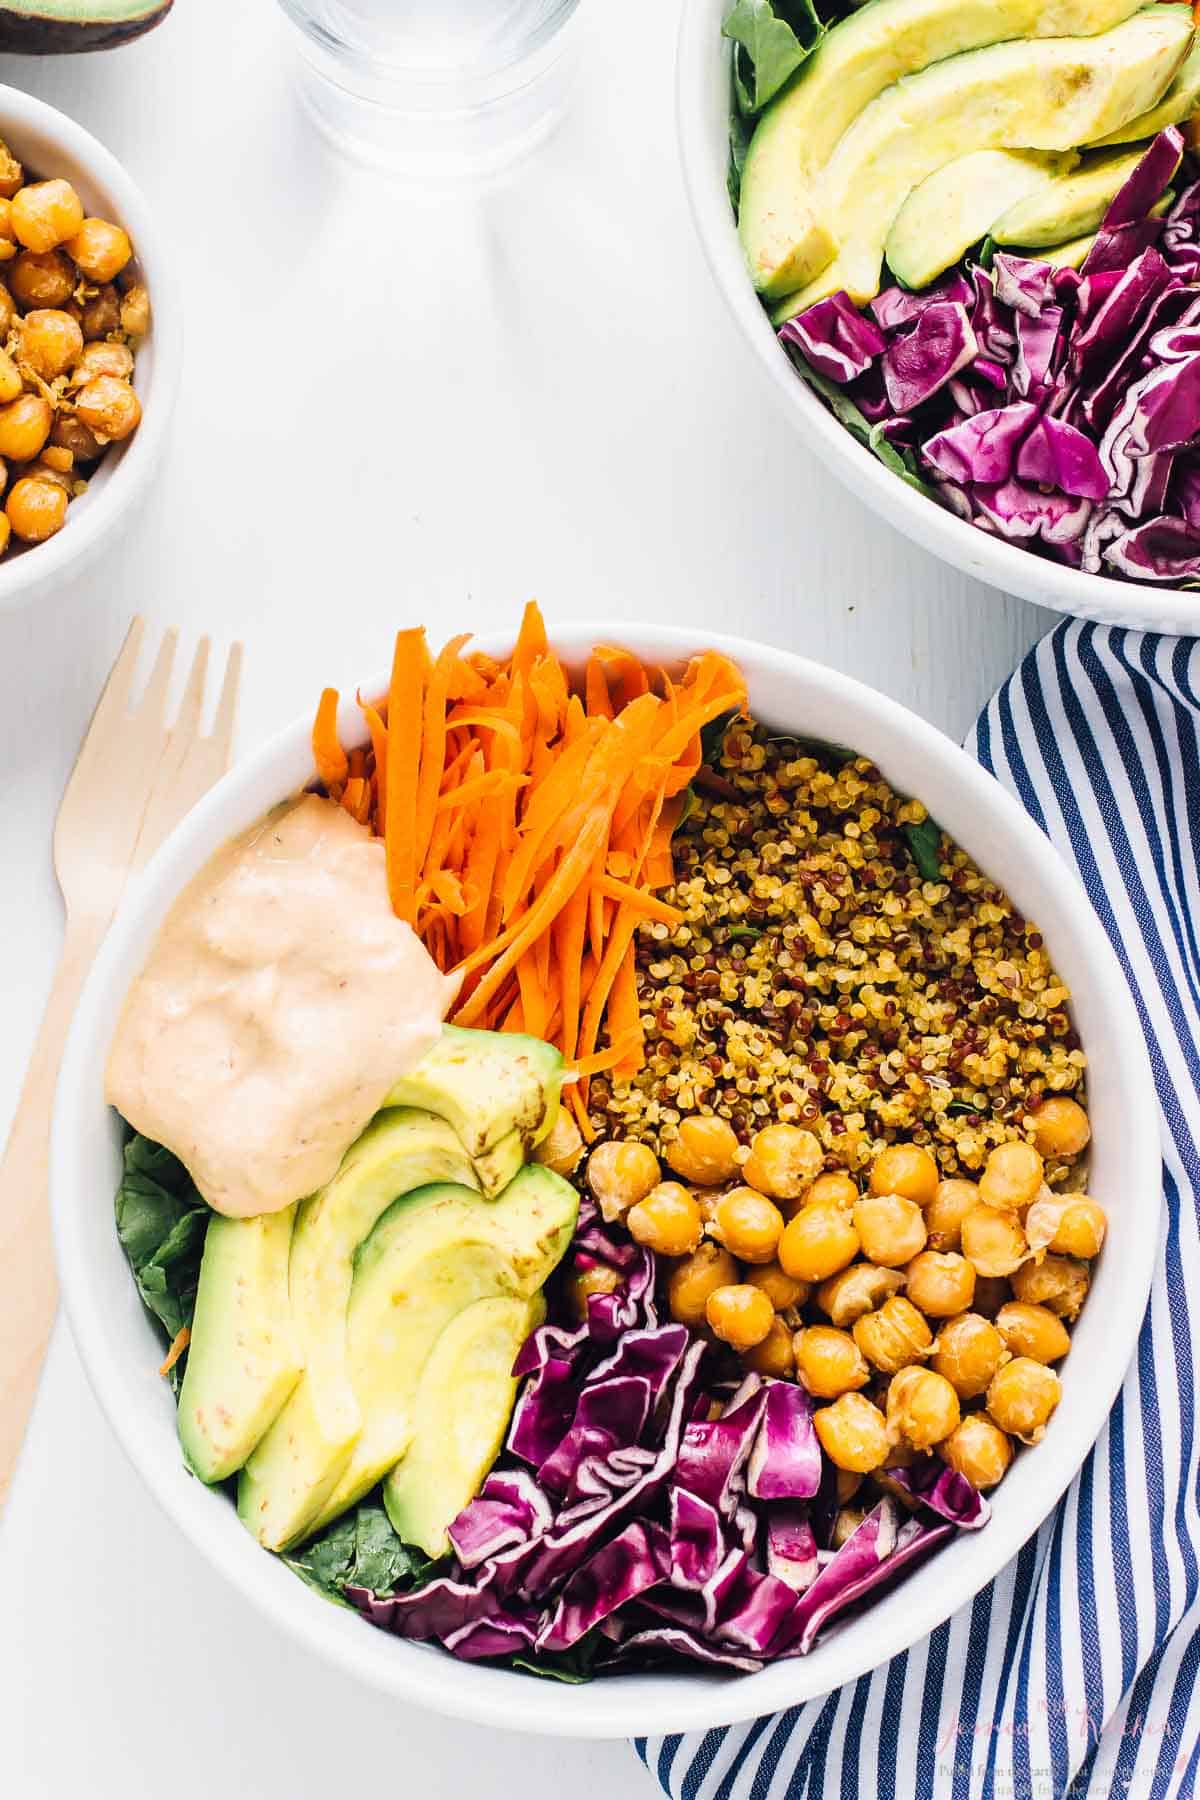
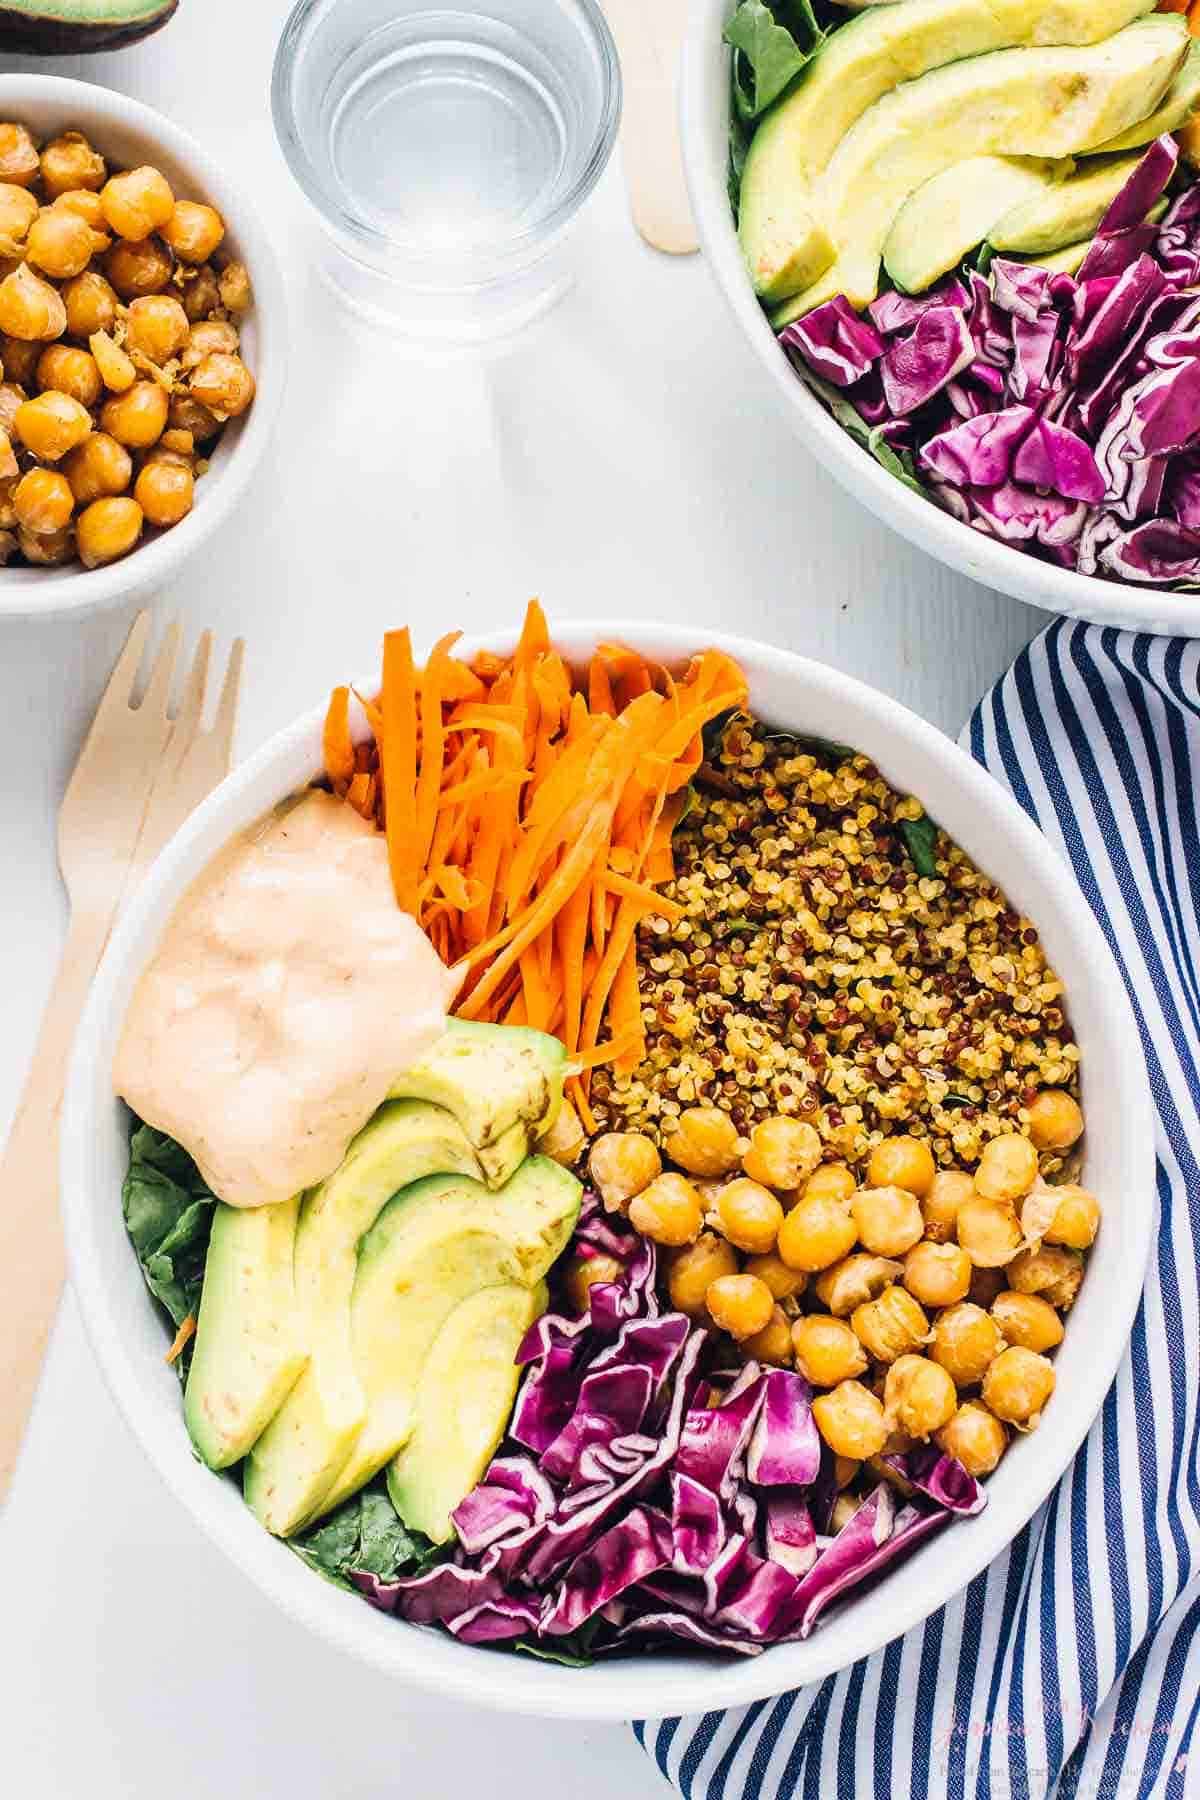
This Nourish Buddha Bowl is filled with nourishing and delicious veggies and grains and topped with an incredible tahini dressing!
Four words: My. Husband. Devoured. This. I took one bowl, he took the other, and he had to stop talking to me to get into his food. “This is just SO good!” That’s music to my ears, friends.
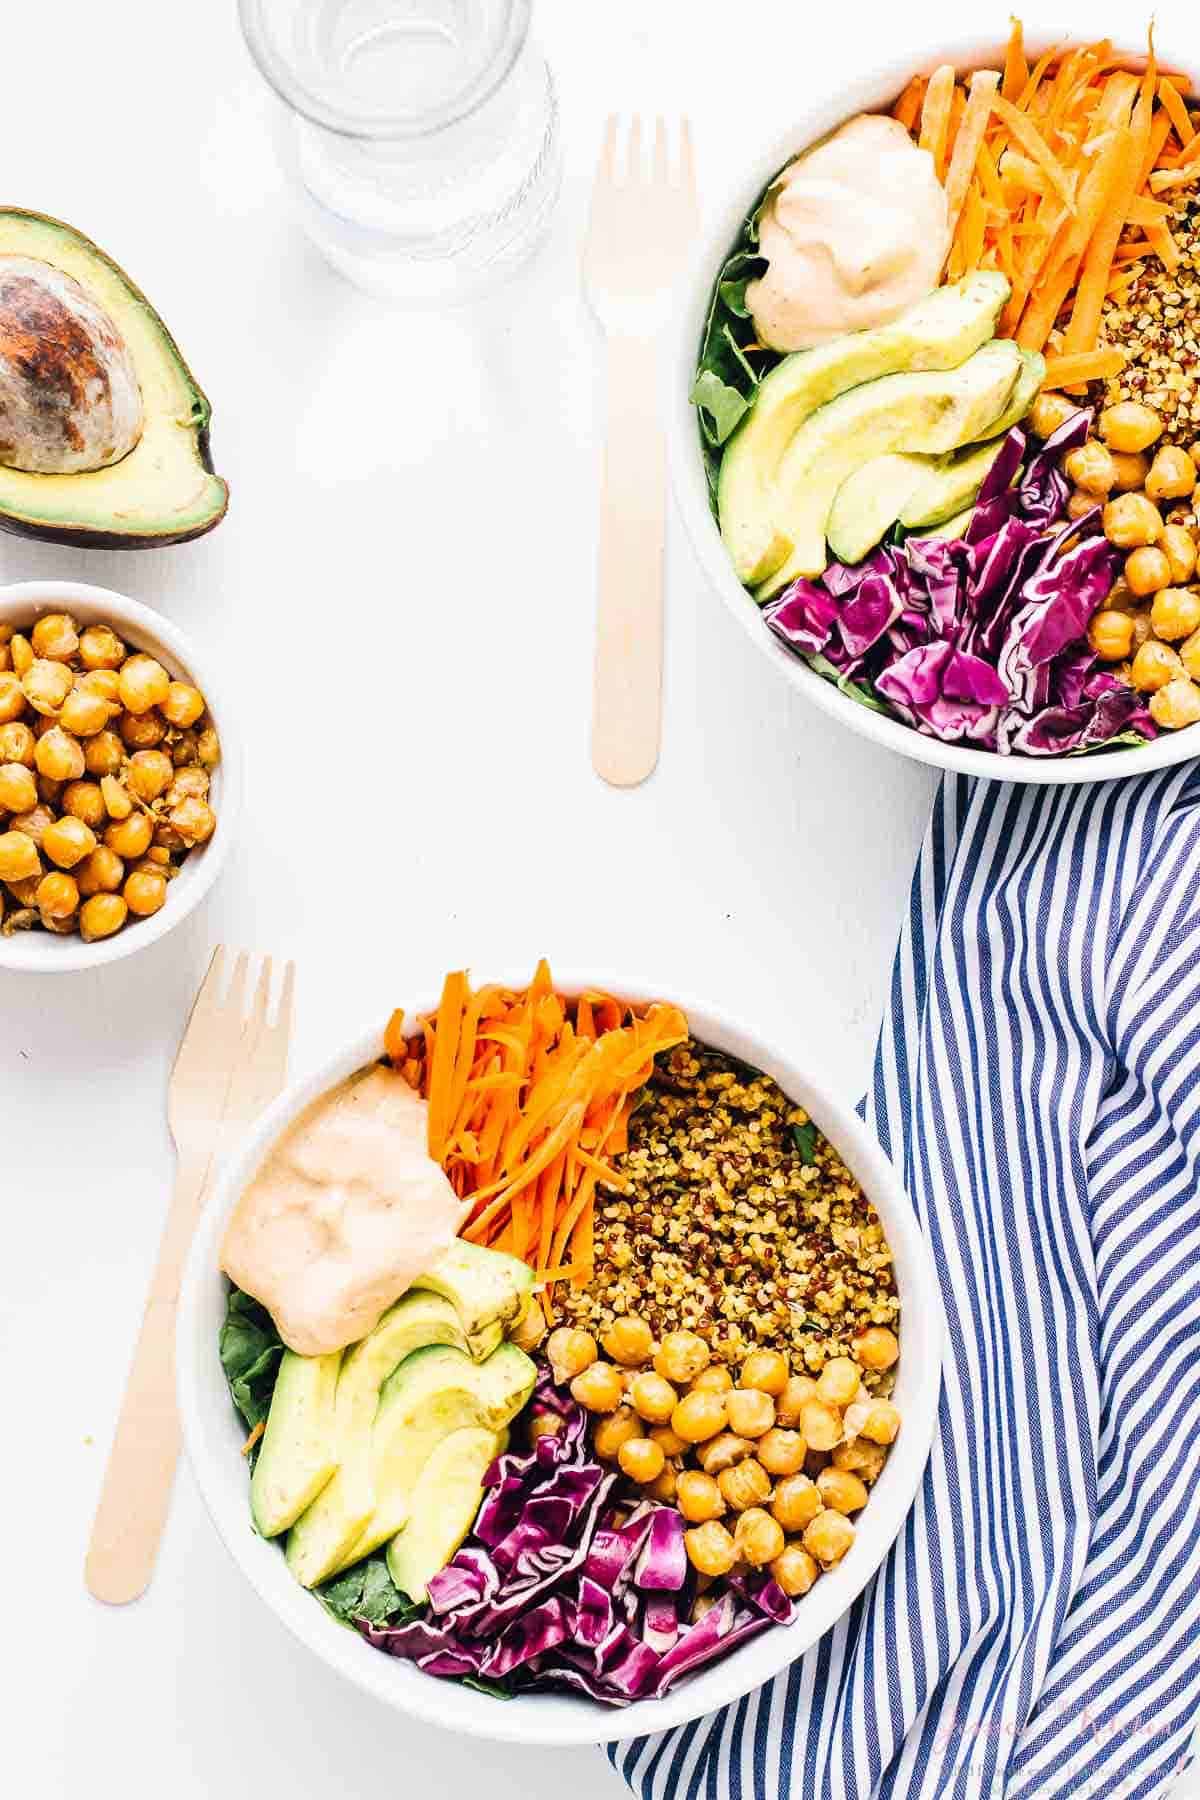
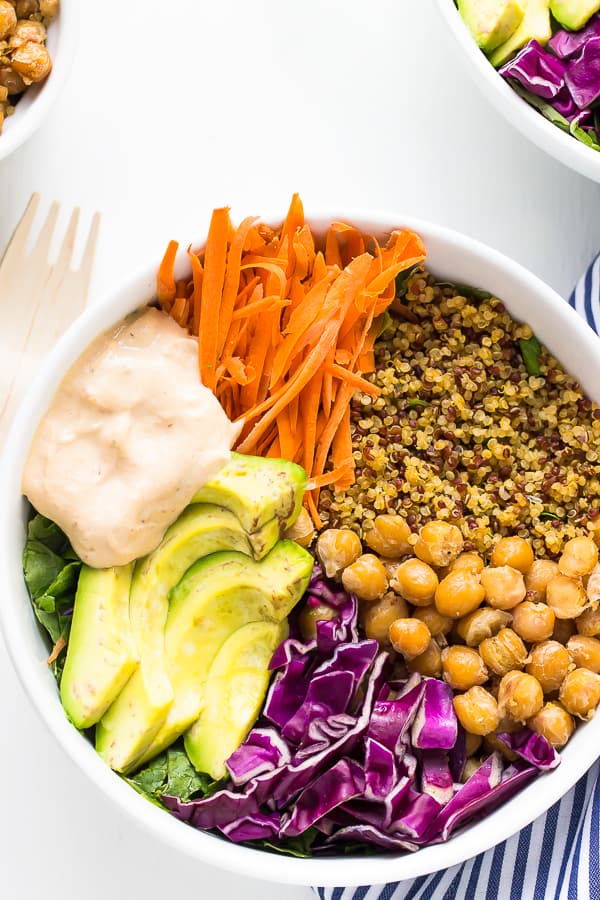
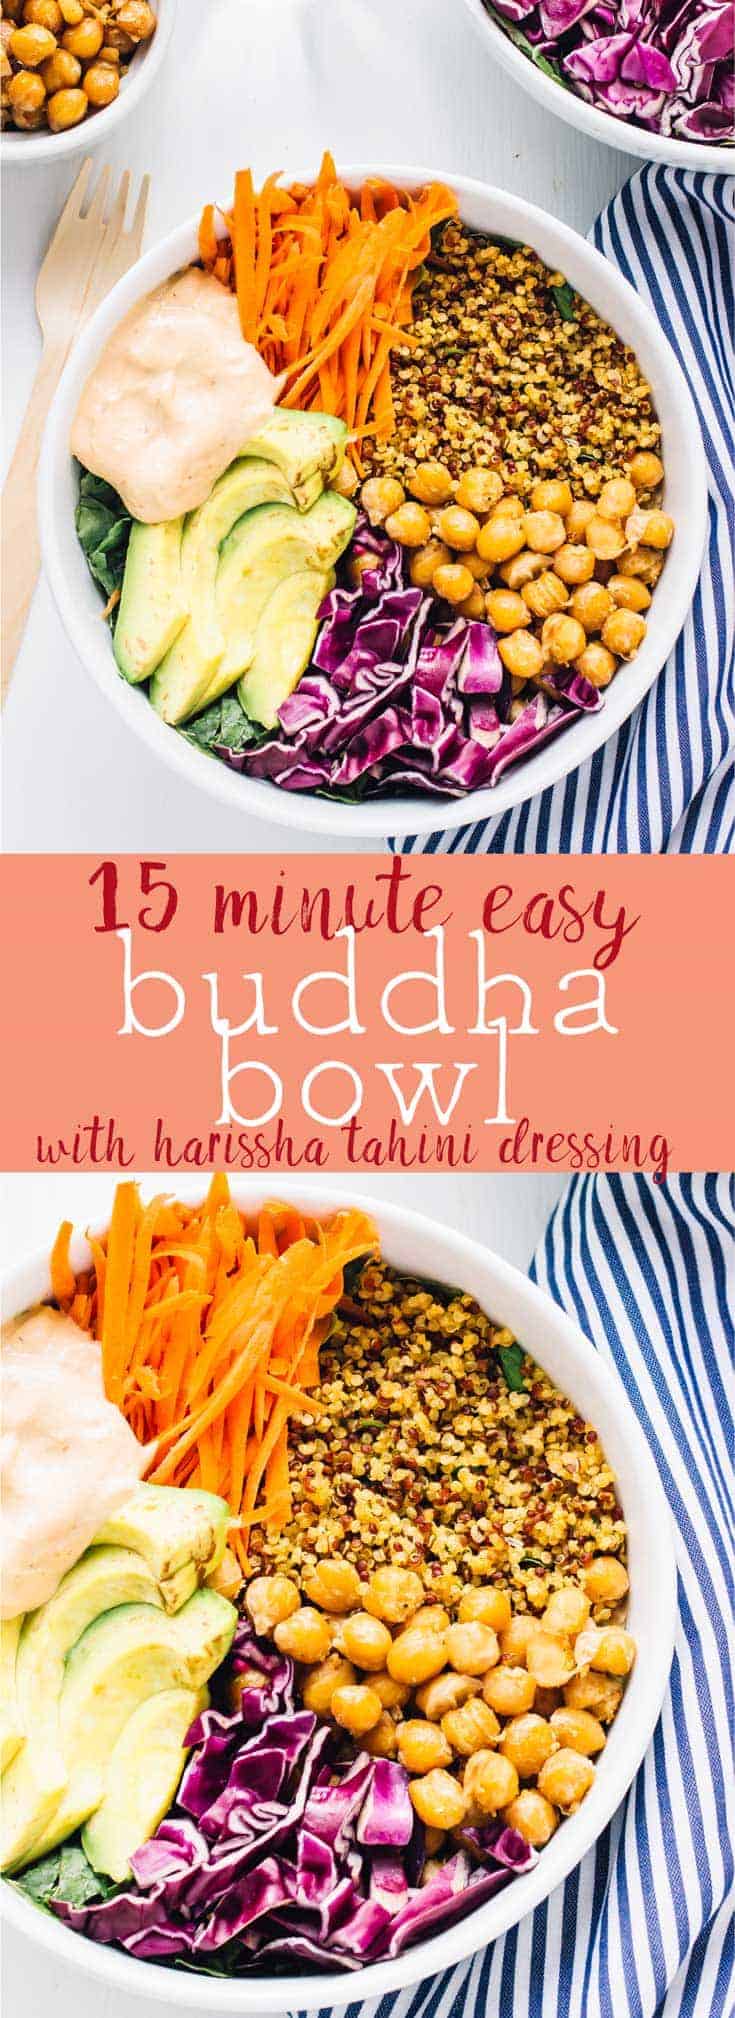
So what exactly is a nourish buddha bowl? A buddha bowl consists of greens, grains, protein, fats and usually a delicious dressing on top of it all. This bowl will not only leave you feeling full, but completely satisfied!
We really enjoyed this bowl so much that I am definitely making it for lunch tomorrow, and the day after that. It’s the perfect meal planning dish since it’s all separate components coming together to make one delicious lunch or dinner and so incredibly versatile. No carrots? Sure, use broccolini. No chickpeas? Use sweet potatoes. You can switch and swap this bowl out as much as your heart desires. For right now, I adore this particular combination.
So, now you can dig into and devour your nourish buddha bowl!
Save me some, please?
| SHOP THE POST // CLICK THE LEFT & RIGHT ARROWS TO SCROLL |
MORE EASY BUDDHA BOWL FOOD RECIPES
Honey & Lime Quinoa Salad Bowl with Spicy BBQ Chickpeas
Quinoa and Black Bean Burrito Bowl
Ingredients
Nourish Buddha Bowl
- 1/2 cooked quinoa
- 1 cup chickpeas , cooked and drained
- 1/2 cup shredded carrots
- 1/2 cup chopped purple cabbage
- 4 cups kale or other greens
- 1 small avocado
Harissa Tahini Dressing
- 1/4 cup tahini
- 1/4 teaspoon salt
- 1/4 teaspoon ground black pepper
- 1 teaspoon harissa paste
- 4 tablespoons water
- 2 tablespoons lime juice
- 3 cloves garlic , chopped
Per Buddha Bowl
- 1/4 cup cooked quinoa
- 1/2 cup cooked chickpeas
- 1/4 cup shredded carrots
- 1/4 cup purple cabbage
- 2 cups kale or other green
- 3 tablespoons of harissa tahini dressing
Instructions
Harissa Tahini Dip
- Mix all the ingredients together in a blender or food processor. Spoon into a bowl and set aside until ready.
Buddha Bowl
- Heat coconut oil in a pan over medium high heat. Add the chickpeas and crisp for 15 minutes on medium hight, turning over to chickpeas in a pan over medium high heat in a tablespoon of heated coconut oil.
- Assemble the bowl with the kale on the bottom, and the other ingredients arranged side by side. Mix everything together, getting the dressing on everything, and enjoy!
