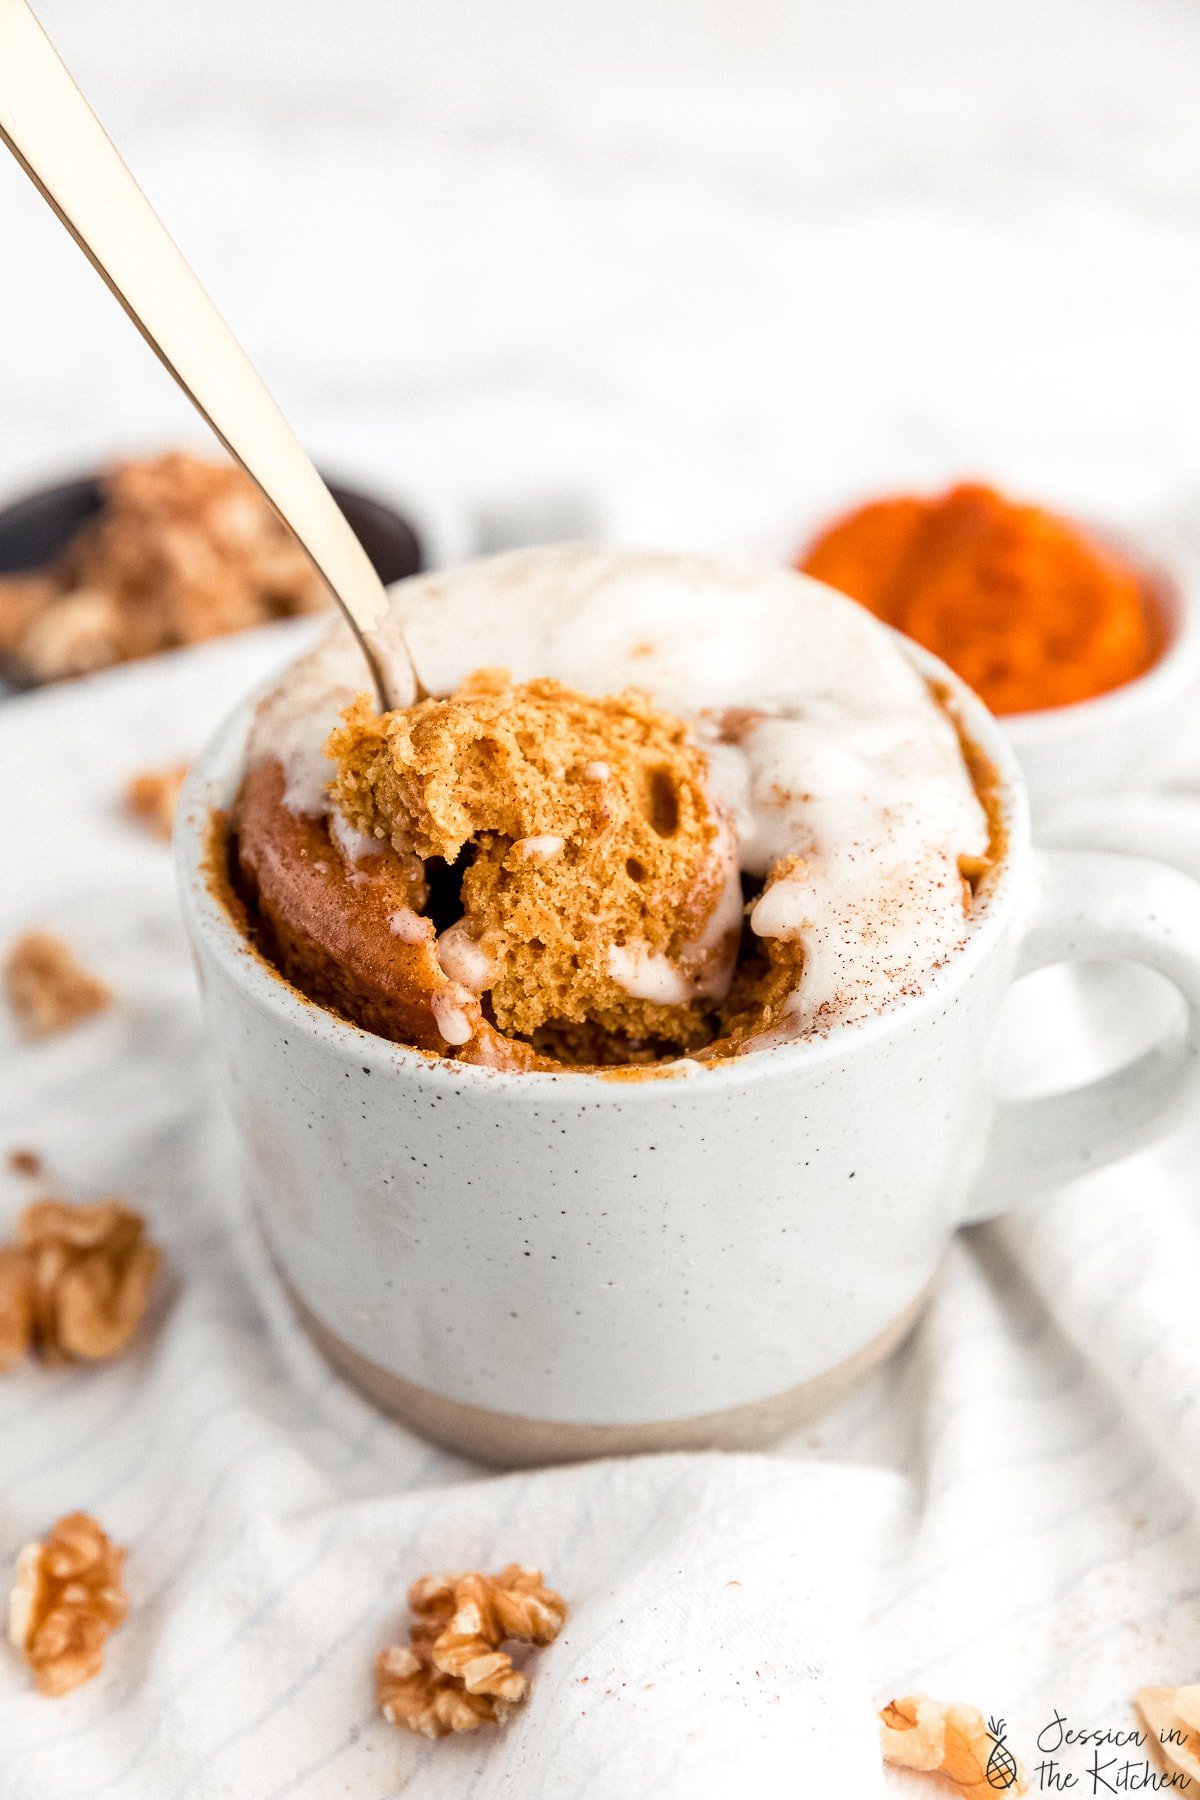
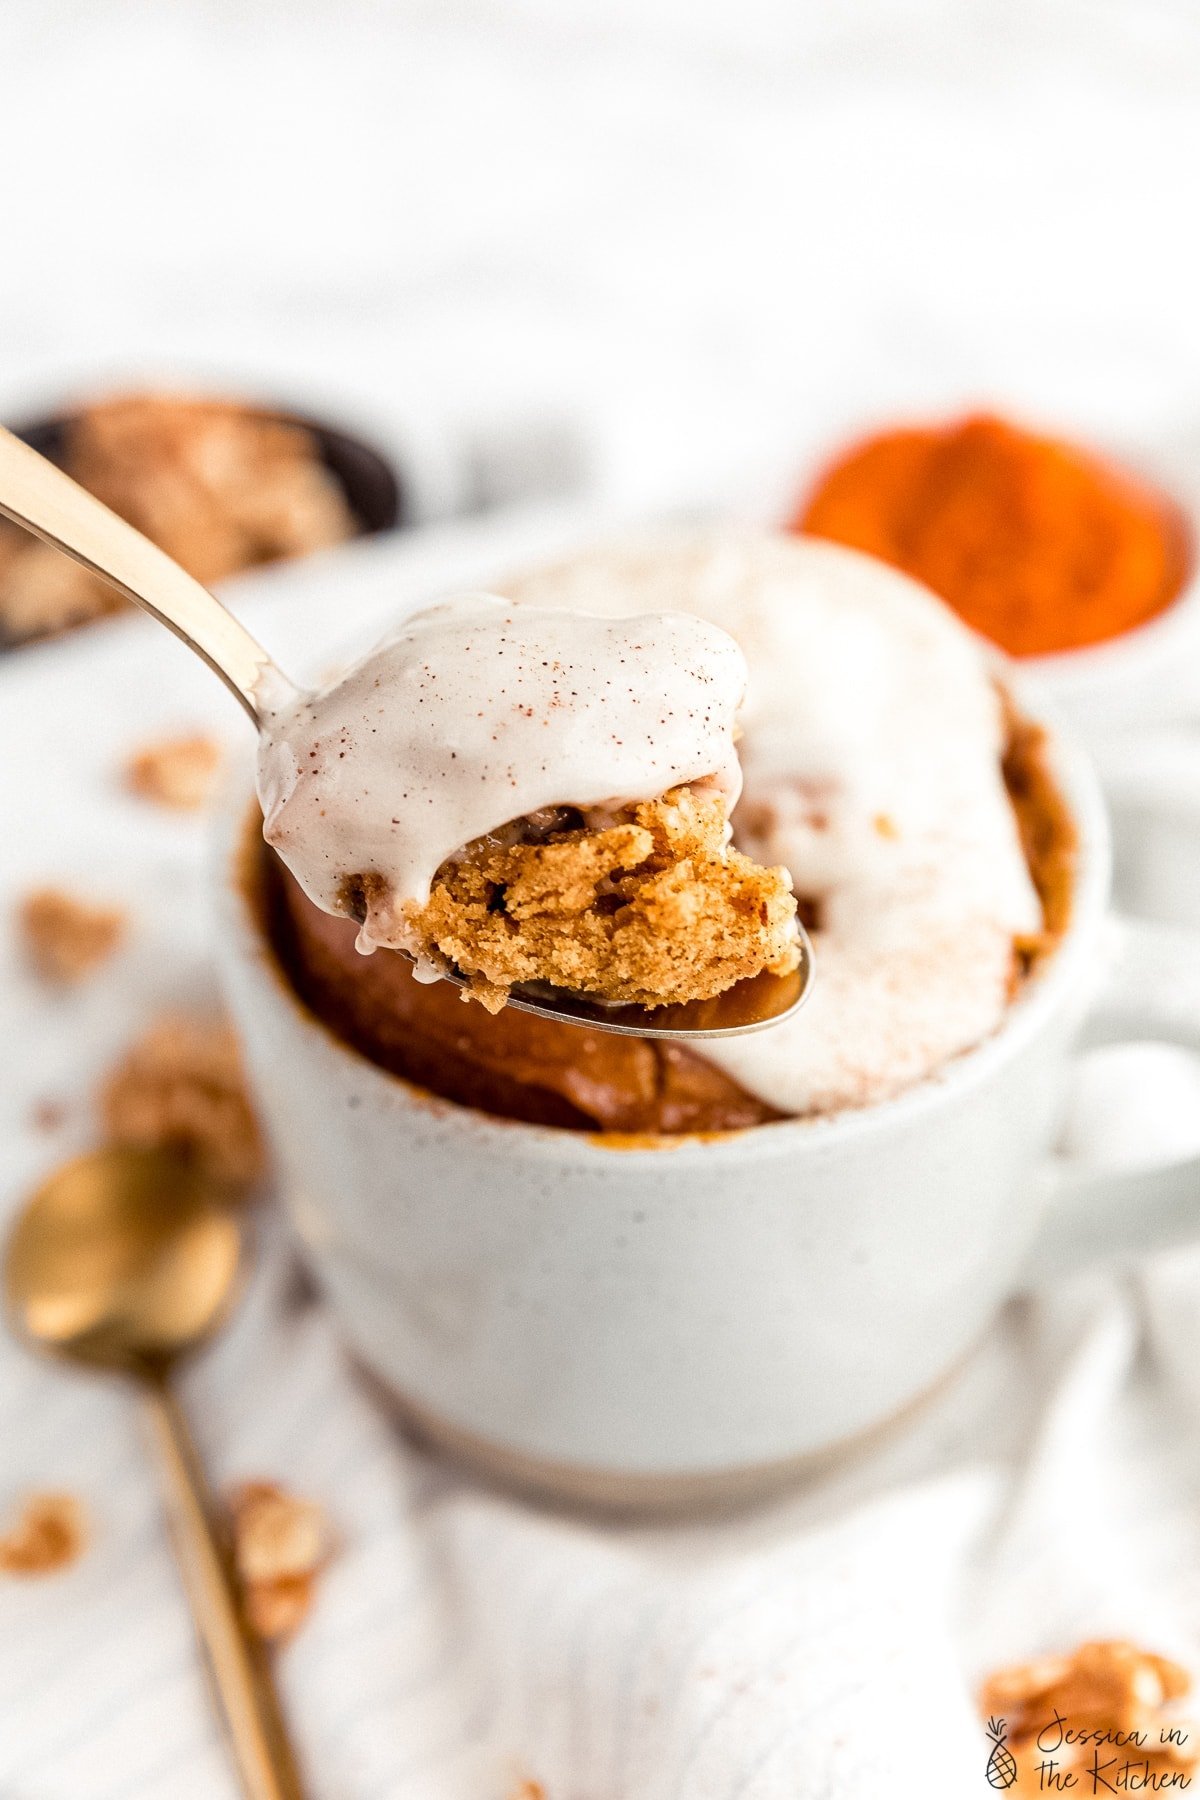
This Pumpkin Mug Cake (Vegan) is incredibly delicious and total cozy vibes! It’s vegan and made with very easy pantry ingredients in under 5 minutes start to finish. It has an incredible pumpkin spice flavour that’s so addictive!
It’s hard to explain the love I have for this pumpkin mug cake. Here’s the thing – I’ve been making a version of this for the last 7 years. It was the first vegan mug cake that I made and I was shocked at how delicious and easy it was. Fast forward to now, and I’ve recreated that recipe to be easier, with more accessible ingredients and even tastier with way more pumpkin spice flavour. I can’t wait for you to try this recipe!
What is a mug cake?
In case you don’t know, a mug cake is exactly what it sounds like. A quick single-serving cake that’s usually whipped up in your mug and cooked quickly in it too. It usually takes about a minute to two minutes to make, and the result is a fully cooked, delicious and moist mini cake. My favourite part about this pumpkin mug cake is that it’s moist yet fluffy, filled with flavour and spice, and has such a delicious pumpkin hit!
Needless to say – mug cakes are incredibly convenient and so tasty! You usually only want a single serving anyway, and the overall time is always less than 5 minutes to make!
If you’re new to the mug cake game, you may have a couple questions as to how to make it the best mug cake. Or, maybe you’ve made some in the past and it just didn’t quite turn out and you need extra guidance. Or maybe you’re a mug cake pro and you want a reminder. Here are my TOP mug cake tips!
- Use a wide short-ish mug (like the one in these photos!). If you have a variety to choose from, using this type of mug means the cake rises higher in a concentrated space. I’ve found this helps with cooking.
- Ensure to stir it all together. Don’t go whisking it for minutes on end, but ensure your entire mug cake is mixed. Since it’s such a small container it can be easy to miss the bottom. Just ensure you incorporate everything. Sometimes I scoop from the bottom up a few times to ensure this.
- With a dish so small, all the ingredients can either make or break it. Ensure you’re using a smooth pumpkin puree or else the texture may get thrown off. I use canned pumpkin puree since that’s the smoothest kind.
- Adjust your time based on your microwave. The times I’ve provided should work but yours may need an extra 10 seconds. It’ll cook edges to centre so just check the centre that it’s mostly cooked…BUT:
- BUT, don’t overcook. This will make your mug cake gummy and rubbery and dry. Remember that the mug cake will keep cooking while it’s cooling so it’s better to slightly under bake it .
- Let it cool for like 3 to 5 minutes before digging in. It really does make a difference, like how you’d let a cake or brownies cool first!
- I’ve included instructions for baking this in your oven too!
That’s it friends! Whip this up and enjoy so much!!
Related Recipes
Here are my other mug cake recipes, which all have dozens of 5-star recipes so be sure to check them out (and make them!)
- Banana Bread Mug Cake
- Vegan Chocolate Brownie Mug Cake
- Chocolate Chip Tahini Mug Cake
- Pumpkin Butter Mug Cake
- Chocolate Mug Cake
Ingredients
- ½ tablespoon oil
- 2 tablespoons milk , any vegan milk works
- 2 tablespoons sugar , I use cane sugar, you can use brown or coconut too
- 2 tablespoons pumpkin puree
- 4 tablespoons all purpose flour , or gluten-free flour mix*
- ¼ teaspoon baking powder
- ½ teaspoon pumpkin spice
- pinch of sea salt
- 1/2 teaspoon vanilla extract , optional
Instructions
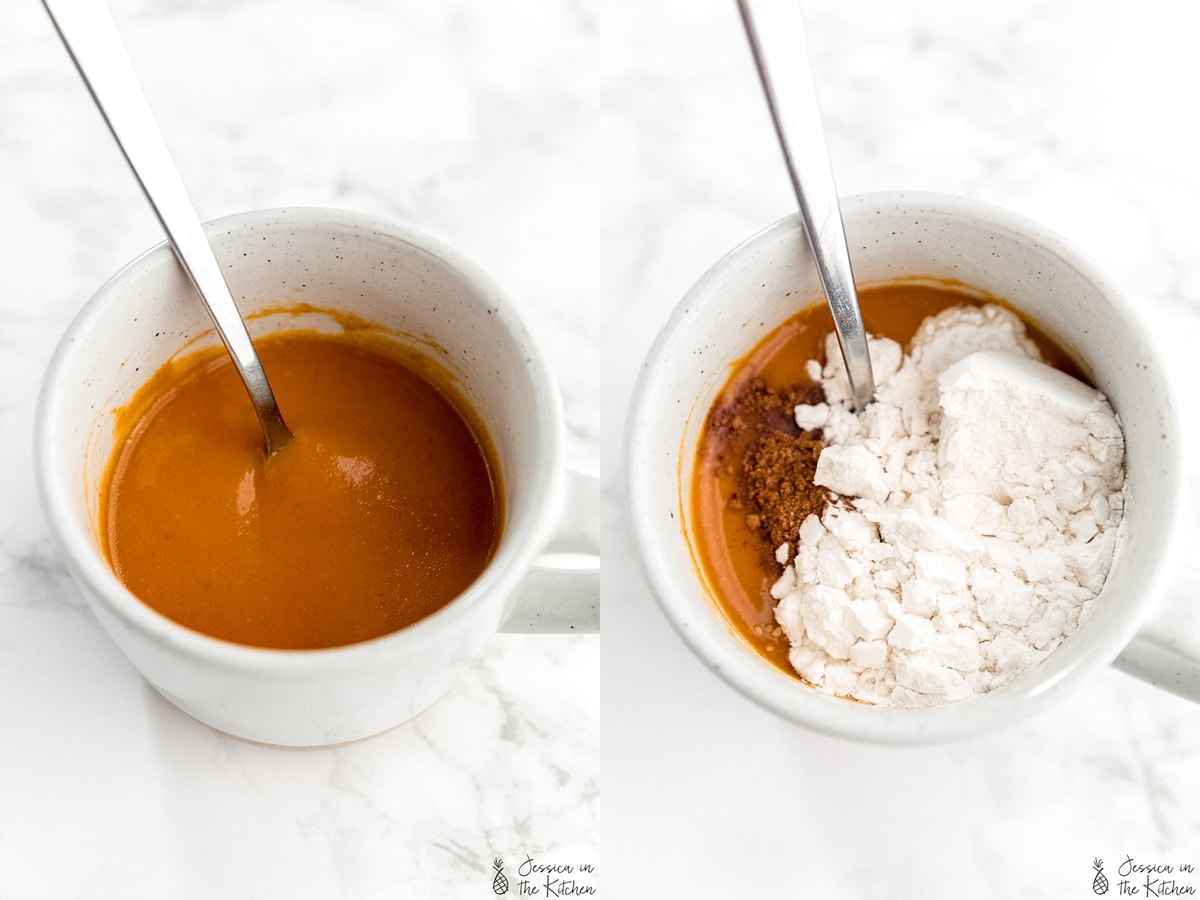
- In a mug, add in the oil, milk, sugar and pumpkin puree. Whisk together for about 15 seconds. Add in the flour, baking powder, pumpkin spice, sea salt and optional vanilla extract.
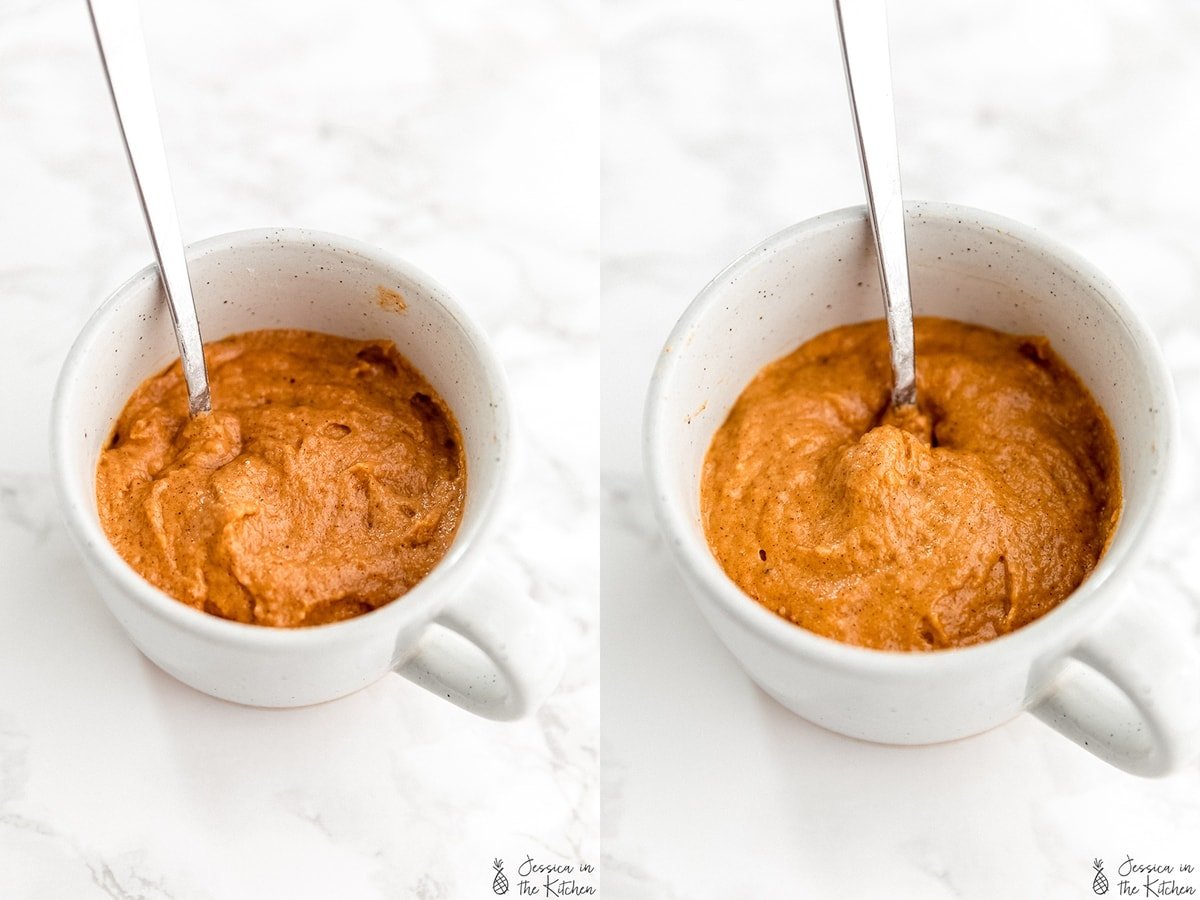
- Stir to combine for about 30 more seconds to ensure it’s all incorporated, ensuring you get the bottoms too.
- Place in your microwave for 80 to 85 seconds. It’s okay if it’s slightly undercooked on top because it’ll continue to cook while it cools. It’s better for it to be slightly undercooked than overcooked. Remove and let cool for about 5 minutes. Trust me!
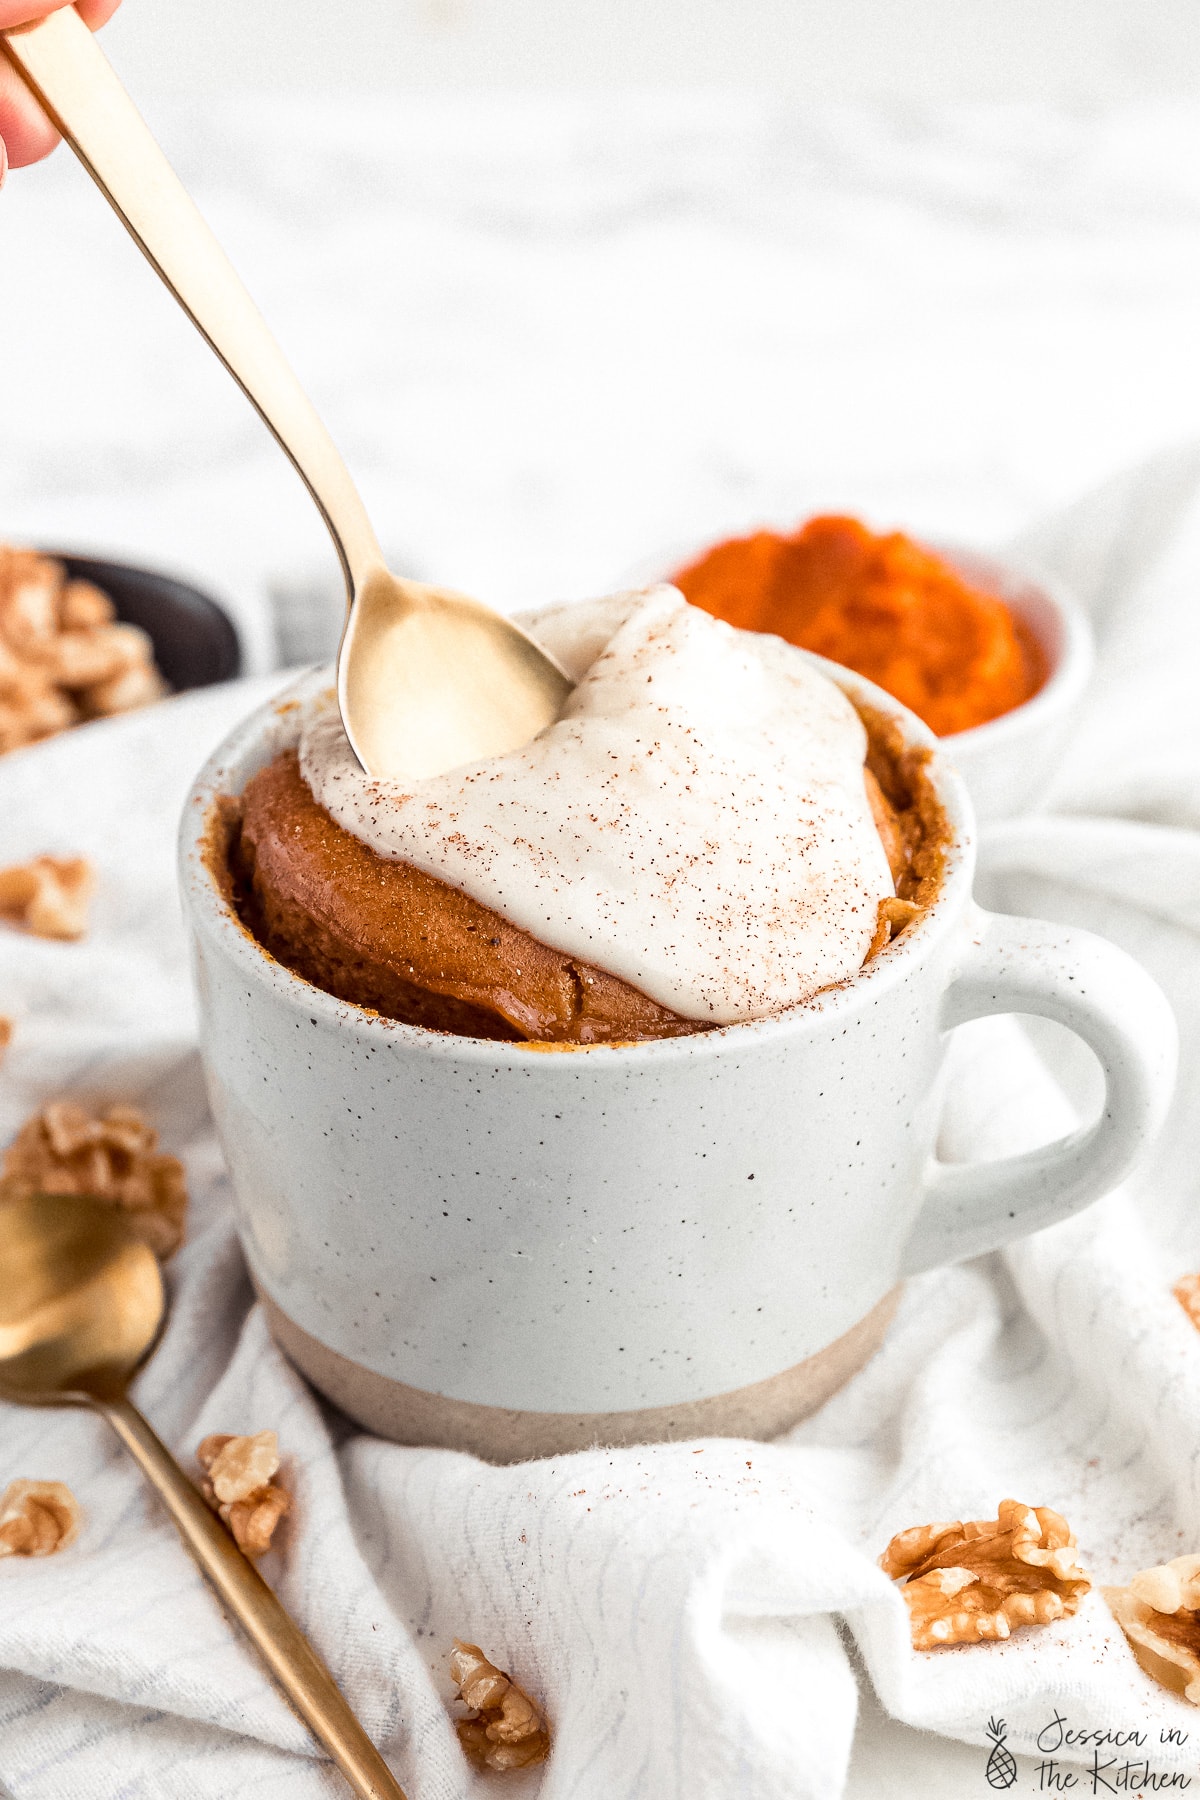
- If making in your oven, preheat oven to 350°F/180°C and bake in about a 3.5-inch ramekin (ensure it’s oven safe) for 25 to 30 minutes. Remove and allow to cool for about 3 to 5 minutes. Enjoy! Top it with my Vegan Cream Cheese Frosting !
Notes
GLUTEN-FREE or REGULAR FLOUR
- Use a wide short-ish mug (like the one in these photos!). If you have a variety to choose from, using this type of mug means the cake rises higher in a concentrated space. I’ve found this helps with cooking.
- Ensure to stir it all together. Don’t go whisking it for minutes on end, but ensure your entire mug cake is mixed. Since it’s such a small container it can be easy to miss the bottom. Just ensure you incorporate everything. Sometimes I scoop from the bottom up a few times to ensure this.
- With a dish so small, all the ingredients can either make or break it. Ensure you’re using a smooth pumpkin puree or else the texture may get thrown off. I use canned pumpkin puree since that’s the smoothest kind.
- Adjust your time based on your microwave. The times I’ve provided should work but yours may need an extra 10 seconds. It’ll cook edges to centre so just check the centre that it’s mostly cooked…BUT:
- BUT, don’t overcook. This will make your mug cake gummy and rubbery and dry. Remember that the mug cake will keep cooking while it’s cooling so it’s better to slightly under bake it .
- Let it cool for like 3 to 5 minutes before digging in. It really does make a difference, like how you’d let a cake or brownies cool first!
- I’ve included instructions for baking this in your oven too!
This Pumpkin Mug Cake (Vegan) is incredibly delicious and total cozy vibes! It’s vegan and made with very easy pantry ingredients in under 5 minutes start to finish. It has an incredible pumpkin spice flavour that’s so addictive!
It’s hard to explain the love I have for this pumpkin mug cake. Here’s the thing – I’ve been making a version of this for the last 7 years. It was the first vegan mug cake that I made and I was shocked at how delicious and easy it was. Fast forward to now, and I’ve recreated that recipe to be easier, with more accessible ingredients and even tastier with way more pumpkin spice flavour. I can’t wait for you to try this recipe!
What is a mug cake?
In case you don’t know, a mug cake is exactly what it sounds like. A quick single-serving cake that’s usually whipped up in your mug and cooked quickly in it too. It usually takes about a minute to two minutes to make, and the result is a fully cooked, delicious and moist mini cake. My favourite part about this pumpkin mug cake is that it’s moist yet fluffy, filled with flavour and spice, and has such a delicious pumpkin hit!
Needless to say – mug cakes are incredibly convenient and so tasty! You usually only want a single serving anyway, and the overall time is always less than 5 minutes to make!
If you’re new to the mug cake game, you may have a couple questions as to how to make it the best mug cake. Or, maybe you’ve made some in the past and it just didn’t quite turn out and you need extra guidance. Or maybe you’re a mug cake pro and you want a reminder. Here are my TOP mug cake tips!
- Use a wide short-ish mug (like the one in these photos!). If you have a variety to choose from, using this type of mug means the cake rises higher in a concentrated space. I’ve found this helps with cooking.
- Ensure to stir it all together. Don’t go whisking it for minutes on end, but ensure your entire mug cake is mixed. Since it’s such a small container it can be easy to miss the bottom. Just ensure you incorporate everything. Sometimes I scoop from the bottom up a few times to ensure this.
- With a dish so small, all the ingredients can either make or break it. Ensure you’re using a smooth pumpkin puree or else the texture may get thrown off. I use canned pumpkin puree since that’s the smoothest kind.
- Adjust your time based on your microwave. The times I’ve provided should work but yours may need an extra 10 seconds. It’ll cook edges to centre so just check the centre that it’s mostly cooked…BUT:
- BUT, don’t overcook. This will make your mug cake gummy and rubbery and dry. Remember that the mug cake will keep cooking while it’s cooling so it’s better to slightly under bake it .
- Let it cool for like 3 to 5 minutes before digging in. It really does make a difference, like how you’d let a cake or brownies cool first!
- I’ve included instructions for baking this in your oven too!
That’s it friends! Whip this up and enjoy so much!!
Related Recipes
Here are my other mug cake recipes, which all have dozens of 5-star recipes so be sure to check them out (and make them!)
- Banana Bread Mug Cake
- Vegan Chocolate Brownie Mug Cake
- Chocolate Chip Tahini Mug Cake
- Pumpkin Butter Mug Cake
- Chocolate Mug Cake
Ingredients
- ½ tablespoon oil
- 2 tablespoons milk , any vegan milk works
- 2 tablespoons sugar , I use cane sugar, you can use brown or coconut too
- 2 tablespoons pumpkin puree
- 4 tablespoons all purpose flour , or gluten-free flour mix*
- ¼ teaspoon baking powder
- ½ teaspoon pumpkin spice
- pinch of sea salt
- 1/2 teaspoon vanilla extract , optional
Instructions
- In a mug, add in the oil, milk, sugar and pumpkin puree. Whisk together for about 15 seconds. Add in the flour, baking powder, pumpkin spice, sea salt and optional vanilla extract.
- Stir to combine for about 30 more seconds to ensure it’s all incorporated, ensuring you get the bottoms too.
- Place in your microwave for 80 to 85 seconds. It’s okay if it’s slightly undercooked on top because it’ll continue to cook while it cools. It’s better for it to be slightly undercooked than overcooked. Remove and let cool for about 5 minutes. Trust me!
- If making in your oven, preheat oven to 350°F/180°C and bake in about a 3.5-inch ramekin (ensure it’s oven safe) for 25 to 30 minutes. Remove and allow to cool for about 3 to 5 minutes. Enjoy! Top it with my Vegan Cream Cheese Frosting !
Notes
GLUTEN-FREE or REGULAR FLOUR
- Use a wide short-ish mug (like the one in these photos!). If you have a variety to choose from, using this type of mug means the cake rises higher in a concentrated space. I’ve found this helps with cooking.
- Ensure to stir it all together. Don’t go whisking it for minutes on end, but ensure your entire mug cake is mixed. Since it’s such a small container it can be easy to miss the bottom. Just ensure you incorporate everything. Sometimes I scoop from the bottom up a few times to ensure this.
- With a dish so small, all the ingredients can either make or break it. Ensure you’re using a smooth pumpkin puree or else the texture may get thrown off. I use canned pumpkin puree since that’s the smoothest kind.
- Adjust your time based on your microwave. The times I’ve provided should work but yours may need an extra 10 seconds. It’ll cook edges to centre so just check the centre that it’s mostly cooked…BUT:
- BUT, don’t overcook. This will make your mug cake gummy and rubbery and dry. Remember that the mug cake will keep cooking while it’s cooling so it’s better to slightly under bake it .
- Let it cool for like 3 to 5 minutes before digging in. It really does make a difference, like how you’d let a cake or brownies cool first!
- I’ve included instructions for baking this in your oven too!

Pumpkin Mug Cake (Vegan)
Ingredients
- ½ tablespoon oil
- 2 tablespoons milk any vegan milk works
- 2 tablespoons sugar I use cane sugar, you can use brown or coconut too
- 2 tablespoons pumpkin puree
- 4 tablespoons all purpose flour or gluten-free flour mix*
- ¼ teaspoon baking powder
- ½ teaspoon pumpkin spice
- pinch of sea salt
- 1/2 teaspoon vanilla extract optional
Instructions
- In a mug, add in the oil, milk, sugar and pumpkin puree. Whisk together for about 15 seconds. Add in the flour, baking powder, pumpkin spice, sea salt and optional vanilla extract.
- Stir to combine for about 30 more seconds to ensure it’s all incorporated, ensuring you get the bottoms too.
- Place in your microwave for 80 to 85 seconds. It’s okay if it’s slightly undercooked on top because it’ll continue to cook while it cools. It’s better for it to be slightly undercooked than overcooked. Remove and let cool for about 5 minutes. Trust me!
- If making in your oven, preheat oven to 350°F/180°C and bake in about a 3.5-inch ramekin (ensure it’s oven safe) for 25 to 30 minutes. Remove and allow to cool for about 3 to 5 minutes. Enjoy! Top it with my Vegan Cream Cheese Frosting !
Notes
GLUTEN-FREE or REGULAR FLOUR
- Use a wide short-ish mug (like the one in these photos!). If you have a variety to choose from, using this type of mug means the cake rises higher in a concentrated space. I’ve found this helps with cooking.
- Ensure to stir it all together. Don’t go whisking it for minutes on end, but ensure your entire mug cake is mixed. Since it’s such a small container it can be easy to miss the bottom. Just ensure you incorporate everything. Sometimes I scoop from the bottom up a few times to ensure this.
- With a dish so small, all the ingredients can either make or break it. Ensure you’re using a smooth pumpkin puree or else the texture may get thrown off. I use canned pumpkin puree since that’s the smoothest kind.
- Adjust your time based on your microwave. The times I’ve provided should work but yours may need an extra 10 seconds. It’ll cook edges to centre so just check the centre that it’s mostly cooked…BUT:
- BUT, don’t overcook. This will make your mug cake gummy and rubbery and dry. Remember that the mug cake will keep cooking while it’s cooling so it’s better to slightly under bake it .
- Let it cool for like 3 to 5 minutes before digging in. It really does make a difference, like how you’d let a cake or brownies cool first!
- I’ve included instructions for baking this in your oven too!
Nutrition
Pumpkin Mug Cake (Vegan) https://jessicainthekitchen.com/pumpkin-mug-cake-vegan/ September 14, 2020
This Vegan Cream Cheese Frosting is tangy, smooth, sweet perfection! I share how to make it thicker and the best tips for the best consistency and taste!
There’s no other way to say it: this frosting is SO GOOD everyone. It’s definitely one of my favourite top frostings to date (and I was a baker! So I’ve made a LOT of frostings) the other one being my chocolate frosting! I actually can’t believe I’m just sharing this frosting now since I’ve been making it since my carrot cake cupcakes and my red velvet brownies. But this version has been perfected not only in taste but for one thing in specific -> to make it thicker!
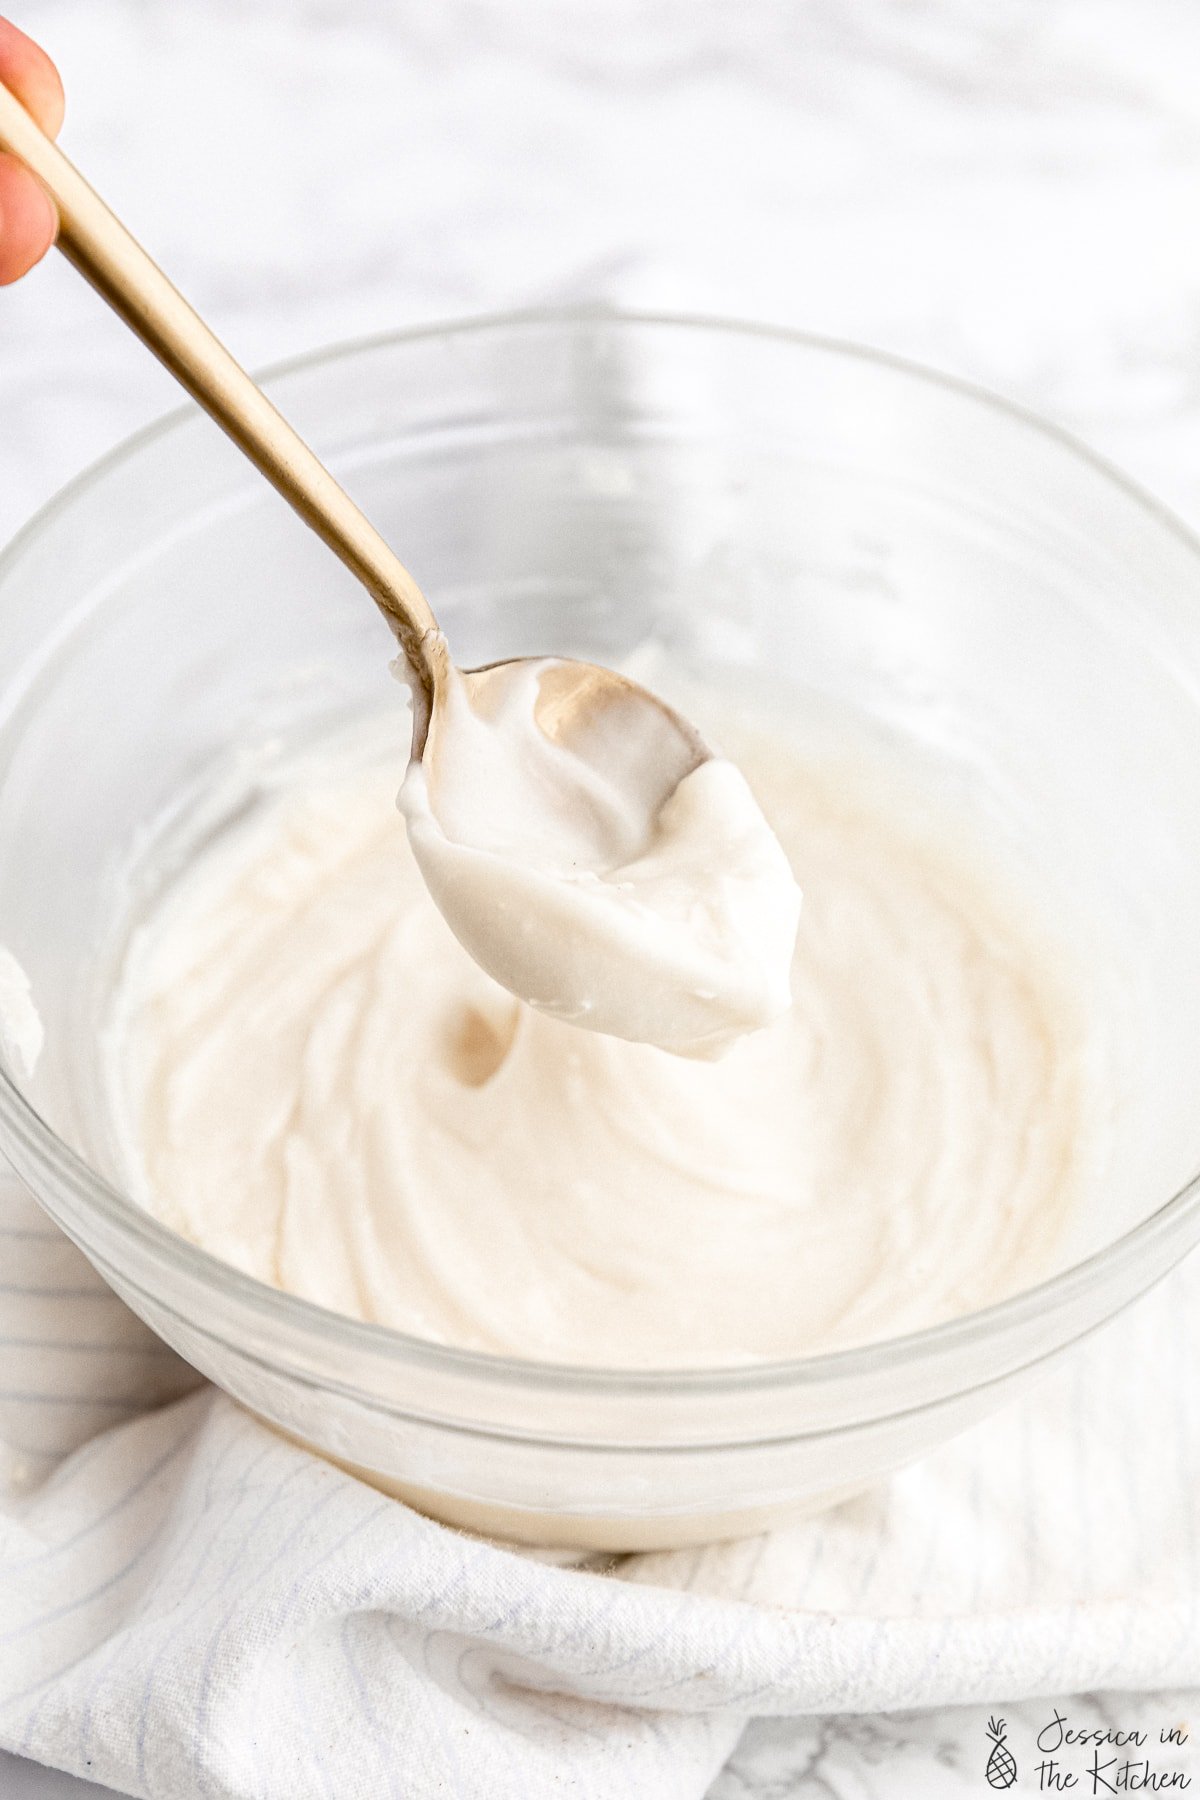
Making it thicker: use cornstarch!
If you’ve ever made cream cheese frosting, you know that is has a tendency to be runny. The trick? Add cornstarch. You may or may not know but your powdered/confectioner’s/icing sugar probably has some cornstarch in it, and adding more really helps to thicken this frosting up! The taste is undetectable after the frosting sits in the fridge for at least a few hours and all you taste is tangy, smooth, sweet perfection!
- For the best results, ensuring you’re using vegan cream cheese, not cream cheese spread. A brand like Tofutti or Violife will give you the best results, but don’t panic if all you can find is cream cheese spread! You can still use it and it will still taste delicious, and it will still get very thick in the fridge but it will not be as thick outside of the fridge. I tested both and to be honest, the easy fix is to just keep it in the fridge and whatever Cake you’re using in the fridge too! If you’re making my pumpkin sheet cake, it tastes deliciously moist in the fridge for days anyway!
- Ensure that you let the frosting thicken up in the fridge either before or right after applying it to your fully cooled cake or treat. The frosting really thickens up nicely in the fridge and you can either make it ahead or make it, apply it, then let it all sit together to meld together nicely.
- Start with vegan cream cheese and vegan butter at the same temperature. I like to set them both out of the fridge for at least 20 minutes to come to room temperature around the same temperature.
- Taste test your frosting along the way! Start with the 3 cups and cornstarch, then see if you want the extra cup of powdered sugar. It does help to thicken up the end result more, but it’s up to your taste based on how tangy you want it.
Related Recipes
You absolutely need to slather this frosting over your favourite cakes and mug cakes:
Pumpkin Sheet Cake (coming Friday!)
Banana Bread Mug Cake
Pumpkin Mug Cake (incredible here!)
Red Velvet Brownies
Carrot Cake Muffins
That’s it friends! I hope you love this recipe SO much and put it on everything!
Ingredients
- 8 ounces vegan cream cheese* , bring to room temperature
- ½ cup vegan butter sticks , bring to room temperature ( 4 ounces)
- 1 teaspoon vanilla extract , or vanilla paste
- pinch sea salt
- 3 - 4 cups powdered sugar , sifted ( 480 g for 4 cups)
- 1/4 cup cornstarch , sifted ( 32 g)
Instructions
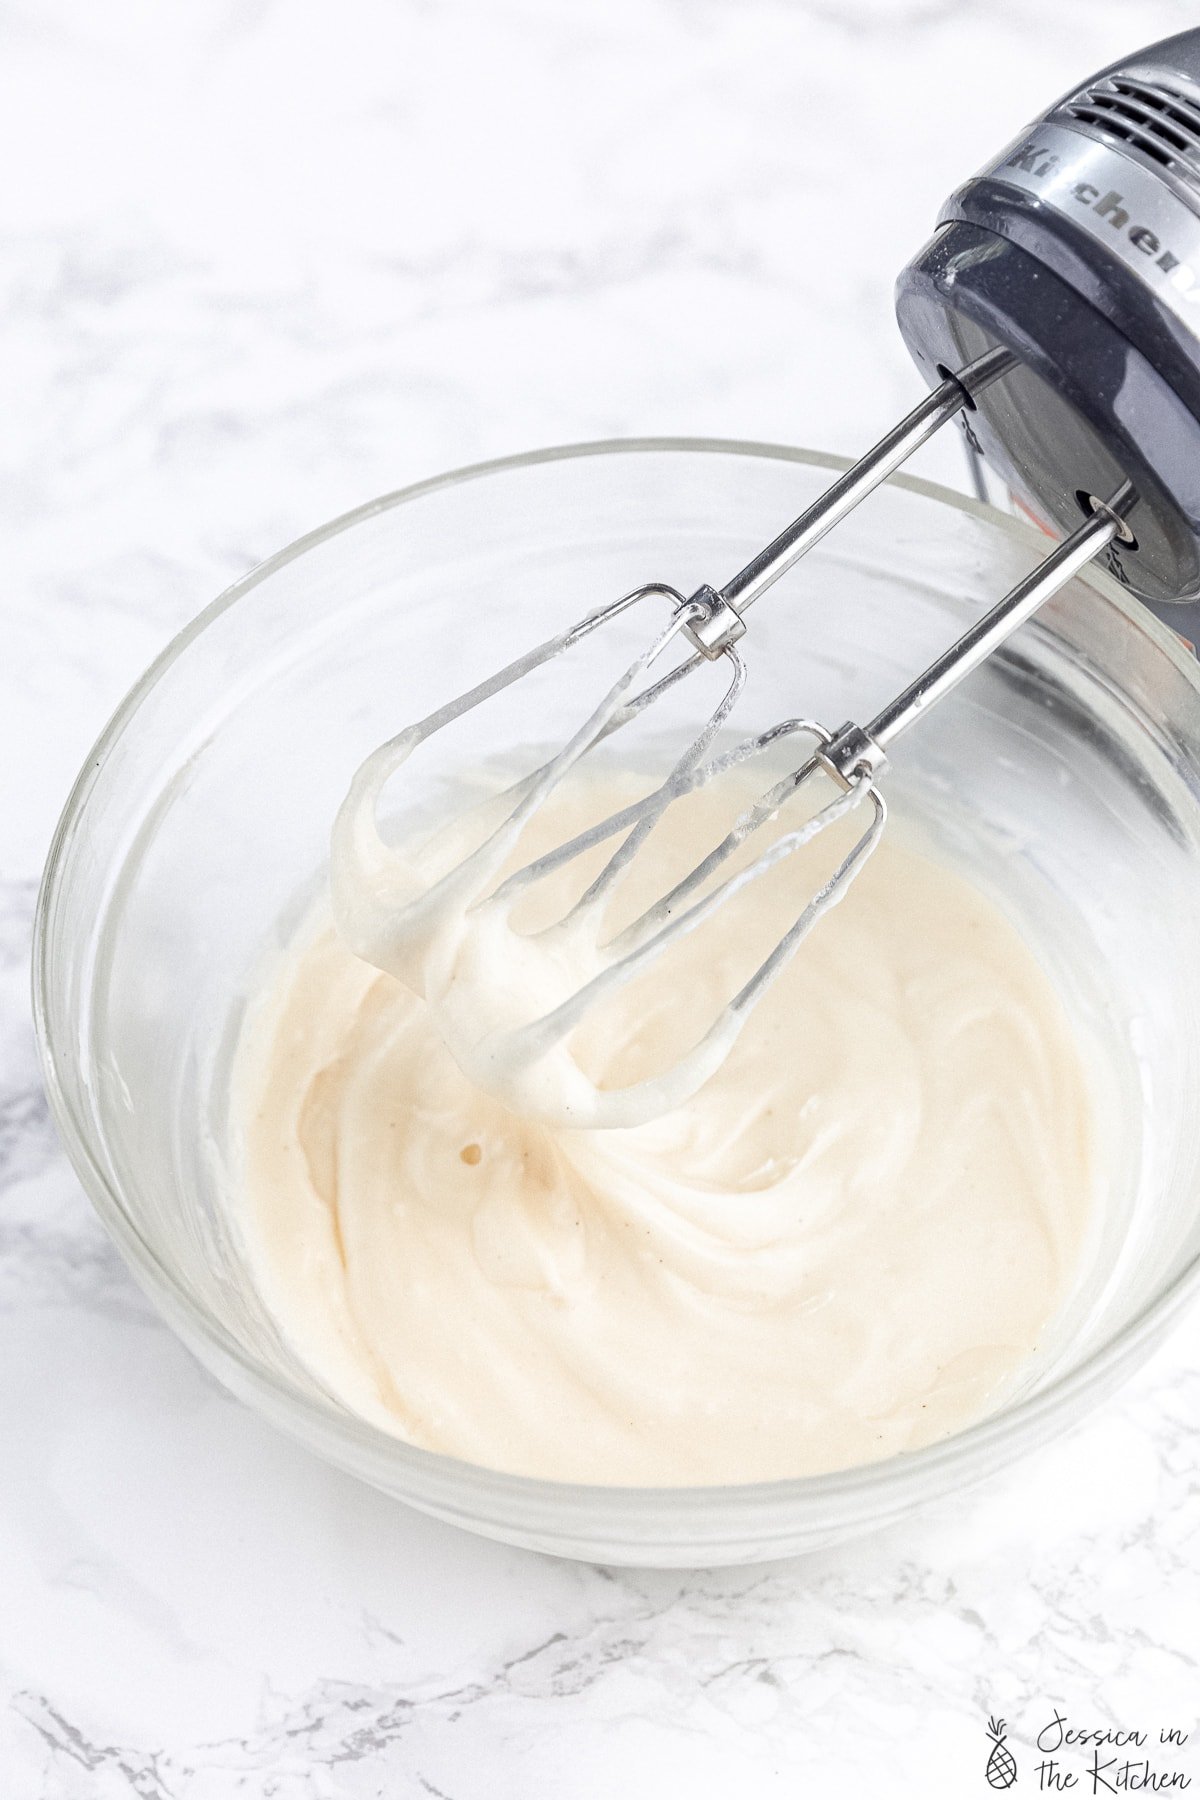
- In the bowl of a mixer, beat the butter and cream cheese together for about 2 minutes until fully incorporated.
- Add in the vanilla extract or paste and the pinch of salt.
- Add in a cup of sifted powdered sugar and all of the sifted cornstarch. Mix for about 1 minute or until incorporated. Add in the powdered sugar 1 cup at a time until the frosting has reached the desired thickness.
- Place the frosting wrapped or covered into the fridge for at least 4 hours or overnight, until being used. You can enjoy it right away, but it will thicken up beautifully in the fridge.
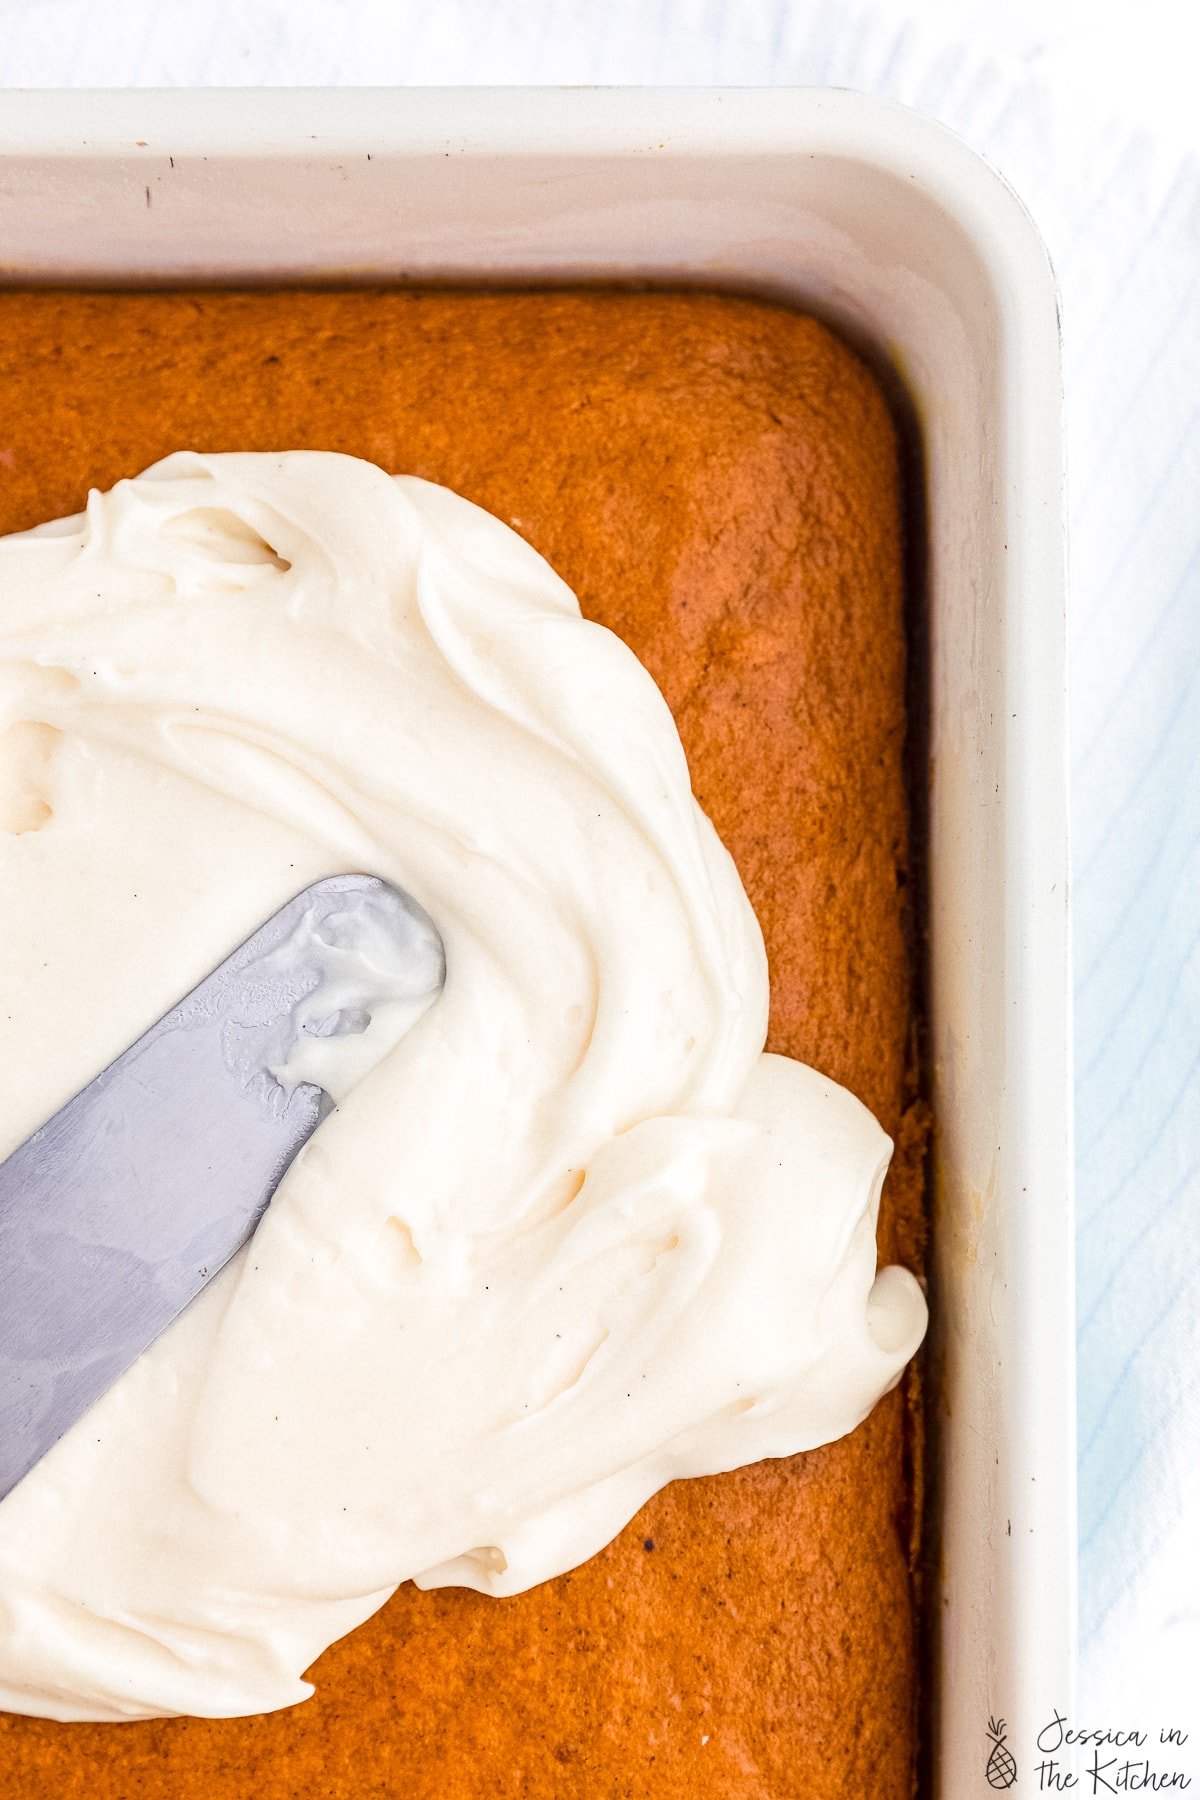
- You can apply it immediately to a cooled cake, then place in the fridge, or place the frosting itself, then apply to the cake later. Enjoy!
Notes
- For the best results, ensuring you’re using vegan cream cheese, not cream cheese spread. A brand like Tofutti or Violife will give you the best results, but don’t panic if all you can find is cream cheese spread! You can still use it and it will still taste delicious, and it will still get very thick in the fridge but it will not be as thick outside of the fridge. I tested both and to be honest, the easy fix is to just keep it in the fridge and whatever Cake you’re using in the fridge too! If you’re making my pumpkin sheet cake, it tastes deliciously moist in the fridge for days anyway!
- Ensure that you let the frosting thicken up in the fridge either before or right after applying it to your fully cooled cake or treat. The frosting really thickens up nicely in the fridge and you can either make it ahead or make it, apply it, then let it all sit together to meld together nicely.
- Start with vegan cream cheese and vegan butter at the same temperature. I like to set them both out of the fridge for at least 20 minutes to come to room temperature around the same temperature.
- Taste test your frosting along the way! Start with the 3 cups and cornstarch, then see if you want the extra cup of powdered sugar. It does help to thicken up the end result more, but it’s up to your taste based on how tangy you want it.
