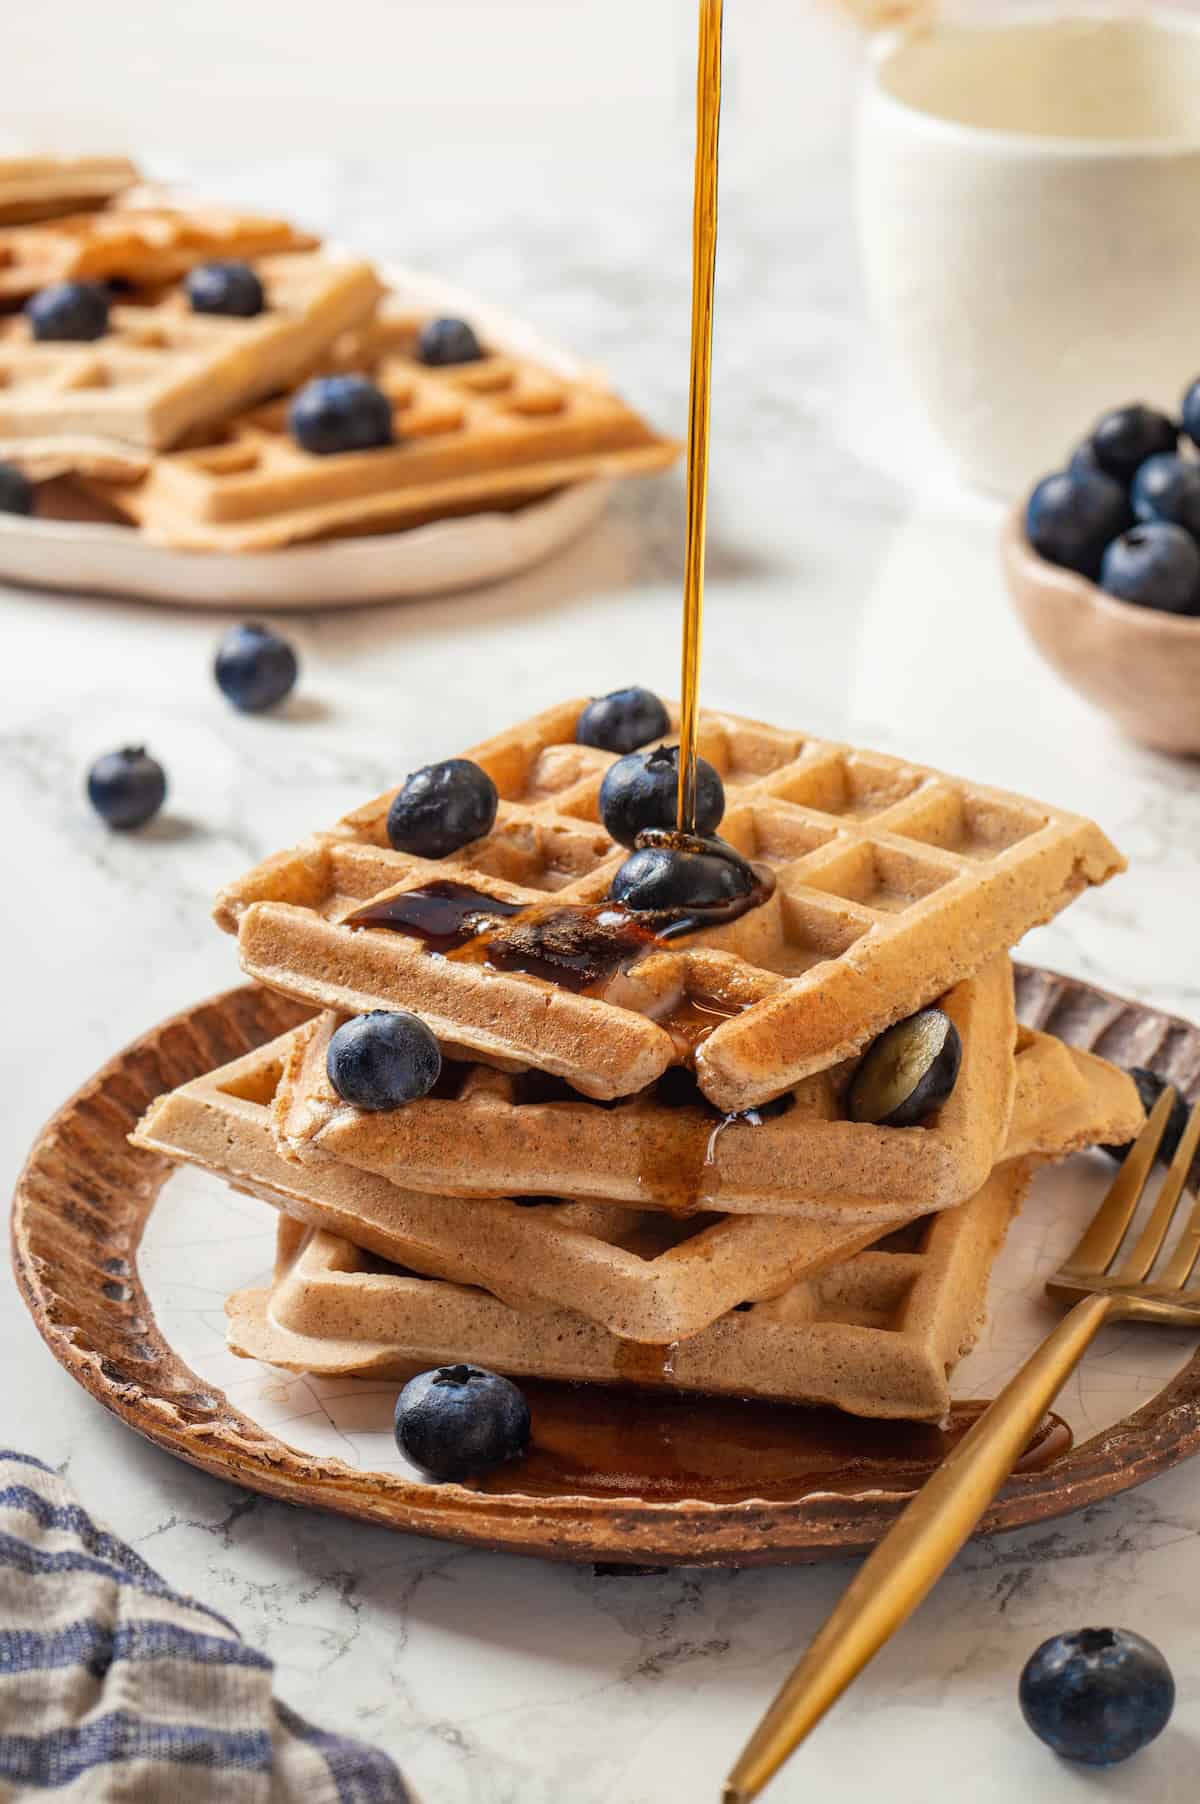
Protein waffles help you power through your morning with 10 grams of plant protein per serving! They’re fluffy and delicious, with some extra satisfaction.

I absolutely love waffles (as you can see from my Lemon Poppyseed Waffles and Banana Bread Waffles !), but let’s be honest: they’re not the most filling breakfast. But thanks to a protein powder boost, these vegan protein waffles are more satisfying so they’ll power you all the way through to lunch. Whether I’m rushing out the door in the morning or need a quick breakfast before hitting the gym, these are my go-to choice!
Why These Protein Waffles Are the BEST Way to Start Your Day
Stock these waffles in your freezer and your mornings are going to be so much easier! Here’s why you’ll love them.
- The perfect texture . With crispy edges and a fluffy interior, these waffles have the ideal texture you want in a waffle recipe. They are divine!
- More staying power . The protein powder in these waffles help make them more filling than the traditional version.
- Great for meal prep . You can make a big batch on the weekend and freeze them for busy weekday mornings. They’re fabulous when toasted!
Notes on Ingredients
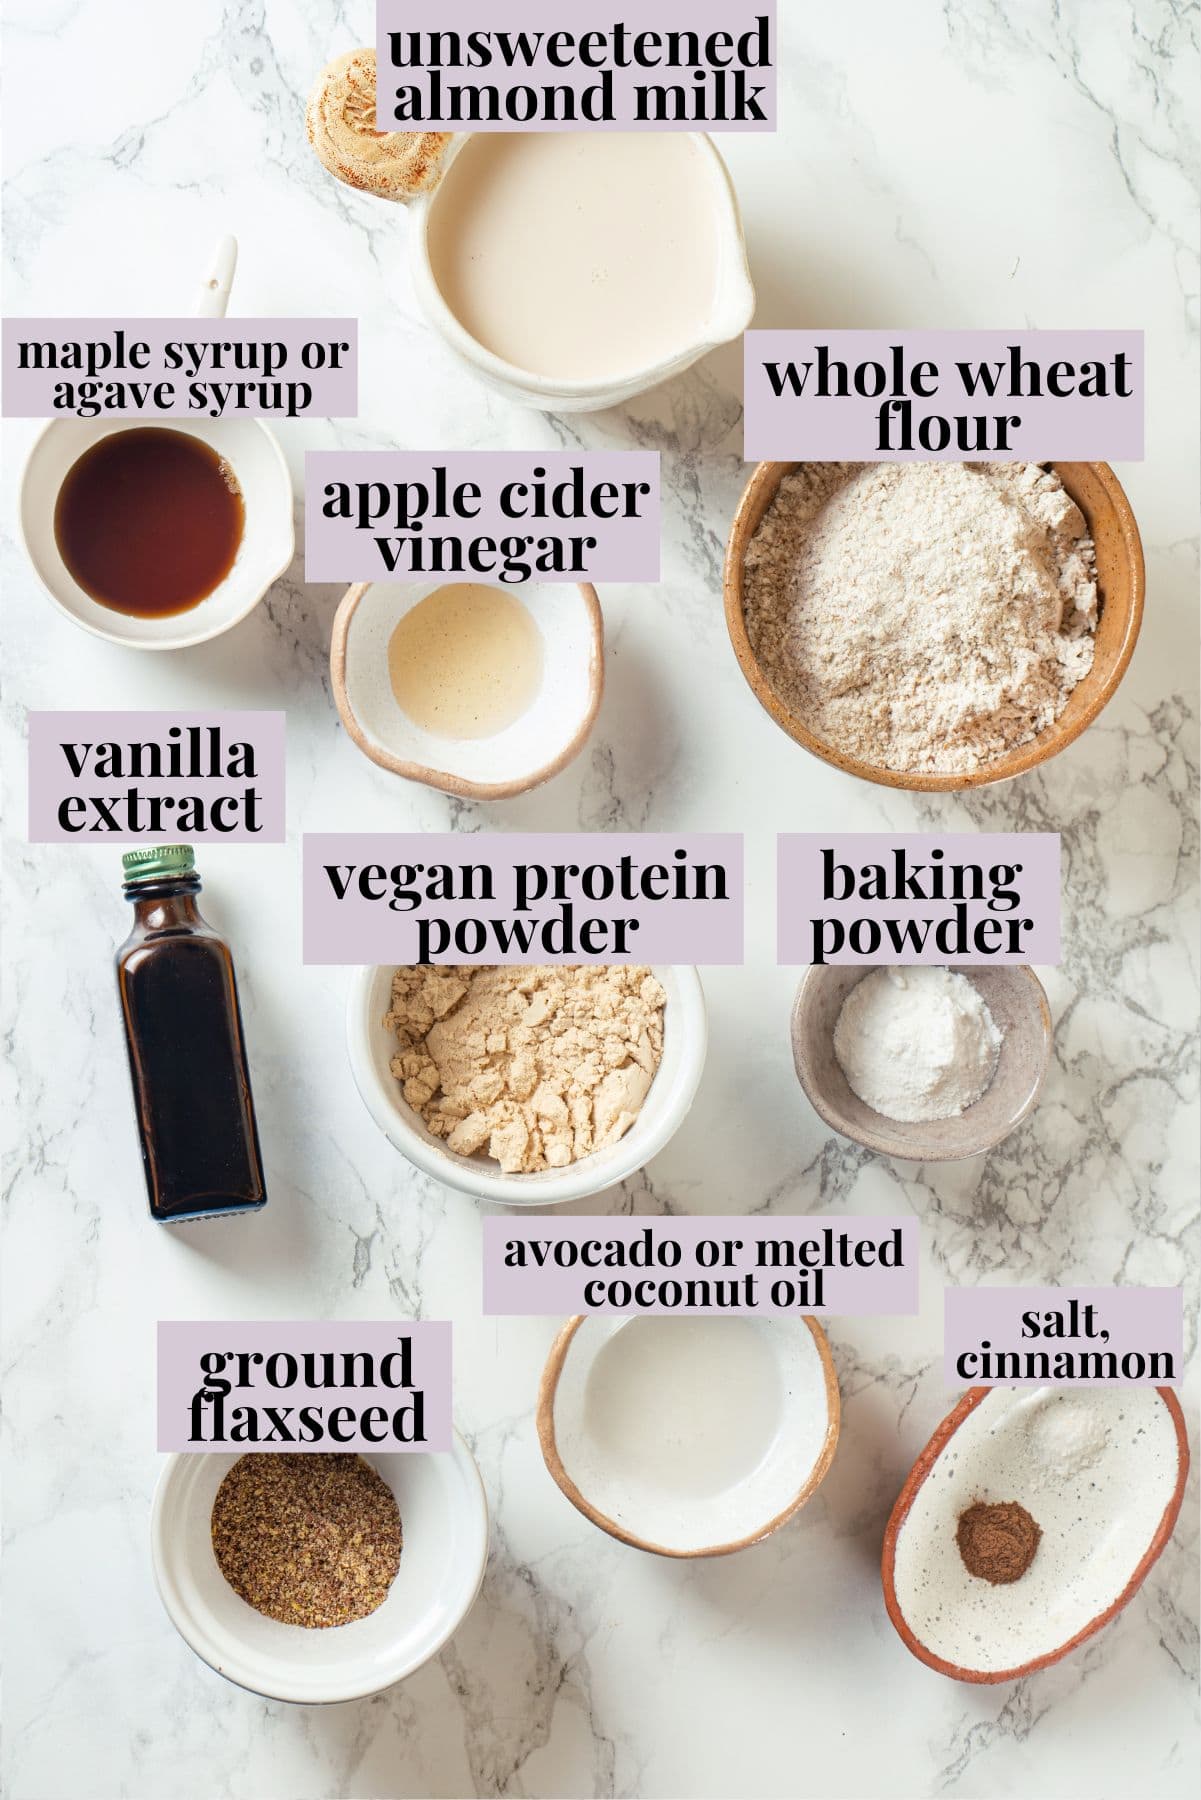
Here are the key ingredients for making vegan protein waffles. Scroll down to the recipe card to find the ingredient quantities and recipe instructions.
- Unsweetened almond milk – Or another unsweetened, unflavoured plant milk.
- Apple cider vinegar – This helps activate the baking powder for fluffier results.
- Whole wheat flour – I love the heartier texture and flavour this adds, but if you’d like, you can use white whole wheat flour, which has a milder flavour and lighter texture.
- Vegan protein powder – I recommend using unflavoured or vanilla protein powder for these waffles.
- Ground flaxseed – This is used as a vegan egg substitute .
- Baking powder
- Cinnamon – For warmth, if you’d like.
- Salt
- Maple syrup or agave syrup – Date syrup will also work for sweetness.
- Vanilla extract
- Oil – I recommend avocado or coconut oil.
How to Make Protein Waffles
Making protein waffles is quick and easy! Here’s a brief overview of the steps involved.
Make the flax egg.
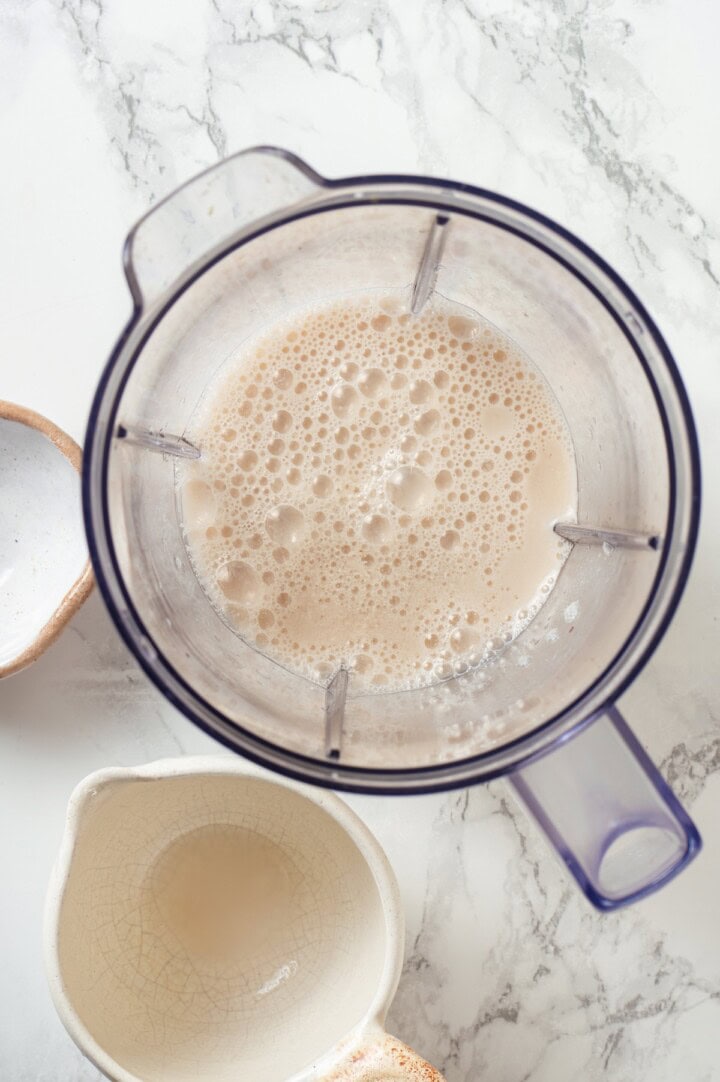
- Make vegan buttermilk . Whisk together the almond milk and apple cider vinegar and let the mixture sit for 3 to 5 minutes, or until it thickens. Once thickened, start preheating your waffle iron.
- Make the batter . Add the remaining ingredients to the buttermilk mixture and blend until smooth. Let the batter sit for 2 to 3 minutes.
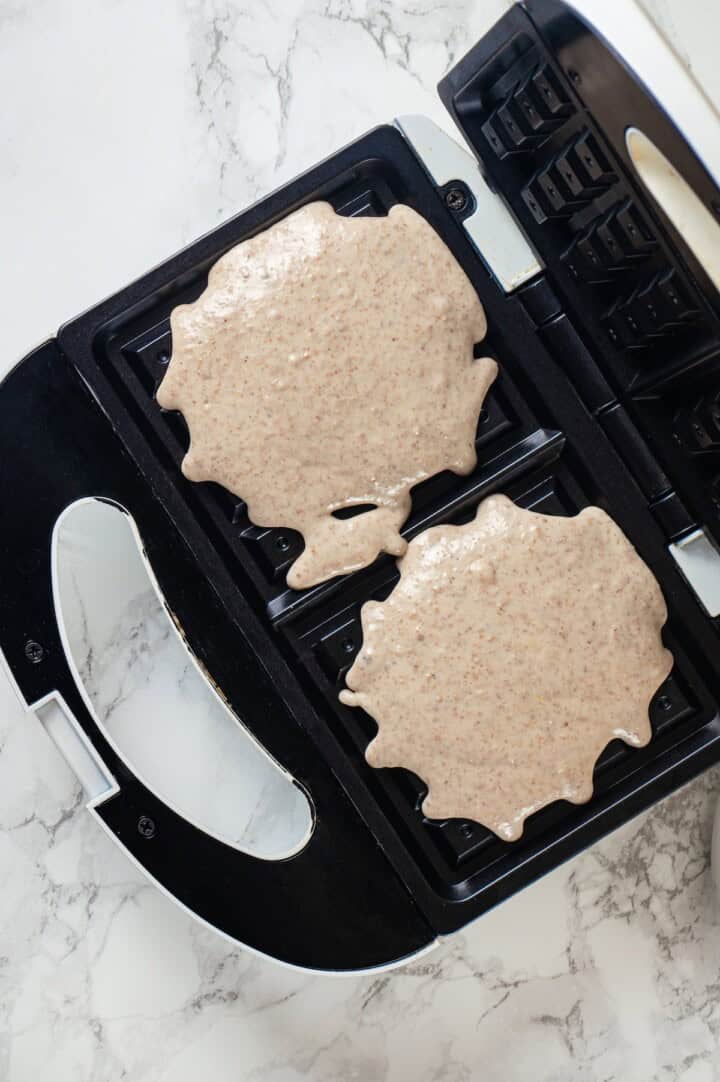
Add batter to waffle maker.
- Cook the waffles . Grease the waffle iron, add the batter, and cook for 4–5 minutes, until golden. Repeat with the remaining batter.
Tips and Variations
These tips will help you make sure your protein waffles turn out perfect.
- Don’t skip letting the batter rest . This step allows the dry ingredients to fully hydrate and creates a fluffier waffle.
- Add in some mix-ins . Jazz up your waffles by adding mini chocolate chips, blueberries, or chopped strawberries to the batter before cooking.
- Make them gluten-free . Swap out regular flour for a gluten-free flour blend formulated for baking.
Serving Suggestions
If I’m grabbing these as an on-the-go breakfast, I’ll toast them and top them with Almond Butter or Homemade Pecan Butter , kind of like a slice of toast. For a sit-down breakfast, top them with fresh fruit, maple syrup, a dollop of Homemade Vegan Yogurt or Coconut Whipped Cream , or hemp hearts for extra protein.
How to Store and Reheat
- Refrigerator : If you have any leftover waffles, let them cool completely before storing them in an airtight container or zip-top bag. They can be stored in the refrigerator for up to 3 days.
- Freezer : To freeze your waffles, let them cool completely and then place them in a freezer-safe container or zip-top bag. Freeze for up to 3 months.
- To reheat : Warm up protein waffles in a toaster oven, 400ºF oven, air fryer , or microwave until they are heated through. The microwave is my last choice; the waffles are soggier warmed up that way.
More Vegan Waffle Recipes
- Pumpkin Waffles
- Vegan Waffles
- Low Carb Vegan Waffles
- Jalapeño Cornbread Waffles
Ingredients
- 1 ⅛ cup unsweetened almond milk , 270 milliliters
- 1 teaspoon apple cider vinegar , 5 milliliters
- 1 cup whole wheat flour , 150 grams
- ¼ cup vegan protein powder , vanilla or neutral – 30 grams
- 1 tablespoon ground flaxseed , 7 grams
- 2 teaspoons baking powder , 9 grams
- ¼ teaspoon cinnamon , optional – 1 gram
- pinch of salt
- 1 tablespoon maple syrup or agave syrup , 15 milliliters
- 1 teaspoon vanilla extract , 5 milliliters
- 1 tablespoon oil , avocado or melted coconut oil – 15 milliliters
Instructions
- In a bowl or directly in your blender , combine the almond milk and apple cider vinegar. Let sit for 3–5 minutes to curdle.
- Preheat your waffle iron according to the manufacturer’s instructions.
- Add the remaining ingredients — whole wheat flour, protein powder, ground flaxseed, baking powder, cinnamon (if using), salt, maple or agave syrup, vanilla extract, and oil — to the buttermilk mixture. Blend until smooth, about 30–45 seconds. Scrape down the sides if needed.
- Let it sit for 2–3 minutes to thicken slightly.
- Lightly grease the waffle iron. Pour in 3–4 tablespoons of batter (depending on waffle size) and cook for 4–5 minutes, or until golden and cooked through.
- Repeat with the remaining batter. Serve warm with your favorite toppings.
Notes
- Refrigerator : If you have any leftover waffles, let them cool completely before storing them in an airtight container or zip-top bag. They can be stored in the refrigerator for up to 3 days.
- Freezer : To freeze your waffles, let them cool completely and then place them in a freezer-safe container or zip-top bag. Freeze for up to 3 months.
- To reheat : Warm up protein waffles in a toaster oven, 400ºF oven, air fryer, or microwave until they are warmed through. The microwave is my last choice; the waffles are soggier warmed up that way.

Protein Waffles
Ingredients
- 1 ⅛ cup unsweetened almond milk 270 milliliters
- 1 teaspoon apple cider vinegar 5 milliliters
- 1 cup whole wheat flour 150 grams
- ¼ cup vegan protein powder vanilla or neutral – 30 grams
- 1 tablespoon ground flaxseed 7 grams
- 2 teaspoons baking powder 9 grams
- ¼ teaspoon cinnamon optional – 1 gram
- pinch of salt
- 1 tablespoon maple syrup or agave syrup 15 milliliters
- 1 teaspoon vanilla extract 5 milliliters
- 1 tablespoon oil avocado or melted coconut oil – 15 milliliters
Instructions
- In a bowl or directly in your blender, combine the almond milk and apple cider vinegar. Let sit for 3–5 minutes to curdle.
- Preheat your waffle iron according to the manufacturer’s instructions.
- Add the remaining ingredients — whole wheat flour, protein powder, ground flaxseed, baking powder, cinnamon (if using), salt, maple or agave syrup, vanilla extract, and oil — to the buttermilk mixture. Blend until smooth, about 30–45 seconds. Scrape down the sides if needed.
- Let it sit for 2–3 minutes to thicken slightly.
- Lightly grease the waffle iron. Pour in 3–4 tablespoons of batter (depending on waffle size) and cook for 4–5 minutes, or until golden and cooked through.
- Repeat with the remaining batter. Serve warm with your favorite toppings.
Notes
- Refrigerator : If you have any leftover waffles, let them cool completely before storing them in an airtight container or zip-top bag. They can be stored in the refrigerator for up to 3 days.
- Freezer : To freeze your waffles, let them cool completely and then place them in a freezer-safe container or zip-top bag. Freeze for up to 3 months.
- To reheat : Warm up protein waffles in a toaster oven, 400ºF oven, air fryer, or microwave until they are warmed through. The microwave is my last choice; the waffles are soggier warmed up that way.
Nutrition
Protein Waffles https://jessicainthekitchen.com/protein-waffles/ June 4, 2025
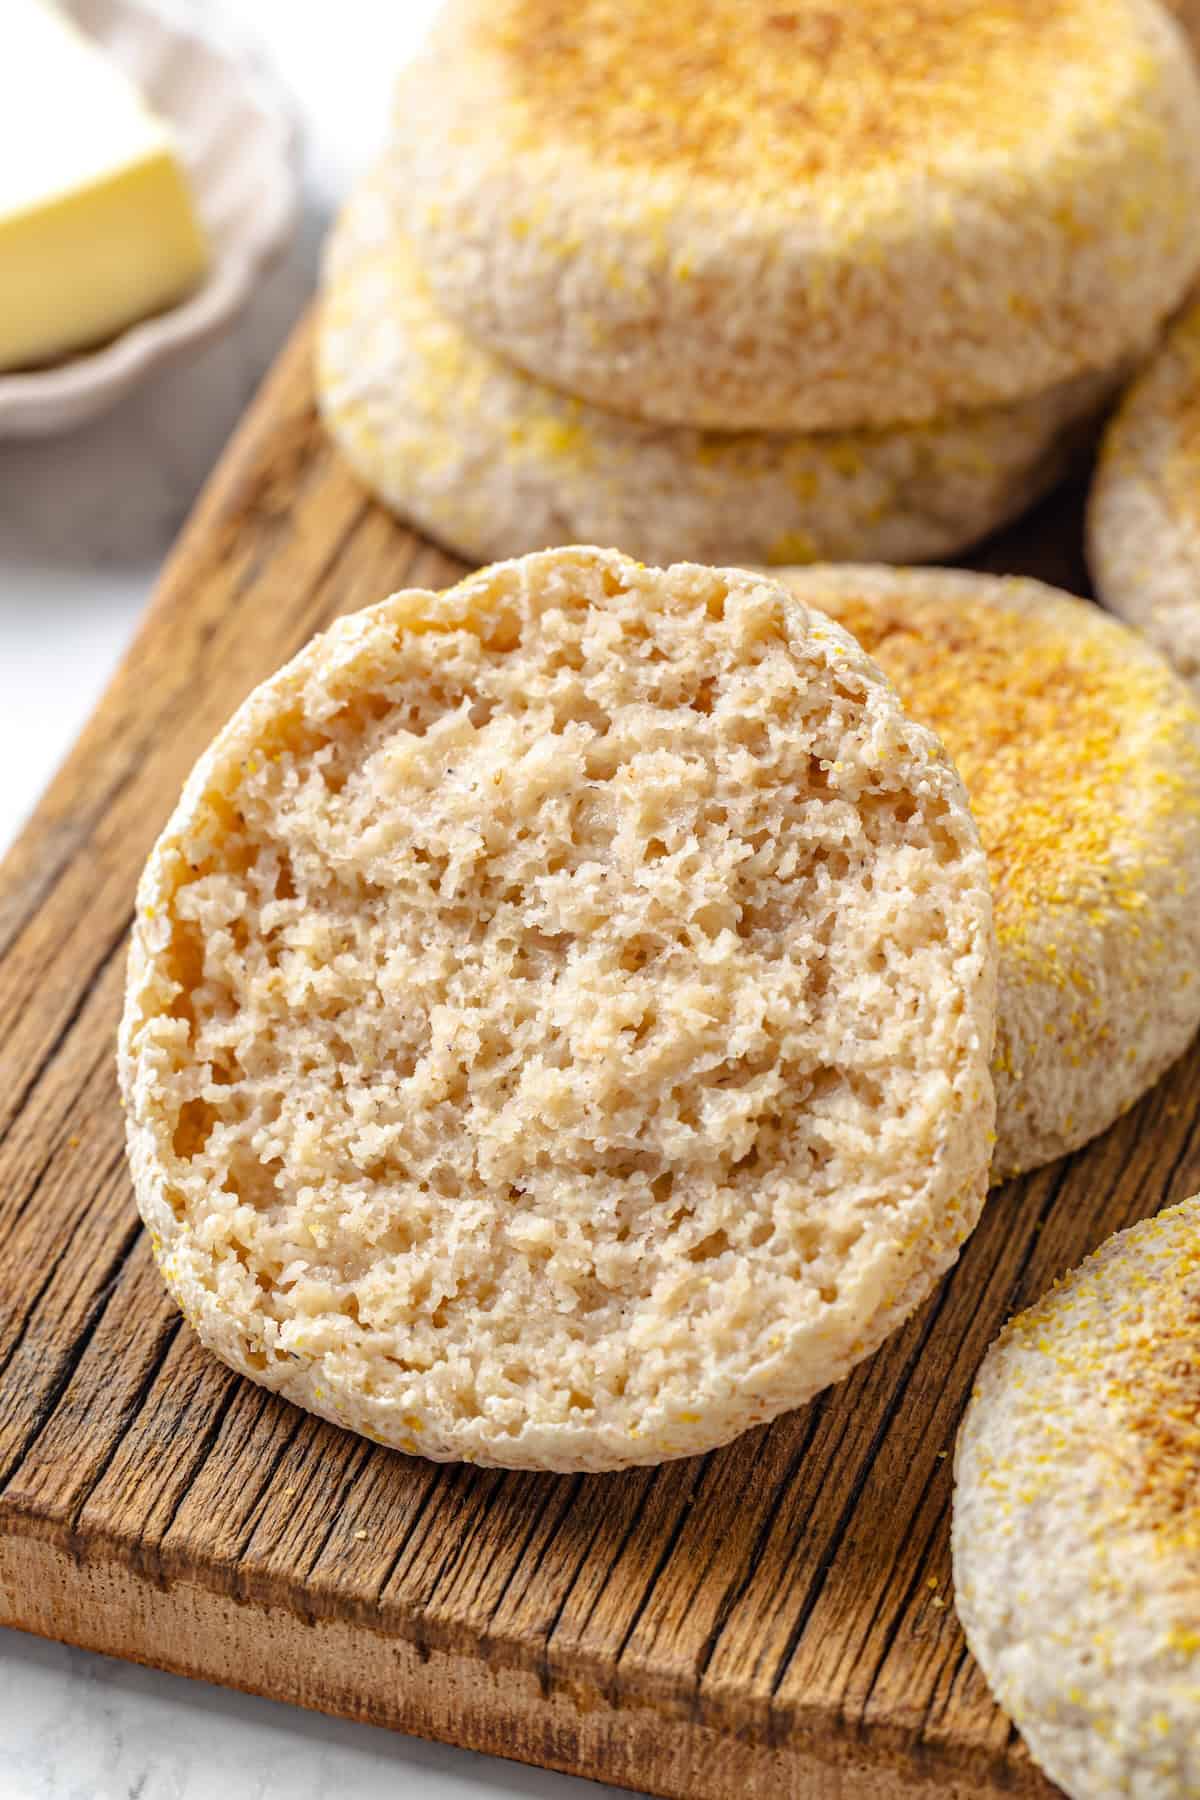
When I couldn’t find good vegan gluten-free English muffins at the grocery store, I decided to make my own! This homemade version is tender, golden, and perfect for adding your favourite jam or spread.
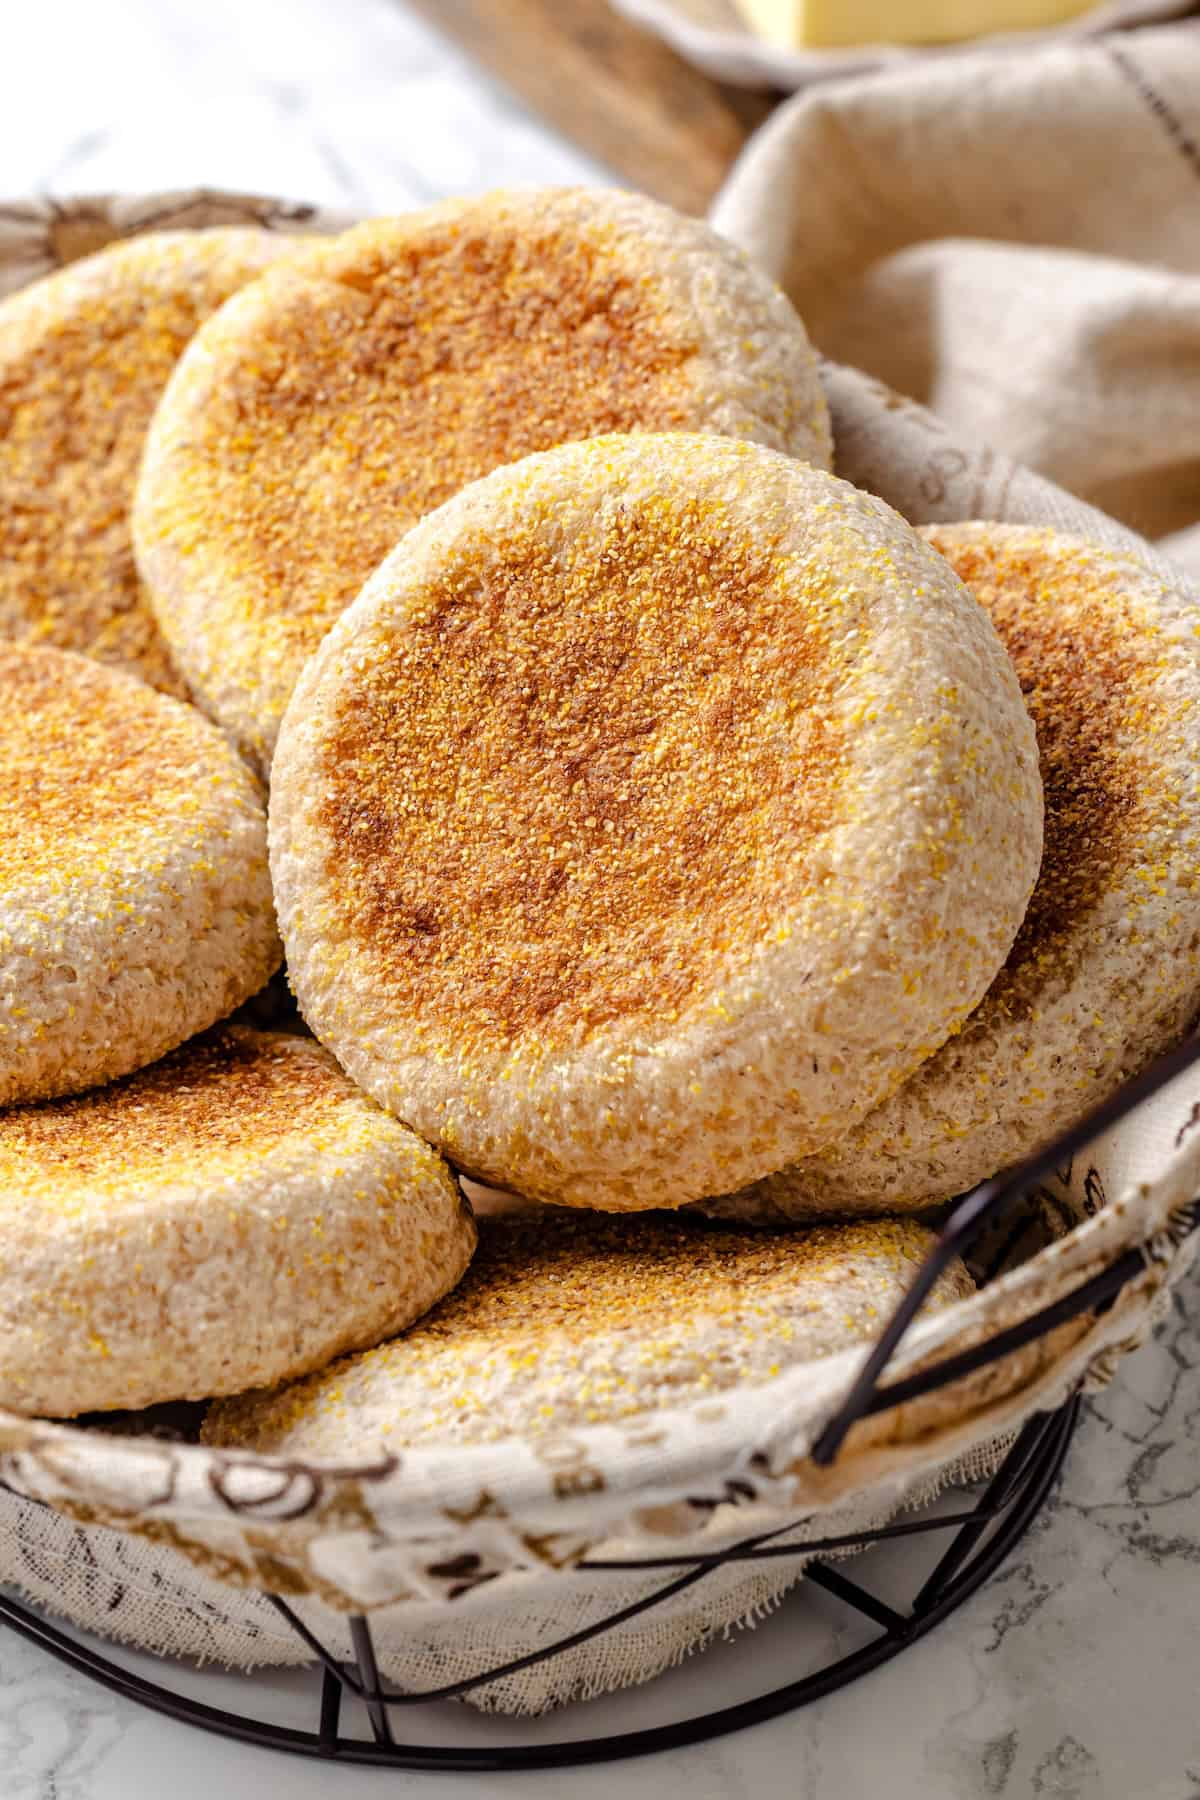
Before I started this food blog, I was a baker. And I don’t mean I liked to bake as a hobby. I had my own bakery! So I take baked goods seriously. Like my Gluten-Free Sandwich Bread , this recipe for gluten-free English muffins was tested and perfected so you can trust that it will deliver perfect results: that classic chewy texture, golden exterior, and nooks and crannies to fill with plant-based butter and jam. You’re going to love them!
Why These Gluten-Free English Muffins Work
The easiest way to make a recipe gluten-free is to use a 1:1 flour substitute. After experimenting with that, I realized that I needed to go custom—it just wasn’t working out. Here’s what makes this recipe a win:
- The right blend of starches and flour . I’ve carefully chosen a mix of tapioca starch, potato starch, and millet flour to achieve the perfect texture and flavour for these gluten-free English muffins. It’s a little more work than using a store-bought blend, but it’s worth it because it helps make the muffins chewy but also soft and tender.
- Traditional technique . English muffins aren’t baked like muffins at all—instead, they are cooked on a griddle. This recipe follows the traditional technique of cooking on a cast-iron skillet or griddle, giving the muffins that signature golden brown colour and slightly crisp exterior.
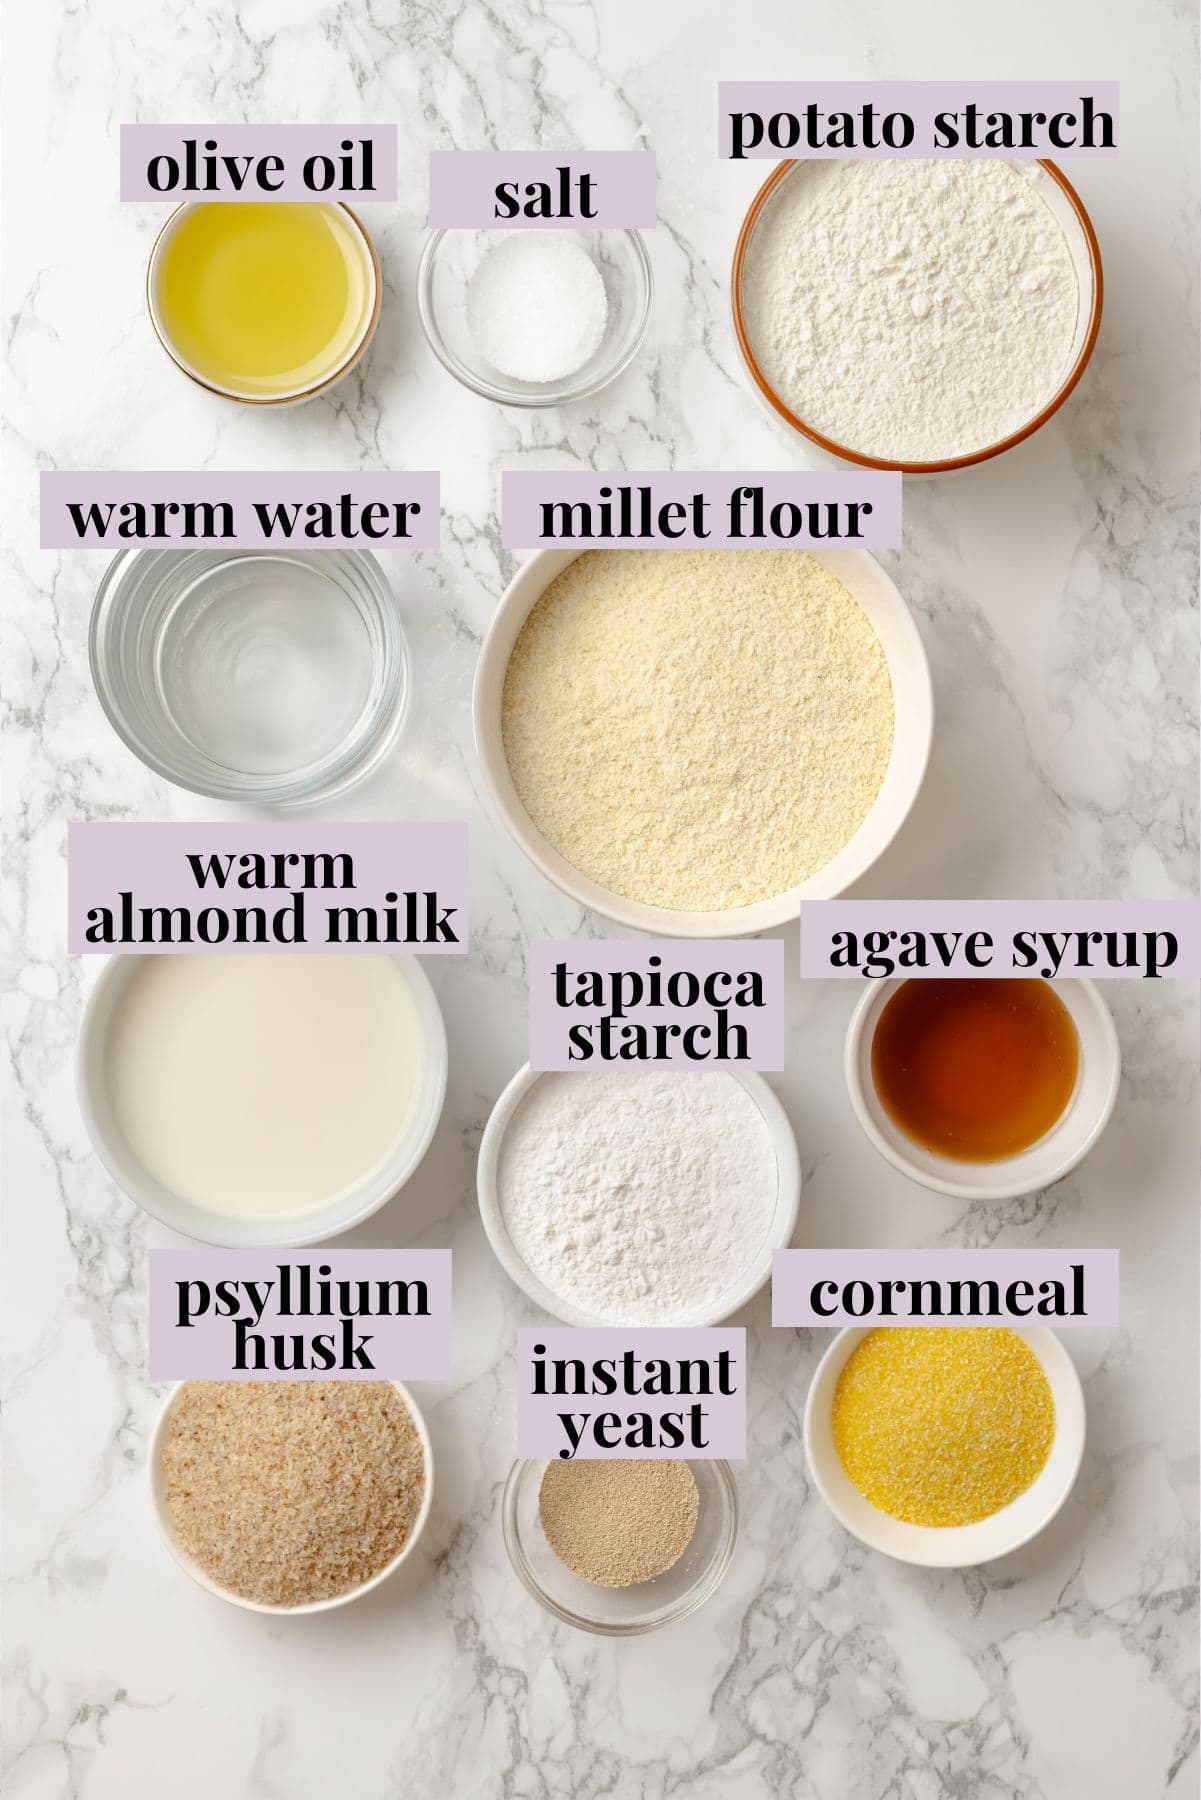
Notes on Ingredients
This section will guide you through the key ingredients needed to make your own gluten-free English muffins. Scroll down to the recipe card to find the ingredient quantities and recipe instructions.
- Warm water – To activate the yeast . If you’re feeling uncertain of the temperature, always remember that it’s better to err on the side of colder. Hot water will kill the yeast, but if it’s on the colder side, it will just take longer for the yeast to activate.
- Agave syrup – An alternative to honey for feeding the yeast.
- Instant yeast – Learn more: Is Yeast Vegan?
- Psyllium husk – This provides structure and elasticity in gluten-free baking.
- Warm almond milk
- Olive oil
- Potato starch – Potato starch helps create a light, fluffy texture.
- Tapioca starch – This helps make the texture of the gluten-free English muffins chewy.
- Millet flour – I love the mild, nutty flavour of millet flour. It’s one of my favourites for gluten-free baking!
- Salt
- Cornmeal – Used for dusting to prevent sticking.
How to Make Gluten-Free English Muffins
Making gluten-free English muffins is one of those baking projects that’s satisfying and fun—at least for those of us who love baking! Here’s a quick overview of the steps involved.
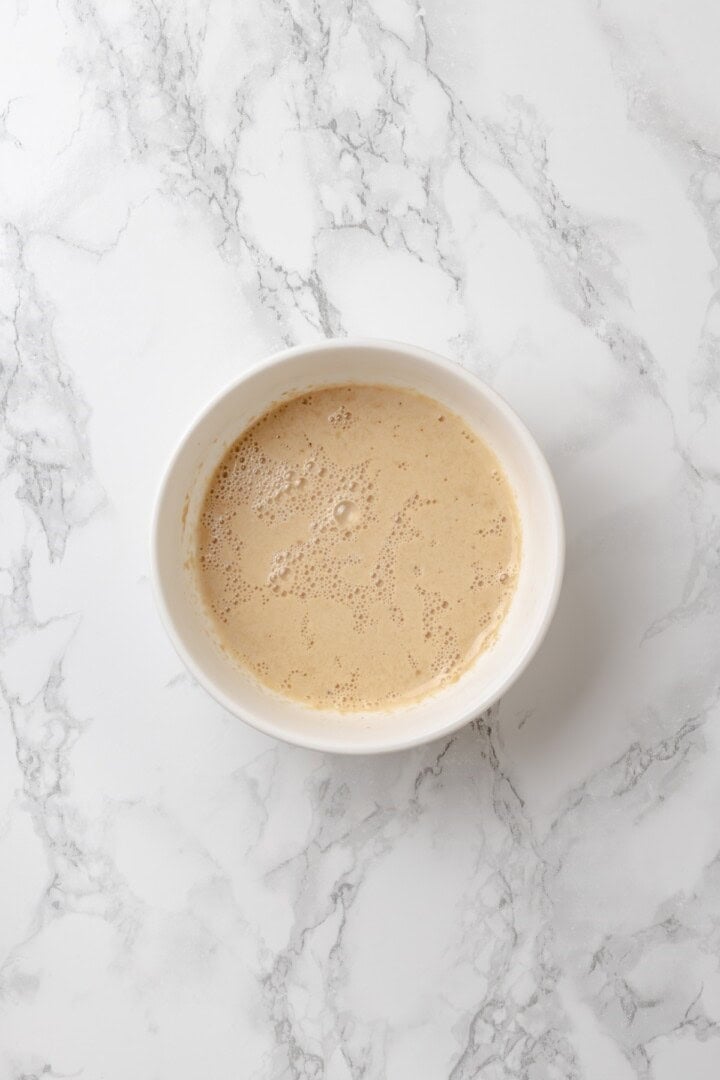
Activate the yeast.
- Activate the yeast . Mix the agave syrup, yeast, and 3 tablespoons of warm water in a small bowl. Stir and let sit until it gets foamy.
- Hydrate the psyllium . Whisk the remaining water with the psyllium husk in a large bowl and let it sit until it gels.
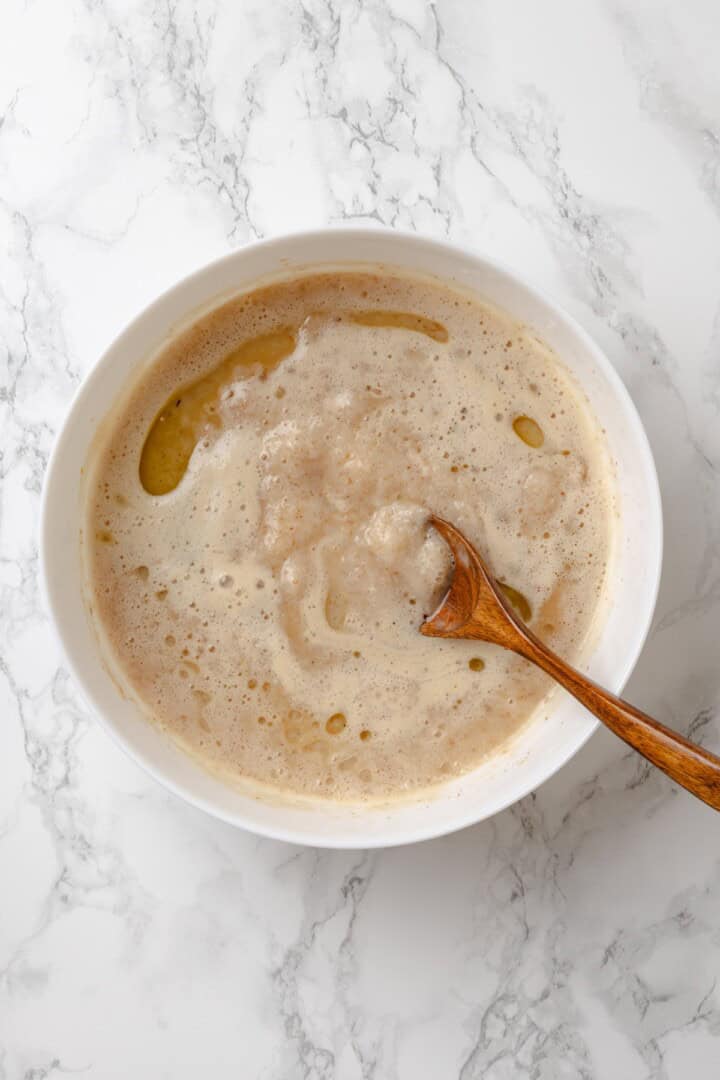
Mix the wet ingredients.
- Combine the wet ingredients . Stir the yeast mixture, almond milk, and olive oil into the bowl with the psyllium.
- Whisk the dry ingredients . In a separate bowl, whisk the starches, millet flour, and salt.
Combine the wet and dry ingredients.
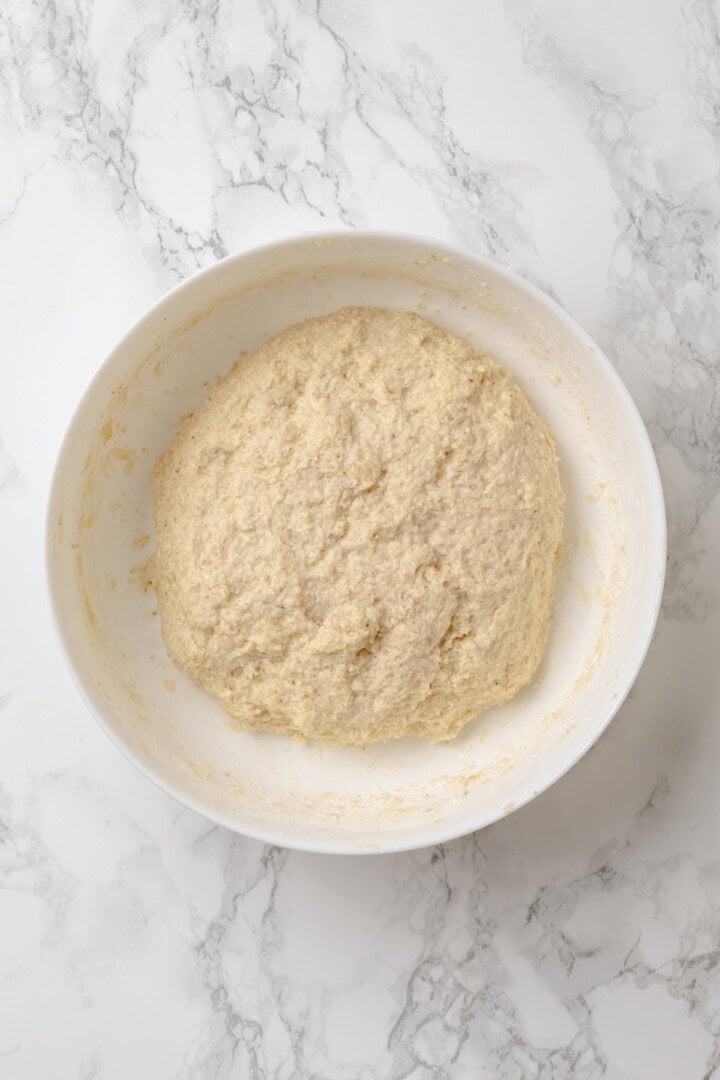
- Finish the dough . Slowly add the dry ingredients to the wet mixture, mixing by hand or with a stand mixer until the dough comes together.
- Shape the English muffins . Dust a baking sheet with cornmeal. Divide the dough into 8 portions, shape each into 3-inch circles, and flatten to 1-inch thick. Sprinkle the tops with cornmeal.
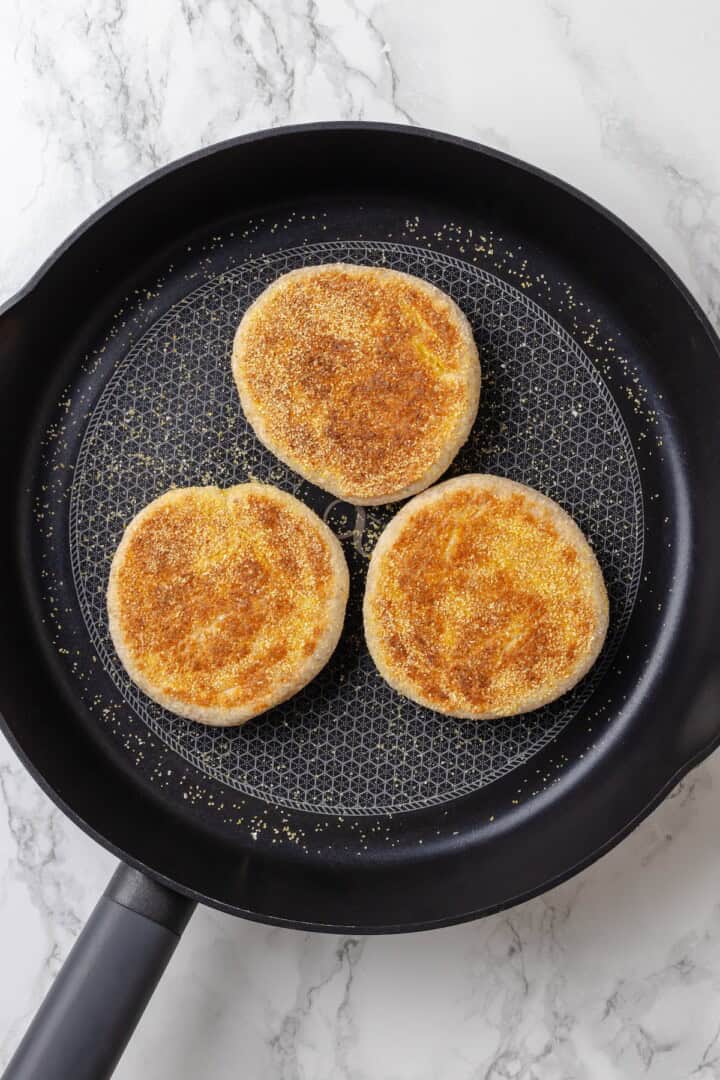
Cook in a skillet.
- Proof . Cover the English muffins with a towel and let them rise for 1–1 ½ hours, or until they’re slightly puffy.
- Cook the muffins . Heat a dry nonstick or cast iron skillet over medium-low. Cook 2 to 3 muffins at a time for 7–8 minutes per side, until the internal temperature reaches 200°F.
- Cool . Transfer the English muffins to a wire rack to cool for 20 minutes before serving.
Tips for Success
- Sticky dough is fine . Don’t add more millet flour if the dough is sticky. It’s supposed to be like that!
- Don’t overcook . The internal temperature should reach 200°F for the best texture. If the outsides start getting dark or burnt before the insides reach 200ºF, reduce the heat on the stove.
- Use English muffin rings if you have them . I developed this recipe without them since most home bakers don’t have them on hand, but if you do have rings, you can cook your English muffins in them for perfect circular muffins.
- Cook low and slow . Cooking the muffins on medium-low heat ensures they cook evenly and develop that signature golden-brown crust without burning. Don’t increase the heat!
- Split with a fork . For the best texture, use a fork to split the English muffins open instead of a knife. This will create nooks and crannies for butter, jam, or your favourite toppings.
Serving Suggestions
Top your gluten-free English muffins with classic options like Vegan Butter and jam (I love this Strawberry Jam !), or get adventurous with avocado, Carrot Lox , or even Tofu Scramble . You can also use them to make English muffin pizzas!
How to Store
- Room temperature : Gluten-free English muffins can be stored at room temperature for up to 3 days. Let them cool completely, then store them in an airtight container or zip-top bag.
- Freezer : To extend their shelf life even further, you can freeze these English muffins for up to 3 months. For best results, wrap them individually in plastic wrap, then pop them into an airtight container or freezer bag.
More Gluten-Free Baking Recipes
- Gluten-Free Naan
- Gluten-Free Focaccia
- Gluten-Free Dinner Rolls
- Gluten Free Brownies
Ingredients
- 1 cup warm water , about 110°F – 240 millilitres
- 2 tablespoons agave syrup , 40 grams
- 2 ½ teaspoons instant yeast , 8 grams
- 2 tablespoons psyllium husk , 20 grams
- ½ cup warm almond milk , 120 millilitres
- 1 tablespoon olive oil , 15 grams
- ½ cup potato starch , 80 grams
- ½ cup tapioca starch , 60 grams
- 1 ¼ cups millet flour , 155 grams
- 1 ½ teaspoons salt , 10 grams
- Cornmeal , for dusting
Instructions
- In a small bowl, combine the agave syrup, instant yeast, and 3 tablespoons of the warm water (from the total). Stir gently and let sit for 5–10 minutes until foamy.
- In a large mixing bowl, whisk the remaining warm water with the psyllium husk until fully combined. Let sit for 5 minutes to form a gel.
- Once the yeast is activated, stir it into the psyllium gel along with the almond milk and olive oil.
- In a separate bowl, combine the potato starch, tapioca starch, millet flour and salt. Mix well.
- Gradually add the dry ingredients to the wet mixture. Mix by hand or with a stand mixer fitted with a paddle attachment on medium speed for about 2 minutes until a thick, sticky dough forms.
- Lightly dust a baking sheet with cornmeal. With oiled hands, divide the dough into 8 equal portions and shape into rounds about 3 inches wide. Place them on the baking sheet, sprinkle tops with more cornmeal, and gently flatten each to about 1 inch thick.
- Cover loosely with a clean kitchen towel and let rise in a warm place for 1 to 1 ½ hours until puffy, they won’t rise much .
- Preheat a non-stick or cast iron skillet over medium-low heat. No need to oil it. Carefully transfer 2–3 muffins at a time to the skillet. Cook for 7–8 minutes per side, flipping once, until golden brown and the internal temperature reaches 200°F (93°C). Adjust heat as needed to avoid burning.
- Transfer to a wire rack and cool for at least 20 minutes before slicing. Use a fork to split for the best texture.
Notes
- Room temperature : Gluten-free English muffins can be stored at room temperature for up to 3 days. Let them cool completely, then store them in an airtight container or zip-top bag.
- Freezer : To extend their shelf life even further, you can freeze these English muffins for up to 3 months. For best results, wrap them individually in plastic wrap, then pop them into an airtight container or freezer bag.
