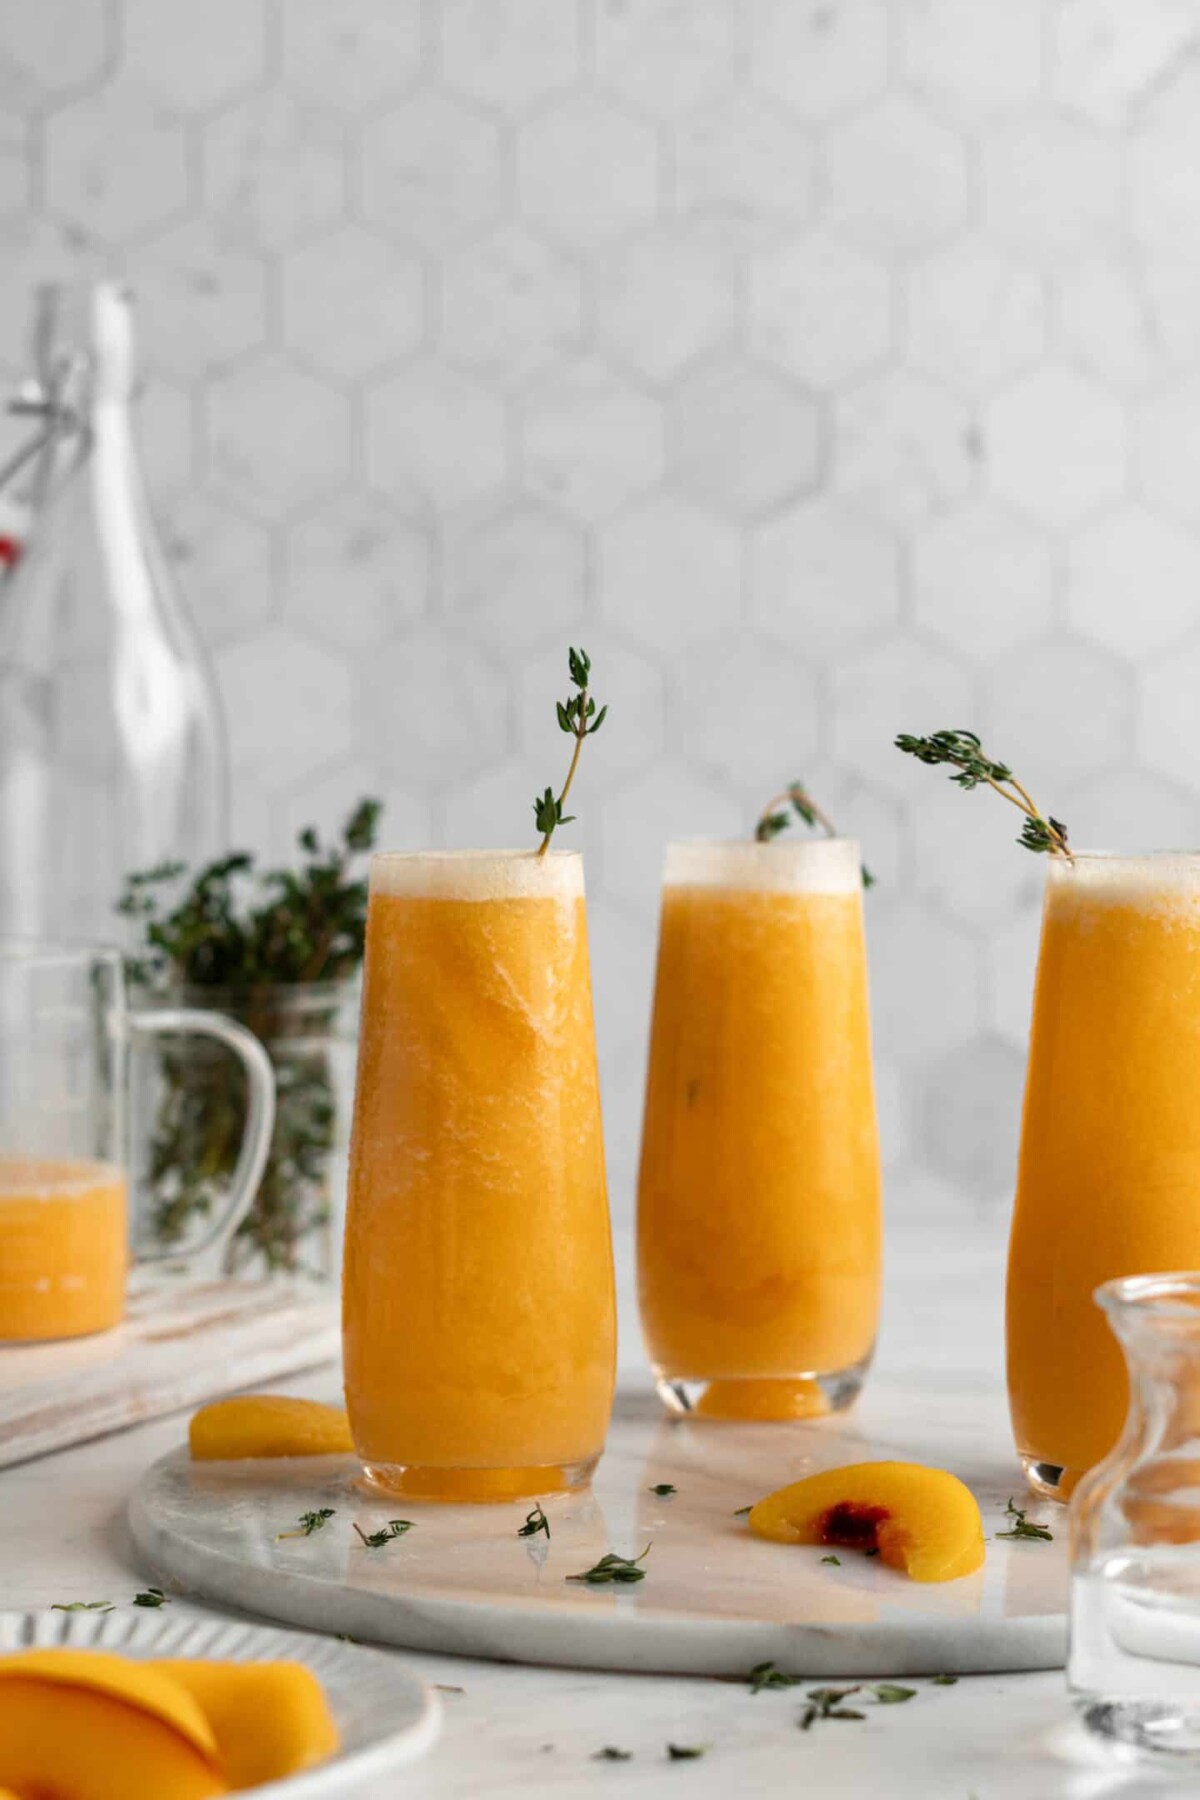
This peach bellini recipe is fun, fruity, and fancy. It’s a perfect cocktail to have with breakfast, or while sitting outside on a warm day.

You all know I’m a big fan of well-balanced cocktails, and this peach bellini is exactly that. Real peaches make this cocktail fruity and rich, while Prosecco makes it feel like a party. It’s fresh, sweet, acidic, and bubbly … what more could you want in a cocktail?
I love drinking these peach bellinis in place of mimosas with Sunday brunch, or as a refreshing early afternoon cocktail when it’s hot out. It’s a blended cocktail, which makes it even that much more fun and refreshing. The sparkling wine makes this taste like a super fancy cocktail, so be careful: you’ll find yourself reaching for seconds or thirds!
Notes on Ingredients
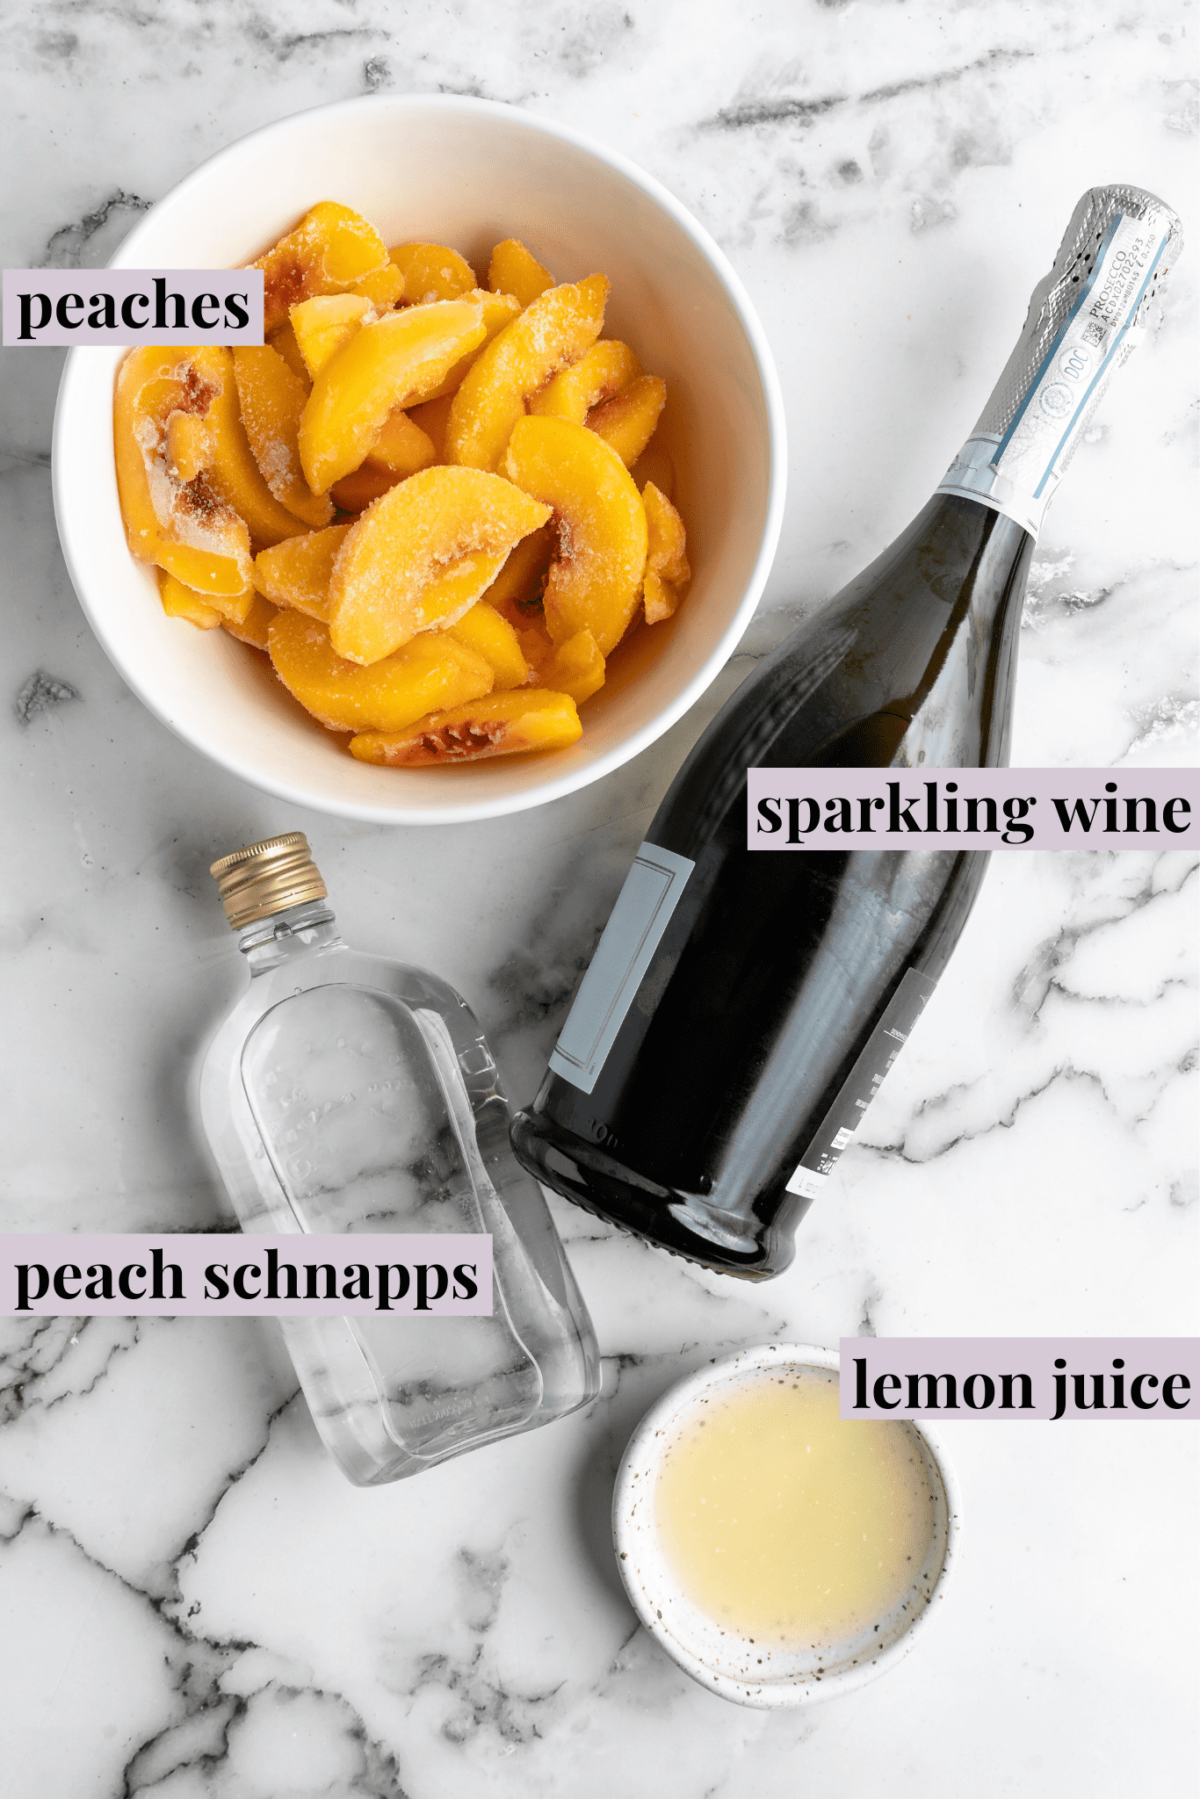
Here are all the ingredients you need to make this simple and refreshing fruity cocktail. Check out the recipe card at the bottom of the page for the exact ingredient amounts.
- Sliced peaches – You want to use frozen peach slices.
- Peach Schnapps
- Lemon juice – This is optional but I highly recommend it.
- Prosecco – You can also use any other type of sparkling white wine, though prosecco is the traditional choice.
How to Make a Peach Bellini
Here’s how to make this fresh cocktail. It’s as easy to make as it is fun to drink!
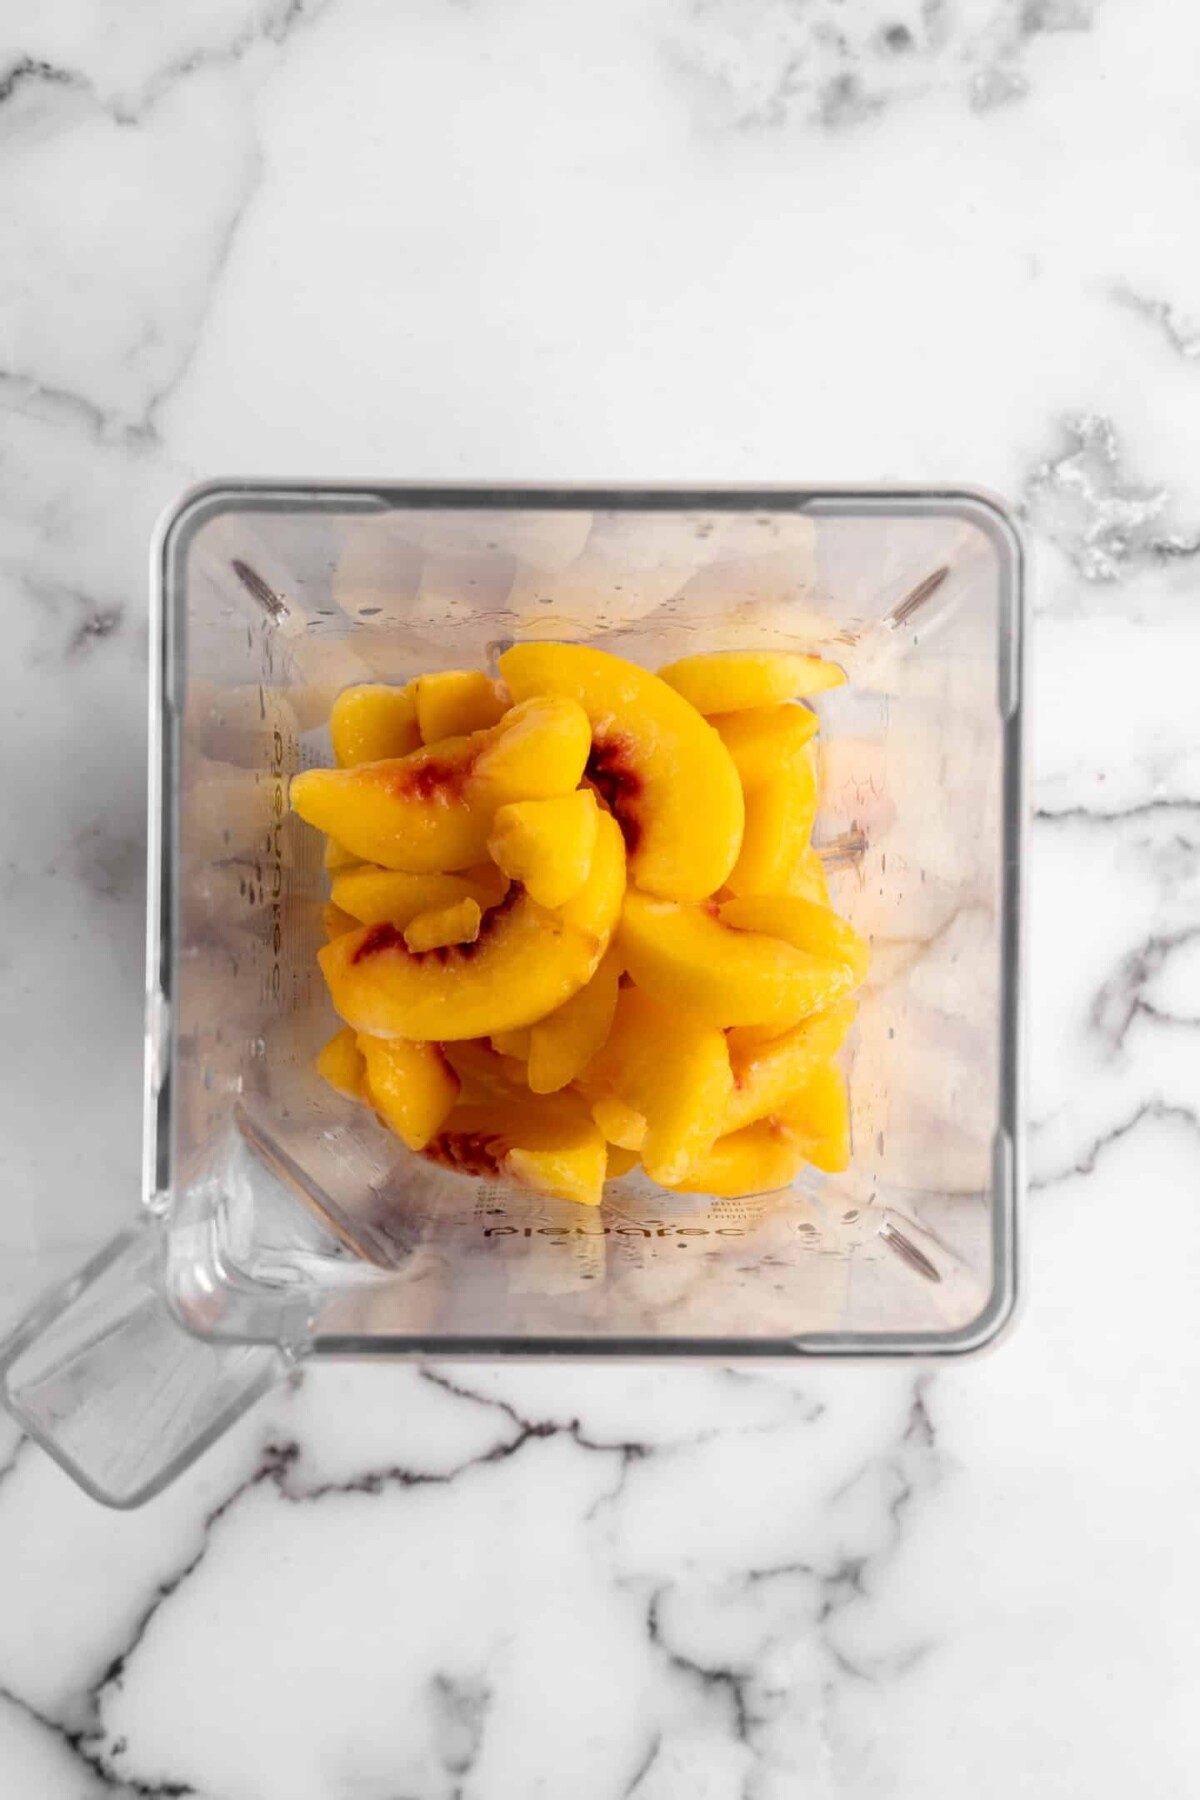
- Blend. Add the peaches, peach schnapps, and optional lemon juice to a blender , then blend until it forms a smooth puree.
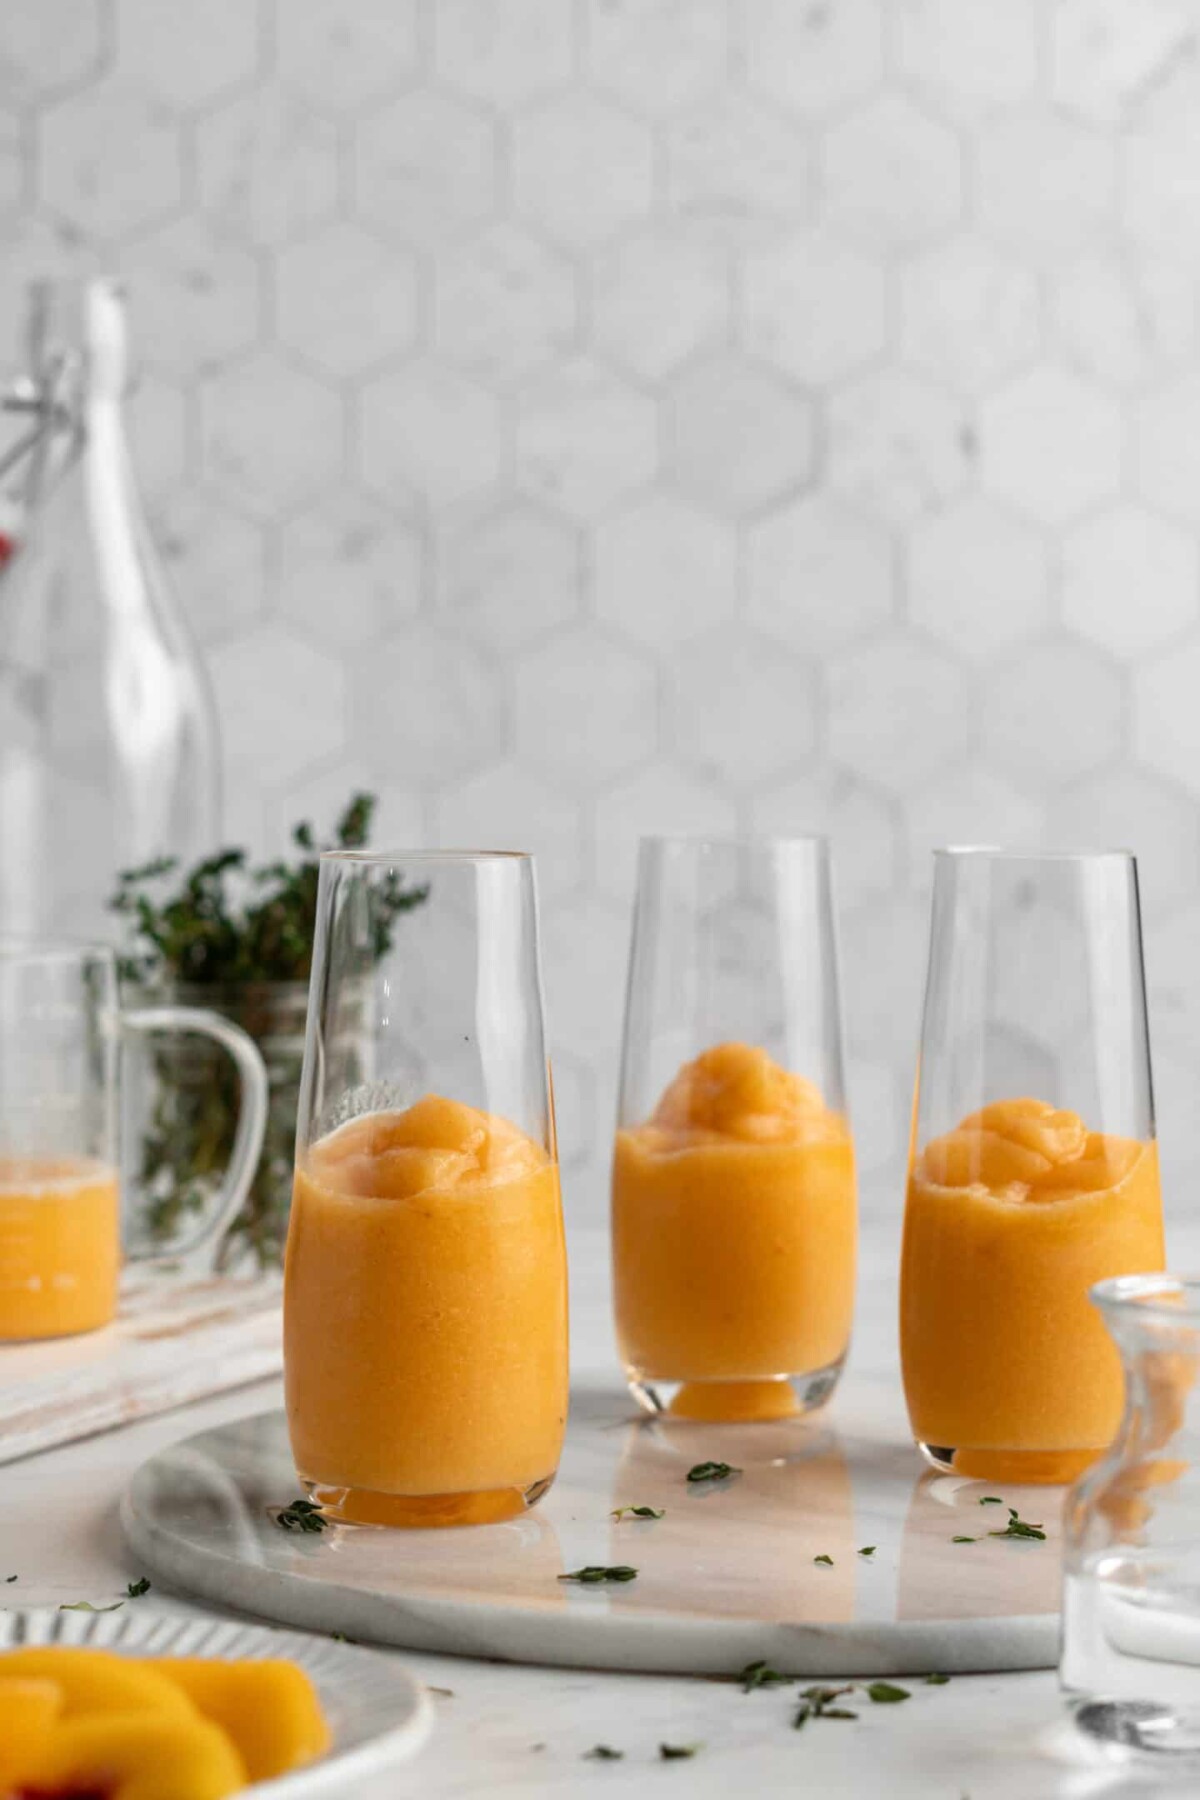
- Finish the cocktails. Pour the puree into tall glasses, filling them up halfway. Then top off with prosecco, stir to combine, and enjoy! If you want the drink to be more frozen, you can add the prosecco to the blender with the other ingredients.
Tips for Success
Here are a few ways to make sure you’re making the best possible bellinis.
- Use fresh peaches. It’s important to use frozen peaches for this recipe, to get a frozen slushy texture. However, fresh peaches taste a lot better than the frozen slices you’ll find in the freezer aisle at the grocery store. For the most high-quality bellinis, buy fresh peaches, slice them, lay them on a baking sheet, and place in the freezer until frozen.
- Use fresh lemon juice. Lemon juice may be an optional ingredient in this recipe, but it really makes the bellinis pop by adding freshness and acidity. If you do use lemon juice, use fresh lemons, as the flavor is much better. Meyer lemons also work wonderfully for this recipe.
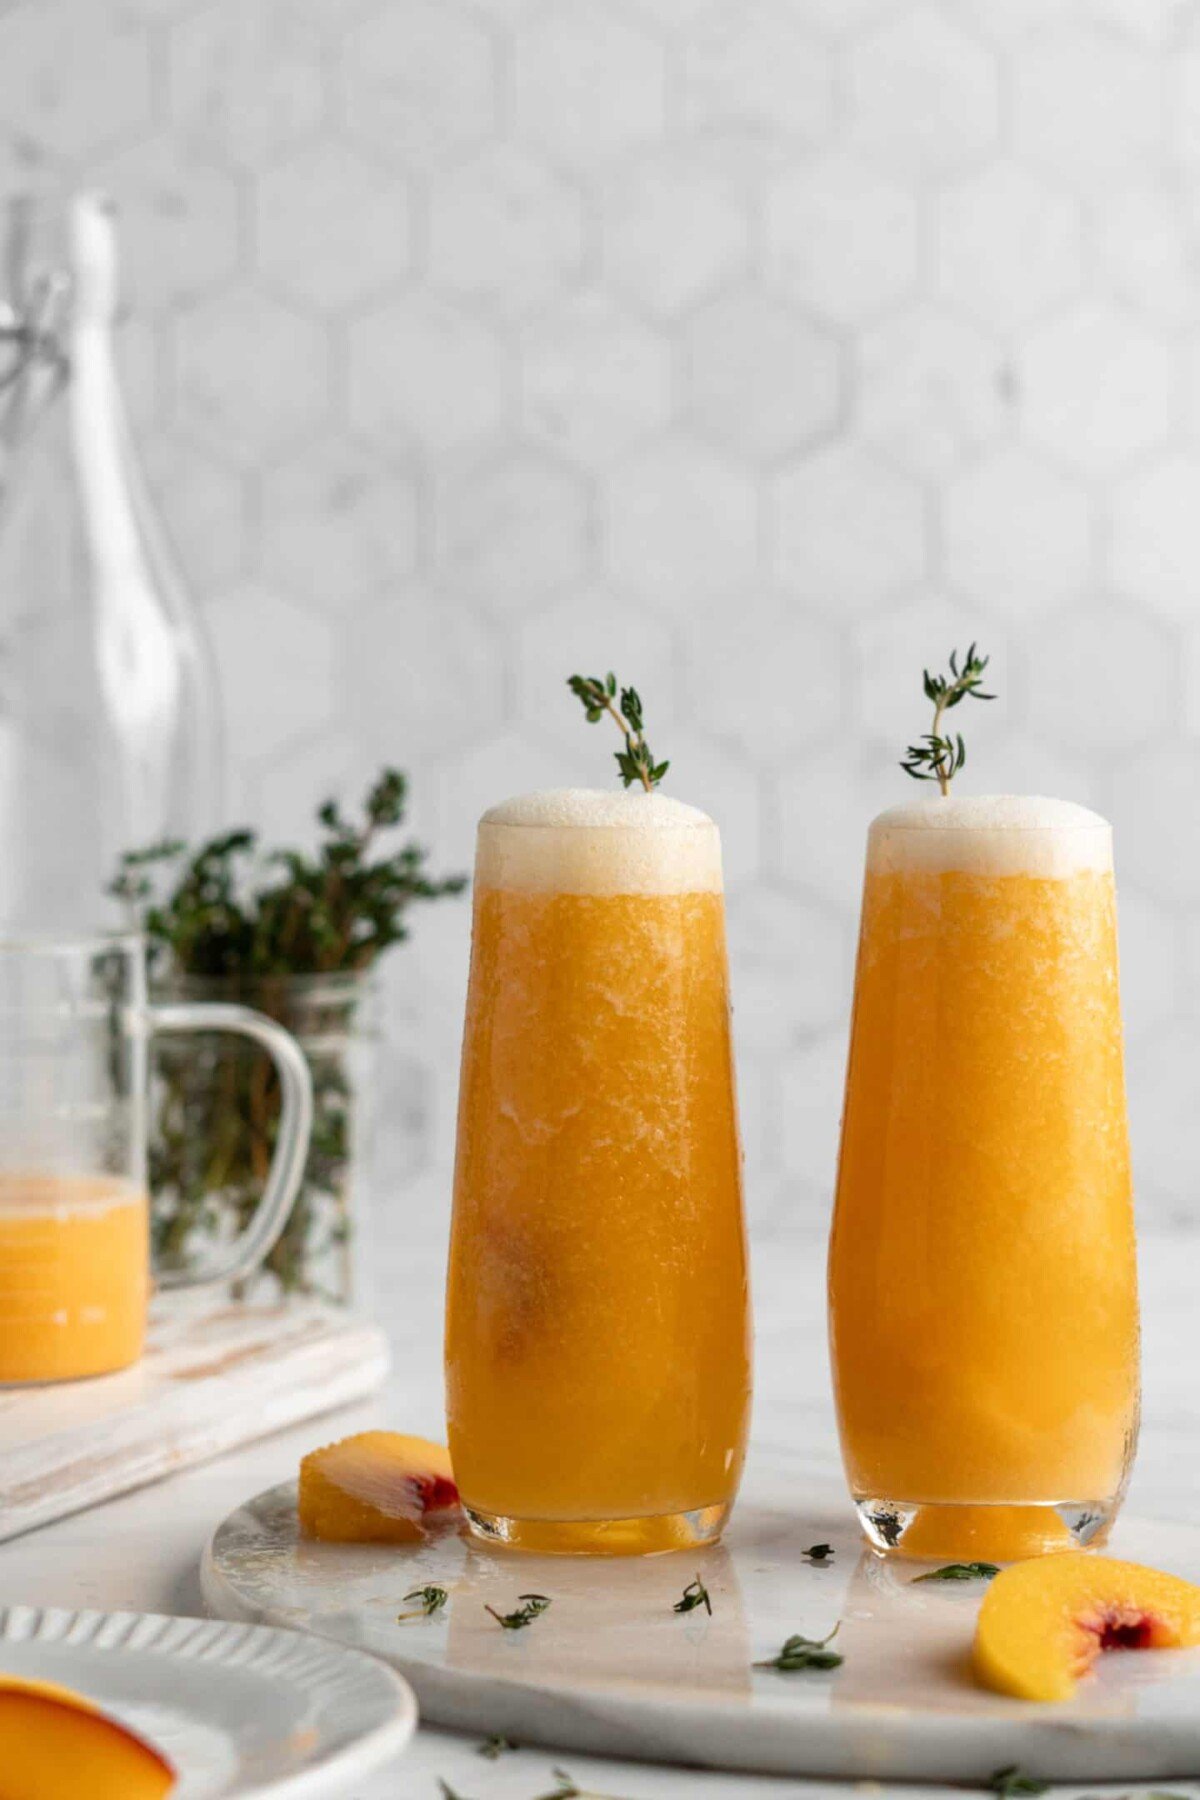
- Have fun with garnishes. This is a really fun recipe to make, and you can garnish it with so many different items, so have fun! I often keep it simple with fresh peach slices, but you could also garnish with fresh raspberries or blackberries, mint leaves, thyme sprigs, lemon wedges, orange twirls, or even gummy peach rings!
Serving Suggestions
My favorite way to drink bellinis is during brunch. Here are a few of my favorite fun breakfast items to make when serving peach bellinis.
- Vegan pancakes
- Vegan waffles
- Classic vegan donuts
- Vegan pumpkin french toast
How to Store Peach Bellinis
Storing leftover bellinis isn’t a great idea, because the frozen peaches will melt, and the prosecco will go flat. If you store the drinks in an airtight container in the fridge, they’ll still taste good for at least 24 hours, but they won’t be as good. However, you can store the puree in the fridge for up to a week, then blend it with some ice cubes before adding the prosecco.
Can You Freeze This Recipe?
You can’t freeze this recipe, because the prosecco will keep it from freezing. You can, however, freeze the puree in an airtight container for up to 3 months. Blend the frozen puree to loosen it up, then top with prosecco.
More Fruity Cocktails to Try
Here are a few of my other favorite fruity cocktails to try.
- Mango mojitos
- Winter cranberry gin fizz cocktails
- Pineapple coconut rum cocktail
- Watermelon mojitos
Ingredients
- 1 pound frozen sliced peaches
- ½ ounce peach schnapps
- 1 tablespoon lemon juice , optional
- 1 bottle prosecco , or other sparkling white wine
- thinly-sliced peaches , for garnish
Instructions
- In a high speed blender, add the peaches, peach schnapps and lemon juice and puree until smooth.
- You can pour in the Prosecco too and blend for a more frozen texture. Or add some of the peach mixture into each glass filling halfway and then filling the other half with Prosecco, stirring to combine.
- Serve and garnish with peach slices, and enjoy!

Peach Bellini
Ingredients
- 1 pound frozen sliced peaches
- ½ ounce peach schnapps
- 1 tablespoon lemon juice optional
- 1 bottle prosecco or other sparkling white wine
- thinly-sliced peaches for garnish
Instructions
- In a high speed blender, add the peaches, peach schnapps and lemon juice and puree until smooth.
- You can pour in the Prosecco too and blend for a more frozen texture. Or add some of the peach mixture into each glass filling halfway and then filling the other half with Prosecco, stirring to combine.
- Serve and garnish with peach slices, and enjoy!
Nutrition
Peach Bellini https://jessicainthekitchen.com/peach-bellini/ December 23, 2022
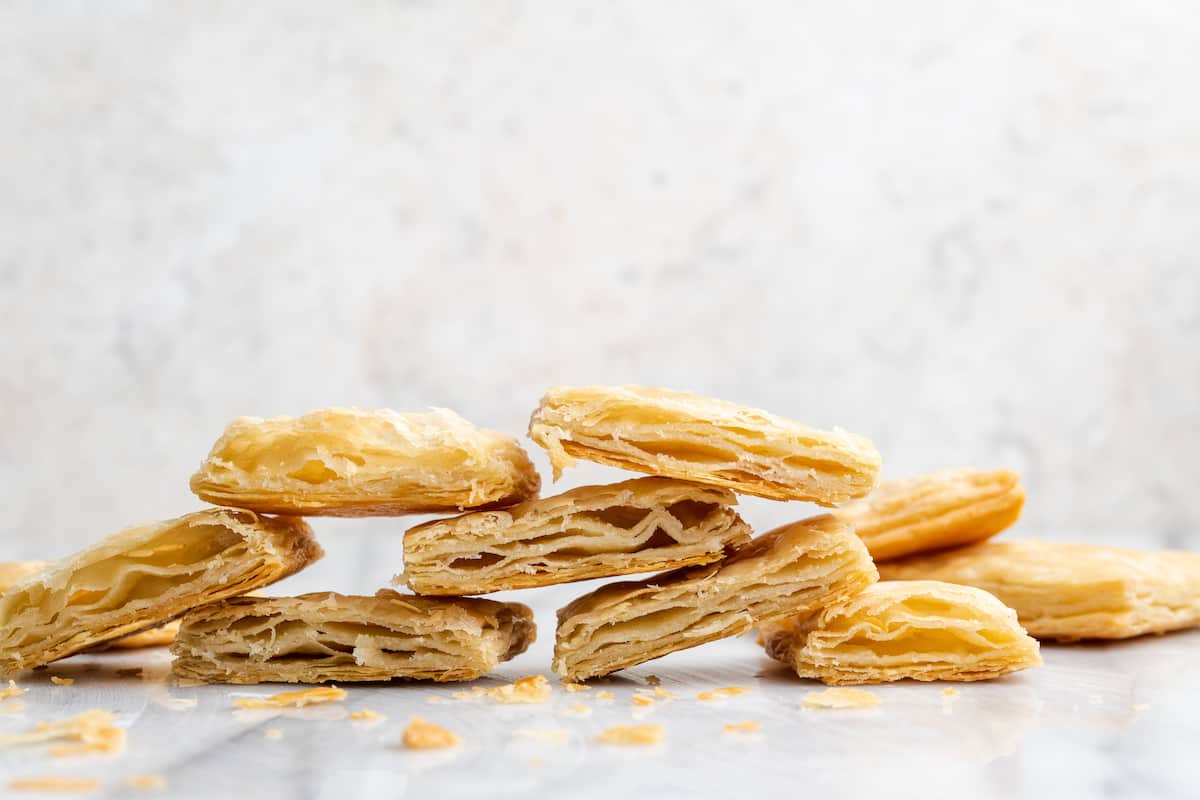
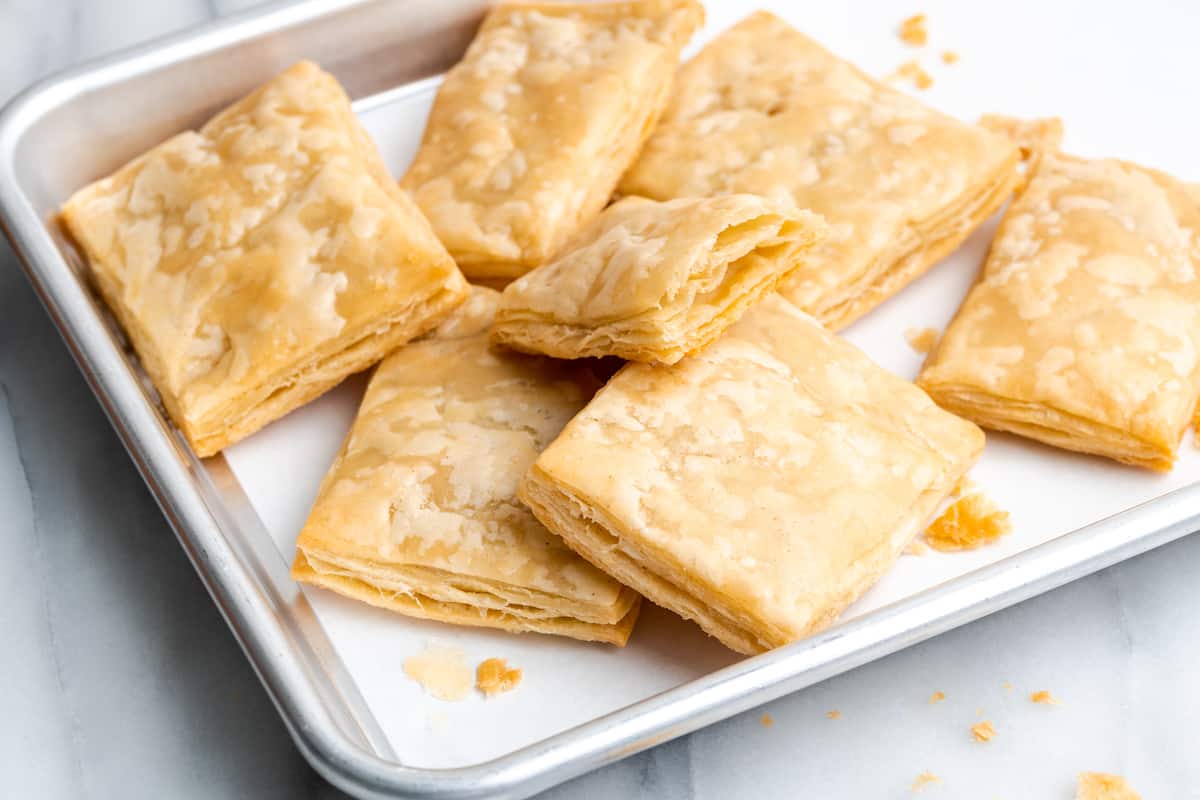
This gluten-free vegan puff pastry is as good or better than anything you’ll find at the grocery store. It’s flaky and buttery, despite not having any dairy. And it’s a lot of fun to make!

Puff pastry dough is a really fun ingredient to keep in your freezer. Whether you’re making something savory, like a wellington, or something sweet, like a turnover, puff pastry dough is the secret to a lot of great recipes. Most people buy their puff pastry dough at the grocery store, since that’s cheap and easy. But unfortunately, store-bought dough is full of gluten and dairy. That’s why I came up with this gluten-free vegan puff pastry recipe.
This puff pastry recipe is just as flaky and buttery as the kind you might buy at the store, despite only using dairy-free butter. And gluten-free flour blend works perfectly as a substitute for the standard flour found in most puff pastry recipes. It’s a little bit of a labor of love to make puff pastry dough, but I think it’s totally worth it. It can be lots of fun, and you’re left with a pretty awesome product to cook with.
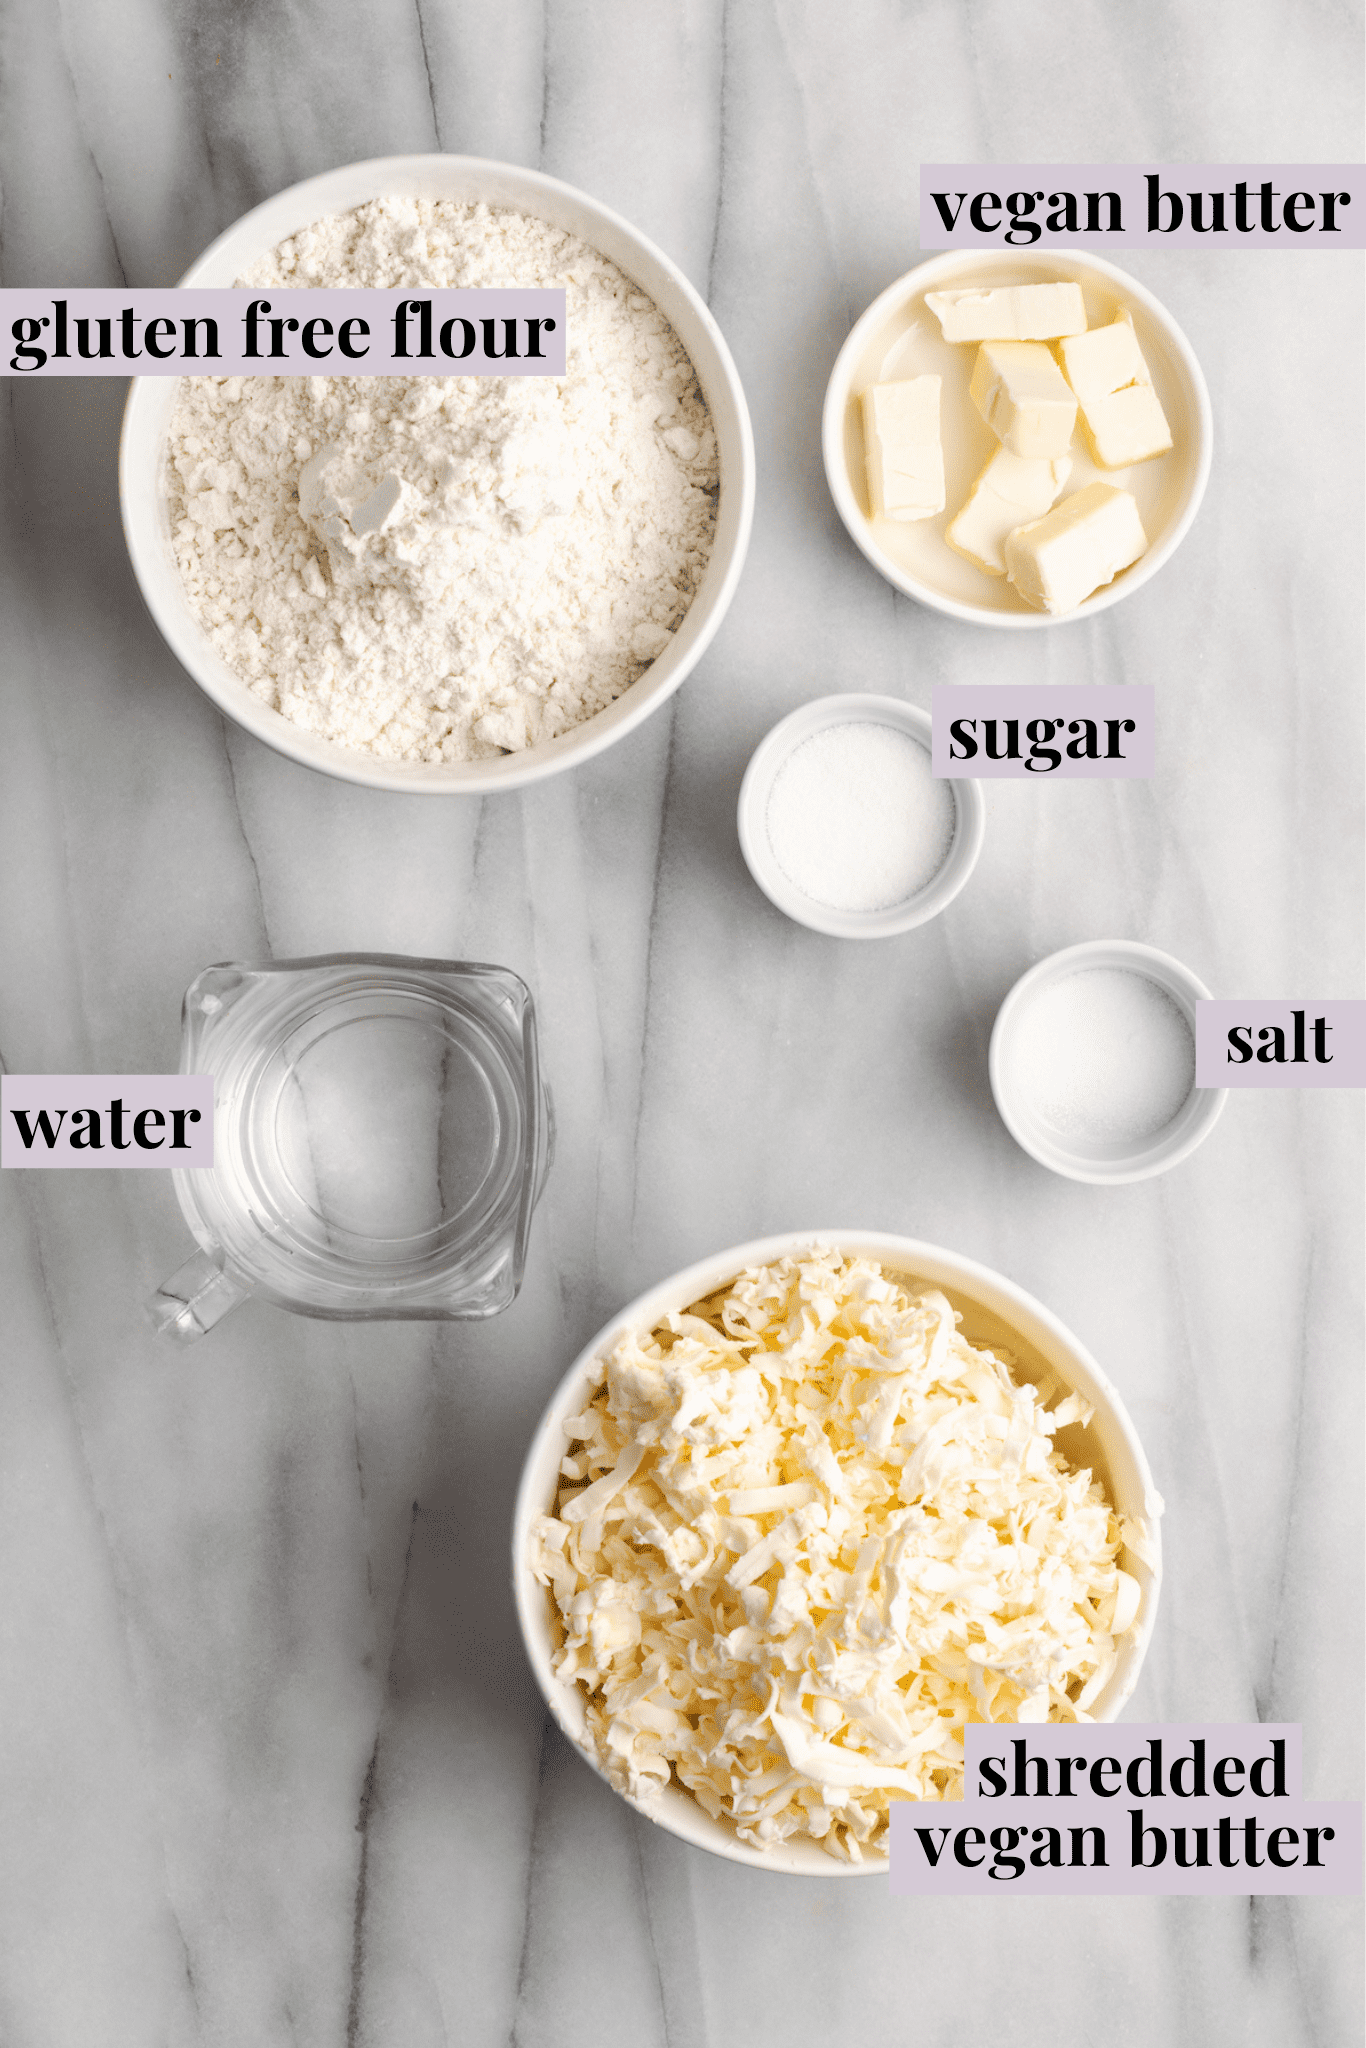
Notes on Ingredients
Here are all the ingredients you need to make this flaky puff pastry dough. Check out the recipe card at the bottom of the article for the exact amounts of each ingredient.
- Gluten-free 1-to-1 flour blend
- Salt
- Sugar
- Vegan butter – You’ll need to cube some of the butter, and shred the rest of it.
- Cold water – Ice water is preferable for this recipe.
What is Gluten-Free 1-to-1 Flour Blend?
Gluten-free 1-to-1 flour blend is just a mixture of gluten-free flours that is designed to replicate all-purpose flour. The “1-to-1” means that it can be used as a direct substitute for all-purpose flour. You don’t need to make any conversions.
How to Make Gluten-Free Vegan Puff Pastry
Here’s how to make this buttery puff pastry dough.
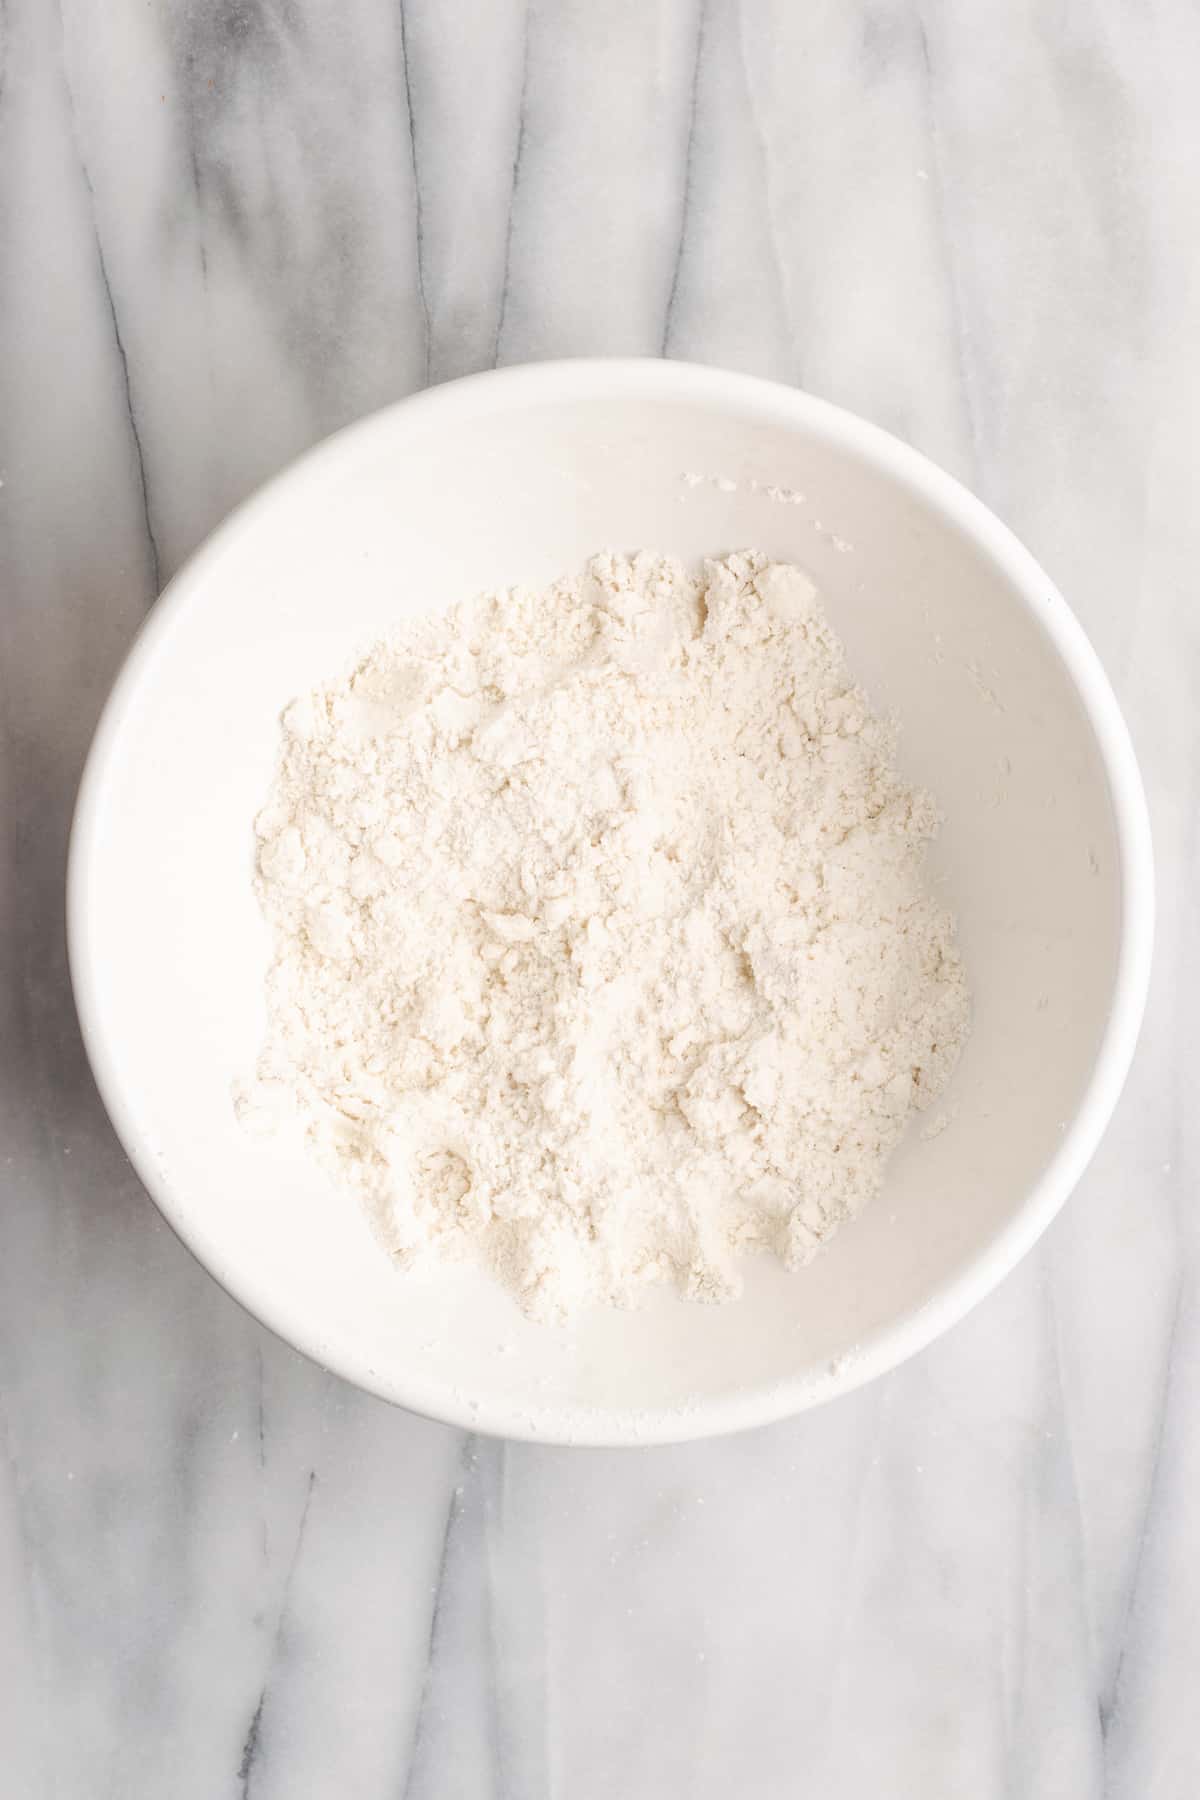
- Mix the dry ingredients. Place the flour, salt, and sugar in a mixing bowl, and stir to combine.
- Add the butter cubes. Put the cold, cubed butter into the flour mixture, and toss to combine. Use a pastry cutter or a fork to break up the butter in the mixture until you’re left with coarse crumbs.
- Add water. Pour half of the cold water into the butter and flour mixture, and mix until combined. Continue adding water until the dough is shaggy and mostly hydrated. The puff pastry dough should be able to hold together, but not feel wet to the touch.

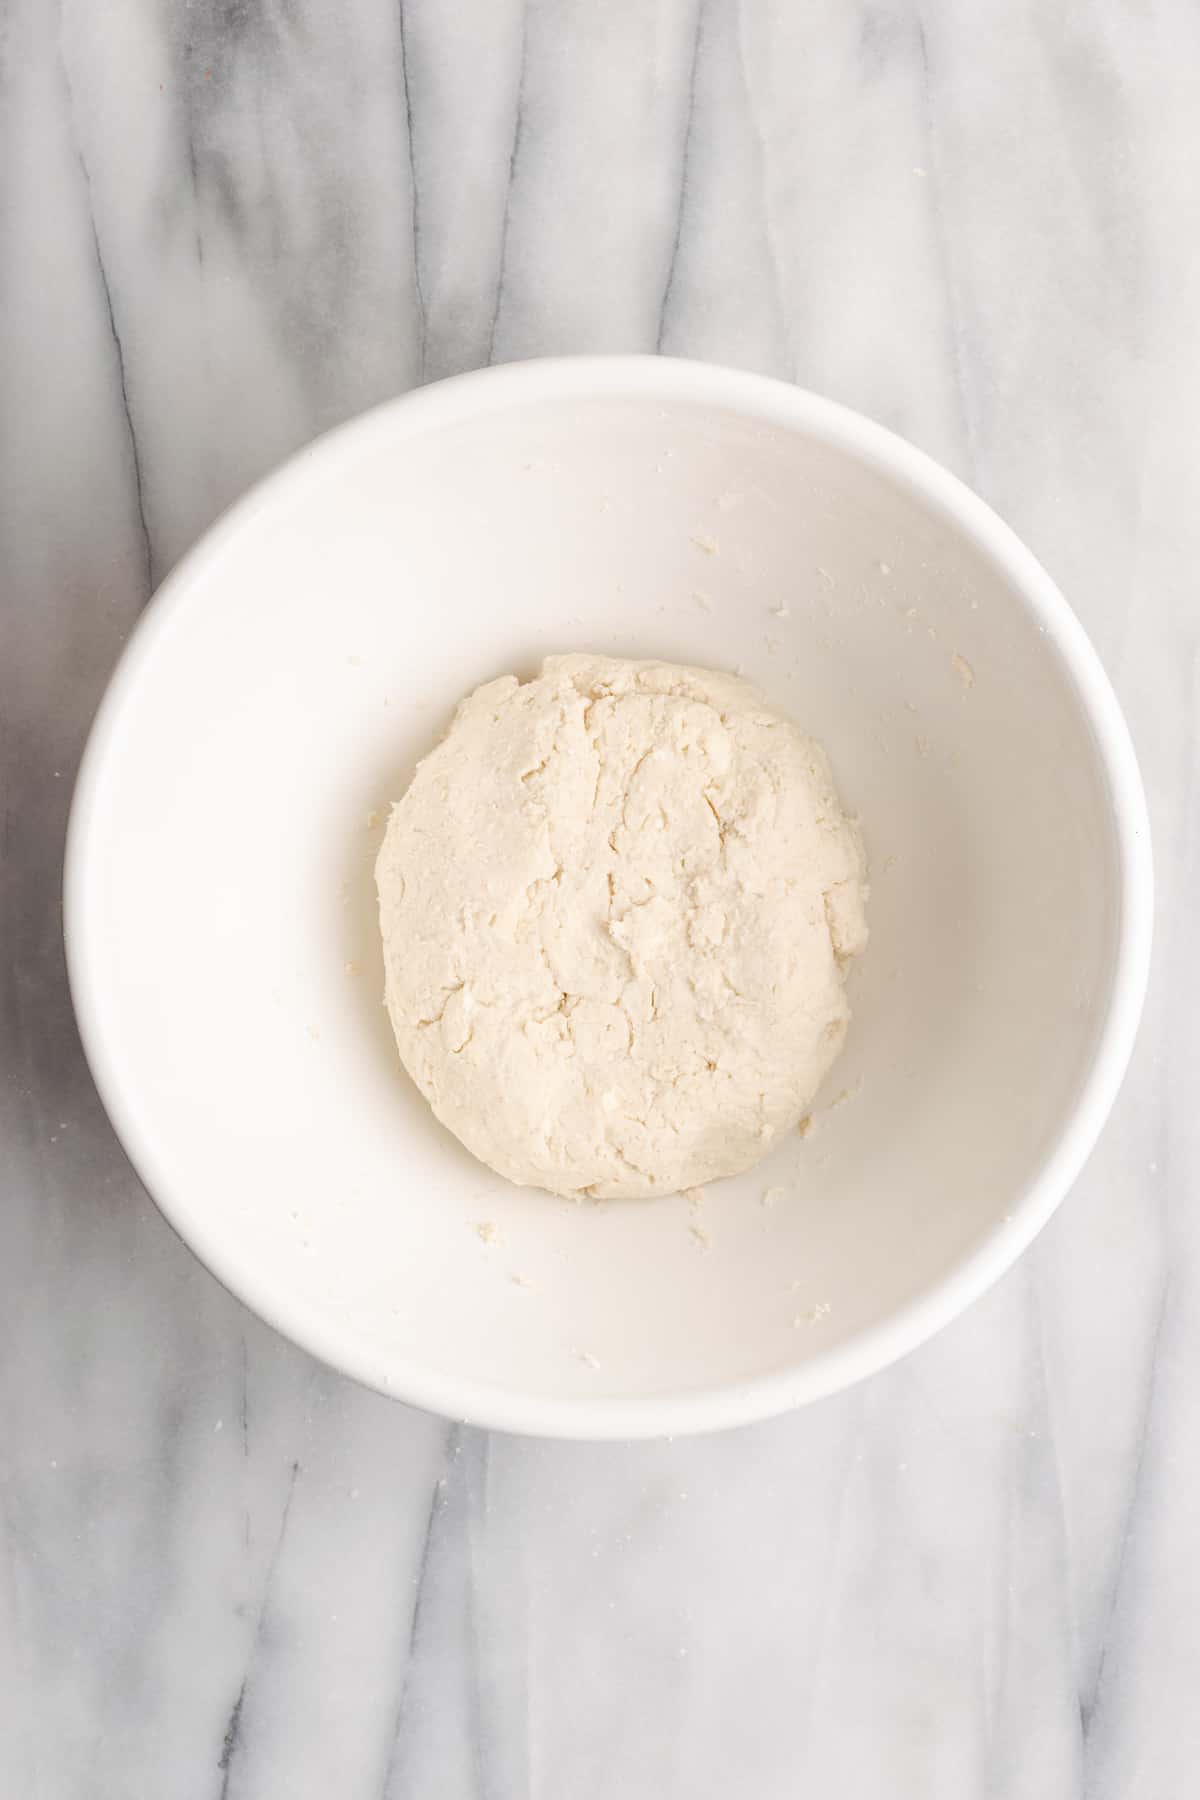
- Knead. Knead the dough until it forms a smooth ball.
- Shape and chill. Shape the dough into a square that’s about an inch thick. Cover it with plastic wrap and store in the fridge for at least an hour.
- Grate the butter. Use a cheese grater to shred the butter, then place it in the freezer.
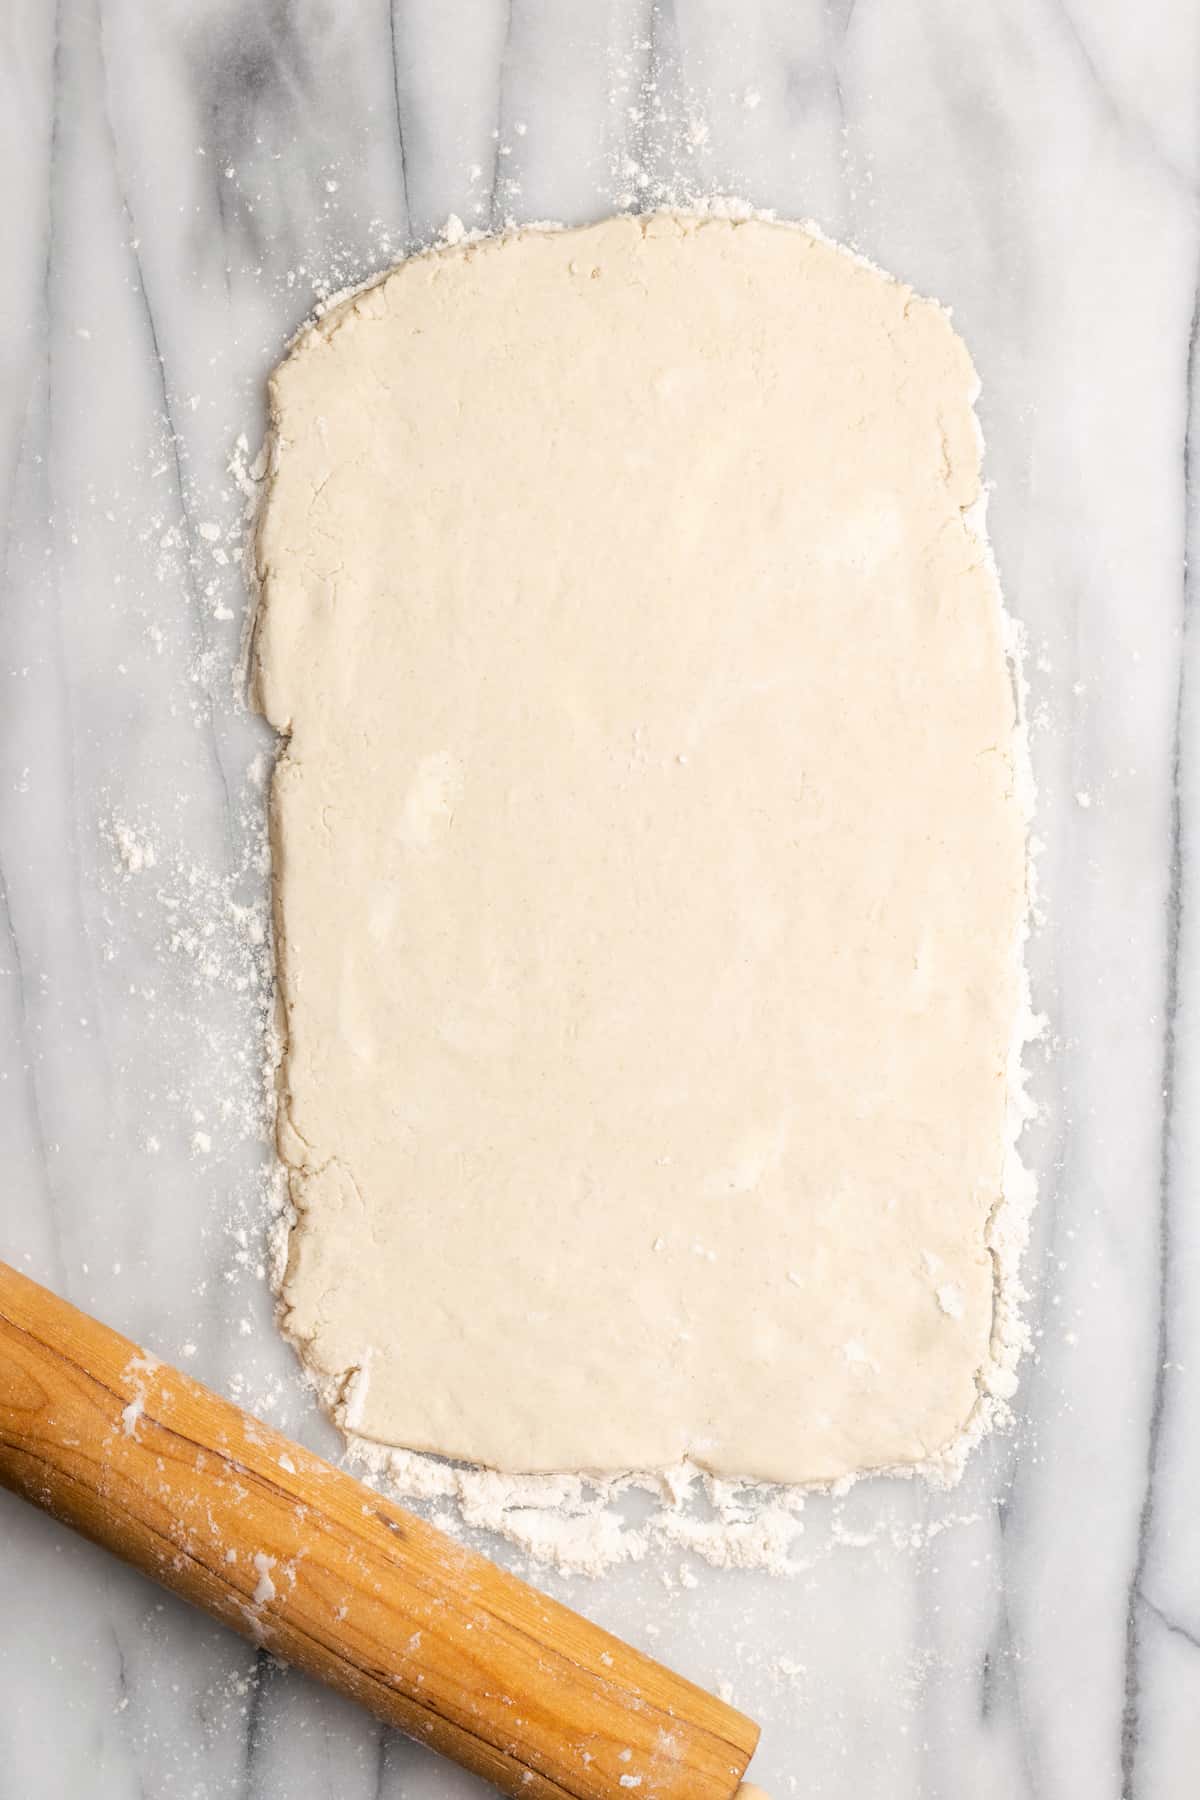
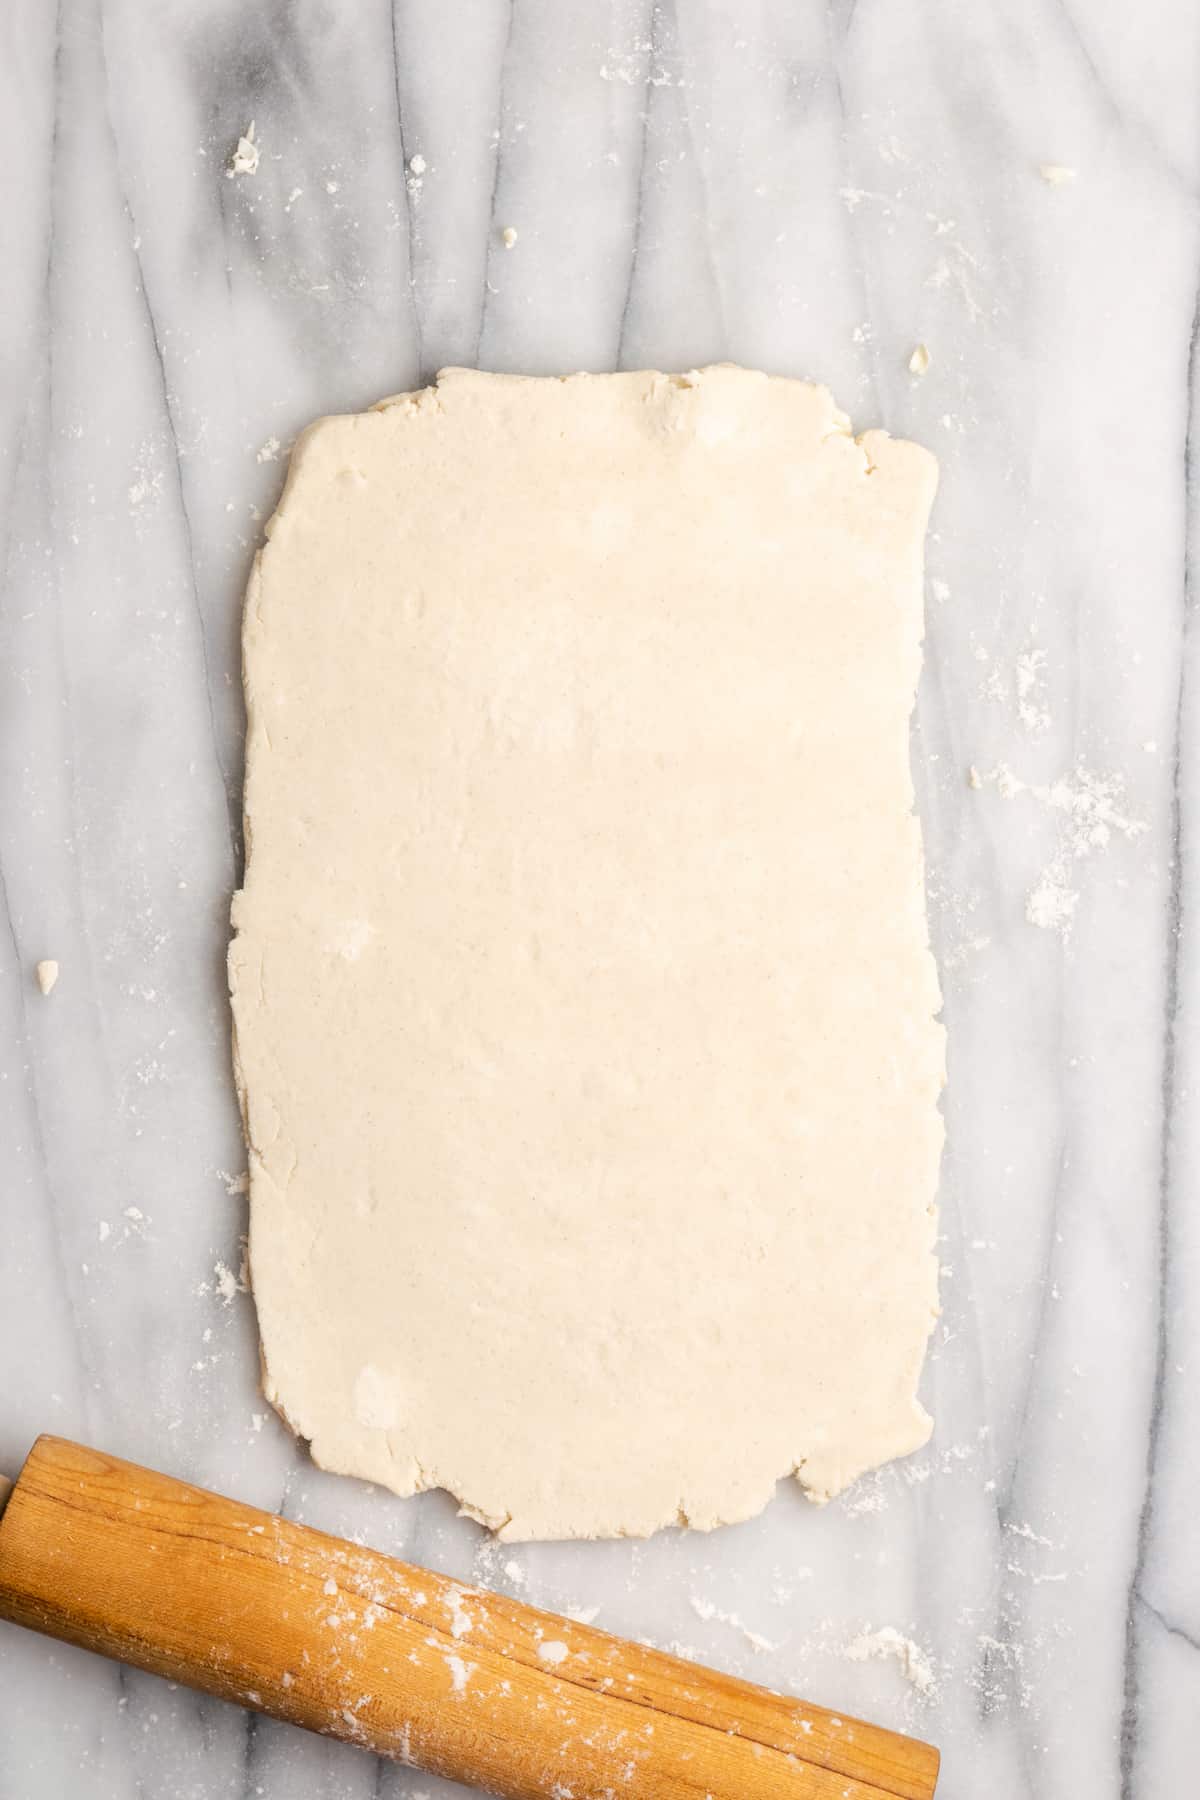
- Roll out the dough. Remove the dough from the fridge, and put it on a lightly-floured surface. Use a rolling pin to roll the dough into a 6×12-inch rectangle.
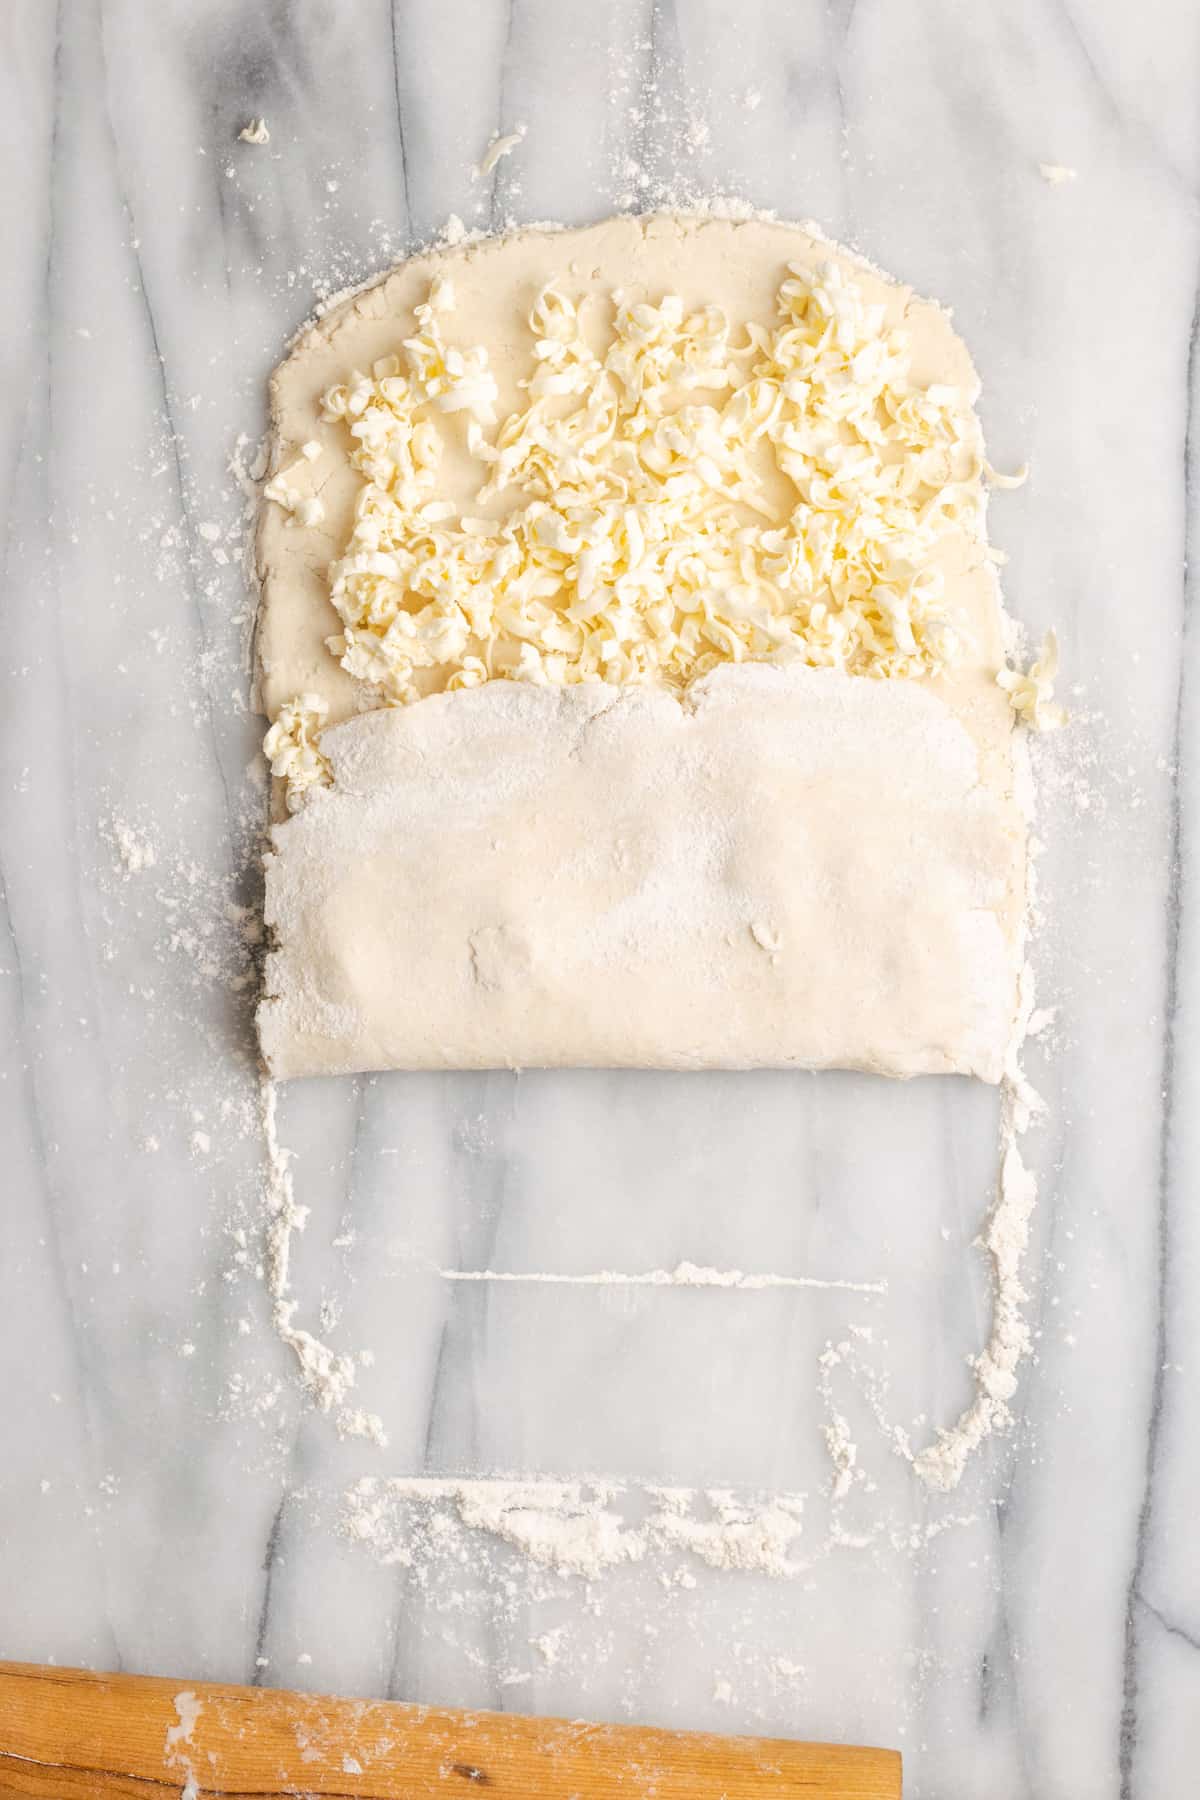
- Add butter. Add half of the frozen butter onto the dough, spreading it out over ⅔ of the rectangle.
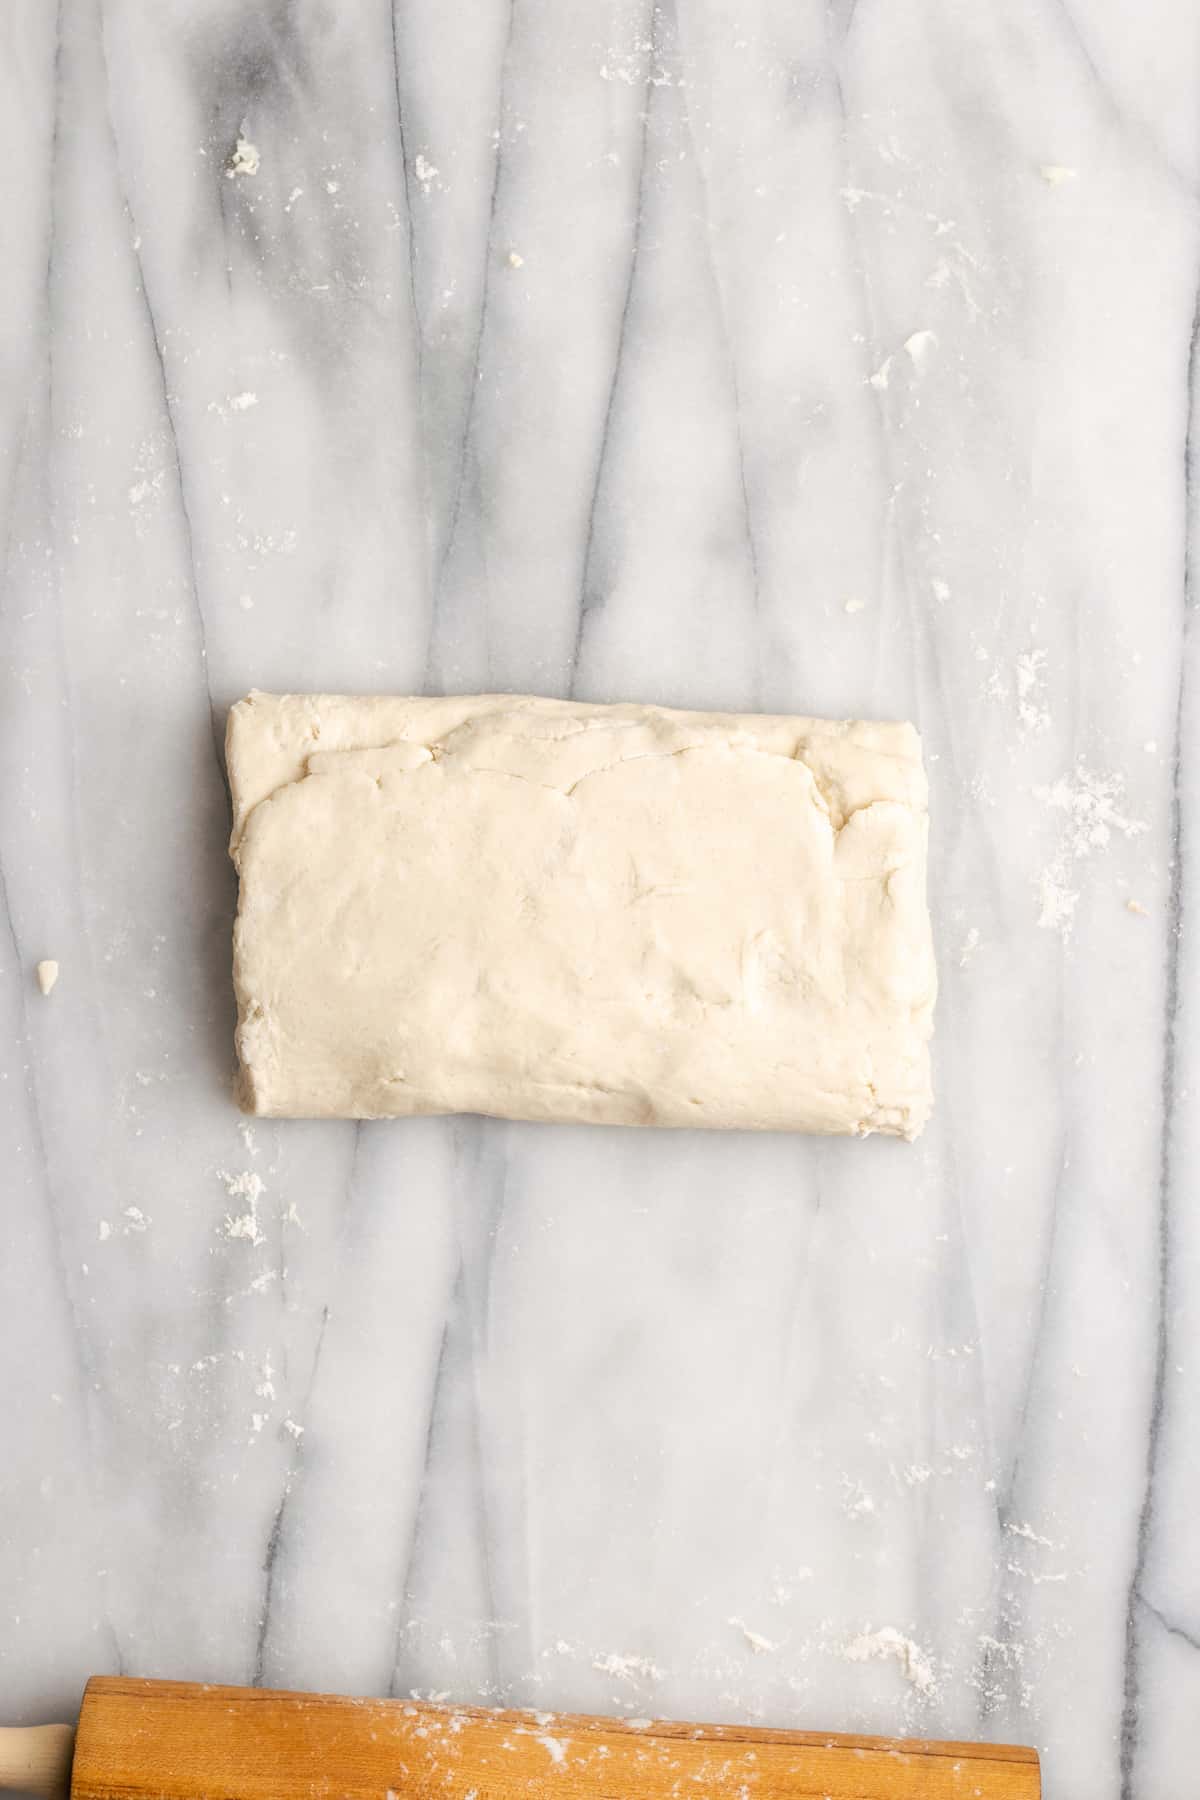
- Fold the dough. Fold the third of the dough that doesn’t have butter on it over the center. Then fold the top third of the dough over, creating three layers.
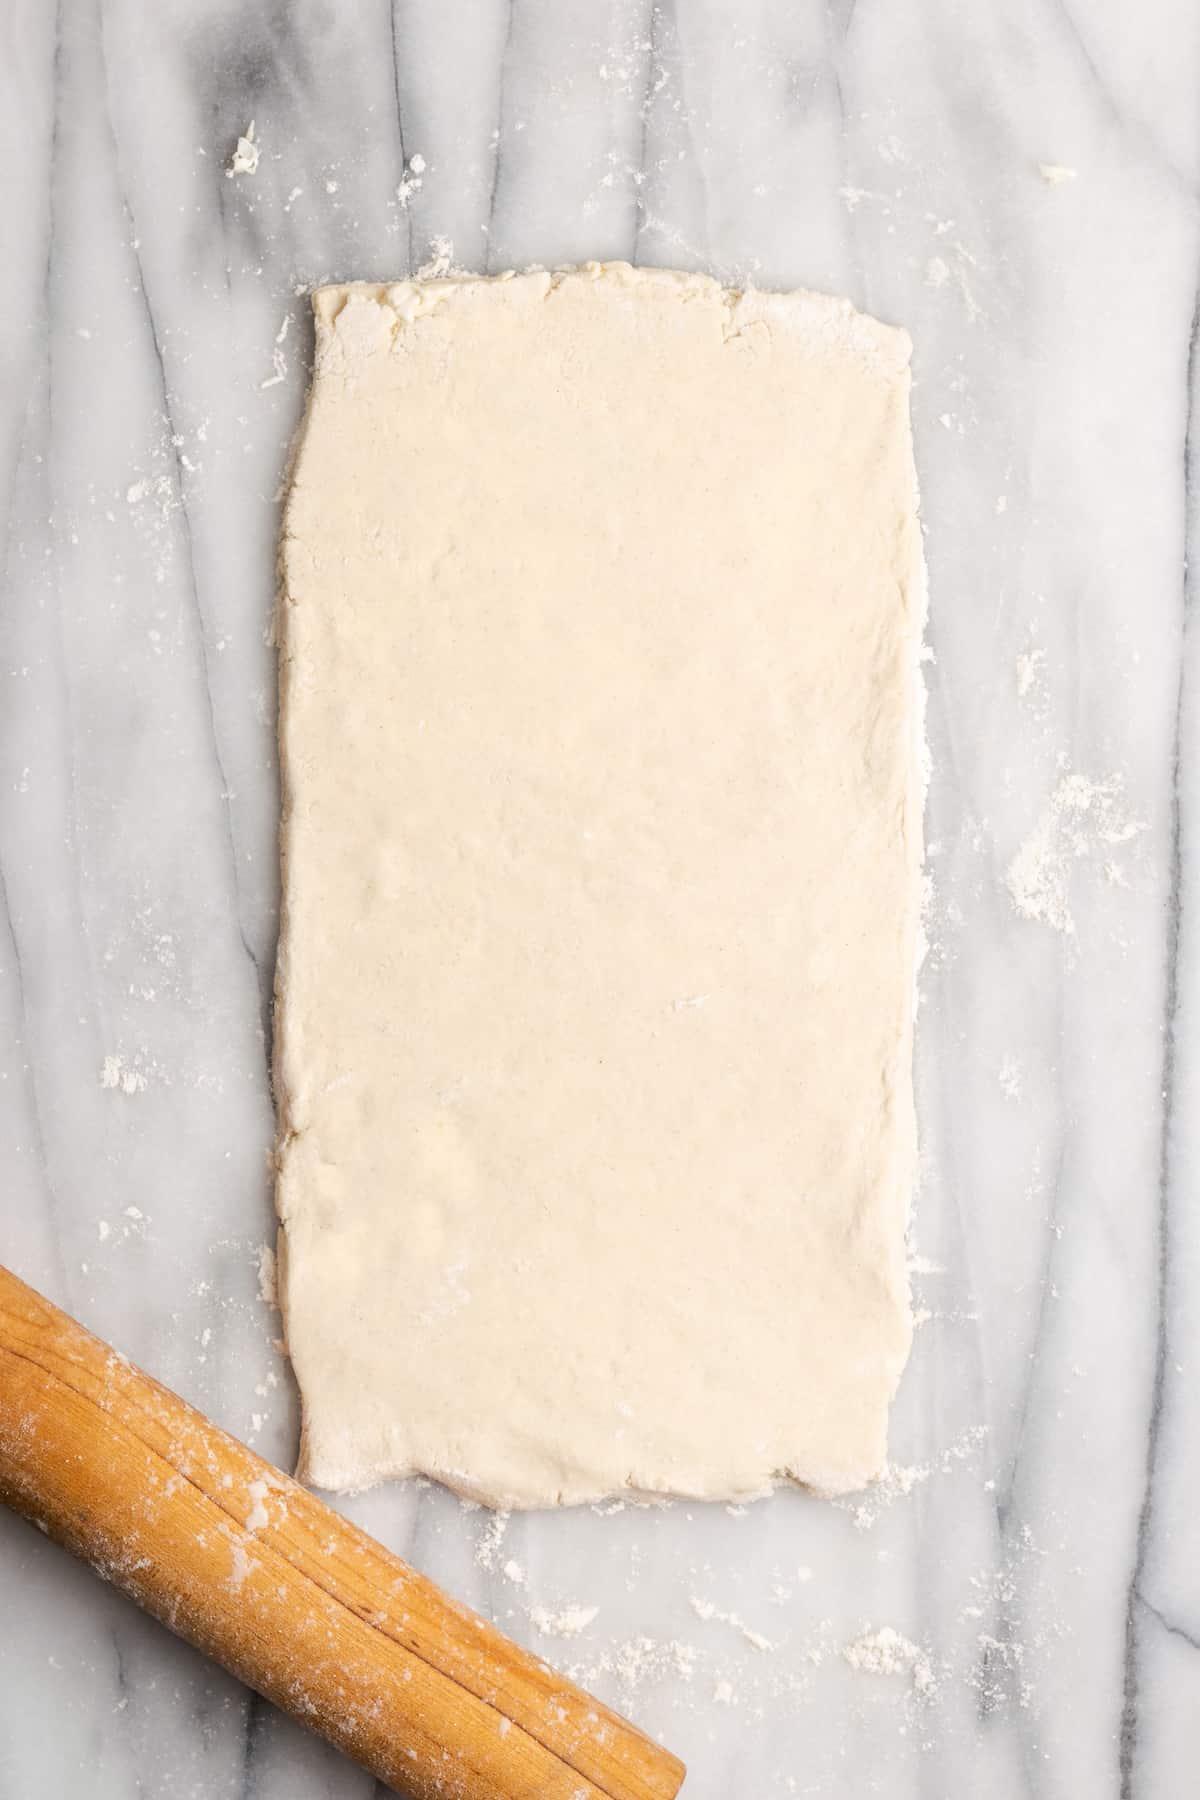
- Roll again. Rotate the pastry puff dough 90 degrees, and roll it out into a 6×12-inch rectangle again.
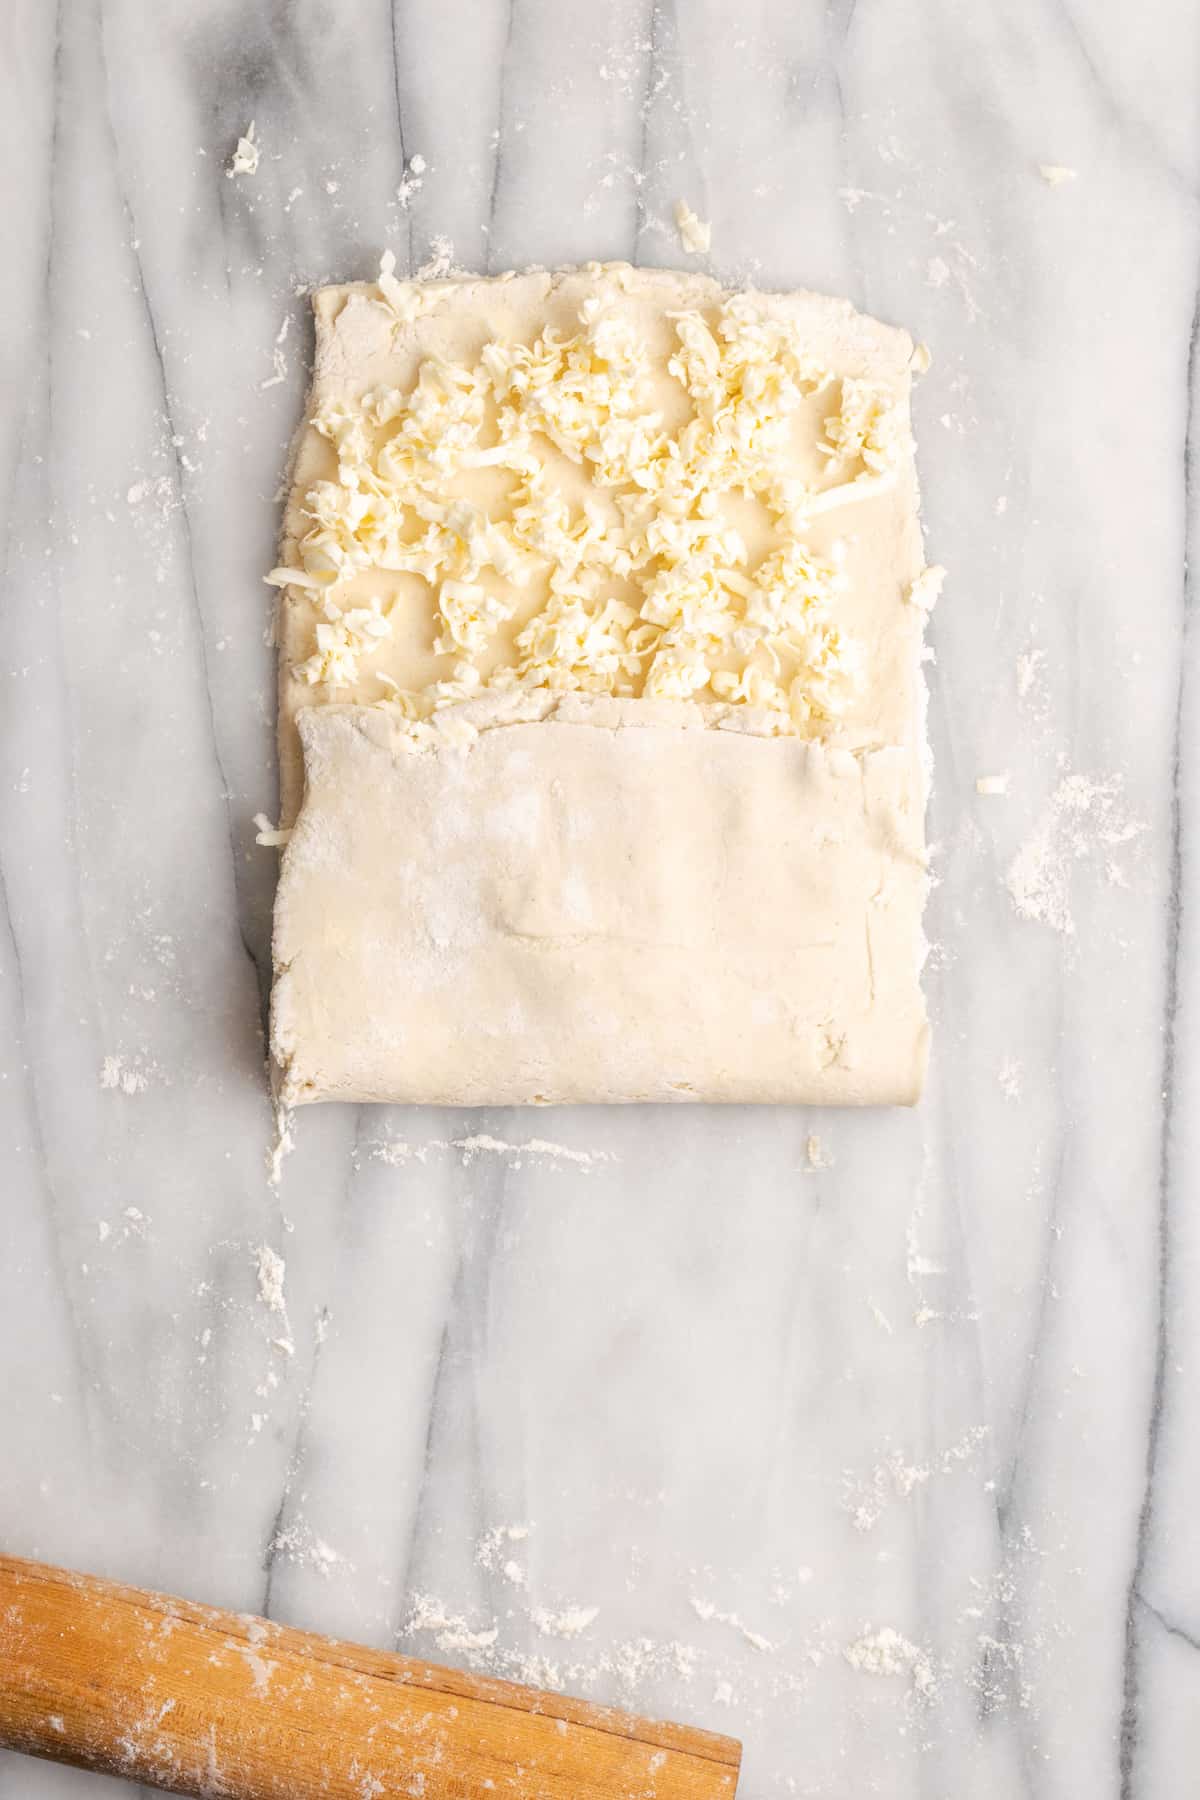
- Add the rest of the butter. Put the rest of the frozen butter on ⅔ of the rectangle.
- Repeat the folding process. Go through the same steps to repeat the folding process.
- Chill. Press the dough to seal the edges, then wrap in plastic wrap. Place the dough in the freezer for 15 minutes. Remove the dough from the freezer when it’s cold enough to hold its shape, but not yet frozen.
- Roll the dough twice more. Once again roll the dough into a 6×12-inch rectangle, then do the letter fold again. Rotate the dough 90 degrees, and repeat the process one more time.
- Chill a final time. Wrap in plastic wrap and freeze for another 15 minutes. Now it’s ready to use! Just be sure to cut off the edges of the dough to reveal the layers, which will make the puff pastry look professional when you bake it.
Tips for Success
Here are some of my best tricks and tips for making this gluten-free vegan puff pastry.
- Keep it cold. In order to successfully make puff pastry dough, you have to be able to keep the dough very cold. If the dough becomes sticky or hard to roll at any point in the process, put it in the fridge or freezer until you’re able to work with it again.
- Patch any cracks. Sometimes when rolling out puff pastry dough, it will crack or tear. That’s okay! Just patch it up with some of the dough, and keep working. It will look just fine in the end.
- Know your butter. Different brands of vegan butter have different consistencies when frozen. You want to keep your butter cold when making this recipe, but some non-dairy butters are too hard when frozen, and become impossible to work with. Know what type of butter you’re using, and adjust as you go.
- Re-freeze the puff pastry. Once you use your puff pastry in a recipe, return it to the freezer before baking. Vegan butter melts really easily, so vegan puff pastry dough often becomes too soft very quickly. Place the recipe in the freezer until it’s ready to be baked, then place it straight in the oven.
How to Use
There are no shortage of fun and delicious recipes, both sweet and savory, that use puff pastry. I’m a big fan of puff pastry in dinner foods like my vegan wellington recipe , or my vegan pot pies . But this gluten-free puff pastry dough also works wonderfully with sweet recipes, like turnovers, Napoleons, and tarts.
How to Store Gluten-Free Vegan Puff Pastry
You can store the puff pastry in the fridge for up to 2 days. Just store the dough in an airtight container, or wrap it in plastic wrap, then roll out when you’re ready to use it.
Can I Freeze This Recipe?
Puff pastry is normally stored in the freezer, and you can keep this gluten-free vegan puff pastry dough there for up to 3 months. Just wrap the dough in plastic wrap, then place it in an airtight container. Use the dough directly from the freezer.
Ingredients
- 2 cups gluten-free 1-to-1 flour blend , (248 grams)
- ½ teaspoon salt , (3 grams)
- 1 tablespoon sugar , (13 grams)
- 3 tablespoons vegan butter , (42 grams), cold and cut into cubes
- 10 tablespoons vegan butter , (141 grams), frozen and shredded
- ½-⅔ cup ice cold water , (118-156 ml)
Instructions
- Combine the flour, salt and sugar in a large mixing bowl.
- Add the cubed cold butter and toss to coat with flour. Use a fork or pastry cutter to cut the butter into the flour until it resembles coarse crumbs.
- Add half of the cold water to the flour mixture. Toss together to incorporate.
- Add the remaining water a little at a time until you get a shaggy dough that may have a few small bits of dry flour. The dough should be able to hold together but not feel wet.
- Knead the dough a little bit to form a dough ball with a smooth exterior.
- Shape the dough into a square about 1 inch thick and wrap in plastic wrap. Refrigerate for at least 1 hour.
- Use a box grater to shred 10 Tablespoons of vegan butter. Place the shredded butter in the freezer while the dough is chilling.
- Remove the chilled dough from the refrigerator and unwrap. Place on a lightly floured surface. Using a little flour on your rolling pin, roll out to a rectangle about 6 inches by 12 inches.
- Sprinkle half of the frozen butter shreds over the top 2⁄3 of the rolled out dough surface.
- Fold the bottom third of the dough up and over the butter in the center.
- Fold the top third of the dough down and over the first flap, creating a letter fold.
- Rotate the dough 90 degrees and roll out to a rectangle again, 6 inches by 12 inches.
- Repeat the process with the remaining frozen butter. Fold the dough into another letter fold. Press down on the dough a little to seal the edges. Wrap the dough in plastic wrap and place in the freezer for 15 minutes.
- Remove the chilled dough from the freezer. It should be cold, but not frozen. The dough needs to be stiff enough that it doesn’t sag when you hold it.
- Remove the plastic wrap and roll the dough out to a 6 inch by 12 inch rectangle. Repeat the letter fold, folding the bottom third up first and then folding the top third down. Rotate and repeat for a second letter fold.
- Wrap the dough in plastic wrap and freeze for another 15 minutes.
- After the second chill, the dough is ready to use. If you’re not going to use it right away you can move it from the freezer to the refrigerator and store for 1-2 days. Or roll the dough out to 1⁄4” thick and wrap well with plastic wrap. Place in a freezer bag and freeze for later use.
- Before using, cut about 1⁄4” inch off the edges of the dough to reveal the layers, this will create the puff pastry look when baked.
- Freeze dough or pastries before baking to keep the dough really cold.
