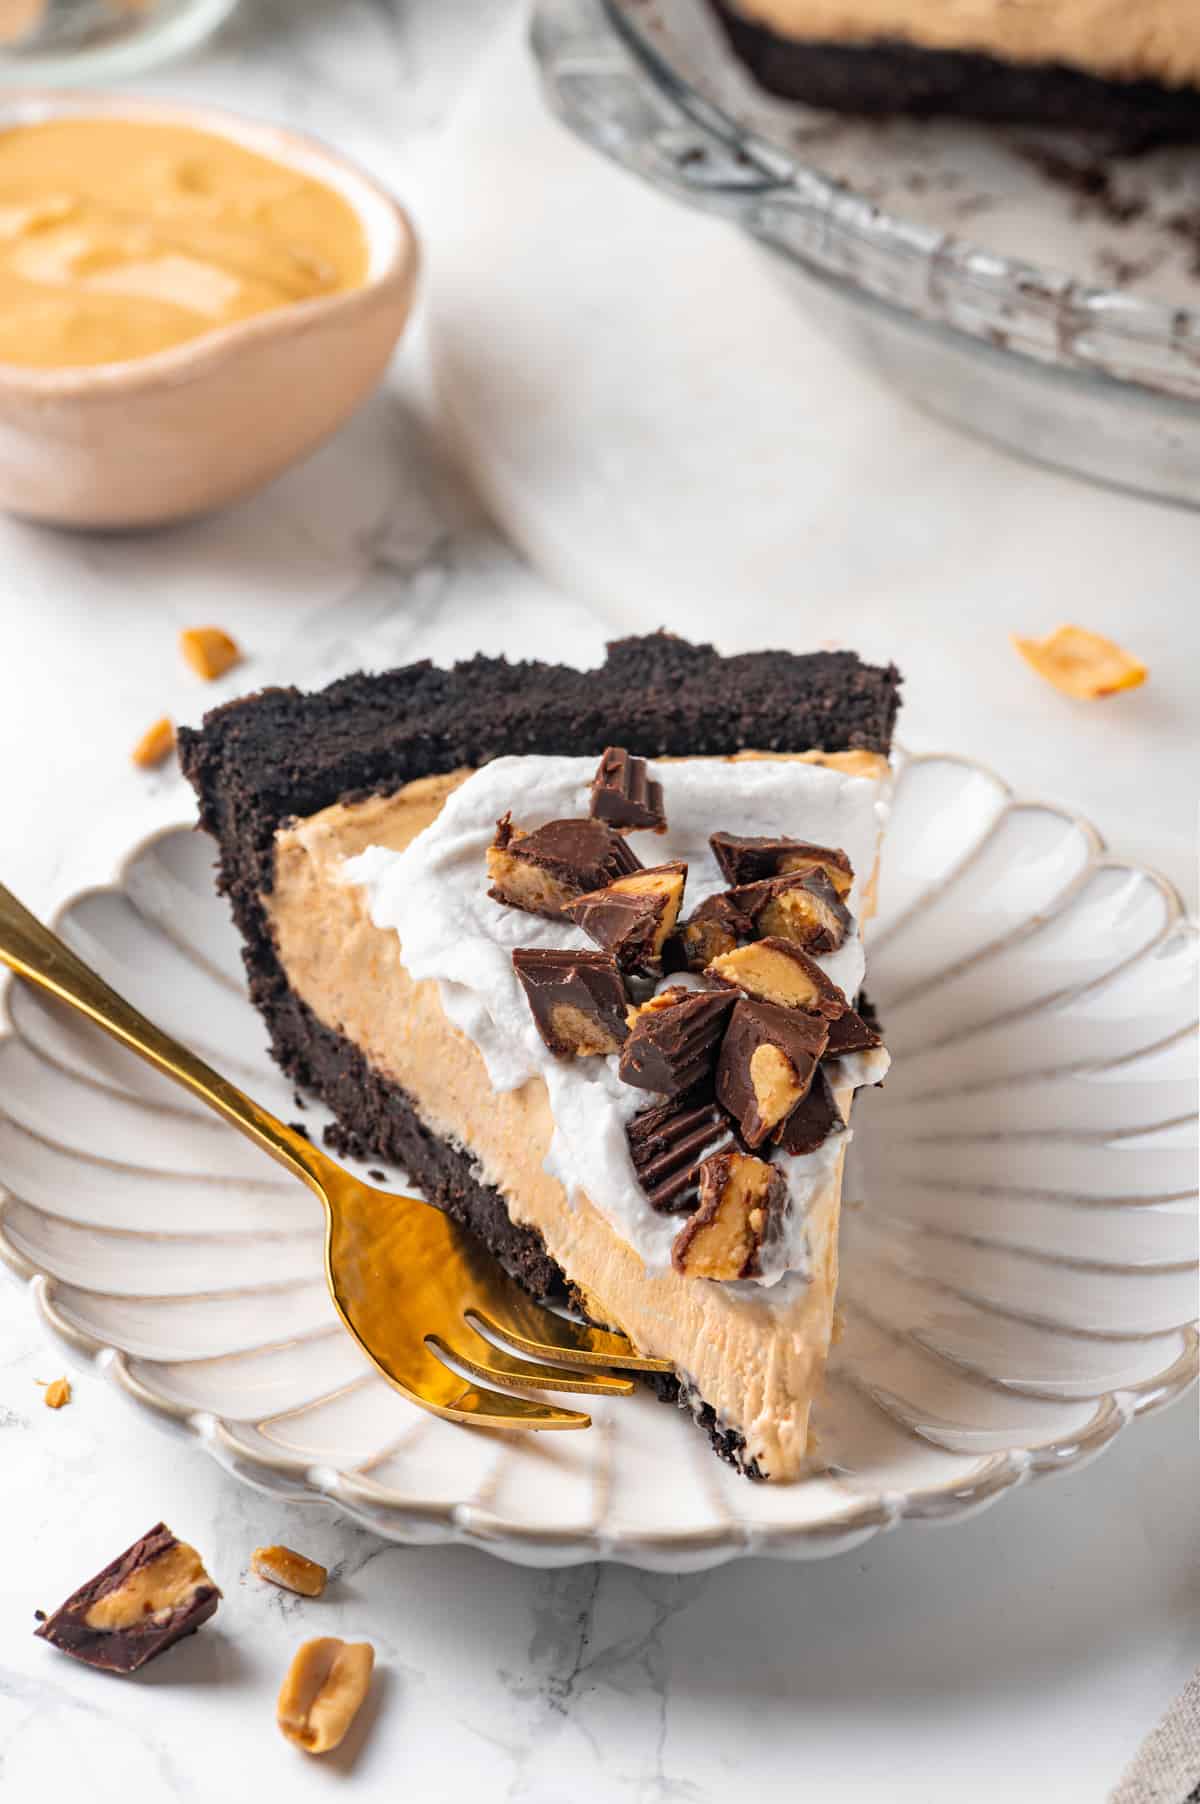
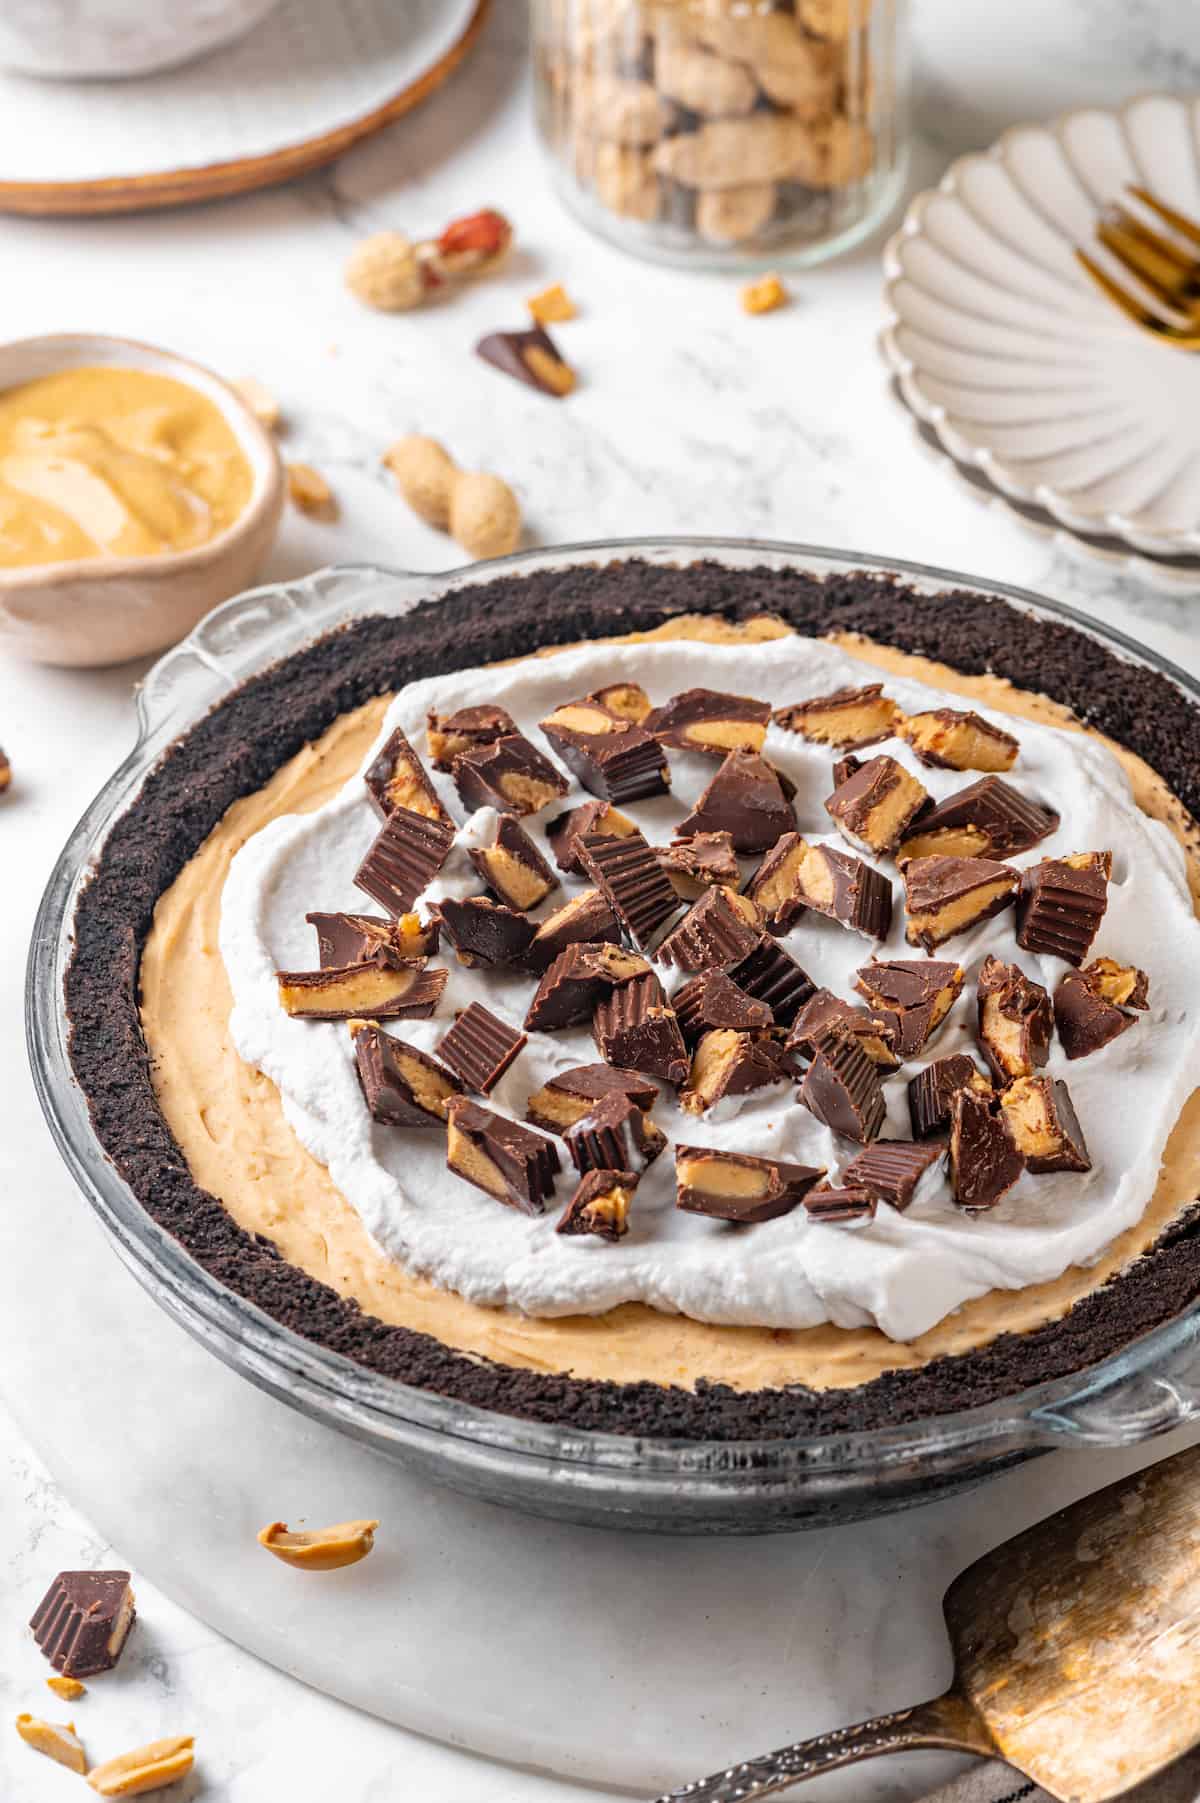
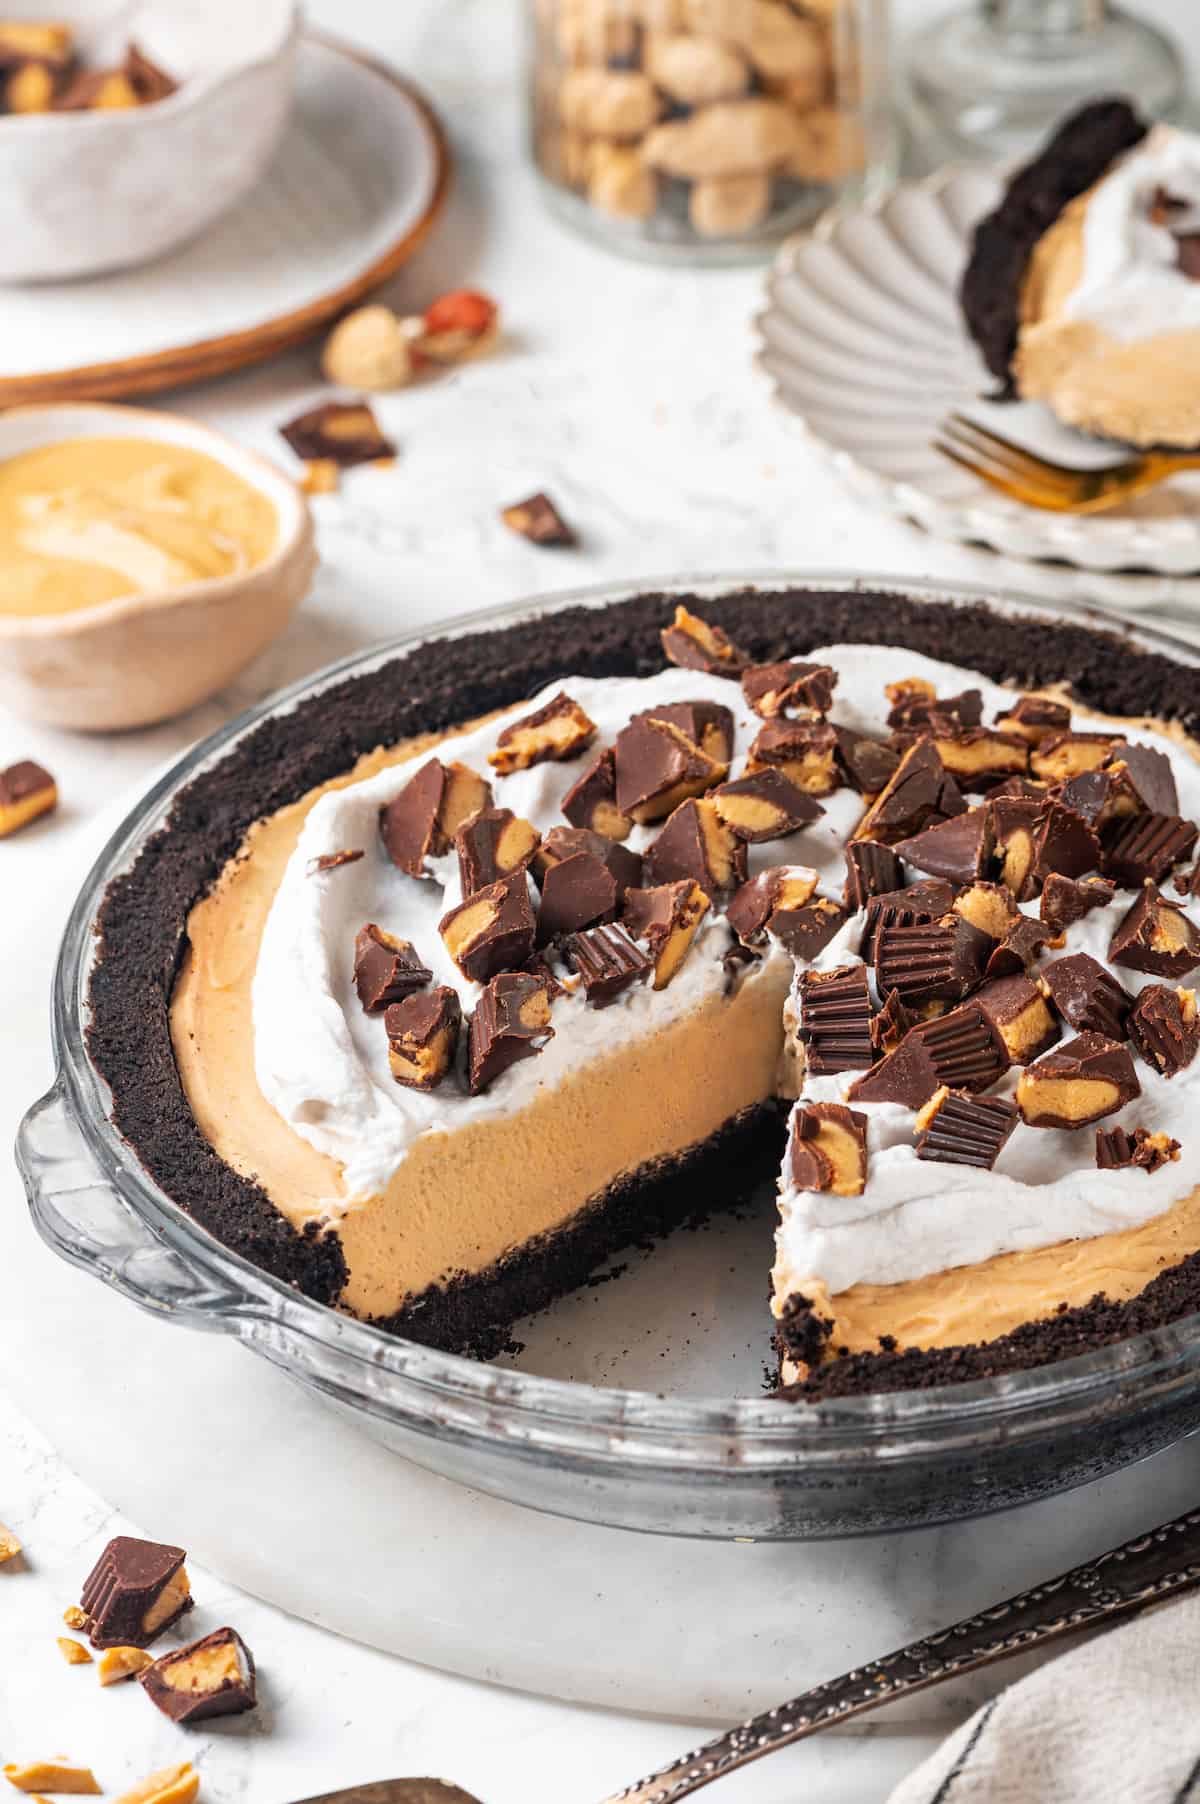
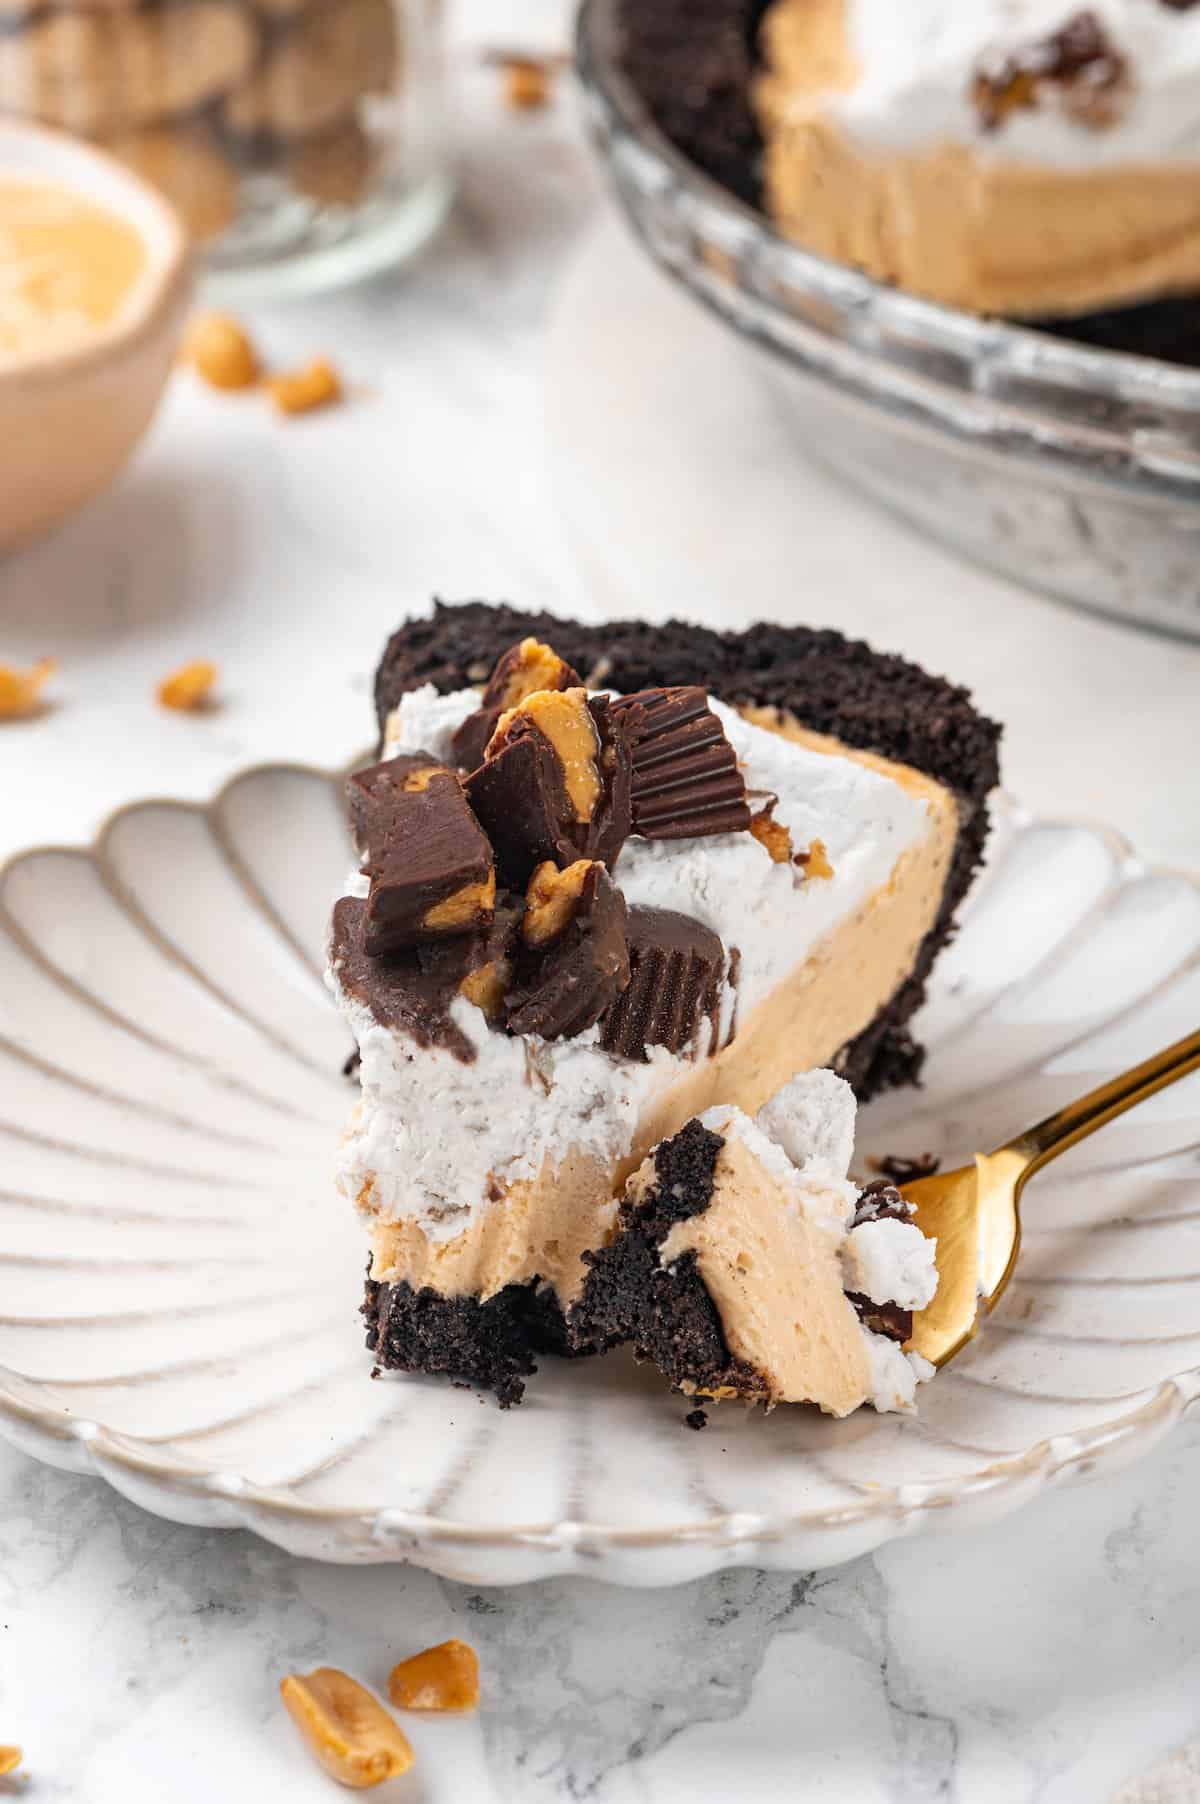
Peanut butter cup lovers, this one’s for you! A chocolatey Oreo crust is topped with fluffy peanut butter filling, a layer of coconut cream, and chopped peanut butter cups for a decadent vegan no-bake peanut butter pie that’s impossible to resist.
Is there any flavour combination better than chocolate and peanut butter? I don’t think so!
I love it in my Vegan Chocolate Peanut Butter Swirl Brownies and Chocolate Peanut Butter Blender Pancakes , but if you want a show-stopping dessert for a crowd, look no further than this no-bake peanut butter pie.
First, let’s talk about that Oreo crust. Crisp and chocolatey, it provides the perfect base for our pie. And since we’re not baking it, you don’t have to worry about any potential crust disasters. No cracks or shrinking here!
Next, the filling. It’s light and fluffy, with just the right amount of peanut butter and tangy vegan cream cheese to give it a flavour similar to a no-bake cheesecake. And to take it to the next level, we’re adding a layer of vanilla whipped coconut cream on top.
And finally, the pièce de résistance—chopped peanut butter cups scattered over the whipped cream. I mean, does it get any better than that?!

Why You’ll Love This No-Bake Peanut Butter Pie Recipe
Here’s what makes this no-bake peanut butter pie a winner:
- Vegan . Most no-bake pies are made with lots of dairy, but this one is completely plant-based and still oh-so-delicious and creamy.
- Easy . No need to turn on the oven or even haul out a pan for melting chocolate on the stovetop. Although there are a few layers in this pie, they’re all super simple to whip up.
- Perfect for any occasion . Whether it’s a summer BBQ, holiday gathering, or just a regular day when you’re craving something sweet, this no-bake peanut butter pie is sure to please.
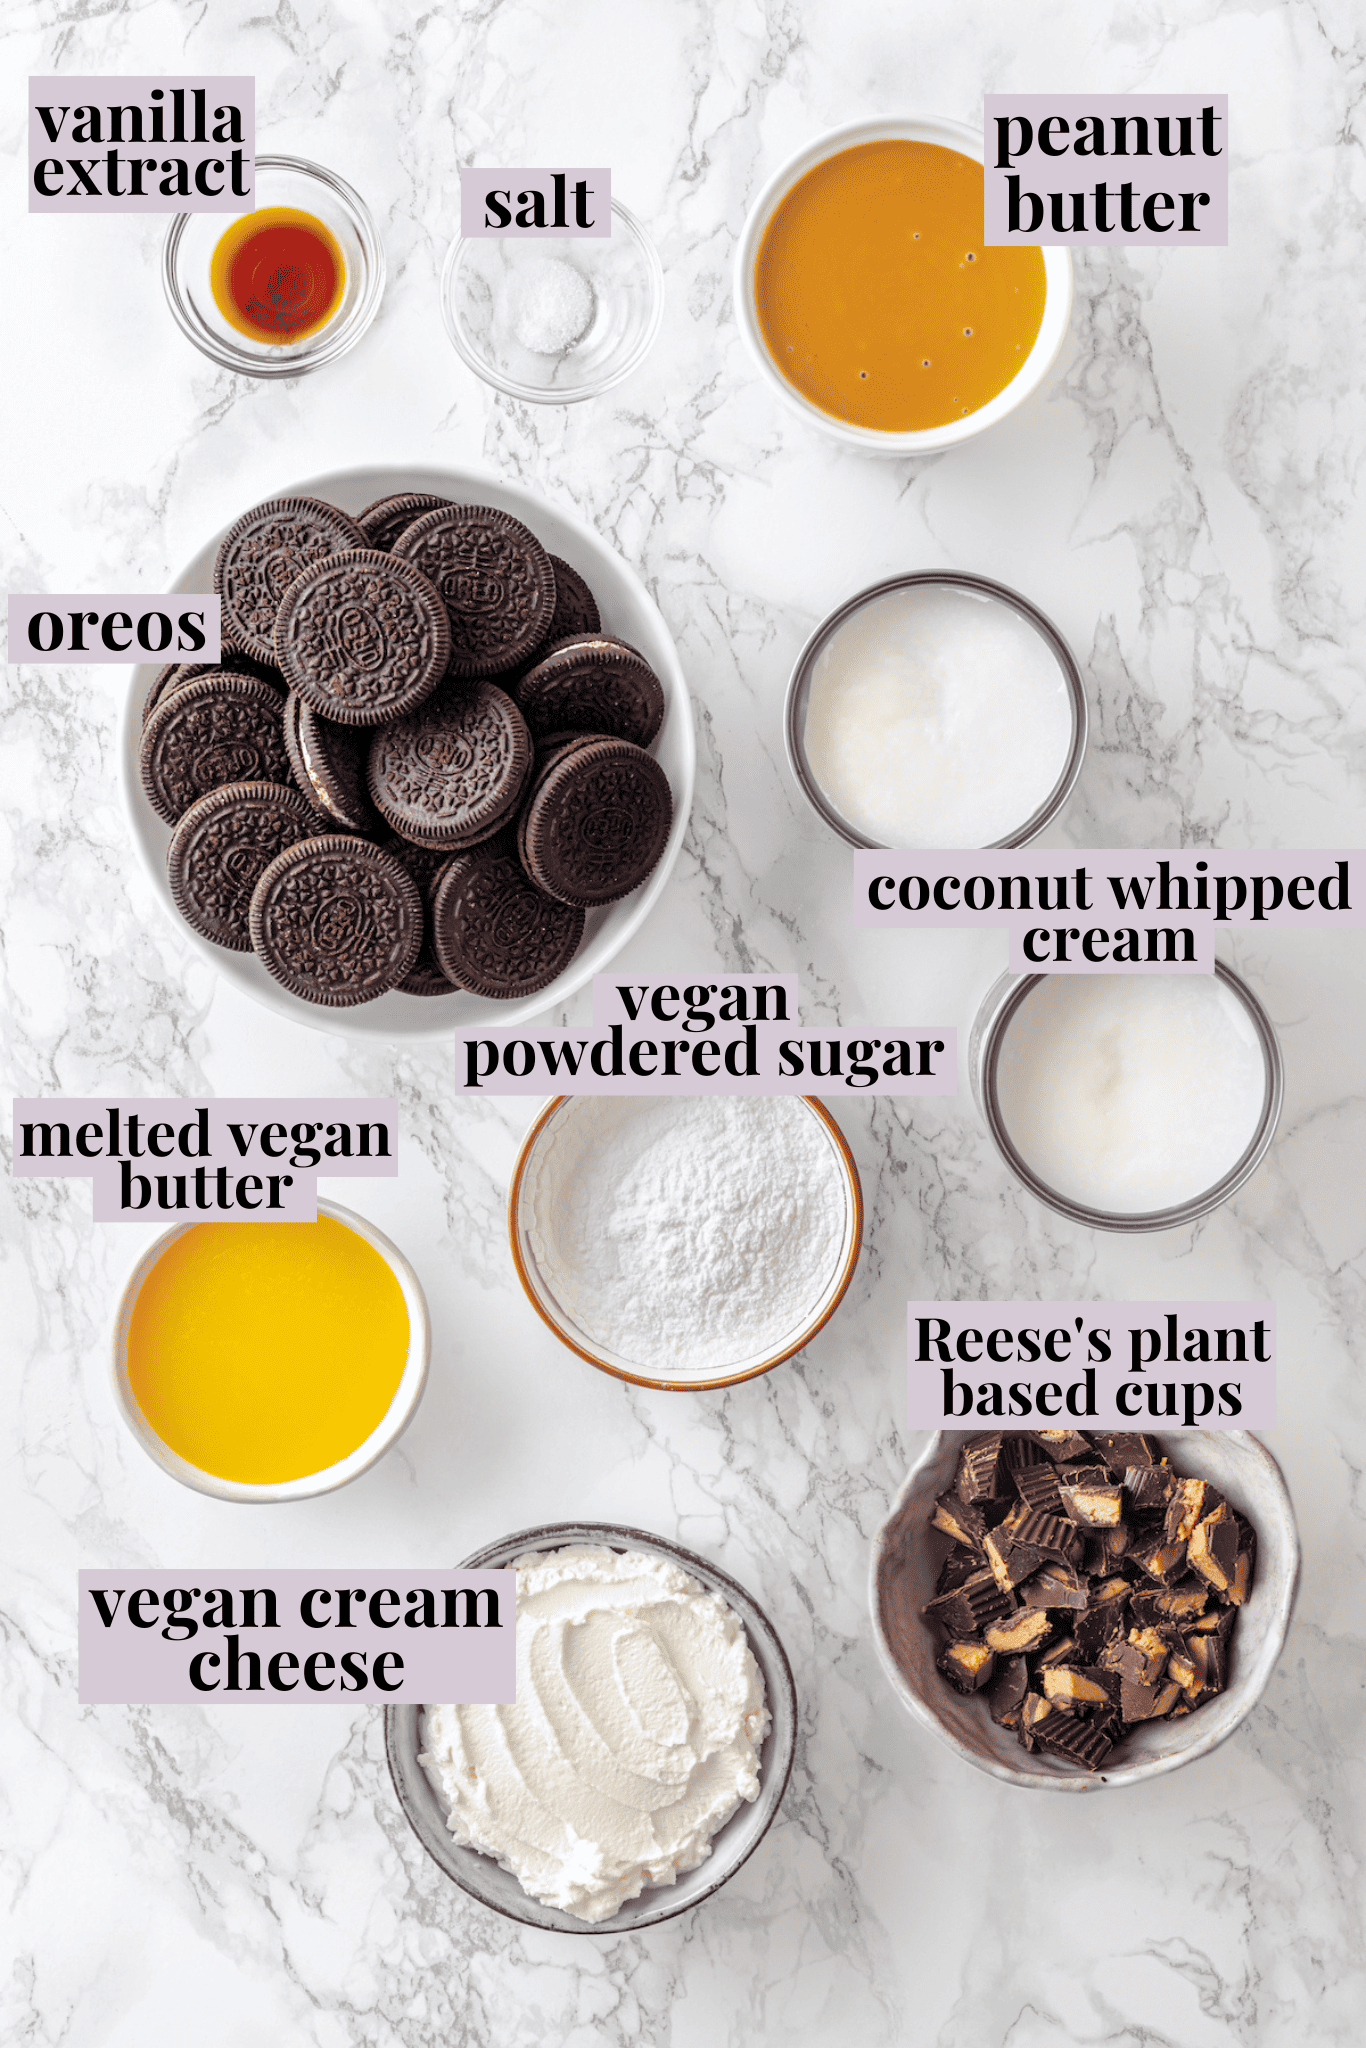
Notes on Ingredients
Scroll down to the recipe card to find the ingredient quantities and recipe instructions.
Crust:
- Oreos – Regular Oreos are naturally vegan. Hooray! If you don’t want to use Oreos, you can use any chocolate cream filled sandwich cookies, such as from Whole Food’s 365 brand, Nature’s Own and several others.
- Vegan butter – Either store-bought or homemade vegan butter .
Peanut Butter Filling:
- Peanut butter – I recommend smooth peanut butter for a perfectly creamy filling.
- Vegan cream cheese – Let this soften to room temperature.
- Powdered sugar
- Coconut whipped cream – Here’s my coconut whipped cream recipe.
- Salt
Coconut Whipped Cream:
- Coconut whipped cream
- Vanilla extract
Topping:
- Peanut butter cups – Cut them into quarters or sixths for bigger chunks or roughly chop them.
What Brands of Peanut Butter Cups Are Vegan?
Unfortunately, not all peanut butter cups are vegan. As of this writing, Reese’s has a plant-based peanut butter cup made with oat milk, and Justin’s Dark Chocolate Peanut Butter Cups, Unreal Dark Chocolate Peanut Cups, and No Cow Peanut Butter Cups are vegan too. You can also use my Vegan Peanut Butter Cups recipe.
How to Make No-Bake Peanut Butter Pie
Let’s get started! Here’s how to make this creamy vegan peanut butter pie.
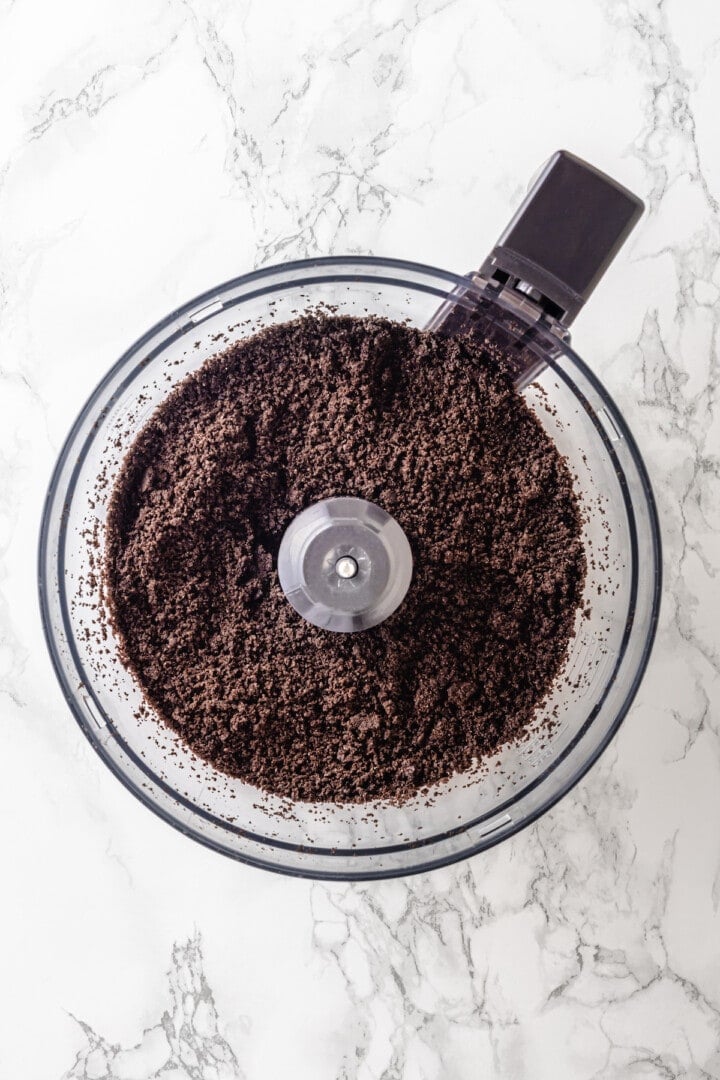
- Make the crust . Pulse the Oreos in a food processor until they form fine crumbs. Transfer the crumbs to a bowl and stir in the melted vegan butter. Press the mixture into a pie pan and chill.
- Make the peanut butter layer . Stir together the peanut butter, powdered sugar, salt, and softened vegan cream cheese in a large bowl. Fold in the coconut whipped cream.
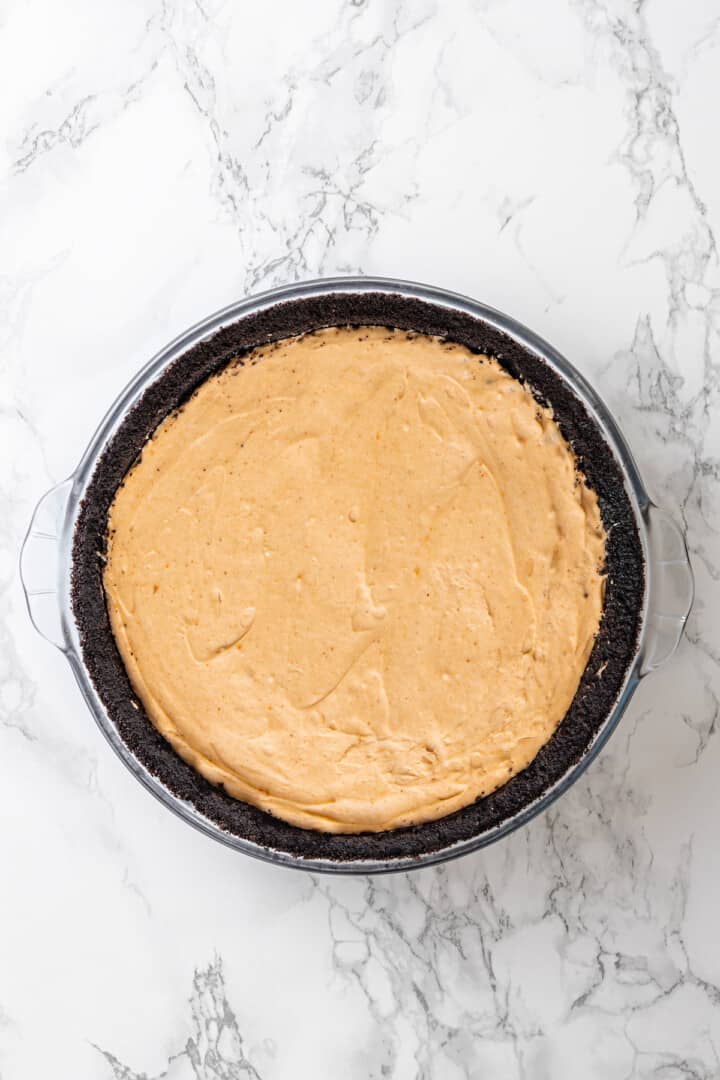
- Chill . Spread the peanut butter filling into the crust and refrigerate for at least 4 hours or overnight.
- Make the topping . Prepare the next batch of coconut whipped cream and fold in the vanilla.
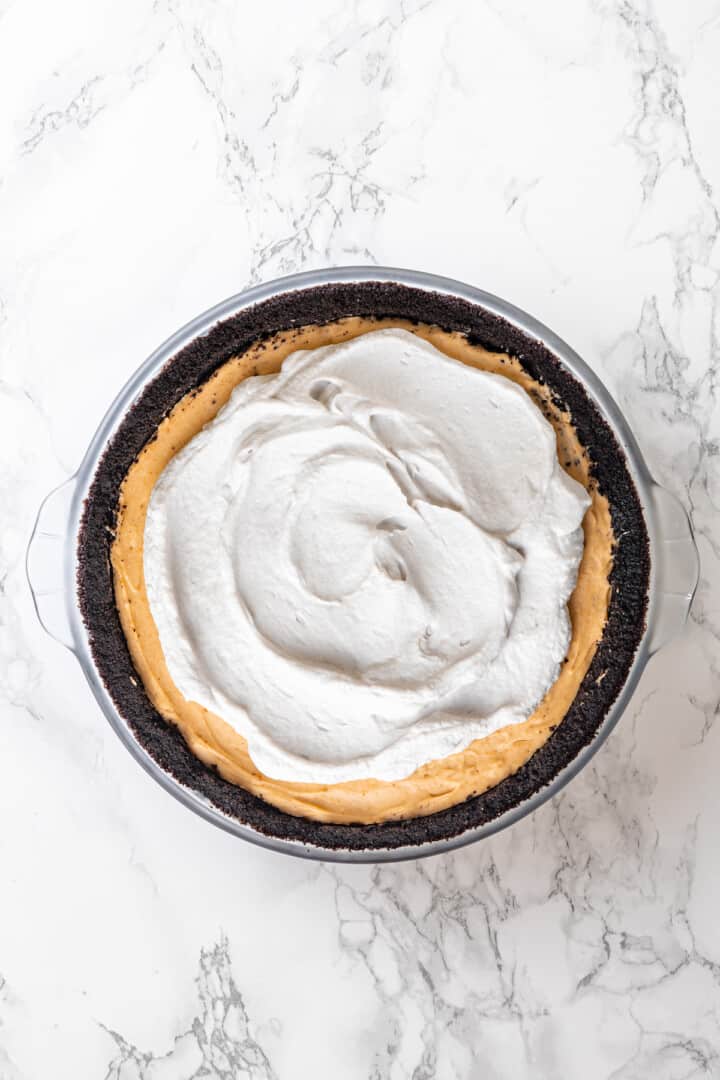
- Finish . Spread the coconut whipped cream over the peanut butter filling, then sprinkle the peanut butter cups over the top.
Tips for Success
Follow these additional pointers for a perfect no-bake peanut butter pie.
- Let the vegan cream cheese soften . This will help ensure it mixes smoothly into the other ingredients without any lumps.
- Use shelf-stable regular peanut butter . AKA not the natural peanut butter that needs to be stirred and refrigerated. While I adore natural peanut butter, because the oil can separate from the solids, it doesn’t always behave predictably in recipes.
- Use full-fat coconut milk for the whipped cream . Low-fat options will not work as well, or at all—you really need full-fat!
- Allow time for chilling . The pie needs at least 4 hours to set in the fridge before serving, so plan accordingly.
Variations
While this no-bake peanut butter pie is pretty perfect as-is, there are a few ways you can switch things up and make it your own. Here are some ideas to get you started:
- Swap the Oreos for graham crackers or another type of cookie for the crust. You could also leave them out altogether and make this more of a scoopable, pudding-like dessert.
- Use almond butter or another nut butter in place of the peanut butter if you have a peanut allergy, then buy almond butter cups for the topping. Allergic to all nuts? Then use sunflower seed butter and sunflower seed butter cups!
- Top with a drizzle of melted chocolate for an extra indulgent touch.
- Add some crunch with roasted peanuts on top of the pie, either instead of or in addition to the peanut butter cups.
How to Store
Store your no-bake peanut butter pie covered in the refrigerator for up to 3 days. Note that it’s best served the day it’s made.
Can I Freeze This Recipe?
Yes, this no-bake peanut butter pie can be frozen for longer storage. Simply wrap it tightly in plastic wrap or place leftovers in an airtight container. When ready to enjoy, thaw the pie in the fridge before serving.
More Vegan Pie Recipes
- Buttermilk Pie
- Vegan Apple Pie Recipe
- Strawberry Cream Pie
- Vegan Sweet Potato Pie
- Vegan Pecan Pie Recipe
Ingredients
Crust:
- 1 package Oreos , 36 cookies, 14.3 oz or 405 grams (or other chocolate cream filled sandwich cookies)
- 4 tablespoons vegan butter , melted (58 grams)
Peanut Butter Filling:
- 1 cup peanut butter , 255 grams
- 8 oz vegan cream cheese , softened (226 grams)
- ⅔ cup powdered sugar , 80 grams
- 1 batch coconut whipped cream , (1 ½ cups)
- ¼ teaspoon salt
Coconut Whipped Cream:
- 1 batch coconut whipped cream , (1 ½ cups)
- 1 teaspoon vanilla extract , 4 grams
Topping:
- 3 (1.4 oz) packs Reese’s plant based cups , chopped (120 grams)
Instructions
- In a food processor, pulse the Oreos until they turn into fine crumbs. Transfer the cookie crumbs to a bowl and add the melted vegan butter. Mix well until the crumbs are evenly coated.
- Press the Oreo crumb mixture into the bottom and up the sides of a 9-inch pie dish, creating an even crust layer. Place the crust in the refrigerator to chill while you prepare the filling.
- In a large mixing bowl, combine the peanut butter, powdered sugar, salt and softened vegan cream cheese. Mix until smooth and well combined. Gently fold in the prepared coconut whipped cream until the filling is smooth and creamy.
- Add the peanut butter filling into the crust, spreading it out evenly. Place in the fridge for at least 4 hours or overnight.
- Prepare the next batch of coconut whipped cream. Gently fold in the vanilla extract to the whipped cream.
- Spread the coconut whipped cream over the peanut butter filling.
- Sprinkle the chopped Reese’s cups over the whipped cream layer. Enjoy!
Notes

No-Bake Peanut Butter Pie
Ingredients
Crust:
- 1 package Oreos 36 cookies, 14.3 oz or 405 grams (or other chocolate cream filled sandwich cookies)
- 4 tablespoons vegan butter melted (58 grams)
Peanut Butter Filling:
- 1 cup peanut butter 255 grams
- 8 oz vegan cream cheese softened (226 grams)
- ⅔ cup powdered sugar 80 grams
- 1 batch coconut whipped cream (1 ½ cups)
- ¼ teaspoon salt
Coconut Whipped Cream:
- 1 batch coconut whipped cream (1 ½ cups)
- 1 teaspoon vanilla extract 4 grams
Topping:
- 3 (1.4 oz) packs Reese’s plant based cups chopped (120 grams)
Instructions
- In a food processor, pulse the Oreos until they turn into fine crumbs. Transfer the cookie crumbs to a bowl and add the melted vegan butter. Mix well until the crumbs are evenly coated.
- Press the Oreo crumb mixture into the bottom and up the sides of a 9-inch pie dish, creating an even crust layer. Place the crust in the refrigerator to chill while you prepare the filling.
- In a large mixing bowl, combine the peanut butter, powdered sugar, salt and softened vegan cream cheese. Mix until smooth and well combined. Gently fold in the prepared coconut whipped cream until the filling is smooth and creamy.
- Add the peanut butter filling into the crust, spreading it out evenly. Place in the fridge for at least 4 hours or overnight.
- Prepare the next batch of coconut whipped cream. Gently fold in the vanilla extract to the whipped cream.
- Spread the coconut whipped cream over the peanut butter filling.
- Sprinkle the chopped Reese’s cups over the whipped cream layer. Enjoy!
Notes
Nutrition
No-Bake Peanut Butter Pie https://jessicainthekitchen.com/no-bake-peanut-butter-pie/ October 20, 2023
Southern sweet tea is a tradition throughout the South, but you don’t have to go to the drive-thru to enjoy it! Here’s how to make your own Southern sweet tea at home—with a secret ingredient to make it smooth and delicious.

Is there anything more refreshing than a tall glass of iced tea on a hot day? While any variety of iced tea will hit the spot when you’re feeling parched, there’s definitely something special about Southern sweet tea.
Southern sweet tea is, well, sweet . But it also has a smoother, less bitter flavour than other varieties. You might think the only way to enjoy it is by ordering it at a restaurant or buying a jug at the grocery store, but you can easily make sweet tea at home.
The secret to making perfect Southern sweet tea isn’t as elusive as you may think. With a few simple ingredients and some patience, you can have a pitcher of delicious sweet tea ready to enjoy in no time. Sip on it alongside other Southern favourites like Buttermilk Pie or Biscuits and Gravy !

Why You’ll Love This Southern Sweet Tea Recipe
Here’s what makes this Southern sweet tea such a classic:
- Budget-friendly . Buying bottles of iced tea at the store can add up, especially if you drink it regularly. Making your own sweet tea at home is not only cost-effective, but it also allows you to adjust the sweetness and strength to your liking.
- Simple ingredients . You probably already have most of the ingredients for this recipe in your pantry—no need for any fancy or hard-to-find items.
- Smooth and delicious . If you’re not a fan of the bitterness of regular iced tea, you’ll appreciate that Southern sweet tea is much smoother.
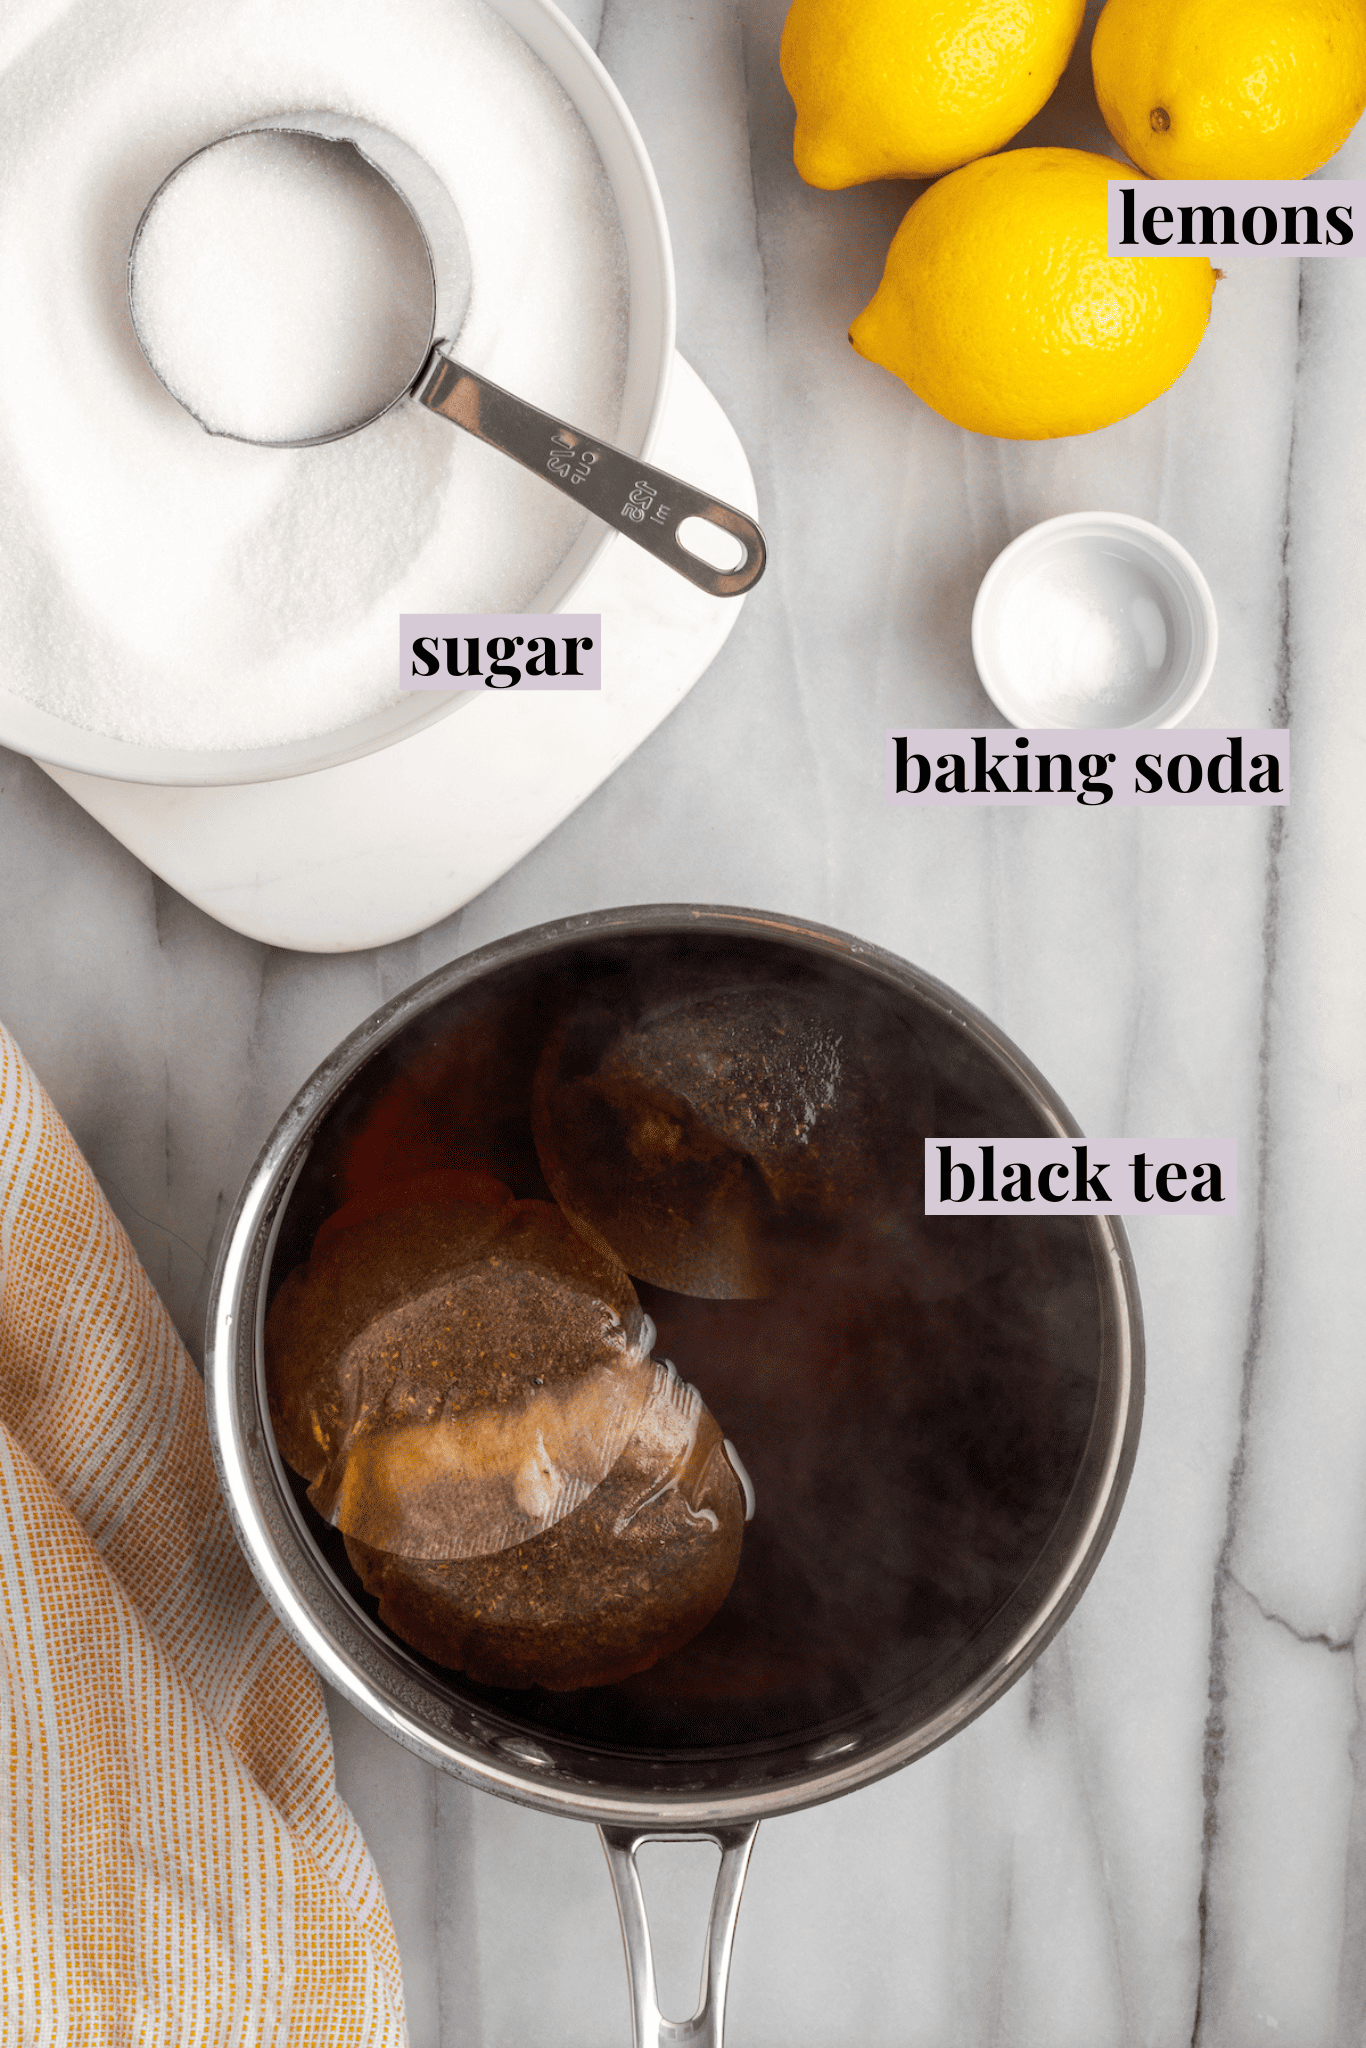
Notes on Ingredients
Scroll down to the recipe card to find the ingredient quantities and recipe instructions.
- Black tea – You’ll need the large family-sized bags.
- Water – I recommend using filtered water for the best taste.
- Sugar – Adjust the amount according to your taste preferences. For a restaurant-style sweet tea, use 2 cups of sugar per gallon.
- Baking soda – Our secret ingredient!
- Ice and lemon wedges – For serving.
What Does Baking Soda Do in Iced Tea?
The addition of baking soda is a crucial step in this Southern sweet tea recipe. Baking soda is alkaline and helps balance the pH level of the tea by neutralizing the tannins in the tea leaves. Tannins are naturally occurring compounds that give tea its characteristic bitter taste, so balancing them creates a smoother and less bitter flavour.
How to Make Southern Sweet Tea
Here’s how easy it is to make your own Southern sweet tea at home!
- Boil the water . Bring 4 cups of water to a boil in a saucepan.
- Steep . Once the water is boiling, remove the pot from the heat and add the tea bags. Steep for 10 minutes.
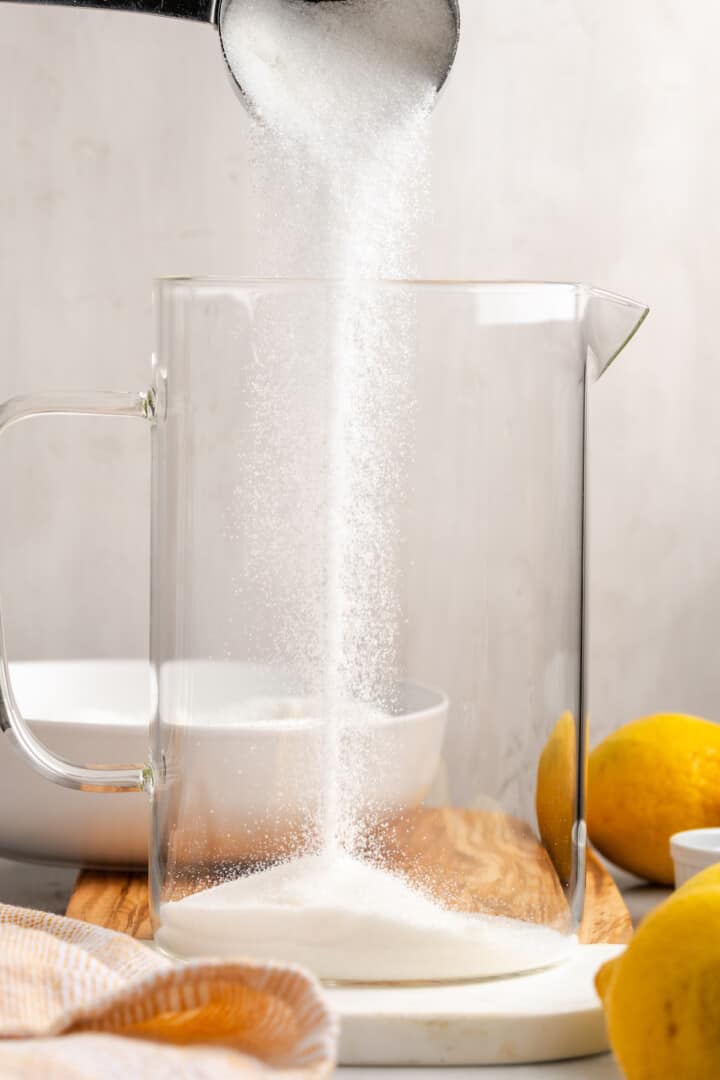
- Add the next 2 ingredients . Pour the sugar and baking soda into a pitcher, then discard the tea bags and pour the tea concentrate into the pitcher. Stir until the sugar dissolves.
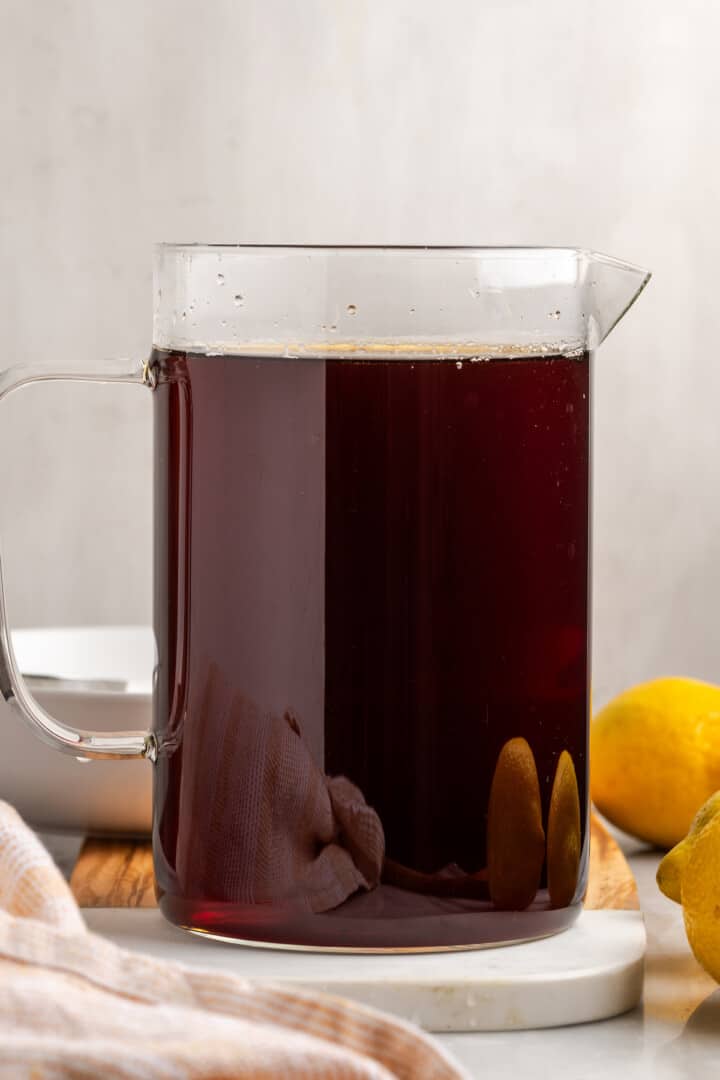
- Add more water . Fill the pitcher with additional water and refrigerate.
- Serve . Pour the sweet tea over ice with lemon slices to serve.
Tips for Success
Follow these simple tips for perfect Southern sweet tea:
- Seriously, don’t skip the baking soda . It may sound strange, but trust me, it really does make all the difference.
- Don’t over-steep your tea . Leaving the tea bags in the hot water for too long can result in a bitter, overly strong flavour.
- Adjust the sweetness and strength to your liking . If you prefer sweeter tea, feel free to add more sugar. You can also adjust the strength of your tea by using more or fewer tea bags.

Variations
You can use this method to make any tea, whether it’s decaf black tea, green tea, Earl Grey, or mint tea. For a fruity twist, you can add a splash of pomegranate or orange juice to your sweet tea.
Serving Suggestions
Southern sweet tea is best enjoyed over ice with a squeeze of lemon. You can also add sprigs of fresh herbs like mint for extra flavour.
For an elevated experience, try making sweet tea ice cubes to avoid watering down your drink as the ice melts. Simply freeze some of the brewed tea in an ice cube tray and use these to chill your tea without diluting it.

How to Store
Southern sweet tea can be stored in the refrigerator for up to 3 days. You may need to stir or shake the tea before serving, as some settling may occur.
Can I Freeze This Recipe?
Yes, you can freeze Southern sweet tea. Simply pour the cooled tea into freezer-safe containers or ice cube trays and freeze for up to 3 months. When you’re ready to enjoy it, allow the tea to thaw in the refrigerator before serving.
More Refreshing Drink Recipes
- POG Juice
- Peach Bellini
- Korean Strawberry Milk
- Hot Matcha Latte

Ingredients
- 4 family sized bags black tea
- 1 gallon water
- 1-2 cups sugar *to taste , 200-400 grams
- ⅛ teaspoon baking soda
- Ice and lemons to serve
Instructions
- Add 4 cups of water to a saucepan over high heat and bring to a boil.
- Once boiling, remove the pot from heat and add the tea bags. Allow to steep for 10 minutes.
- Add the sugar and baking soda to your pitcher.
- Remove the tea bags from the water and discard.
- Pour the tea concentrate into the pitcher. Stir to dissolve the sugar.
- Fill the pitcher with cold water.
- Chill before serving over ice with lemon slices.
Notes
- For Southern sweet tea like they serve at McDonalds, use 2 cups of sugar per gallon of tea.
- To store : Southern sweet tea can be stored in the refrigerator for up to 3 days. You may need to stir or shake the tea before serving, as some settling may occur.
- To freeze : Pour the cooled tea into freezer-safe containers or ice cube trays and freeze for up to 3 months. When you’re ready to enjoy it, allow the tea to thaw in the refrigerator before serving.
