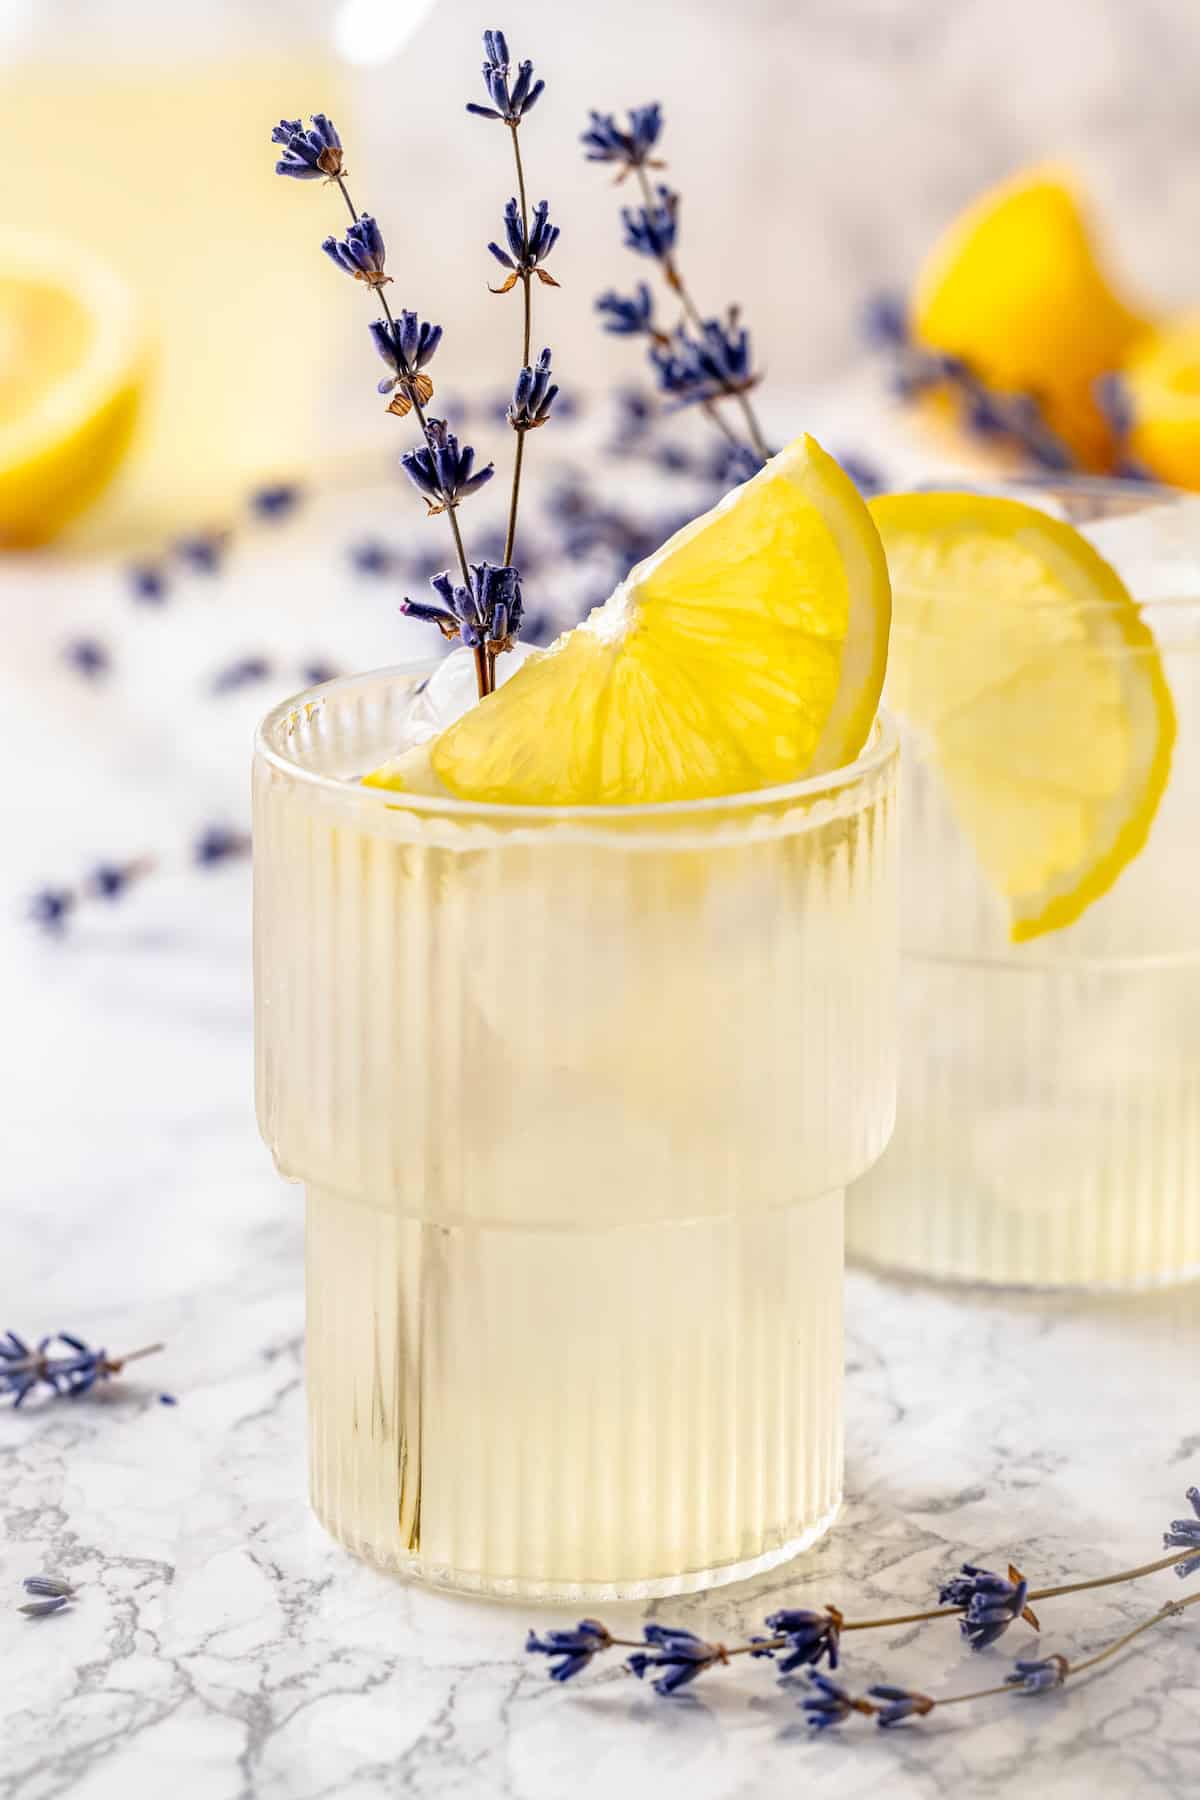
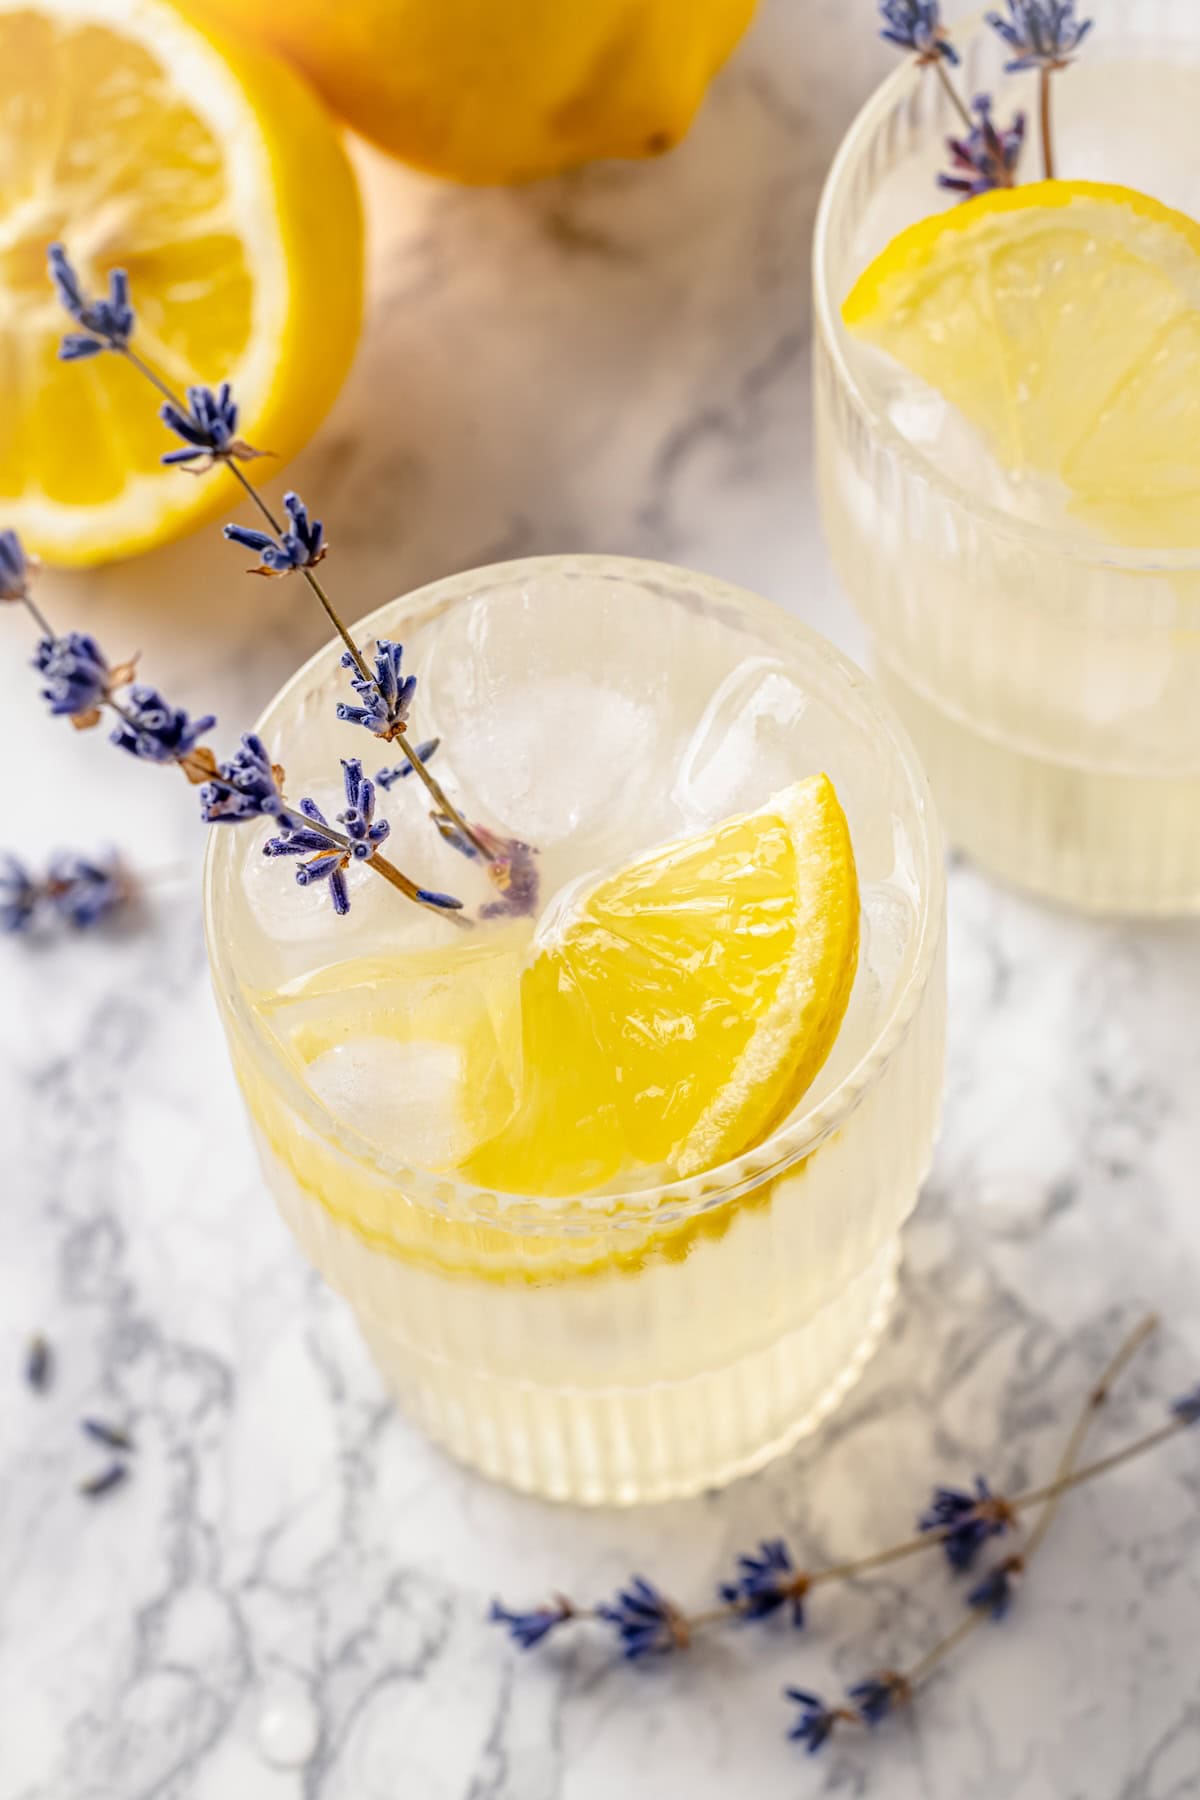
Lavender adds a flavour that’s one part floral, one part herbaceous in this homemade lavender lemonade recipe. It’s the perfect refresher for summer parties!
Pair it with my rainbow fruit salad with maple lime dressing for a fresh, floral, and citrusy combo that’s ideal for warm-weather entertaining.
I’ve never had a lemonade stand before, but this lavender lemonade makes me think that maybe I should start one. (Would people look at me funny as a grown woman running a lemonade stand? Hmm, maybe.) Between my Blackberry Limeade and this recipe, I’d have quite the lineup! The lavender and lemon are a winning combo, with the pop of tart lemon keeping the lavender from dominating. If you adore lemonades with a twist, this is one to try!
Why You Need to Add This Lavender Lemonade to Your Summer Bucket List
In addition to vacations and adventures, I think this recipe deserves a spot on your summer bucket list too! Here’s why:
- Easy to make . Homemade lemonade is a cinch to make, and even with the addition of lavender, this recipe is still a breeze. When you make the simple syrup, you’ll add the lavender buds and then strain them out afterwards. (My POG Juice and Southern Sweet Tea recipes are also super easy!)
- So much better than store-bought . That’s because lemon juice oxidizes over time, dulling its flavour. Freshly squeezed lemon is where it’s at! Plus, we’re using real lavender here. Some restaurants and bars that serve lavender flavoured drinks use artificial flavouring, which tastes… well, kind of like you’re drinking soap.
- Refreshing and a little fancy . I’m planning on putting this lavender lemonade on the menu for my next summer get-together because it’s a great thirst quencher, but it’s also a little fancier than serving plain lemonade at a party.
Notes on Ingredients
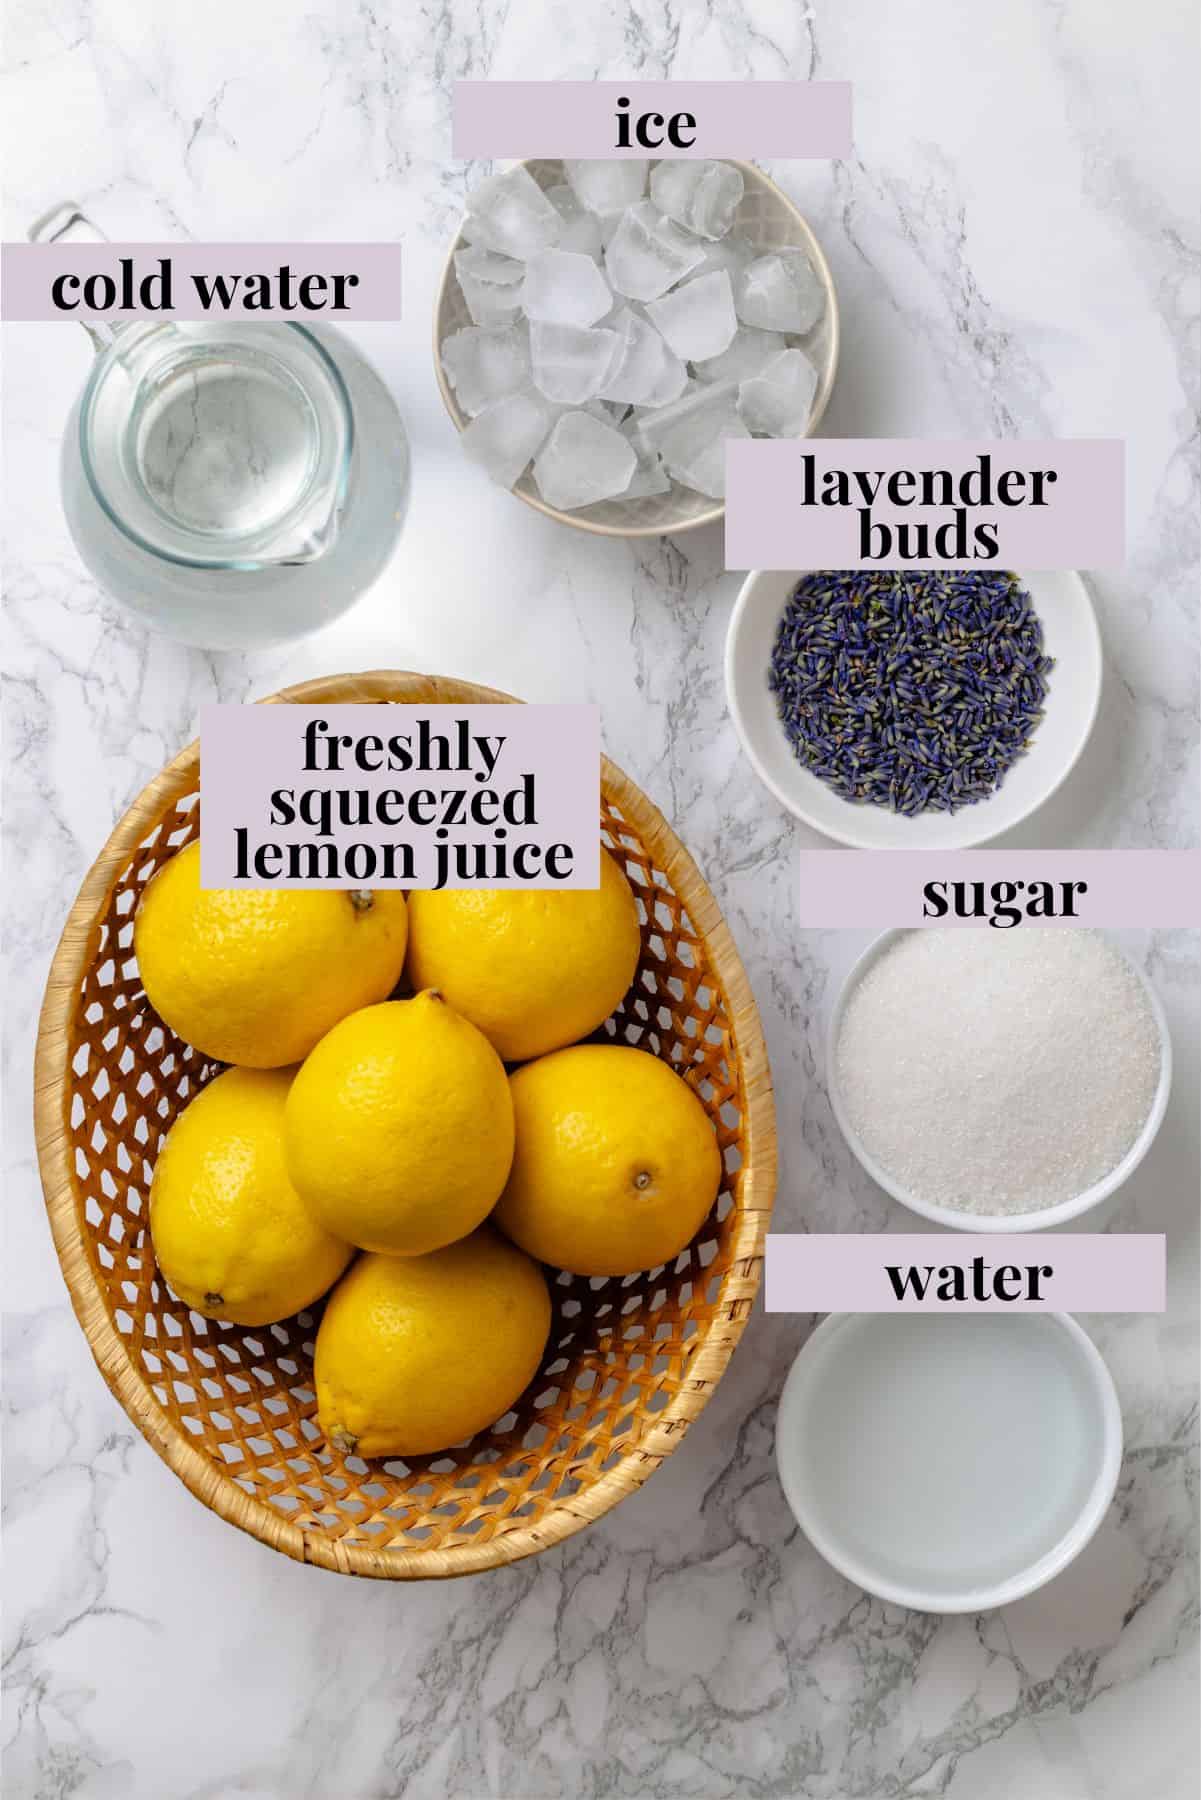
Here’s the short list of ingredients you’ll need for this lavender lemonade recipe. Scroll down to the recipe card to find the ingredient quantities and recipe instructions.
- Lavender buds – Make sure you buy culinary lavender buds, not ones meant for using to make soaps and such. Some grocery stores sell them, as do herb and spice shops.
- Water – You’ll need some for the simple syrup and some for mixing the lemonade. You can also use sparkling water for the lemonade if you’d like.
- Granulated sugar – You’ll use this to make a simple syrup, which involves melting the sugar into water so it mixes smoothly into the lemonade.
- Lemon juice – Freshly squeezed is a must! The number of lemons you’ll need will depend on their size, but for a cup of juice, you can expect to use 4 to 6.
- Ice – For serving.
- Lemon slices and lavender sprigs – For garnish, if you’d like.
How to Make Lavender Lemonade
Below you’ll find a visual step-by-step guide to making this recipe.
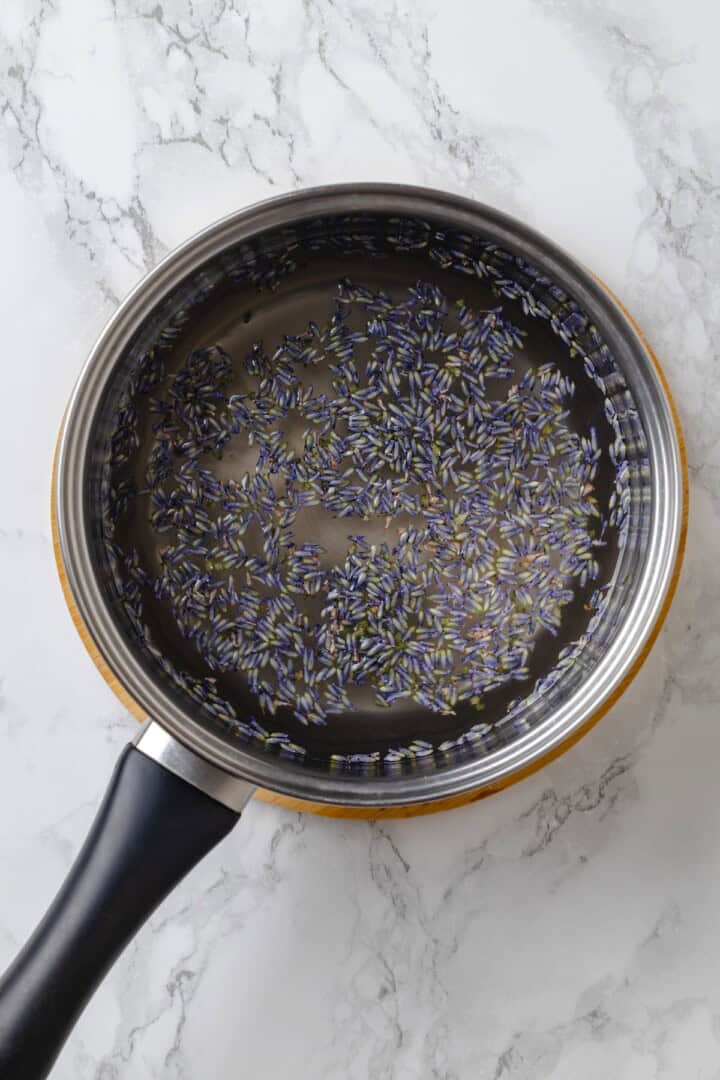
Make the lavender syrup.
- Make the lavender syrup. Combine 3/4 cup of water and 3/4 cup of sugar in a saucepan and bring the mixture to a simmer over medium heat. Add the lavender and remove from heat, then cover and let the buds steep for 10 to 15 minutes.
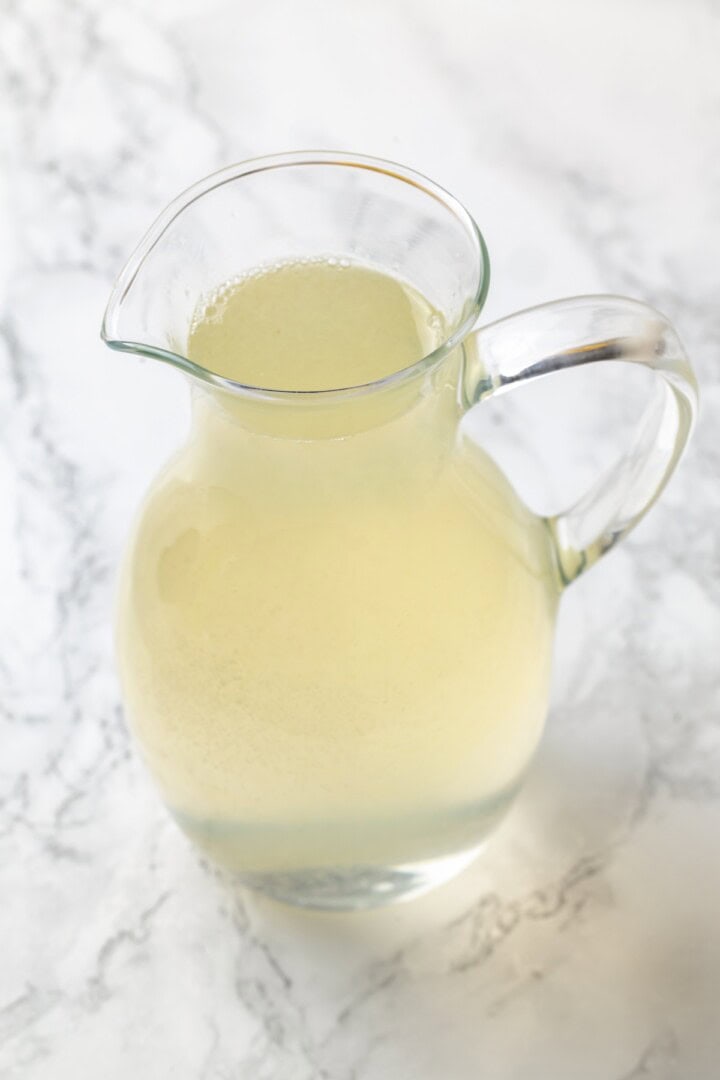
- Strain . Pour the syrup through a fine mesh strainer and discard the buds. Let the syrup cool.
- Juice the lemons . Make sure you catch any seeds and pulp! You can use a fine mesh strainer for this too if your juicer doesn’t strain the solids.
Mix the lemonade.
- Mix the lemonade . Stir the syrup with the lemon juice and additional water. Taste and adjust as needed.
- Serve . Pour the lemonade over ice and garnish with lemon and lavender, if desired.
Tips and Variations
- Get the most juice out of your lemons . A simple tip to get the most juice out of your lemons is to roll them on the countertop before cutting and juicing. This helps break down the membranes inside the lemon and makes it easier to extract all the juice.
- Make a lavender lemonade cocktail . Add a splash of vodka or gin to your lavender lemonade for a summery cocktail.
- Add blueberries . If you want to add another layer of flavour, you can muddle some blueberries in the glasses, or drop blueberries in as a garnish.
Serving Suggestions
If you’re serving this lavender lemonade for a party, put together a summery menu with light dishes and finger foods like Avocado Caprese Bruschetta , Orzo Pasta Salad , and Vegan Lemon Bars .
How to Store
- Refrigerator : Store lavender lemonade in a covered pitcher in the refrigerator for up to 3 days.
- Freezer : You can also freeze your leftover lavender lemonade in ice cube trays and use the cubes to chill a future batch of lemonade without watering it down! After freezing, place the ice cubes in a zip-top bag and use within 3 months.
More Refreshing Drink Recipes
- Pineapple Coconut Rum Cocktail
- Mango Mojito
- Iced Matcha Latte
- Korean Strawberry Milk
Ingredients
- 1 ½ tablespoon dried culinary lavender buds , 4.5 grams
- ¾ cup water , for lavender syrup – 177 milliliters
- ¾ cup granulated sugar , 150 grams
- 1 cup freshly squeezed lemon juice , from about 4–6 lemons – 240 milliliters
- 5 cups cold water , or sparkling water – 960 milliliters
- Ice , for serving
- Lemon slices and fresh lavender sprigs , for garnish (optional)
Instructions
- In a small saucepan, combine ¾ cup water and 3/4 cup granulated sugar. Bring to a simmer over medium heat, stirring until the sugar dissolves – about 2 to 3 minutes. Add the dried lavender and remove from heat. Cover and let steep for 10–15 minutes.
- Pour the lavender syrup through a fine mesh strainer into a bowl or jar to remove the buds. Discard the buds and let the syrup cool completely.
- While the syrup is cooling, juice your lemons and strain out the seeds and pulp.
- In a large pitcher, stir together the cooled lavender syrup, lemon juice, and 4 cups of cold still or sparkling water. Taste and adjust sweetness or tartness as desired by adding more lemon juice or cold water.
- Add ice to glasses or the pitcher and pour the lemonade over. Garnish with lemon slices and fresh lavender sprigs if using.
Notes
- Refrigerator : Store lavender lemonade in a covered pitcher in the refrigerator for up to 3 days.
- Freezer : You can also freeze your leftover lavender lemonade in ice cube trays and use them to chill future a batch of lemonade without watering it down! After freezing, place the ice cubes in a zip-top bag and use within 3 months.

Lavender Lemonade
Ingredients
- 1 ½ tablespoon dried culinary lavender buds 4.5 grams
- ¾ cup water for lavender syrup – 177 milliliters
- ¾ cup granulated sugar 150 grams
- 1 cup freshly squeezed lemon juice from about 4–6 lemons – 240 milliliters
- 5 cups cold water or sparkling water – 960 milliliters
- Ice for serving
- Lemon slices and fresh lavender sprigs for garnish (optional)
Instructions
- In a small saucepan, combine ¾ cup water and 3/4 cup granulated sugar. Bring to a simmer over medium heat, stirring until the sugar dissolves – about 2 to 3 minutes. Add the dried lavender and remove from heat. Cover and let steep for 10–15 minutes.
- Pour the lavender syrup through a fine mesh strainer into a bowl or jar to remove the buds. Discard the buds and let the syrup cool completely.
- While the syrup is cooling, juice your lemons and strain out the seeds and pulp.
- In a large pitcher, stir together the cooled lavender syrup, lemon juice, and 4 cups of cold still or sparkling water. Taste and adjust sweetness or tartness as desired by adding more lemon juice or cold water.
- Add ice to glasses or the pitcher and pour the lemonade over. Garnish with lemon slices and fresh lavender sprigs if using.
Notes
- Refrigerator : Store lavender lemonade in a covered pitcher in the refrigerator for up to 3 days.
- Freezer : You can also freeze your leftover lavender lemonade in ice cube trays and use them to chill future a batch of lemonade without watering it down! After freezing, place the ice cubes in a zip-top bag and use within 3 months.
Nutrition
Lavender Lemonade https://jessicainthekitchen.com/lavender-lemonade/ June 25, 2025
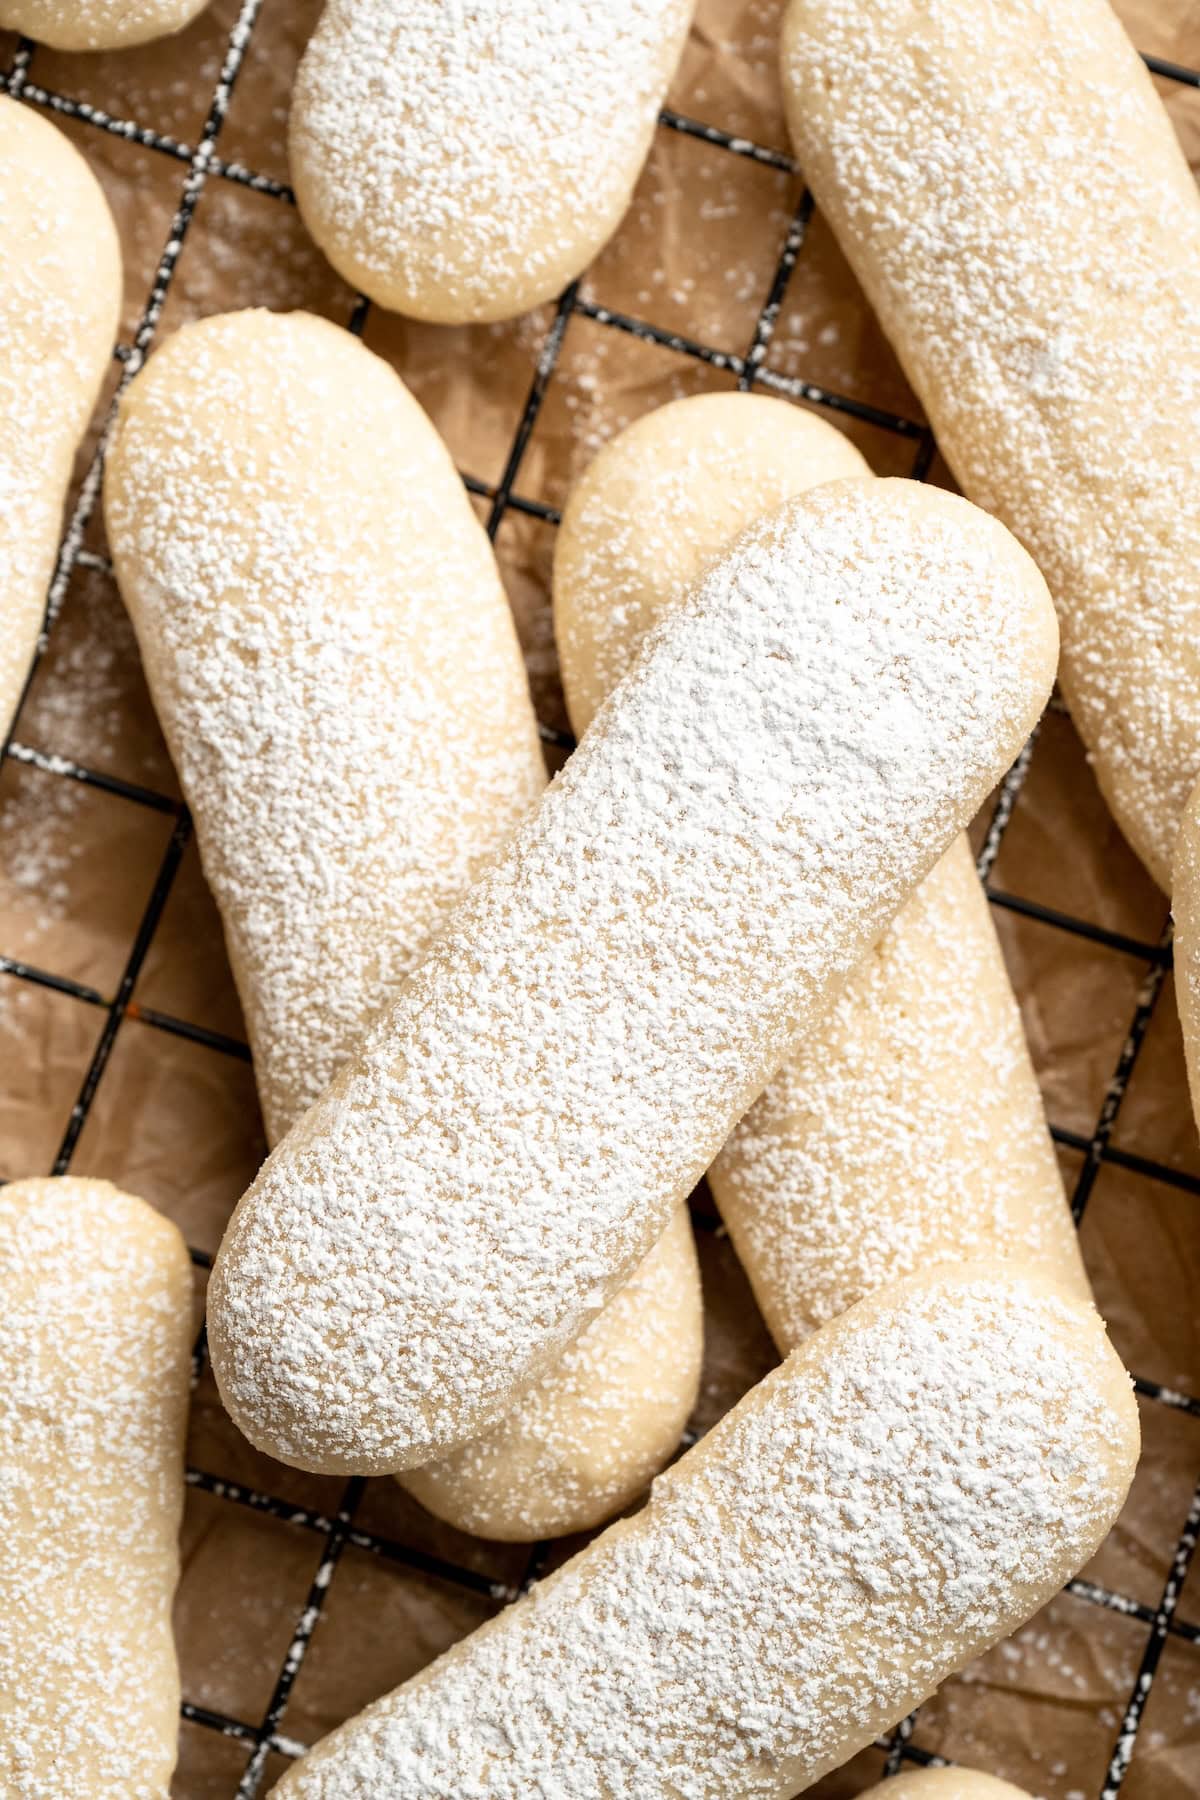
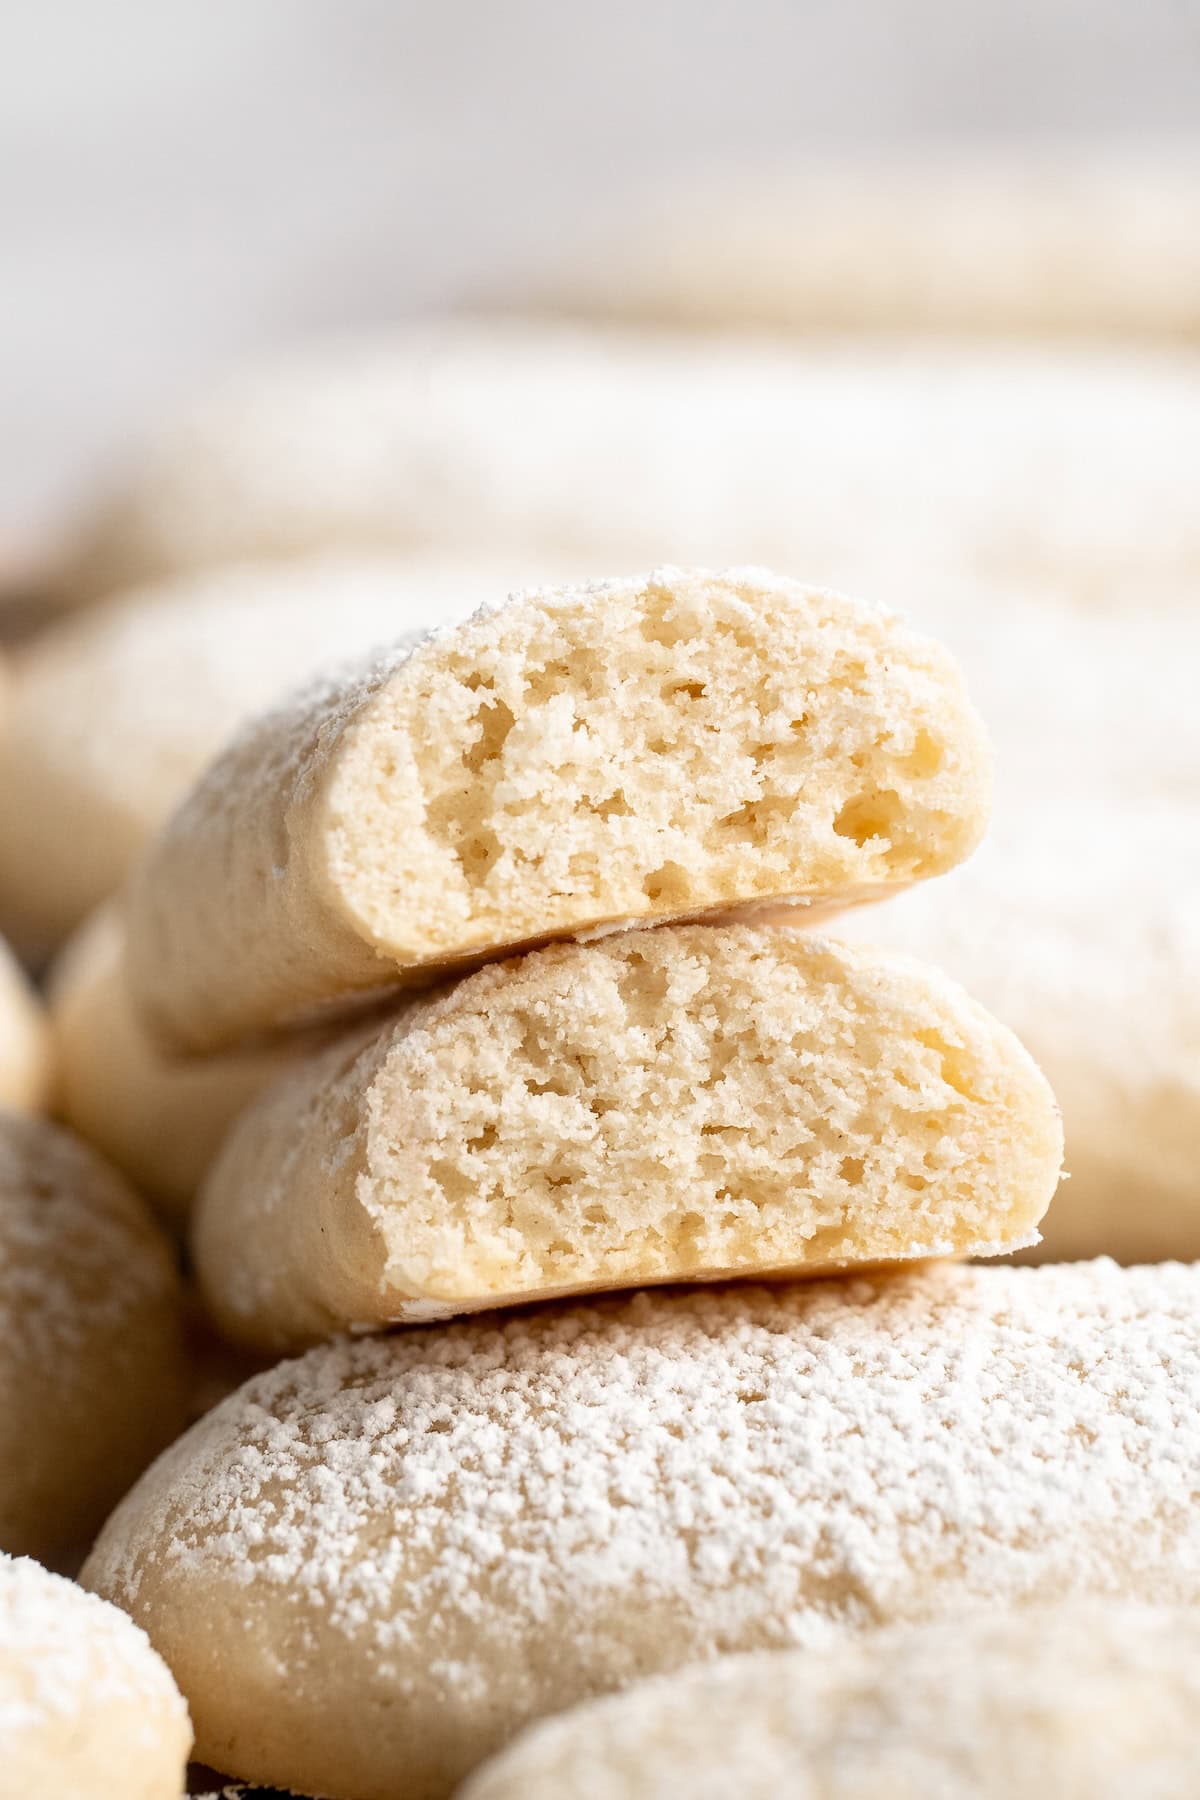
These vegan ladyfingers have the same perfect sponge cake texture and delicate vanilla flavour as the traditional version, but they’re made without the eggs thanks to aquafaba!
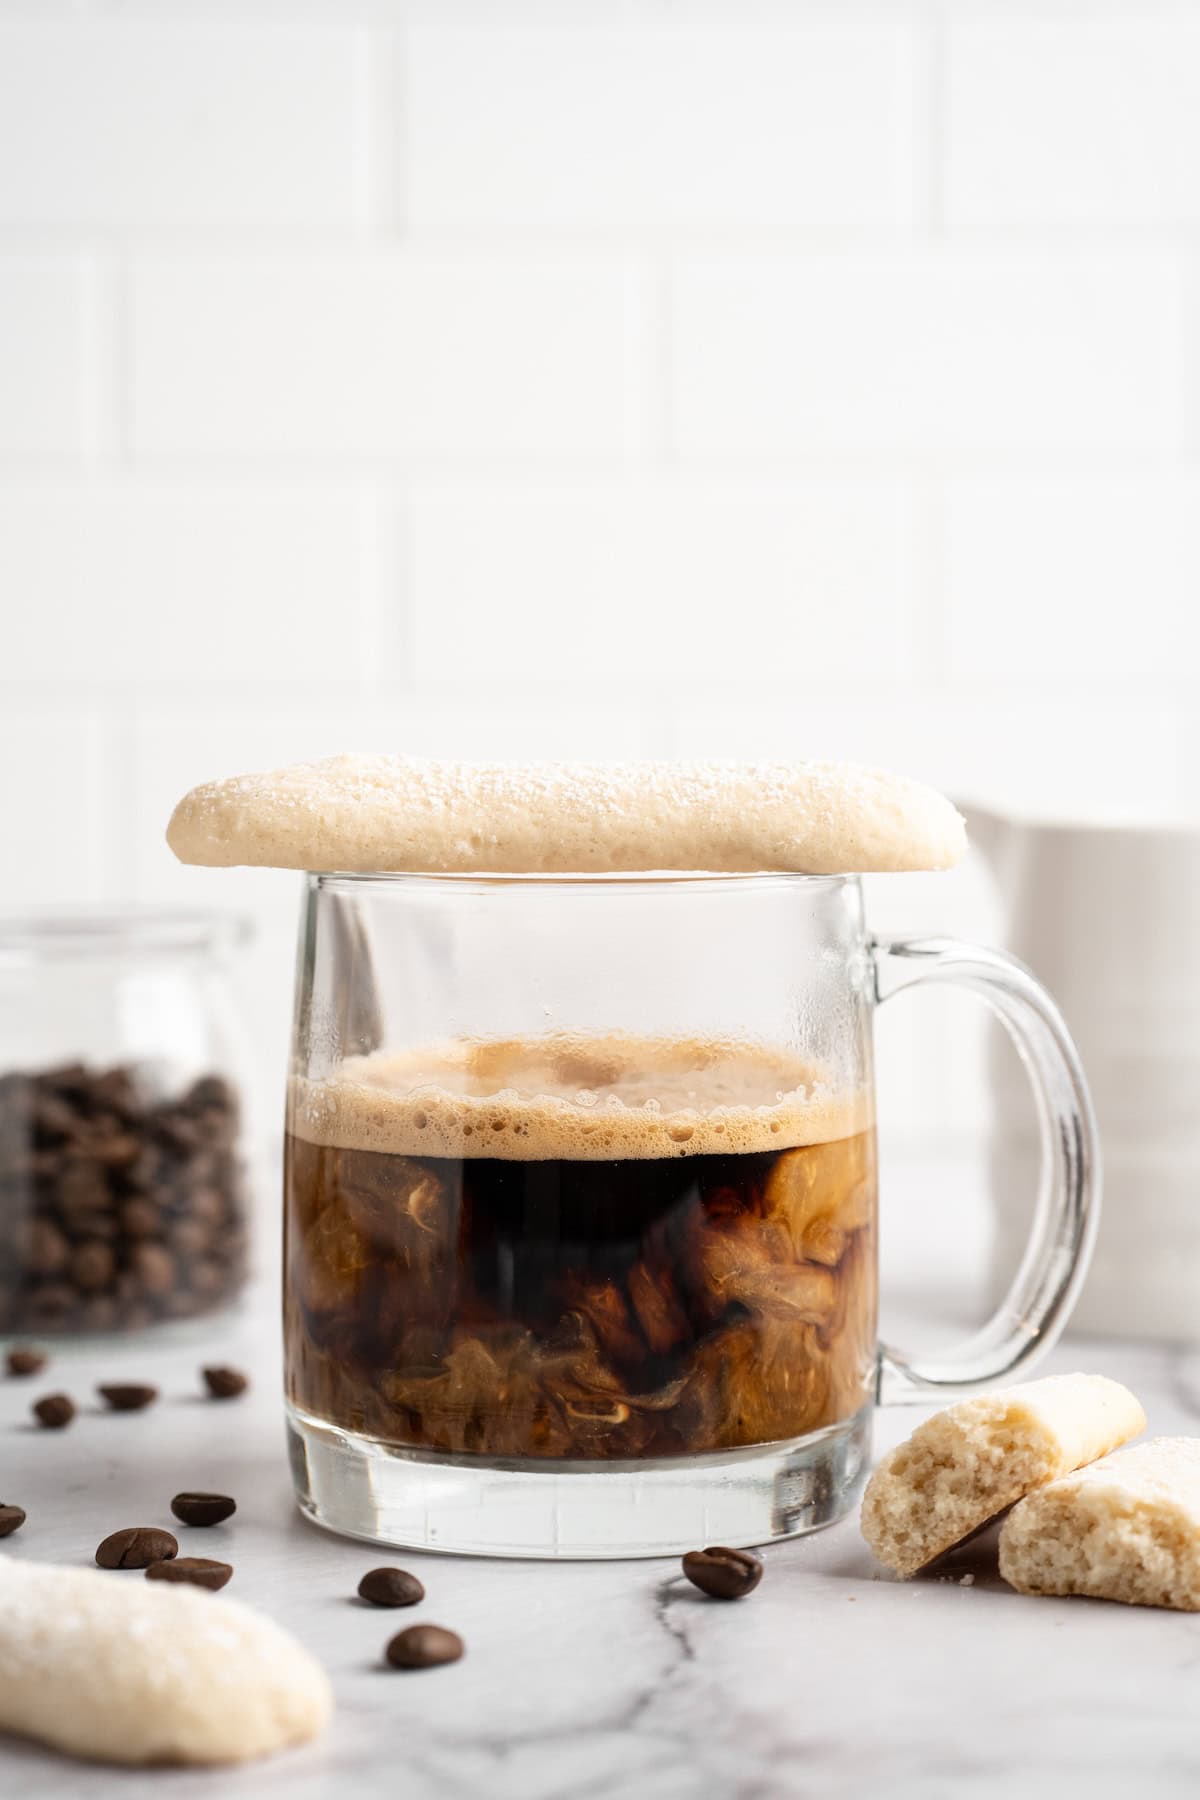
When I shared my Vegan Tiramisu recipe, readers loved it—but they also loved the vegan ladyfingers component of the recipe on its own. And you know what? So did I! I’ve made them on their own too; they’re perfect as a little sweet treat with a cup of coffee, or you can use them in other recipes, like a vegan Charlotte cake. Since it took me a while to perfect that vegan ladyfinger recipe, it felt like a shame to bury them in a post about tiramisu. They deserve a post of their own!
Why I’m Over the Moon for These Vegan Ladyfingers
Here’s why I adore this recipe and know you will too!
- That perfect ladyfinger texture . Traditional ladyfingers get their texture from eggs, which obviously isn’t an option for a vegan ladyfinger recipe. While there are a lot of egg substitutes out there, I knew that only aquafaba was up to the challenge of creating that light, airy texture.
- Simple sweet treat . Sometimes you just want a little taste of something sweet after dinner, or to go with your afternoon Dirty Chai Latte . Ladyfingers are perfect for that!
- Fun baking project . This isn’t quite as easy as making Vegan Sugar Cookies , but it is a recipe you’ll love if you enjoy baking. The ladyfingers are piped onto the baking sheet, similar to Aquafaba Meringue , just in a different shape!
Notes on Ingredients
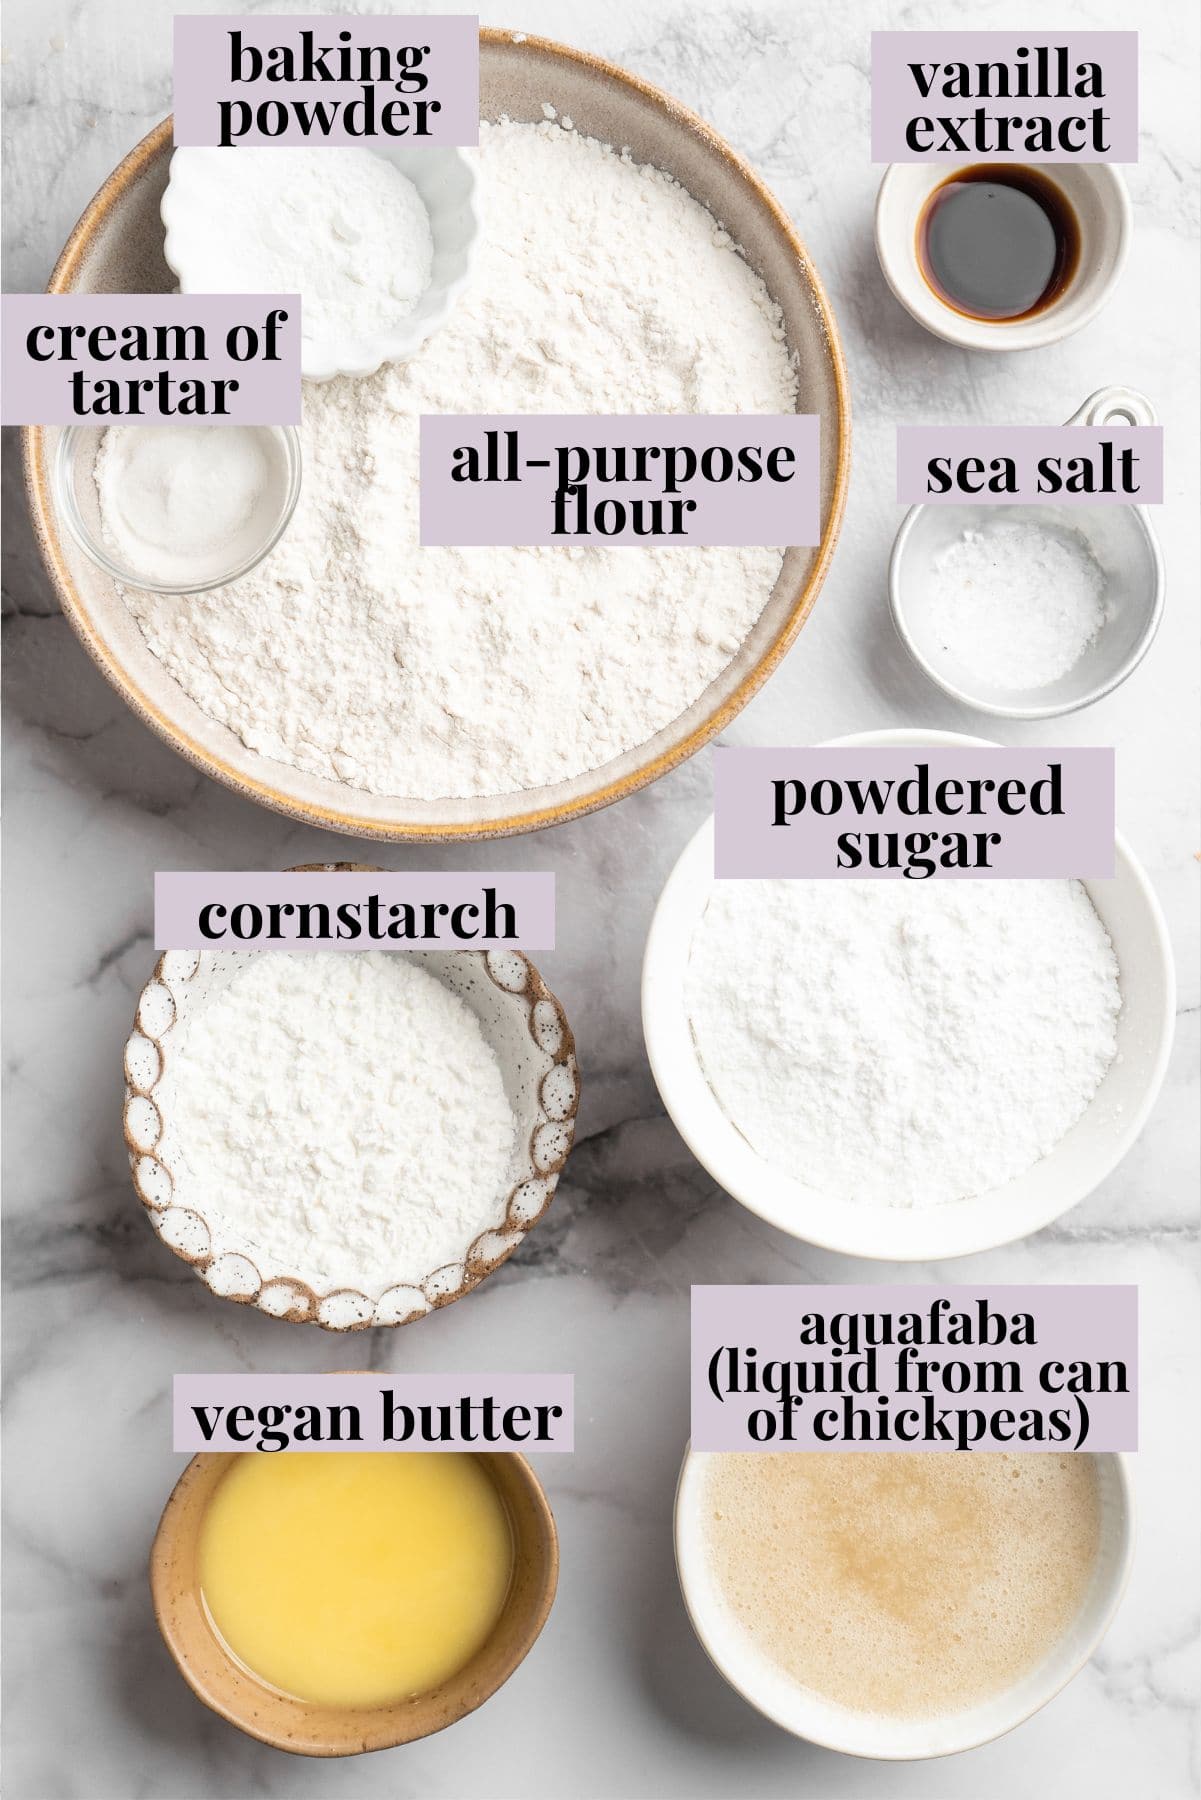
Here’s a look at the key ingredients that make this vegan ladyfinger recipe work. Scroll down to the recipe card to find the ingredient quantities and recipe instructions.
- All-purpose flour – Or a 1:1 gluten-free flour formulated for baking.
- Cornstarch – This helps give the ladyfingers structure and contributes to their texture.
- Sea salt
- Baking powder
- Aquafaba – This whips into a consistency similar to egg whites.
- Cream of tartar – Stabilizes the aquafaba and improves its volume.
- Powdered sugar – Here’s how to make Homemade Powdered Sugar .
- Vanilla extract – You can swap in almond extract for a slightly different flavour.
- Vegan butter – I love my homemade Vegan Butter , but you can also use store-bought butter for this recipe.
What Is Aquafaba?
How to Make Vegan Ladyfingers
Here’s a visual overview of the steps involved in making this vegan ladyfinger recipe.
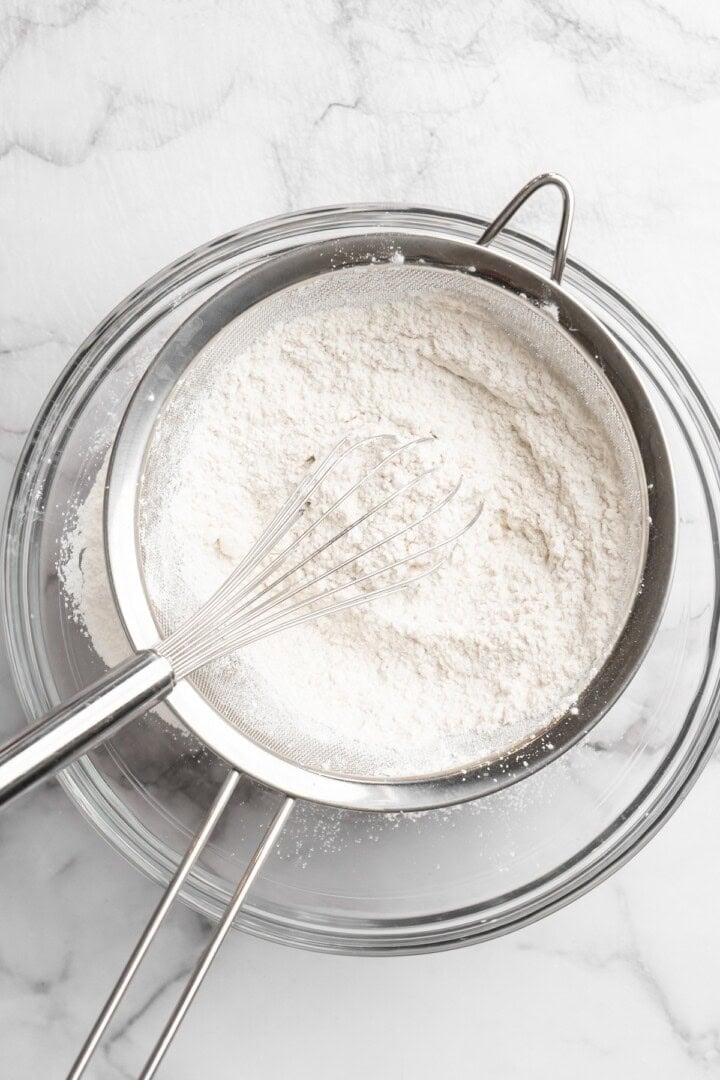
Sift the dry ingredients.
- Prepare . Preheat your oven to 350°F and line two baking sheets with parchment paper.
- Mix the dry ingredients . Sift the flour, cornstarch, salt, and baking powder into a bowl, then stir everything together.
- Whip the aquafaba . Whip the aquafaba and cream of tartar in a stand mixer set to medium speed for a few seconds, then increase to high speed and continue to whip until stiff peaks form.
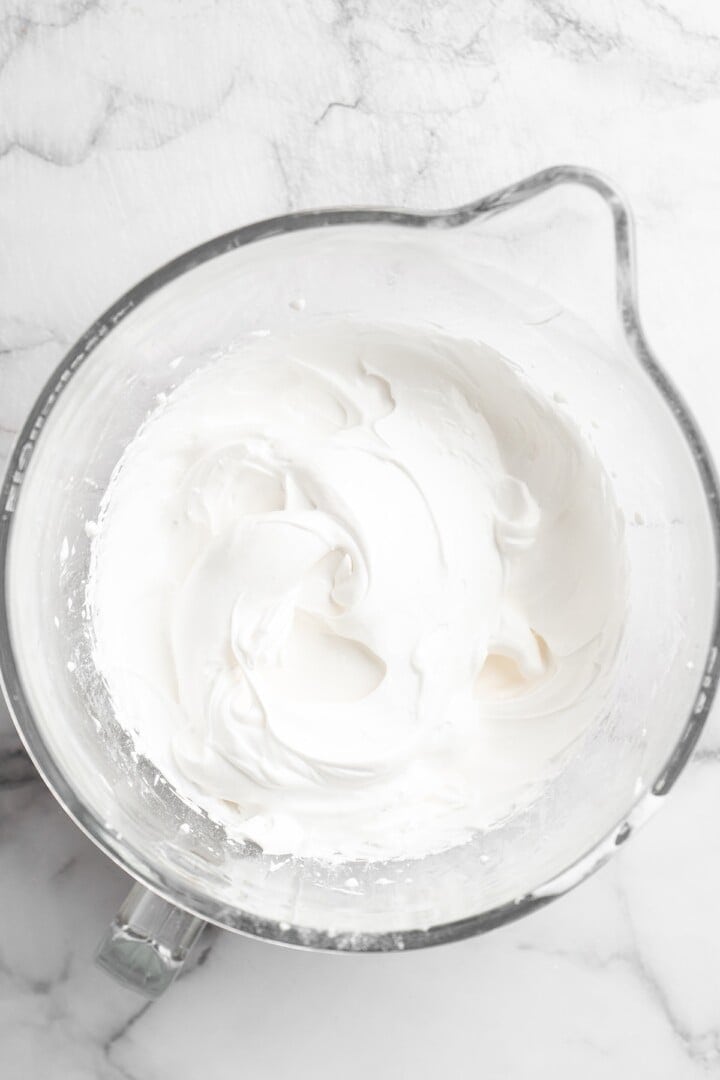
Beat in the powdered sugar.
- Add the powdered sugar . Reduce the mixer speed to low and slowly beat in the powdered sugar. Return the speed to high and whip until shiny ribbons form.
- Add the vanilla and butter . Reduce the speed again and beat in the vanilla and butter. Once they’re incorporated, whip on high for 1 minute.
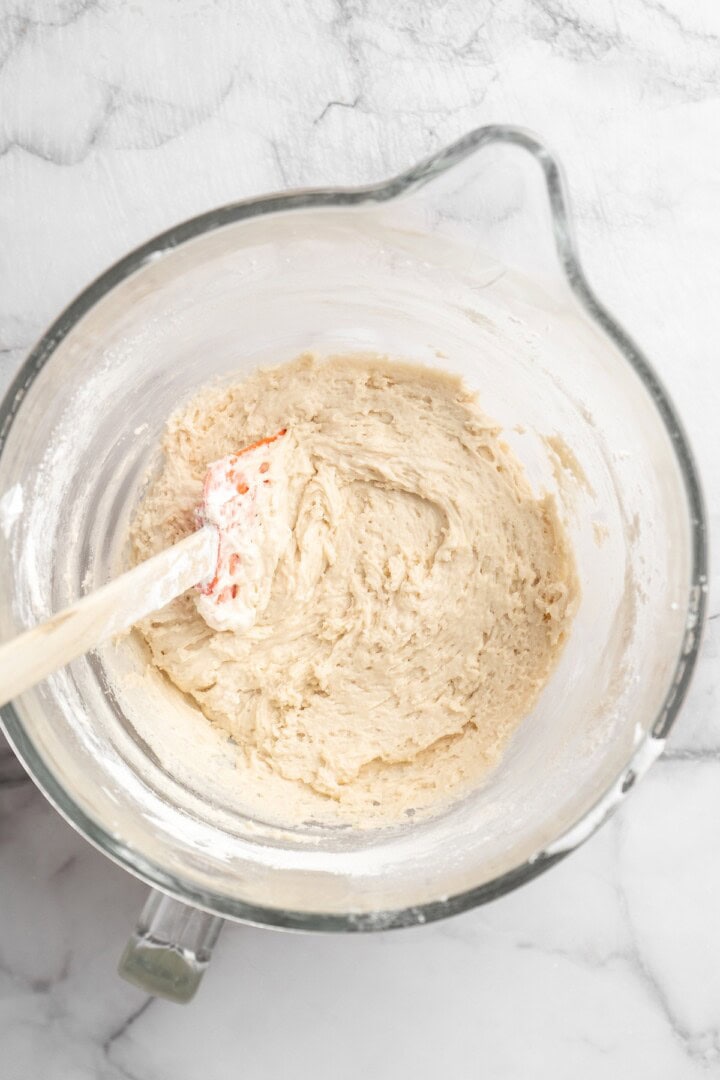
Combine the dry ingredients and aquafaba mixture.
- Finish the batter . Use a spatula to fold the sifted flour mixture into the aquafaba mixture in three additions.
- Pipe the batter . Transfer the batter to a piping bag or zip-top bag with a corner snipped off. Pipe 3-inch ladyfingers onto the baking sheets, leaving an inch of space between each.

Bake.
- Bake . Place the pans in the oven and bake for 15 minutes, or until the edges are golden and the centers are set. Cool on the baking sheets for 5 minutes, then transfer to a wire rack to finish cooling.
Tips for Success
These additional tips will help you get perfect vegan ladyfingers!
- Make sure your mixing bowl is clean . The mixing bowl and whisk need to be completely clean and free of grease before whipping the aquafaba; even small traces of oil can prevent it from reaching stiff peaks.
- Use room temperature aquafaba . Cold aquafaba may take longer to whip and it doesn’t achieve the same volume as room temperature aquafaba.
- Fold gently . Be gentle when folding the dry ingredients into the aquafaba to avoid deflating the mixture. You don’t want flat, dense ladyfingers!
Serving Suggestions
Aside from eating as-is with a dusting of powdered sugar, layering into tiramisu, or using for Charlotte cakes, you can make your vegan ladyfingers into little sandwich cookies by spreading jam or vegan chocolate hazelnut spread onto the bottom of one ladyfinger and gently pressing another to sandwich the filling between them.
How to Store
- Room temperature : Let the ladyfingers cool completely, then place them in an airtight container with parchment paper between the layers. Store in a cool, dry place for 2 to 3 days.
- Freezer : Freeze the ladyfingers on a parchment-lined baking sheet, then place them in an airtight container or freezer bag and freeze for up to 2 months. Thaw at room temperature before serving.
More Vegan Treats and Sweets
- Brownie Cookies
- Vegan Vanilla Cupcakes
- Seven Layer Bars
- Buttermilk Pie
Ingredients
- 2 cups all-purpose flour , ( 240 g)
- ¼ cup cornstarch , ( 32g )
- ½ teaspoon sea salt , 3g
- 2 teaspoons baking powder , 9g
- ½ cup aquafaba , ( 120 g) the liquid from a can of unsalted chickpeas
- ¼ teaspoon cream of tartar , 0.75g
- 1 cup powdered sugar , ( 120 g)
- 1 ½ teaspoons vanilla extract , 7g
- ¼ cup vegan butter , melted and fully cooled – 56g
Instructions
- Preheat the oven to 350°F/180°C, and line two baking sheets with parchment paper. If you have only one baking sheet, that’s also fine, you can reuse the same one once the first set of lady fingers is done.
- In a medium bowl, sift together the flour, cornstarch, salt, and baking powder. Stir to combine and set aside.
- Pour the aquafaba and the cream of tartar in the bowl of a very clean and wiped dry stand mixer and whip on high speed with the wire whip attachment until stiff peaks are formed. Start on medium for a few seconds, then move up to high speed. This should take about 2-3 minutes to get stiff peaks.
- Reduce the stand mixer speed to low, and slowly add the powdered sugar. When all the powdered sugar is added in, turn the speed back to high, and whip until the mixture is shiny. It may not be completely stiff but in nice ribbons.
- Reduce the mixer to low and slowly add the vanilla and butter, mixing until well combined. Increase speed back to high for about a minute until everything is combined, then turn off the stand mixer.
- Remove the bowl from the stand mixer and add the sifted flour mixture in three additions, folding gently with a rubber spatula until just combined and no flour pockets remain, being careful not to deflate the aquafaba.
- Transfer the batter to a zip-top bag with a corner cut off or a piping bag with a large round tip (I cut a wide corner to get that inch out). Pipe the mixture into thick lines about 3 inches long and an inch wide on the prepared baking sheets, leaving at least an inch between each cookie.
- Bake for 15 minutes, until the edges are golden and the cookies are set in the center. Remove from the oven and cool for 5 minutes on the baking sheets, then transfer to a wire rack to cool completely.
Notes
- Room temperature : Let the ladyfingers cool completely, then place them in an airtight container with parchment paper between the layers. Store in a cool, dry place for 2 to 3 days.
- Freezer : Freeze the ladyfingers on a parchment-lined baking sheet, then place them in an airtight container or freezer bag and freeze for up to 2 months. Thaw at room temperature before serving.
