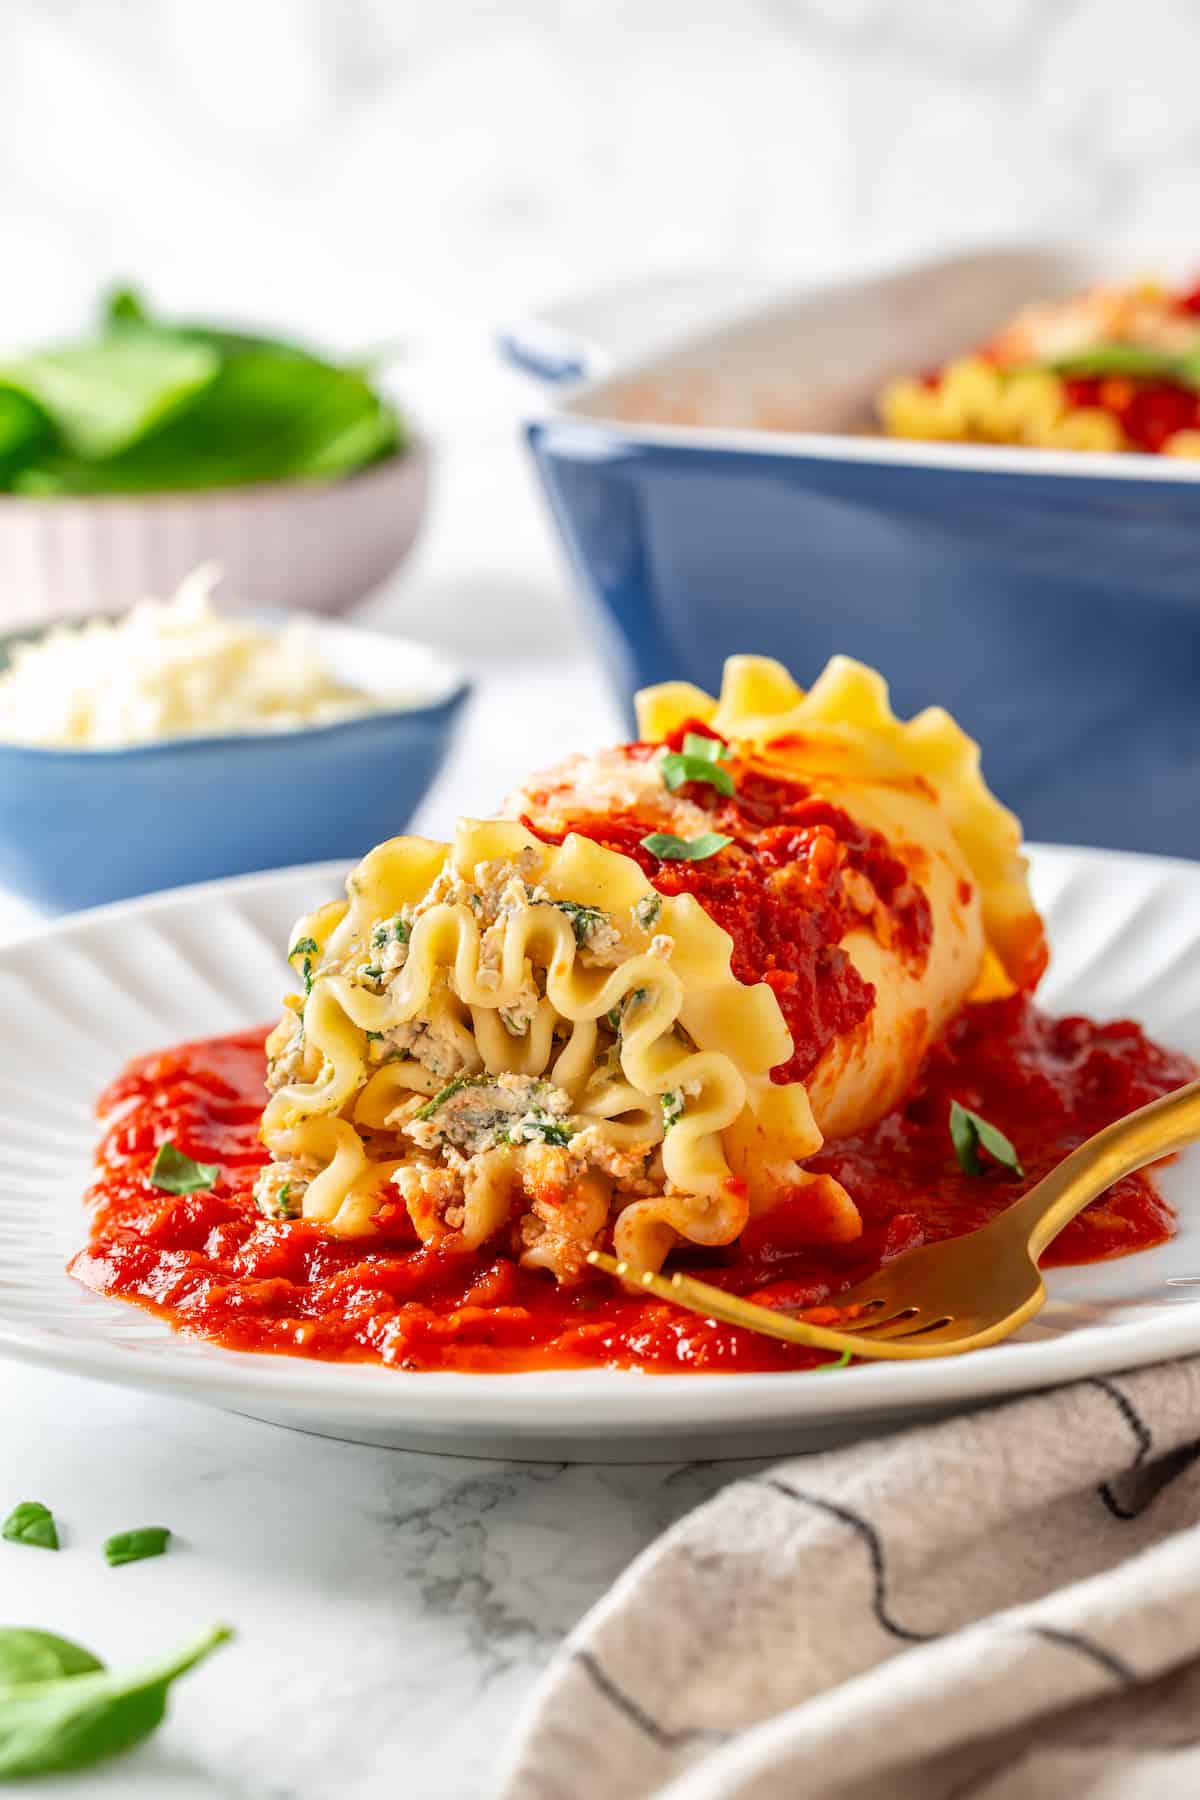
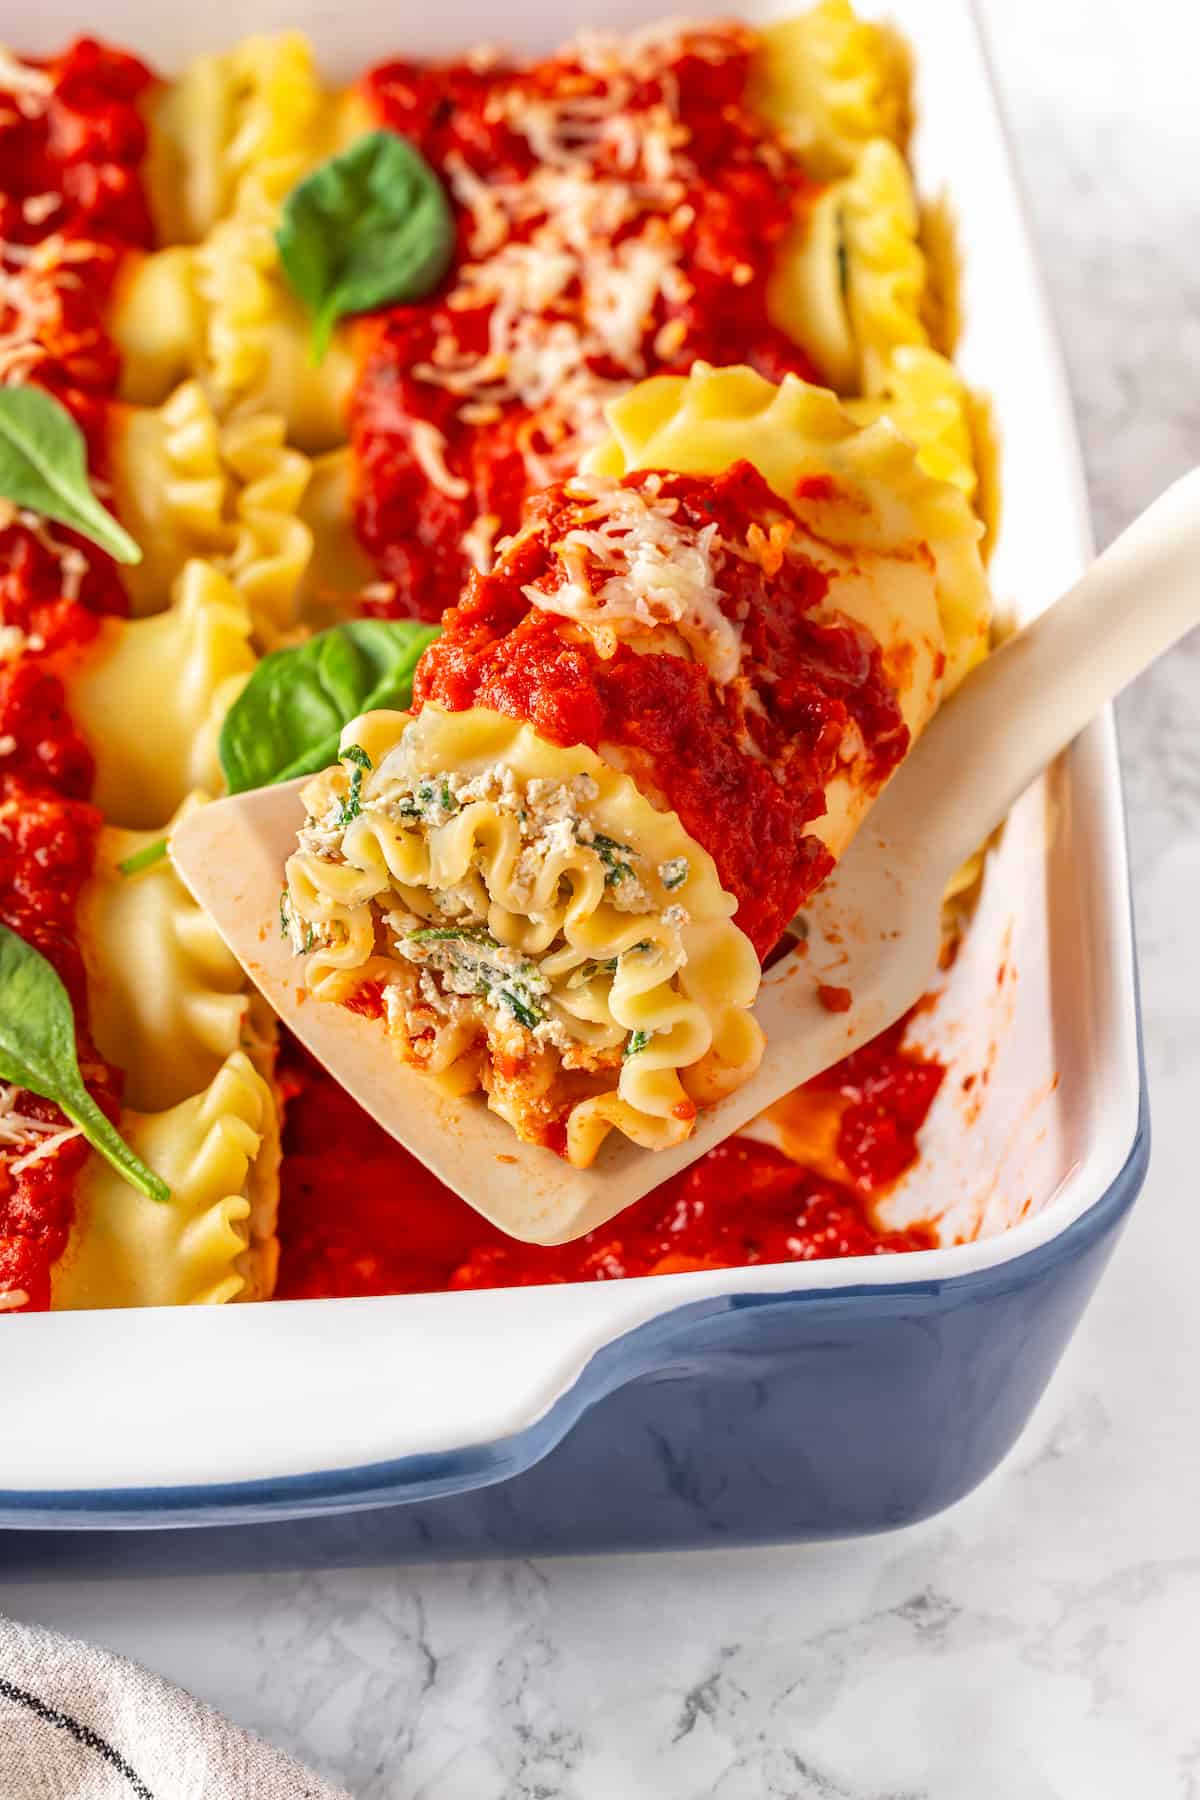
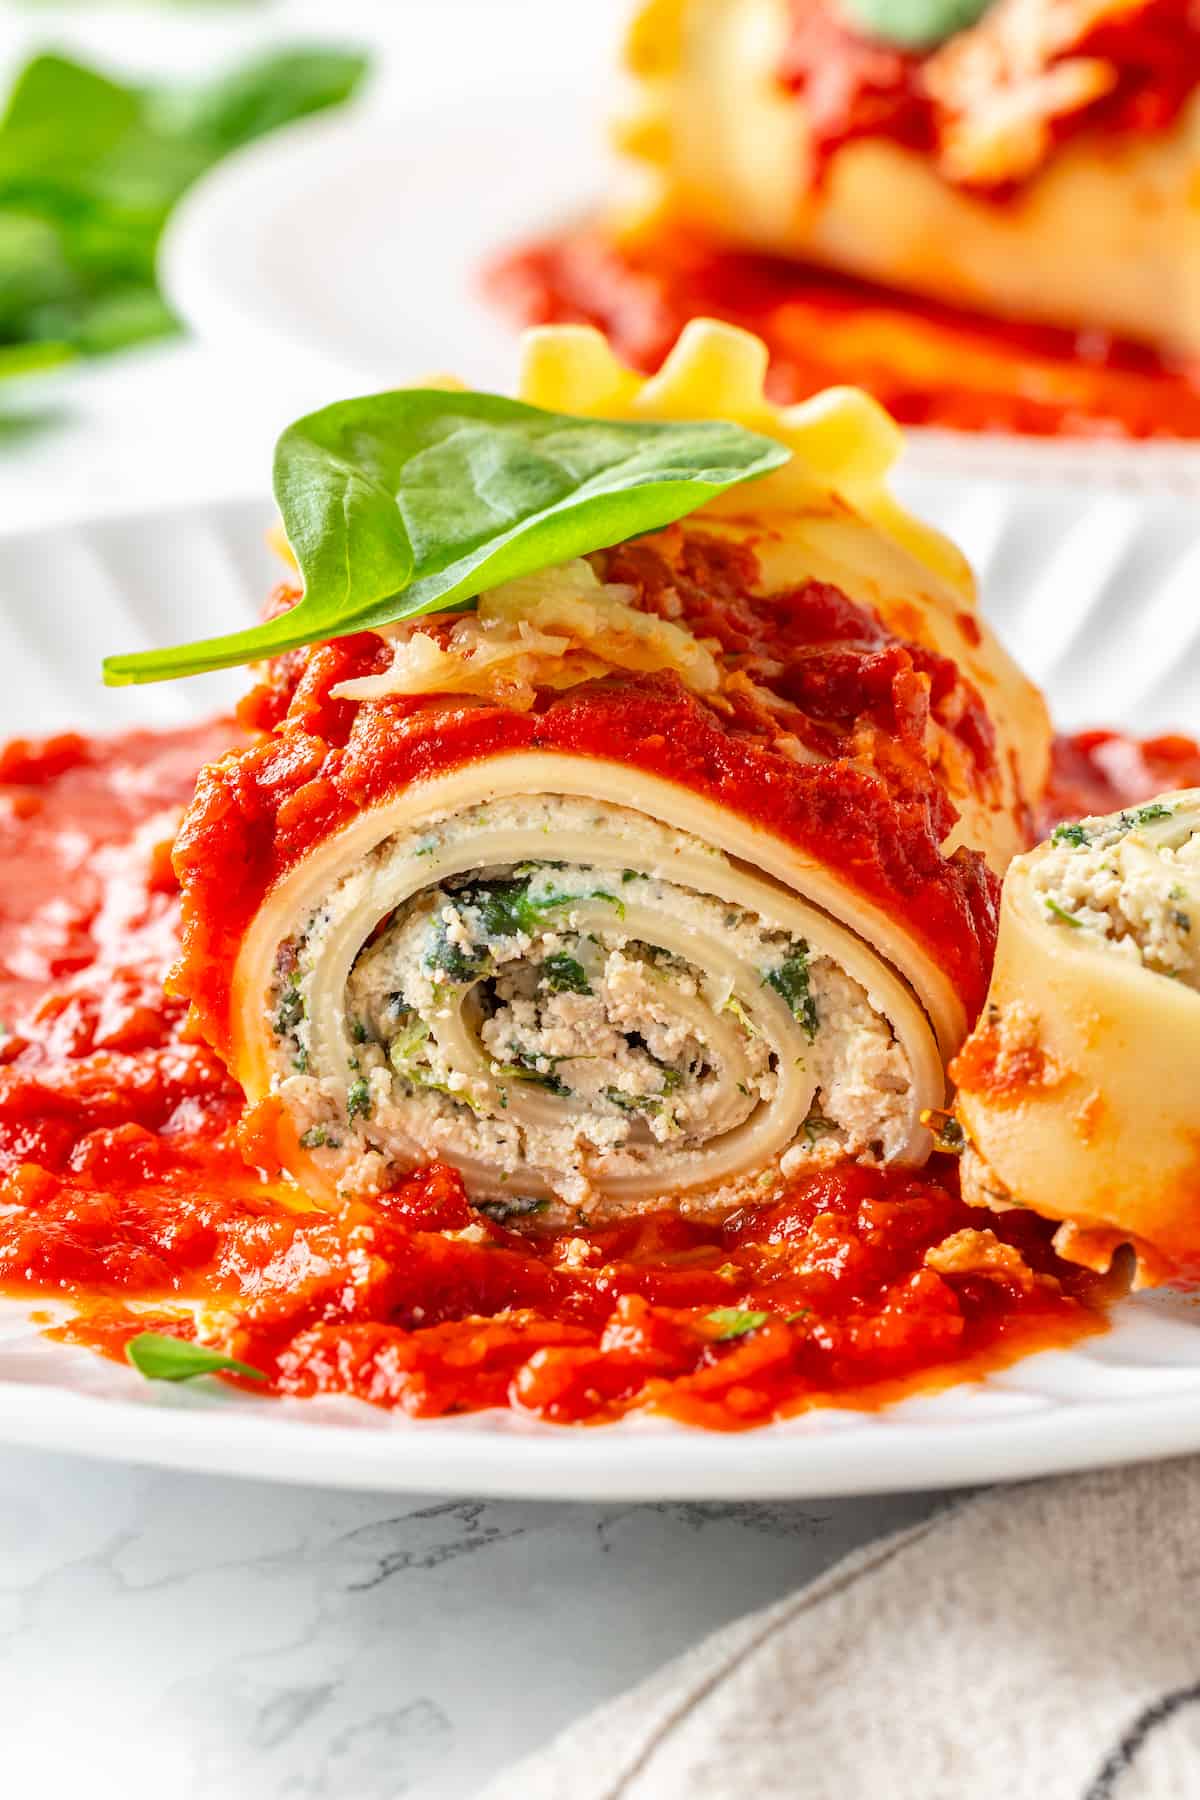
Easy cheesy lasagna roll-ups are the kind of dinner recipe no one can resist! Tender lasagna noodles are rolled up with vegan ricotta and spinach, then topped with saucy marinara and melty mozzarella for a crowd-pleasing dish.
Lasagna roll-ups are a twist on an Italian classic and they’re both delicious and easy to make. While traditional lasagna (like my Vegan Lasagna and Vegetable Lasagna ) is all about the layering, this recipe is all about the rolling!
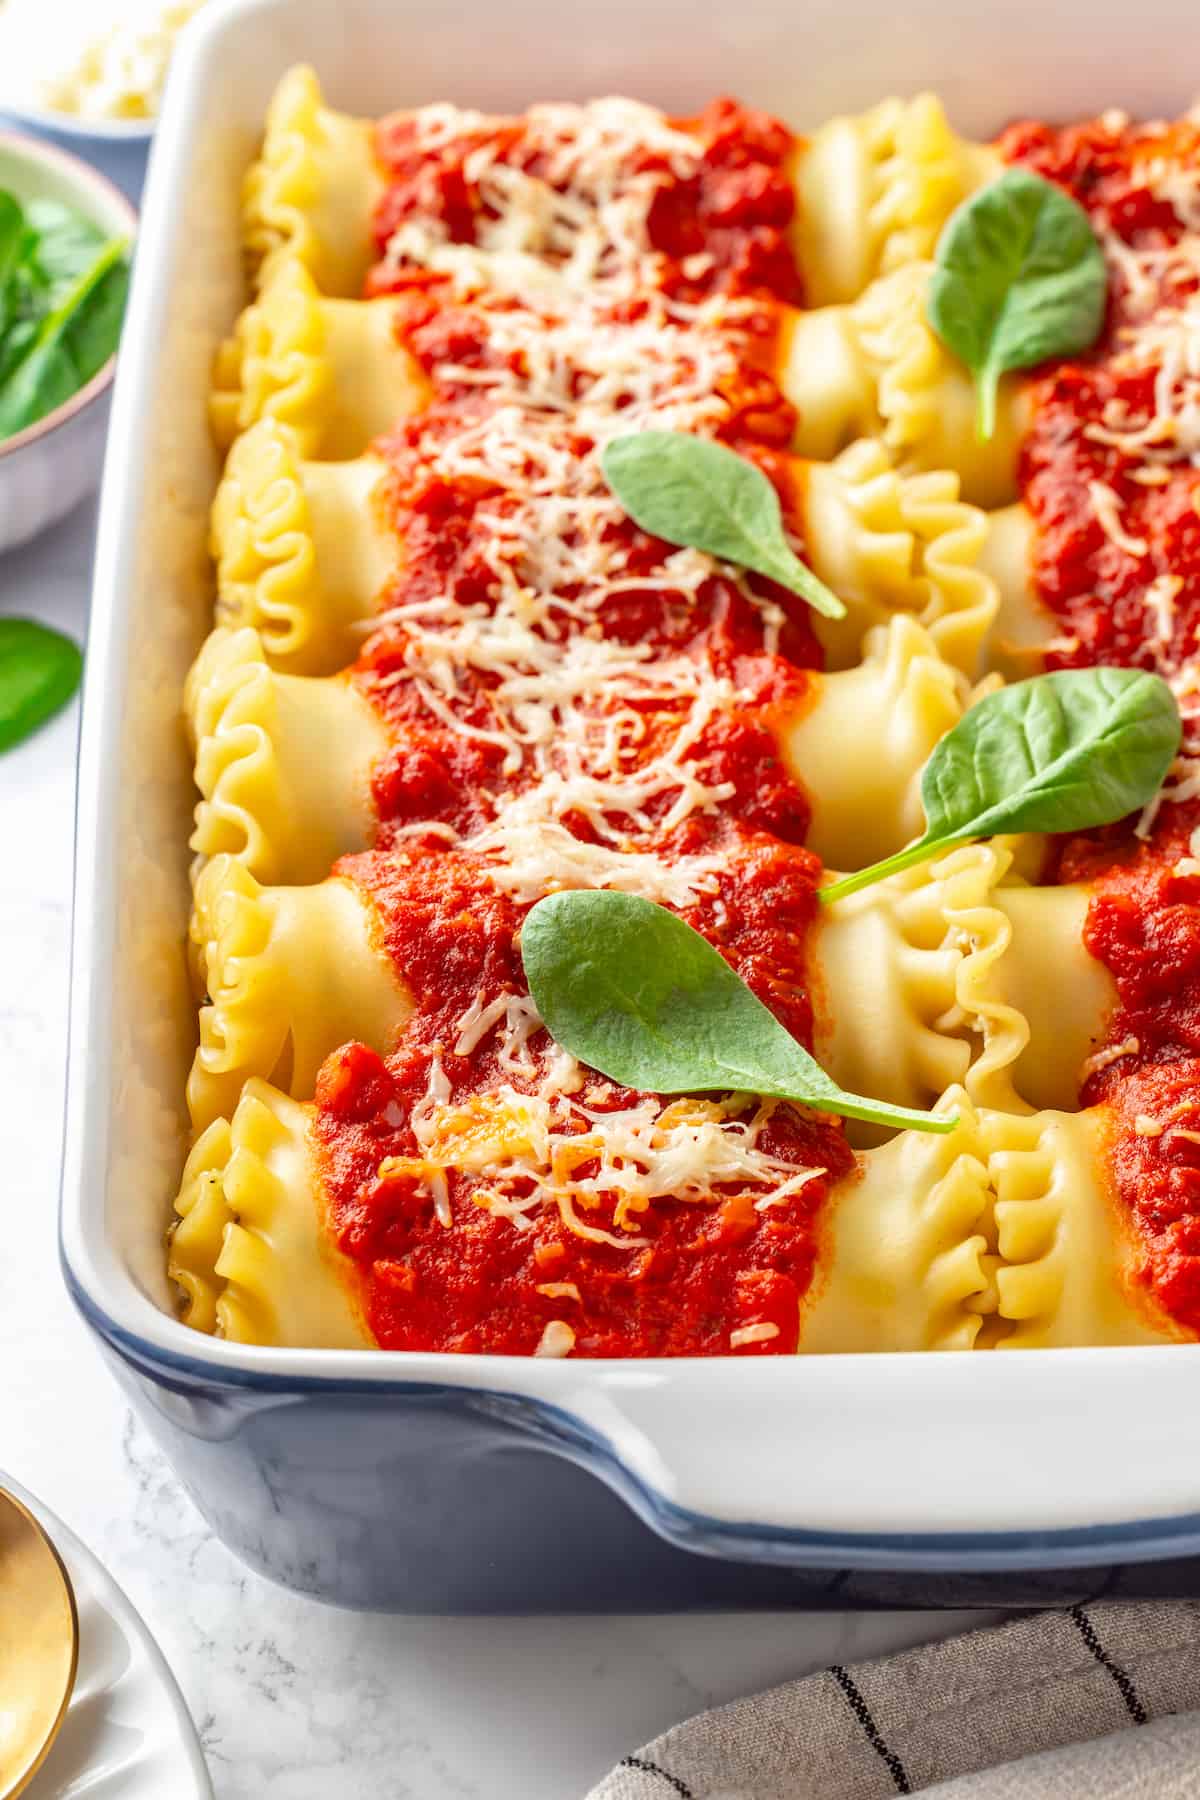
Instead of creating layers of lasagna noodles and cheese, you’ll spread the cheese-and-spinach mixture onto the noodles and roll them up. The rolls are baked in a dish with marinara and vegan mozzarella until golden brown and bubbly.
The result? Delicious spirals of cheesy goodness!
Lasagna roll-ups are great for sharing with friends and family at a potluck, but simple enough for a casual weeknight meal. Best of all, they’re perfect for making ahead and freezing for later!
Why You’ll Love This Lasagna Roll-Up Recipe
Here’s what makes this recipe for lasagna roll-ups a hit:
- Vegan . Unlike most lasagna roll-up recipes, this one is made with completely plant-based ingredients. It tastes just as delicious as the original version, but without the dairy!
- Easy and fun . Fun ? Yes! There’s something oddly satisfying about rolling up those noodles with the cheesy filling. Although it takes a bit of time to do the rolling, it’s easy and not as time-consuming as you might think.
- Hearty and delicious . You can’t go wrong with the classic combination of ricotta cheese, spinach, and lasagna noodles—even this vegan version is sure to please the pickiest eaters.
- Freezable . This lasagna roll-up recipe can be made in advance and frozen for later, so you’ll always have a satisfying meal on hand when you need it.
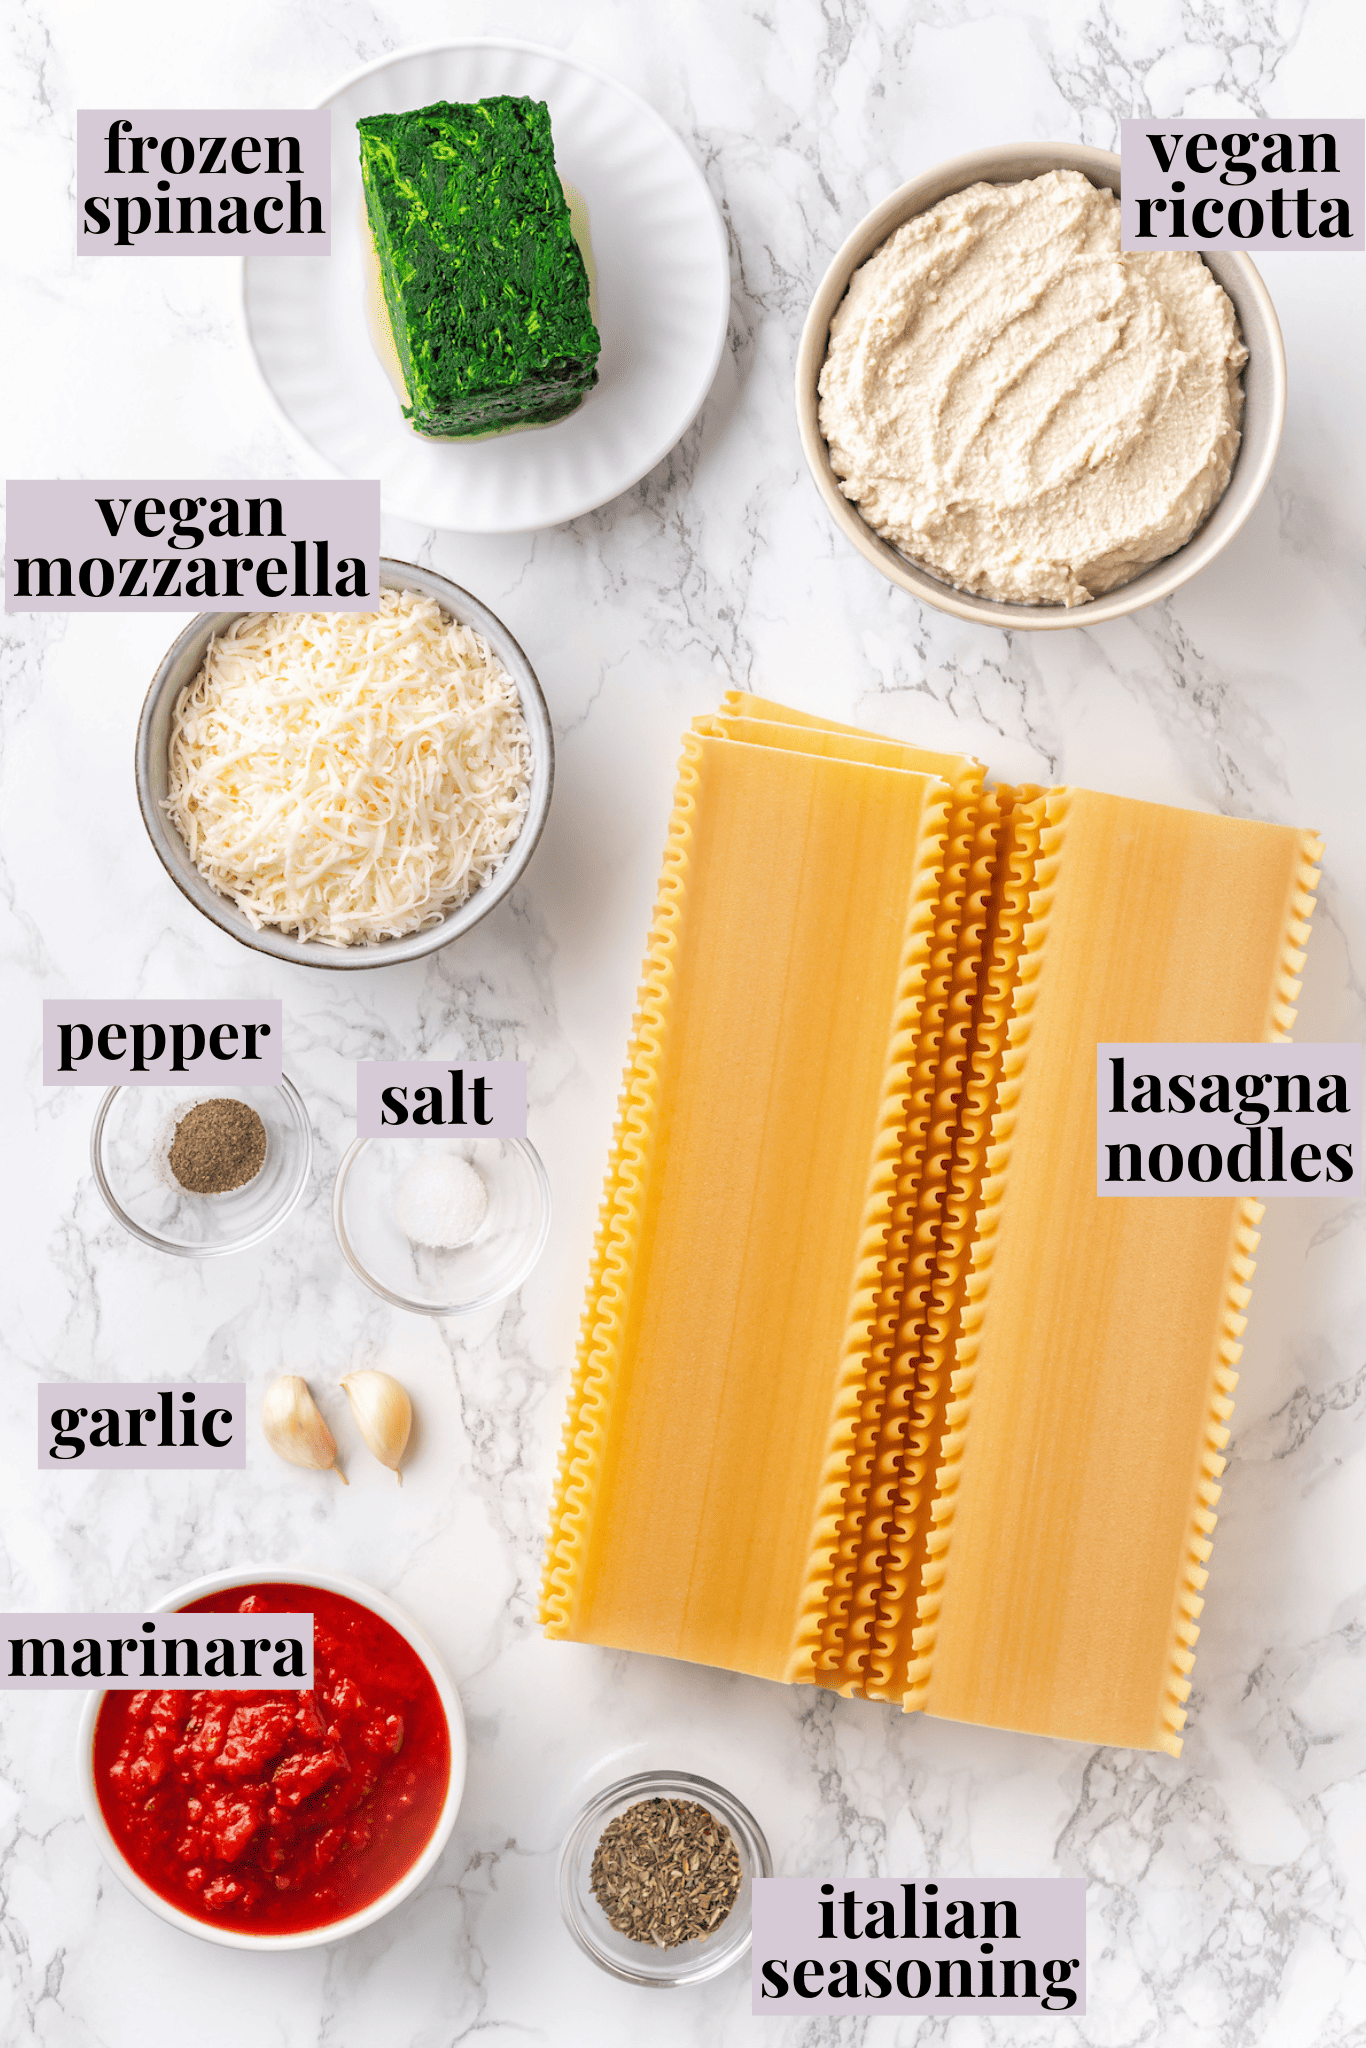
Notes on Ingredients
Scroll down to the recipe card to find the ingredient quantities and recipe instructions.
- Lasagna noodles – Be sure to buy regular lasagna noodles, not the no-boil variety.
- Marinara sauce – Homemade marinara sauce or your favourite store-bought brand.
- Frozen spinach
- Vegan ricotta cheese – I use my own vegan ricotta recipe, but a high-quality store-bought brand is just fine too.
- Vegan mozzarella cheese – For that gooey, melty goodness!
- Garlic
- Italian seasoning – If you don’t have Italian seasoning, use equal parts oregano, basil, and thyme.
- Salt and pepper
Why Do My Lasagna Noodles Fall Apart?
Lasagna noodles can easily fall apart when boiling, which is super frustrating when you’re trying to make lasagna roll-ups! To prevent this from happening, make sure you only boil the noodles until they’re just al dente, and use plenty of water and stir frequently while the noodles are cooking.
How to Make Lasagna Roll-Ups
This is a fantastic dish for meal prep, as you can assemble it a day or two ahead of time and then bake it when you’re ready to eat. But even if you make it all in one go, it’s simple enough for a weeknight dinner. Here’s what you’ll need to do.
- Prepare . Preheat your oven to 375°F and cook the lasagna noodles according to the package directions until they’re al dente. Lay the cooked noodles on a flat surface to keep them from sticking to each other.
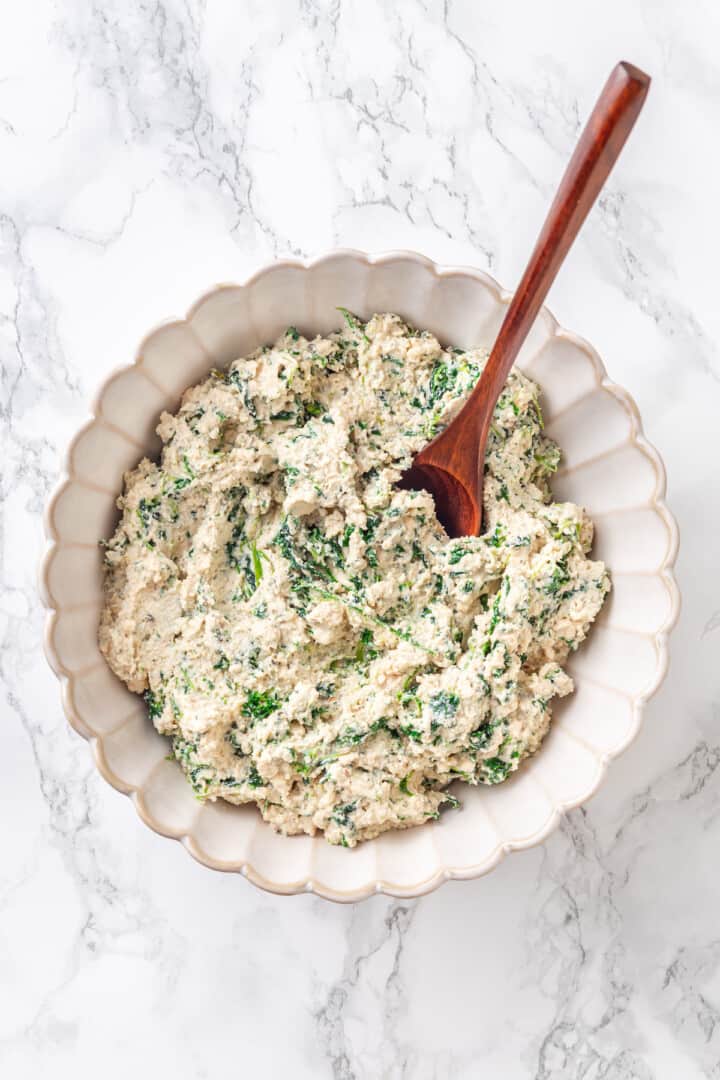
- Make the filling . Squeeze the excess liquid from the spinach, then combine the spinach with the vegan ricotta, mozzarella, garlic, Italian seasoning, salt, and pepper in a large bowl. Stir until the ingredients are evenly incorporated.
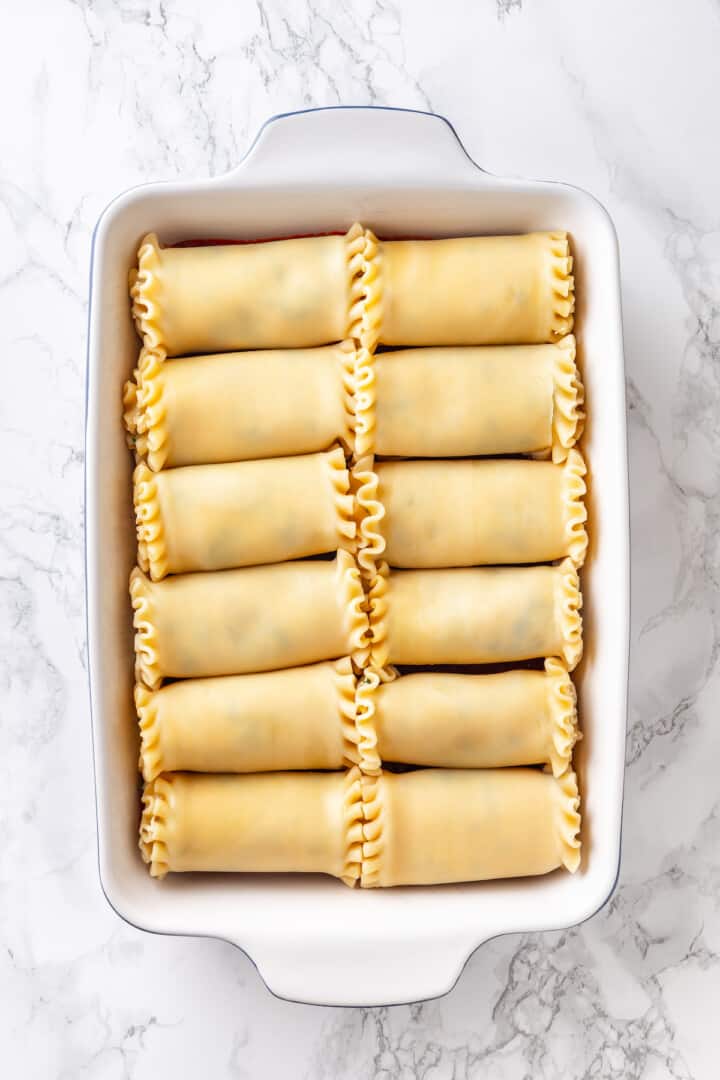
- Assemble the roll-ups . Spread a cup of marinara into the bottom of a 9×13 baking dish. Take a lasagna noodle and spread 1/3 cup of filling over it. Roll the noodle tightly and place it in the baking dish with the seam side down. Repeat with the remaining noodles and filling.
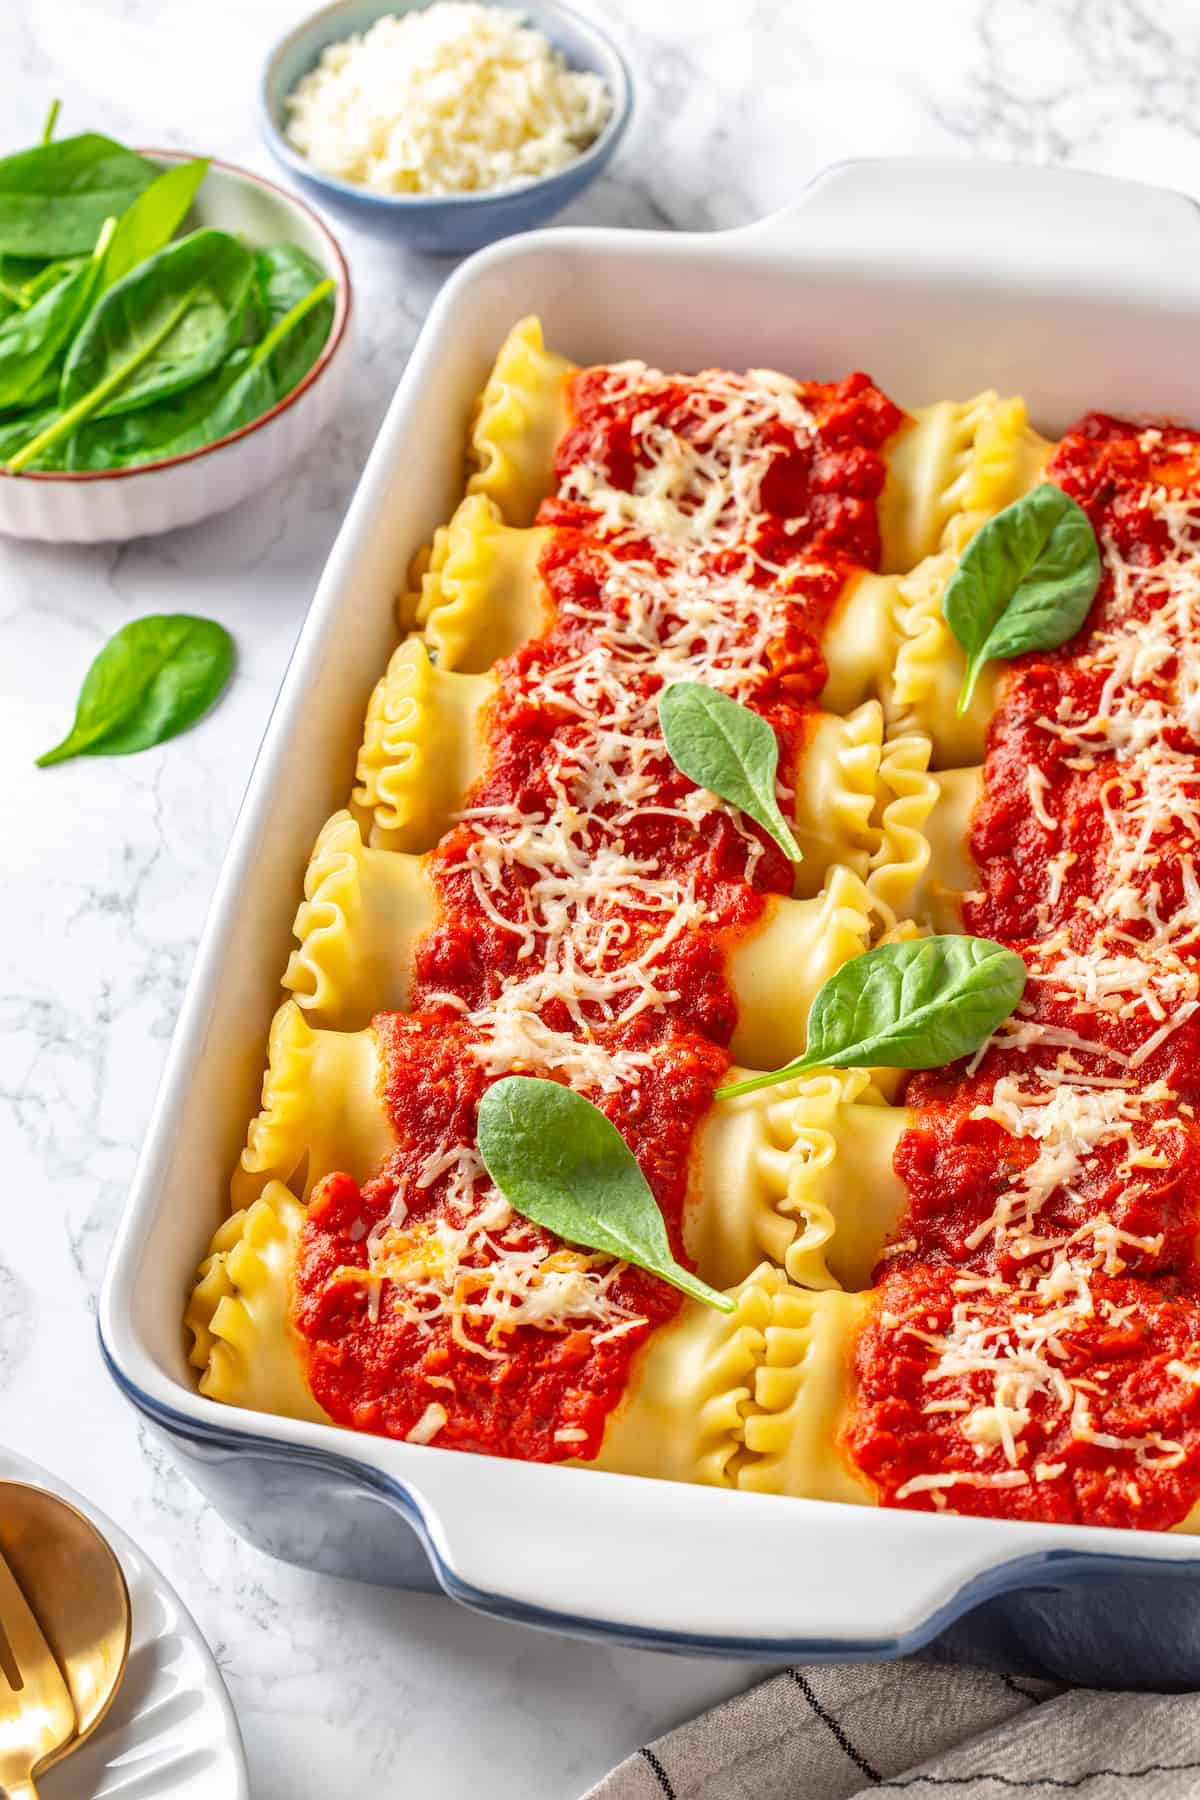
- Top the roll-ups . Pour the remaining sauce over the roll-ups and add more mozzarella over the top, if desired.
- Bake . Cover the baking dish with foil and bake for 25 to 30 minutes. Then, remove the foil and bake the lasagna rolls for an additional 7 to 10 minutes.
Tips for Success
Follow these additional hints and pointers for perfect vegan lasagna roll-ups:
- Dry the noodles well . If they’re wet, the filling won’t stick and you’ll have difficulty rolling them up. This is also why you don’t want to toss the noodles in oil after cooking them.
- Don’t overfill the lasagna noodles . If you use too much filling, it will fall out as you roll up the noodles, making a mess!
- Cover with foil . As with stuffed shells, you’ll need to cover the baking dish with foil to keep the pasta from drying out. Uncover only during the last few minutes of the cooking time to allow the vegan mozzarella on top to melt and brown.
Variations
There are so many ways to make this recipe your own!
- If you’d like to add some extra flavor, try adding other ingredients to the vegan ricotta mixture, either instead of or in addition to the spinach. Try sautéed mushrooms, sun-dried tomatoes, kalamata olives, artichoke hearts, or even vegan sausage.
- For a spicier version, add red pepper flakes to the filling mixture or use a spicy sauce like arrabbiata.
- To make a gluten-free version, substitute traditional lasagna noodles with gluten-free noodles or thin slices of zucchini.
Serving Suggestions
Pair your vegan lasagna roll-ups with a simple side salad and some crusty garlic bread for the perfect meal. A vegetable side dish like balsamic roasted vegetables or lemon garlic grilled zucchini would also be fantastic with this recipe.
How to Store Leftovers
Store any leftovers in an airtight container and keep them in the refrigerator for up to 3 days. Reheat your lasagna roll-ups in the microwave or a 350ºF oven until they’re warmed through.
Can I Freeze This Recipe?
Yes, you can absolutely freeze this recipe—either before or after baking. Either way, they’ll keep in the freezer for up to 3 months. Thaw the lasagna rolls in the refrigerator, then either bake them according to the original recipe instructions (if you froze them before baking) or the reheating instructions above (if you froze them after baking).
More Vegan Italian Recipes
- Vegan Chicken Parmesan
- Chickpea Panzanella Salad
- Lemon Pasta
- Vegetable Minestrone Soup
- Baked Eggplant Parmesan
Ingredients
- 12 lasagna noodles , 16 ounces or 453 grams
- 2 cups marinara sauce , 510 grams
- 10 ounces frozen spinach , thawed (280 grams)
- 2 cups vegan ricotta cheese , (480 grams)
- 1 cup vegan mozzarella cheese , grated (95 grams)
- 2 cloves garlic
- 2 teaspoons Italian seasoning
- ¼ teaspoon salt
- ¼ teaspoon black pepper
Instructions
- Preheat the oven to 375°F (190°C).
- Bring a large pot of water to a boil. Cook the lasagna noodles according to the package instructions until al dente. Drain and lay the noodles flat on a clean surface to prevent sticking.
- Spread 1 cup of Marinara sauce into 13×9 baking dish.
- Prepare the filling: Squeeze excess water from the thawed spinach and place it in a mixing bowl. Add the vegan ricotta cheese, grated vegan mozzarella, minced garlic cloves, Italian seasoning, salt, and black pepper. Mix all the ingredients thoroughly until well combined.
- Take a cooked lasagna noodle and spread a ⅓ cup of the filling along its length. Roll up the noodle tightly, enclosing the filling. Place the roll in a baking dish with the seam side down. Repeat this process for the remaining noodles and filling.
- Pour the remaining Marinara sauce over the rolled lasagna noodles. If desired, you can sprinkle some additional grated vegan mozzarella cheese on top of the sauce.
- Cover the baking dish with aluminum foil and place it in the preheated oven. Bake for about 25-30 minutes. Remove the foil and bake the lasagna rolls for an additional 7-10 minutes. Enjoy!
Notes
- To store : Store any leftovers in an airtight container and keep them in the refrigerator for up to 3 days. Reheat your lasagna roll-ups in the microwave or a 350ºF oven until they’re warmed through.
- To freeze : You can freeze this recipe, either before or after baking. Either way, they’ll keep in the freezer for up to 3 months. Thaw the lasagna rolls in the refrigerator, then either bake them according to the original recipe instructions (if you froze them before baking) or the reheating instructions above (if you froze them after baking).

Vegan Lasagna Roll Ups with Ricotta and Spinach
Ingredients
- 12 lasagna noodles 16 ounces or 453 grams
- 2 cups marinara sauce 510 grams
- 10 ounces frozen spinach thawed (280 grams)
- 2 cups vegan ricotta cheese (480 grams)
- 1 cup vegan mozzarella cheese grated (95 grams)
- 2 cloves garlic
- 2 teaspoons Italian seasoning
- ¼ teaspoon salt
- ¼ teaspoon black pepper
Instructions
- Preheat the oven to 375°F (190°C).
- Bring a large pot of water to a boil. Cook the lasagna noodles according to the package instructions until al dente. Drain and lay the noodles flat on a clean surface to prevent sticking.
- Spread 1 cup of Marinara sauce into 13x9 baking dish.
- Prepare the filling: Squeeze excess water from the thawed spinach and place it in a mixing bowl. Add the vegan ricotta cheese, grated vegan mozzarella, minced garlic cloves, Italian seasoning, salt, and black pepper. Mix all the ingredients thoroughly until well combined.
- Take a cooked lasagna noodle and spread a ⅓ cup of the filling along its length. Roll up the noodle tightly, enclosing the filling. Place the roll in a baking dish with the seam side down. Repeat this process for the remaining noodles and filling.
- Pour the remaining Marinara sauce over the rolled lasagna noodles. If desired, you can sprinkle some additional grated vegan mozzarella cheese on top of the sauce.
- Cover the baking dish with aluminum foil and place it in the preheated oven. Bake for about 25-30 minutes. Remove the foil and bake the lasagna rolls for an additional 7-10 minutes. Enjoy!
Notes
- To store : Store any leftovers in an airtight container and keep them in the refrigerator for up to 3 days. Reheat your lasagna roll-ups in the microwave or a 350ºF oven until they’re warmed through.
- To freeze : You can freeze this recipe, either before or after baking. Either way, they’ll keep in the freezer for up to 3 months. Thaw the lasagna rolls in the refrigerator, then either bake them according to the original recipe instructions (if you froze them before baking) or the reheating instructions above (if you froze them after baking).
Nutrition
Vegan Lasagna Roll Ups with Ricotta and Spinach https://jessicainthekitchen.com/lasagna-roll-ups/ September 18, 2023
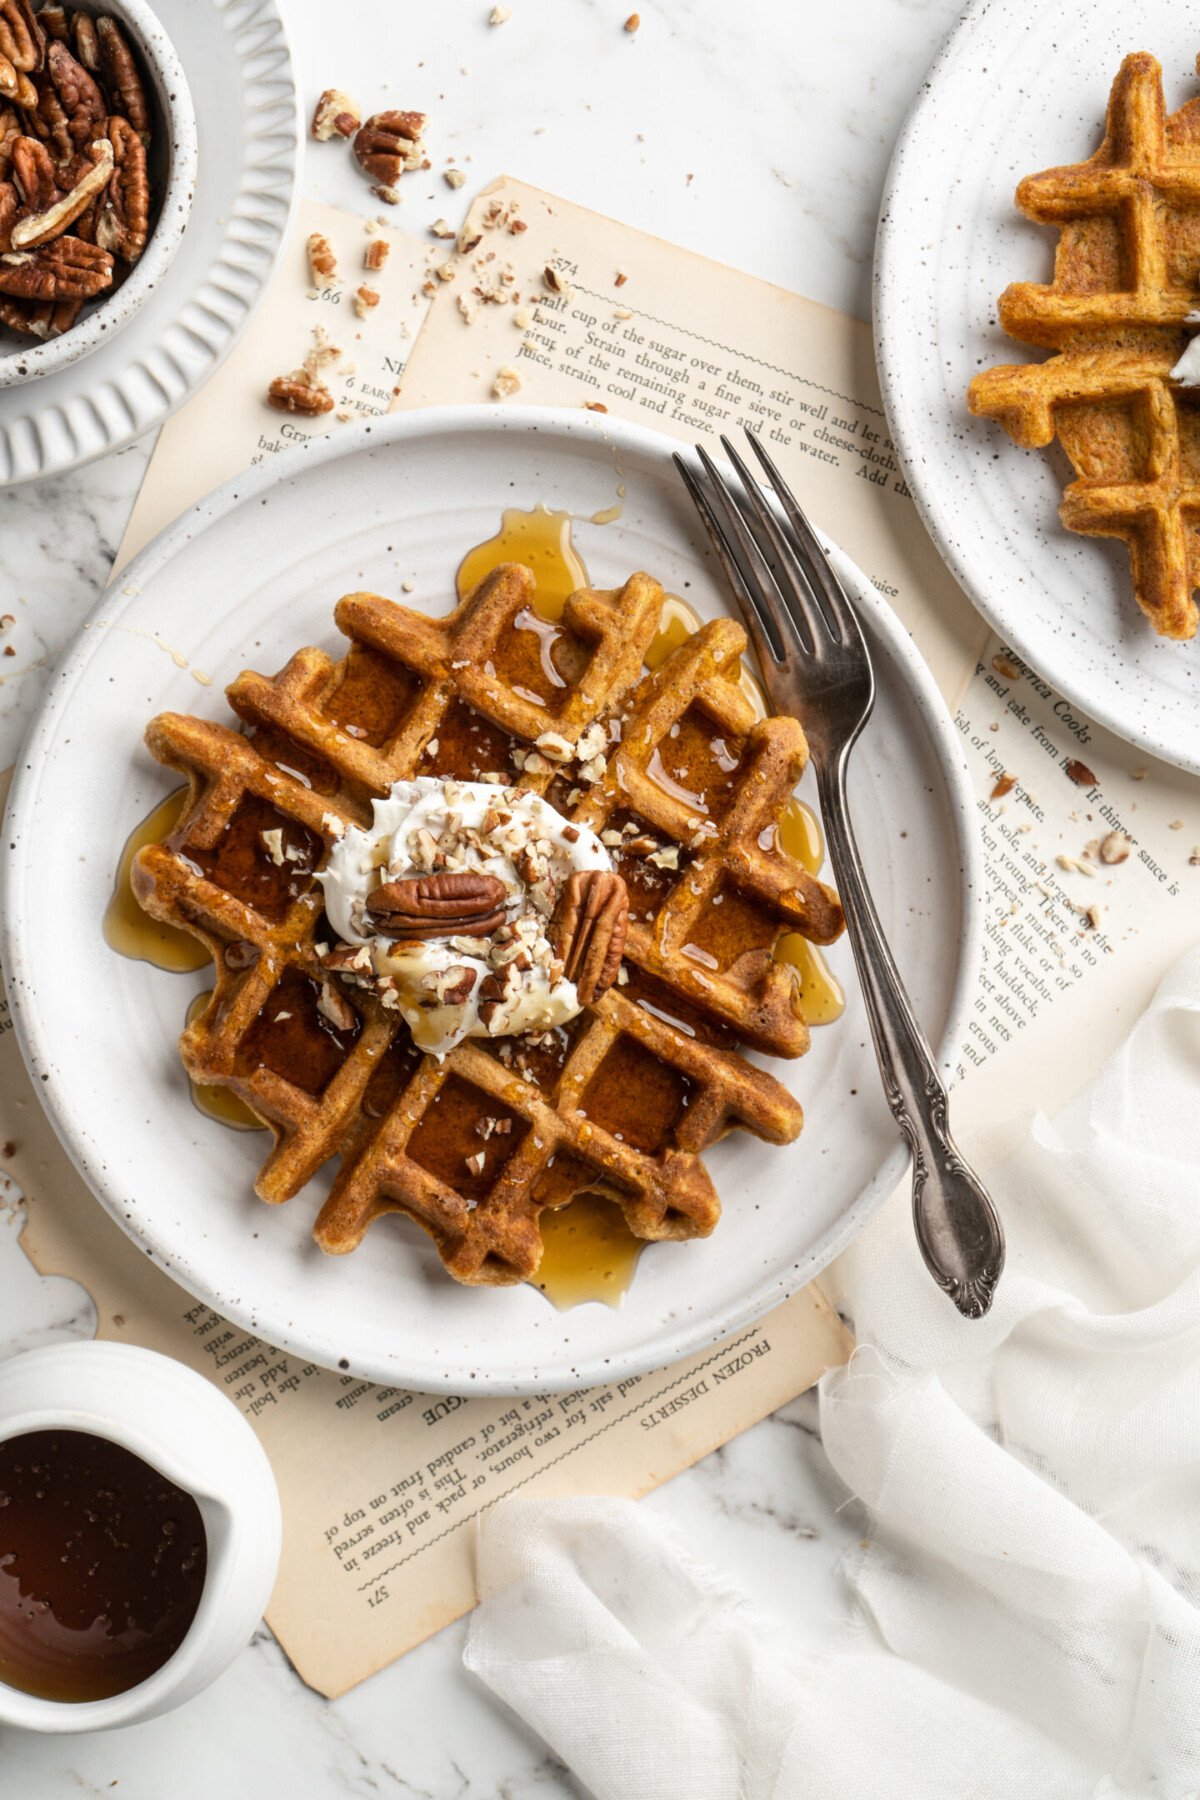
Rich, fluffy, and full of your favorite fall flavors, these vegan pumpkin waffles are the perfect breakfast for a cozy day. They’re soft and moist on the inside, crispy on the outside, and packed with so much hearty pumpkin flavor.
Lately I’ve been on a serious waffle kick. Waffles are such an easy and luxurious breakfast, and you can top them with whatever goodies you’re craving. Unfortunately, a lot of vegan waffle recipes are dense and chewy. So I decided to try and make waffles that were light, fluffy, and moist. After perfecting my traditional Vegan Waffles , I realized it was time to move on to my favorite fall breakfast: pumpkin waffles.
These vegan waffles are loaded with the rich and complex flavor of pumpkins, and packed with traditional fall and winter spices. They taste as if Thanksgiving dessert was a breakfast, and their texture is soft and pillowy. Plus, they only take 15 minutes of work, they’re completely vegan, and you can easily make them gluten-free. You’ve got to give them a try!
Why You’ll Love These Vegan Pumpkin Waffles
Once the weather starts to turn, I’m making this easy pumpkin waffle recipe at least once a week. Here’s why I know you’ll love it just as much as I do.
- Fall flavors. I love fall. The sweater weather, the leaves changing color, the holidays, and most importantly, the food! These waffles have so many rich, sweet, and spicy fall flavors, with pumpkin puree, fresh banana, maple syrup, and pumpkin spice seasoning.
- So easy. Even though these rich pumpkin waffles taste like something you’d order at your favorite weekend brunch spot, they’re really easy to make. The entire recipe only requires 15 minutes of work, and the instructions are super simple to follow.
- Perfect for brunch. Speaking of brunch, if you’re hosting one this fall, these waffles would be a great addition to the menu!
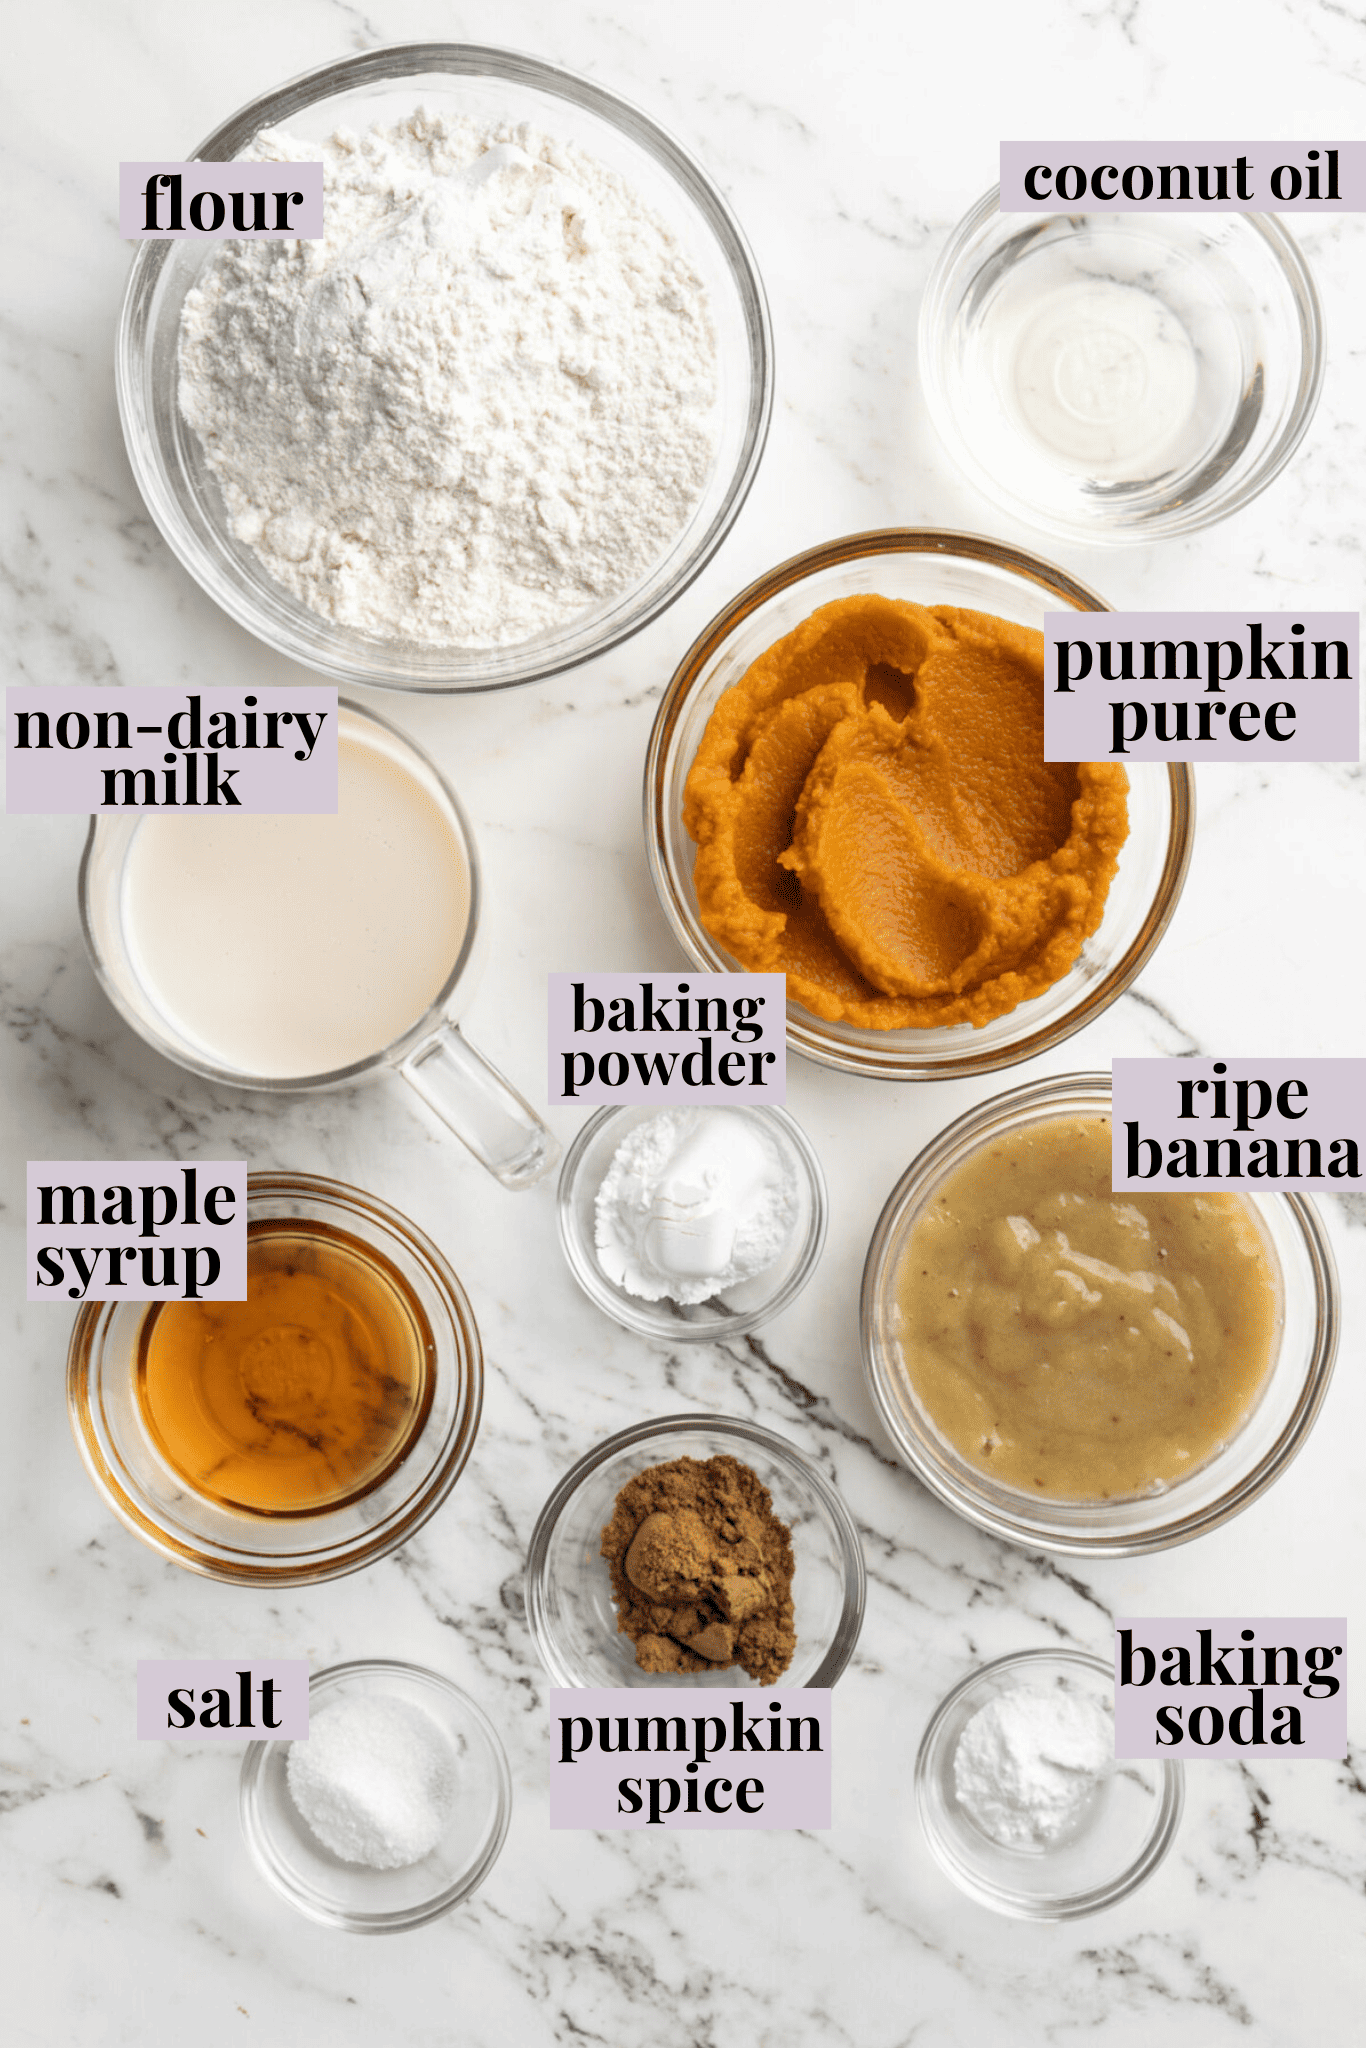
What You’ll Need
Here are all the ingredients you’ll need to make these pumpkin puree waffles for breakfast. Make sure to head to the recipe card at the bottom of the page for the exact amounts of each ingredient.
- Flour – You can use all-purpose flour, oat flour, or ground oats.
- Baking powder
- Baking soda
- Salt
- Banana – Make sure the banana is extremely ripe and mashed.
- Pumpkin puree – Be sure to use unsweetened and unseasoned puree.
- Maple syrup or agave nectar
- Non-dairy milk – Use whatever type of unsweetened and unflavored non-dairy milk that you prefer.
- Coconut oil – Vegan butter works as a substitute.
- Pumpkin spice
How to Make Pumpkin Waffles
These moist and rich vegan pumpkin waffles are so easy to make. Here’s how to do it.
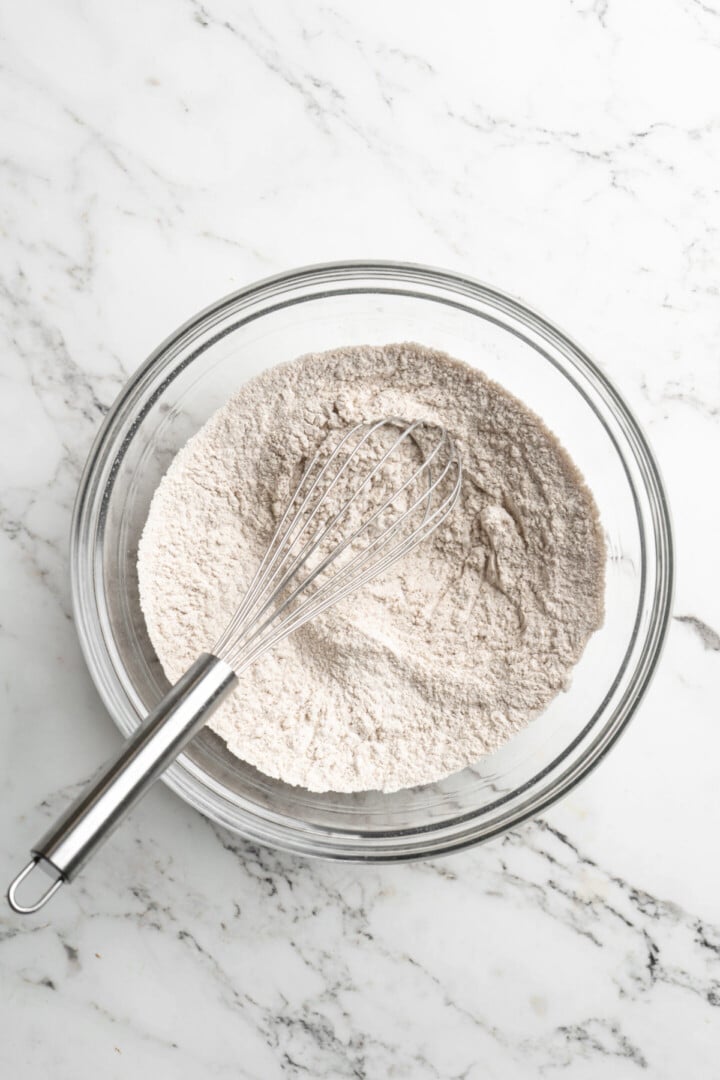
- Mix the dry ingredients. Add the flour, baking powder, baking soda, salt, and pumpkin spice to a bowl, and mix together.
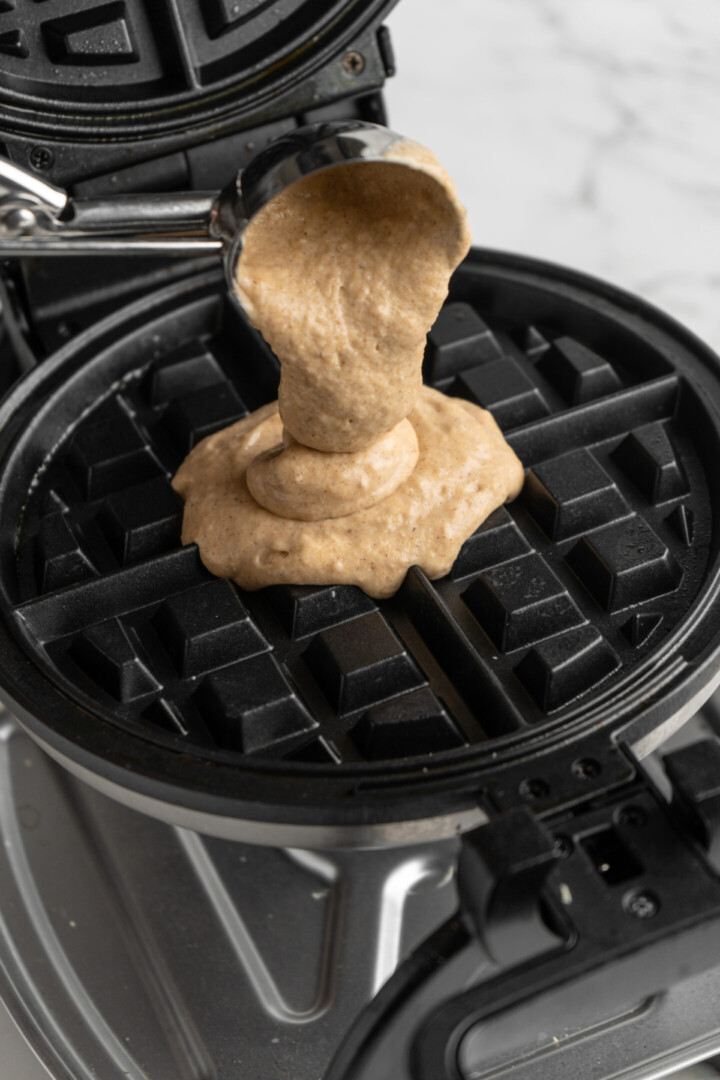
- Mix the wet ingredients. Place the pumpkin puree, mashed banana, non-dairy milk, coconut oil, and sweetener in a mixing bowl, and mix until combined.
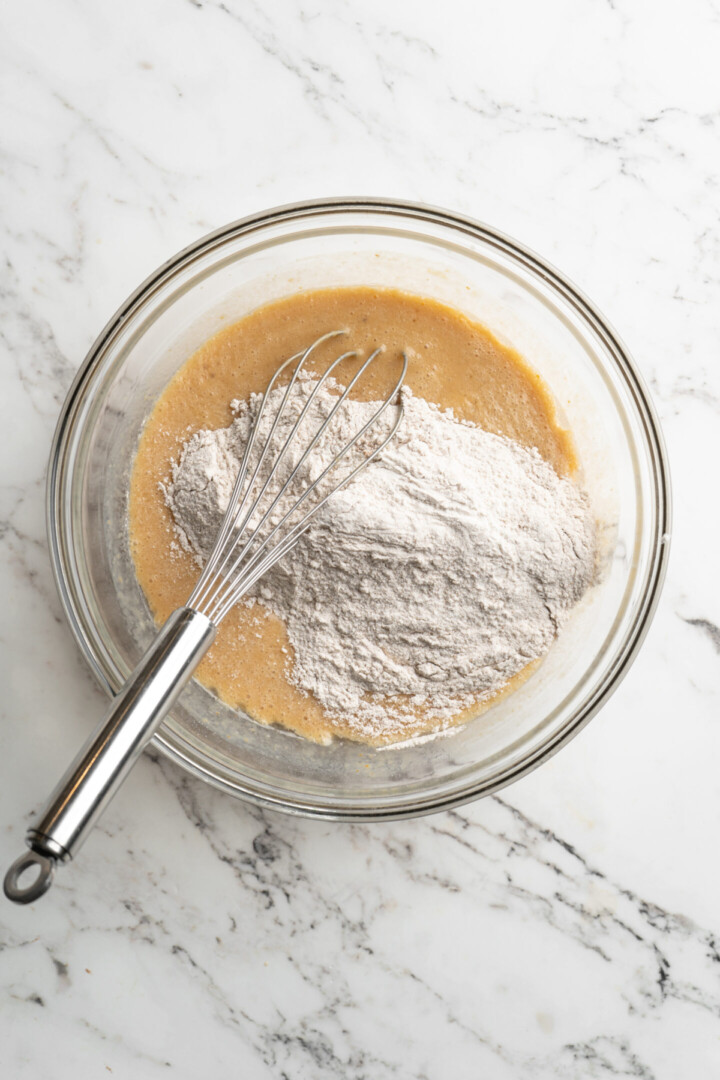
- Make the batter. Combine the wet ingredients and the dry ingredients in a bowl, and mix until fully incorporated.
- Rest. Let the batter sit for 15 minutes. If you’re in a rush, you can skip this step, but it really makes a big difference.
- Preheat. While the batter rests, turn your waffle maker on to your desired setting.
- Add the batter. Scoop about 1/2 a cup of the waffle batter into your waffle maker.
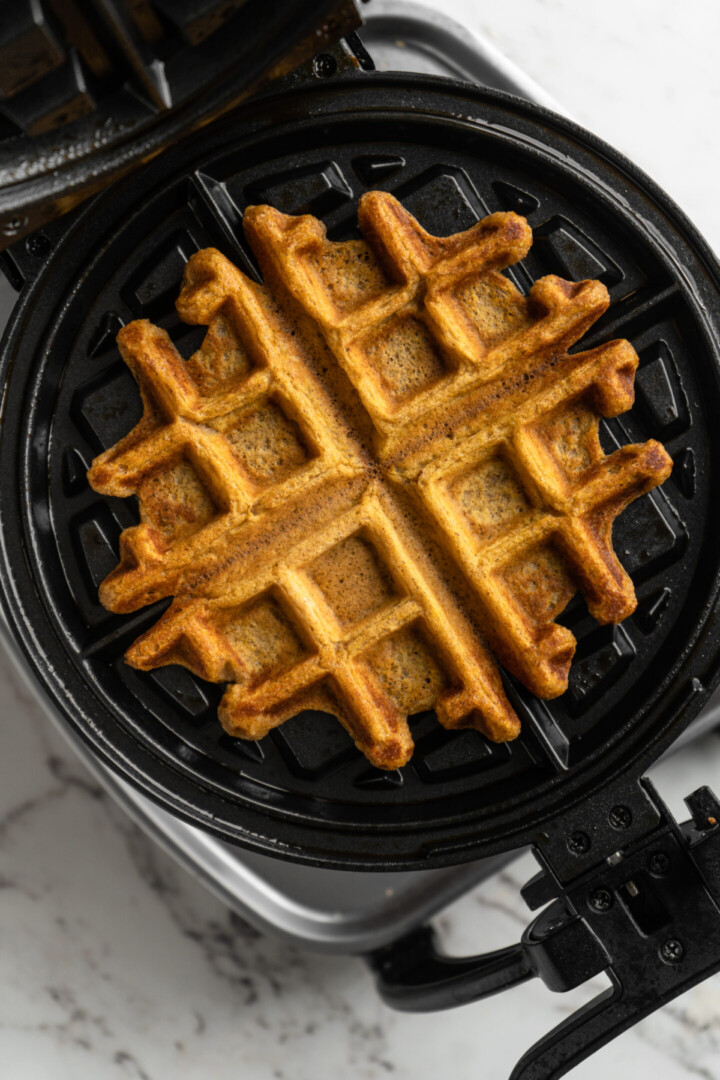
- Cook. Cook until the waffle is done and the steam has stopped coming out of the machine. Remove the waffle and place it on a wire rack, and repeat with the rest of the batter.
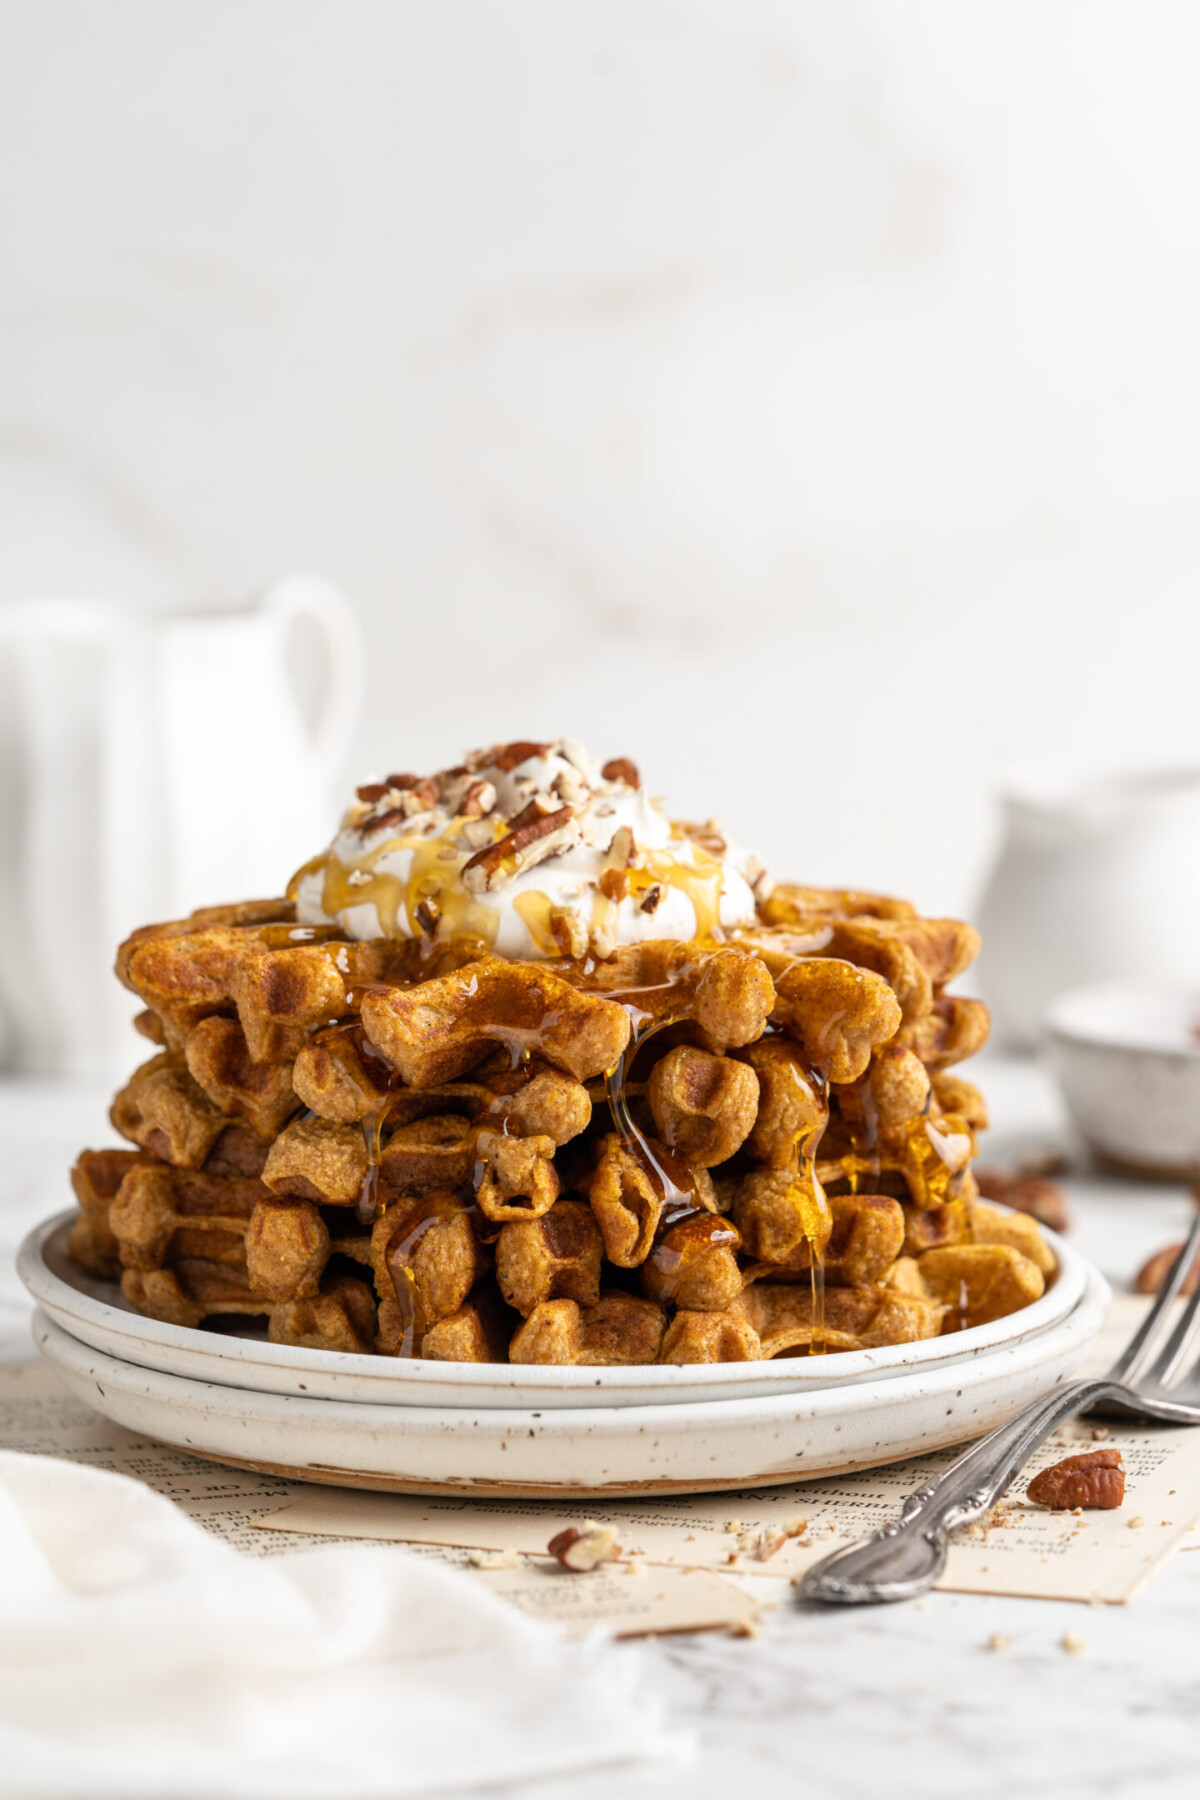
- Serve. Serve the pumpkin waffles hot with your favorite toppings.
Tips for Success
Here are some of my favorite tricks to use when making this autumnal waffle recipe.
- Make your own puree. You can definitely make this recipe with store-bought pumpkin puree, but it will taste so much better if you make your own. Homemade Pumpkin Puree is super easy to make, and it results in a puree that has a stronger, richer, and sweeter pumpkin flavor.
- Wait for the steam to stop. When cooking the waffles, I’ve found that it’s best to wait until steam stops emerging from the waffle maker before taking the waffles out. Sometimes the light will come on telling you the waffles are done even though steam is still pouring out of the machine. If you remove the waffles then, they won’t be as airy and fluffy on the inside, or as crisp and caramelized on the outside. Instead, keep cooking the waffles until they stop steaming.
- Adjust as necessary. For best results, make simple adjustments based on your waffle machine, and the kind of waffles you like. I use ½ cup of batter per waffle, which I’ve found is perfect for a standard-size waffle maker. If your waffle maker is bigger or smaller, you’ll have to adjust. You’ll also need to adjust the settings based on how done you like your waffles, and how hot the waffle iron is getting. And while you shouldn’t need to add baking spray to the waffle maker, make sure to add some if your waffles are sticking.
- Keep warm but don’t steam. After the waffles are done cooking, place them on a single layer on a wire rack. Don’t stack the waffles or put them on a plate, or else they’ll steam and become soggy. If you’re making a lot of waffles, keep the rack in the oven on the lowest setting, so the waffles will stay warm while the next batch cooks.
What to Serve With This Pumpkin Waffle Recipe
I always eat these fluffy vegan pumpkin waffles with a mug of hot coffee or a glass of Whipped Coffee . Then I pile my favorite toppings on the waffles, such as Coconut Whipped Cream , Stovetop Candied Pecans , Vegan Caramel Sauce , and fresh fruit.
Proper Storage
To store leftover pumpkin waffles, first let them cool completely. Then place them in an airtight plastic bag, with each waffle separated by parchment paper. They’ll last in the fridge for 3 days and can be reheated in the toaster.
Can I Freeze Pumpkin Waffles?
Yes, you can absolutely freeze pumpkin waffles! Store them just as you would in the fridge, and they’ll last in the freezer for up to 6 months. You can even reheat them in the toaster straight from the freezer.
More Fall Breakfast Ideas
One of my favorite things about fall is the amazing breakfasts. Here are a few of my favorite autumnal recipes to make in the mornings.
- Pumpkin Chocolate Chip Pancakes
- Pecan Banana Bread
- Vegan Gingerbread Pancakes
- Orange Cranberry Waffles With Maple Cranberry Compote
- Vegan Pumpkin French Toast
- Pumpkin Granola
Ingredients
- 1 ¼ cups oat flour or all-purpose flour , you can also use oats that you grind in a food processor or coffee grinder
- 2 teaspoons baking powder
- ½ teaspoon baking soda
- ½ teaspoon salt
- 1 small very ripe banana , mashed (about 1/3 cup) – you could also use unsweetened apple sauce or even more pumpkin puree
- ½ cup pumpkin puree
- 1 tablespoon agave nectar or maple syrup
- 1 cup non-dairy milk
- 2 tablespoons coconut oil , (melted) or vegan butter
- 2 teaspoons pumpkin spice
Instructions
- Mix all of the dry ingredients together in a bowl, then mix all of the wet ingredients together in a separate bowl.
- Add the dry ingredients to the wet ingredients and mix together until fully incorporated.
- Let batter sit for 15 minutes. While the batter rests, preheat your waffle iron according to the manufacturer’s instructions. I set mine two dials before max because I like my waffles crisp but also very fluffy.
- Scoop out about ½ cup of batter and pour it into the waffle maker. Close the lid and let the waffles cook until the steam has completely finished to rise from the waffle maker. Remove each waffle and place on a wire rack until finished with the entire batter.
- Serve while hot with maple syrup, coconut cream, candied pecans, or any other toppings.
Notes
- Store the leftovers in an airtight plastic bag, separated by parchment paper. They’ll last in the fridge for 3 days or in the freezer for 6 months, and can be reheated in the toaster.
- Adjust the amount of batter that you use, and the heat of the waffle iron based on your iron and your preferences.
- After cooking, place the waffles in a single layer on a wire rack to keep them from steaming and getting soggy. Keep them warm in an oven on the lowest setting if you’re making a few batches.
