I’ve got 3 delicious ways to make homemade kale chips: sea salt, spicy black pepper, and cheesy! Follow my pointers for kale chips that taste great and actually get crispy. (No soggy chips here, friends!)
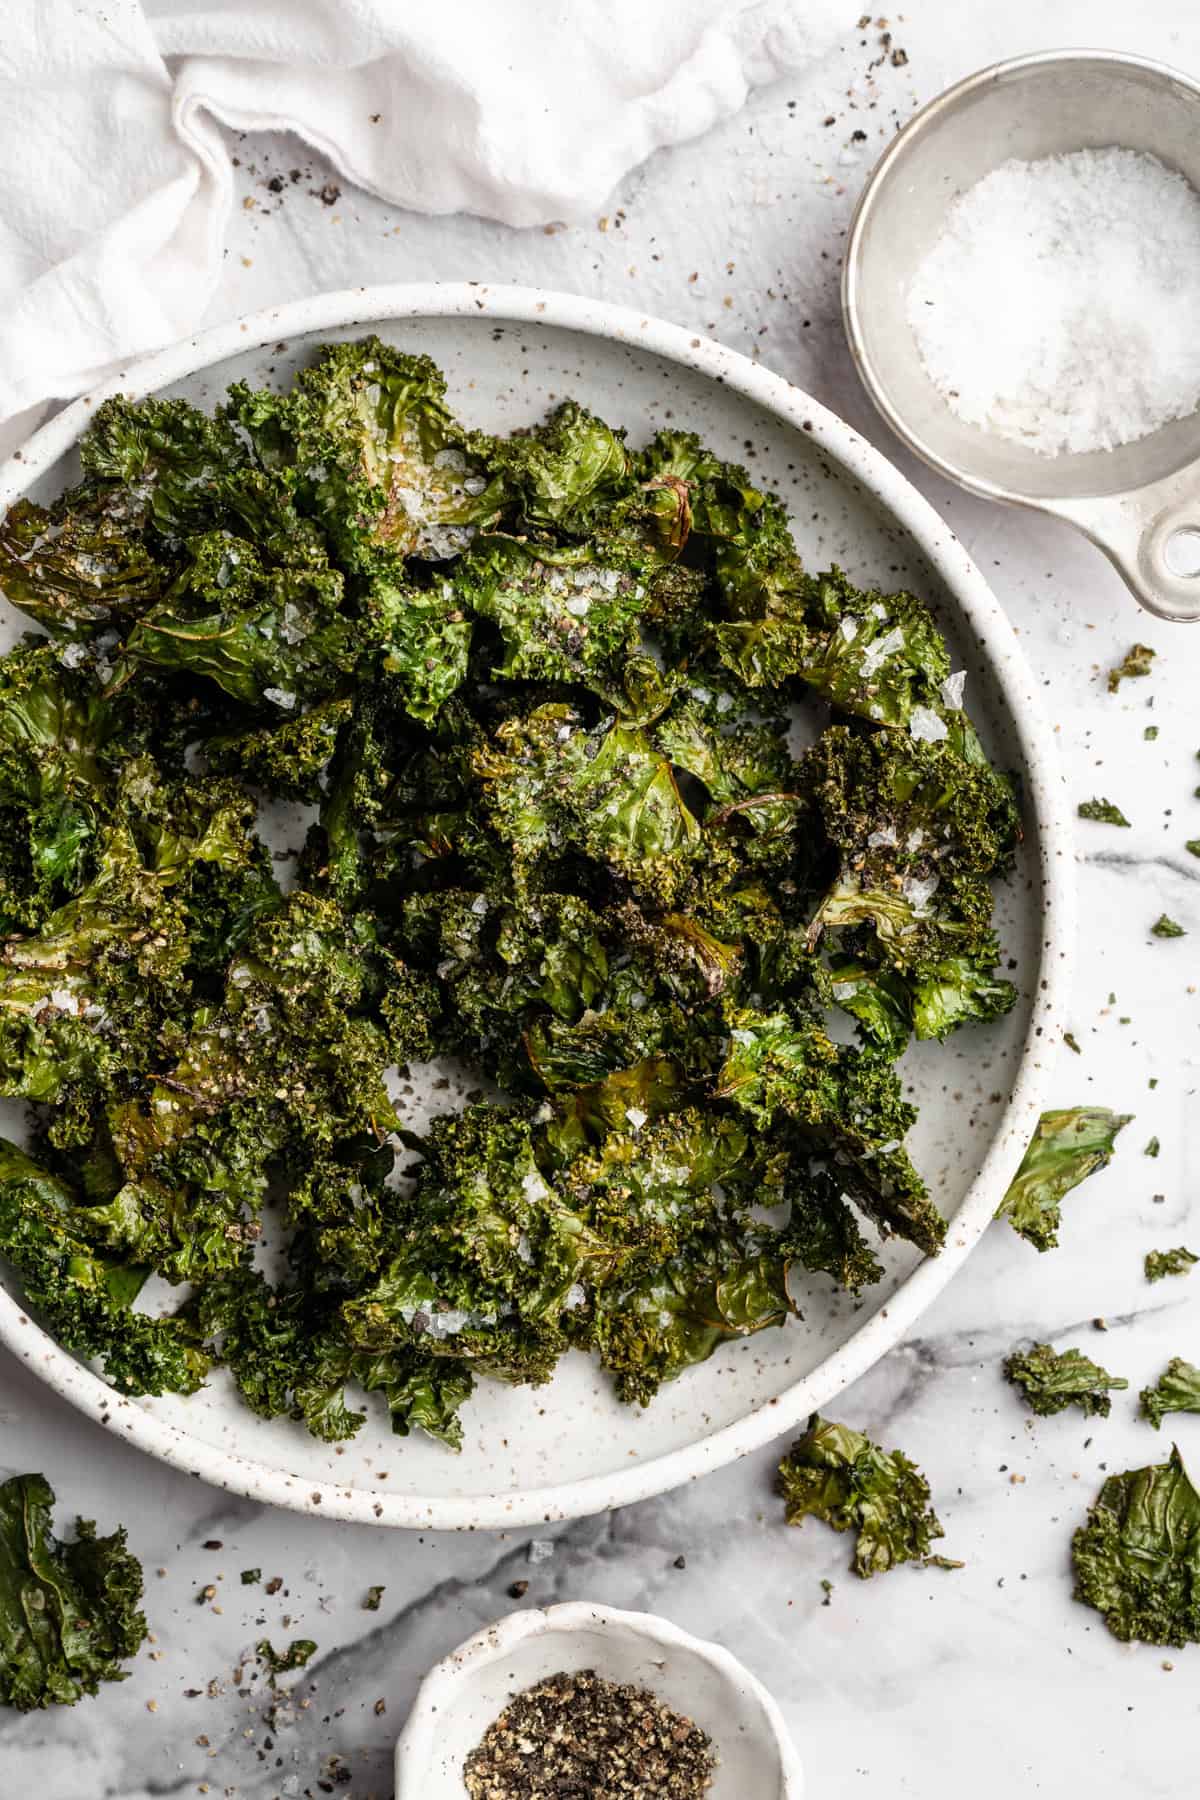
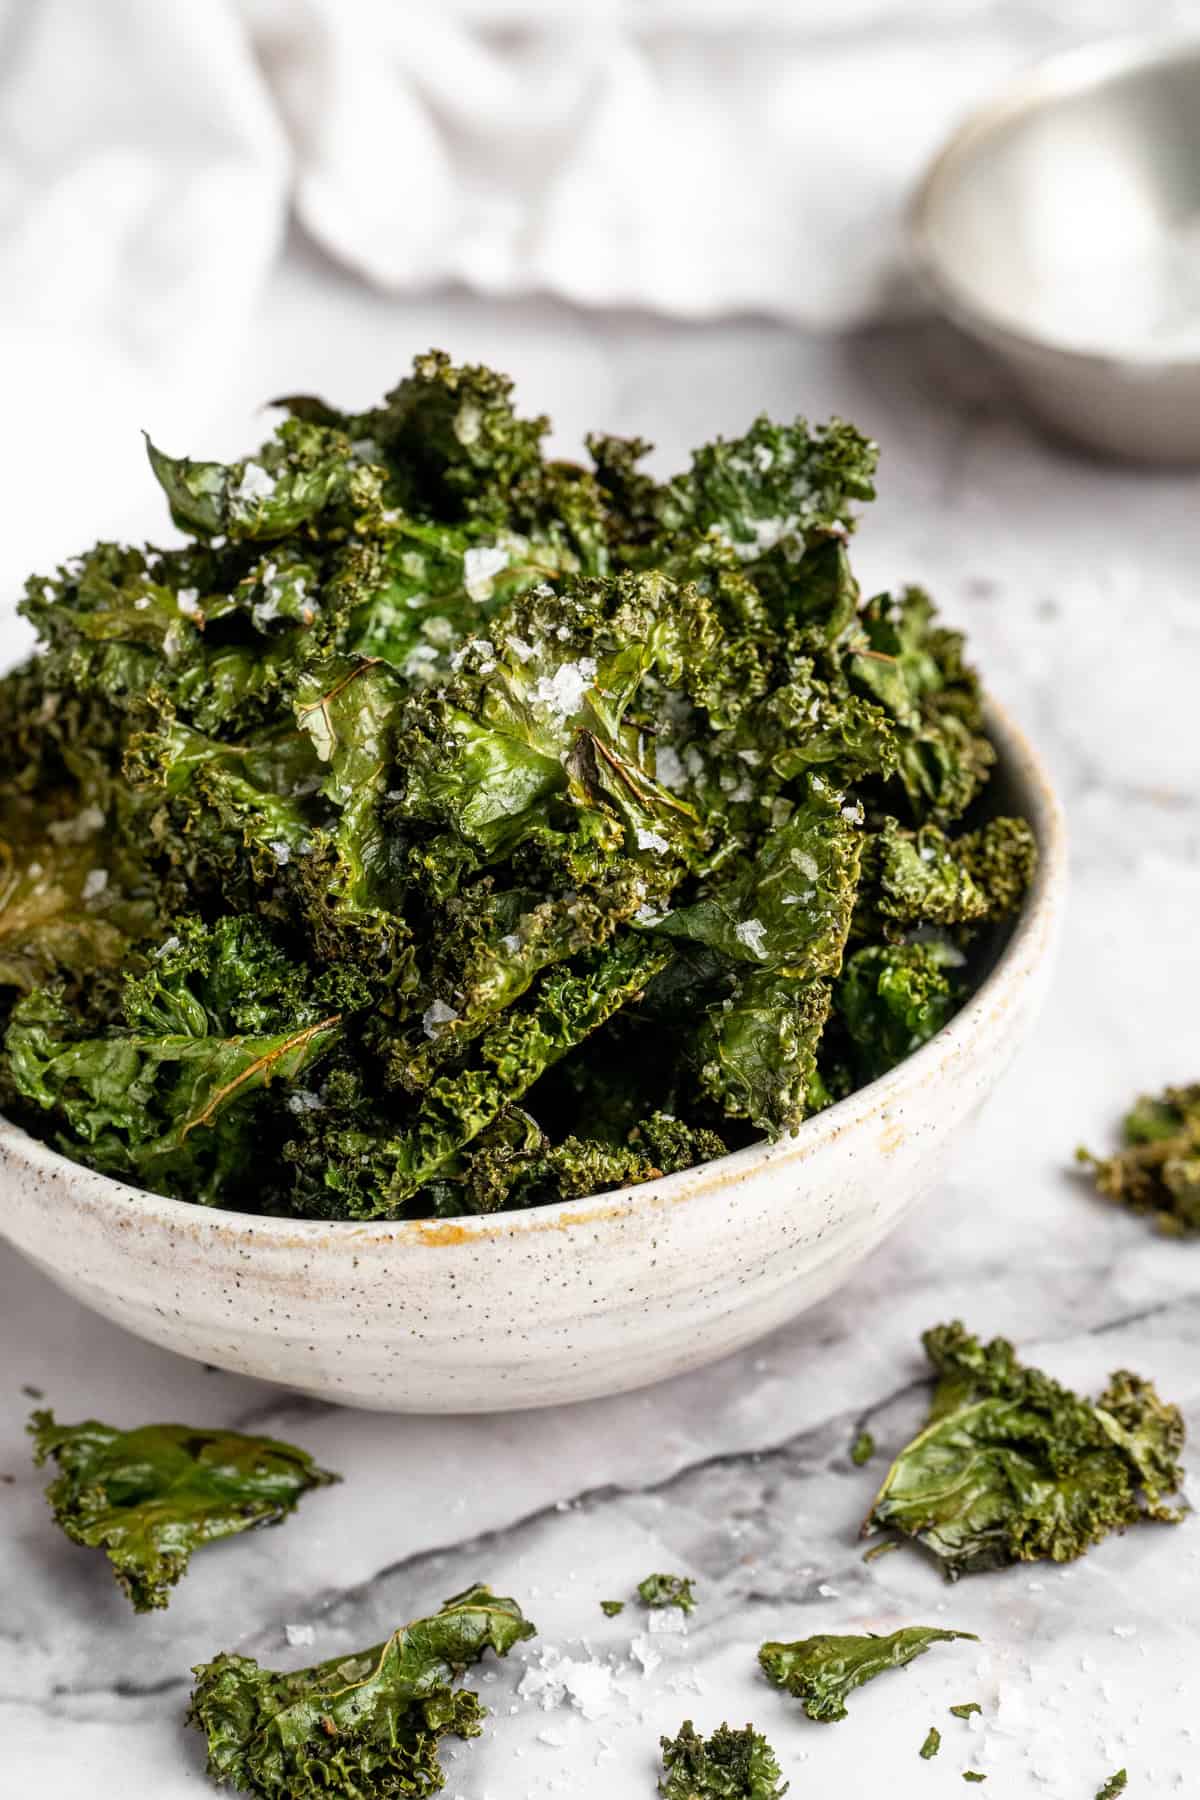
These crispy kale chips are so addictive, they’ll make you put away the potato chips for good. Yes, it’s true! Beautiful, lush kale leaves are absolutely transformed in the oven, turning into a crispy snack as their moisture bakes off. They take as little as 10 minutes to bake and you can add any seasonings you like. (Here, I keep it simple with sea salt, black pepper, and vegan Parmesan options.)
Why I Just Can’t Stop Eating These Crispy Kale Chips
Whenever I make these kale chips, Gav and I eat them straight off the pan as soon as they come out of the oven. I’m not afraid to burn my fingertips when there’s delicious kale chips to be had!
- Crispy FOR REAL . I’ve got some pointers for ensuring that your kale chips have a crispy-crunchy texture without any soggy or chewy bits. (These apple chips are another homemade option that gets super crispy without frying!)
- The simplest ingredients . At a minimum, you only need kale, oil, and salt to make this crave-worthy snack. (Did you ever think you’d see the day when you’d be craving kale?!)
- Ready to customise . Although these kale chips are delish with just salt, you can add any seasonings you like here. It’s a great recipe for using those pantry herbs and spices!
Note on Ingredients
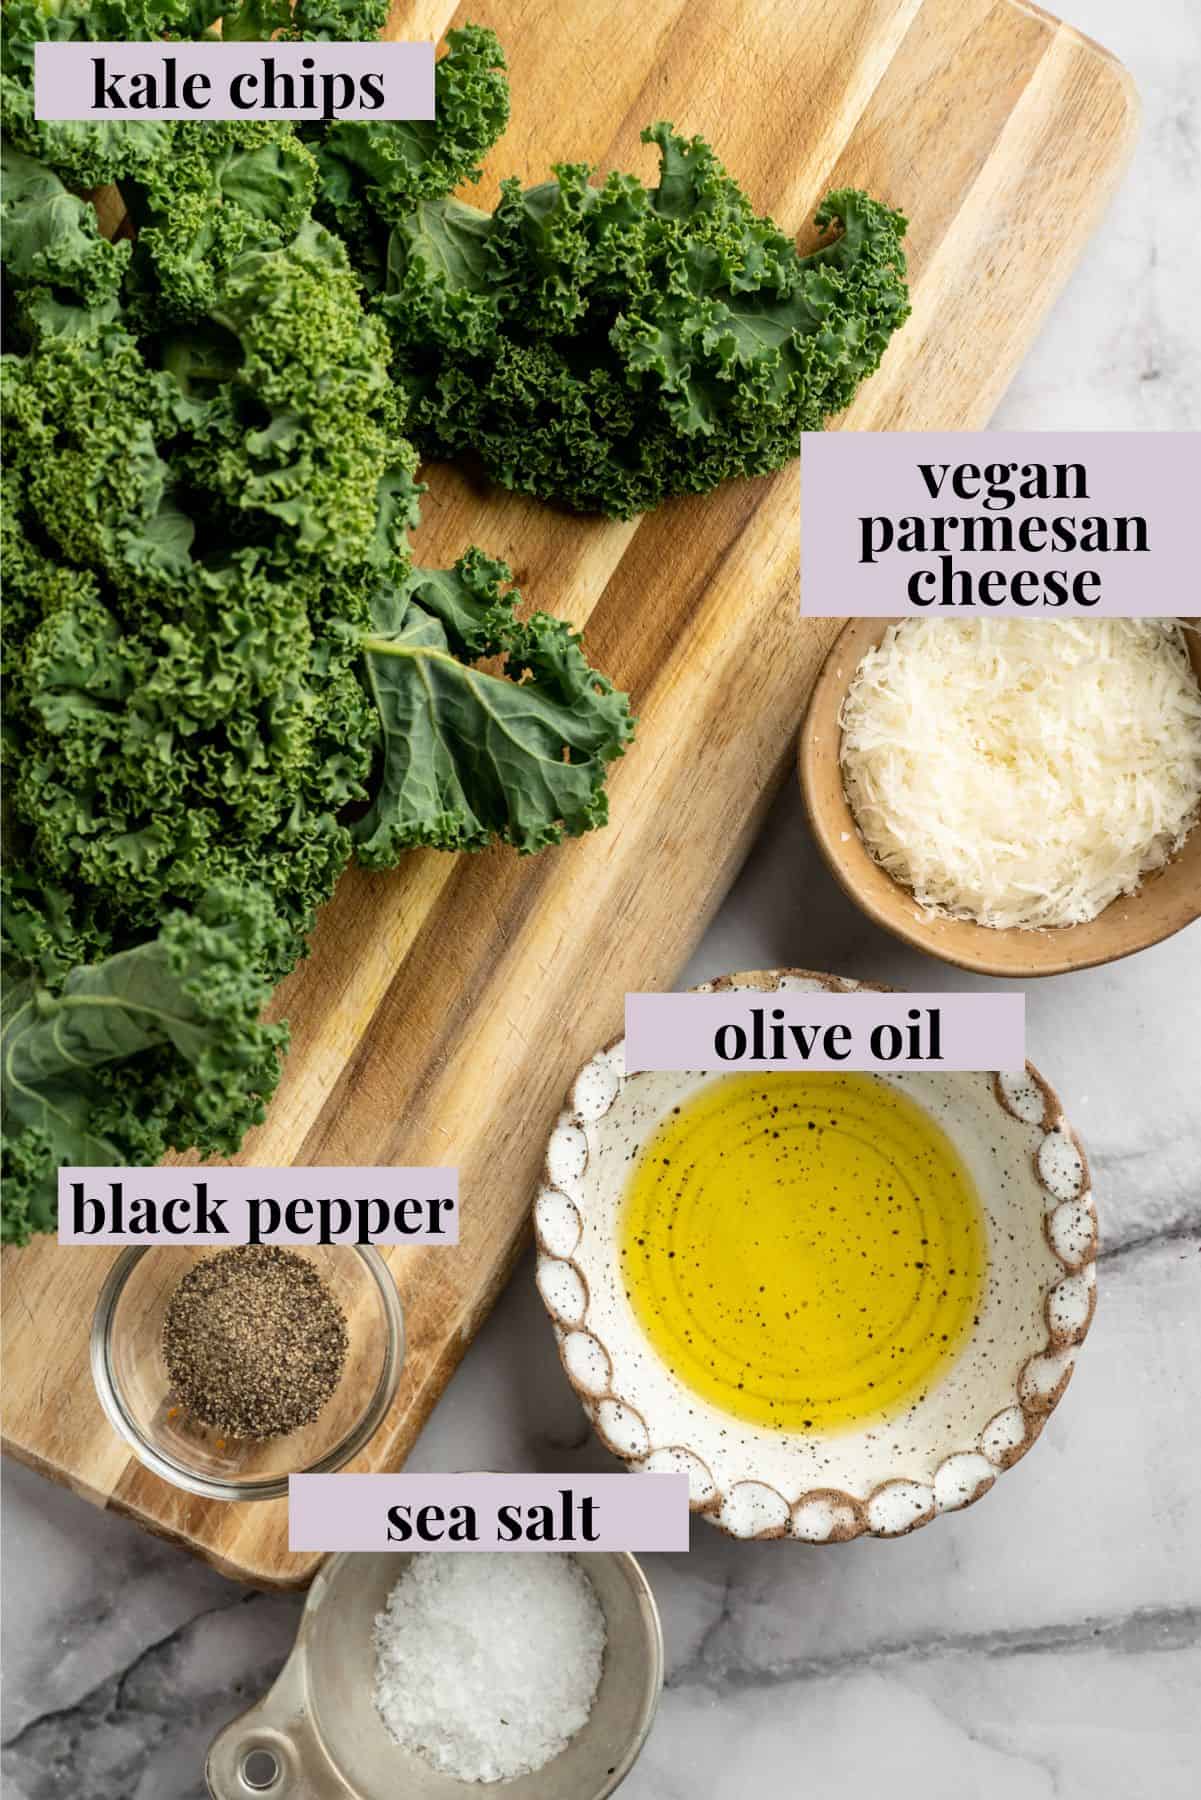
Let’s get started! Here’s what you’ll need to make homemade kale chips. Scroll down to the recipe card to find the ingredient quantities and recipe instructions.
- Kale leaves – The ruffle-y edges of curly kale make it my favourite for kale chips because it gets extra crispy, but lacinato kale also works.
- Olive oil – Or cooking spray for a lighter option. The oil helps the seasonings stick and makes for a crispier chip.
- Seasonings – You’ll need to salt your chips to make them tasty, but you can also add black pepper and/or vegan Parmesan cheese.
How to Make Kale Chips
This step-by-step guide will show you the process:
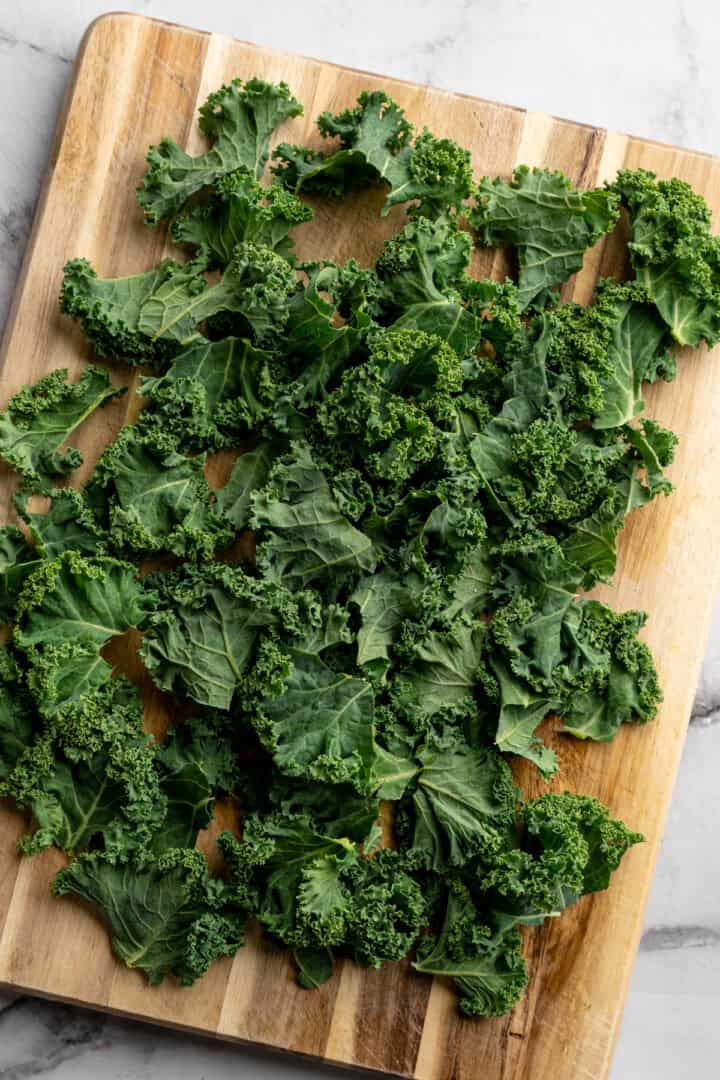
Prepare the kale.
- Prepare. Preheat your oven to 325°F and coat a baking sheet with cooking spray. Wash and dry the kale, remove the stems, and tear the leaves into pieces.
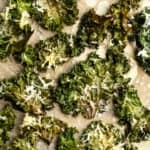
- Season the kale. Spread the kale on the baking sheet. Lightly coat it with oil or cooking spray, then sprinkle it with salt.
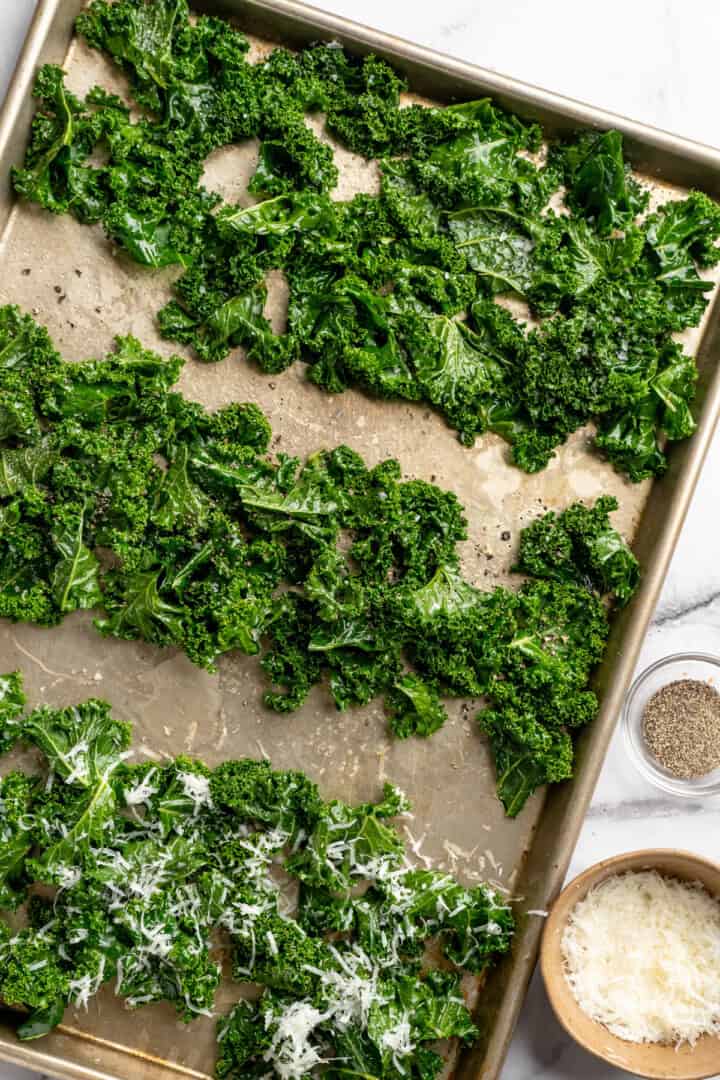
Add the seasonings.
- Add variations. Season with pepper and/or vegan Parmesan, if desired.
- Bake. Bake for 8 to 10 minutes, or until crisp. Serve immediately.
Tips for Perfect Crispy Kale Chips
- Dry the kale well . Use a salad spinner if you have one, otherwise pat the kale dry with a clean kitchen towel. If there’s moisture left on the leaves, they will steam in the oven and wilt instead of getting crispy.
- Don’t overcrowd the pan . An even layer is key! It’s fine if the edges of the kale leaves touch (they’ll shrink when baked anyway), but if they overlap, this will also cause the leaves to steam and wilt.
- Keep a close eye on the kale chips . They can burn fast! If your oven heats unevenly, you can check on the kale chips and remove any that are crispy, then return the rest to the oven to continue baking.
- Try other seasoning options . Like smoked paprika, garlic powder, nutritional yeast , curry powder —as long as it’s a dry seasoning, it will work!

Proper Storage
Kale chips are best enjoyed fresh because they inevitably start to wilt when stored. If you absolutely must store them, let them cool completely, then transfer them to an airtight container. Crack the lid just a bit and store up to 1 day at room temperature. You can re-crisp briefly in a 300°F oven for 2 to 3 minutes.
More Kale Recipes to Try
- Kale Soup
- Kale Slaw
- Strawberry Kale Smoothie
- The Best Kale Salad with Sesame Tahini Dressing
Ingredients
- 1 bunch kale chips , washed and dried (about 2 cups, 60 g)
- 2 teaspoons olive oil , or cooking spray, 10 mL
- 3/4 teaspoon sea salt , 3 g
- 1/2 teaspoon black pepper , 1 g
- 1/2 teaspoon vegan Parmesan cheese , 2 g
Instructions
- Preheat oven to 325 degrees F.
Washing The Kale and Removing From The Stems
- Wash the Kale and you can dry in a salad spinner if you have one, or with a paper towel.
- Strip from the stem and break the kale into pieces.
- Spray a baking sheet with cooking spray and spread the kale out over it.
- Either spray the kale with cooking spray or toss with oil (I find spraying the chips easier).
- Sprinkle all of the kale with salt, which is the base.
Variations
- If you want to also make spicy chips and cheesy chips, divide chips into three sections.
- Sprinkle one section with pepper, and the other section with grated parmesan cheese.
- Bake the chips for 8-10 minutes. Enjoy immediately!
Notes
I’ve got 3 delicious ways to make homemade kale chips: sea salt, spicy black pepper, and cheesy! Follow my pointers for kale chips that taste great and actually get crispy. (No soggy chips here, friends!)
These crispy kale chips are so addictive, they’ll make you put away the potato chips for good. Yes, it’s true! Beautiful, lush kale leaves are absolutely transformed in the oven, turning into a crispy snack as their moisture bakes off. They take as little as 10 minutes to bake and you can add any seasonings you like. (Here, I keep it simple with sea salt, black pepper, and vegan Parmesan options.)
Why I Just Can’t Stop Eating These Crispy Kale Chips
Whenever I make these kale chips, Gav and I eat them straight off the pan as soon as they come out of the oven. I’m not afraid to burn my fingertips when there’s delicious kale chips to be had!
- Crispy FOR REAL . I’ve got some pointers for ensuring that your kale chips have a crispy-crunchy texture without any soggy or chewy bits. (These apple chips are another homemade option that gets super crispy without frying!)
- The simplest ingredients . At a minimum, you only need kale, oil, and salt to make this crave-worthy snack. (Did you ever think you’d see the day when you’d be craving kale?!)
- Ready to customise . Although these kale chips are delish with just salt, you can add any seasonings you like here. It’s a great recipe for using those pantry herbs and spices!
Note on Ingredients
Let’s get started! Here’s what you’ll need to make homemade kale chips. Scroll down to the recipe card to find the ingredient quantities and recipe instructions.
- Kale leaves – The ruffle-y edges of curly kale make it my favourite for kale chips because it gets extra crispy, but lacinato kale also works.
- Olive oil – Or cooking spray for a lighter option. The oil helps the seasonings stick and makes for a crispier chip.
- Seasonings – You’ll need to salt your chips to make them tasty, but you can also add black pepper and/or vegan Parmesan cheese.
How to Make Kale Chips
This step-by-step guide will show you the process:
Prepare the kale.
- Prepare. Preheat your oven to 325°F and coat a baking sheet with cooking spray. Wash and dry the kale, remove the stems, and tear the leaves into pieces.
- Season the kale. Spread the kale on the baking sheet. Lightly coat it with oil or cooking spray, then sprinkle it with salt.
Add the seasonings.
- Add variations. Season with pepper and/or vegan Parmesan, if desired.
- Bake. Bake for 8 to 10 minutes, or until crisp. Serve immediately.
Tips for Perfect Crispy Kale Chips
- Dry the kale well . Use a salad spinner if you have one, otherwise pat the kale dry with a clean kitchen towel. If there’s moisture left on the leaves, they will steam in the oven and wilt instead of getting crispy.
- Don’t overcrowd the pan . An even layer is key! It’s fine if the edges of the kale leaves touch (they’ll shrink when baked anyway), but if they overlap, this will also cause the leaves to steam and wilt.
- Keep a close eye on the kale chips . They can burn fast! If your oven heats unevenly, you can check on the kale chips and remove any that are crispy, then return the rest to the oven to continue baking.
- Try other seasoning options . Like smoked paprika, garlic powder, nutritional yeast , curry powder —as long as it’s a dry seasoning, it will work!
Proper Storage
Kale chips are best enjoyed fresh because they inevitably start to wilt when stored. If you absolutely must store them, let them cool completely, then transfer them to an airtight container. Crack the lid just a bit and store up to 1 day at room temperature. You can re-crisp briefly in a 300°F oven for 2 to 3 minutes.
More Kale Recipes to Try
- Kale Soup
- Kale Slaw
- Strawberry Kale Smoothie
- The Best Kale Salad with Sesame Tahini Dressing
Ingredients
- 1 bunch kale chips , washed and dried (about 2 cups, 60 g)
- 2 teaspoons olive oil , or cooking spray, 10 mL
- 3/4 teaspoon sea salt , 3 g
- 1/2 teaspoon black pepper , 1 g
- 1/2 teaspoon vegan Parmesan cheese , 2 g
Instructions
- Preheat oven to 325 degrees F.
Washing The Kale and Removing From The Stems
- Wash the Kale and you can dry in a salad spinner if you have one, or with a paper towel.
- Strip from the stem and break the kale into pieces.
- Spray a baking sheet with cooking spray and spread the kale out over it.
- Either spray the kale with cooking spray or toss with oil (I find spraying the chips easier).
- Sprinkle all of the kale with salt, which is the base.
Variations
- If you want to also make spicy chips and cheesy chips, divide chips into three sections.
- Sprinkle one section with pepper, and the other section with grated parmesan cheese.
- Bake the chips for 8-10 minutes. Enjoy immediately!
Notes
Crispy Kale Chips
Ingredients
- 1 bunch kale chips washed and dried (about 2 cups, 60 g)
- 2 teaspoons olive oil or cooking spray, 10 mL
- 3/4 teaspoon sea salt 3 g
- 1/2 teaspoon black pepper 1 g
- 1/2 teaspoon vegan Parmesan cheese 2 g
Instructions
- Preheat oven to 325 degrees F.
Washing The Kale and Removing From The Stems
- Wash the Kale and you can dry in a salad spinner if you have one, or with a paper towel.
- Strip from the stem and break the kale into pieces.
- Spray a baking sheet with cooking spray and spread the kale out over it.
- Either spray the kale with cooking spray or toss with oil (I find spraying the chips easier).
- Sprinkle all of the kale with salt, which is the base.
Variations
- If you want to also make spicy chips and cheesy chips, divide chips into three sections.
- Sprinkle one section with pepper, and the other section with grated parmesan cheese.
- Bake the chips for 8-10 minutes. Enjoy immediately!
Notes
Nutrition
Crispy Kale Chips https://jessicainthekitchen.com/three-ways-make-kale-chips-salty-spicy-cheesy/ January 19, 2026
These gluten-free vegan Zucchini Fritters are delightfully crispy and an absolute cinch to make, perfect for pairing with your favourite dipping sauces and toppings! Serve them as a side, make them a light main dish, or fry them up for a fun party appetizer!

Along with Zucchini Muffins and Zucchini Bread , zucchini fritters are one of the classic ways to use up an over-abundance of everyone’s favourite summer squash. But traditional zucchini fritters use eggs and all-purpose flour for binding, which means they’re a no-go for vegans and anyone who needs to avoid gluten. But good news, friends—making gluten-free vegan zucchini fritters is easy as can be! A sticky flax egg and coconut flour help hold the fritters together while they’re pan-fried to crispy perfection.
These Zucchini Fritters Are the Crispy Side You Need in Your Life
I think “crispy” might just be one of my favourite words when it comes to food. I just can’t resist and these zucchini fritters deliver LOTS of crispy goodness in every bite. Let’s talk about why you’ll want to add this recipe to your collection.
- Quick to make . These gluten-free vegan zucchini fritters come together in under 30 minutes. Easy peasy!
- Endless serving options . Fritters are perfect for piling high with all kinds of toppings like heirloom tomatoes, fresh herbs, Cashew Cream … so many possibilities.
- Awesome for every meal . Literally! You can pair them with Fluffy Tofu Scramble for breakfast, serve them as a lunch with Pineapple Salsa , add them to your party snack table with a fun sauce for dipping, or use them as a dinner side dish with something like Vegan Chicken .

Notes on Ingredients
You don’t need much to make this recipe! Scroll down to the recipe card to find the ingredient quantities and recipe instructions.
- Flax eggs – Learn how to make a flax egg .
- Zucchini – Smaller zucchini is best, as it has more flavour and fewer large seeds.
- Garlic powder – This allows you to add lots of garlicky flavour without having to crush a bunch of garlic cloves!
- Sea salt and black pepper
- Parsley – Feel free to substitute another fresh herb that’s in season or that you have on hand. Chives are quite good in this recipe!
- Coconut flour
- Coconut or olive oil – Or another cooking oil you like or have on hand.
- Lime wedges – For a finishing squeeze to brighten up the flavour.
What Is the Best Way to Grate Zucchini?
The best way to grate zucchini is to use a box grater. Simply place the zucchini against the large, flat holes of the grater and gently move it back and forth against the blades until all the flesh has been grated.
You can also use a food processor fitted with a grating blade if you prefer. Some food processors do this better than others; if yours tends to grate foods into bits, you’re better off with the box grater.
How to Make Gluten-Free Vegan Zucchini Fritters
Once you grate the zucchini, it’s smooth sailing from there on out! The rest of the recipe comes together quickly.
Salt and drain the zucchini.
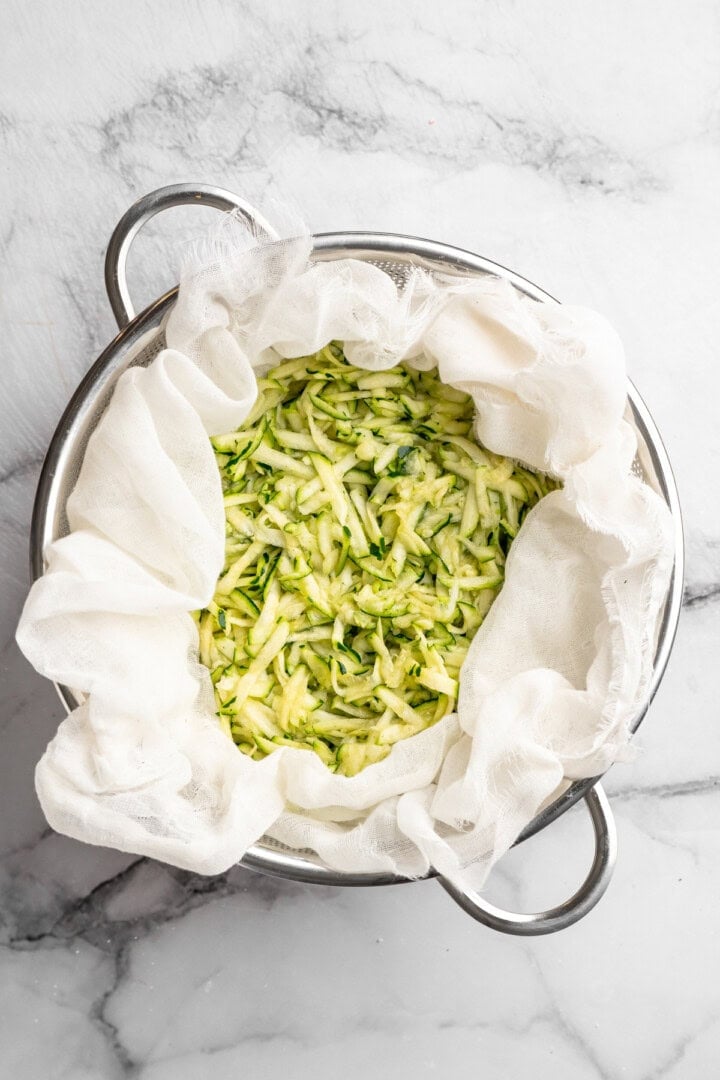
- Salt the zucchini. Transfer the grated zucchini to a cheesecloth or kitchen towel, then place this in a colander in your sink. Sprinkle the zucchini with salt and let this sit for 10 minutes; the salt will help pull the moisture from the zucchini.
- Drain. Use the cheesecloth or towel to squeeze as much liquid from the zucchini as possible.
- Make the fritter mixture. Add the zucchini to a mixing bowl and stir in the remaining ingredients until just combined.
Shape the fritters.
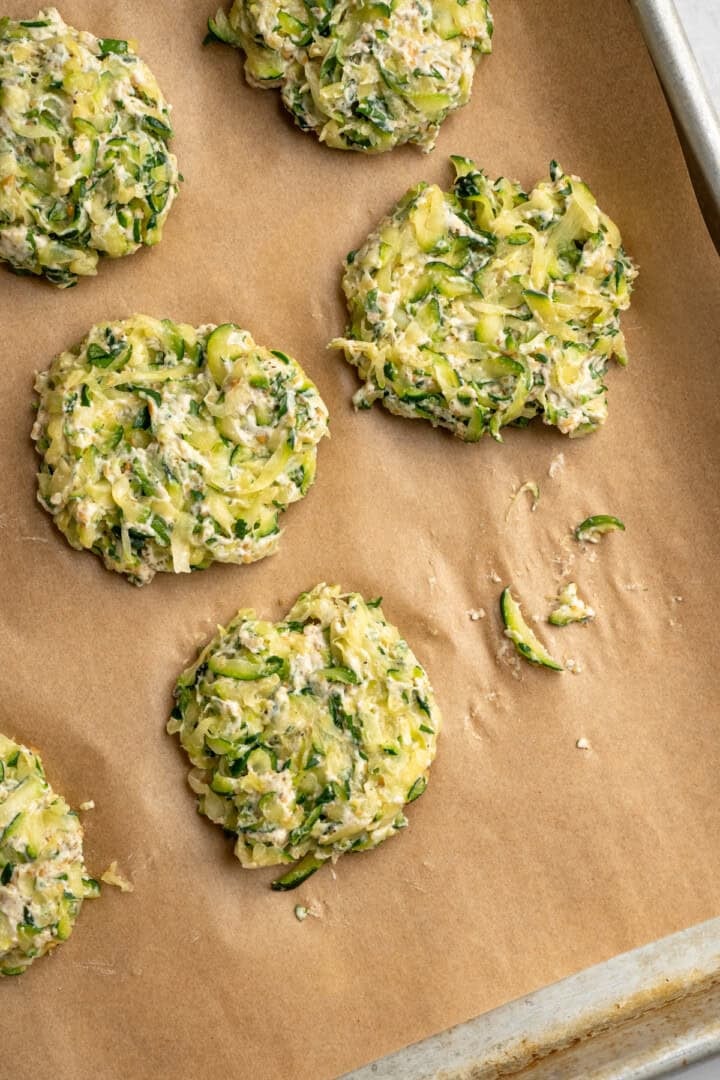
- Form the fritters. Form balls with 2 tablespoons of batter; flatten them slightly on a plate or baking sheet. You should have about 10 fritters.
- Cook. Heat the oil in a pan set over high heat. Add the zucchini fritters, leaving some space between each, and cook each side for about 4 minutes, or until they’re golden brown.
- Serve. Plate the fritters and serve as desired. Check out the serving suggestions below!
Tips for Success
Here are some additional tips to make sure you get perfect, crispy gluten-free vegan zucchini fritters.
- Get as much water out as you can. The zucchini should be as dry as possible; zucchini holds a lot of liquid and that moisture will keep your fritters from frying up crispy.
- Aim for a thick batter. If it’s too runny, add more coconut flour. A thick batter will help your fritters hold together.
- Make sure your pan is hot before adding the fritters. This will allow them to achieve that perfect golden crust.
- Don’t overcrowd your pan. It’s better to cook the fritters in batches than crowd them in the pan, which will result in soggy fritters.

Variations and Topping Ideas
There are so many fun ways to switch up this recipe for vegan zucchini fritters! Here are some of my favourites:
- Try adding some vegan cheese or nutritional yeast for a cheesy flavour.
- Add sliced green onions to the fritter mixture, or use them as a garnish.
- Spice it up with some cayenne pepper or hot sauce.
- Make them into burgers instead of fritters by dividing the mixture into four larger patties.
- Use them as a base for a Vegan Caprese topping.
- Swap the zucchini for yellow squash or another summer squash variety.
- Spoon Vegan Sour Cream or Black Bean Avocado and Corn Salad on top.
- Top with Tzatziki , Tofu Feta , and dill for Greek vibes (pictured here).
How to Store and Reheat Leftovers
- Refrigerator : These zucchini fritters can be stored in an airtight container in the refrigerator for up to a week.
- Freezer : The fritters can also be frozen for up to 3 months. Place them in an airtight container or freezer bag; if you need to stack them, place parchment paper between the layers. Let them thaw in the refrigerator overnight before reheating.
- To reheat : I recommend reheating in a 400ºF oven or air fryer to restore their original crispiness, but the microwave will work too; they just won’t be as crispy that way.

More Crispy Recipes to Try
- Air Fryer Shoestring Fries
- Crispy Beet Chips
- Perfectly Crispy Breakfast Potatoes
- Crispy Homemade Falafel
Ingredients
- 2 flax eggs , 2 tablespoons flax seeds ( 14 g) + 6 tablespoons water ( 90 mL), whisked, let to set for 15 minutes in the fridge, then whisk again once the time is finished to combine
- 4 cups grated zucchini , + 1 teaspoon salt ( 480 g zucchini + 6 g salt)
- 1 teaspoon garlic powder , 3 g
- ½ teaspoon sea salt , 1.5 g
- 1 handful parsley , chopped
- ½ teaspoon ground black pepper , 1 g
- ¼ cup coconut flour , ( 30 g) + more if needed or ½ cup regular all purpose flour ( 60 g)
- 2 tablespoons coconut oil , or olive oil ( 30 g)
- lime wedges , to serve
Instructions
- Make your flax eggs and put in the fridge to set up while prepping everything else.
- Add the grated zucchini to a cheesecloth or thin kitchen towel in a colander over your kitchen sink. Sprinkle with the 1 teaspoon of salt and leave to drain for 10 minutes.
- After ten minutes, squeeze as much liquid out of the zucchini as possible. This is a crucial step to not making your fritters soggy!
- Add your squeezed zucchini into a bowl and mix in flax eggs, garlic powder, sea salt, black pepper and flour until thoroughly combined.
- Form fritter balls the size of 2 tablespoons and slightly flatten them on a plate or baking sheet with your fingers until you get about 10. This will ensure the zucchini in the centre and the flour is fully cooked.
- Heat the oil in a pan over medium high heat. Add the zucchini fritters, leaving some space between each, and cook on each side until golden brown, about 3 to 4 minutes, being careful not to burn them. Flip, and cook for another 3 minutes on the other side. I recommend testing one fritter first, and watching them to ensure they don’t burn.
- Once fried, place the finished fritters onto a paper towel to absorb any excess liquid or oil.
- Serve with some vegan sour cream, lime crema or tzatziki and lime wedges to squeeze over. Enjoy!
Notes
- To store: These vegan zucchini fritters can be stored in an airtight container in the refrigerator for up to a week. I recommend reheating them in a 400ºF oven or air fryer to restore their original crispiness, but the microwave will work too; they just won’t be as crispy that way.
- To freeze: These vegan zucchini fritters can be frozen for up to 3 months. Place them in an airtight container or freezer bag; if you need to stack them, place parchment paper between the layers. Let them thaw in the refrigerator overnight, then reheat according to the directions above.
