I bet you never thought you could make your own sprinkles! Here’s how to make sprinkles at home for a more natural alternative to store-bought.
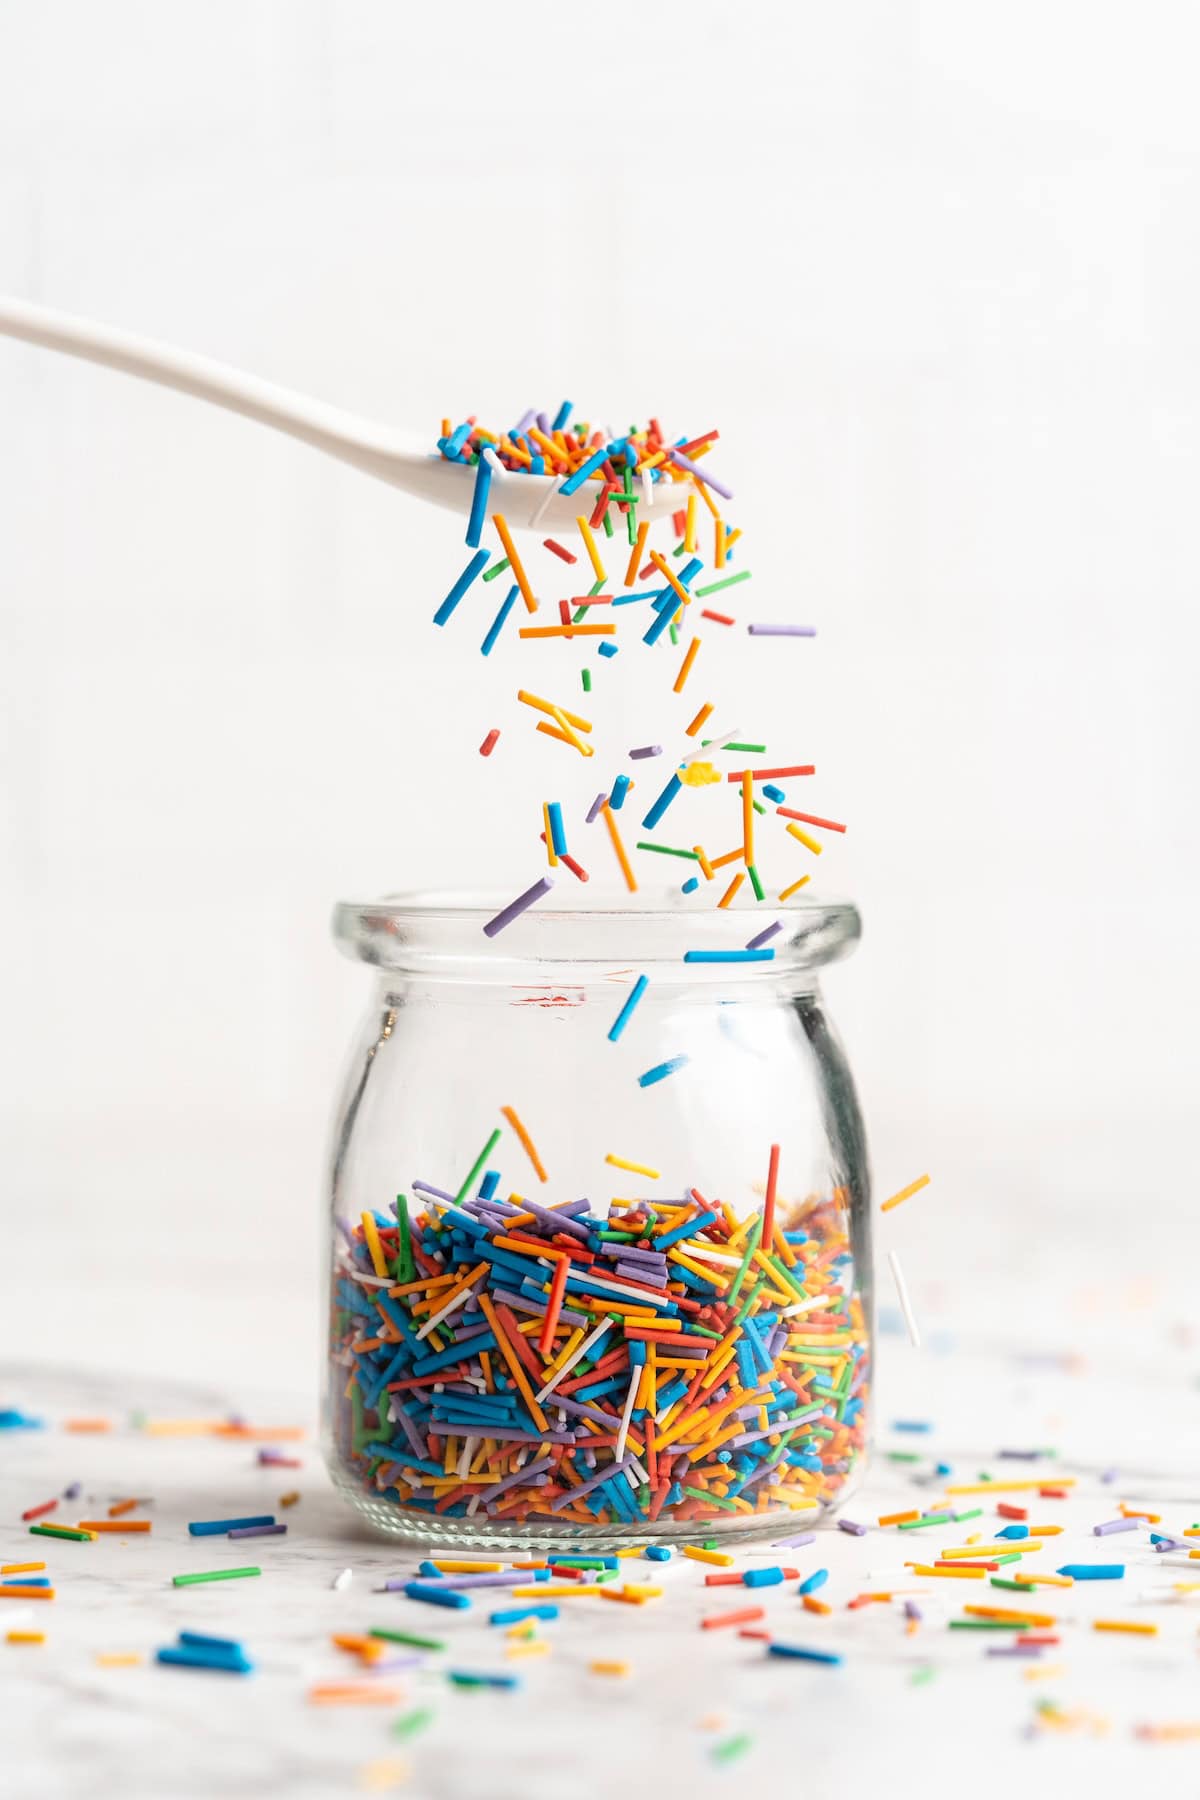
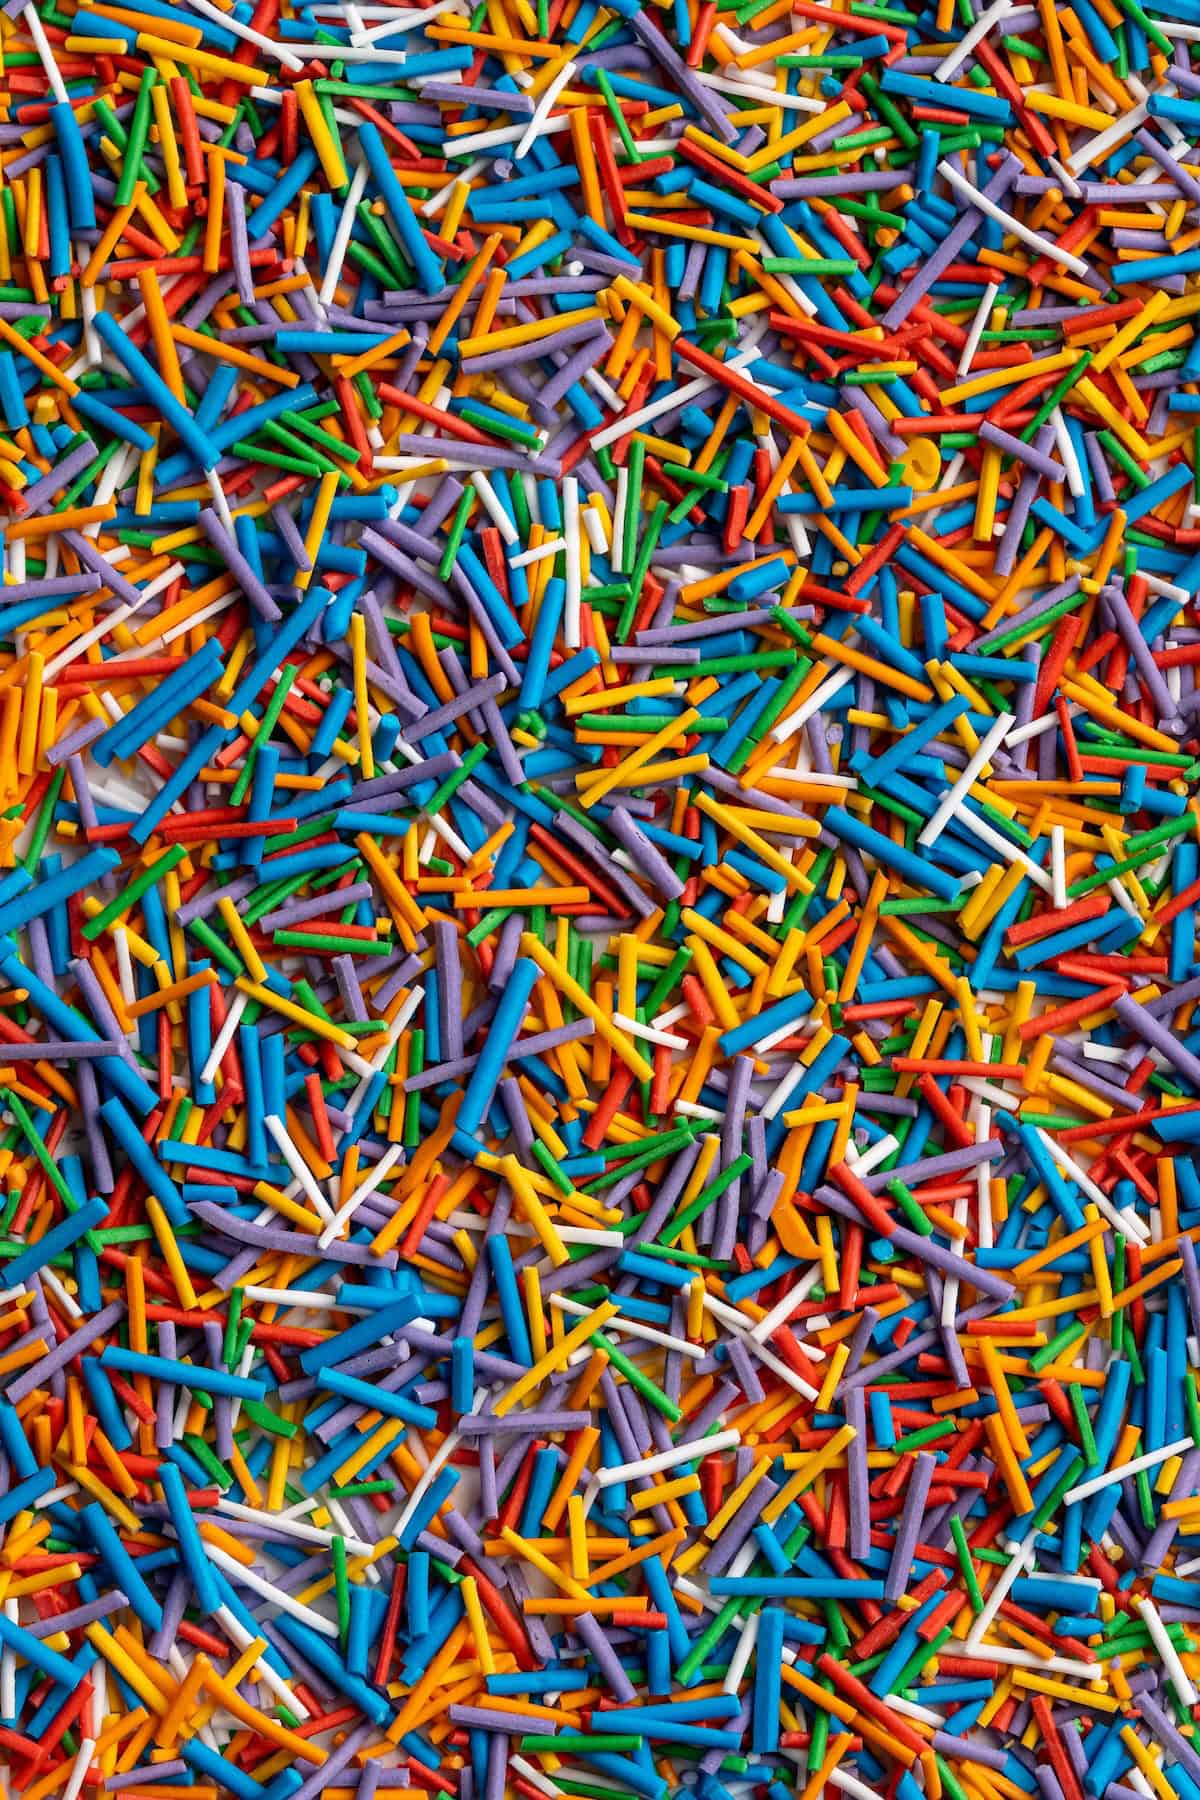
I am a little bit obsessed with these DIY sprinkles. I mean, just LOOK at them! How fun are they?! The colours are bright, the shape is on-point, and the process of making them is satisfying. You can make these vegan sprinkles with any colours you like and add them to all your favourite baked goods!
Why You’ll Love Making Your Own Sprinkles
- A more natural choice . Store-bought sprinkles usually contain artificial dyes, but by making your own sprinkles, you can use natural food colouring for a healthier option.
- Endless possibilities . With store-bought sprinkles, you’re limited to the colours and shapes available at the store. By making your own, you have complete control over the colours and even the shape!
- Fun to do . Making homemade sprinkles is a great opportunity to get creative in the kitchen. Of course, it’s easy to buy sprinkles at the store, but you get a sense of satisfaction from doing it yourself!
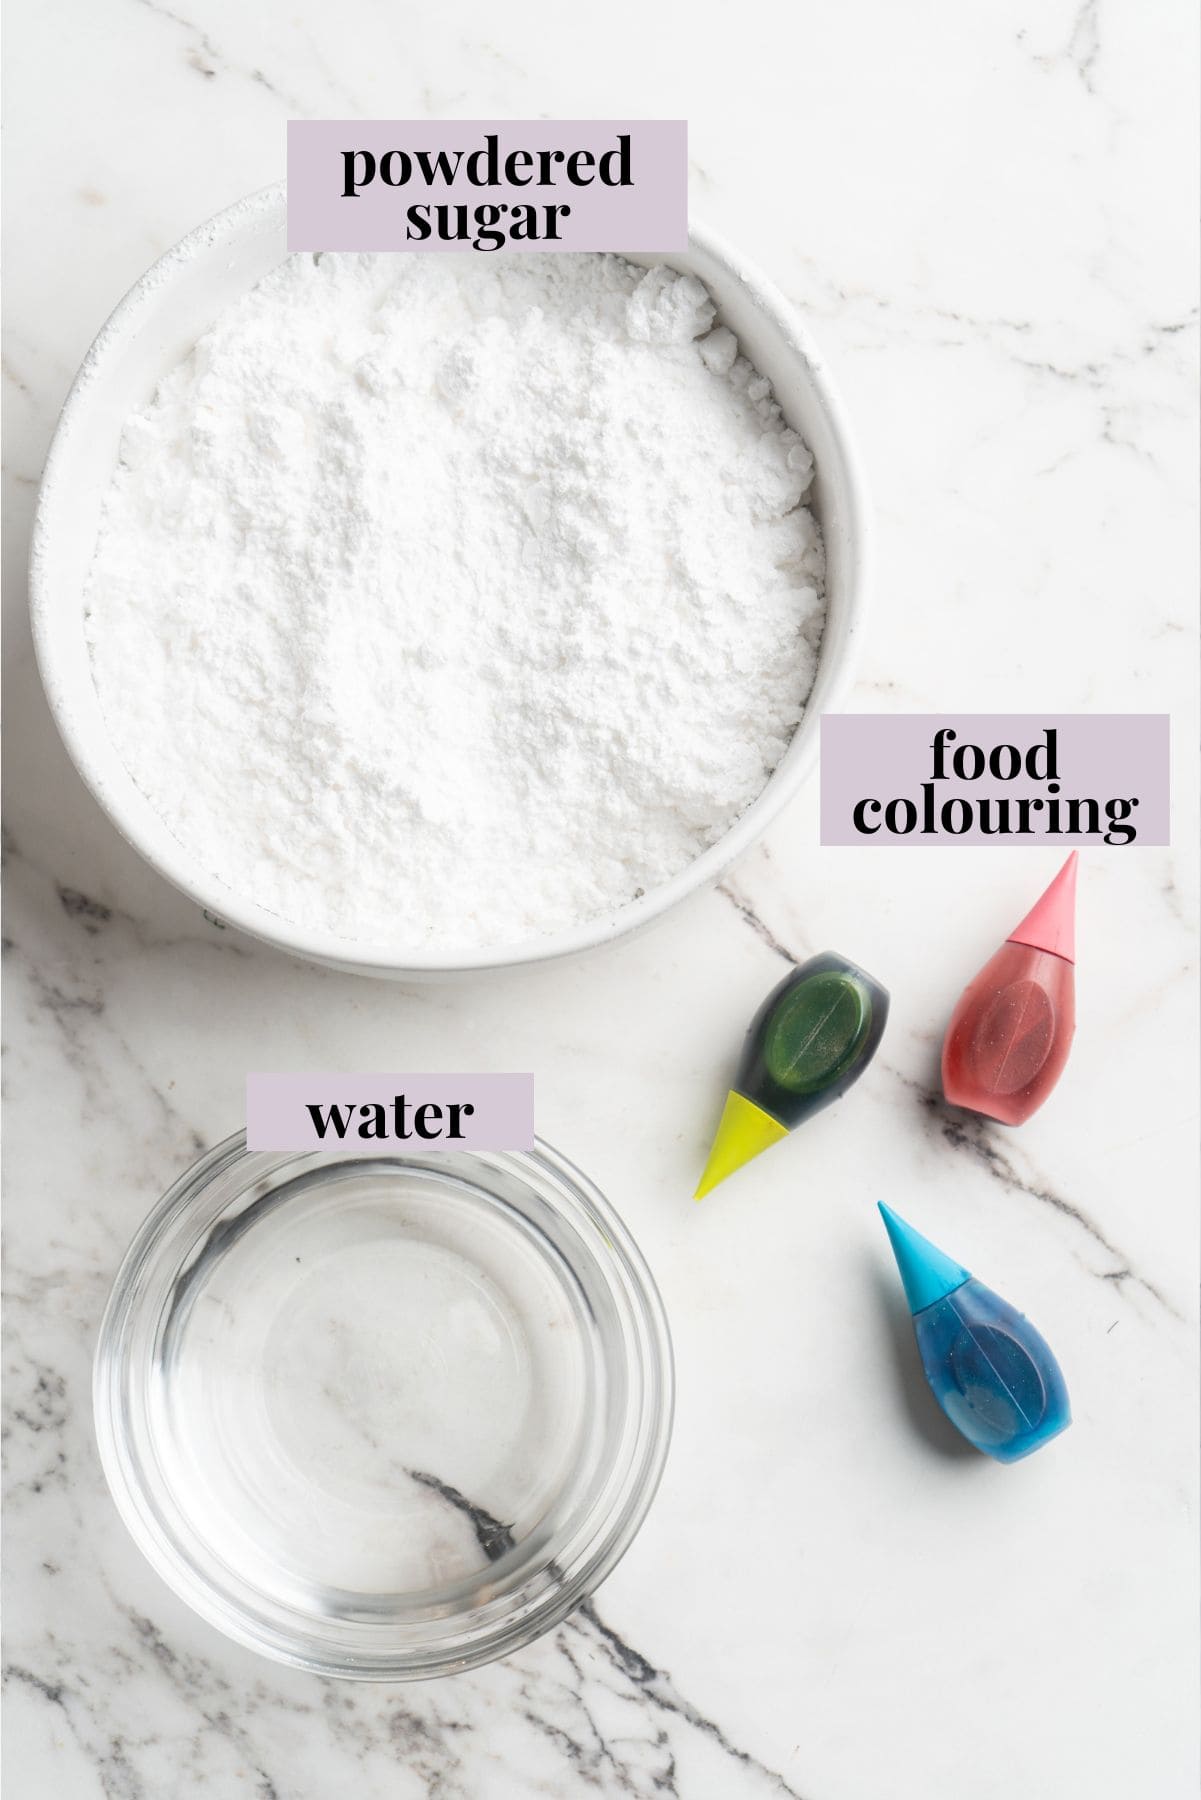
Notes on Ingredients
Scroll down to the recipe card to find the ingredient quantities and recipe instructions.
- Powdered sugar – AKA confectioner’s sugar .
- Water
- Food colouring – You can use any kind you like or have on hand, but I use natural plant-based colouring .
How to Make Sprinkles
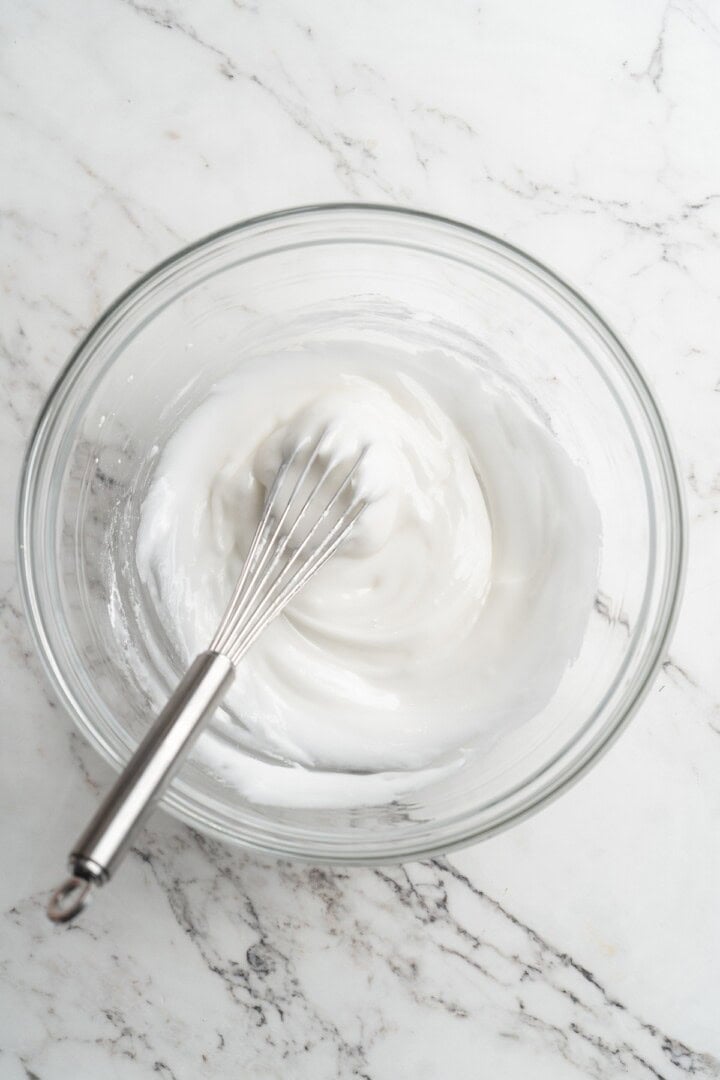
Mix powdered sugar and water.
- Make the base . Mix the powdered sugar and water.
- Colour the base . Divide the powdered sugar mixture into bowls (you don’t have to do this if you’re only making one colour of sprinkles). Add the food colouring to each bowl and stir to combine.
- Transfer to piping bags . Scoop the coloured mixtures into piping bags. Twist the tops and snip the tips.
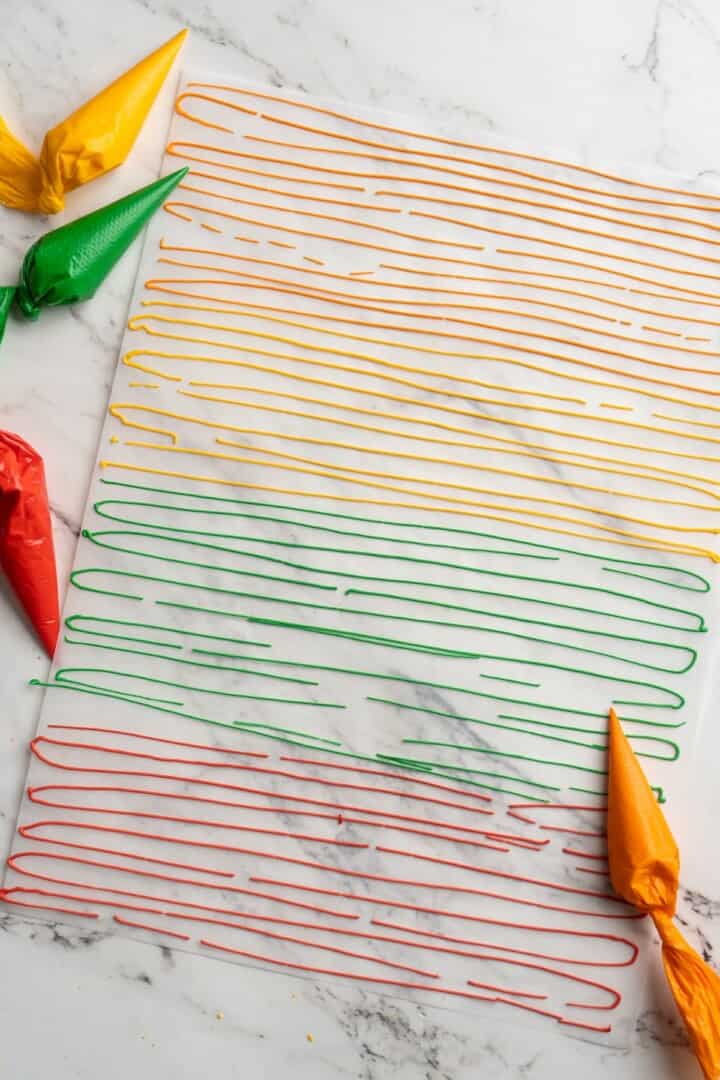
Pipe icing into lines or shapes.
- Form the sprinkles . Squeeze lines of icing onto a sheet of parchment paper. (You can also try your hand at other shapes—dots, hearts, etc.)
- Dry . Let the icing set for 12 hours, cut into smaller pieces (if necessary), then remove sprinkles from the parchment and transfer to an airtight container.
Colour Mixing Guide
If you simply want to use the primary colours that came with your food colouring kit, that makes it easy! If you want to mix colours to make additional hues, use this guide and see the additional tips in the recipe card below.
- Secondary Colors: Mixing together two primary colors will result in secondary colors: orange, green and purple. Orange : Mix red and yellow. Green : Combine blue and yellow. Purple : Blend red and blue.
- Tertiary Colors : By mixing a primary color with a secondary color, you can create even more variation. For example, combining blue and purple will yield a deep indigo.
- Adjusting Shades : If a color appears too intense, you can lighten it by adding a touch of white icing. Incorporating a very small amount of black will create darker hues, but do this carefully—you truly only need a very small amount.
Tips for Success
- Consistency is key . When mixing the icing, make sure it has a medium consistency before adding the colour. If it’s too runny, the sprinkles will not hold their shape. If it’s too thick, it will be difficult to pipe.
- Use a zip-top bag if needed . If you don’t have piping bags, you can use zip-top sandwich bags instead. Just snip the corner and pipe from there.
- Practice makes perfect . Don’t get frustrated! The first attempt or two will probably be a bit messy, but as you go, it will get easier. And, if you mess up, just wipe off the icing and start over.
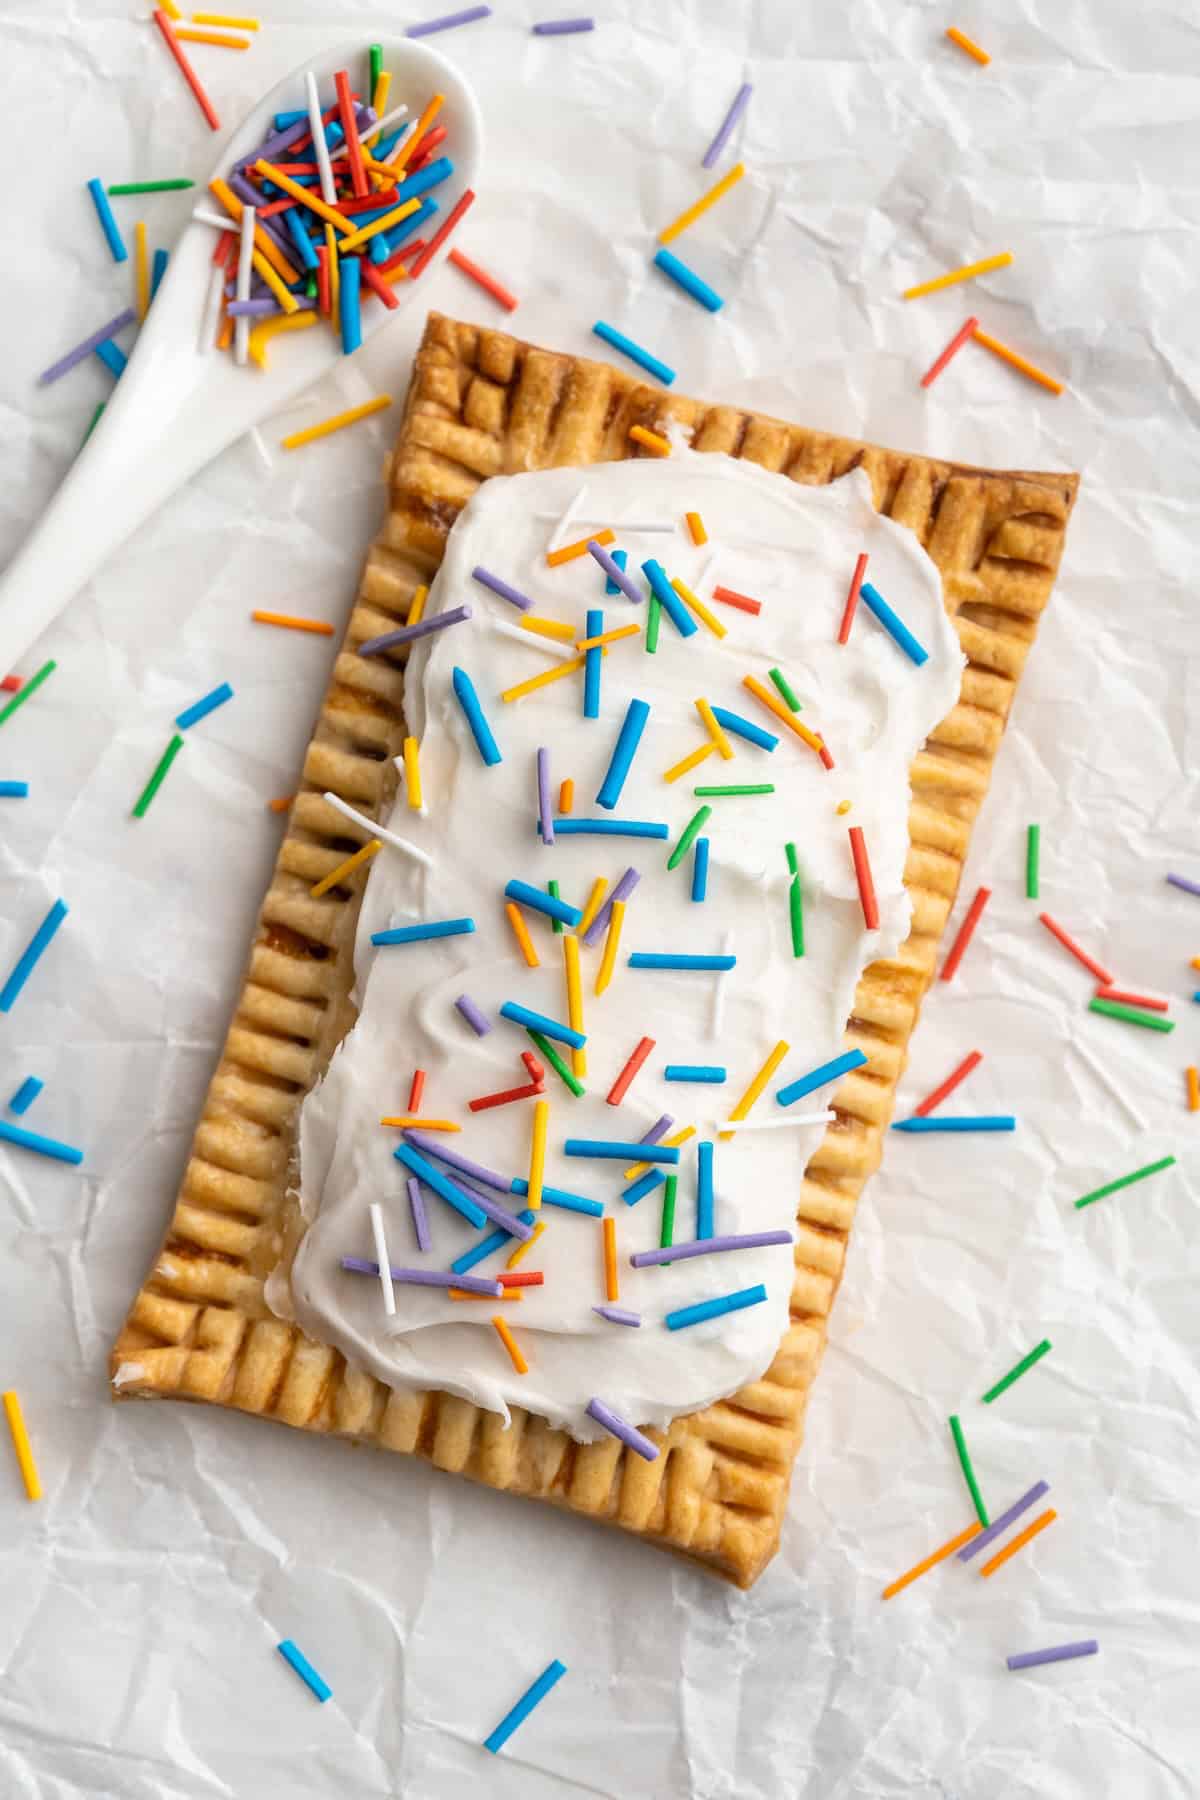
My Favourite Ways to Use Homemade Sprinkles
Here are some recipes where you can put these homemade sprinkles to use:
- Halloween Cupcakes
- Vegan Vanilla Cupcakes
- Vegan Chocolate Cupcakes Recipe
- Red Velvet Brownies
- Vegan Chocolate Cake
How to Store
Ensure that the sprinkles are fully dry before transferring them to an airtight storage container. Humidity can ruin the sprinkles’ texture and cause them to clump together, so store them in a cool, dark, and dry place. They’ll last up to a year.
More How-To Tutorials
- How to Make Vegan Parmesan Cheese
- How To Make Date Syrup
- How To Make Tahini (2 Ingredients)
- How to Make Almond Butter
- How to Make Banana Milk (Vegan, Paleo, 5 Minutes!)
Ingredients
- 1 cup powdered sugar
- 1-2 tablespoons water
- plant-based food colouring , I love the plant-based food colouring from Whole Foods or use any other natural, dye-free food colouring
Instructions
- Mix together the powdered sugar and water until fully combined into a medium consistency.
- Divide the icing into individual bowls for colouring. I made a rainbow of colours, so I separated mine into 7 containers. Add food colouring to each bowl, bearing in mind that dye-free food colouring is less concentrated and may require a few extra drops to achieve a vibrant color. Be careful not too add too much or the sprinkles will taste like food colouring.
- To make secondary colors: mix two primary colors (red, yellow or blue) together. To make orange : mix red and yellow. To make green : most packs come with green, but I find the colouring tends to be neon, adjust the colour by adding a bit more blue to darken/normalise it slightly, or mix yellow and blue to make your own green colouring. To make purple/violet : mix red and blue.
- To make tertiary colors : mix a primary and secondary color together. For example, to make indigo : mix red and blue, then add a bit more blue to the mix.
- To adjust colouring : lighten a colour by adding a touch of white icing or darken a colour by adding a very small amount of black (do this carefully—you truly only need a very small amount)
- Separate the icing into piping bags. To make it easier to fill a bag, place it into a tall drinking glass and fold the top over the glass. This will open and stabilize the bag so that you can pour in the icing. Squeeze the icing into the bottom as much as possible, pressing any air out.
- Twist your bags or use rubber bands to keep the icing down. Snip off a small, evenly-sized tip from each bag.
- Squeeze lines of icing onto a piece of parchment paper. You can also pipe other shapes, like dots, hearts, or even little animals if you’d like! If you make a mistake initially, just wipe them off and start over!
- Let the sprinkles set on the parchment paper for 12 hours. If you’re in a rush, they will be dry enough to use in 1 hour, but anything you plan to store will need to set for the full 12 hours. Cut them up (if needed) and slide them off into an air-tight container; completely dry sprinkles will slide off very easily.
- Store sprinkles in a cool, dark, and dry location. They will keep for up to a year if stored properly. Enjoy!
Notes

How to Make Sprinkles
Ingredients
- 1 cup powdered sugar
- 1-2 tablespoons water
- plant-based food colouring I love the plant-based food colouring from Whole Foods or use any other natural, dye-free food colouring
Instructions
- Mix together the powdered sugar and water until fully combined into a medium consistency.
- Divide the icing into individual bowls for colouring. I made a rainbow of colours, so I separated mine into 7 containers. Add food colouring to each bowl, bearing in mind that dye-free food colouring is less concentrated and may require a few extra drops to achieve a vibrant color. Be careful not too add too much or the sprinkles will taste like food colouring.
- To make secondary colors: mix two primary colors (red, yellow or blue) together. To make orange : mix red and yellow. To make green : most packs come with green, but I find the colouring tends to be neon, adjust the colour by adding a bit more blue to darken/normalise it slightly, or mix yellow and blue to make your own green colouring. To make purple/violet : mix red and blue.
- To make tertiary colors : mix a primary and secondary color together. For example, to make indigo : mix red and blue, then add a bit more blue to the mix.
- To adjust colouring : lighten a colour by adding a touch of white icing or darken a colour by adding a very small amount of black (do this carefully—you truly only need a very small amount)
- Separate the icing into piping bags. To make it easier to fill a bag, place it into a tall drinking glass and fold the top over the glass. This will open and stabilize the bag so that you can pour in the icing. Squeeze the icing into the bottom as much as possible, pressing any air out.
- Twist your bags or use rubber bands to keep the icing down. Snip off a small, evenly-sized tip from each bag.
- Squeeze lines of icing onto a piece of parchment paper. You can also pipe other shapes, like dots, hearts, or even little animals if you’d like! If you make a mistake initially, just wipe them off and start over!
- Let the sprinkles set on the parchment paper for 12 hours. If you’re in a rush, they will be dry enough to use in 1 hour, but anything you plan to store will need to set for the full 12 hours. Cut them up (if needed) and slide them off into an air-tight container; completely dry sprinkles will slide off very easily.
- Store sprinkles in a cool, dark, and dry location. They will keep for up to a year if stored properly. Enjoy!
Video
Notes
Nutrition
How to Make Sprinkles https://jessicainthekitchen.com/how-to-make-sprinkles/ December 4, 2024
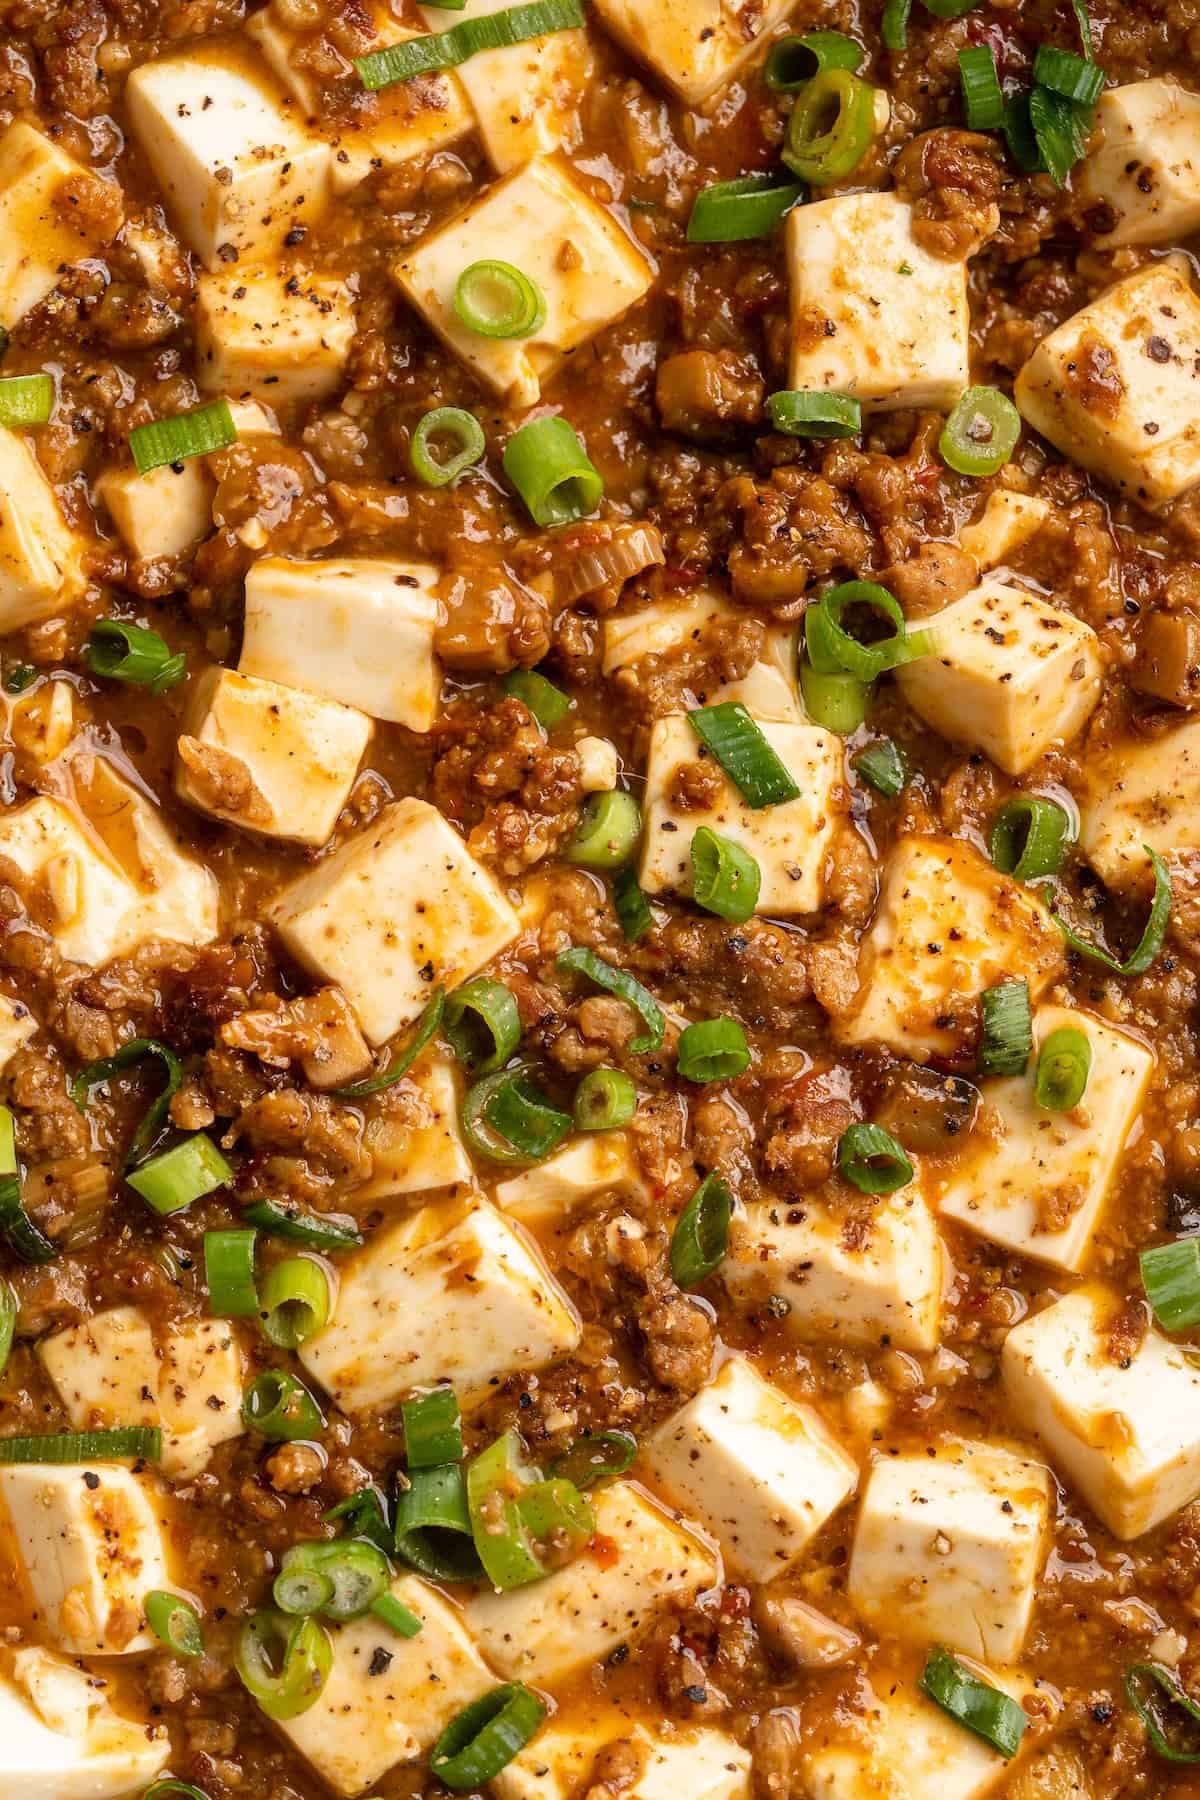
This easy vegan mapo tofu recipe takes just 25 minutes to make from start to finish! It’s spicy, saucy, and loaded with plant-based protein.
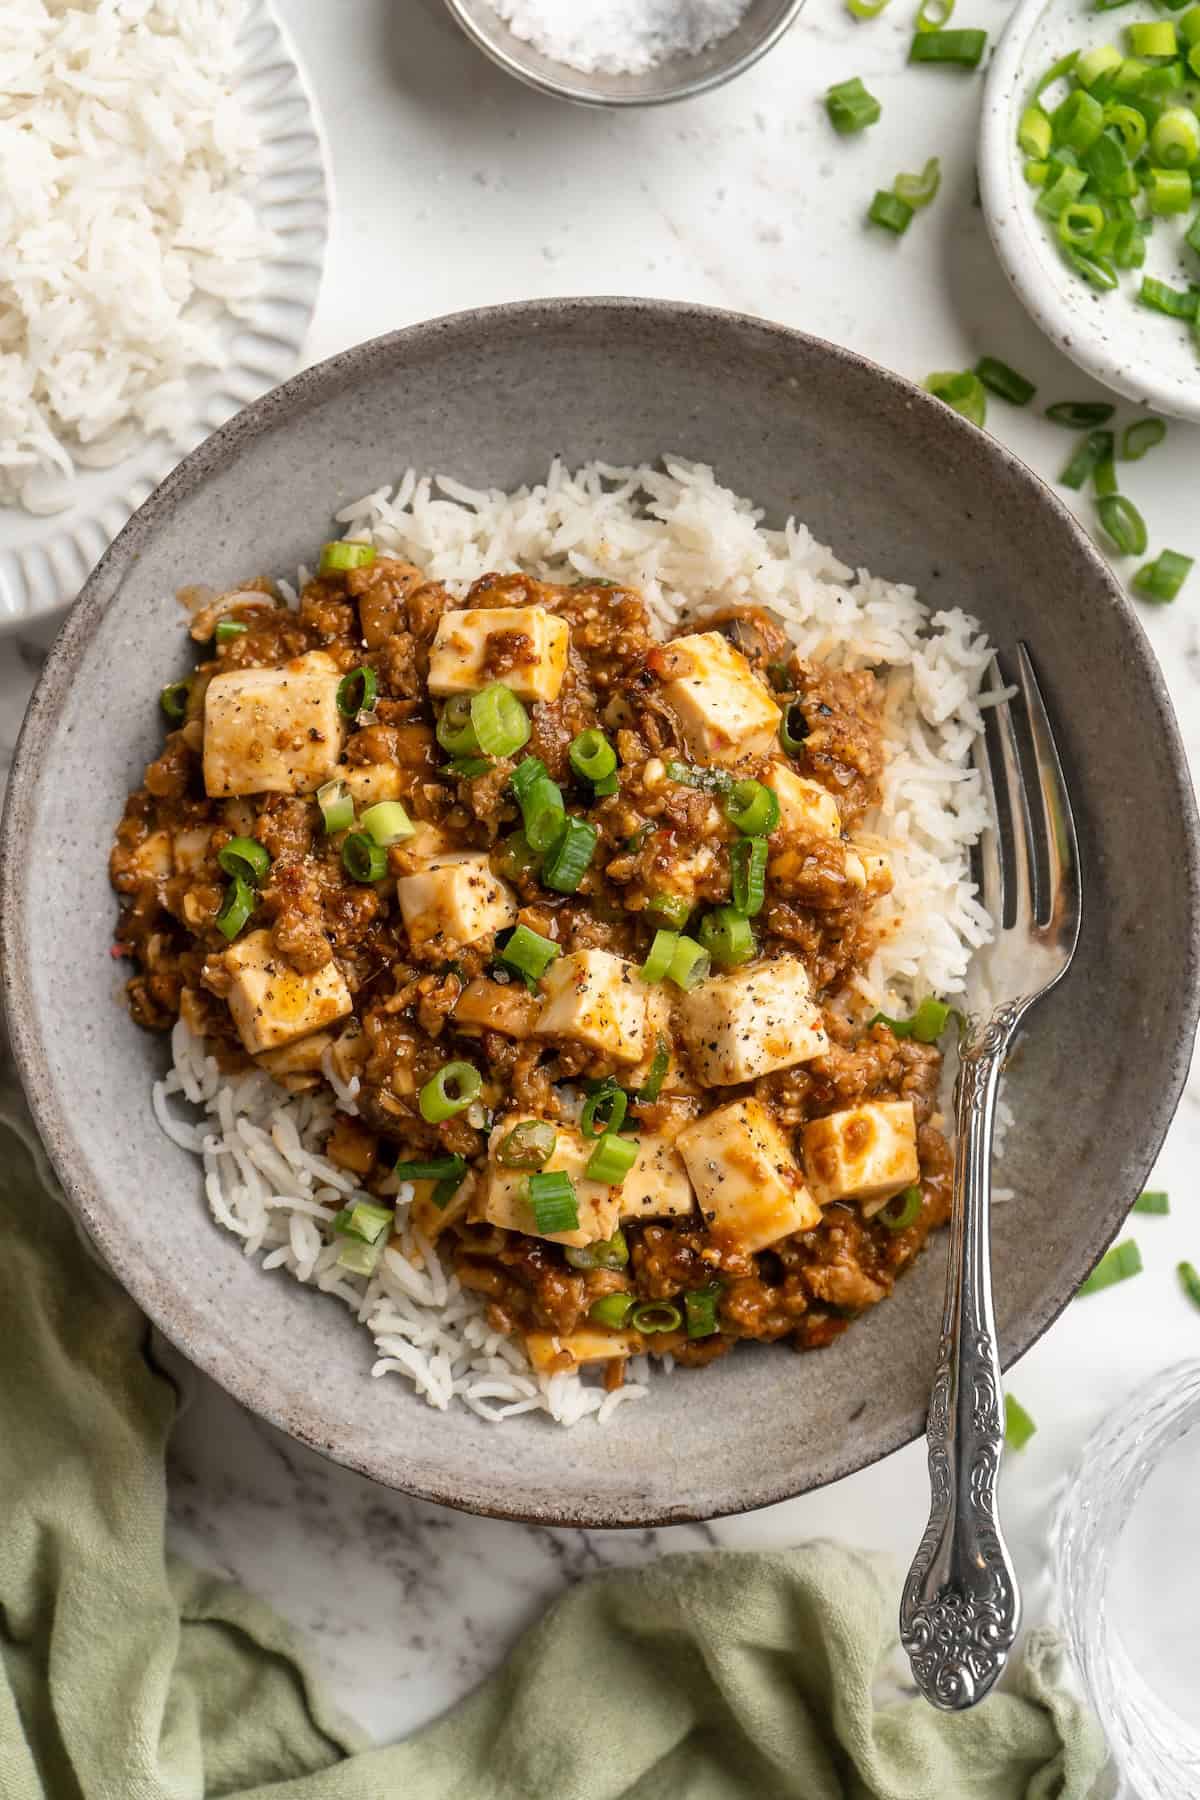
Mapo tofu is my favourite Chinese dish, but despite the name, the restaurant version is usually made with beef unless it’s specifically labeled vegan or vegetarian. Womp womp. But making it at home is easy—it’s saucy, spicy, and ready to eat in less than 30 minutes. Even the non-vegans in my life love this recipe!
Why You’ll Love This Mapo Tofu Recipe
- Protein-packed meal . Tofu is a great source of plant-based protein and the crumbled veggie burger adds even more. This is a meal that will leave you feeling satisfied!
- Easy to make at home . So many stir fries and Asian dishes (like my tempeh stir fry ) come together with just a few minutes of cooking, and this mapo tofu recipe is no exception. It’s perfect for weeknights!
- Customizable spice level . When you make your own vegan mapo tofu at home, you can make it as spicy or as mild as you like.
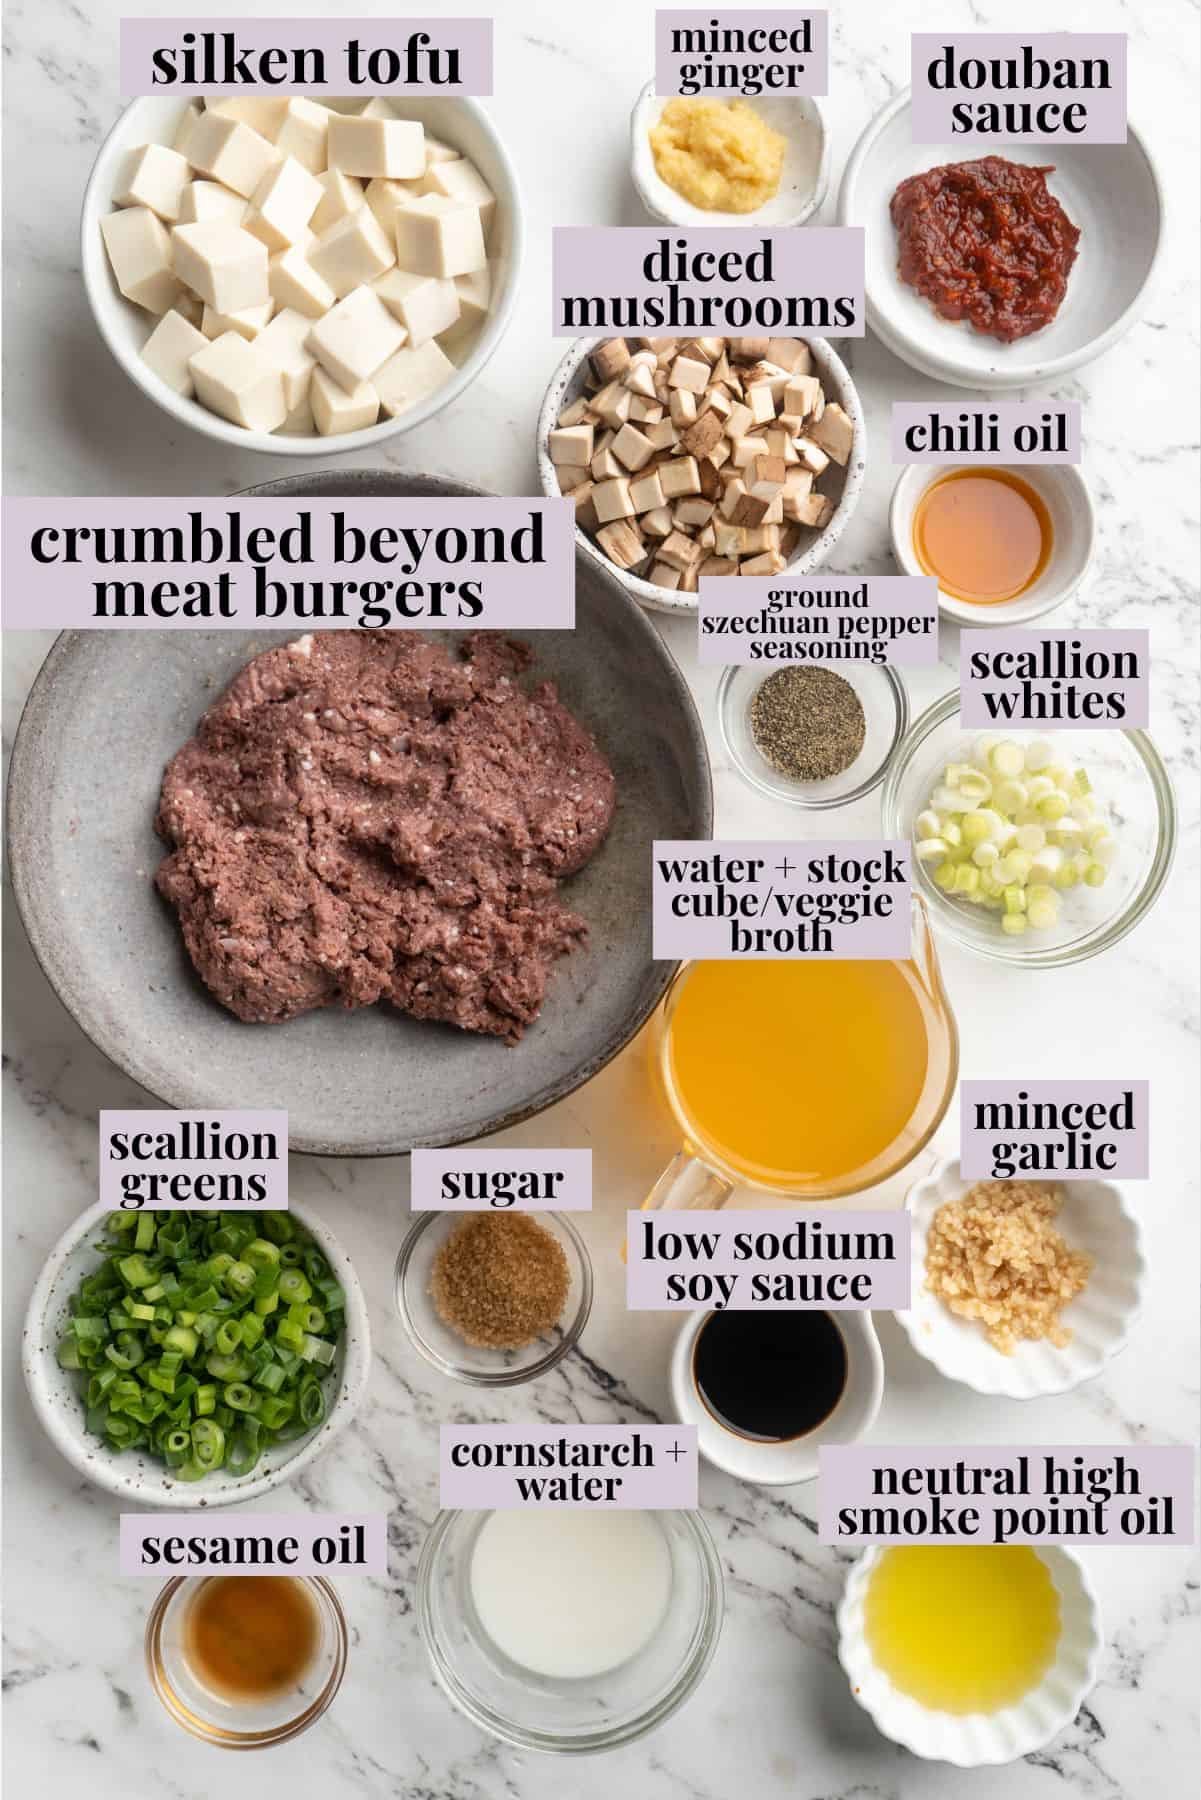
Notes on Ingredients
Scroll down to the recipe card to find the ingredient quantities and recipe instructions.
- Oil – A neutral high smoke point oil like sunflower, grapeseed, safflower, or avocado oil.
- Crumbled veggie burgers – Or the vegan meat replacement of your choice, or just use extra mushrooms. I like to use plant-based burger patties by Beyond Meat to replace the ground beef in the traditional version of mapo tofu.
- Diced mushrooms – You can use white or cremini mushrooms, or another variety you like.
- Ginger and garlic – Classic flavour builders in Asian sauces.
- Scallions
- Douban sauce – AKA chili bean paste or doubanjiang sauce .
- Chili oil – I drain this off the top of a jar of Fly by Jing’s .
- Ground Sichuan pepper seasoning – I love Nom Nom Paleo’s .
- Low-sodium soy sauce – Swap in tamari , liquid aminos , or coconut aminos for gluten-free mapo tofu.
- Sugar
- Broth – Use vegetable broth or a mixture of water + stock cube/liquid.
- Cornstarch slurry – Cornstarch mixed with water.
- Silken tofu – I like to use a firm silken tofu for this recipe.
- Toasted sesame oil – For a nutty finish, use toasted sesame oil .
How to Make Mapo Tofu
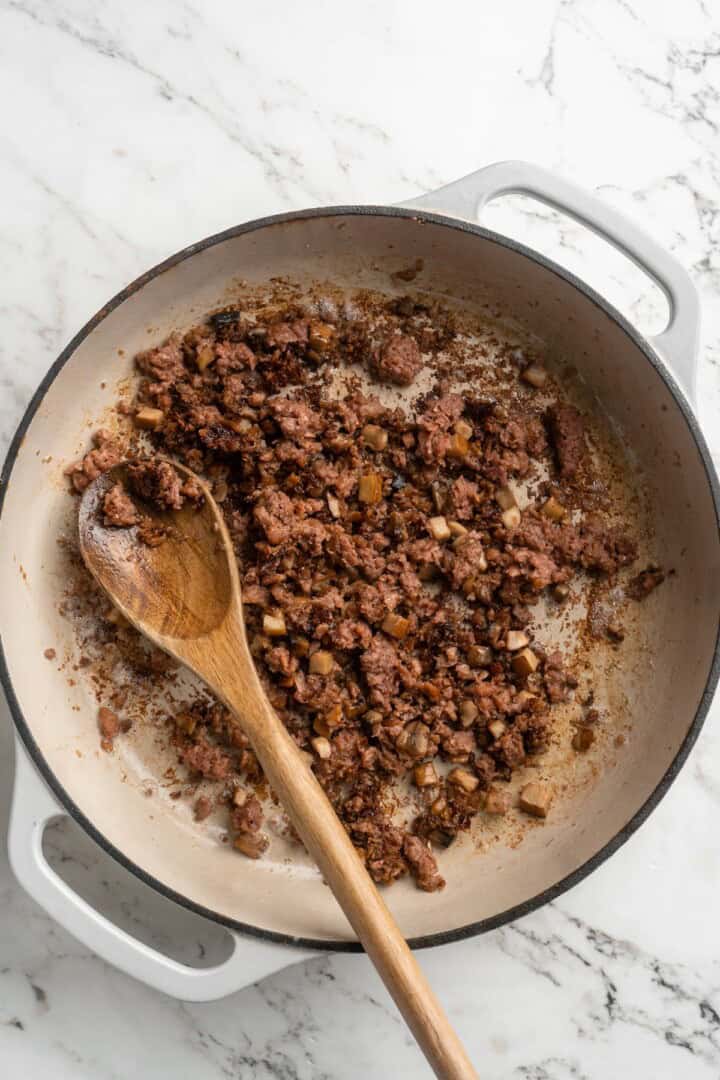
Stir-fry vegan meat and mushrooms.
- Stir-fry the “meat” and mushrooms . Heat the oil in a wok or pan over medium-high heat. Once it’s shimmering, add the mushrooms and vegan meat substitute and cook for 5 minutes.
- Bring water to a boil . In another pot, bring a pot of salted water to a boil.
- Add the aromatics . Stir in the ginger, garlic, and the whites of the scallion. Cook for about 3 minutes, or until fragrant.
- Build the sauce . Stir in the douban sauce, chili oil, Szechuan peppercorn seasoning, soy sauce, and sugar. After a minute or two, pour in the broth and cornstarch slurry.
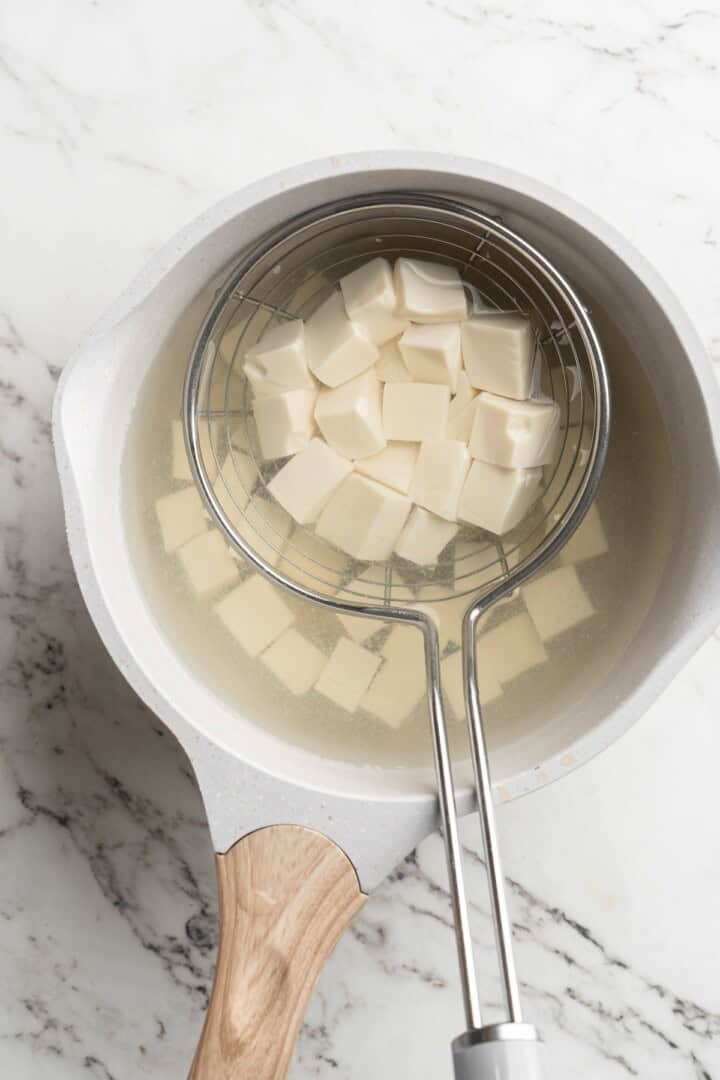
Boil tofu in salted water.
- Boil the tofu . Add the tofu to the salted water and cook for 1 to 2 minutes. Remove with a slotted spoon and drain off the excess water.
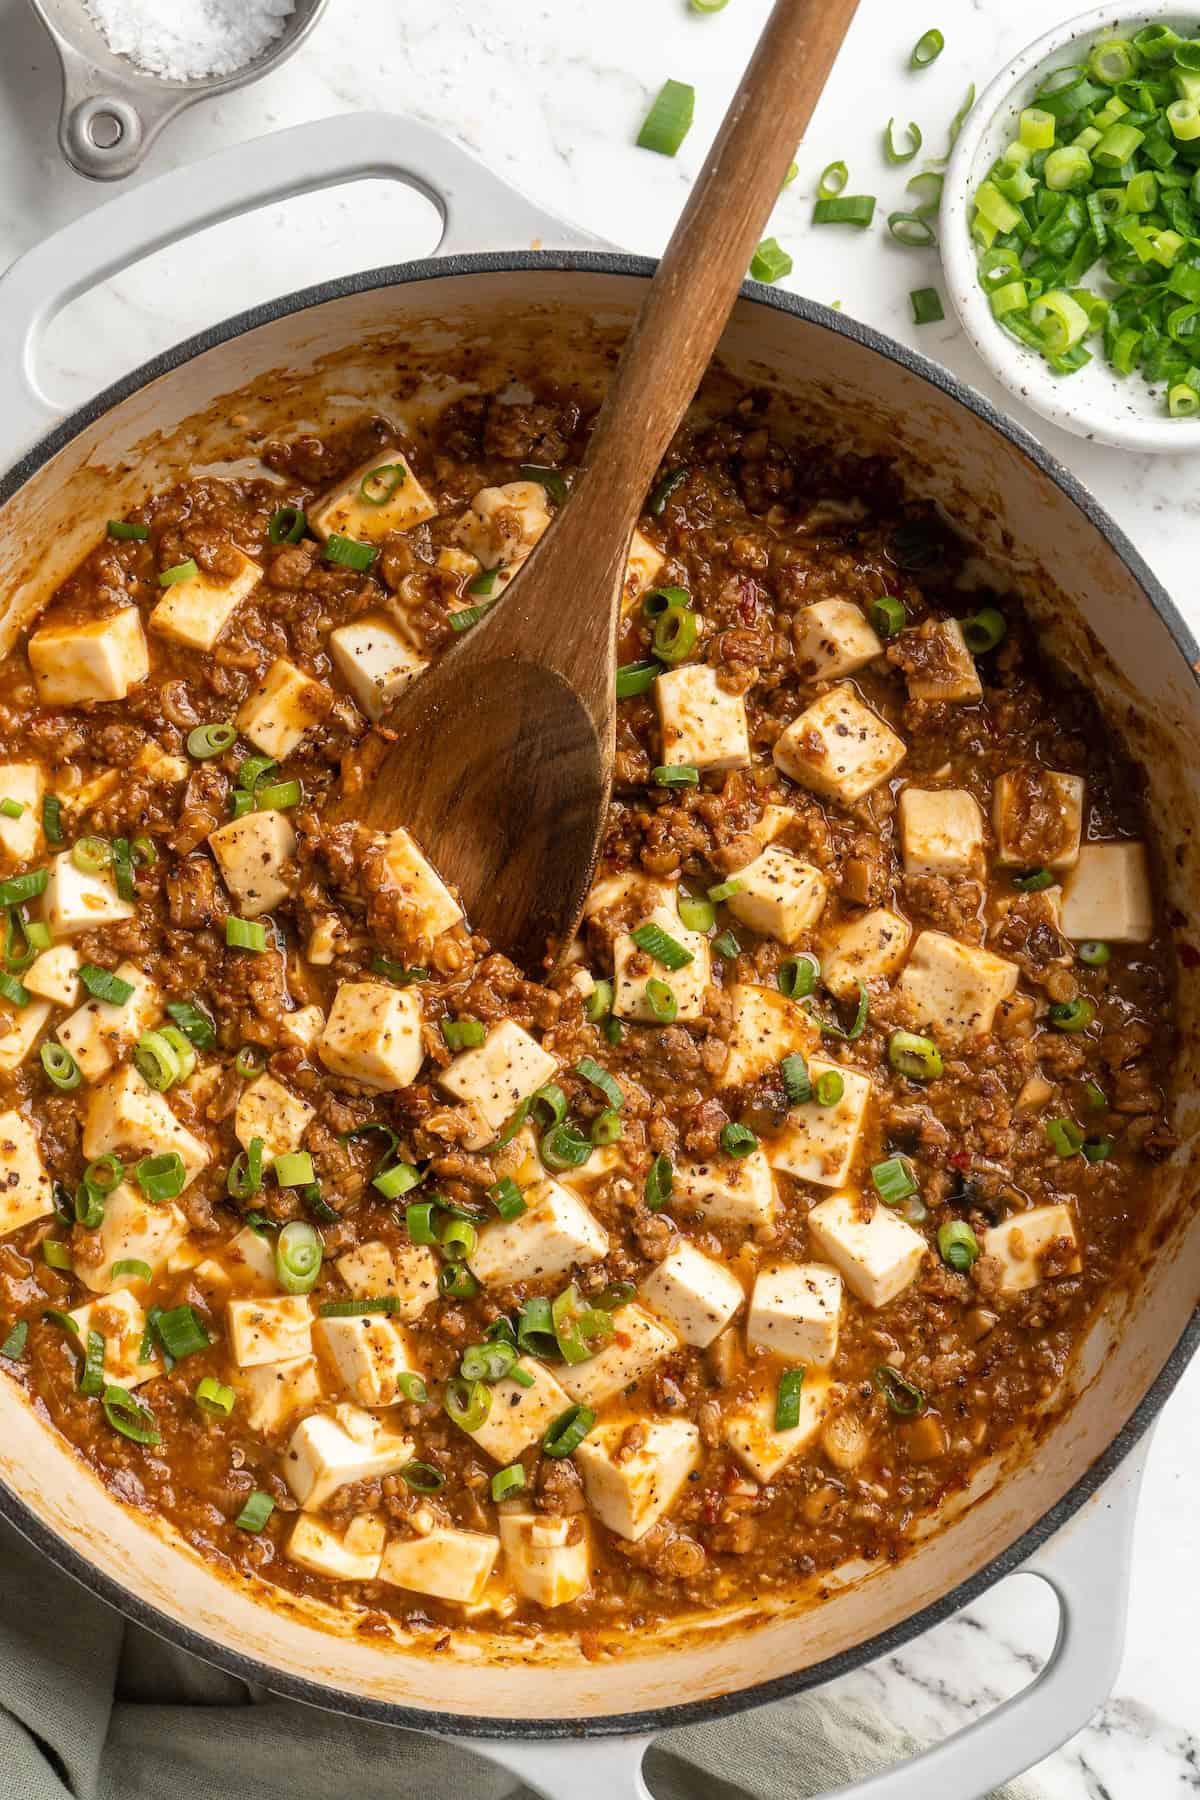
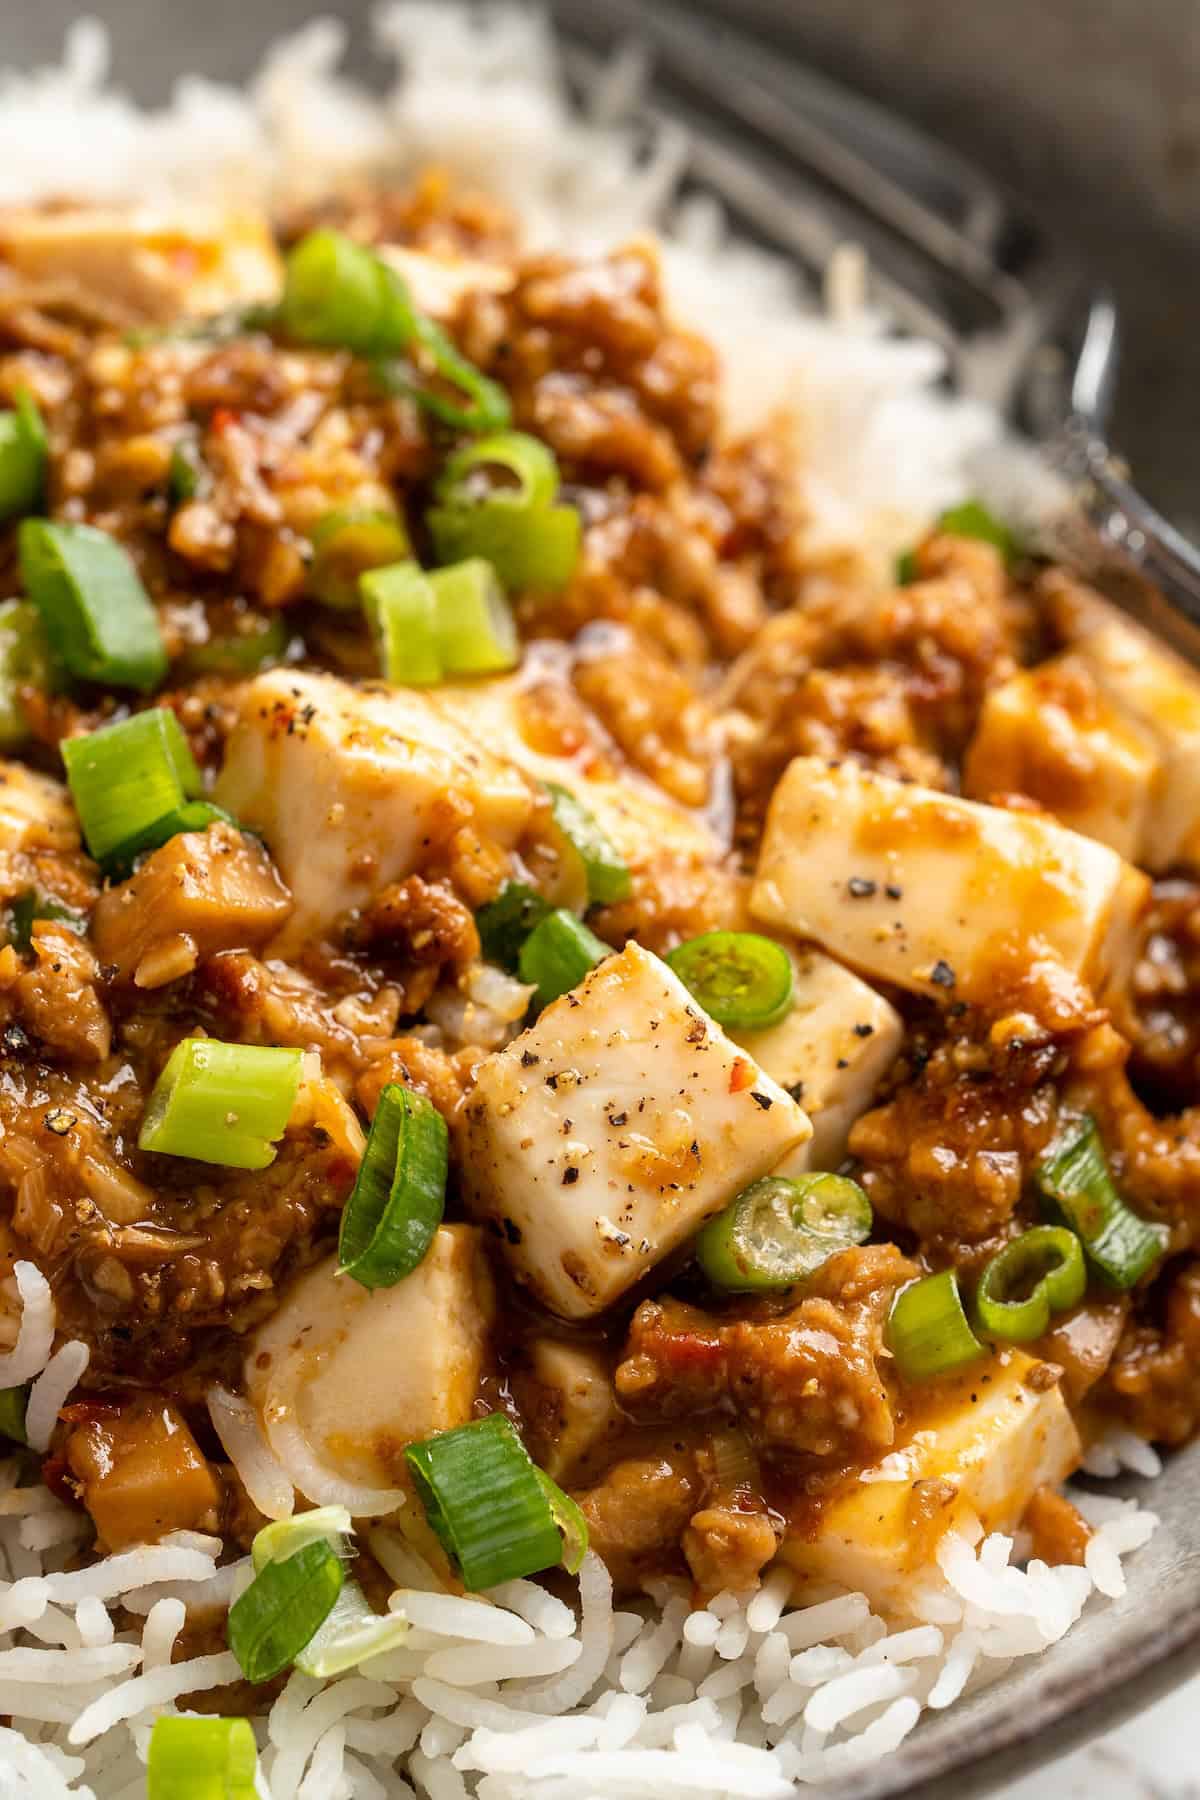
- Finish . Add the tofu to the wok and stir gently. Season to taste, garnish with toasted sesame oil and scallion greens, and serve with rice.
Tips for Success
- Choose the right tofu . Silken tofu is essential for authentic mapo tofu. Its smooth, tender texture absorbs the flavours perfectly. It’s found in shelf-stable boxes, not in the refrigerated section with other varieties of tofu.
- Prep in advance . Stir fries move quickly, so have all your ingredients chopped and measured before you start cooking.
- Stir gently . Once you add the tofu, stir it gently into the sauce. Silken tofu is so soft, it’s easy to break apart!
Variations
- Swap in tempeh for the veggie burger . Crumbled tempeh is a great substitute for the veggie burger. It has a crumbly texture like ground beef, but it’s more natural if you’re not a fan of ground beef substitutes that taste like beef.
- Or try seitan . Seitan is another potential substitute for the veggie burger. Use store-bought or make my vegan chicken recipe. Crumble it or dice it finely before adding it to the stir-fry.
What to Serve With Mapo Tofu
Traditionally, mapo tofu is served over rice, but you can use cauliflower rice if you’re trying to cut down on grains, or cooked quinoa for even more protein.
How to Store and Reheat Leftovers
- Refrigerator : Store leftover mapo tofu in an airtight container in the refrigerator for 3 to 4 days.
- Freezer : You can also freeze mapo tofu for up to 3 months, either in an airtight container or freezer bag. Thaw it in the refrigerator before reheating.
- Reheat : Warm leftovers in a pan set over medium heat or in the microwave until heated through.
More Asian-Inspired Vegan Recipes
- Spicy Ramen
- Vegan Pad See Ew
- Chow Fun Noodles
- Vegan Thai Red Curry with Tofu
- Onigiri
Ingredients
- 1 tablespoon oil , a neutral, high smoke point oil like sunflower, grapeseed, safflower, avocado oil or even olive oil
- 2 crumbled Beyond Meat burgers , or vegan meat replacement of choice or 2 cups diced mushrooms
- ½ cup diced mushrooms , if you’re using mushrooms only above you can leave this out or honestly just use it up if you have a bit more
- 2 knobs fresh ginger , for 1 tablespoon minced ginger
- 5 cloves garlic , for 1 tablespoon minced garlic
- ¼ cup diced scallion whites
- 1 tablespoon douban sauce , chili bean paste
- 1 tablespoon chili oil , I usually just drain some off from the jar like Fly by Jing’s jar
- 1 teaspoon ground Szechuan pepper seasoning , I love nom nom paleo’s own
- 1 tablespoon low sodium soy sauce
- 1 tablespoon sugar , more or less to taste
- 1 cup vegetable broth , or mix 1 cup of water + 1 teaspoon of stock liquid (such as Yondu ) or stock cube, add more water if you want yours saucier
- cornstarch slurry , 2 teaspoons cornstarch mixed with 2 tablespoons water
- 1 pound firm silken tofu , excess water drained, sliced in half length wise, then into cubes
- 1 teaspoon toasted sesame oil , to add near the end for flavour
- 1/4 cup diced scallion greens , for topping
Instructions
- Heat the oil in a wok or pan over medium to medium high heat.
- Add in your vegan meat (or mushroom substitute) and mushrooms. Sauté over medium high heat until vegan meat is completely cooked and the mushrooms are tender, about 5 minutes.
- In a separate pot, start boiling the water. Salt the pot well.
- To the vegan meat and mushrooms, add in aromatics – ginger, garlic and scallion whites. Stir to combine and cook for about 3 minutes until fragrant.
- Then add in douban sauce, chili oil, Sichuan peppercorn seasoning, soy sauce, and sugar to the vegan meat mixture. Stir to combine, about 1-2 minutes.
- Finish the mapo tofu sauce by adding in the vegetable broth/seasoned water and the cornstarch slurry. Mix thoroughly to combine and thicken.
- When the sauce is nearly finished, boil the cubed tofu in the salted water for about 1-2 minutes. Scoop it out, shake off excess water, and add to the mix, stirring gently to combine with the sauce.
- Taste and add more salt or pepper if desired. Top with toasted sesame oil and diced scallion greens. Serve over white rice and enjoy!
Notes
- Refrigerator : Store leftover mapo tofu in an airtight container in the refrigerator for 3 to 4 days.
- Freezer : You can also freeze mapo tofu for up to 3 months, either in an airtight container or freezer bag. Thaw it in the refrigerator before reheating.
- Reheat : Warm leftovers in a pan set over medium heat or in the microwave until heated through.
