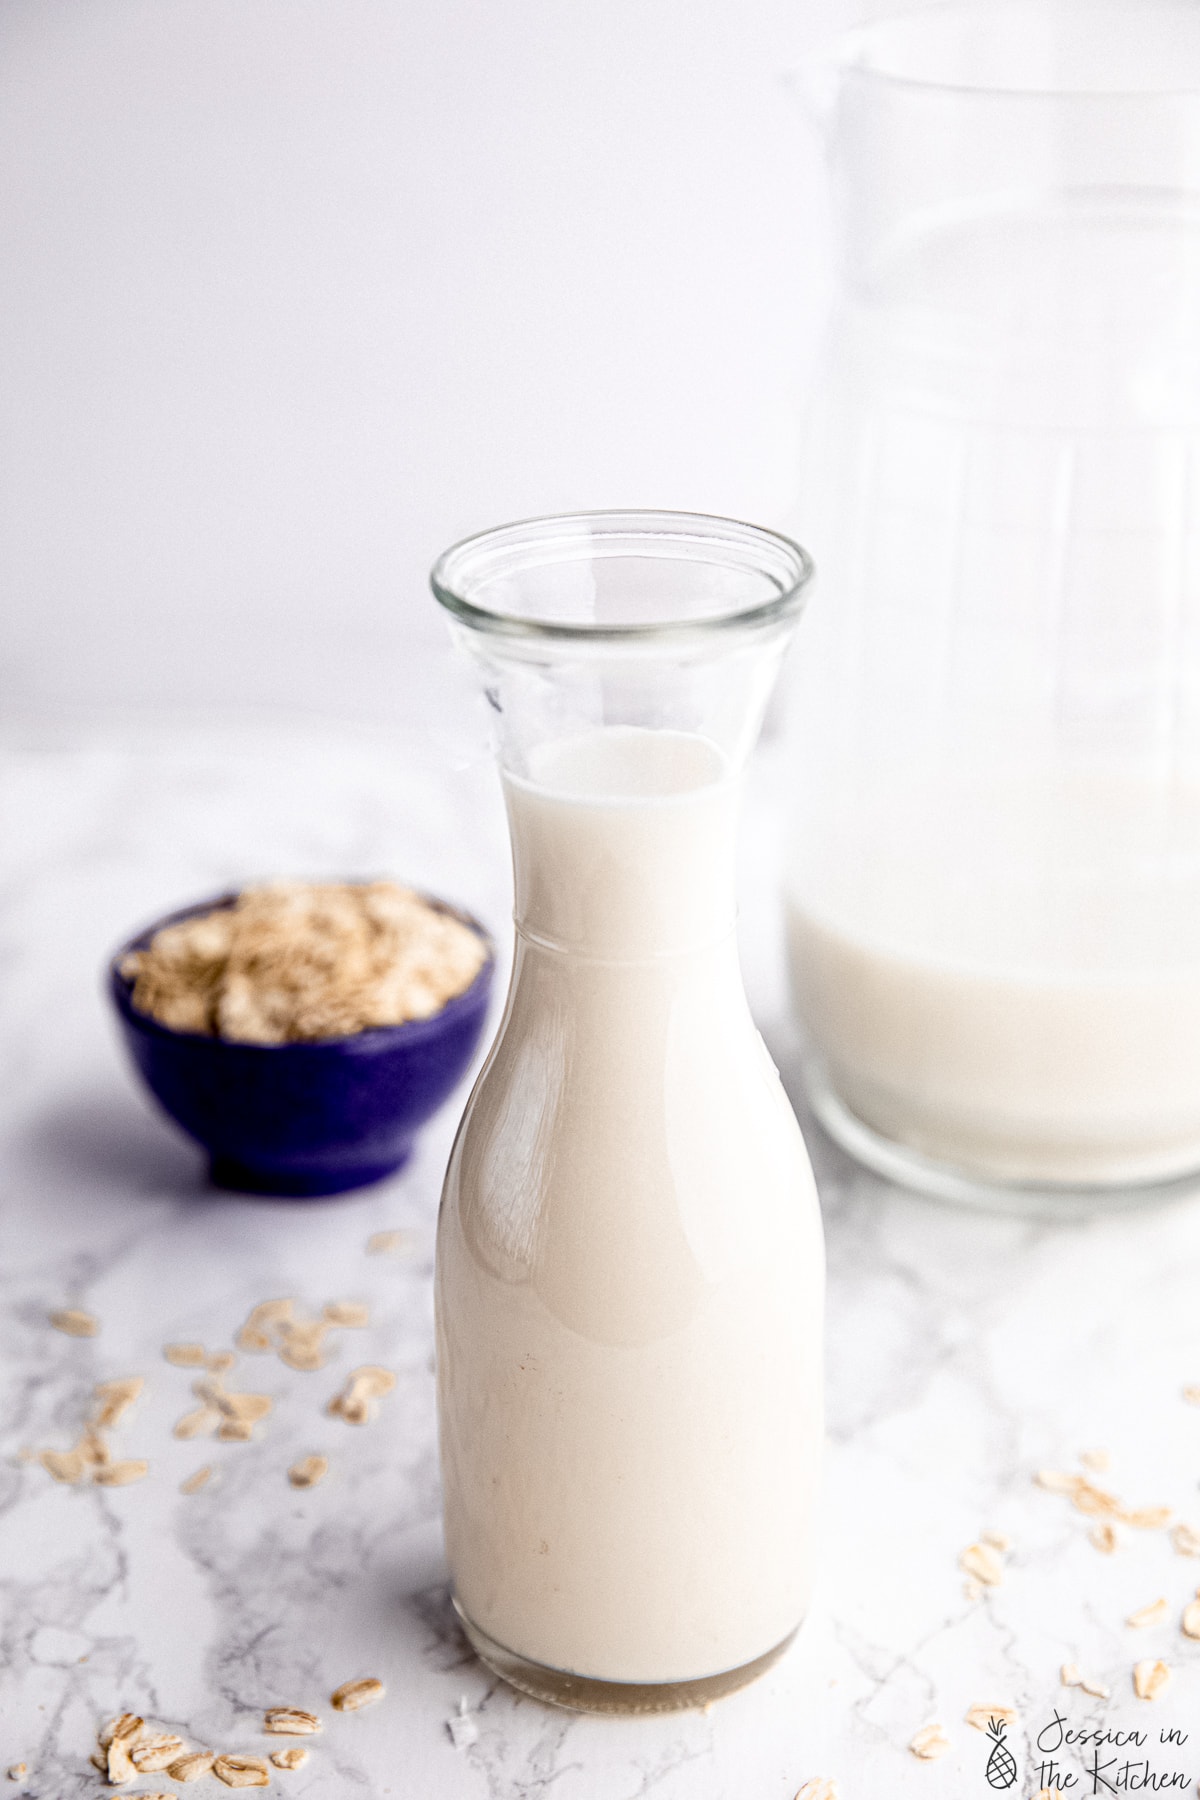
This easy oat milk recipe will show you how to make oat milk at home for a fraction of the cost of store-bought. Rich, creamy, delicious and perfect for using in all kinds of recipes!
After a few tries, I realised that making oat milk at home wasn’t exactly like making cashew milk or almond milk . On the surface, it seems easy: oat milk is made by blending oats with filtered water. But there’s a catch: it can have slimy mouthfeel if it’s not made properly.
Good thing for you, I’ve taken the guesswork out of how to make oat milk because I’ve tested this recipe again and again… and again and again. I wanted it PERFECT and I think I’ve worked out all the kinks to come up with a recipe for oat milk that’s delicious and creamy (not slimy!). I can’t wait to hear what you think!
Why You’ll Love This Oat Milk Recipe
- Mild flavour . Oat milk tastes kind of like oats, and also like the flavouring you give it (like vanilla extract). It has a lovely mild flavour, similar to oatmeal.
- A great choice for cooking and baking . The mild flavour makes oat milk excellent for using in recipes. I’ve used it to make a single mug macaroni (yes, my love for mug recipes is off the chart), and in banana bread and I didn’t taste any distinct oat flavour.
- Easy to make . With the right technique and just a few pantry staples, you can make your own oat milk at home, simple as that!

Notes on Ingredients
Scroll down to the recipe card to find the ingredient quantities and recipe instructions.
- Filtered cold water – The water should be quite cold—ice cold is best.
- Old fashioned oats – Also known as rolled oats. Be sure to buy gluten-free certified oats if you want your homemade oat milk to be gluten-free.
- Sea salt
- Maple syrup – You can adjust the amount to your preferences. Date syrup is another sweetener option.
- Vanilla extract – Skip this if you plan on using your oat milk for savoury recipes, but it’s a nice flavour enhancer if you’ll be drinking it straight, using it for cereal, etc.
How to Make Oat Milk
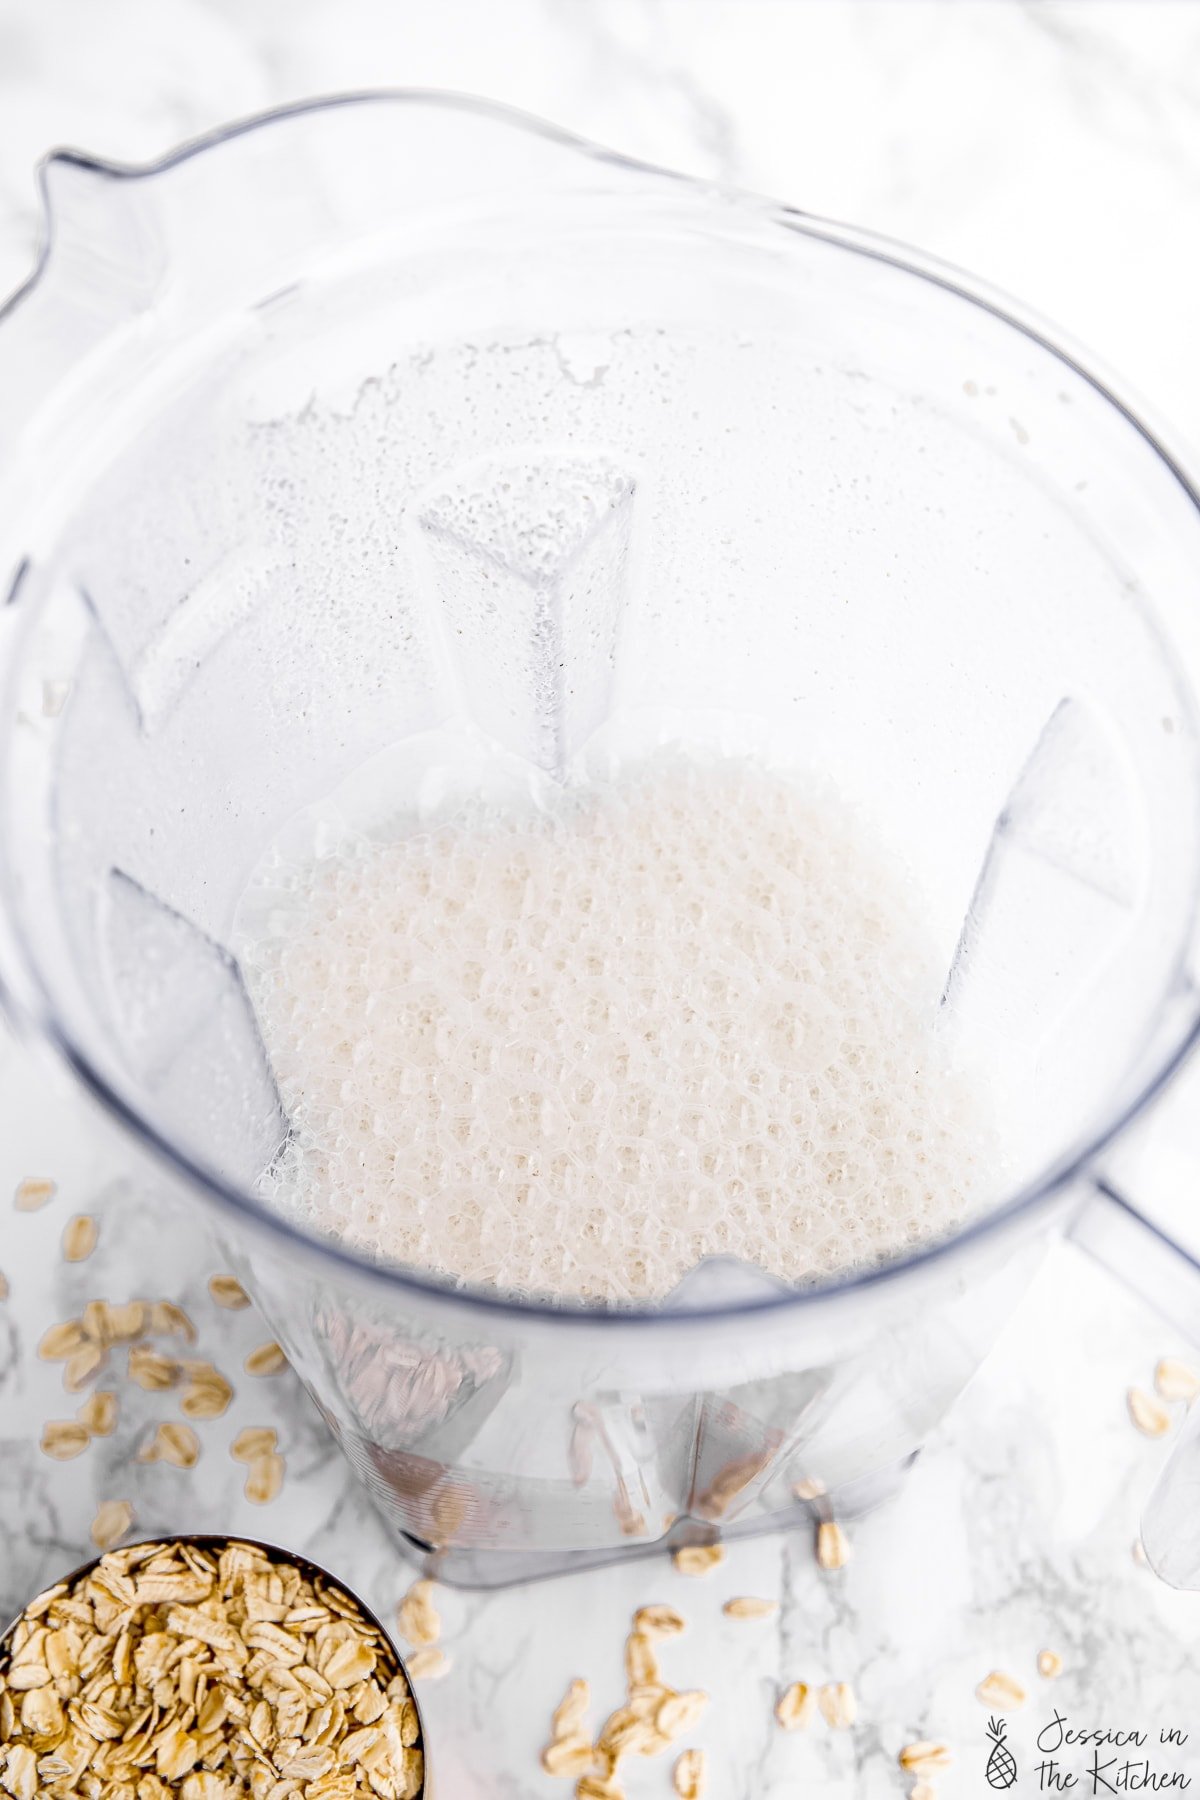
- Blend . Combine the cold water, oats, salt, and maple syrup in a blender . Blend for 30 seconds.
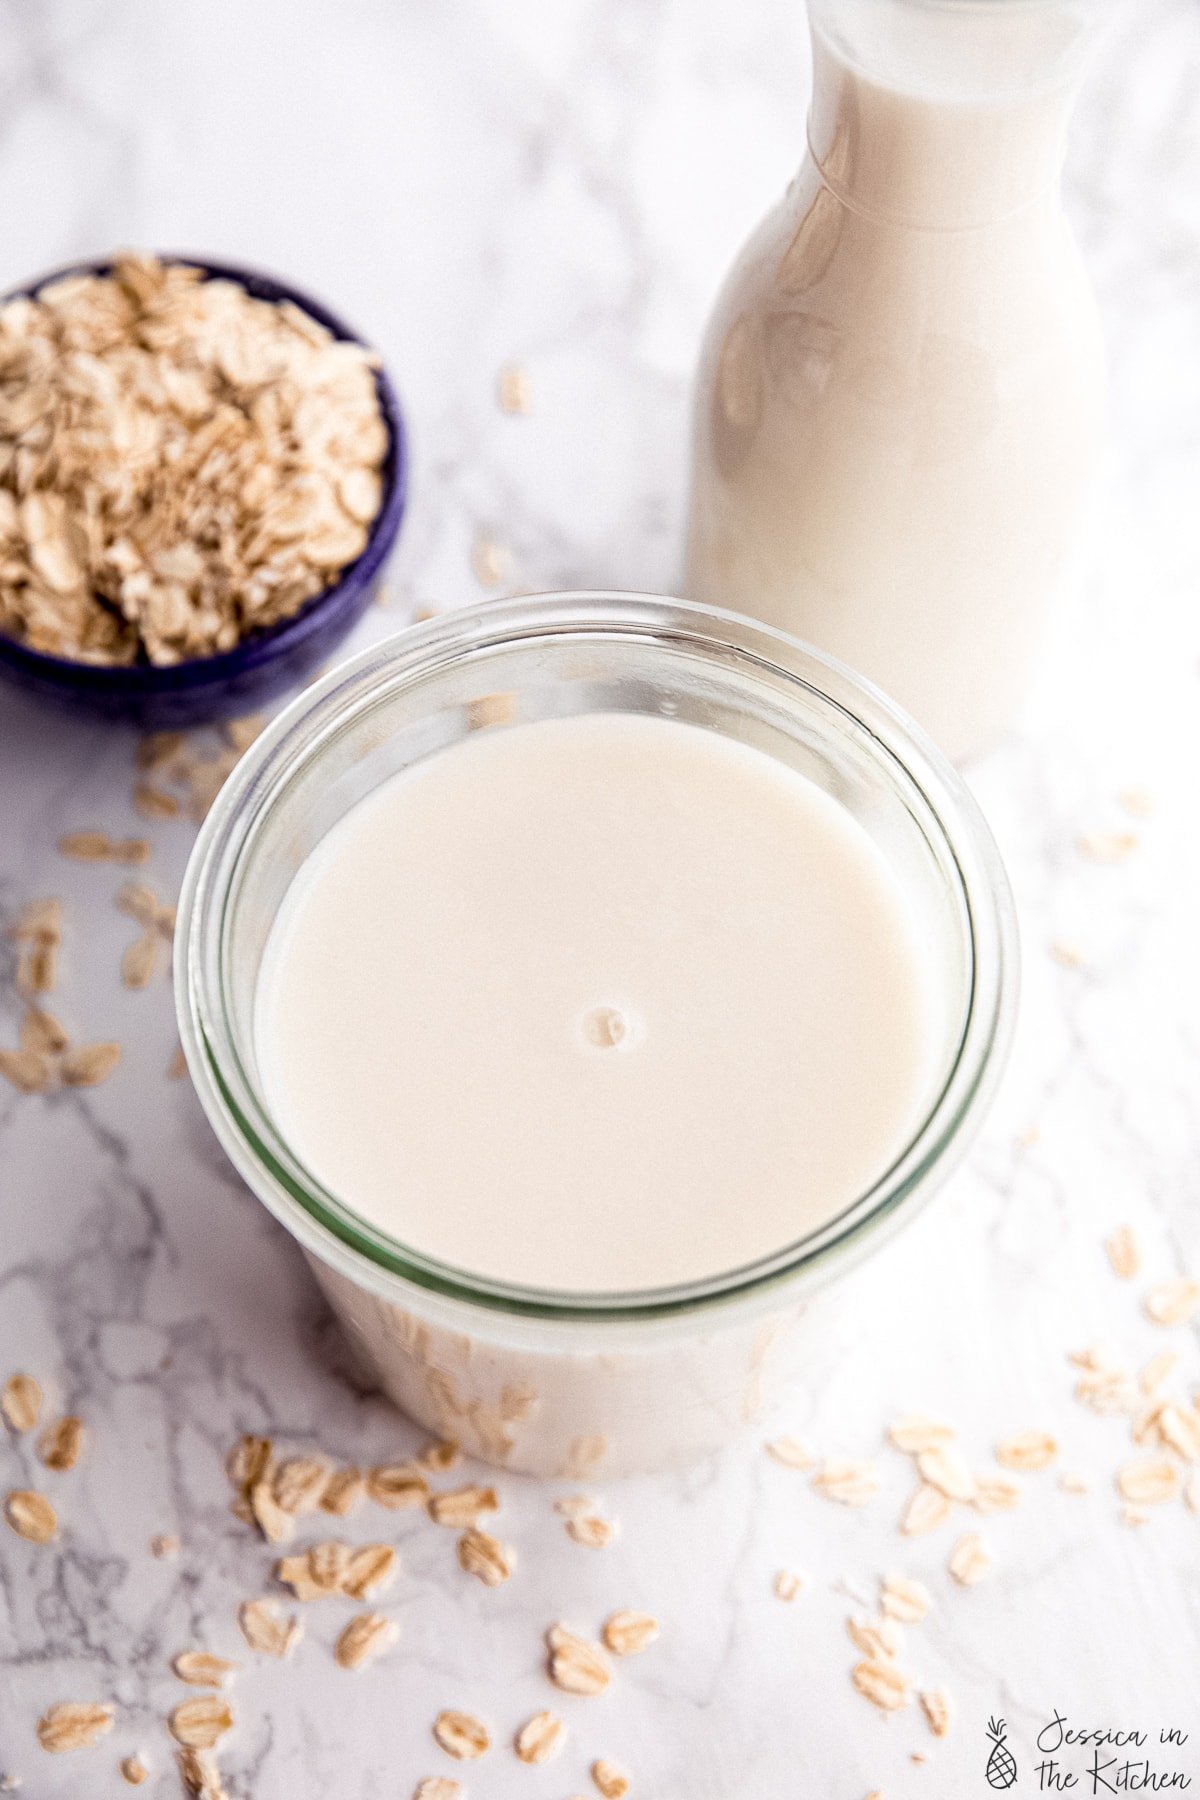
- Strain . Pour the oat milk through a fine mesh strainer into a bowl. Press the pulp with a wooden spoon to extract as much liquid as possible.
- Add more water . Transfer the oat milk to a glass bottle or jar. Stir in the extra cup of water, then use or refrigerate for later.
Tips for Success
- Make sure the water is super cold . Here’s the number one tip for not making oat milk slimy: use very cold water. We don’t want to heat up the oats! I add ice to water, let it sit for 10 minutes, then remove the ice and measure out 3 cups of water.
- Don’t soak your oats before . I tested this and it definitely contributed to that undesirable slimy consistency. It’s best to start with dry oats for this oat milk recipe.
- Use a high-speed blender. This part is kind of non-negotiable because you need a machine that’ll blitz the oats quickly, so they aren’t blending for too long. (This, again, helps prevent the sliminess.)
- Limit the blending time . You want to blend for as little time as possible. I blitz the mixture for about 30 seconds. After testing it several times I found that this was the best method.
- Save the pulp . You can discard the pulp or use it in smoothies, cookies, or other baked goods.
How to Use Homemade Oat Milk
Anything cold? Perfect. Hot recipes? Let’s get into that.
When homemade oat milk gets heated up in certain recipes, it’ll get slightly slimy. So if you’re making a hot breakfast beverage, for example, it wouldn’t be the best option. I do find that where the milk is just an ingredient in a recipe that’ll be cooked or baked, it works perfectly. So, I would say make it and test it to see where it works for you.
These are some of my favourite recipes to use this in:
- Whipped Coffee
- Whipped Matcha
- Blueberry Pancakes
- Vegan Cheese Sauce
- Baked Mac and Cheese
How to Store
You can store this homemade oat milk recipe in an airtight container in the refrigerator for up to 6 days; shake it well before using it. You can also freeze it for up to 3 months and thaw it in the fridge before using.
Ingredients
- 3 cups filtered very cold water , almost ice cold
- 1 cup old fashioned oats , or rolled oats
- pinch sea salt
- 1 tablespoon of maple syrup , or two tablespoons if you want it sweet
- 1/2 teaspoon vanilla extract
- 1 cup of cold water , this is extra water
Instructions
- Add the 3 cups of water, oats, sea salt and sweeteners into a high-speed blender and blend for 30 seconds until oats are blended completely. Don’t blend too long because you don’t want it to heat up the oat milk.
- Pour the oat milk into a fine mesh strainer over your jug or large-mouthed bowl and let it drain through. You may need to lightly press on the mixture with a spoon to get it through the pulp and into the bowl. You can discard the pulp or use it in smoothies, cookies or other baked goods.
- Transfer the oat milk back to the glass bottle or jar. Now, add in your extra cup of water, stir to combine and store in the fridge! Shake before use and enjoy! It lasts about 6 days in the fridge.
Notes

Oat Milk Recipe
Ingredients
- 3 cups filtered very cold water almost ice cold
- 1 cup old fashioned oats or rolled oats
- pinch sea salt
- 1 tablespoon of maple syrup or two tablespoons if you want it sweet
- 1/2 teaspoon vanilla extract
- 1 cup of cold water this is extra water
Instructions
- Add the 3 cups of water, oats, sea salt and sweeteners into a high-speed blender and blend for 30 seconds until oats are blended completely. Don’t blend too long because you don’t want it to heat up the oat milk.
- Pour the oat milk into a fine mesh strainer over your jug or large-mouthed bowl and let it drain through. You may need to lightly press on the mixture with a spoon to get it through the pulp and into the bowl. You can discard the pulp or use it in smoothies, cookies or other baked goods.
- Transfer the oat milk back to the glass bottle or jar. Now, add in your extra cup of water, stir to combine and store in the fridge! Shake before use and enjoy! It lasts about 6 days in the fridge.
Notes
Nutrition
Oat Milk Recipe https://jessicainthekitchen.com/how-to-make-oat-milk/ May 1, 2020
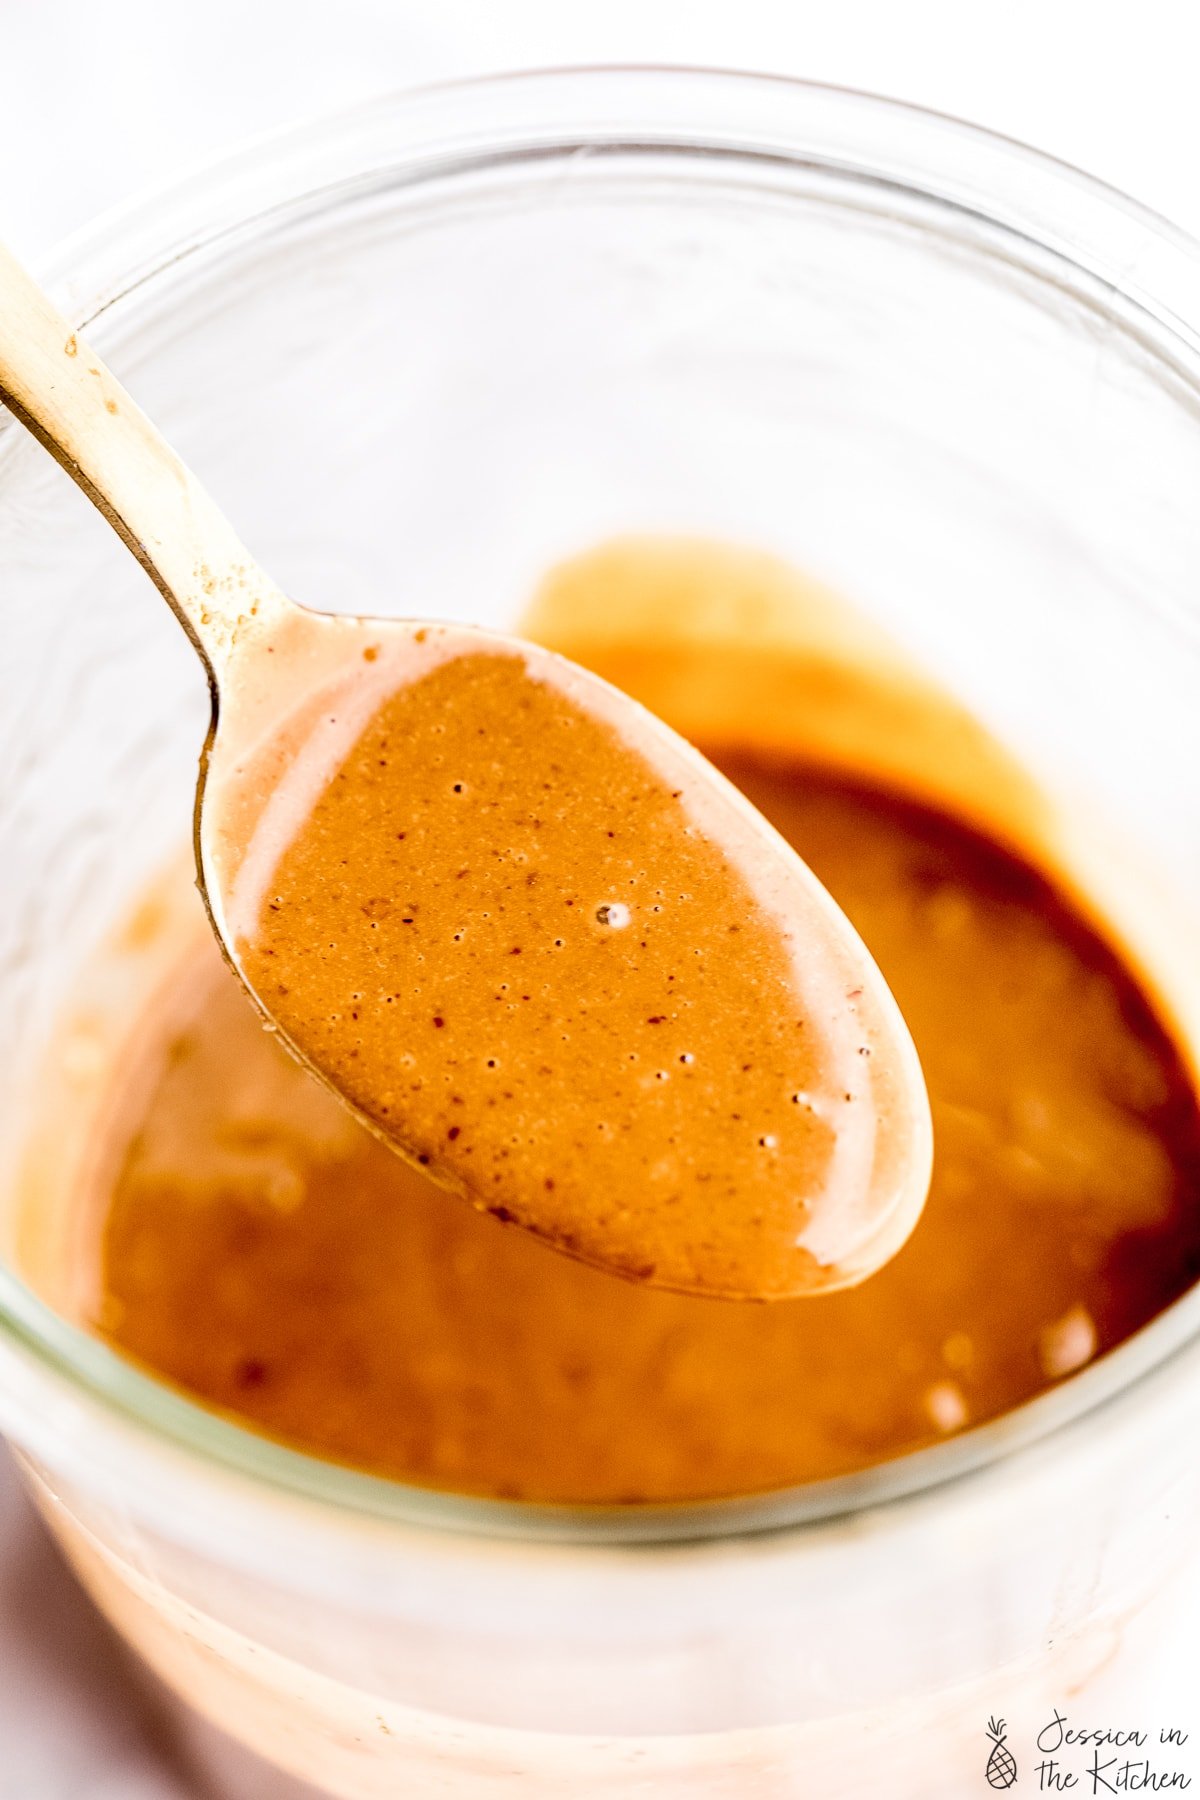
This Thai Peanut Sauce Recipe is incredibly versatile and can be used as a dip, a dressing, a marinade or a sauce! I love using it in so many ways, and it only takes 5 minutes to make!
I love a great peanut sauce. I’m talking, absolutely head over heels for one, and this my friends is a great peanut sauce. I’ve used it with Fresh Spring Rolls , an Asian Noodle Salad , my Tempeh Stir Fry and even with a Cashew Thai Quinoa Salad . It’s creamy, umami-packed, salty and high in protein and fat. Hello, flavour town. After realising that I was using it all the time and the feedback that it’s gotten, I decided that it needed its own blog post!
What is Thai Peanut sauce made of?
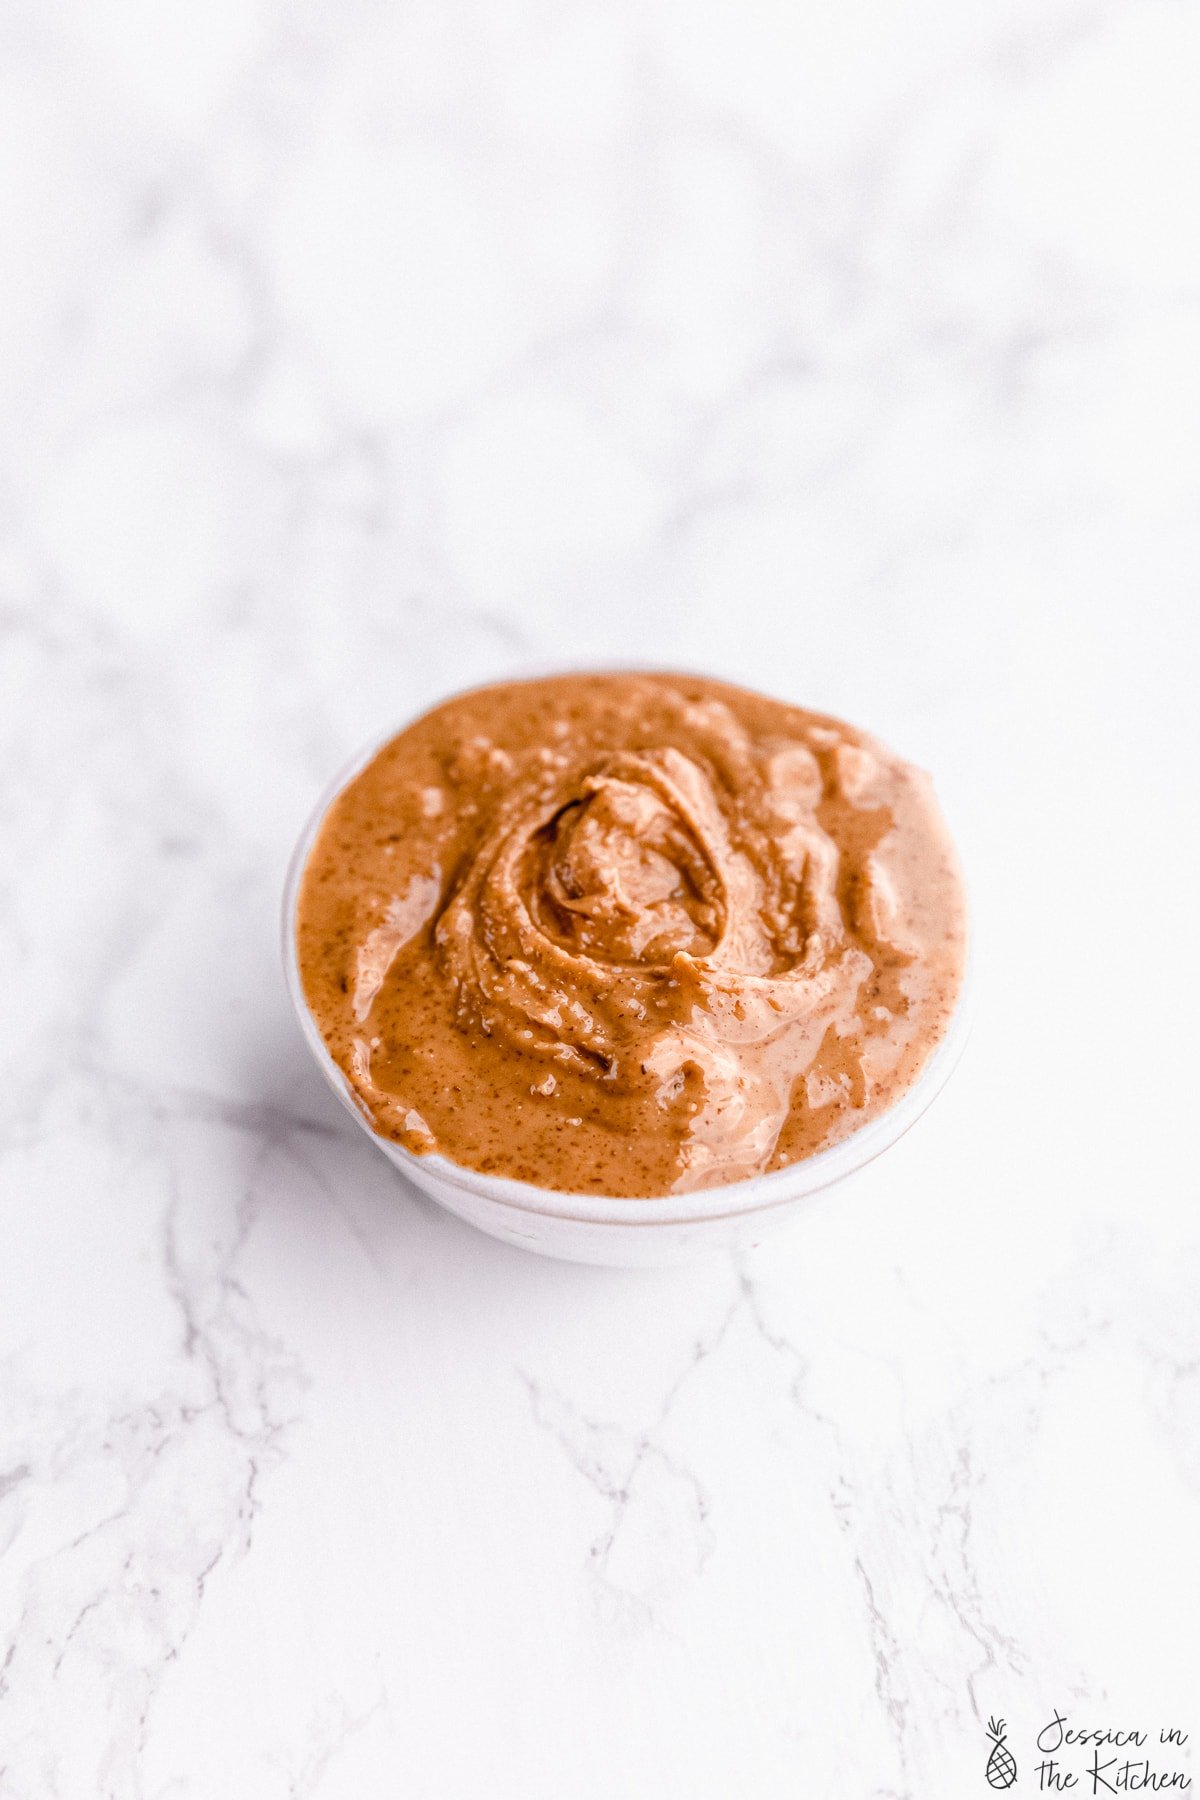
Thai Peanut Sauce is made up of peanut butter, soy sauce, ginger, a sweetener (I used maple syrup), rice wine vinegar, sesame seeds, a spice and water. In some more traditional versions, coconut milk is used instead of water, but I find this combination to be perfect. If you’re new to using peanut butter in dressings, you’re about to be blown away. Peanut butter brings all the ingredients together for a sweet spicy and salty sauce that works perfectly on salads, tofu, tempeh, noodles, as a dip for veggies and so much more.
How to make peanut sauce
Making the sauce is so easy. Blend all the ingredients together, and that’s it! You can mix them by hand with a whisk, in a jar with a lid, or in a food processor or blender . I’ve done all three and it’s really up to your preference. By hand will be the most natural consistency, and by blender will be the smoothest and creamiest.
What to eat with peanut sauce
Tips for making the peanut sauce
- Start with smooth peanut butter instead of chunky. If your peanut butter is very thick, I would microwave it for about 15 seconds before starting so that it’s smooth enough to blend with all the other ingredients.
- Adjust the sauce for your taste. You can more it saltier, sweeter, spicier – it’s up to you!
- You can double this sauce if you desire! I recommend making it before you need it, but it stores in your fridge for up to a week.
Peanut substitute
If you’re allergic to peanuts, you could easily swap it out. Almonds, tahini, sunflower seed butter – they’ll all work as a great base.
Ingredients
- ⅓ cup natural peanut butter , (85g) if your peanut butter is thick, microwave is for about 15 seconds first
- ¼ teaspoon ground ginger , or ¼ teaspoon freshly minced ginger (0.5g)
- 1 tablespoon maple syrup , or agave (21g)
- 2 tablespoons low sodium soy sauce , (30mL)
- 1 teaspoon rice wine vinegar , (5mL)
- ½ teaspoon sesame seeds , (1.5g)
- ¼ teaspoon crushed red pepper flakes , optional (0.35g)
- 2 tablespoons up to ¼ cup hot water , (30mL) for 2 tablespoons, ( 60mL) for ¼ cup
Instructions
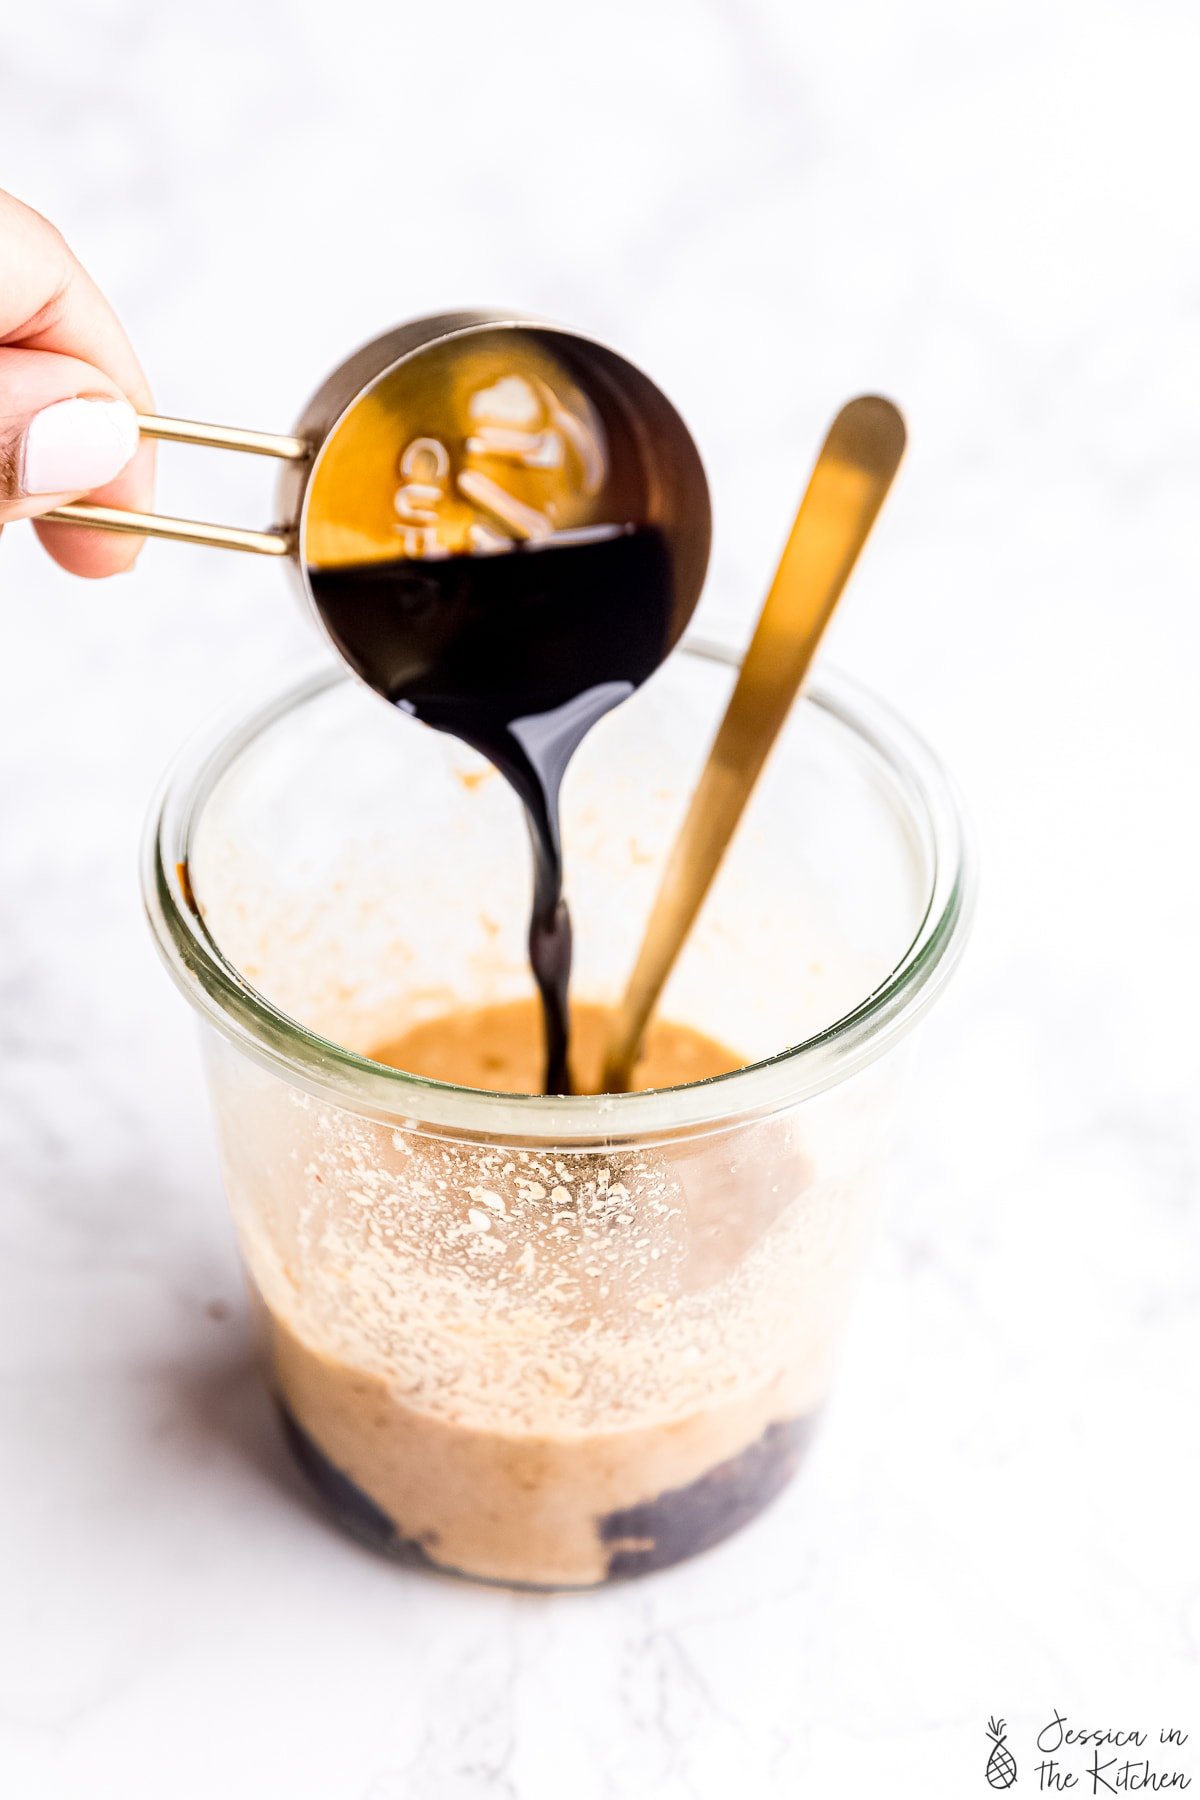
- Whisk the peanut butter, ground ginger, maple syrup, soy sauce, rice wine vinegar, sesame seeds, crushed red pepper flakes and 2 tablespoons of the hot water together in a bowl, a jar with a lid (shake vigorously) or a small blender or food processor until smooth.
- Add some of the extra 2 tablespoons of hot water a little at a time to the sauce, whisking it in, depending on whether you need this for a sauce, dip or a dressing, to your desired consistency.
- Taste and adjust sweetness or saltiness according to your preference. This can be made ahead of time and stored in the fridge, or used immediately!
