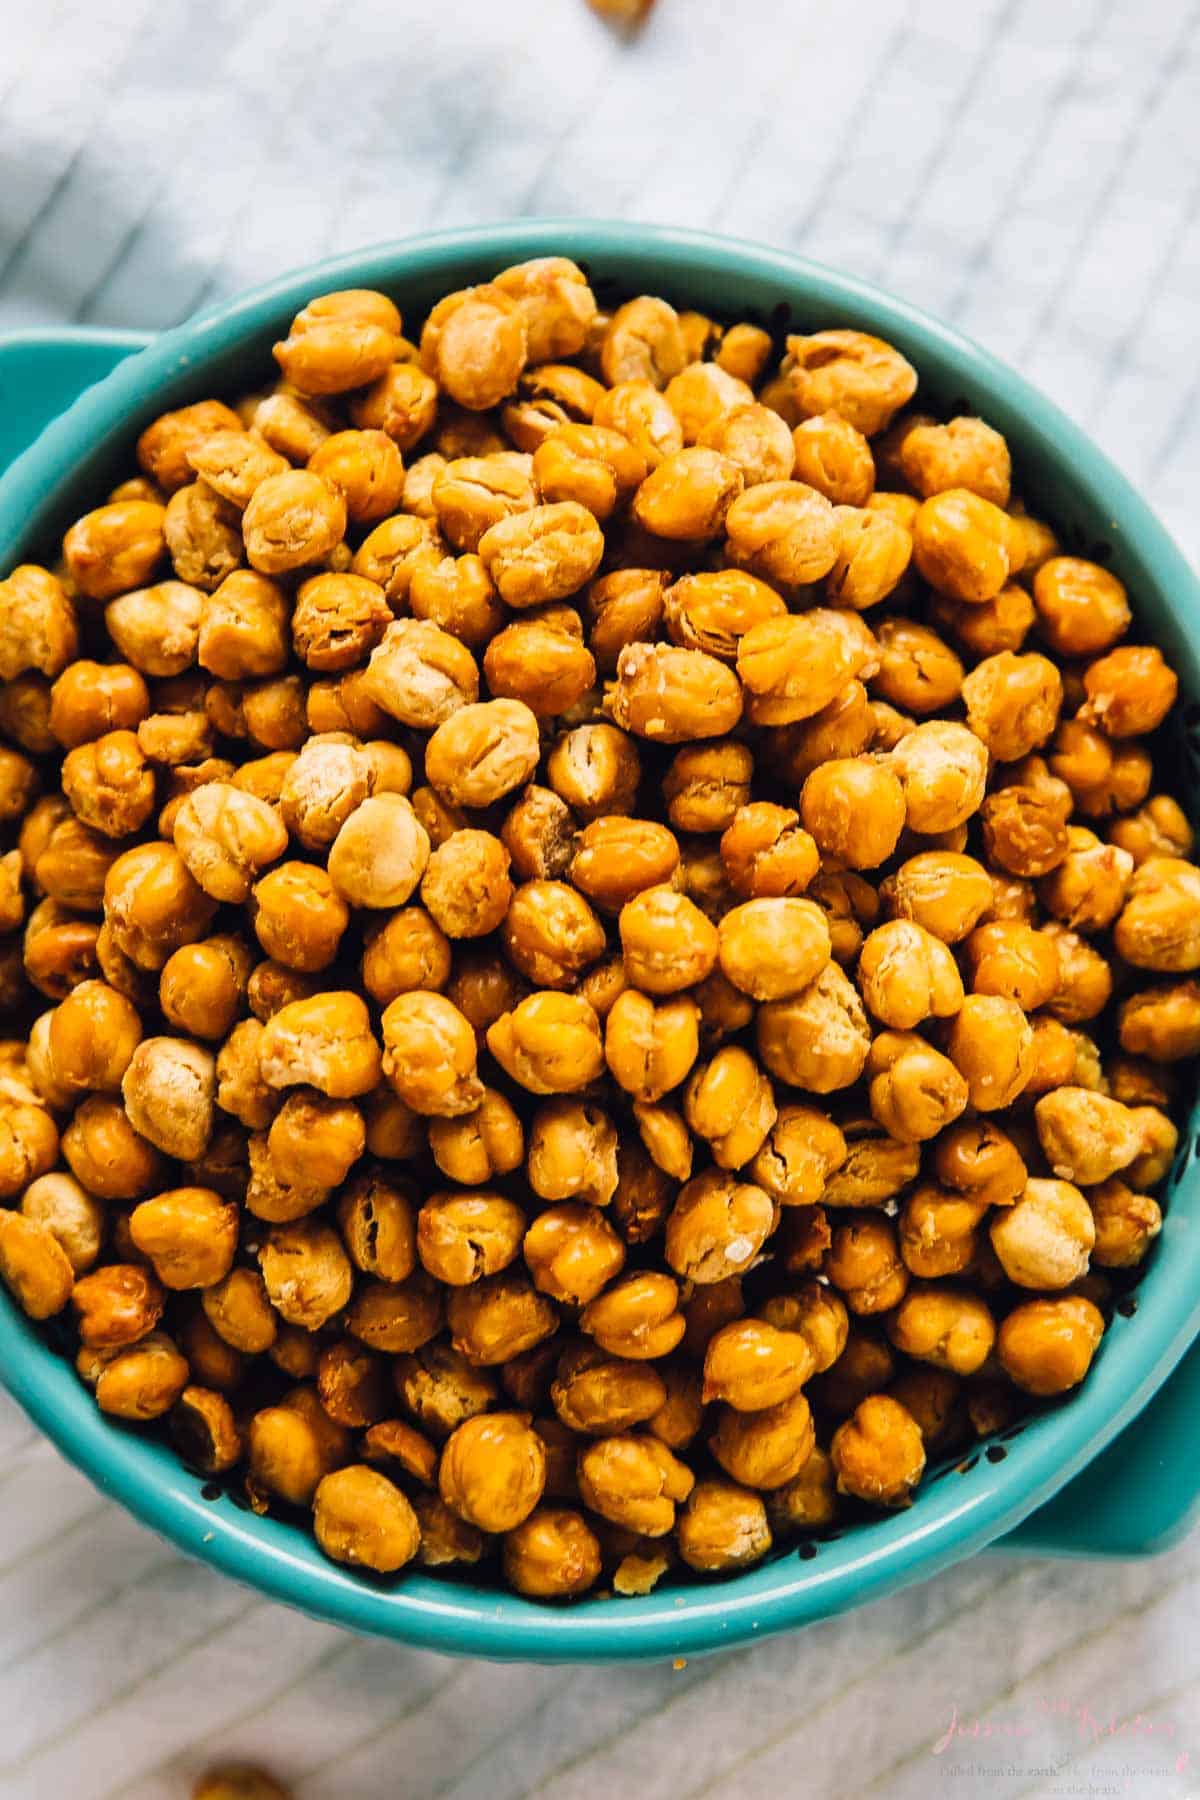
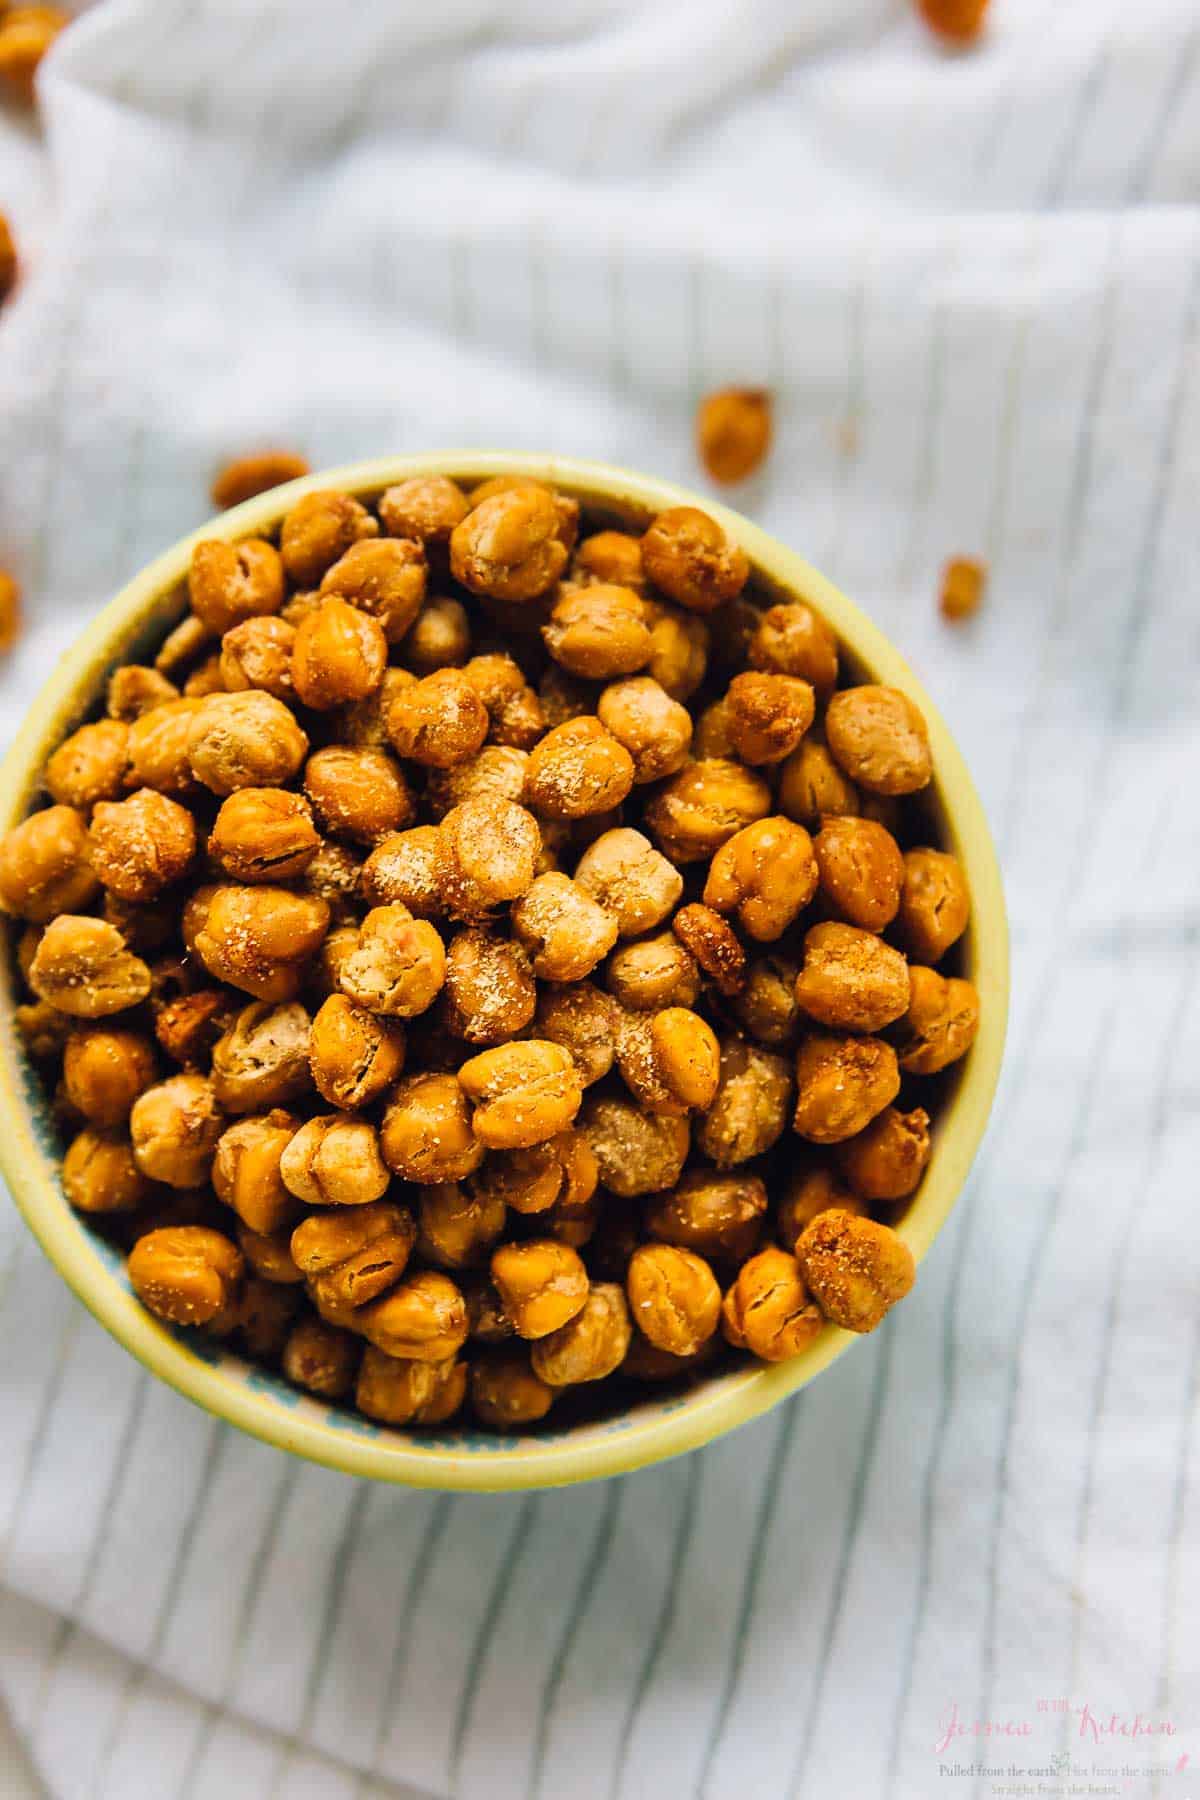
Learn how to make crispy roasted chickpeas in the oven! They’re the perfect high protein snack, great for meal prep, and you can customize them with your favourite seasonings and flavours!
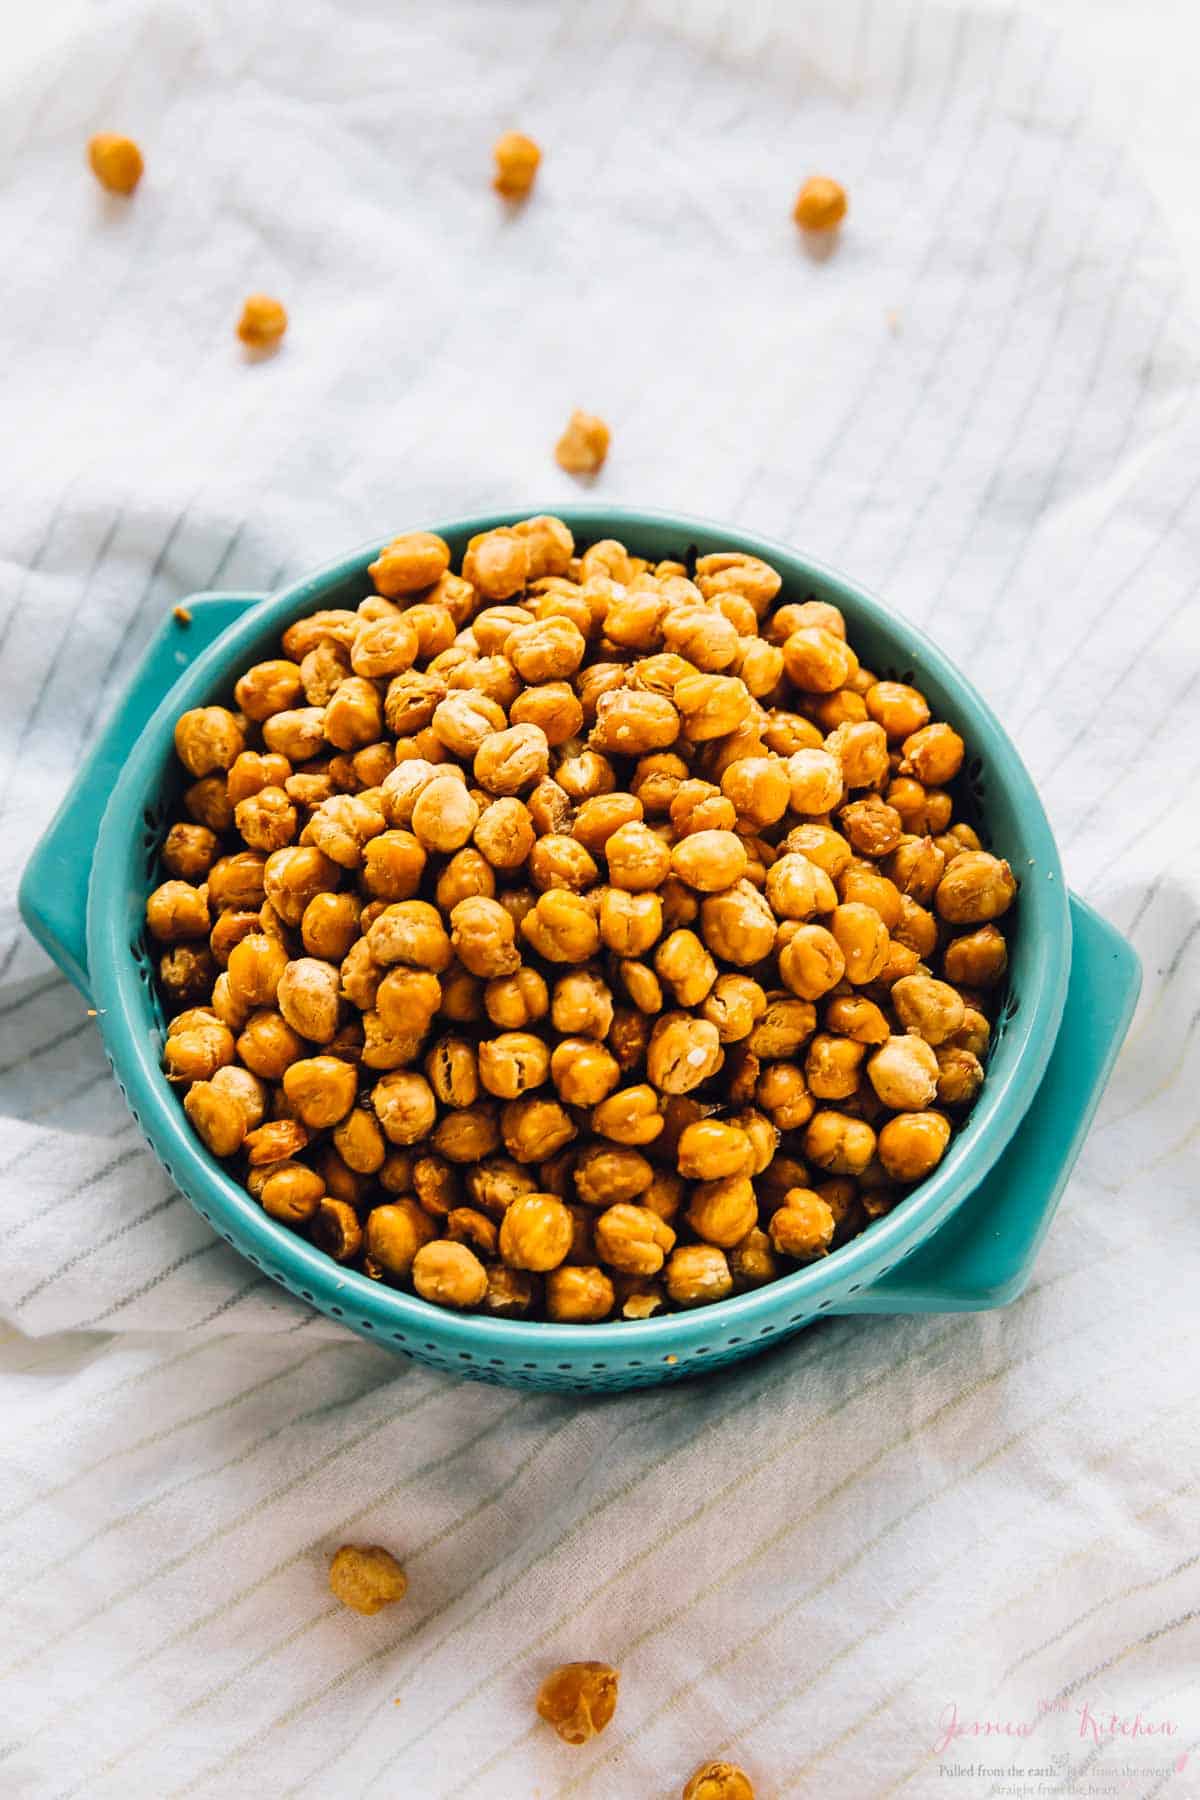
If you haven’t tried crispy roasted chickpeas, now’s the time. A handful of these will actually keep your hunger at bay, but they’re so much more than just a snack—they’re a crunchy addition to salads, meal bowls, and even soups!
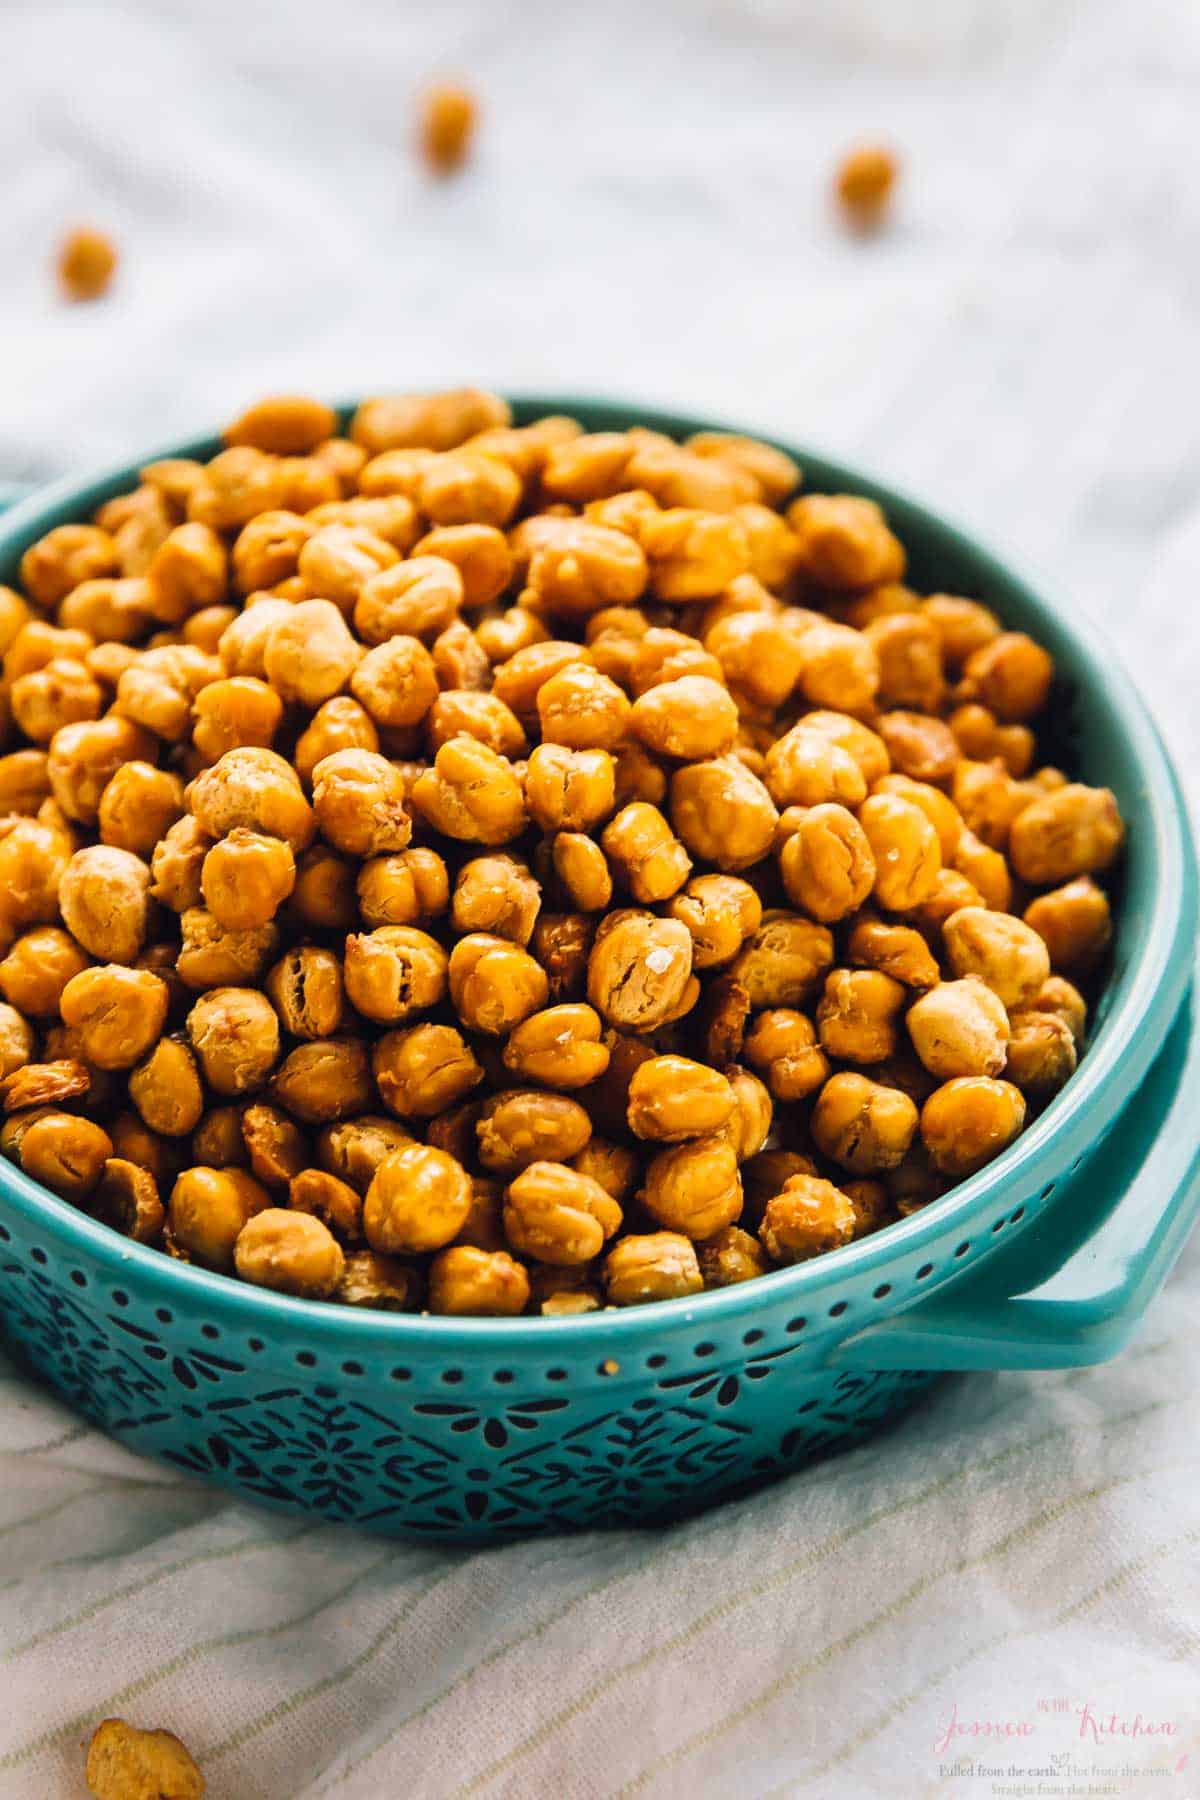
The key to getting these chickpeas roasted to crispy perfection is ensuring that they are dry before going into the oven. Not pat lightly with a towel dry, but dry .
You also want to roast them on the best medium. I love my silicone mat for well, everything , because it maintains high heat without burning and I find that every single thing I make on it bakes perfectly. You can also use parchment paper if you don’t have a silicone mat.
Once roasted, the chickpeas transform from soft, mushy beans into a crispy snack that you’d think you bought at a high end grocery store. They’re so easy, and my favourite part is popping way-too-hot chickpeas into my mouth for ‘taste testing.’
Best of all, you can easily switch up the flavours. I’ve got some ideas later in the post!
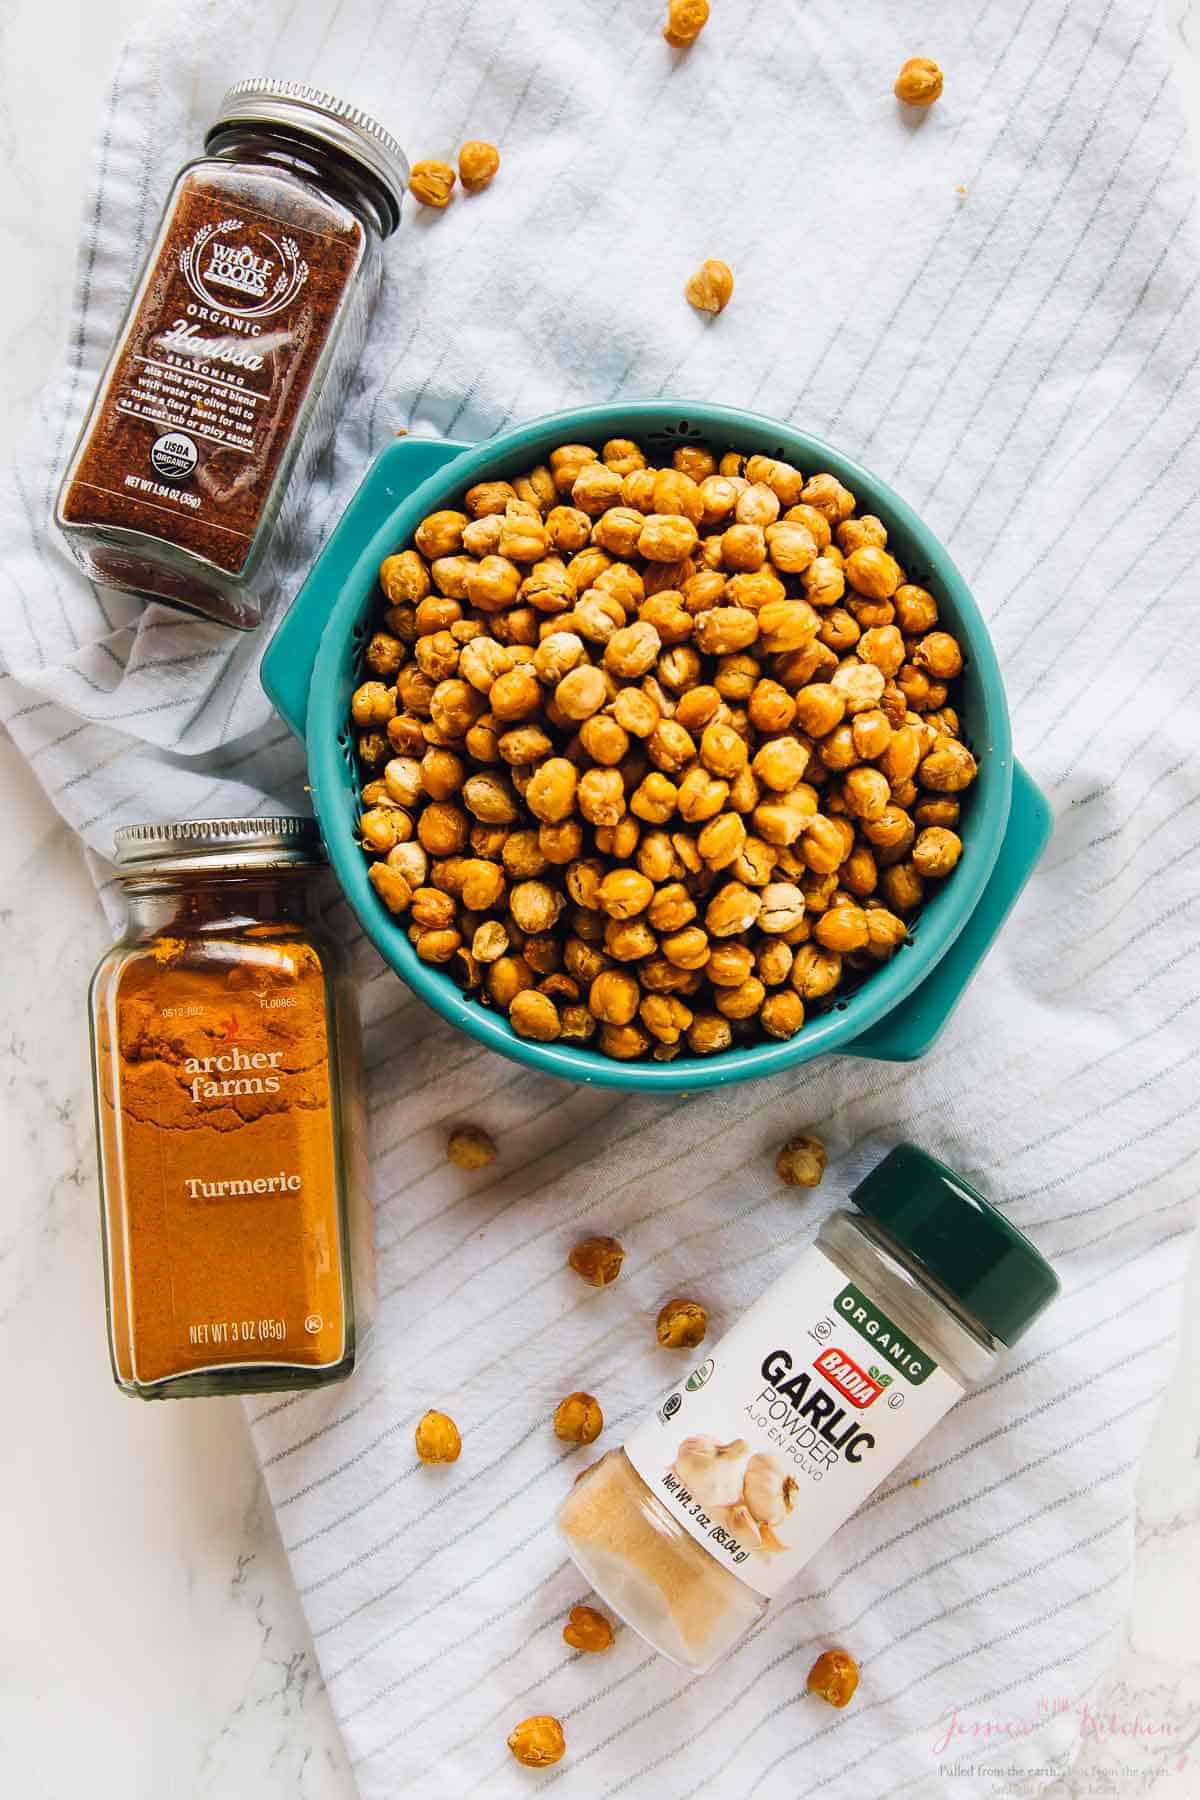
Notes on Ingredients
Please note that this is important information on the ingredients and instructions and the FULL recipe with amounts and details can be found DOWN BELOW (scroll to it) in the recipe card.
- Chickpeas – You’ll need 2 cans of chickpeas for this recipe. If you’re using dried chickpeas, cook them first; you’ll need about 3 cups.
- Olive oil or coconut oil
- Sea salt
Flavour options:
- Maple cinnamon chickpeas – Add ground cinnamon and maple syrup.
- Harissa garlic chickpeas – Add garlic powder and harissa powder.
How to Make Crispy Roasted Chickpeas
This recipe is easy as can be! Here’s what you’ll need to do.
Prepare . Preheat your oven to 400ºF and line a baking sheet with a silicone mat or parchment paper. Rinse, drain, and thoroughly dry the chickpeas.
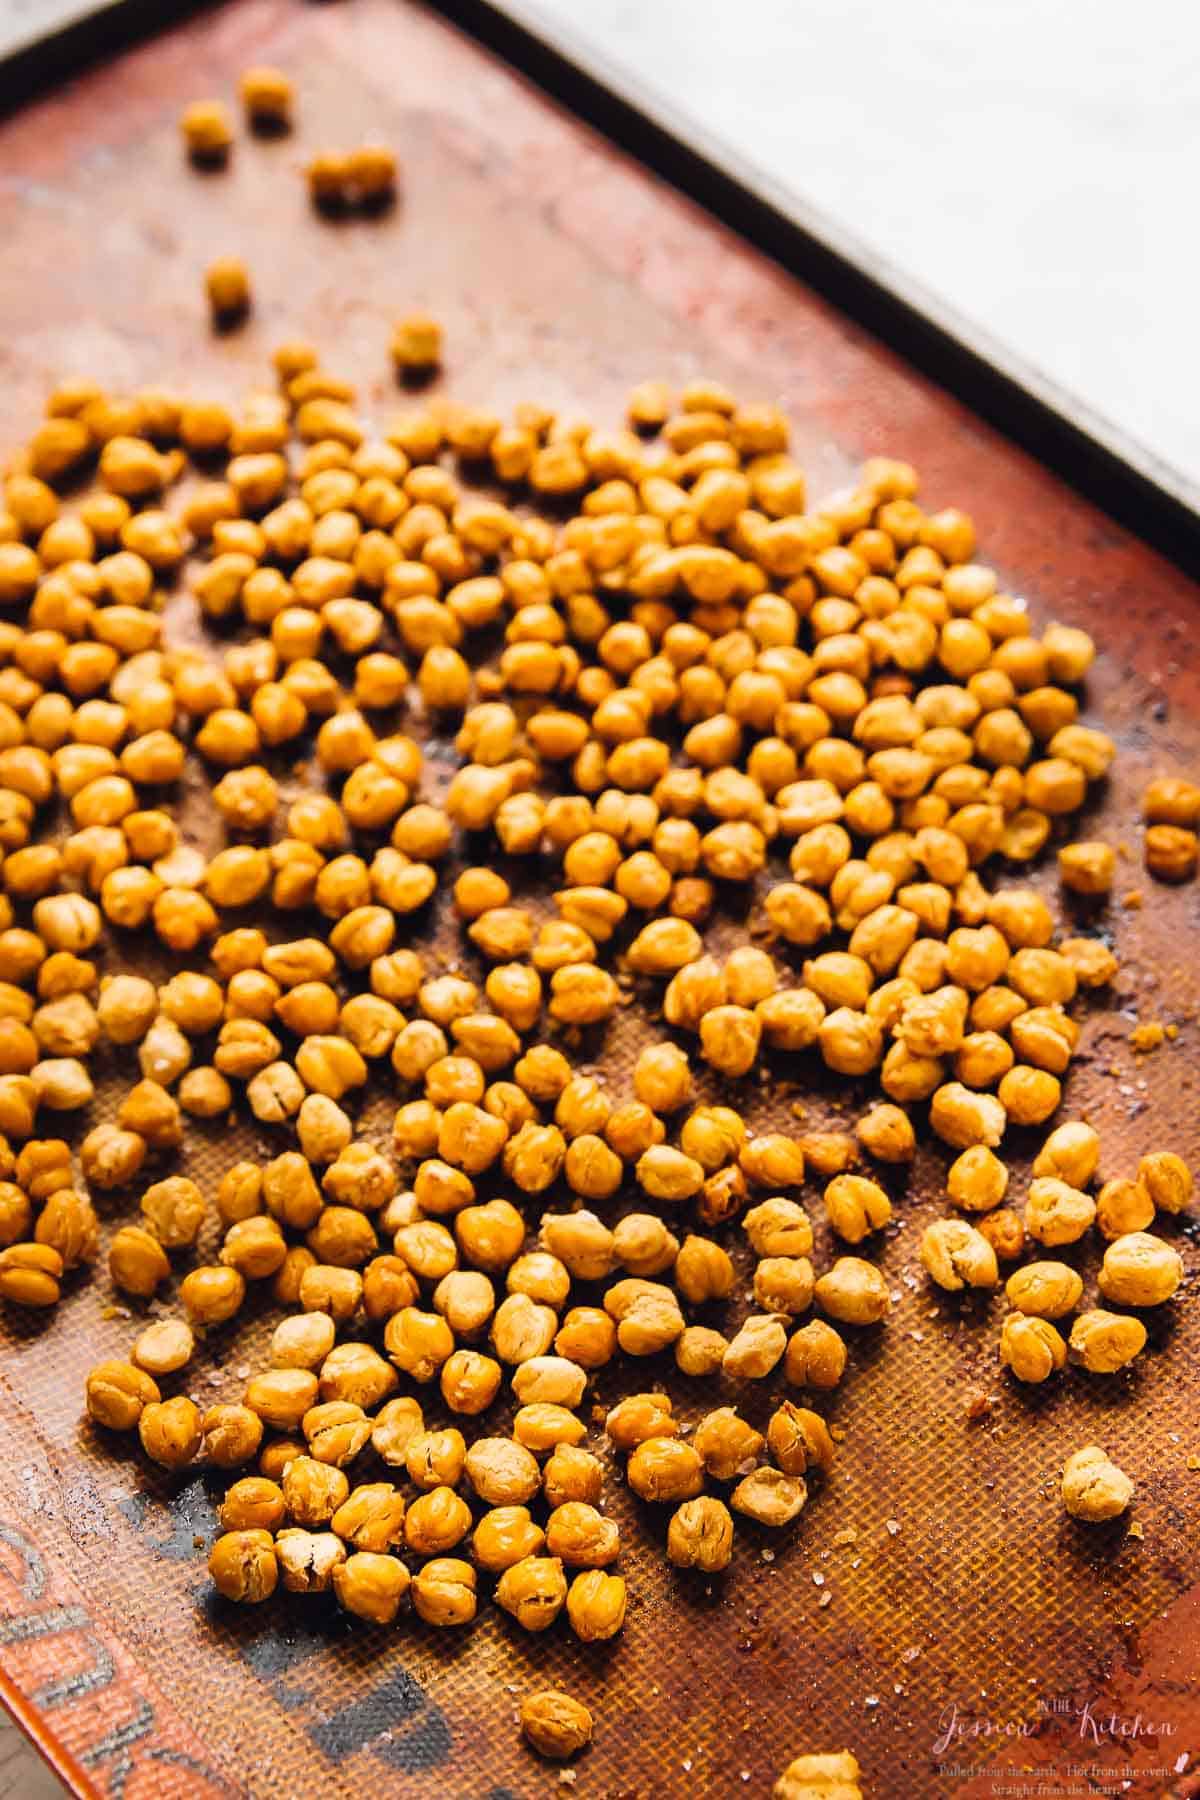
Oil the chickpeas . Place the chickpeas on the prepared baking sheet and drizzle them with oil. Sprinkle them with salt, then use your hands to gently toss the chickpeas, ensuring that they’re evenly coated in oil and spread out on the pan.
Bake . Roast the chickpeas in the oven for 15 minutes, then rotate the baking sheet and roast for 15 minutes more, or until the chickpeas are crispy.
Add flavours . If you want to season your chickpeas, do it now. Combine the maple and cinnamon and drizzle the mixture over the chickpeas, or toss them in harissa and garlic powder.
Why Won’t My Chickpeas Get Crunchy?
There are a few reasons why your chickpeas might not be getting crispy in the oven:
- They’re not dry enough . If your chickpeas are even slightly damp, they won’t get crispy in the oven.
- The oven isn’t hot enough . The chickpeas need high heat to get crispy, so if your oven isn’t hot enough, they won’t crisp up.
- You didn’t bake them long enough . Chickpeas can take a while to get crispy in the oven; sometimes up to 30 minutes.
Tips for Success
Making crispy chickpeas is easy, but these simple tips will help you make them perfect!
- Dry them well. Place the chickpeas on a kitchen towel and rub them until they’re completely dry. Rubbing will also help loosen the skins; you can then slide off the rest of the skins, which will make the chickpeas crunchier.
- Use a rimmed baking sheet (AKA a sheet pan). Otherwise, your chickpeas are likely to roll off the edges of the pan.
- Enhance the crispiness . If you have time, return the chickpeas to the oven, turn it off, and leave the door open slightly to cool for another 30 minutes. This will ensure the chickpeas remain crispy for days.
More Flavour Ideas
There are so many fun ways to season these chickpeas, but I recommend adding herbs and spices after the chickpeas are done roasting so they don’t burn. Here are some additional ideas to try:
- Lemon zest, minced rosemary, and cracked black pepper
- BBQ seasoning
- Taco seasoning
- Ranch seasoning
- Everything bagel seasoning
Serving Suggestions
Use crispy roasted chickpeas:
- As a crunchy addition to my Nourishing Vegan Buddha Bowl
- Instead of croutons on my Easy Vegan Caesar Salad or Creamy Tomato Soup
- To add extra protein and crunch to Kale Pesto Pizza
How to Store
Once they’re roasted, these chickpeas will stay crispy for up to 5 days in an airtight container at room temperature. If they start to lose their crispiness, you can always pop them back in the oven for a few minutes to crisp them up again.
Can This Recipe Be Frozen?
No, if you freeze these chickpeas, they won’t be crispy anymore. If you’re looking for a freezer-friendly snack idea, try my Quinoa Pizza Bites .
Ingredients
Crispy Roasted Chickpeas
- 2 cups chickpeas , drained (about 2 cans chickpeas)
- 2 tablespoons olive oil or coconut oil
- 1/2 teaspoon sea salt
Different Flavours
- cinnamon and maple syrup
- garlic powder
- garlic powder and harissa powder
Instructions
Crispy Roasted Chickpeas
- Preheat oven to 400 F degrees. Rinse and drain chickpeas. Place them onto a kitchen towel and rub until completely dry. Remember, the chickpeas need to be very dry or they won’t crisp up. This will also help to loosen up the skins. Slide off the rest of the skins – this will make the chickpeas a lot crunchier.
- On a baking sheet lined with parchment paper or a silicone mat, add the chickpeas. Drizzle the oil over the chickpeas and the salt, and using your hands, rub to mix into the chickpeas. Ensure they are spread out on the sheet
- Bake for 30 minutes, rotating the baking sheet pan halfway around at 15 minutes.
- Test one of the chickpeas to ensure that it’s crispy. Remove chickpeas, and if you’re flavouring them, toss with the relevant flavourings:
- Maple cinnamon – mix in about cinnamon, and drizzle from maple syrup over and toss lightly
- Harissa garlic – mix with Harissa powder and garlic powder and toss together.
- If you have time/want the crispness to last, place chickpeas back into the oven, turn off the oven and leave it slightly open to cool for another 30 minutes. This will ensure they remain crispy for days.
- Remove from oven and enjoy! You can store them in airtight Tupperware containers for days. Enjoy!
Notes

How to Make Crispy Roasted Chickpeas (+ Flavours)
Ingredients
Crispy Roasted Chickpeas
- 2 cups chickpeas drained (about 2 cans chickpeas)
- 2 tablespoons olive oil or coconut oil
- 1/2 teaspoon sea salt
Different Flavours
- cinnamon and maple syrup
- garlic powder
- garlic powder and harissa powder
Instructions
Crispy Roasted Chickpeas
- Preheat oven to 400 F degrees. Rinse and drain chickpeas. Place them onto a kitchen towel and rub until completely dry. Remember, the chickpeas need to be very dry or they won’t crisp up. This will also help to loosen up the skins. Slide off the rest of the skins - this will make the chickpeas a lot crunchier.
- On a baking sheet lined with parchment paper or a silicone mat, add the chickpeas. Drizzle the oil over the chickpeas and the salt, and using your hands, rub to mix into the chickpeas. Ensure they are spread out on the sheet
- Bake for 30 minutes, rotating the baking sheet pan halfway around at 15 minutes.
- Test one of the chickpeas to ensure that it’s crispy. Remove chickpeas, and if you’re flavouring them, toss with the relevant flavourings:
- Maple cinnamon - mix in about cinnamon, and drizzle from maple syrup over and toss lightly
- Harissa garlic - mix with Harissa powder and garlic powder and toss together.
- If you have time/want the crispness to last, place chickpeas back into the oven, turn off the oven and leave it slightly open to cool for another 30 minutes. This will ensure they remain crispy for days.
- Remove from oven and enjoy! You can store them in airtight Tupperware containers for days. Enjoy!
Video
Notes
Nutrition
How to Make Crispy Roasted Chickpeas (+ Flavours) https://jessicainthekitchen.com/how-to-make-crispy-roasted-chickpeas-meal-prep/ June 29, 2022
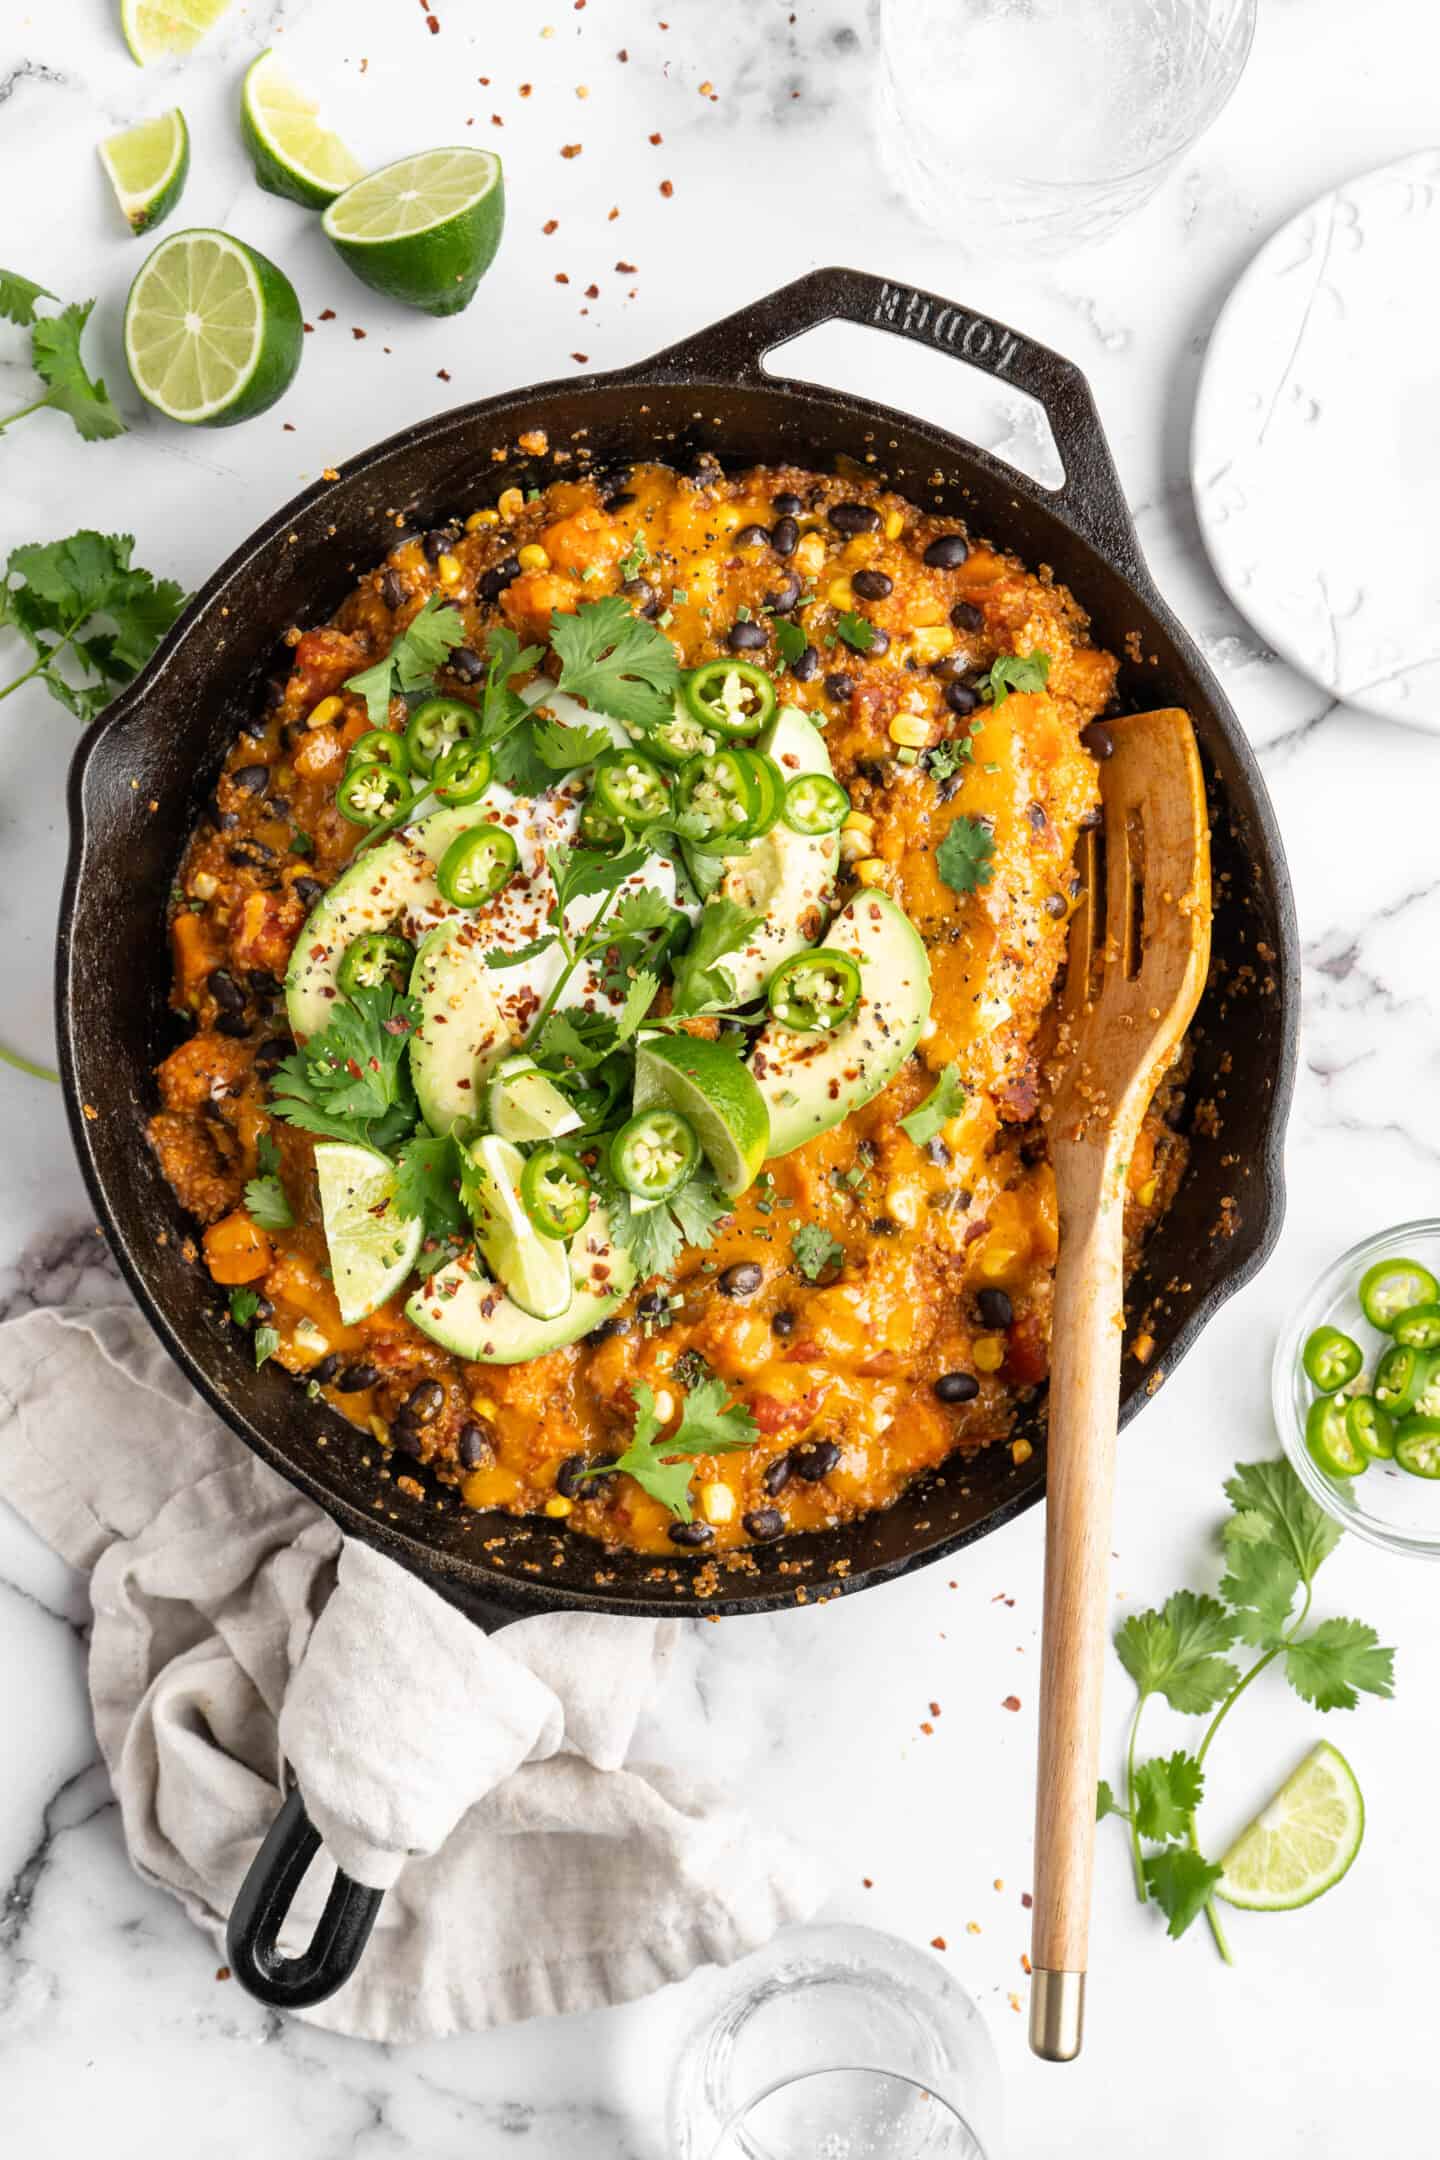
This easy cheesy Quinoa Enchilada Skillet takes just 30 minutes from start to finish, all in one pot! It’s a hearty and flavorful dish your whole family will love.
I have to say, this is probably one of my most favourite recipes to date, which is funny because this was actually a “fridge dump” recipe that came about because I really needed to go to the supermarket but also didn’t want to go to the supermarket…because who enjoys that trip?
I needed to use up a sweet potato, I always have cans of black beans and tomatoes on hand, and quinoa is my ultimate go-to staple ingredient. Thirty minutes later, this Quinoa Enchilada Skillet was born. While I love Vegan Enchiladas , this dish has all of the flavour but with half of the effort!
I love that you just put all your ingredients into your skillet, let it cook, and get to serve up a filling, protein-packed dish that works as a side or an entree. And, even better, you can also use this as a fridge dump recipe, swapping out the ingredients I used with what you happen to have on hand.
Oh, and I also have to mention that this Quinoa Enchilada Skillet is ideal for meal prep lunches. It’s one of those glorious recipes that tastes even better after a day or two in the fridge!
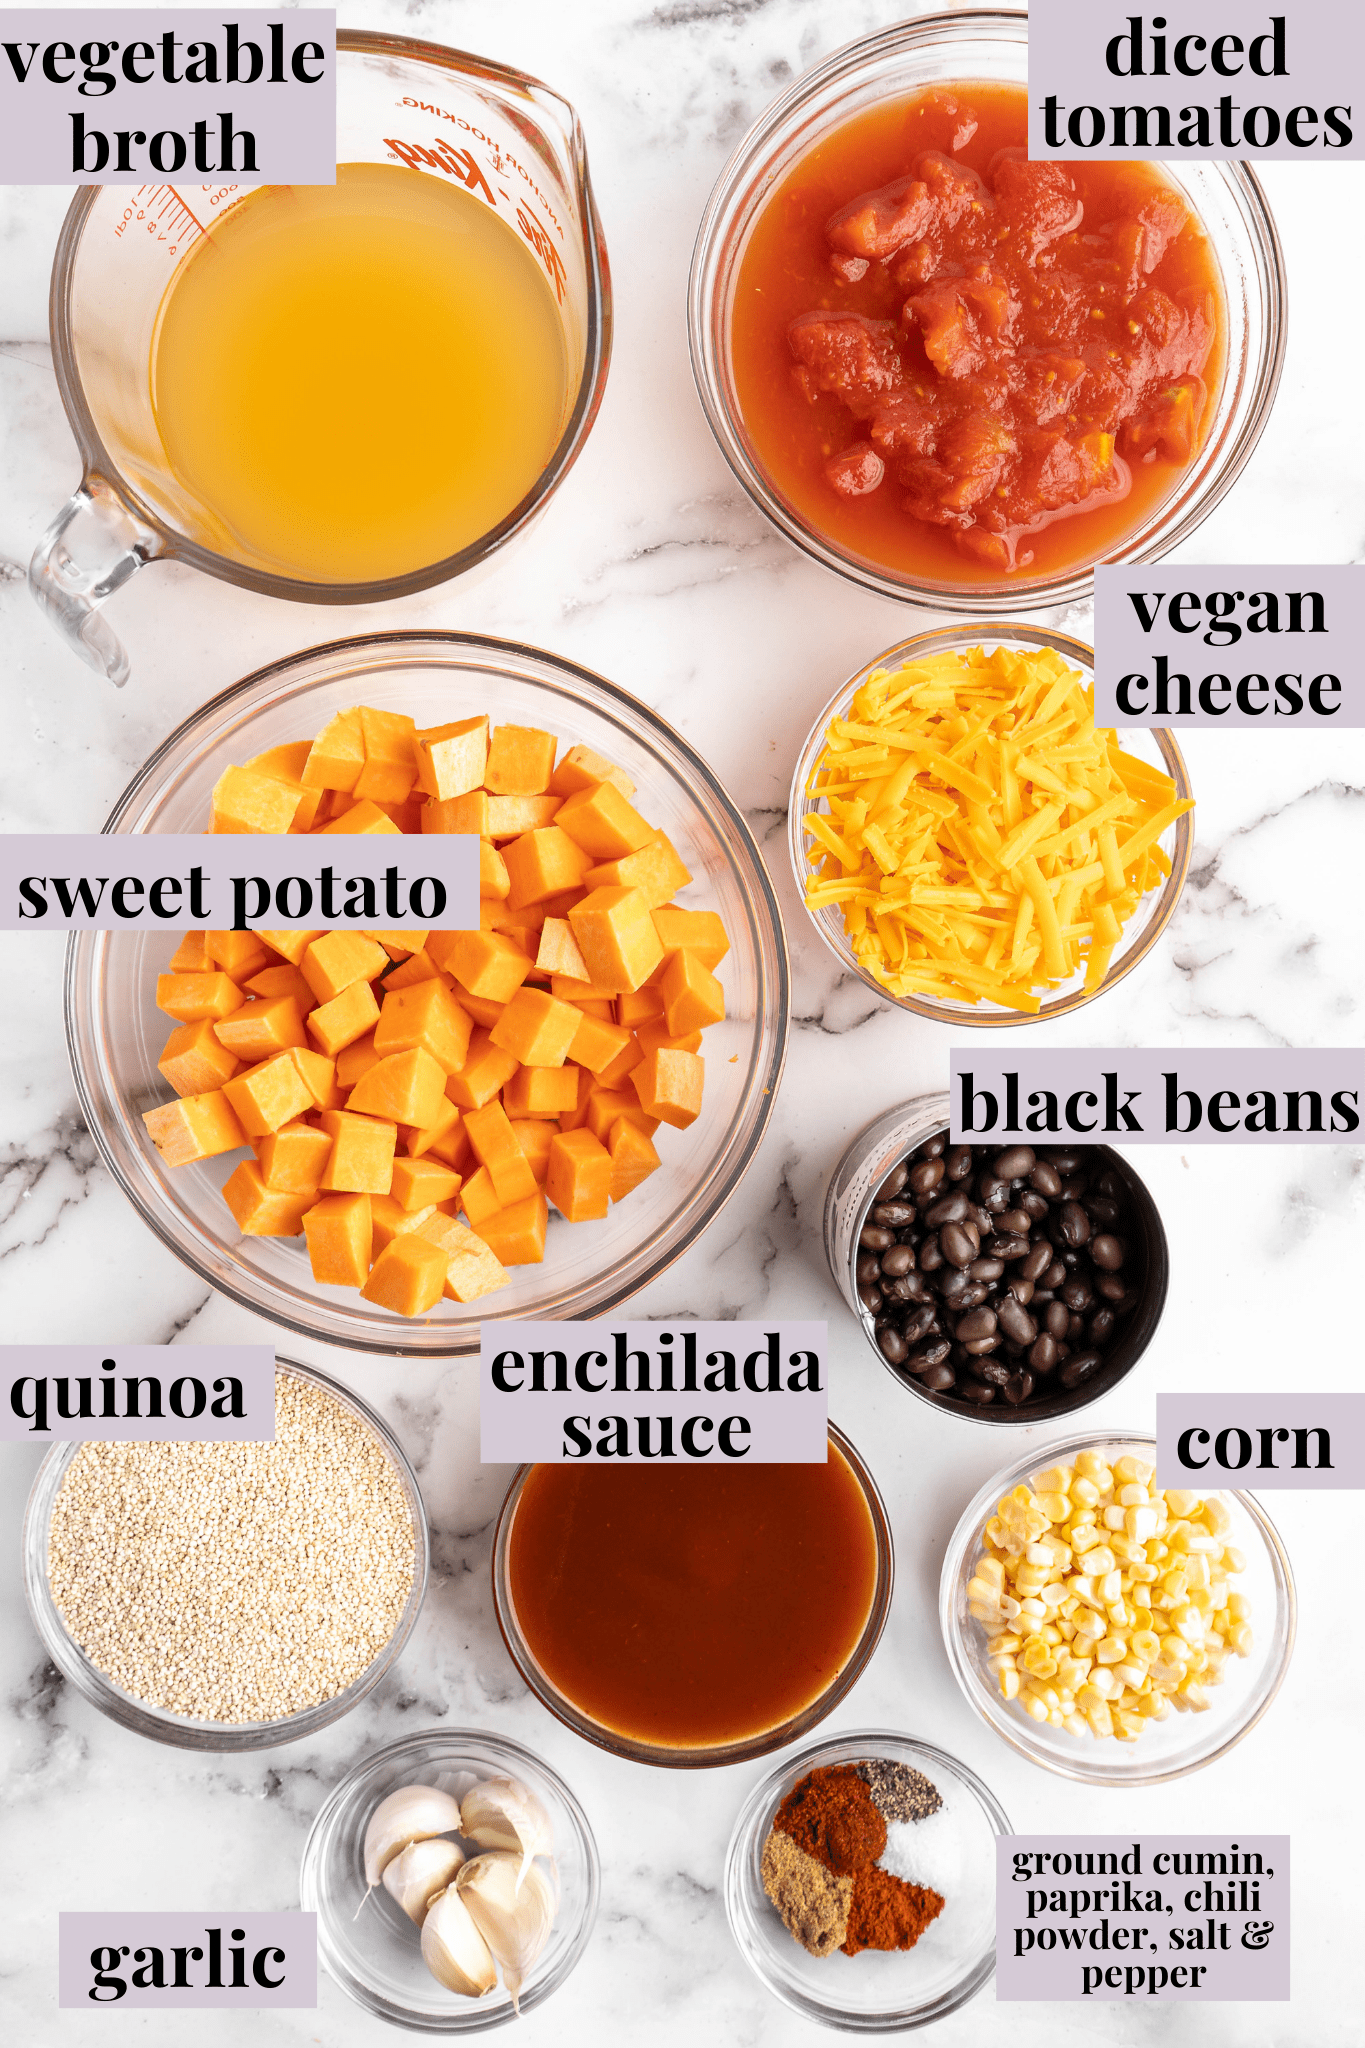
Notes on Ingredients
Please note that this is important information on the ingredients and instructions and the FULL recipe with amounts and details can be found DOWN BELOW (scroll to it) in the recipe card.
- Sweet potato – I like to peel it, but if you prefer the skin on, you can skip that step.
- Garlic
- Uncooked quinoa
- Vegetable broth – Use homemade vegetable broth or store-bought.
- Ground cumin
- Paprika
- Chili powder
- Salt and pepper
- Enchilada sauce – Both red and green enchilada sauce will work in this recipe, so use whichever you prefer.
- Black beans
- Corn kernels – Fresh, frozen, or canned.
- Diced tomatoes
- Vegan shredded cheese
- Your favourite Tex-Mex toppings
Is Vegan Cheese Like Real Cheese?
I promised you a cheesy Quinoa Enchilada Skillet, but also a vegan one. The key is choosing a quality vegan cheese.
You want a vegan cheese that melts for this recipe, so shredded cheeses are your best bet because they’re formulated for melting, just like real cheese. You’ll find that the texture and taste isn’t exactly like the original, but today’s vegan cheeses come pretty darn close. I like a pepper jack or cheddar for this skillet.
How to Make Quinoa Enchilada Skillet
Ready for an easy, cheesy Mexican-inspired dinner? Here’s what you’ll need to do.
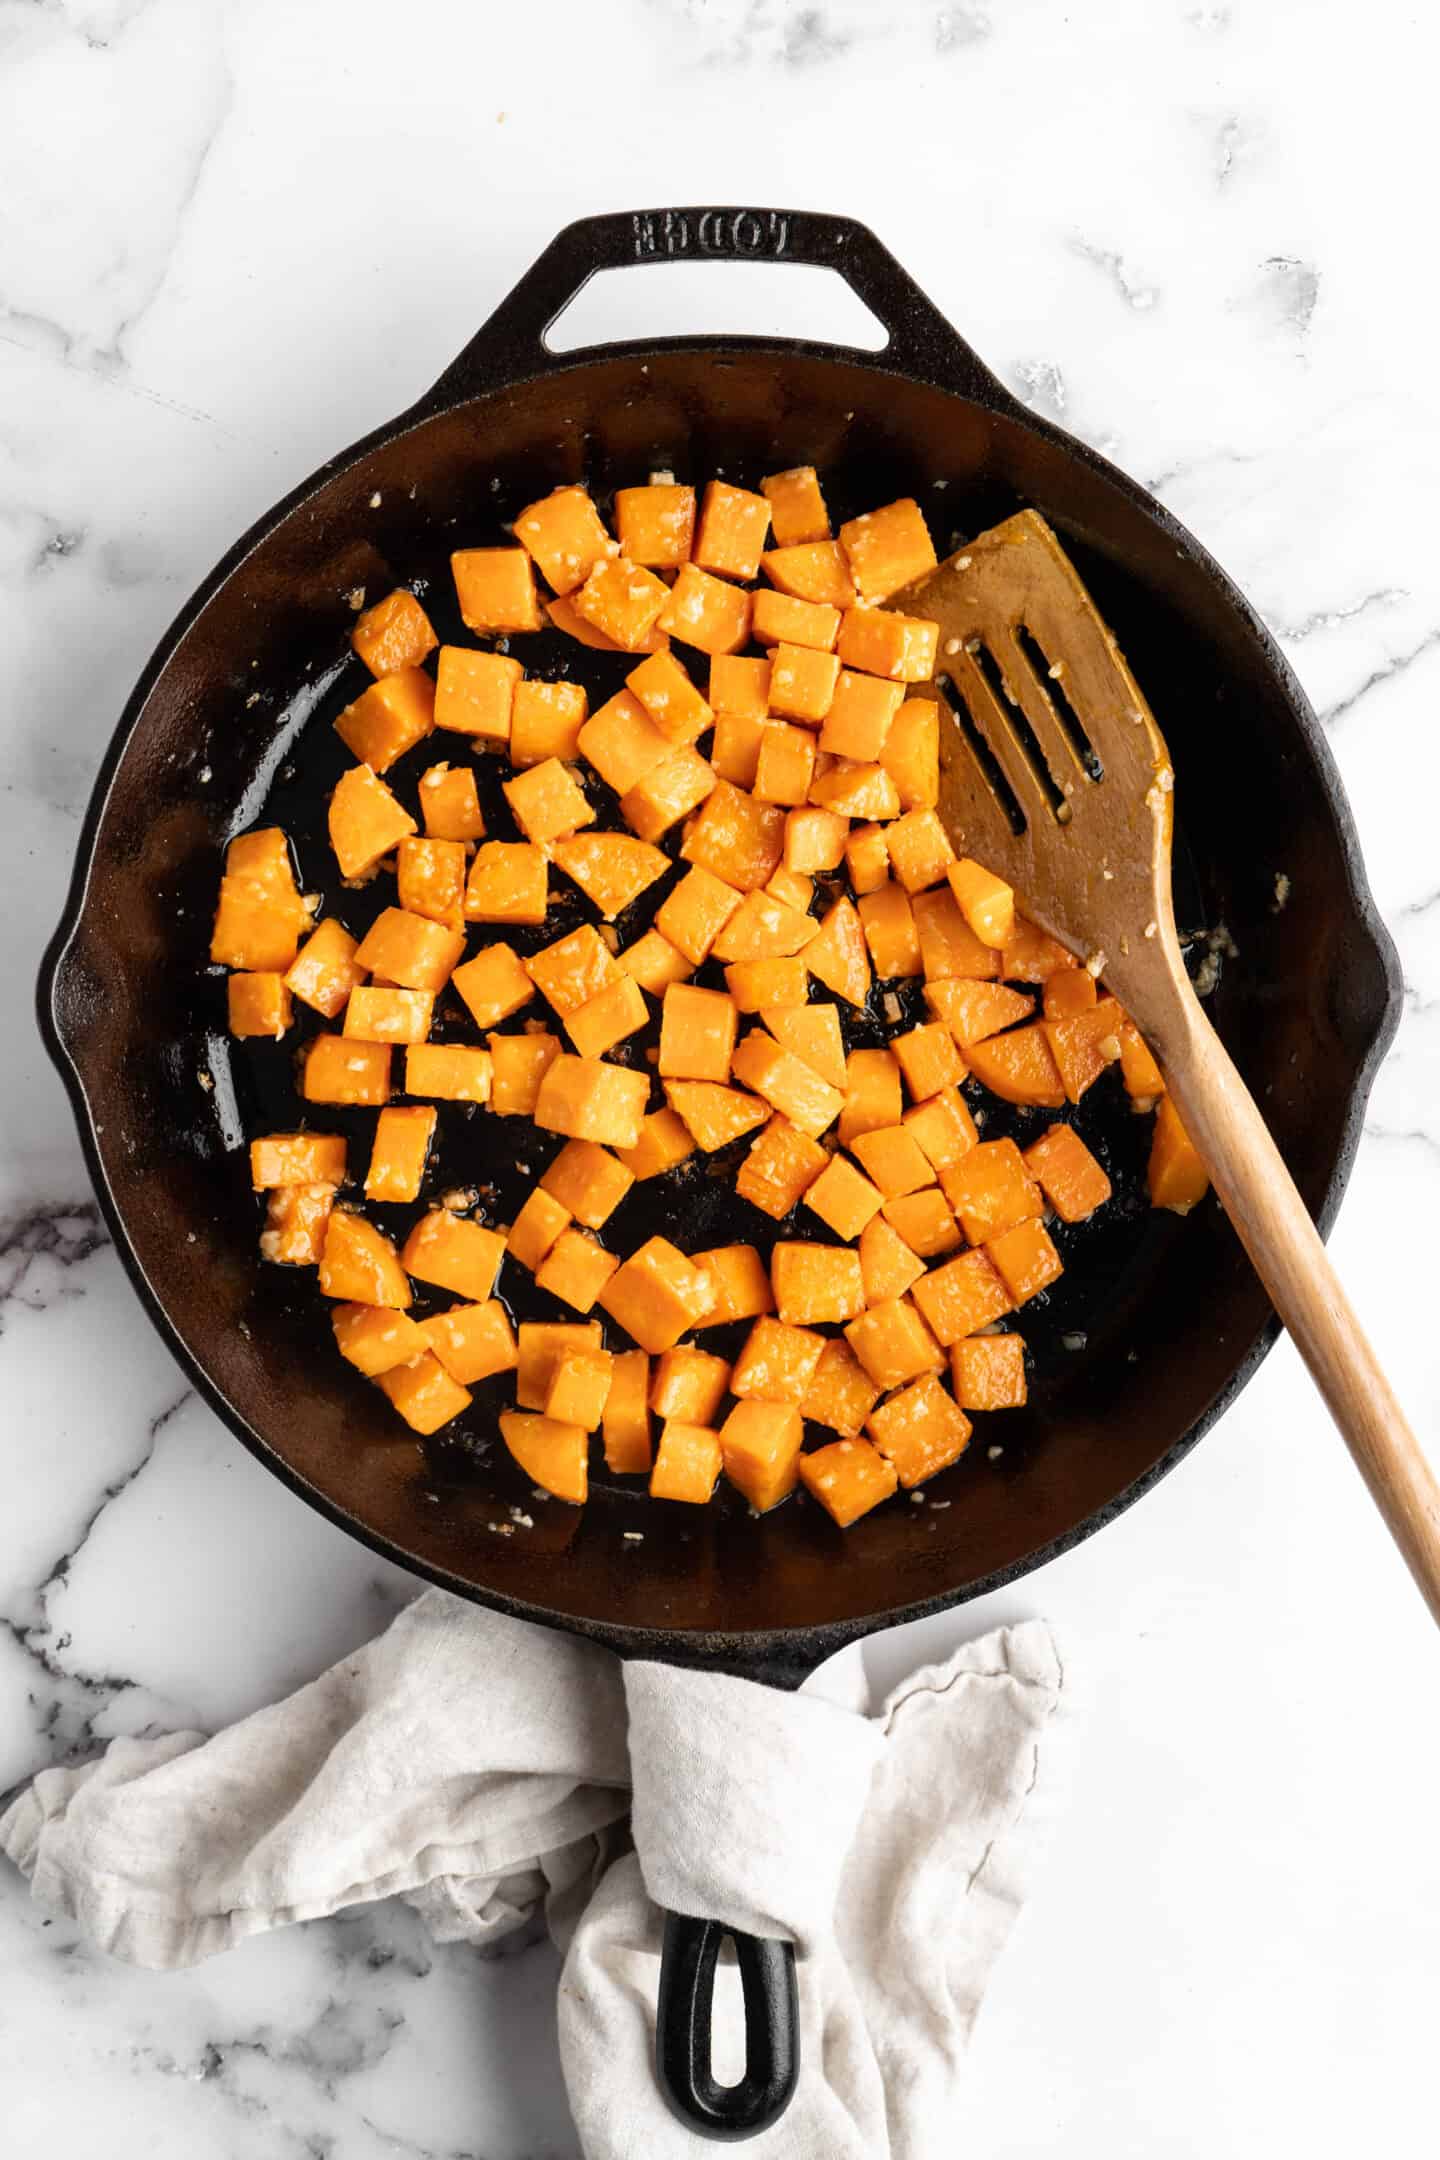
Cook the sweet potato and garlic . Heat a tablespoon of oil in a 12-inch skillet set over medium heat. Stir in the sweet potato and garlic, and cook for about 2 minutes, continuing to stir to keep the garlic from burning.
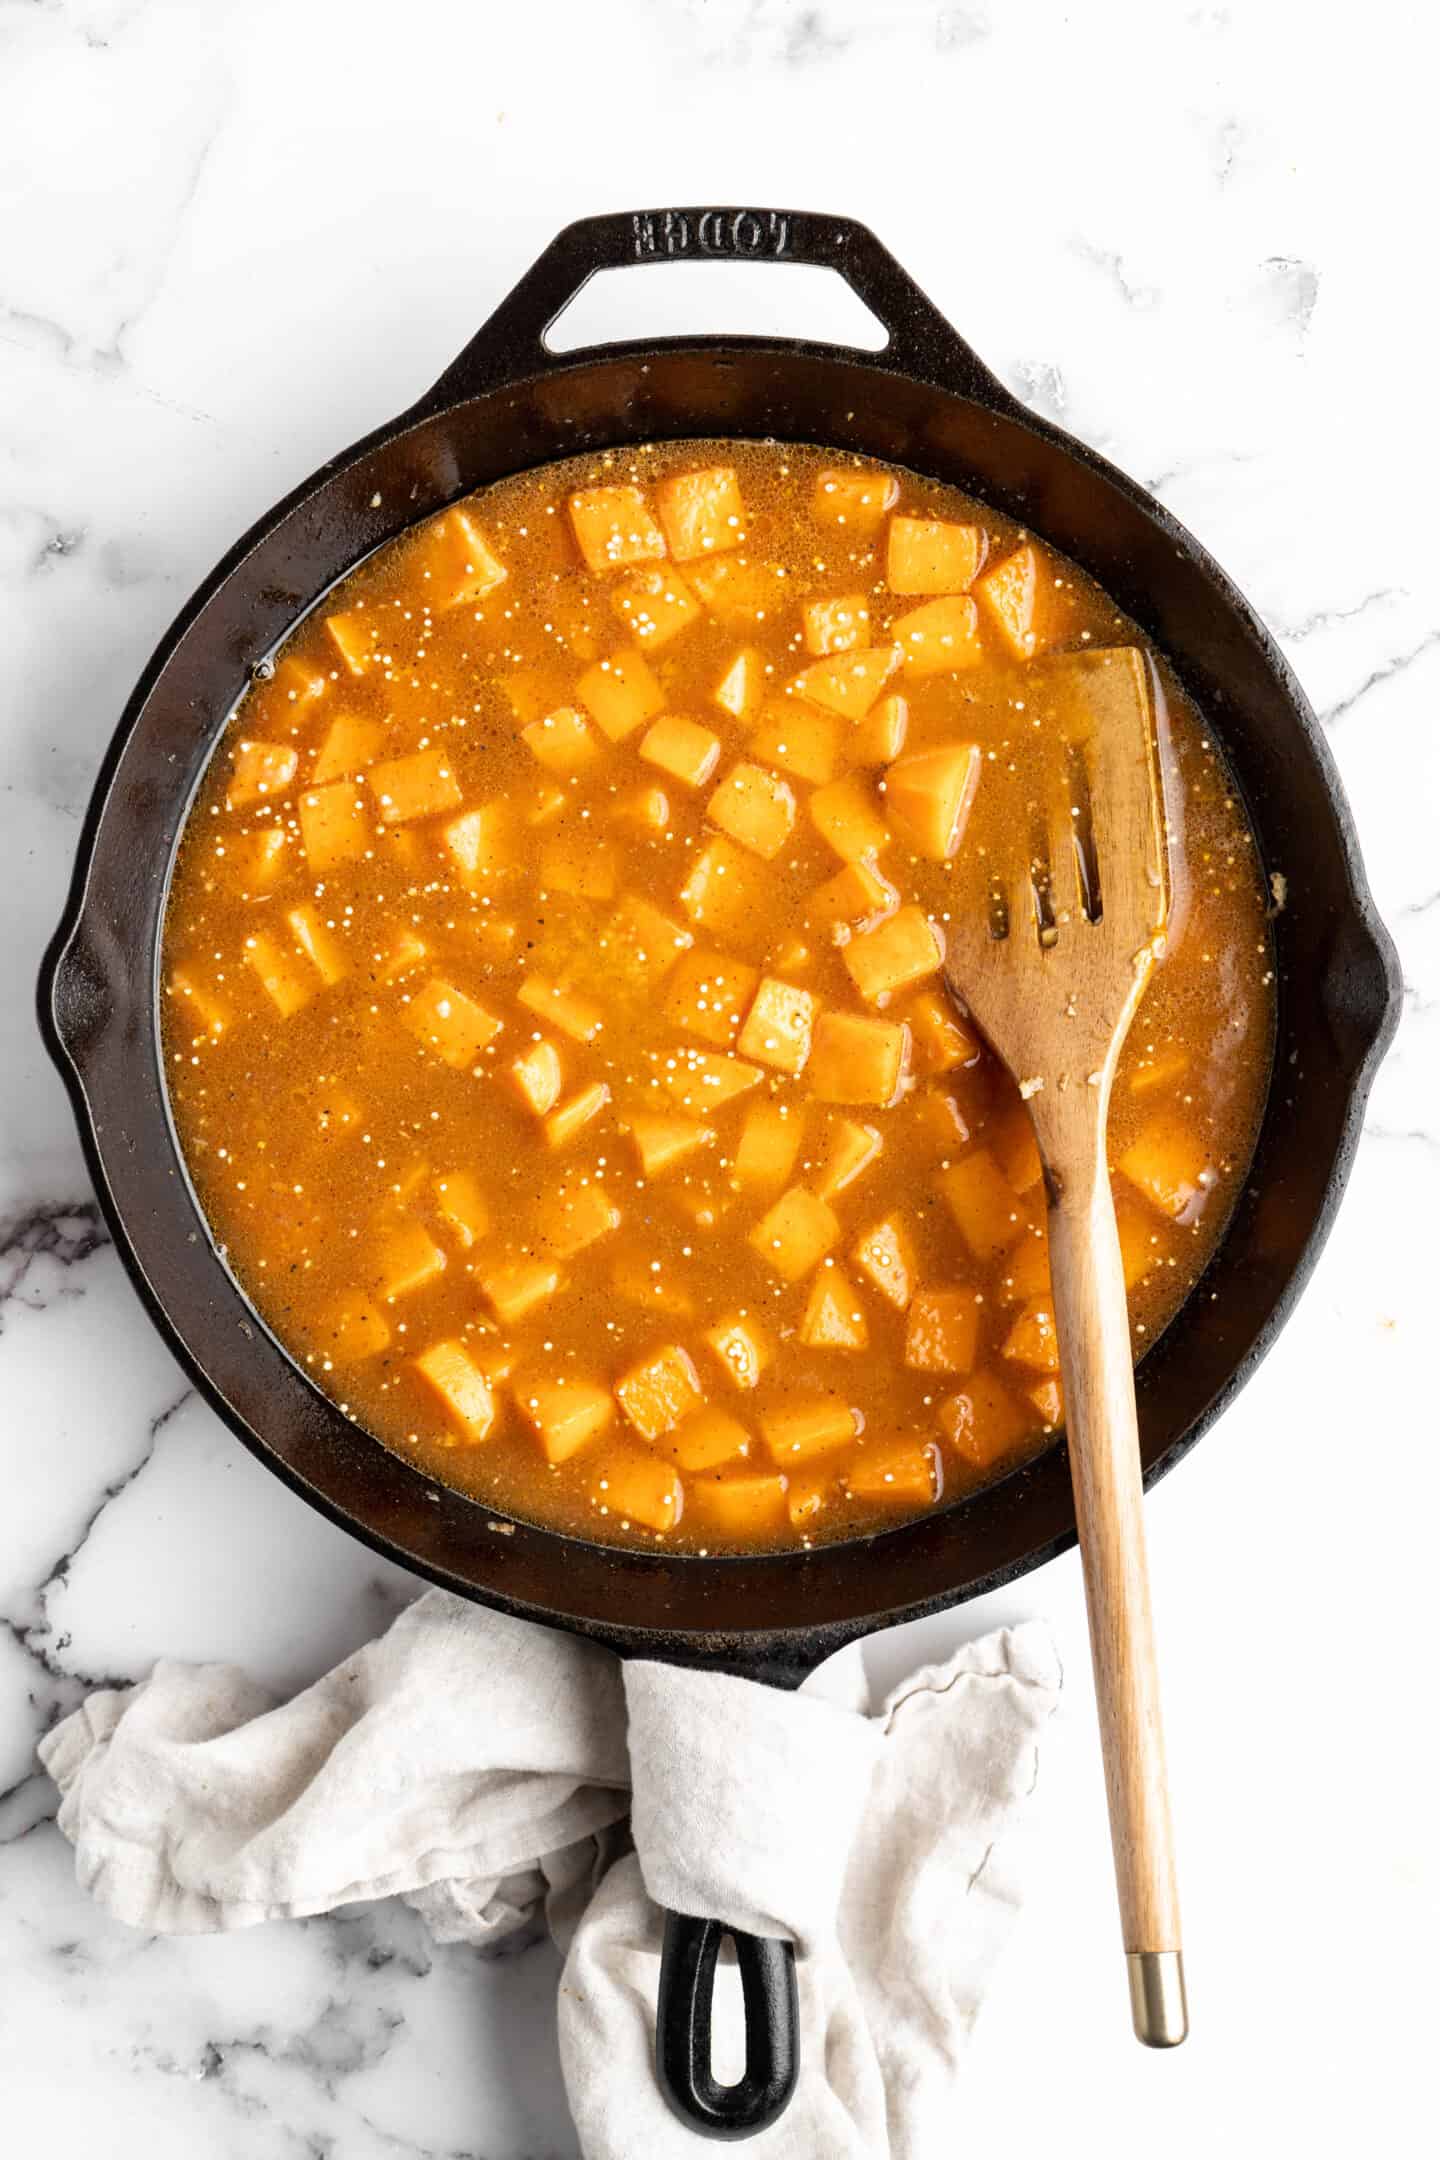
Bring to a boil . Stir in the quinoa, vegetable broth, salt, pepper, ground cumin, paprika and chili powder; bring the mixture to a boil, then cover and reduce heat to a simmer.
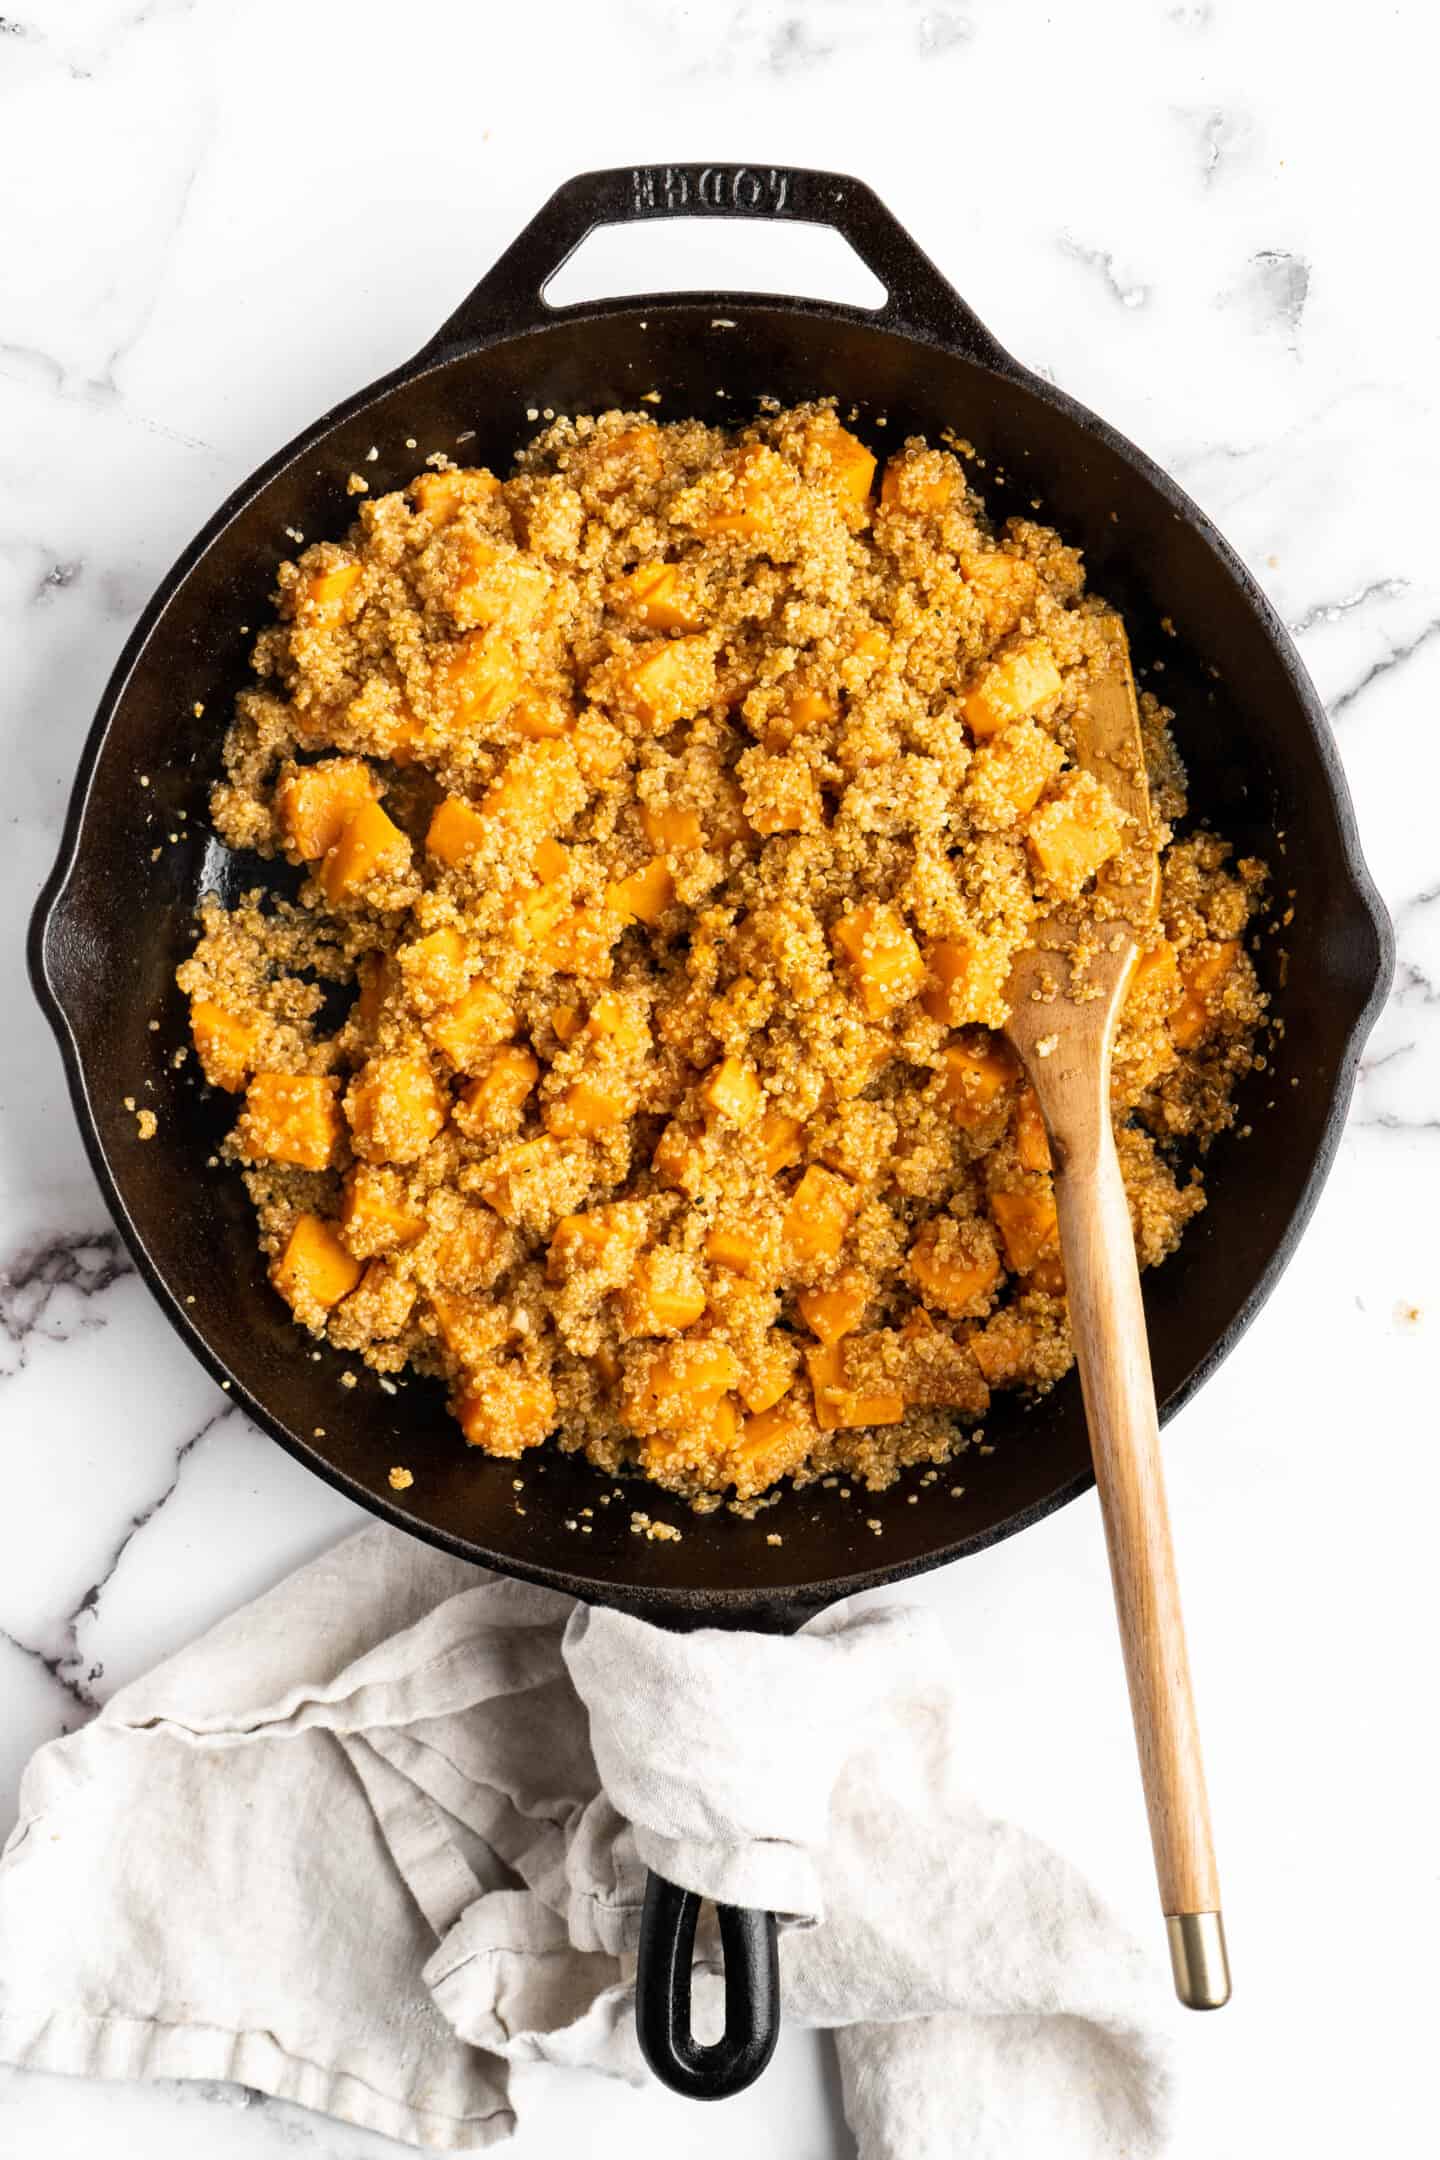
Simmer . Cook for about 15 minutes, or until most of the liquid has been absorbed by the quinoa and the quinoa has popped and looks fluffy.
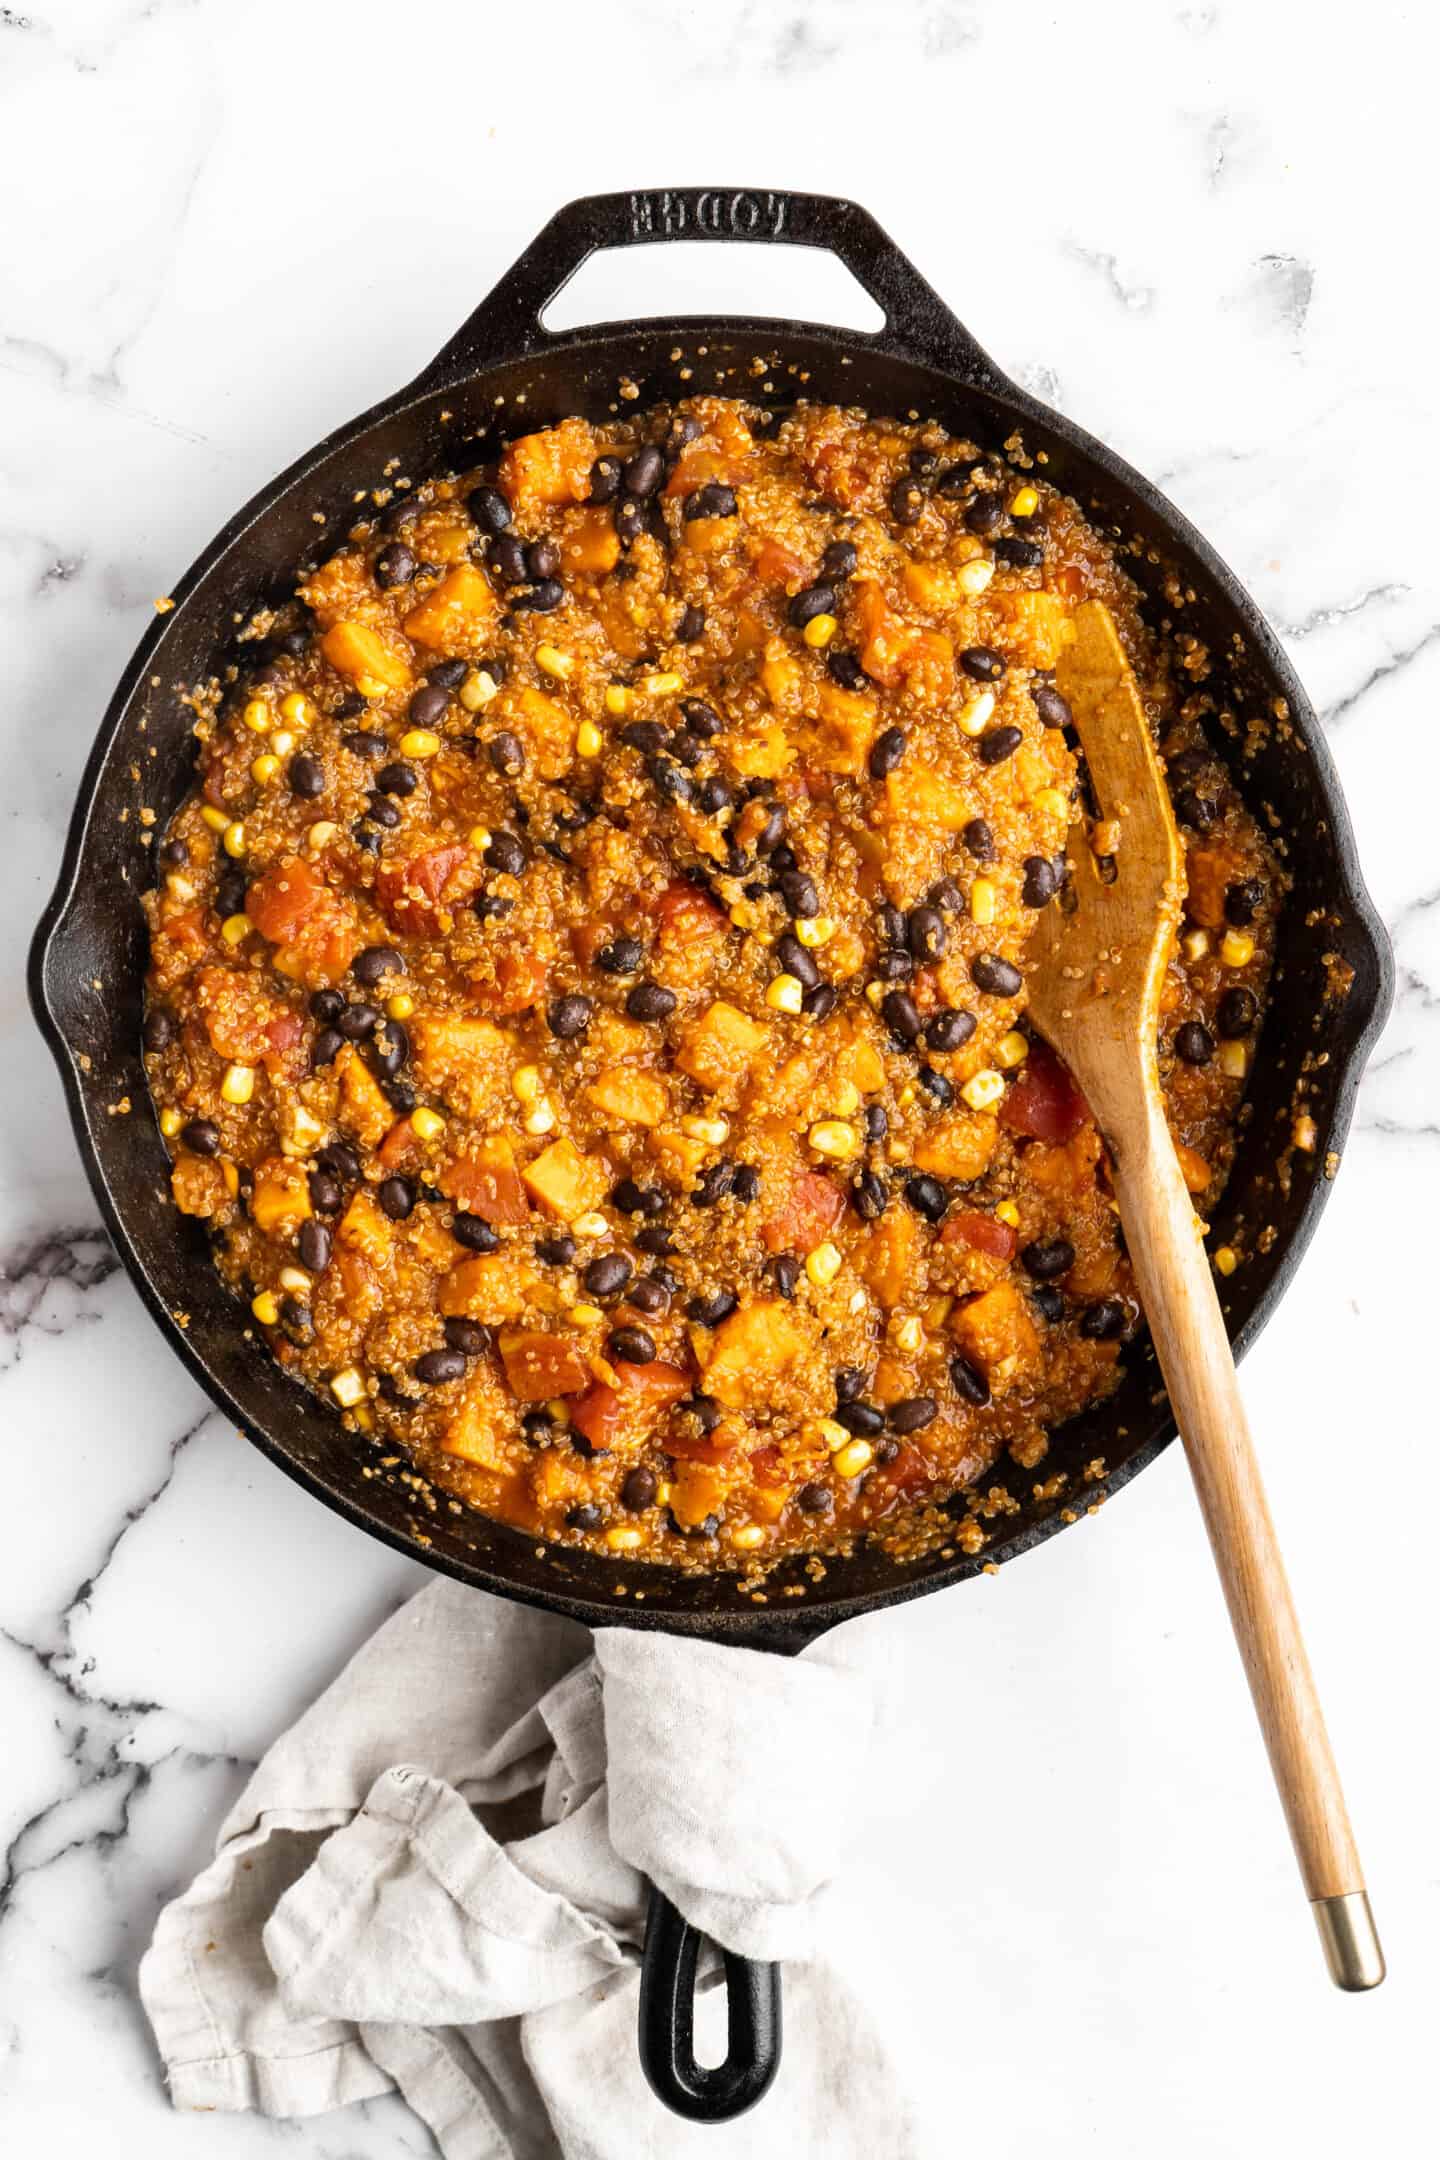
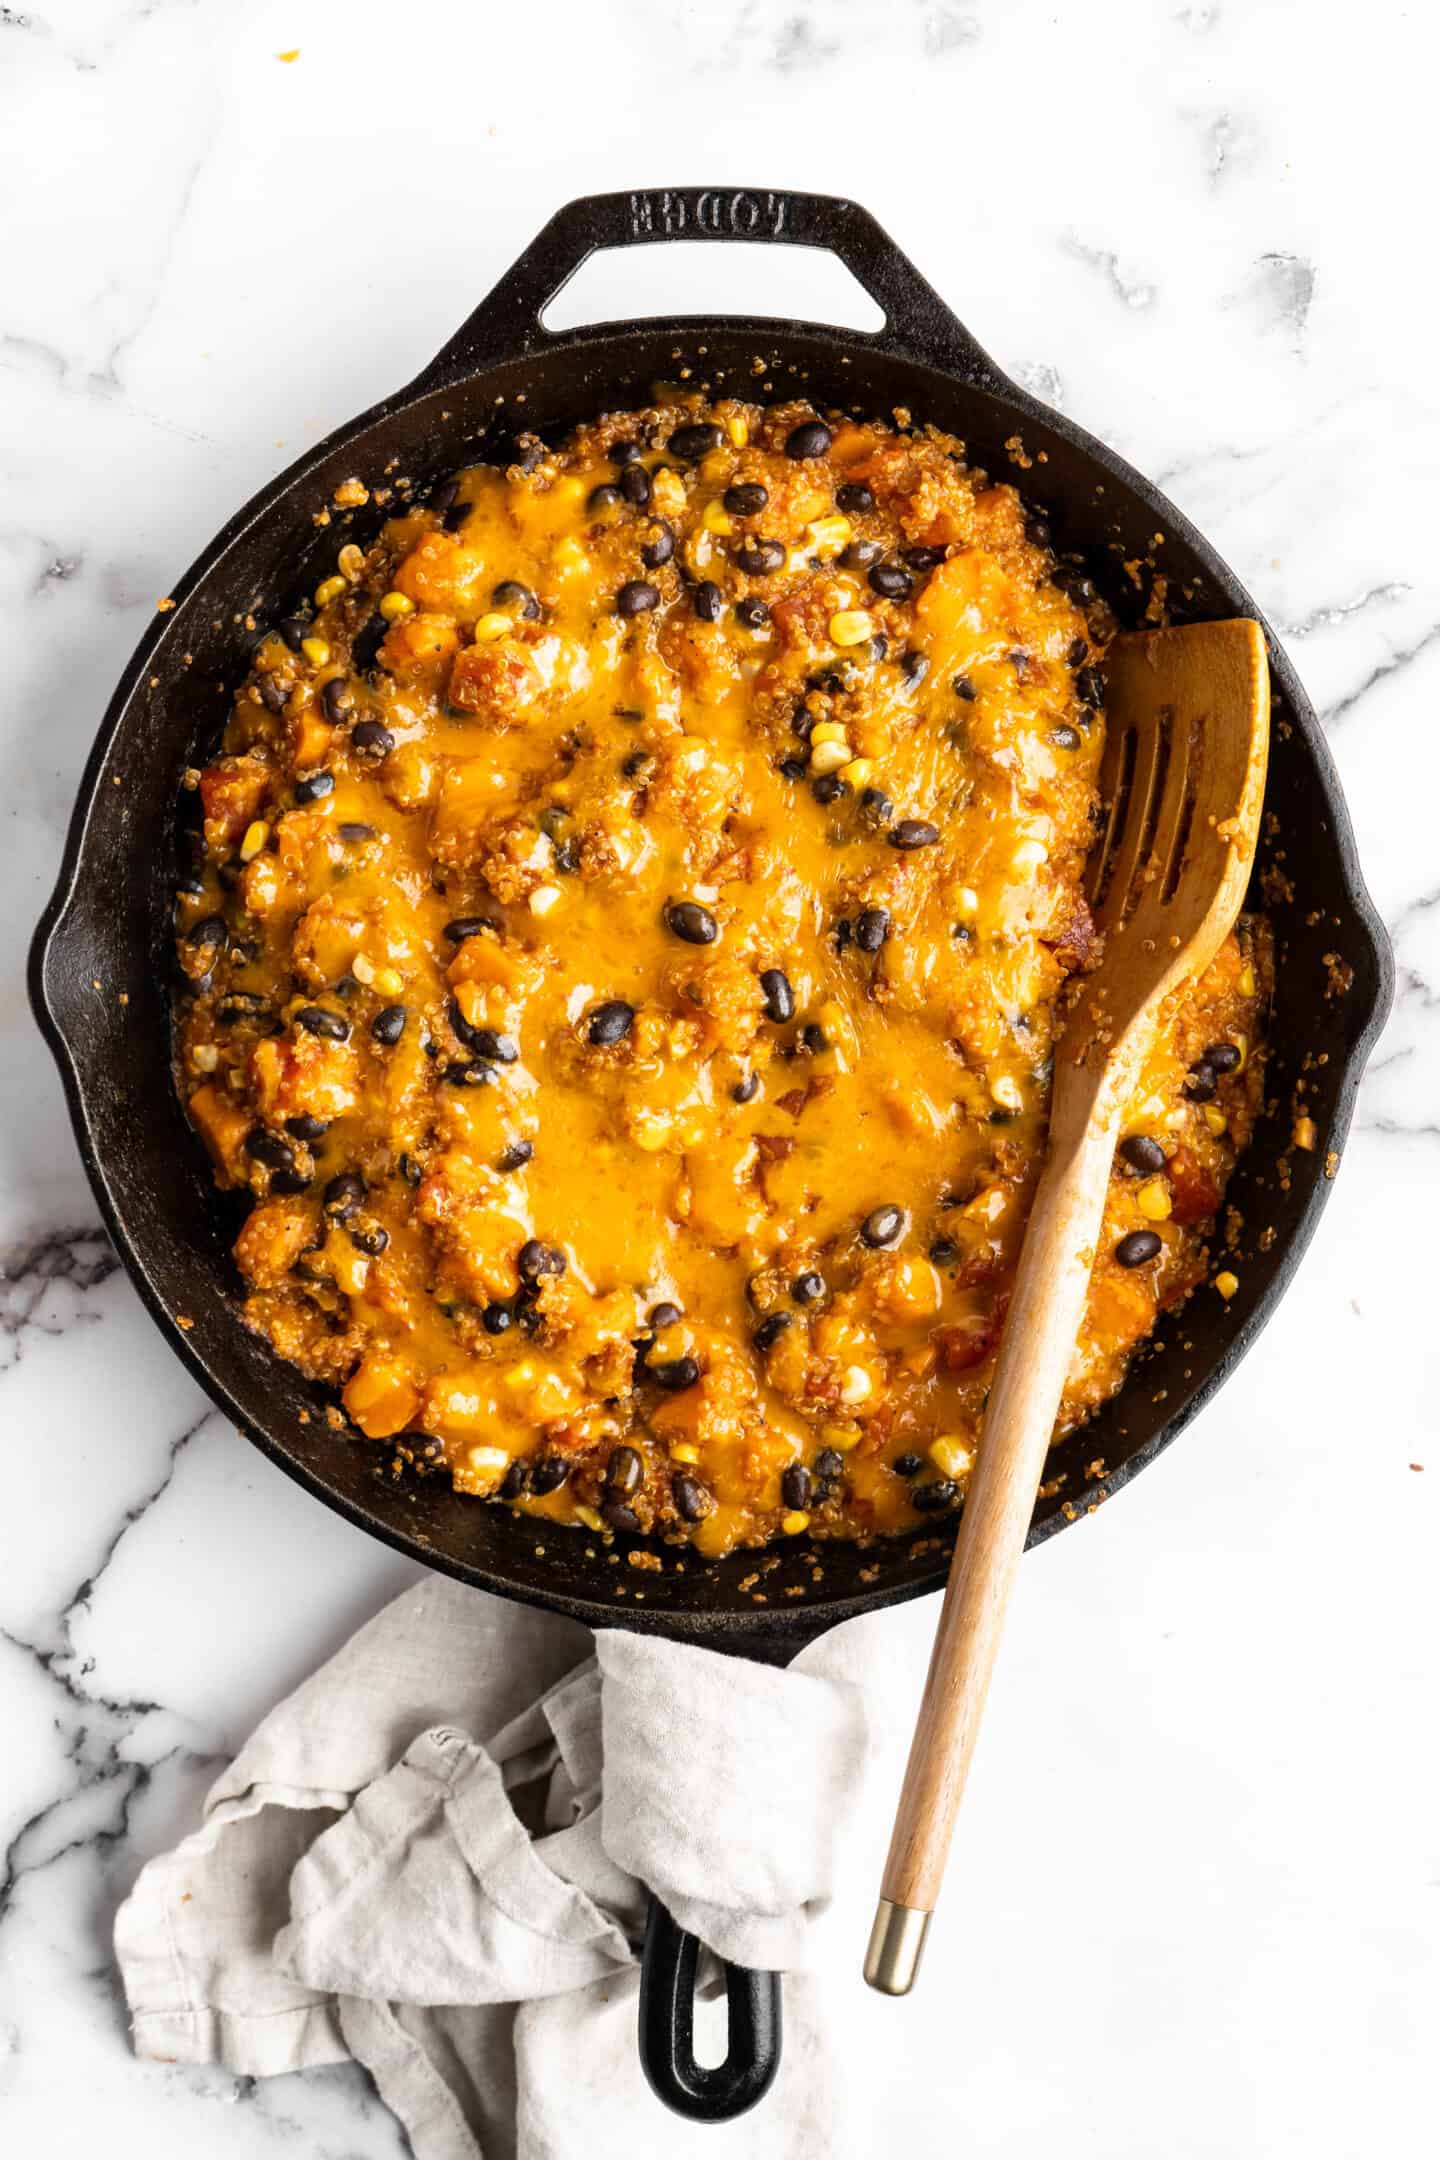
Finish. Add the enchilada sauce, black beans, corn kernels, and diced tomatoes. Stir and cook for another 5 minutes, or until heated through. Sprinkle the cheese over the top of the dish and cover the skillet to melt it.
Tips for Success
This is an easy weeknight dinner recipe, but these simple tips will make sure your Quinoa Enchilada Skillet turns out perfect!
- Rinse the quinoa. This helps to remove the bitter taste that quinoa sometimes has.
- Cut the sweet potato into even pieces . This will ensure that it’s all done cooking at the same time.
- Don’t rush the quinoa. The water should be absorbed before you move onto the next step, otherwise the sauce and spices will be diluted and the dish will end up mushy and flavourless.
Serving Suggestions
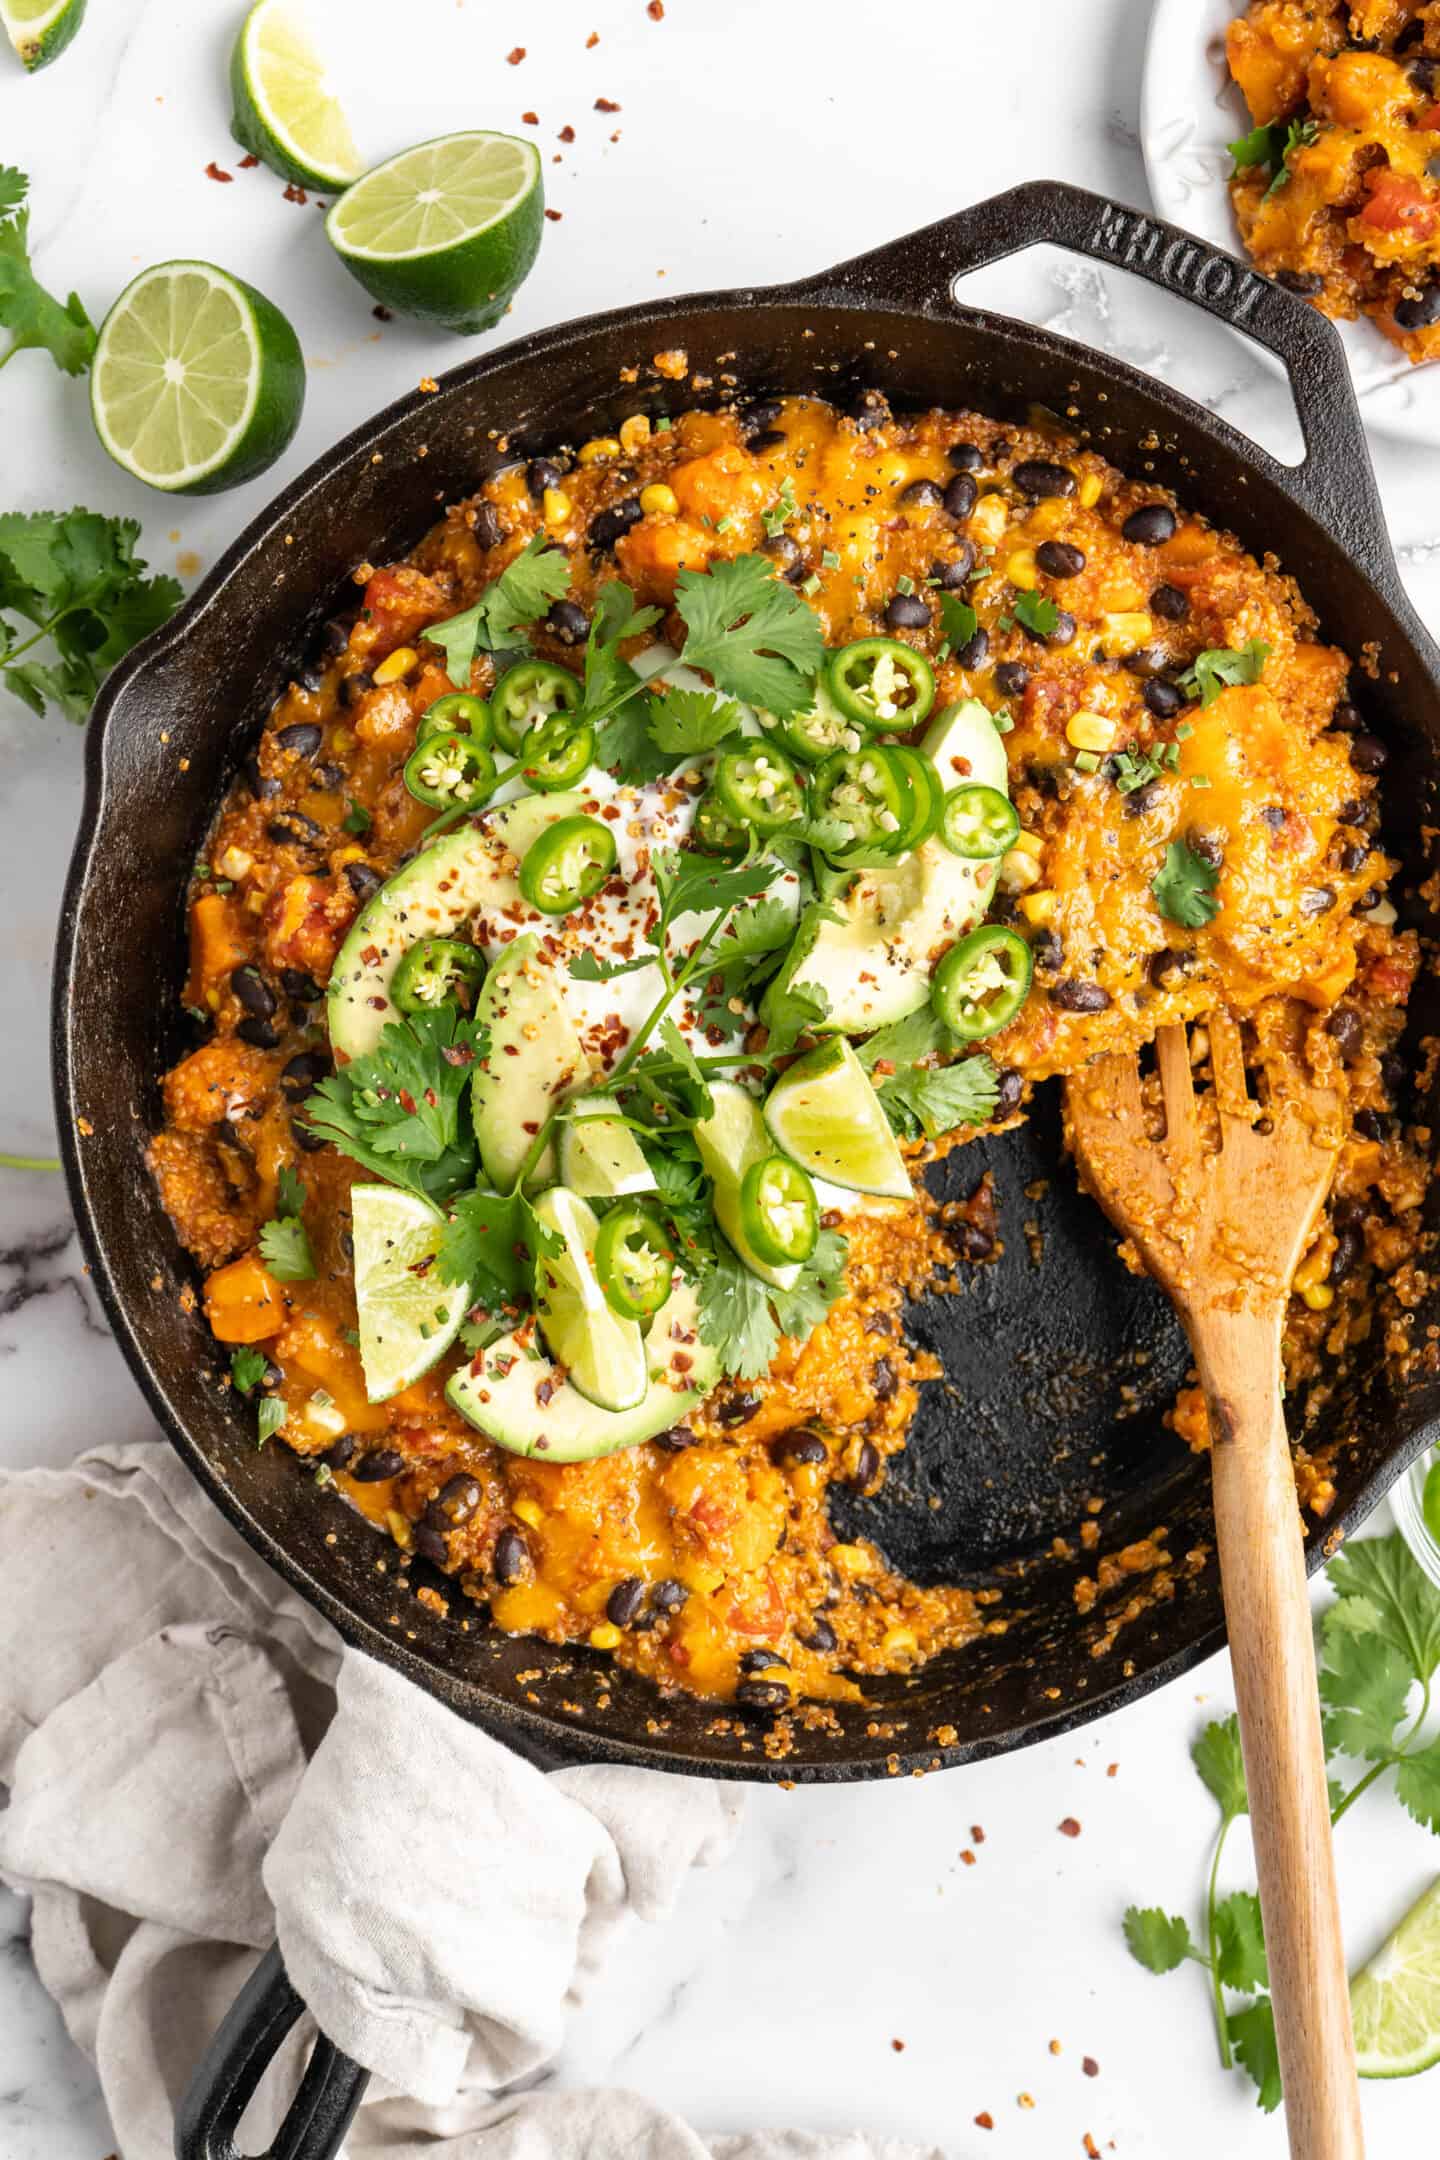
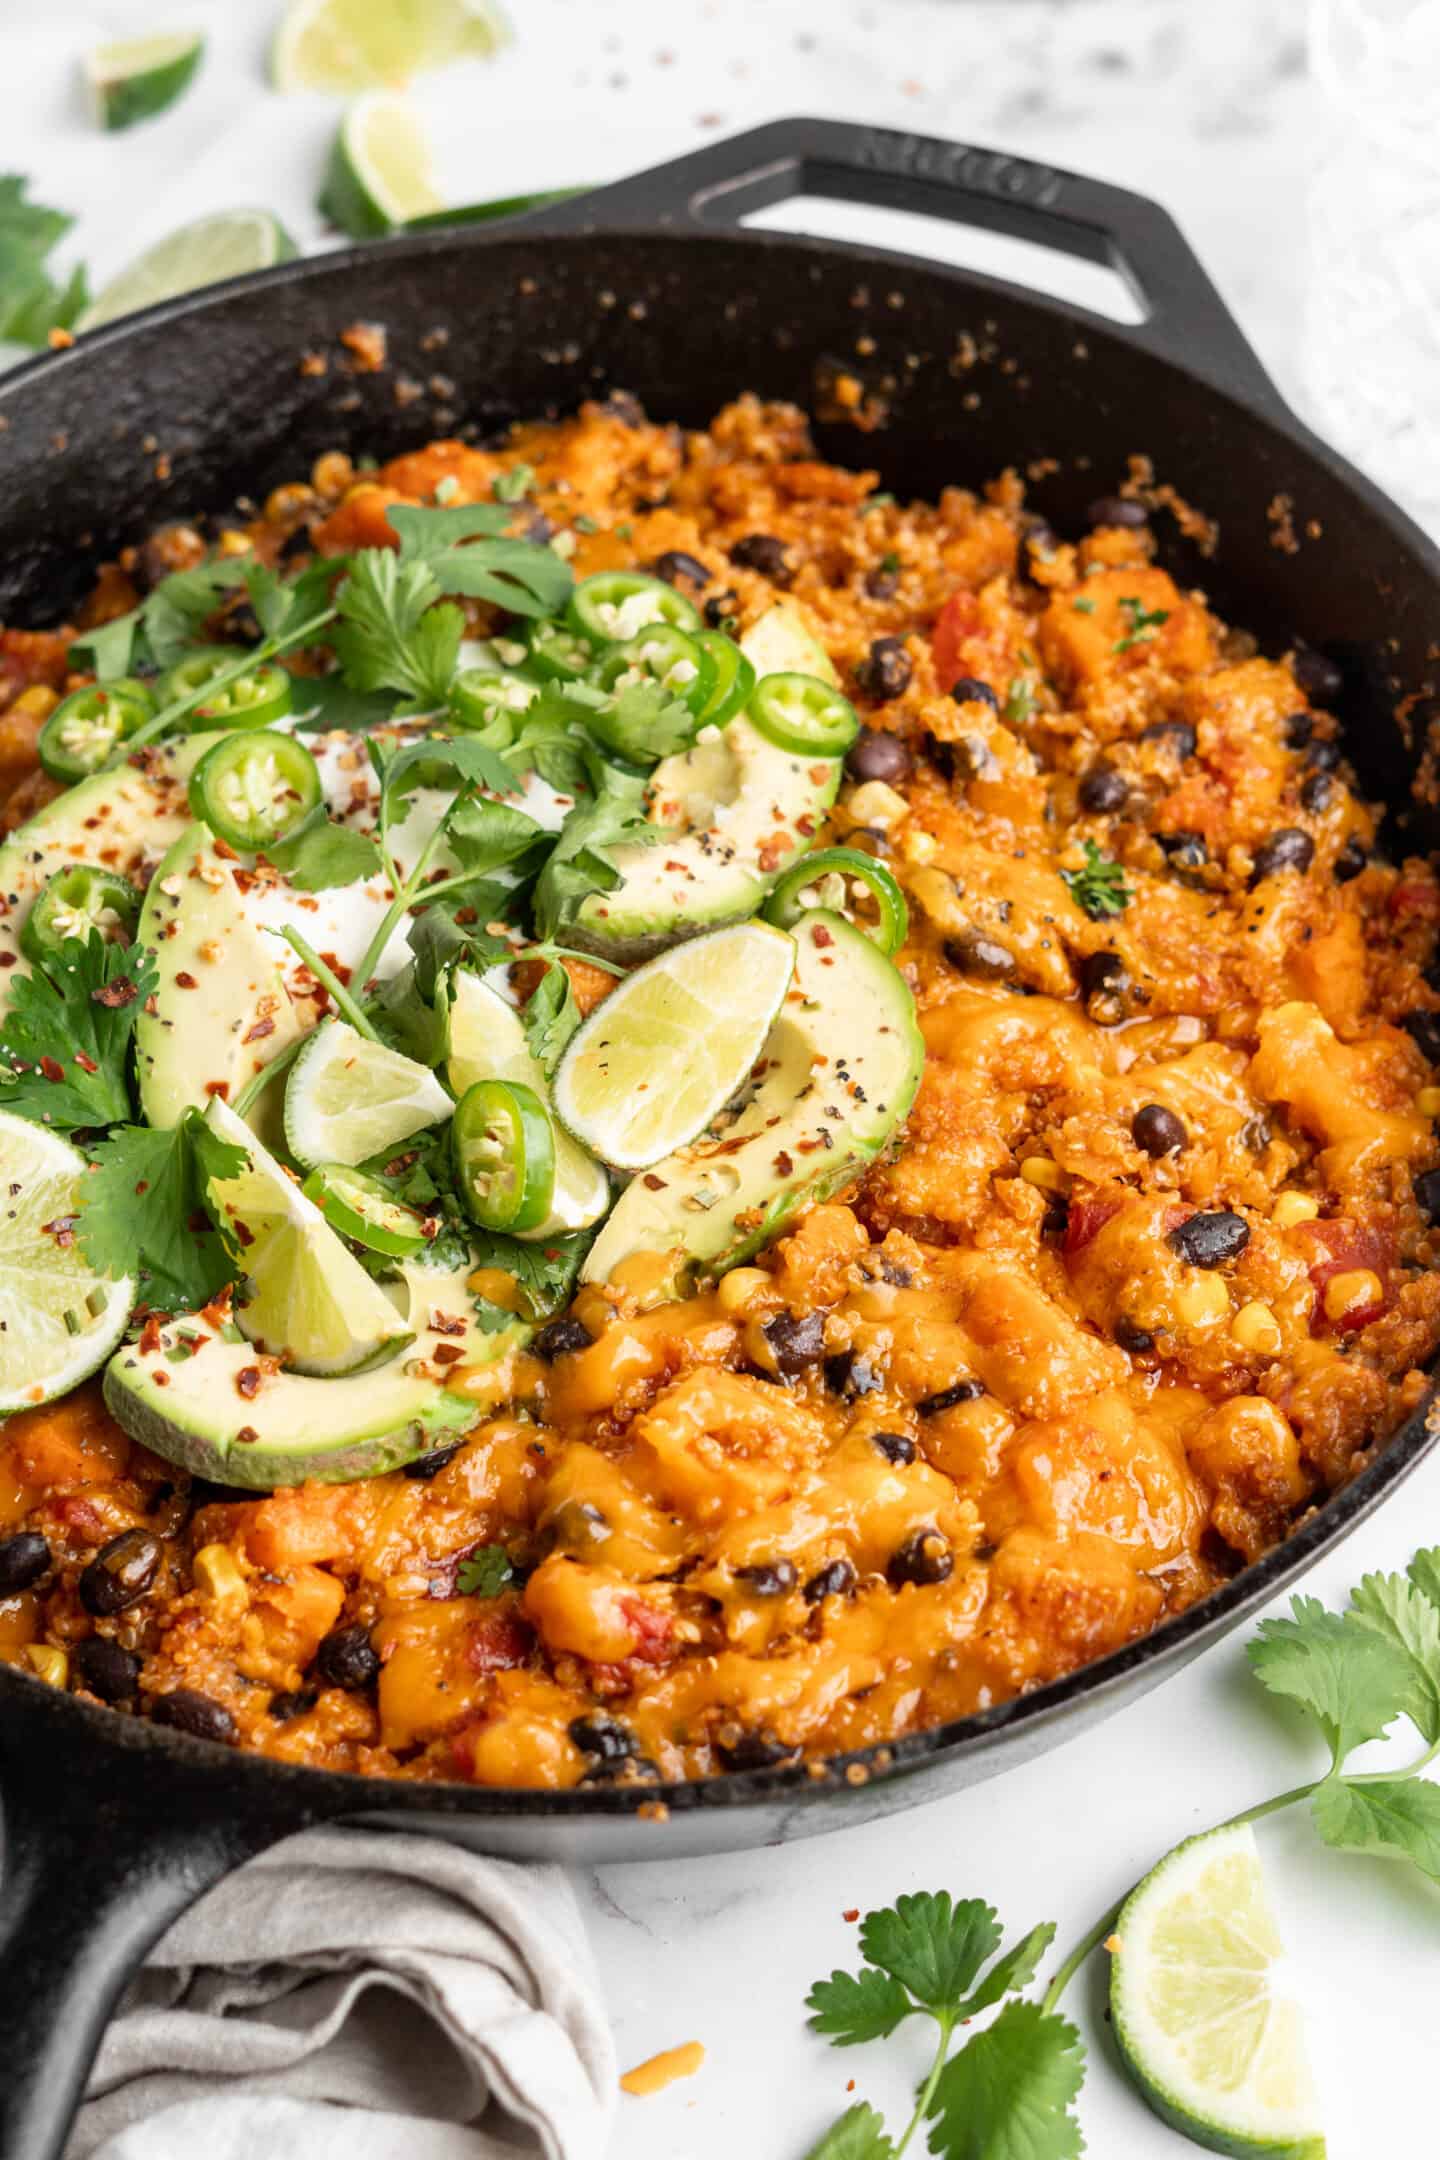
This Quinoa Enchilada Skillet is delicious on its own, but I like to serve it with parsley, diced or sliced avocados, and vegan sour cream or Greek yogurt on top. You can use it as a stuffing for bell peppers or zucchini, or serve it over tortilla chips for protein-packed vegan nachos.
How to Store and Reheat Leftovers
Leftover Quinoa Enchilada Skillet will keep in the fridge for up to 3 days. Reheat it in the microwave or in a skillet set over medium heat until warmed through.
Can This Recipe Be Frozen?
Yes! This dish can be frozen for up to 3 months. I recommend letting it thaw overnight in the fridge before reheating according to the instructions above.
Ingredients
- 1 large uncooked sweet potato , peeled and cubed
- 5 cloves of garlic , minced
- 1 cup uncooked quinoa , rinsed and drained
- 2 cups vegetable broth
- 1 teaspoon ground cumin
- 1/2 teaspoon paprika
- 1 teaspoon chili powder
- salt & pepper to taste
- 1 cup enchilada sauce
- 1 15- oz. can black beans , drained
- 1/2 cup corn kernels
- 1 14 oz. can diced tomatoes , drained
- 1 1/4 cup vegan shredded cheese
- Optional toppings: avocados , vegan sour cream/vegan greek yogurt on top, parsley for garnish
Instructions
- In a 12-inch nonstick skillet with a lid, heat 1 tablespoon of oil (I used coconut oil, you can use the oil of your choice) over medium heat and add the sweet potato and garlic, stirring together with the oil to coat. Cook for about 2 minutes, stirring and watching the garlic so it doesn’t burn.
- Add the quinoa, vegetable broth, salt, pepper, ground cumin, paprika and chili powder and stir to combine.
- Bring the mixture to a boil over high heat, then reduce the temperature to a simmer, cover, and continue to simmer to 15 minutes until most of the liquid has been absorbed by the quinoa and the quinoa has popped and begins to look fluffy.
- Add the enchilada sauce, black beans, corn kernels, and diced tomatoes. Stir in and cook for another 5 minutes until heated through.
- Sprinkle the cheese over the top of the dish and cover the skillet so that the cheese melts.
- Serve with optional garnishes such as parsley, avocados and sour cream/greek yogurt on top. Enjoy!
Notes
- This dish freezes well, but I would not add the cheese if I was freezing. After thawing, add the cheese when reheating the dish.
- This dish tastes even better as leftovers! Leftover Quinoa Enchilada Skillet will keep in the fridge for up to 3 days. Reheat it in the microwave or in a skillet set over medium heat until warmed through.
- Feel free to add in your own ingredients. You can add diced bell peppers, onions, anything in your fridge you need to finish!
