Wondering how to make balsamic glaze ? In just a few minutes, you can make this sweet, tangy condiment at home so you can add it to all the things!
What Is Balsamic Glaze?
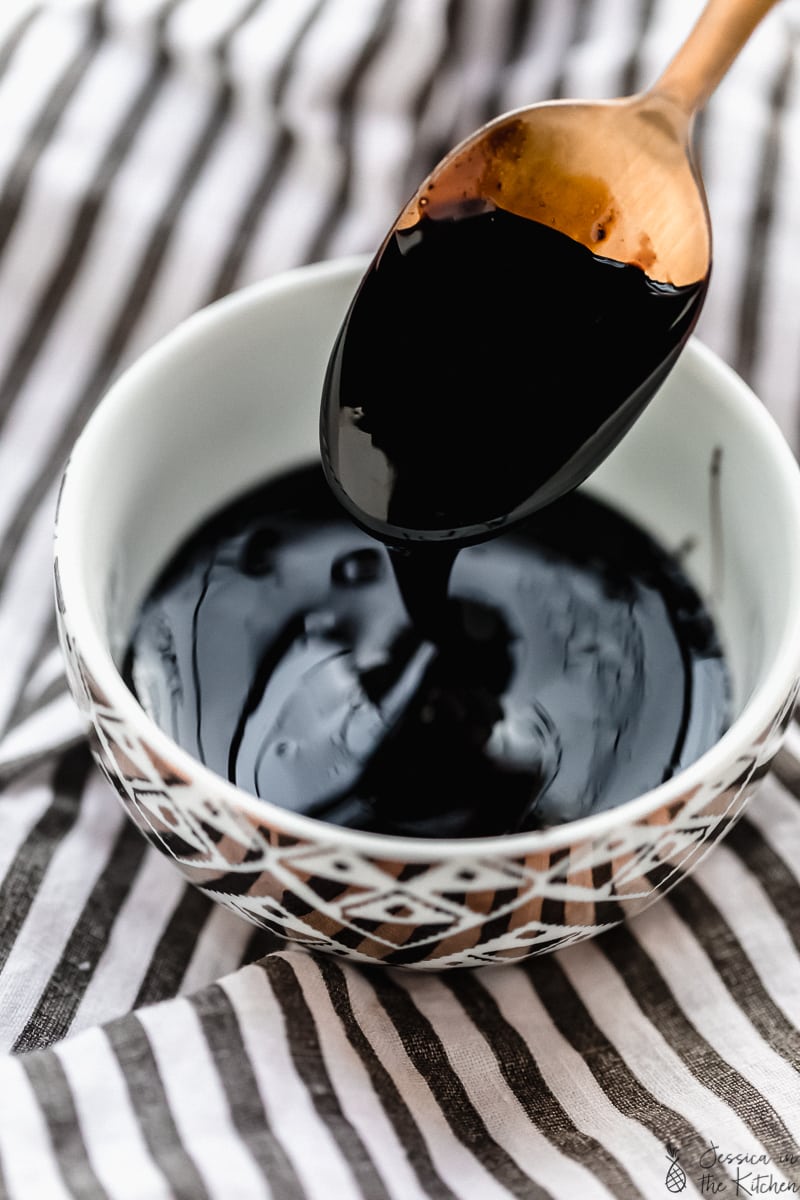
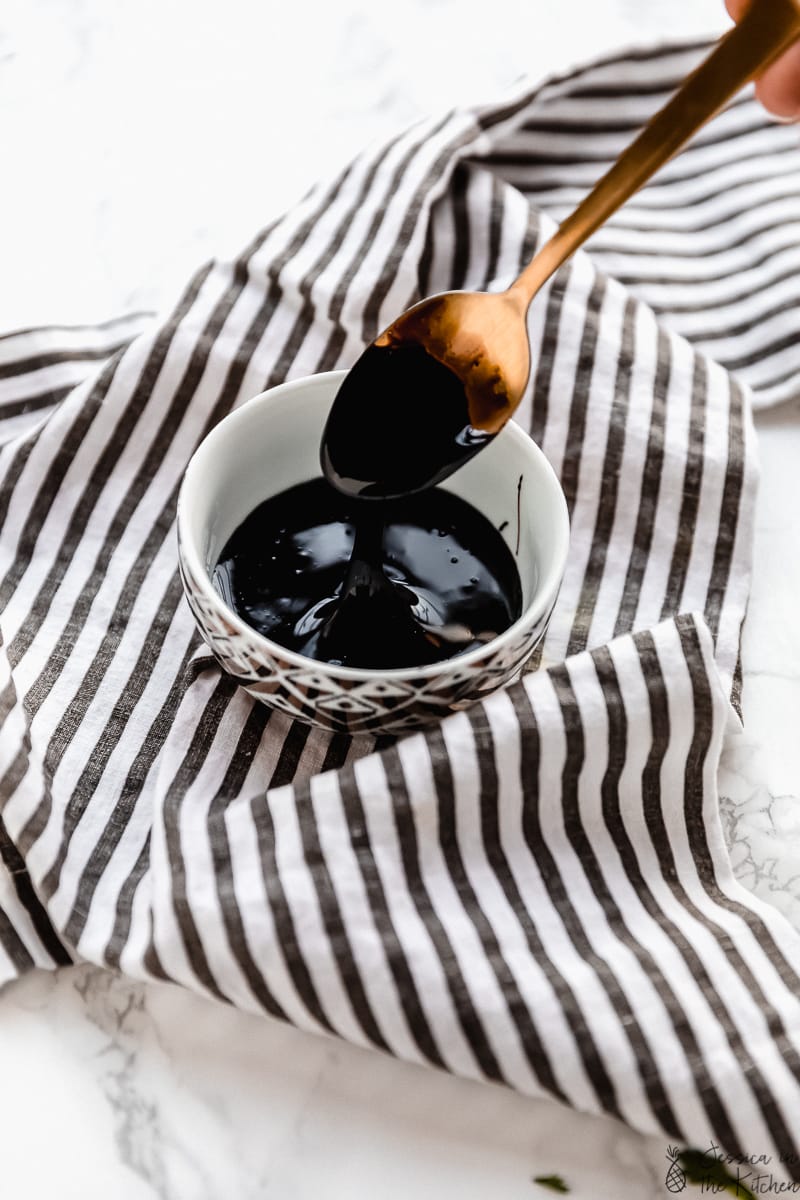
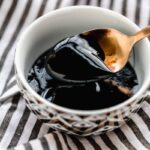
Balsamic glaze, also known as balsamic reduction, is a condiment made by cooking down balsamic vinegar until it’s thickened into a syrupy consistency that can be drizzled onto foods. The glaze adds a sweet, tangy, and rich flavour to any dish.
Why You’ll Love This Balsamic Glaze Recipe
- Super easy to make . Balsamic glaze is one of those basic recipes everyone should know. It’s so simple to whip up!
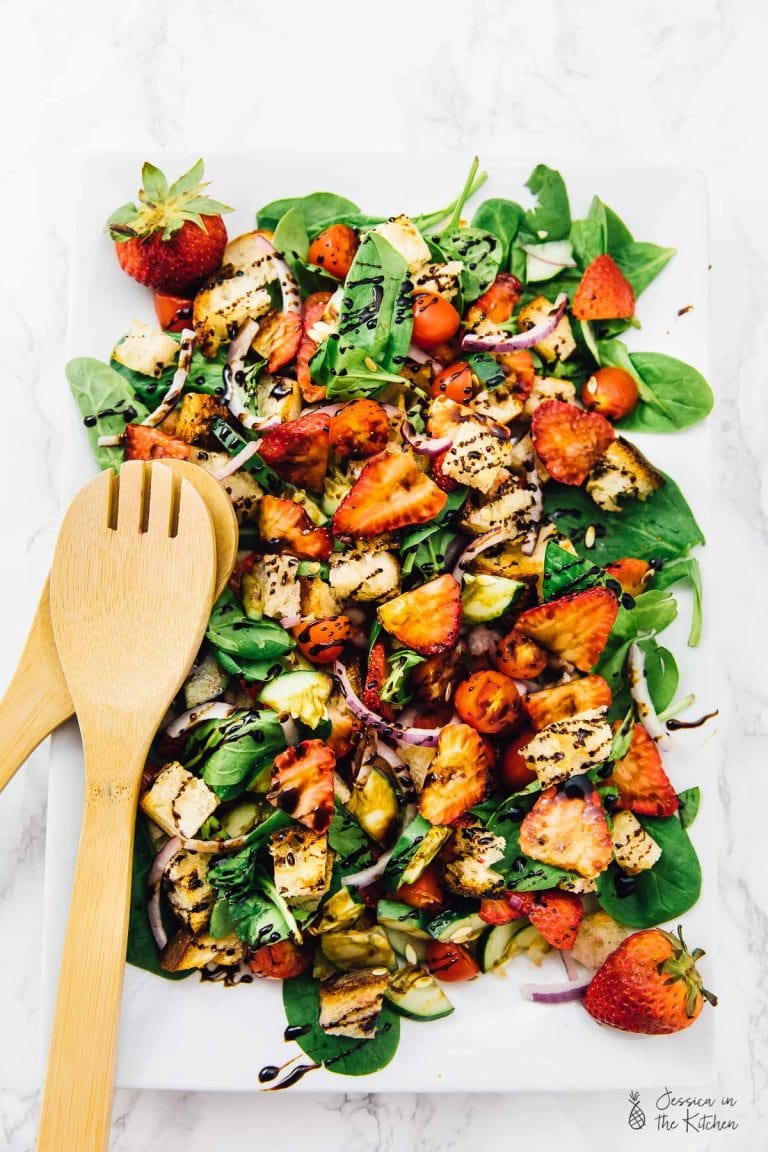
- So many ways to use it . This balsamic glaze recipe complements such a wide variety of dishes. Salad? Check. Flatbread and bruschetta? Check. Appetizers, desserts, and fruit? Check, check, and check. It’s versatile enough to go with fresh strawberries AND roasted Brussels sprouts.
- Budget-friendly . While you can buy balsamic glaze in a bottle at the grocery store, there’s no need to when it’s so easy to make it yourself at home!
Notes on Ingredients
Please note that this is important information on the ingredients and instructions and the FULL recipe with amounts and details can be found DOWN BELOW (scroll to it) in the recipe card.
- Balsamic vinegar – Use a high-quality vinegar for best results. By boiling it down, you’re concentrating the flavour, so if it tastes off to begin with, it’s not going to be any better as a glaze!
- Raw cane or coconut sugar – You can omit this if you like, especially if your vinegar is sweet to begin with.
How to Make Balsamic Glaze
- Combine the ingredients. Place the vinegar and sugar in a saucepan set over high heat. Stir and bring the mixture to a boil.
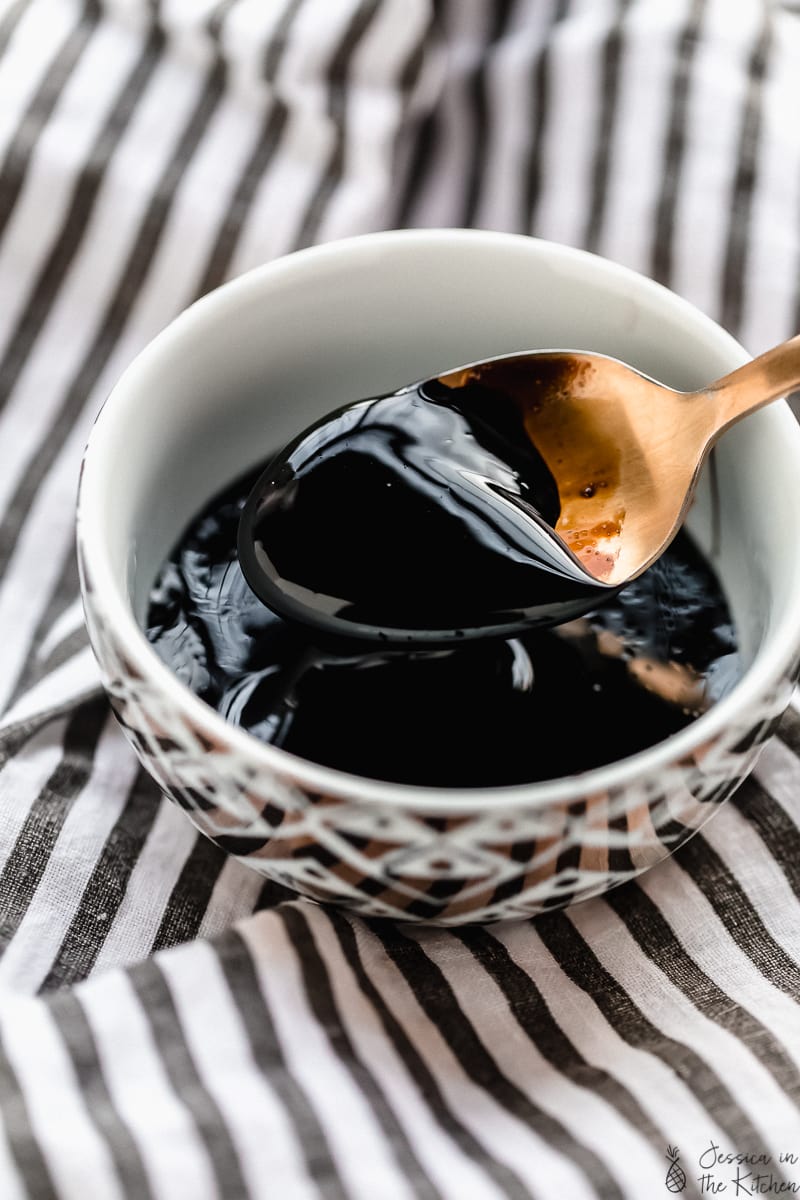
- Simmer. Reduce the heat and simmer the balsamic glaze mixture for 10 to 15 minutes, until it’s thick enough to coat the back of a spoon. Be careful not to over-cook the glaze—it may thicken too much or even burn.
- Cool. Remove the pan from the heat and let the glaze cool completely; it will thicken as it cools. The result should be about the consistency of maple syrup.
Tips for Success
- The cooking time is a suggestion. Some higher quality balsamic vinegars are on the thicker, more syrupy side straight out of the bottle; they may require a shorter cooking time. Other vinegars are very watery and will need the full 15 minutes.
- Keep a close eye on the glaze. It can go from nicely thickened to burnt very quickly!
- Troubleshooting too thick glaze. If your balsamic glaze is too thick, return the pan to the stovetop and add some water. Heat and stir until the glaze is thinned.
How to Store
Balsamic glaze can be stored in the refrigerator in a sealed jar for about a month.
I don’t recommend trying to freeze a balsamic reduction. When frozen, the acid level in vinegar can change, affecting its flavour. Since you can store balsamic glaze in the refrigerator for a month, there’s no need to freeze it!
How to Use Balsamic Glaze
The great thing about balsamic glaze is that it works on both sweet and savoury recipes. Here are some of my favourite ways to use it.
- Strawberry Panzanella Salad
- Bruschetta
- Fruit
- Grilled Peach, Basil and Vegan “Goat” Cheese Pizza
- Fresh tomatoes
- Roasted vegetables
- As an accompaniment for a vegan cheese board
- Drizzled onto Roasted Garlic White Bean Dip
More Kitchen Basics
- How To Make Date Syrup
- How To Cook Tofu 101 + Best Tips on Making the Most Delicious Tofu
- Cashew Whipped Cream (Vegan)
- Vegan Egg Substitutes
- How to Make Vegetable Broth with Veggie Scraps
Ingredients
- 1 cup balsamic vinegar
- 1 tablespoon raw cane or coconut sugar
Instructions
- In a pot over high heat, heat all the ingredients and stir. Bring to a boil then lower to a simmer for 10 to 15 minutes (make sure it’s actually simmering the entire time). You want it thick enough to coat the back of a spoon, but not to thicken into a glob.
- Allow the mixture to cool completely, it becomes thicker once it has cooled. It’ll be about the consistency of maple syrup.
- The glaze can be stored in the refrigerator in a sealed jar once it has cooled down for at least a month. Enjoy!
Notes
Balsamic Glaze
Ingredients
- 1 cup balsamic vinegar
- 1 tablespoon raw cane or coconut sugar
Instructions
- In a pot over high heat, heat all the ingredients and stir. Bring to a boil then lower to a simmer for 10 to 15 minutes (make sure it’s actually simmering the entire time). You want it thick enough to coat the back of a spoon, but not to thicken into a glob.
- Allow the mixture to cool completely, it becomes thicker once it has cooled. It’ll be about the consistency of maple syrup.
- The glaze can be stored in the refrigerator in a sealed jar once it has cooled down for at least a month. Enjoy!
Notes
Nutrition
Balsamic Glaze https://jessicainthekitchen.com/how-to-make-balsamic-glaze/ February 22, 2019
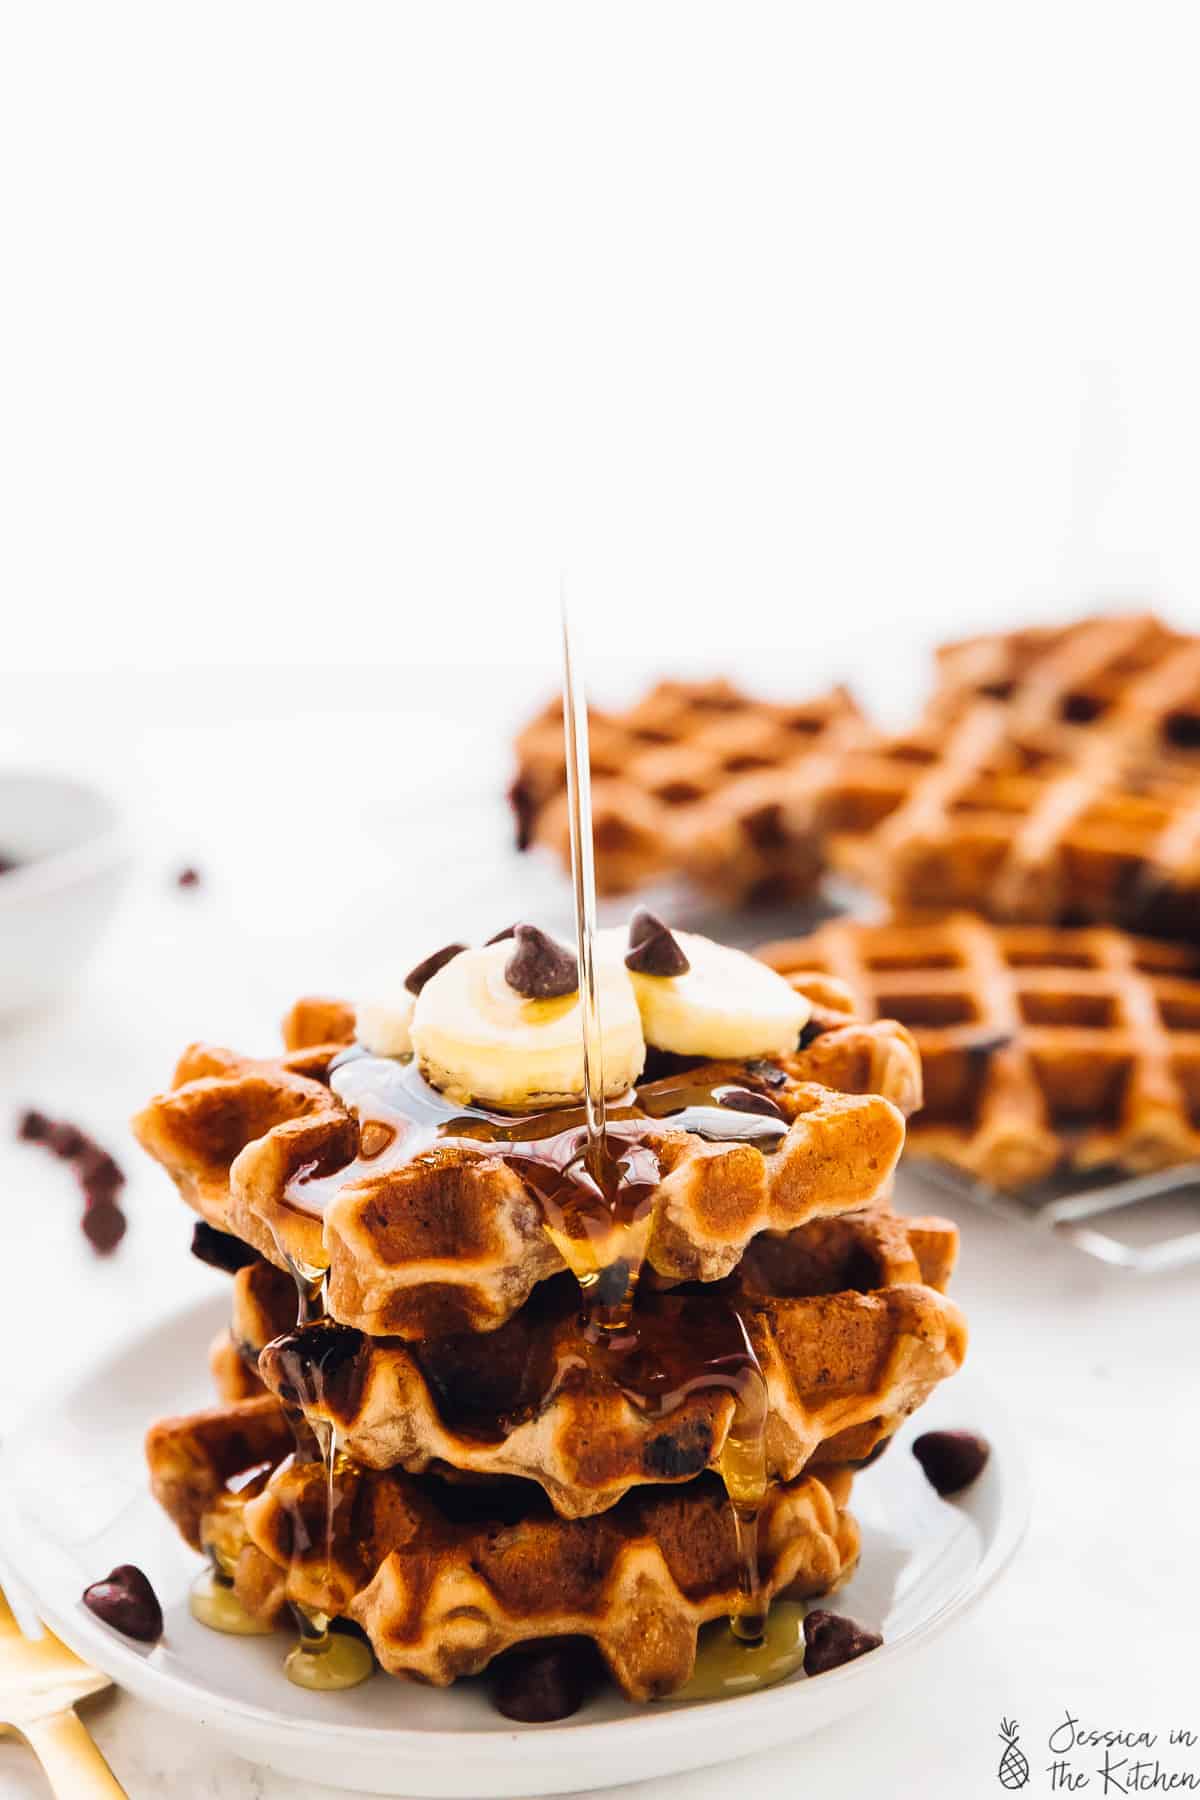
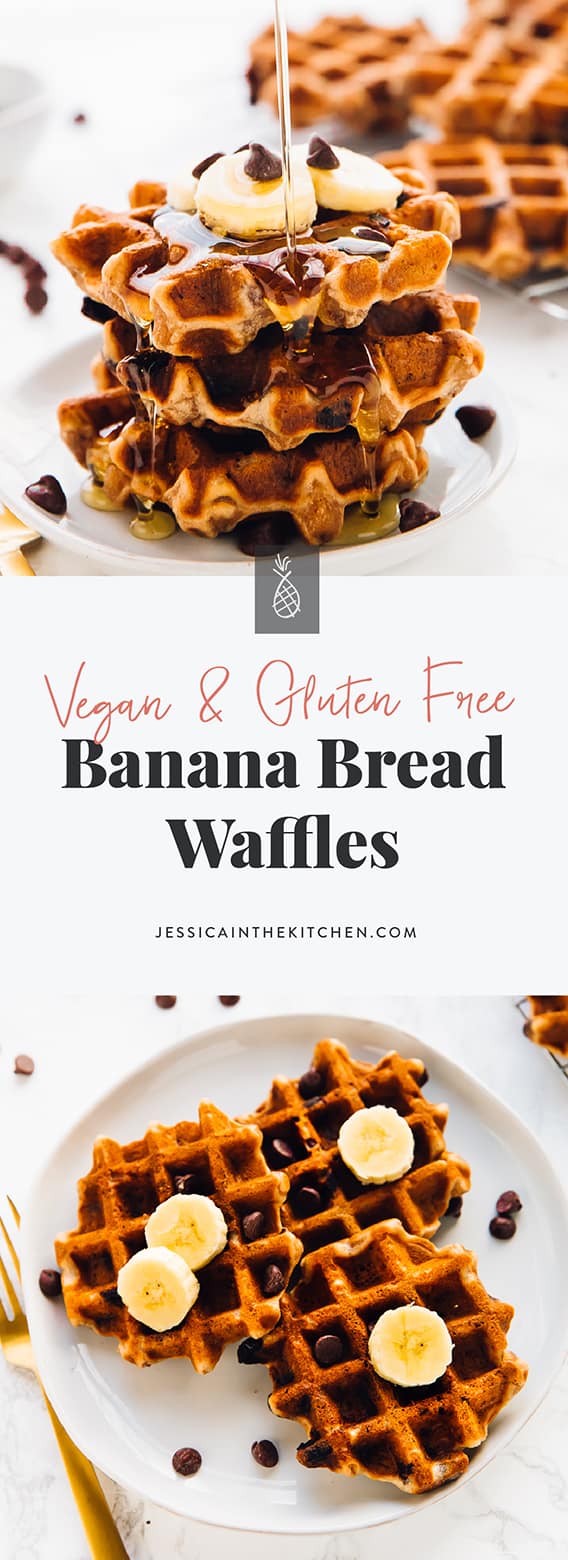
These Banana Bread Waffles are like having dessert for breakfast! They’re sweetened with bananas, gluten free and are so meal preppable!
Banana Bread Waffles (with Chocolate Chips). I debated on so many different names for for this recipe. Included were “Chocolate Chip Banana Waffles”and “I Want To Eat These All The Time Waffles”. Ultimately, I settled on Banana Bread Waffles (with Chocolate Chips) because they really do remind me of enjoying one of my favourite treats for breakfast. These waffles are an adaptation of my Orange Cranberry Waffles and my Lemon Poppyseed Waffles, but are so different that looks like you’re just going to have to try all three! Without a doubt – they are worth a try and a recipe I’ve been making and adapting all of 2019 so far.
Let me dive right in These banana bread waffles as a secret ingredient. Cassava flour. Ever since I made my blueberry muffins , I’ve been experimenting with cassava flour in all the things. It has won my heart in terms of single gluten free flours, because of so many reasons. I grew up with cassava in Jamaica, so there’s that connection. It has a beautifully fine texture (almost like powdered sugar), and tastes so much like wheat flour. I really do mean that – you will not know that these are gluten free.
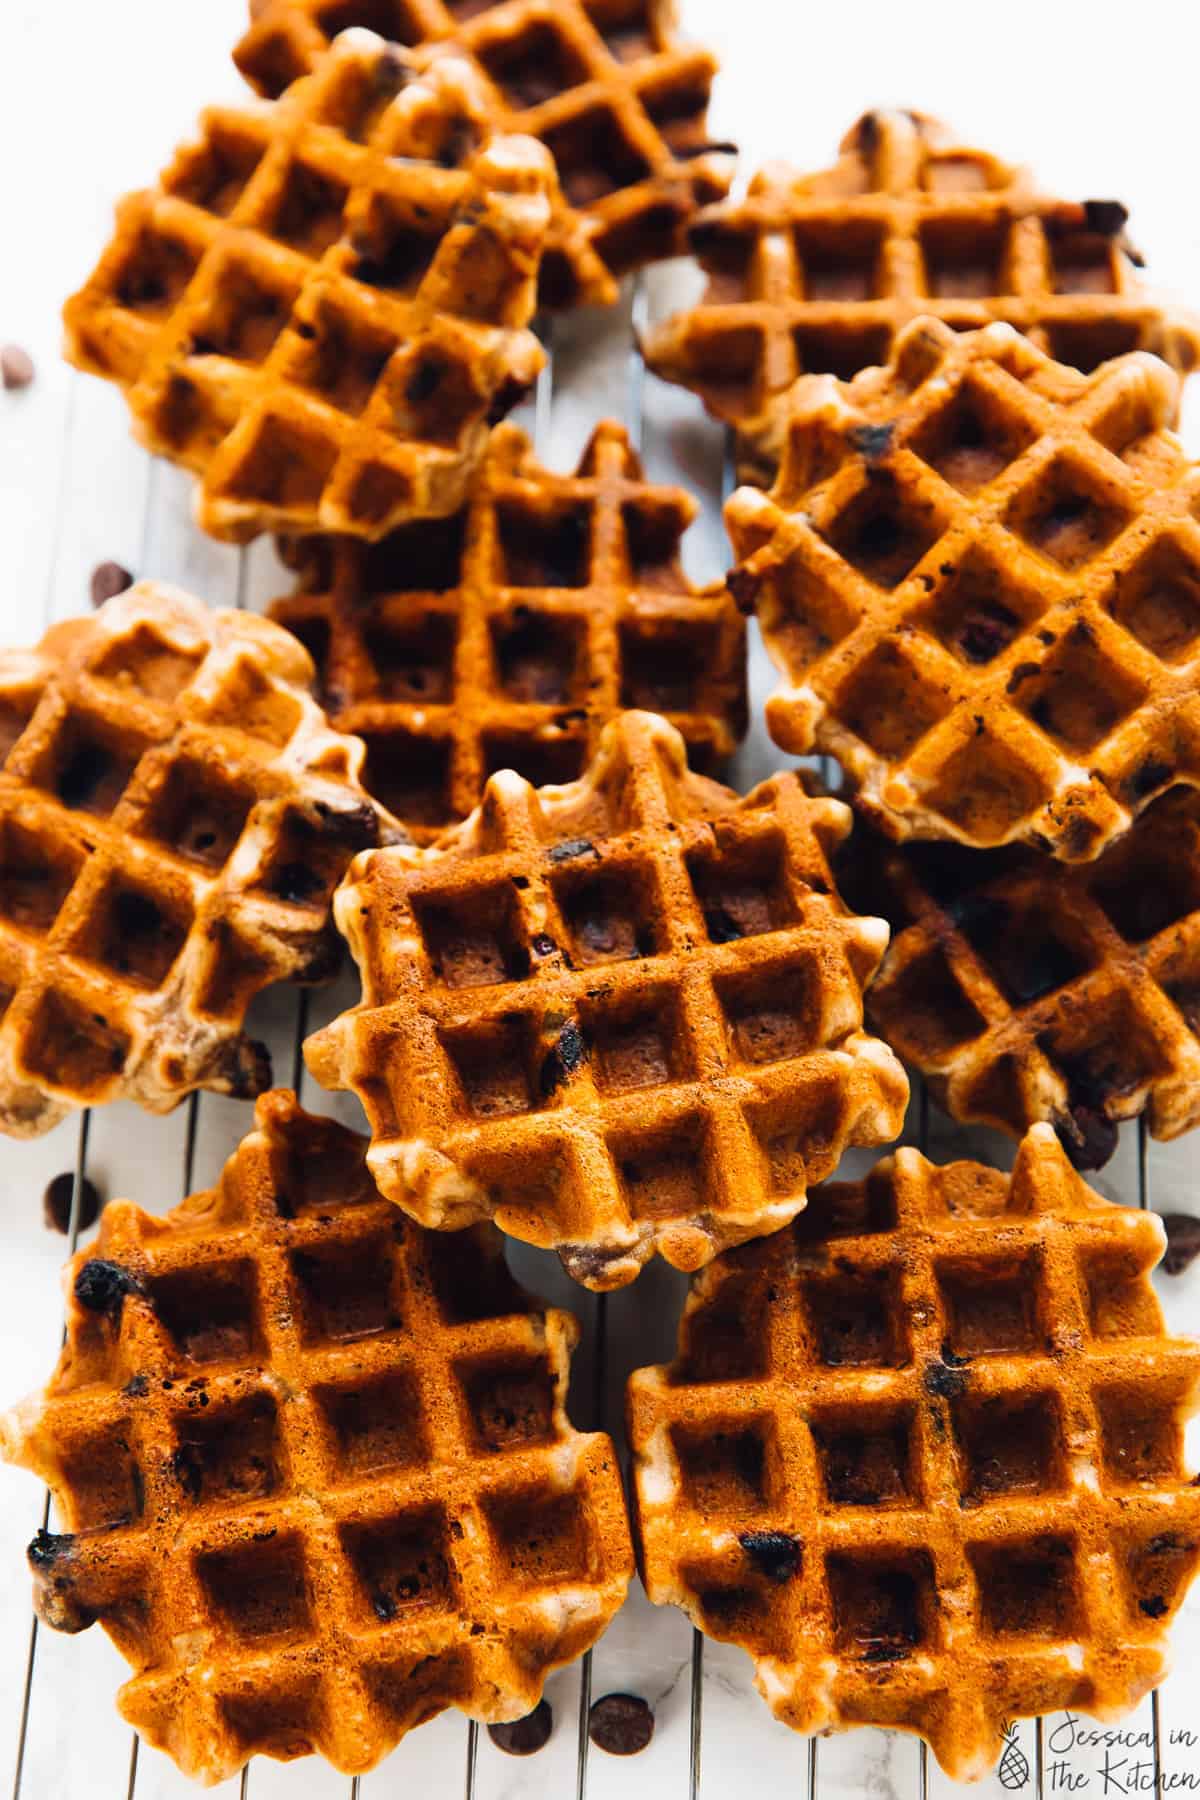
I swapped my usual oat flour for cassava flour in these waffles and I might never go back. While I love the oat flour, the combination of GF flour blend and cassava flour creates that “I ordered this from a breakfast bakery” kind of waffles. That plus the divine subtle banana taste and of course, the chocolate chips. In fact, between the bananas and the chocolate chips (which are totally optional), I didn’t add any maple syrup or coconut sugar into these waffles. That’s a first for me and anther top reason I’m loving these Banana Bread Waffles. That and the fact that the batter makes 13 waffles – hello meal prep!
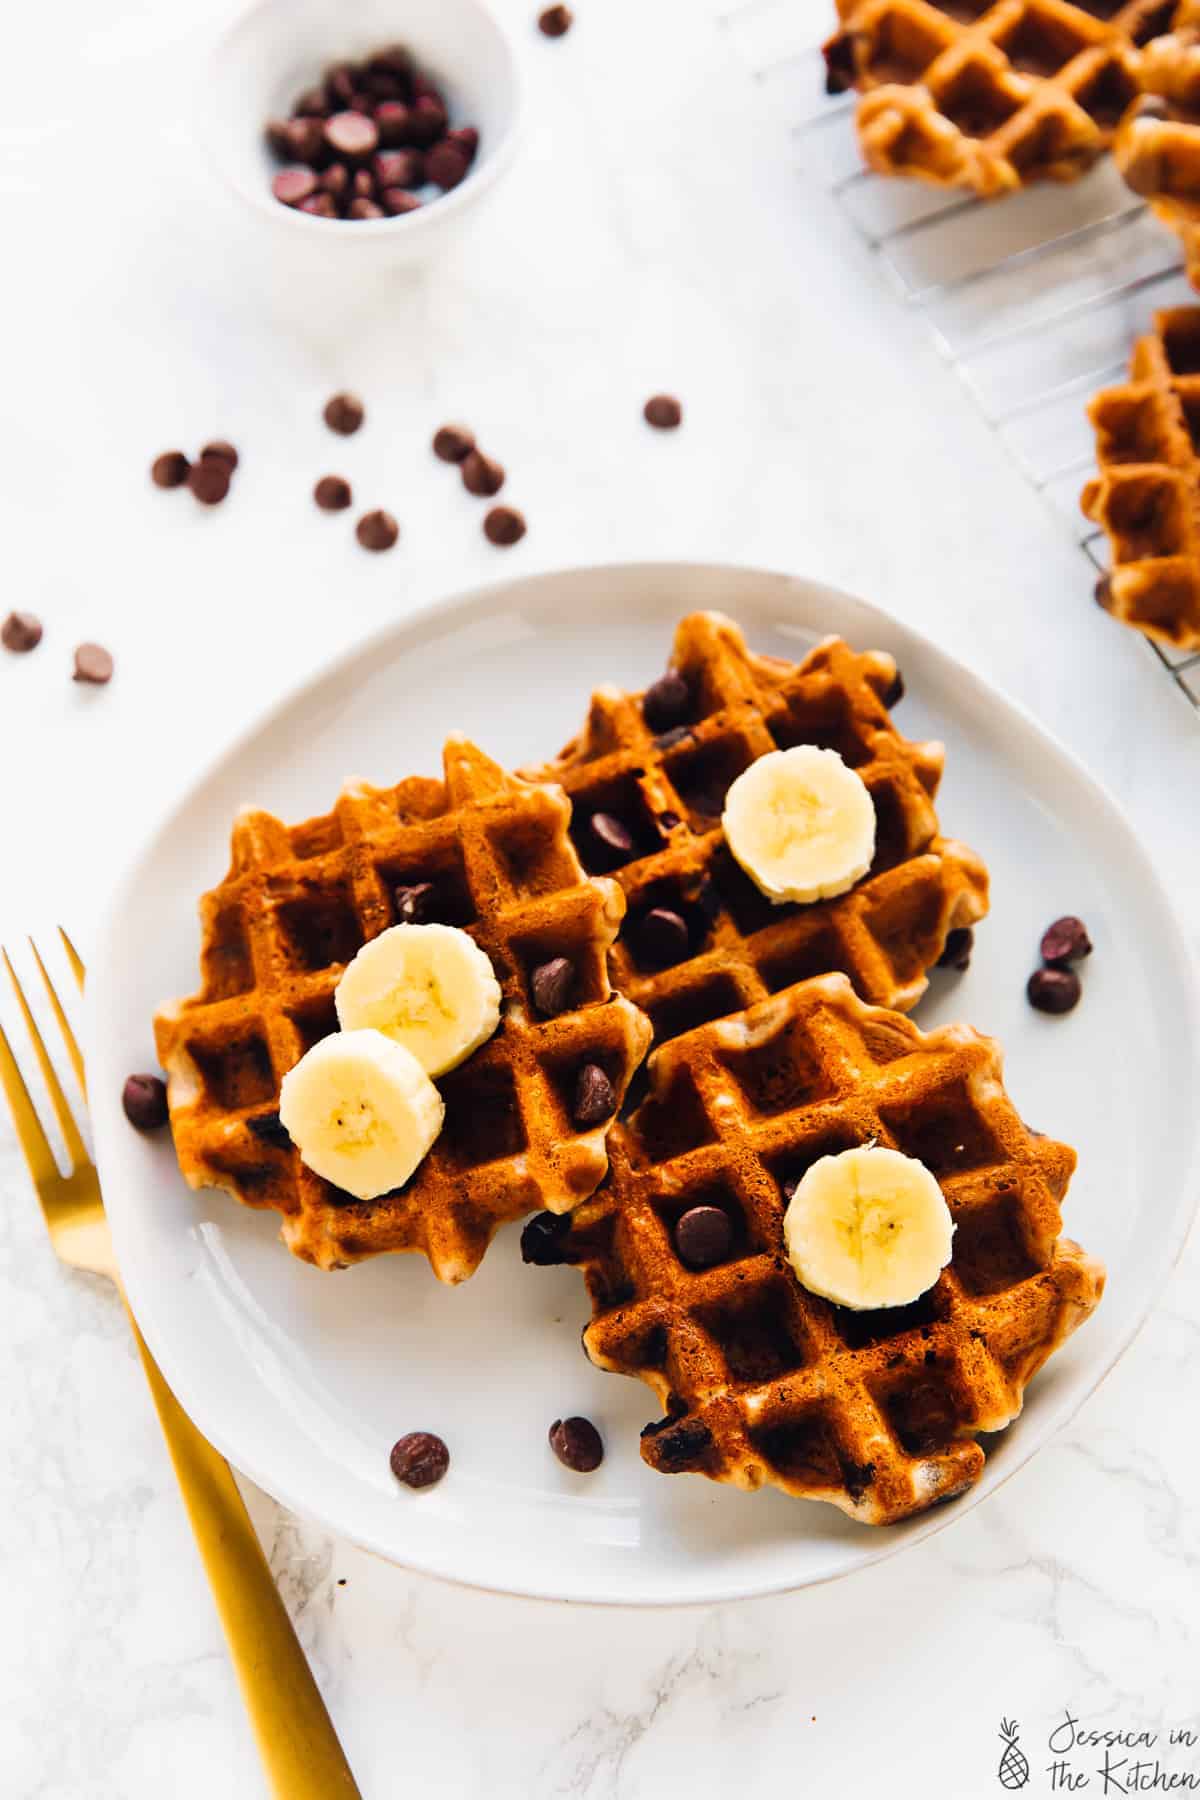
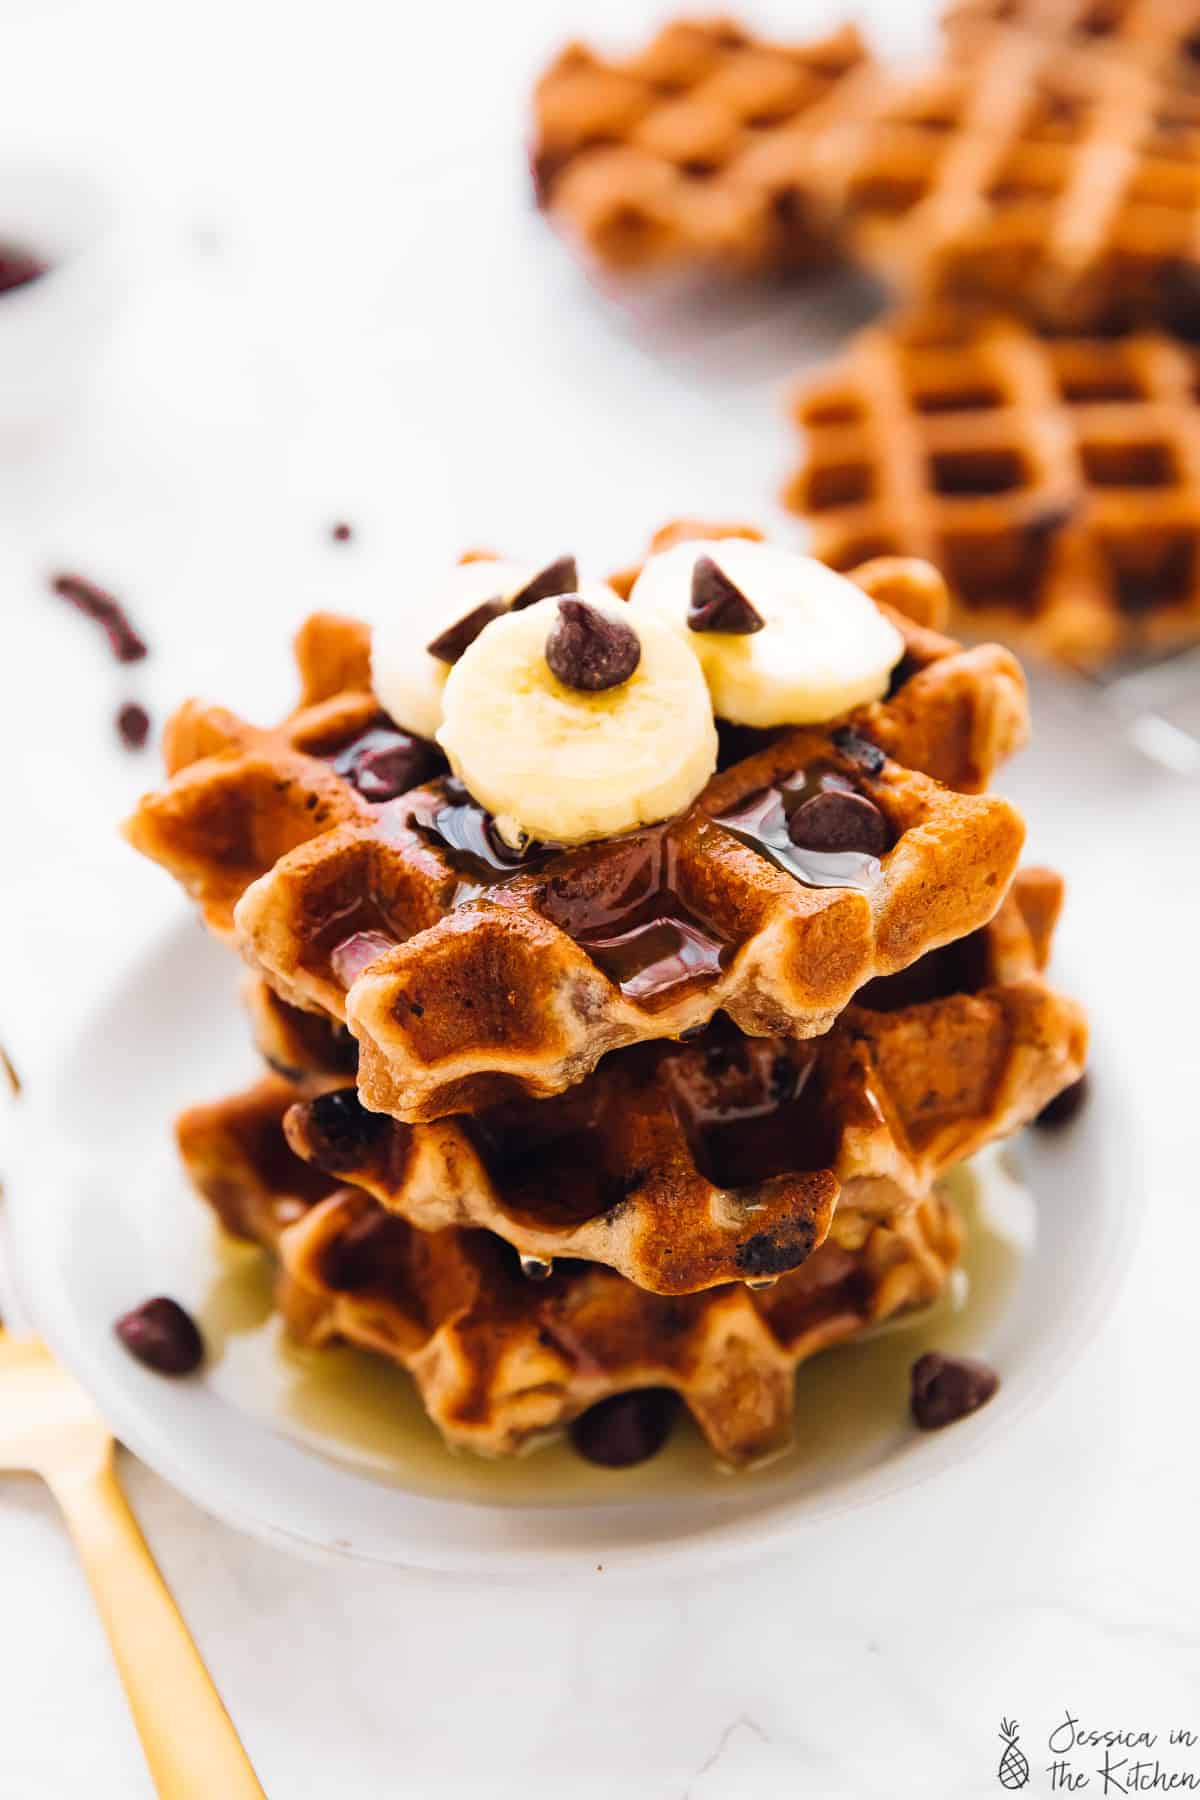
Now that we’ve gone into all the lovely history behind these waffles, you need to dive in friends. Top them with banana slices and you’ll realise you won’t even need maple syrup. I mean, I still top them with a tiny bit. But I’m telling you, they are perfect just as they are. Enjoy, friends!
Ingredients
- 2 cups soy milk , or other plant-based milk (I prefer soy milk for vegan buttermilk), 500mL
- 2 teaspoons apple cider vinegar , or white vinegar, 10ml
- 87 grams cassava flour , or oat flour
- 1 ¼ cups all purpose gluten free flour mix , (I use Bob’s Red Mill 1:1 Gluten Free Baking Flour), 185g
- ½ teaspoon baking soda , 2.4g
- 1 ½ teaspoons baking powder , 7.2g
- ¾ teaspoon sea salt , 4.2g
- 2 tablespoons melted coconut oil , or vegan butter , 30mL
- 1 teaspoon vanilla extract , (I love Nielsen-Massey), 5ml
- 2 very ripe bananas , mashed with a fork (a bit over ½ cup and a bit less than ¾ cup)
- ½ cup chocolate chips
- 1/2 cup chopped nuts , walnuts or pecans are best
Instructions
- Mix the nut milk and apple cider vinegar together in a large bowl or large measuring cup. Let sit for at least 3 minutes to create a vegan buttermilk.
- In a large bowl, mix the cassava flour, gluten free flour, baking soda, baking powder and sea salt. Set aside.
- In the apple cider vinegar and nut milk bowl, stir in the coconut oil/vegan butter, and the vanilla extract.
- Pour the wet ingredients into the dry and mix until combined. Add in the mashed bananas, chocolate chips and the nuts.
- Turn on and preheat your Waffle Maker according to which done level that you want. I set mine two dials before max because I like mine crisp and brown but also very fluffy. I also tested these on “light” and they work both ways!
- When preheated, use a heaping 1/4 cup/62.5ml measuring cup, scoop out some batter and pour/spread into the middle of each side of the waffle maker (so 1/4 cup per side*). You don’t need to push it to the edges. Close and remove when the timer on the Waffle Maker is finished and the waffle maker beeps.
- Remove each waffle and place on a baking sheet in your oven or toaster oven on “warm” or 200F/95C to keep warm and crispy until finished with the entire batter. Continue with the rest of the batter.
- Top with extra bananas and chocolate chips and maple syrup (optional). Enjoy!
