Learn how to freeze bananas easily and quickly without them sticking together! Plus 5 simple recipes that are perfect for using frozen bananas.
We’ve all been there. You fell for some beautiful bananas at the grocery store, so you bought some and left them to sit proudly on your counter. “I’ll eat one a day!” you tell yourself. Then day 4 comes, you realize you haven’t had one, and now you’re panicking slightly. You don’t want to whip them into banana bread just yet, but you also don’t want them to go to waste. Sounds familiar?
Or maybe you’re a responsible freezer and planned to freeze them in advance in the first place because there was a great deal on bananas, or you plan ahead and want to stock up properly. If this is you – teach me your ways, please!
Either way, the solution is simple: freeze your bananas the correct way. There is a right way, and a wrong way, and let me tell you, you want to ensure you’re doing it the right way. Let’s get right into it.
How Do I Freeze Bananas?
Friends, two words: flash freeze.
The best way to freeze bananas is by flash freezing them because it ensures that the bananas don’t go brown, they don’t stick to one another, and that they’re in the perfect condition when you need them again. Flash freezing is very easy and is what a lot of companies do anything when selling you frozen fruit.

How to Prep Your Bananas
There are two easy ways that you can prepare your bananas for freezing:
- You can flash freeze your bananas whole. This is great if you know you need whole bananas for something. Do the above steps to flash freeze the place back into your freezer.
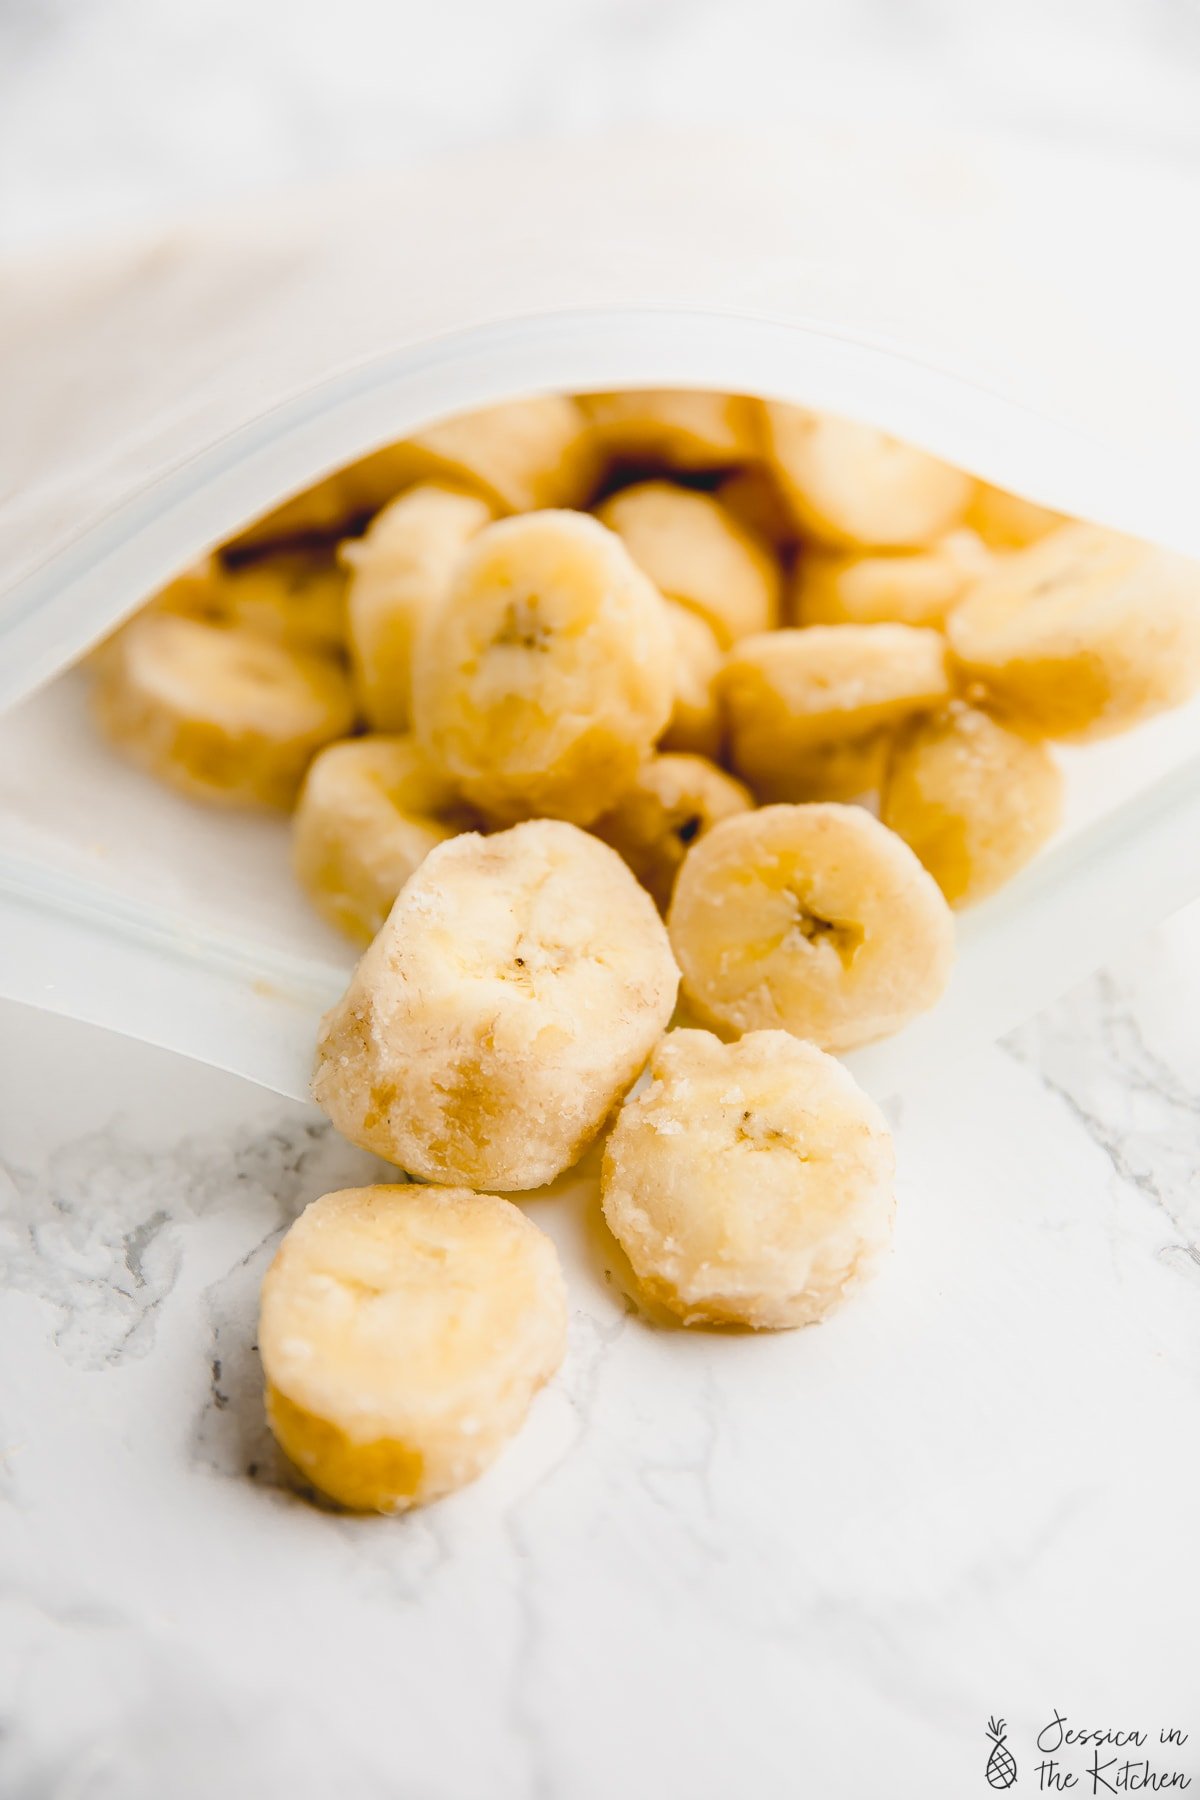
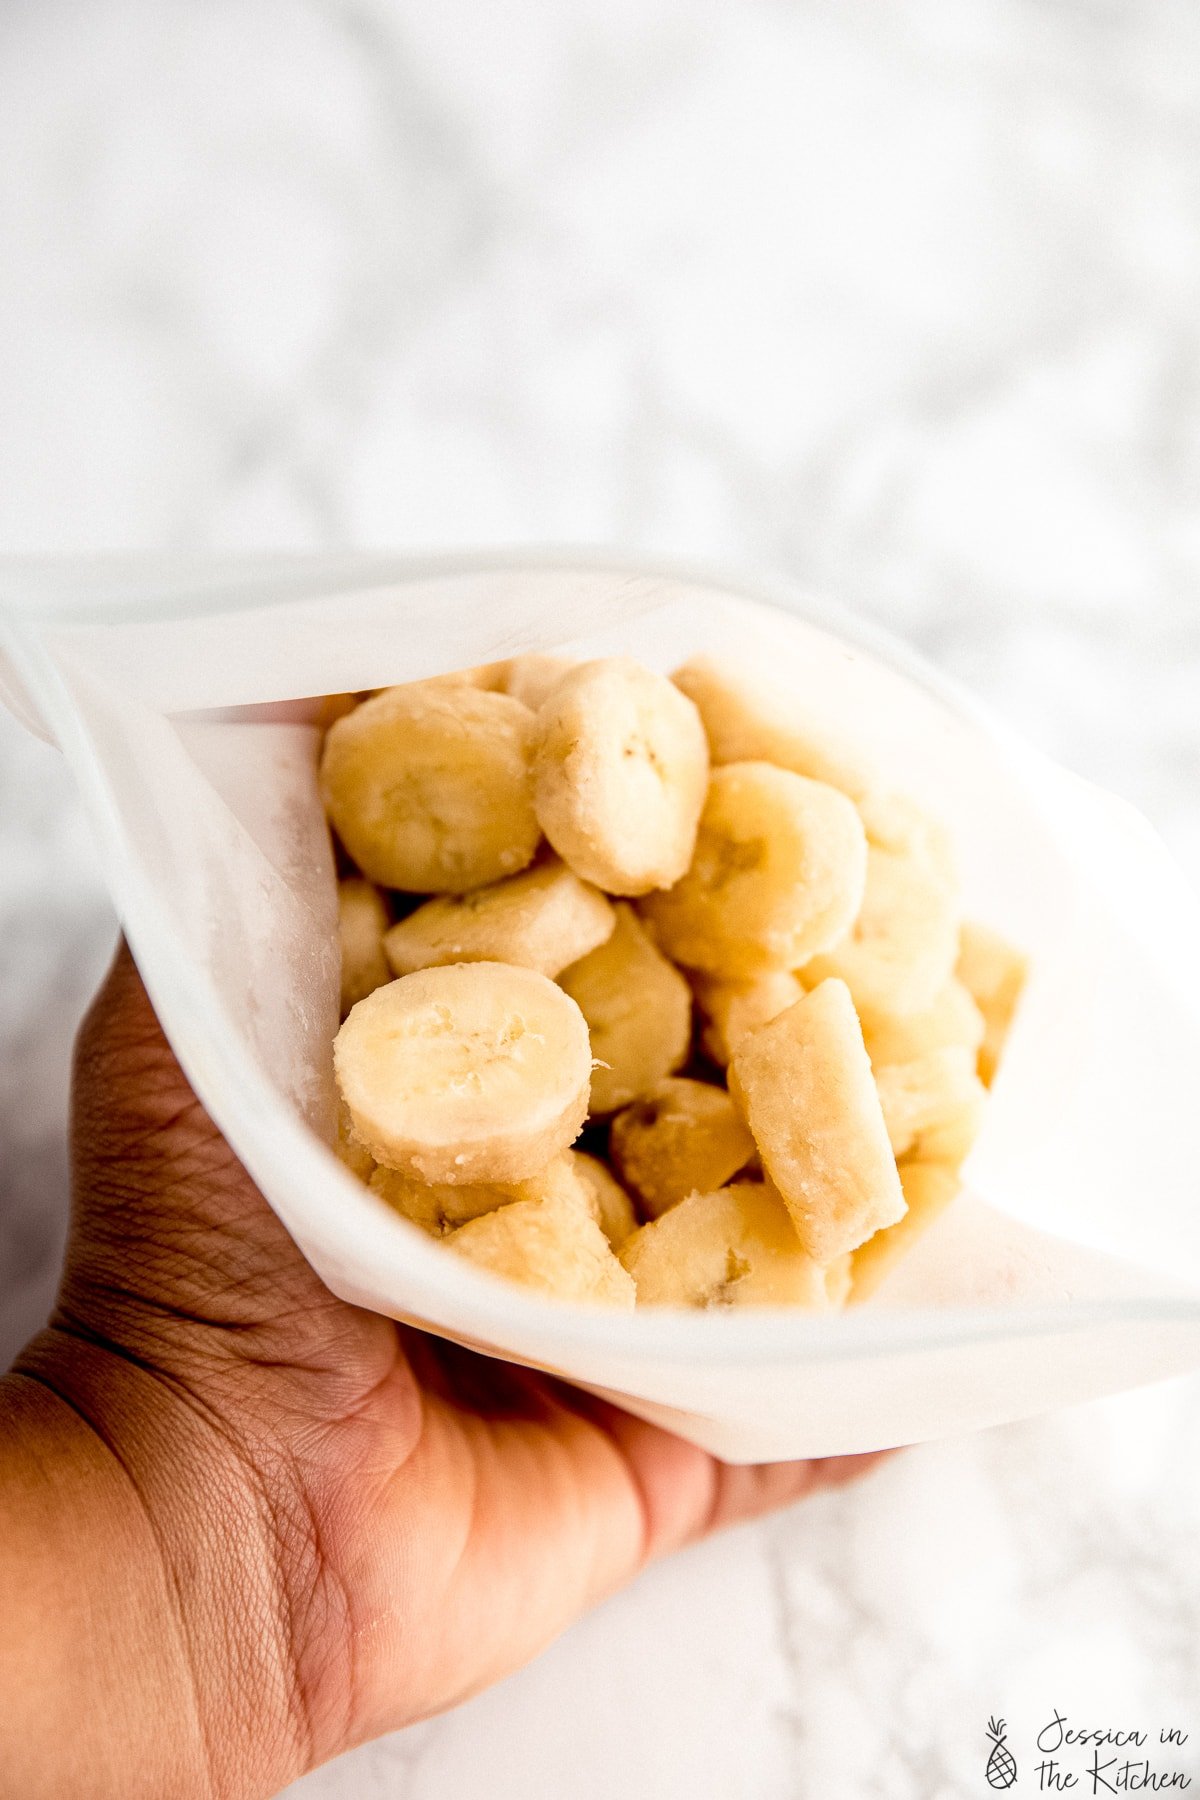
- Cut into banana medallions/coins, or crosswise-cuts. This is great if you’re unsure what you’ll be doing with your bananas, or you know you’ll need “x cup” worth of bananas.
How to Flash Freeze Your Bananas
Once you have prepped your bananas, it’s time to freeze them. Here’s how to do it:
- Place your peeled bananas on a wax paper or parchment paper-lined baking sheet. Separate the bananas so they are not touching.
- Freeze. Place the baking sheet in your freezer on a flat surface for about 1 to 2 hours, until the bananas are set and firm.
- Transfer to freezer safe container. After the time passes, remove from the sheet and transfer them to your freezer-safe bag and return to the freezer. It’s totally okay if they’re touching now.
Work Quickly to Prevent Browning
Fortunately, the above method helps to prevent bananas from turning brown Just ensure that as soon as you peel your bananas, you flash freeze them. That limits the exposure. Also, ensure that you place the bananas into an appropriate freezer-safe bag.
How Long Do Frozen Bananas Last?
I have found that my bananas stay in prime condition frozen up to 4 months. I don’t recommend freezing them longer than that because they can begin to deteriorate in texture and get kind of mushy. Even if you freeze them a day before, you can use them the next day!
How to Thaw Frozen Bananas
Say for example, you’re using the bananas for banana bread. Thaw them before, then I like to place then in a strainer or sieve to let any of the water that might have collect to drain out. That way you’re not adding any extra water into your recipes.
Ways to Use Them
Here are 5 amazing ways to use frozen bananas.
- In my banana smoothies
- In some fantastic banana bread .
- Banana bread waffles , anyone?!
- In some Double Chocolate Banana Muffins .
- In some incredible Strawberry Banana Bread .
I hope this post helps friends! Let me know if you have any other questions and happy freezing!
Ingredients
- 1 bunch bananas
Equipment
- Freezer Safe Container
Instructions
For Whole Bananas
- You can flash freeze your bananas whole. This is great if you know you need whole bananas for something. Do the above steps to flash freeze the place back into your freezer.
- Place your peeled bananas on a wax paper or parchment paper-lined baking sheet, separated and not touching.
- Place the baking sheet in your freezer on a flat surface for about 1 to 2 hours, until the bananas are set and firm.
- After the time passes, remove from the sheet and transfer them to your freezer-safe bag and return to the freezer. It’s totally okay if they’re touching now.
For Banana Slices
- Cut into banana medallions/coins, or crosswise-cuts. This is great if you’re unsure what you’ll be doing with your bananas, or you know you’ll need “x cup” worth of bananas.
- Place your peeled slices on a wax paper or parchment paper-lined baking sheet, separated and not touching.
- Place the baking sheet in your freezer on a flat surface for about 1 to 2 hours, until the bananas are set and firm.
- After the time passes, remove from the sheet and transfer them to your freezer-safe bag and return to the freezer. It’s totally okay if they’re touching now.
Notes
How to Freeze Bananas
Equipment
- Freezer Safe Container
Ingredients
- 1 bunch bananas
Instructions
For Whole Bananas
- You can flash freeze your bananas whole. This is great if you know you need whole bananas for something. Do the above steps to flash freeze the place back into your freezer.
- Place your peeled bananas on a wax paper or parchment paper-lined baking sheet, separated and not touching.
- Place the baking sheet in your freezer on a flat surface for about 1 to 2 hours, until the bananas are set and firm.
- After the time passes, remove from the sheet and transfer them to your freezer-safe bag and return to the freezer. It’s totally okay if they’re touching now.
For Banana Slices
- Cut into banana medallions/coins, or crosswise-cuts. This is great if you’re unsure what you’ll be doing with your bananas, or you know you’ll need “x cup” worth of bananas.
- Place your peeled slices on a wax paper or parchment paper-lined baking sheet, separated and not touching.
- Place the baking sheet in your freezer on a flat surface for about 1 to 2 hours, until the bananas are set and firm.
- After the time passes, remove from the sheet and transfer them to your freezer-safe bag and return to the freezer. It’s totally okay if they’re touching now.
Notes
Nutrition
How to Freeze Bananas https://jessicainthekitchen.com/how-to-freeze-bananas-two-ways/ March 27, 2020
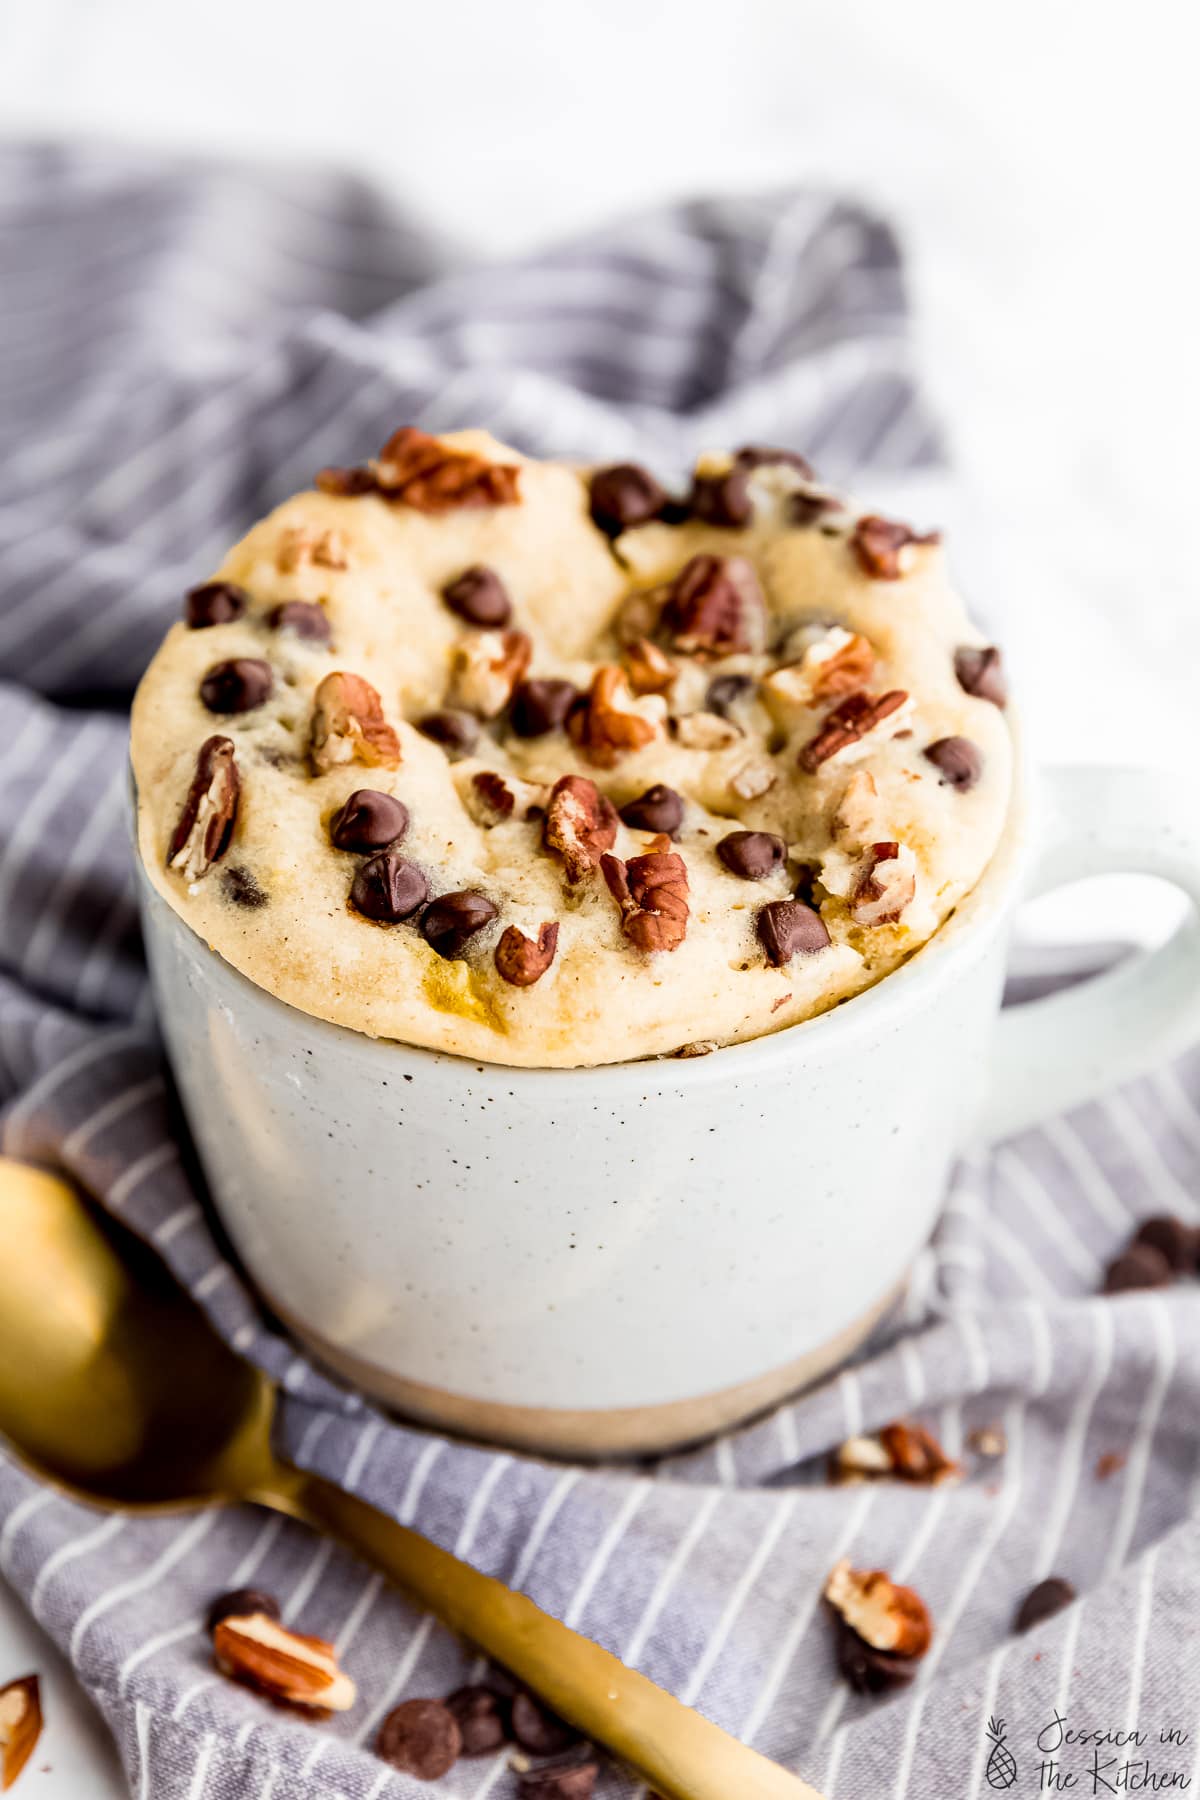
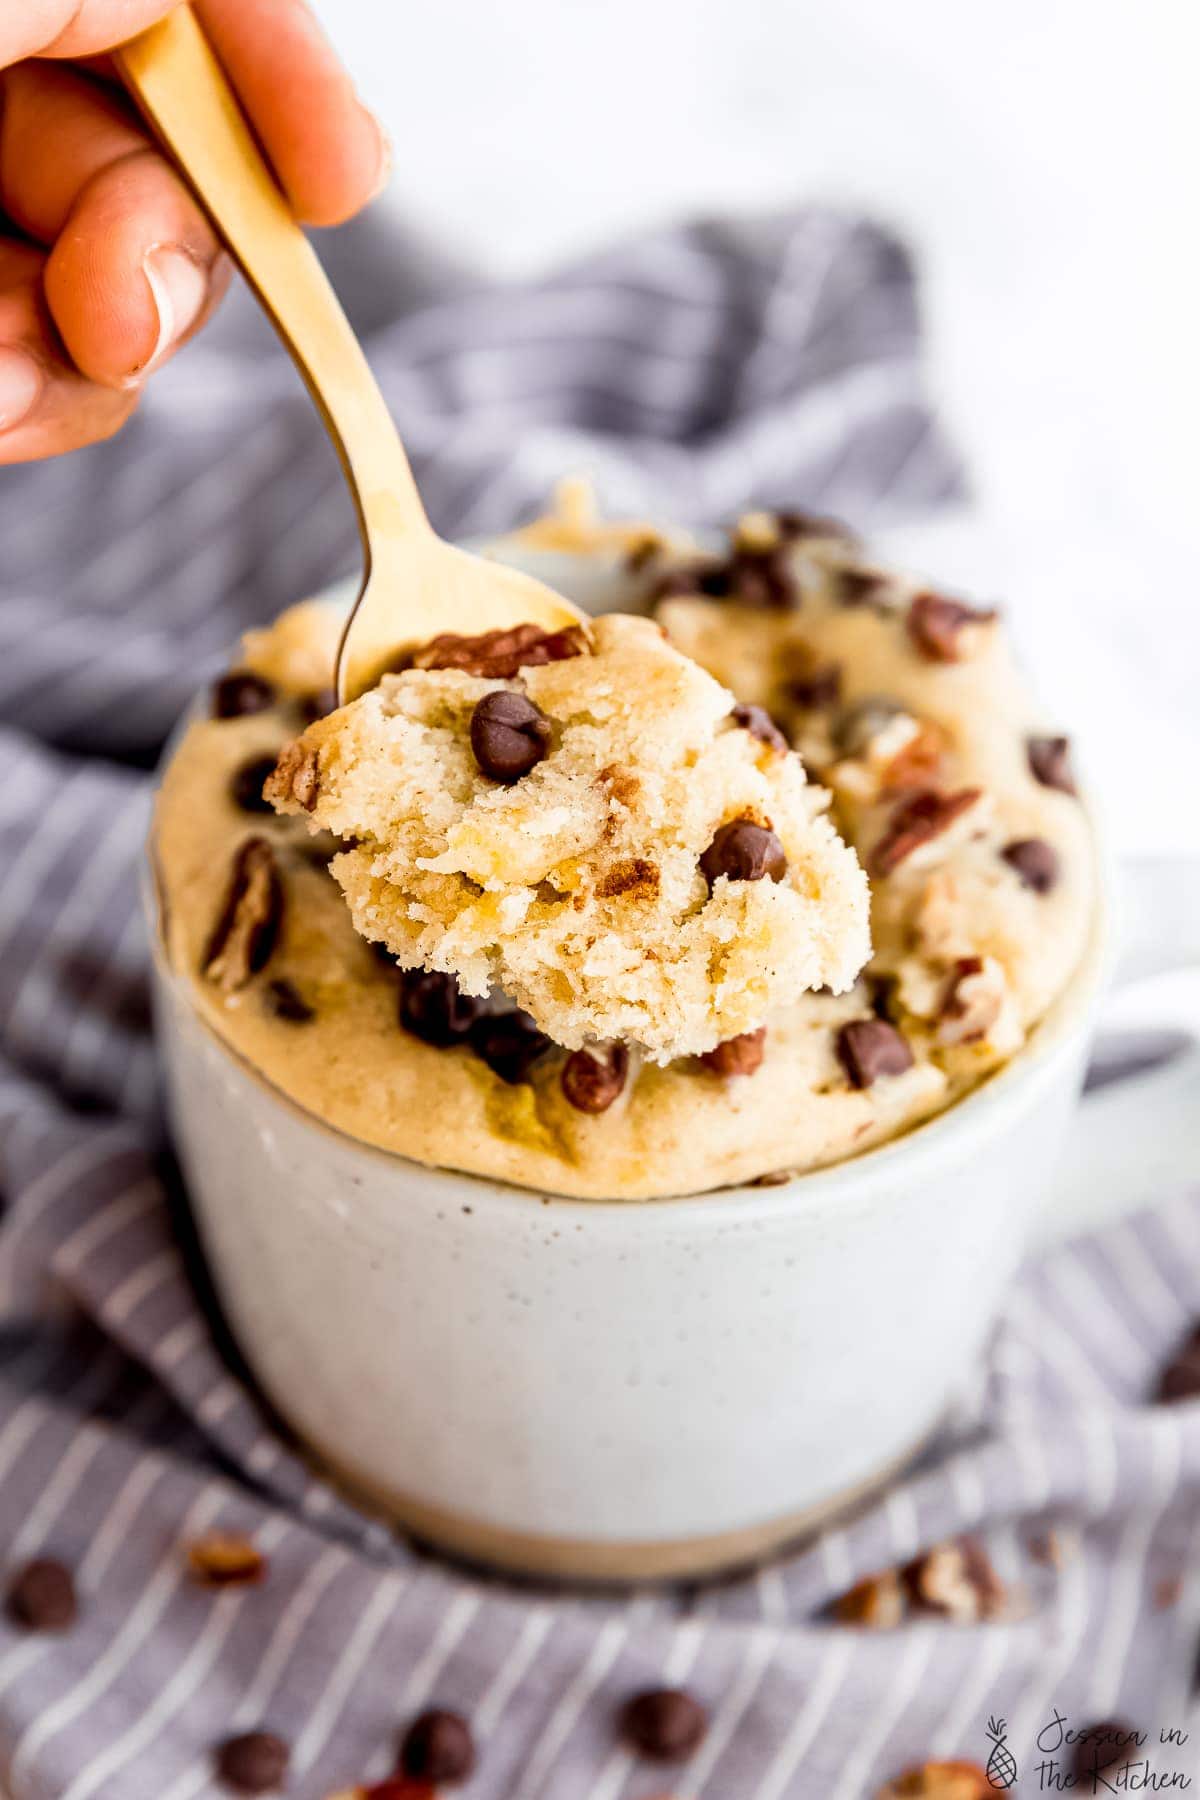
This Banana Bread Mug Cake (Vegan) will totally blow you away! It’s vegan, easily made in under 5 minutes start to finish and has a delightful banana bread flavour that’s so addictive!
Here’s a simple fact of life: there are two things you should be making while you’re staying at home right now: whipped coffee and banana bread of some sort. What’s your pick? You’ve probably made my simple vegan banana bread, or maybe my banana bread chocolate chip muffins . I have another fantastic and 80-second recipe for you: this Banana Bread Mug Cake.
Friends, needless to say, I’m mug cake obsessed, and for good reason. It’s the cake you know and love, in a single serving, ready in just minutes. Fluffy, moist, delicious and loaded with flavour.
I’m in love with how easy and divine this Banana Bread Mug Cake. It’s the perfect quick dessert, and so absolutely comforting. It’s loaded with banana bread flavour, comes together so quickly and uses pantry ingredients. Also, if you’re like me and keep buying bananas and then not eating then, between the vegan banana bread and this mug cake, you’ll be covered.
What Is Mug Cake?
In case you don’t know, a mug cake is exactly what it sounds like. A quick single-serving cake that’s usually whipped up in your mug and cooked quickly in it too. It usually takes about a minute to two minutes to make, and the result is a fully cooked, delicious and moist mini cake. I’ve made one before that’s the #1 search result for vegan brownie mug cake , so be sure to check that one out too.
Needless to say – mug cakes are incredibly convenient and so tasty! You usually only one a single serving anyway, and the overall time is always less than 5 minutes to make!
Ingredients in Banana Bread Mug Cake
- Banana – ah yes, the key ingredient here. The banana here acts as a binder, a flavouring agent, and so much more. I highly recommend using a very ripe banana, and measuring out yours. You want to ensure that your banana is very mashed, and that you measure the amount of the mashed banana, not the amount before mashing.
- Flour – you can sub gluten-free flour, just be sure to see if it needs a bit more baking time (about 10 seconds more) but don’t overbake. It’s okay if there is a tiny bit of gooey liquid on top – it’ll set while cools.
- Sugar – I only use 1 tablespoon because of the sweetness of the bananas. If you think you’d like something sweeter, you can add an extra tablespoon!
- Oil – adds to the moisture and texture of the mug cake. You can use any neutral oil that you have!
- Almond milk – adds some moisture to the mug cake. You can sub any other nut milk or soy milk that you have.
- Sea salt – a dash always elevates flavours, don’t skip it!
- Baking powder – aids in the rise of this mug cake and to help with the texture. P.S. be sure to test your baking powder before using it to ensure it’s fresh.
- Cinnamon, walnut & chocolate chips – optional, but amazing add-ins that take it over the top. I highly recommend at least the cinnamon!
Tips For Making Mug Cakes
Making a mug cake is pretty much foolproof, but these few tips help to make a big difference. I’ve tested mug cakes over 2 dozen times (yes!), and here are the top tips I took away:
- Use a wide short-ish mug (like the one in these photos!). If you have a variety to choose from, using this type of mug means the cake rises higher in a concentrated space. I’ve found this helps with cooking.
- Ensure to stir it all together. Don’t go whisking it for minutes on end, but ensure your entire mug cake is mixed. Since it’s such a small container it can be easy to miss the bottom. Just ensure you incorporate everything.
- Adjust your time based on your microwave. The times I’ve provided should work but yours may need an extra 10 seconds. It’ll cook edges to centre so just check the centre that it’s fully cooked…BUT:
- BUT, don’t overcook. This will make your mug cake gummy and rubbery. Remember that the mug cake will keep cooking while it’s cooling so it’s better to slightly under bake it.
- Let it cool for like 3 minutes before digging it. It really does make a difference, like how you’d let a cake or brownies cool first!
- I’ve included instructions for baking this in your oven too! Similarly here, be sure to slightly underbake (you don’t want your toothpick to come out clean, it should still have crumbs attached) since it’ll continue to cook while it cools.
That’s it friends! Whip this up and enjoy so much!!
Ingredients
- ⅓ cup mashed bananas , about 1 very ripe banana, but be sure to measure it out (80g)
- 1 tablespoon oil , (15g)
- 1 tablespoon almond milk , or other vegan milk (15mL)
- 1 tablespoon raw brown sugar , or coconut sugar or other granulated sugar (12g)
- 3 tablespoons all-purpose flour , or all-purpose gluten-free flour mix* (23g)
- pinch of sea salt , (.33g)
- pinch of ground cinnamon , (.12g)
- ½ teaspoon baking powder , (2.4g)
- Optional: 1 tablespoon chopped nuts and/or chocolate chips , (14g)
Instructions
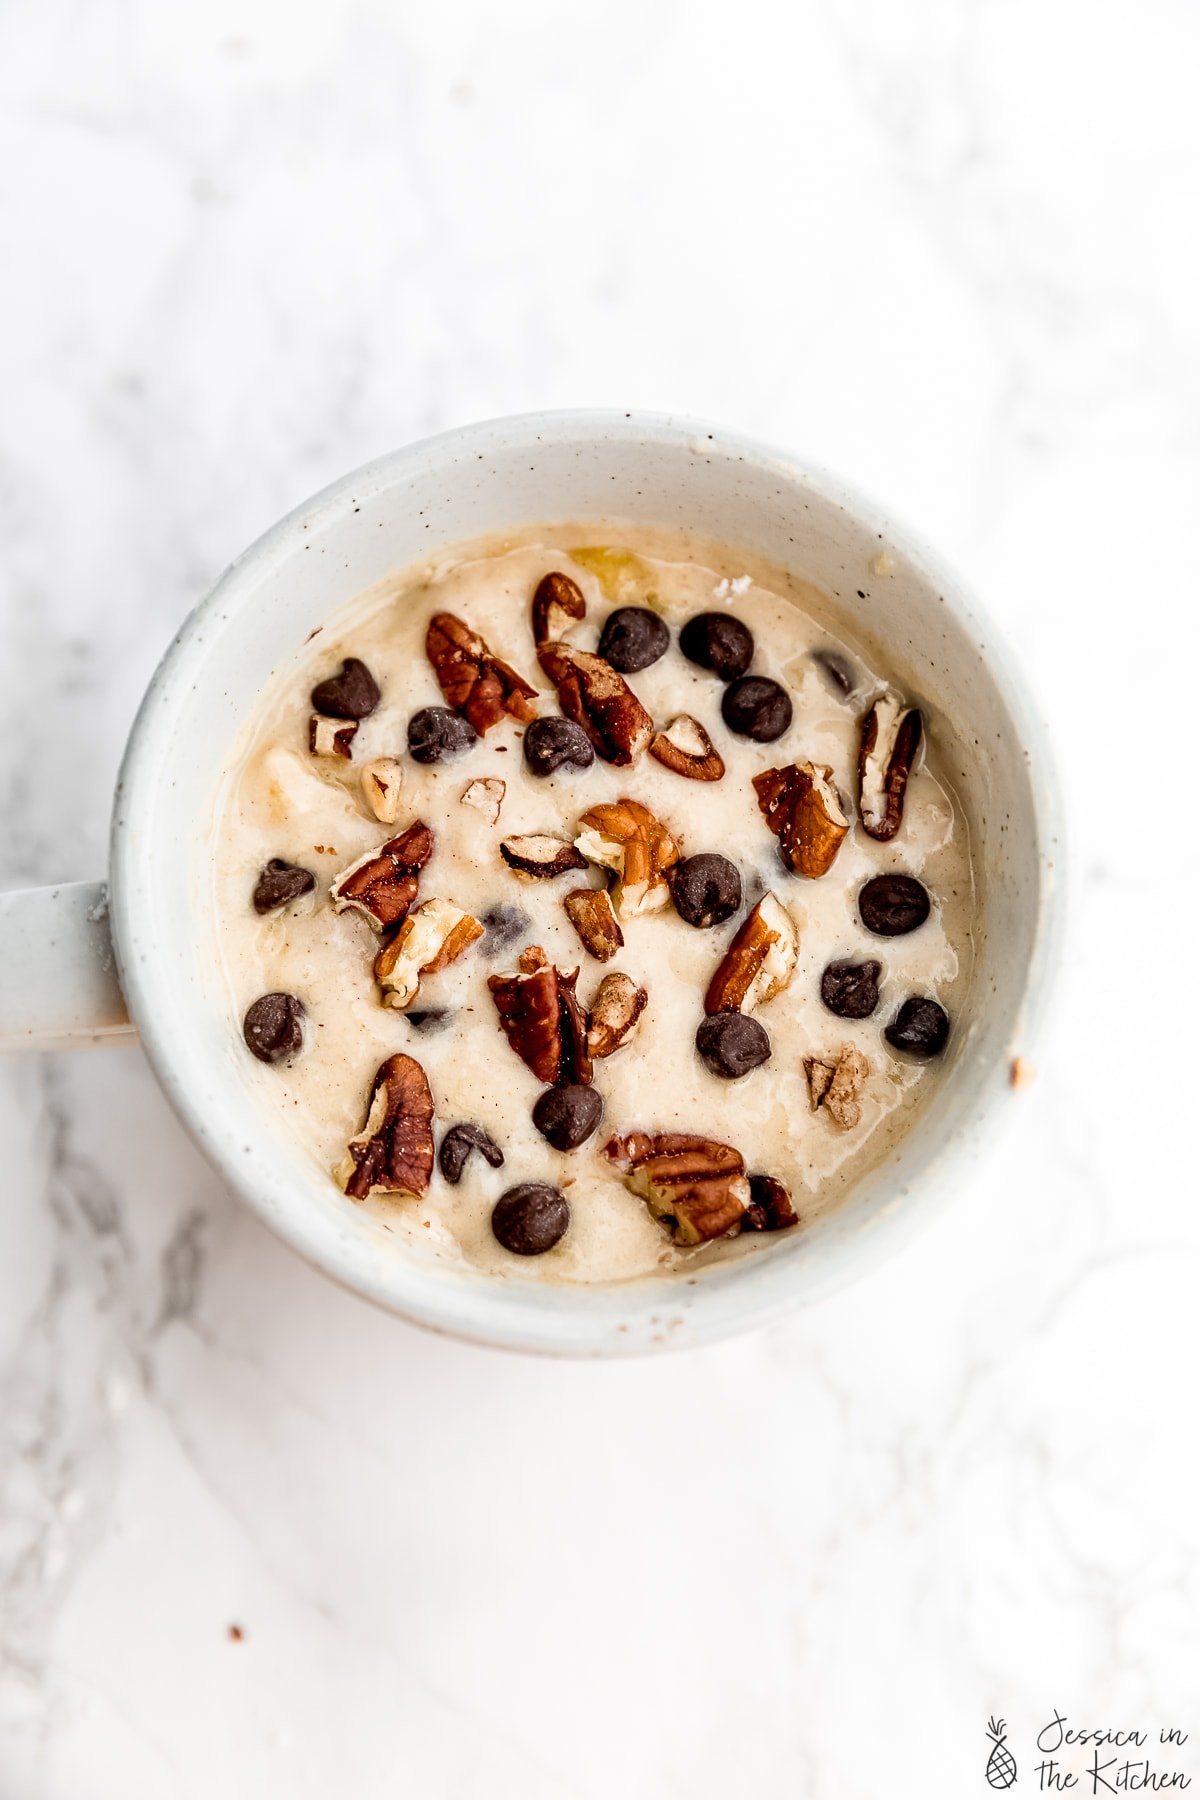
- In a mug, add in the mashed banana, oil, milk and sugar. Whisk together for about 30 seconds to combine completely and banana is completely mashed. Add in the flours, baking powder, salt and cinnamon.
- Stir to combine for about 20 more seconds to ensure it’s all incorporated, ensuring the get the bottoms too. Add in the nuts & chocolate chips if using and fold in. Feel free to sprinkle some of them on top.
- Place in your microwave for about 80 seconds up to 120 seconds. My microwave was 1100W when I originally did this recipe so 80seconds worked but it’s now 900W so I did 100 seconds (1 minute 40 seconds) and that came out perfectly after my recommended rest time! It’s okay if it’s slightly undercooked because it’ll continue to cook while it cools. It’s better for it to be slightly undercooked than overcooked. Remove and let cool for about 3 minutes. Trust me! If making in your oven, preheat oven to 350F and bake in about a 3.5-inch ramekin (ensure it’s oven safe) for 25-30 minutes. Remove and allow to cool for about 5 minutes. Sprinkle some coarse sea salt on top and enjoy!
