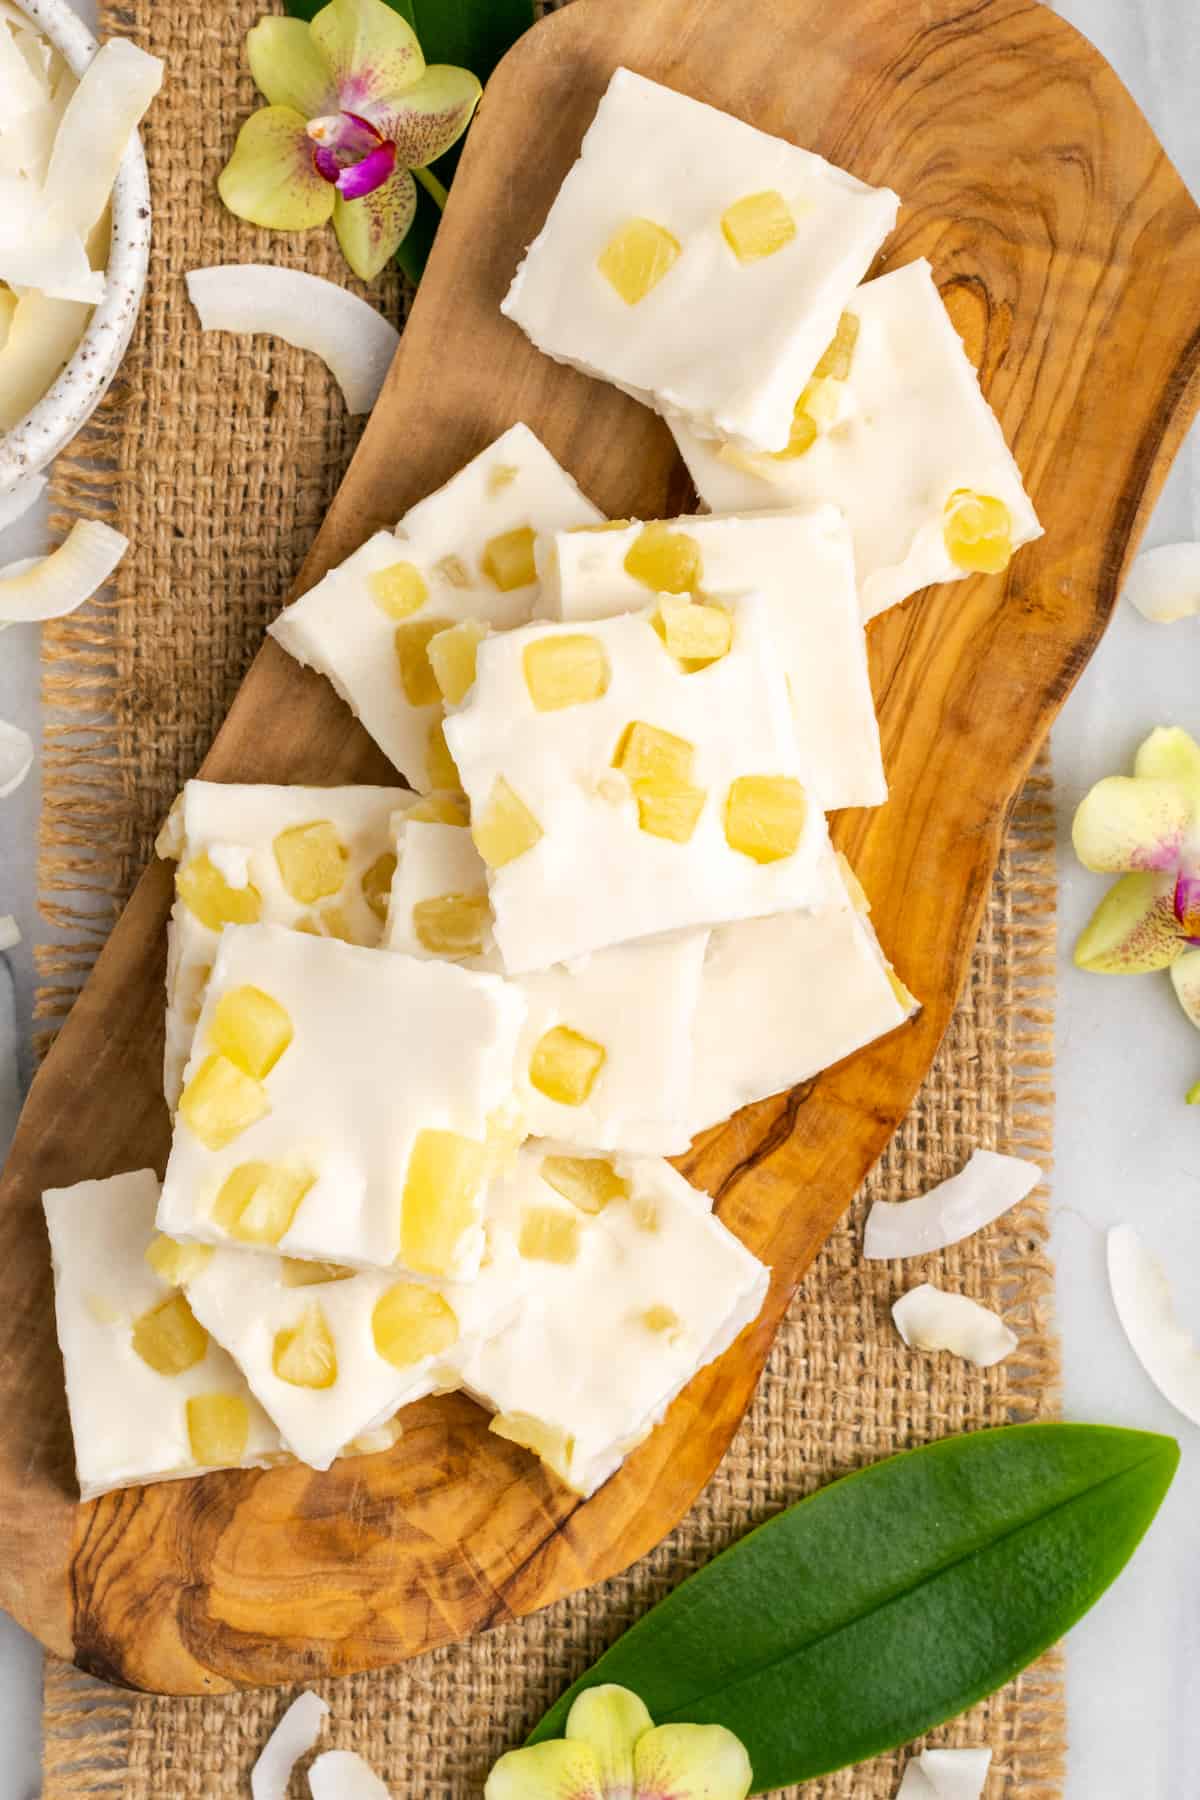
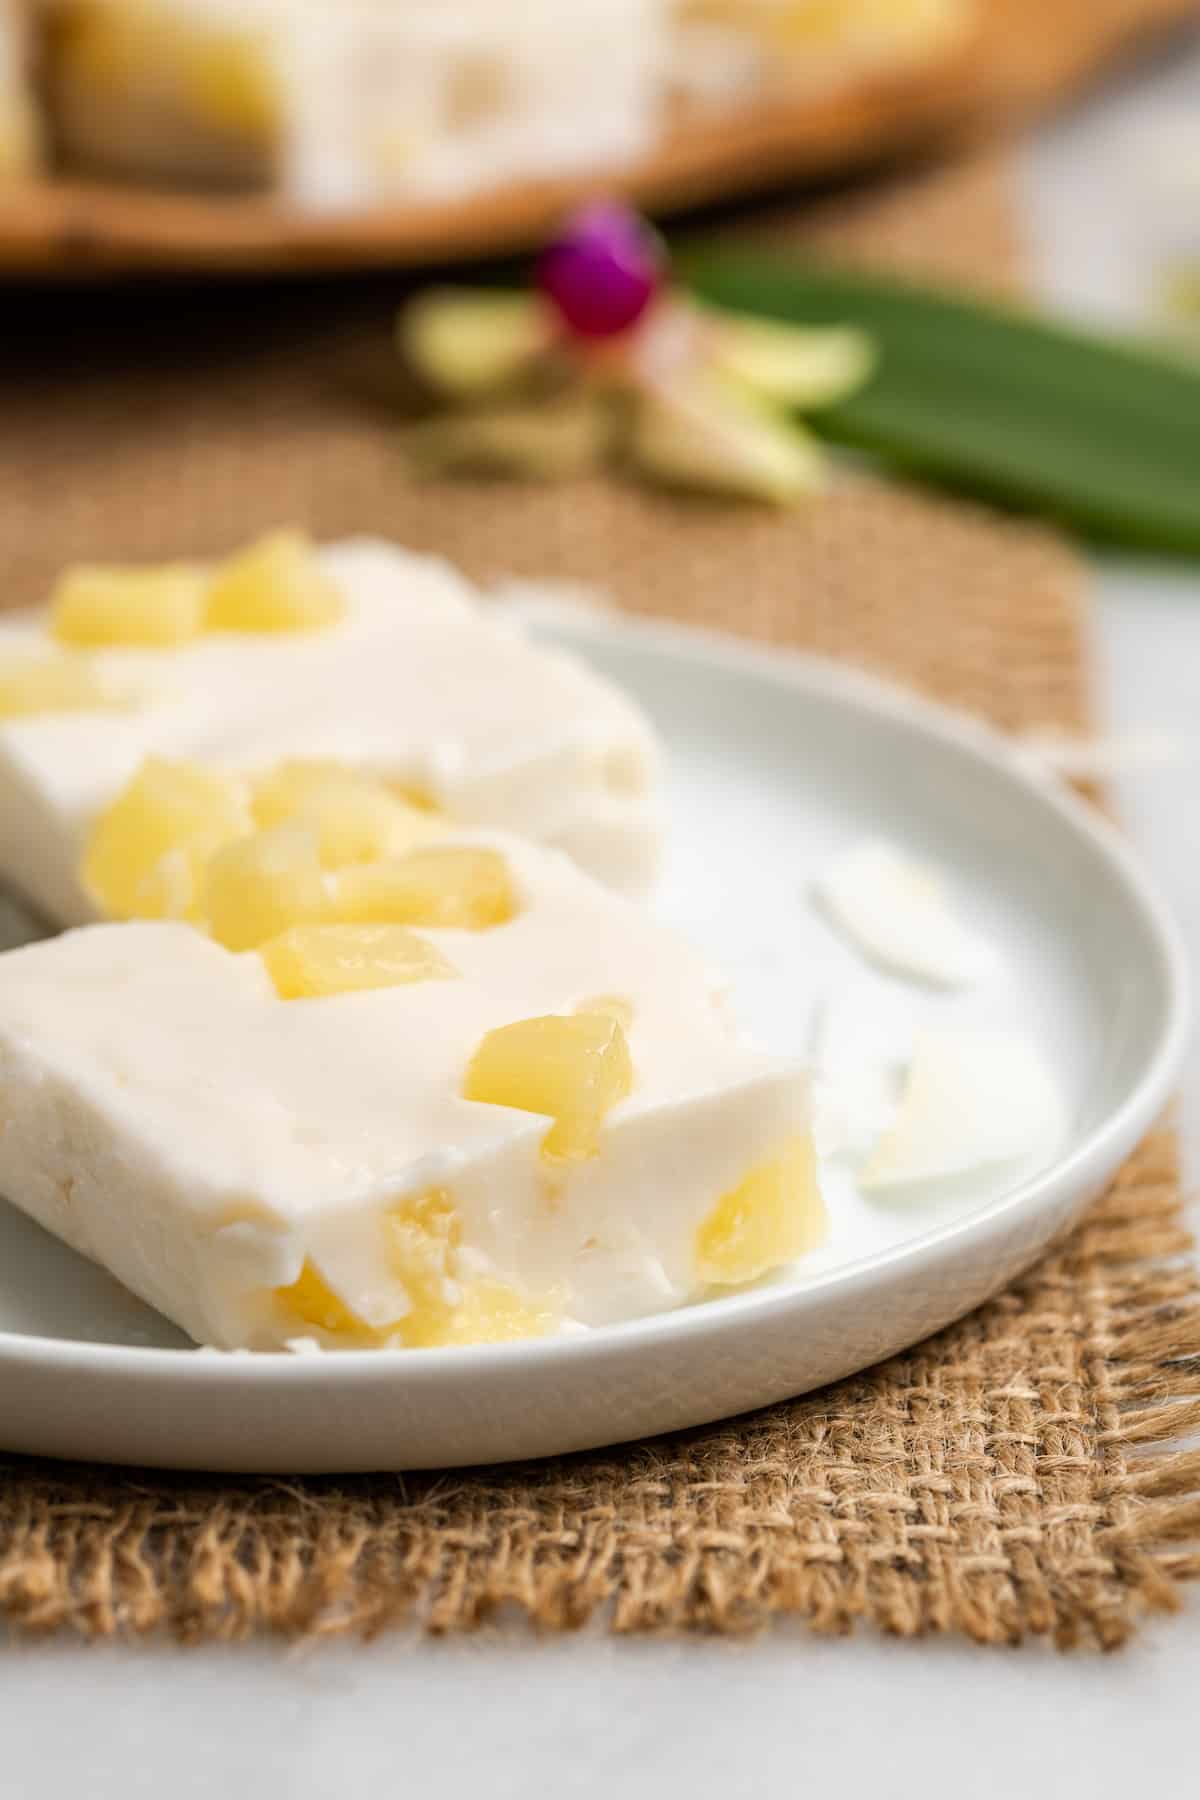
Haupia is a classic Hawaiian dessert that’s cool, creamy, and full of tropical flavour. Also known as coconut pudding, my version of haupia is vegan, studded with pieces of juicy pineapple, and oh-so-easy to make.
I love a good vegan dessert recipe, from chocolate avocado ice cream to vegan carrot cake and pecan pie , but this vegan haupia recipe is definitely my new favourite. Truly, the hardest part is waiting for it to chill in the fridge!
What Is Haupia?
Haupia is a traditional Hawaiian dessert made with coconut milk, sugar , and cornstarch or arrowroot. (Arrowroot starch, or pia , is the more traditional option, but cornstarch is commonly used today.) Some recipes call for the addition of whole milk or even gelatin, but it’s not necessary—in fact, some argue that haupia made with gelatin isn’t haupia at all!
Haupia has a creamy texture similar to pudding or custard, but it’s often served cut into blocks or squares like Jello. Haupia is commonly served at luaus and other special occasions in Hawaii because of its delectable flavour and cultural significance.
Although haupia is most often served as a single layer pudding or sliced into squares, it’s also popular layered over cake for added flavor. And, if you go to a McDonald’s in Hawaii, you’ll even see haupia pies on the menu!
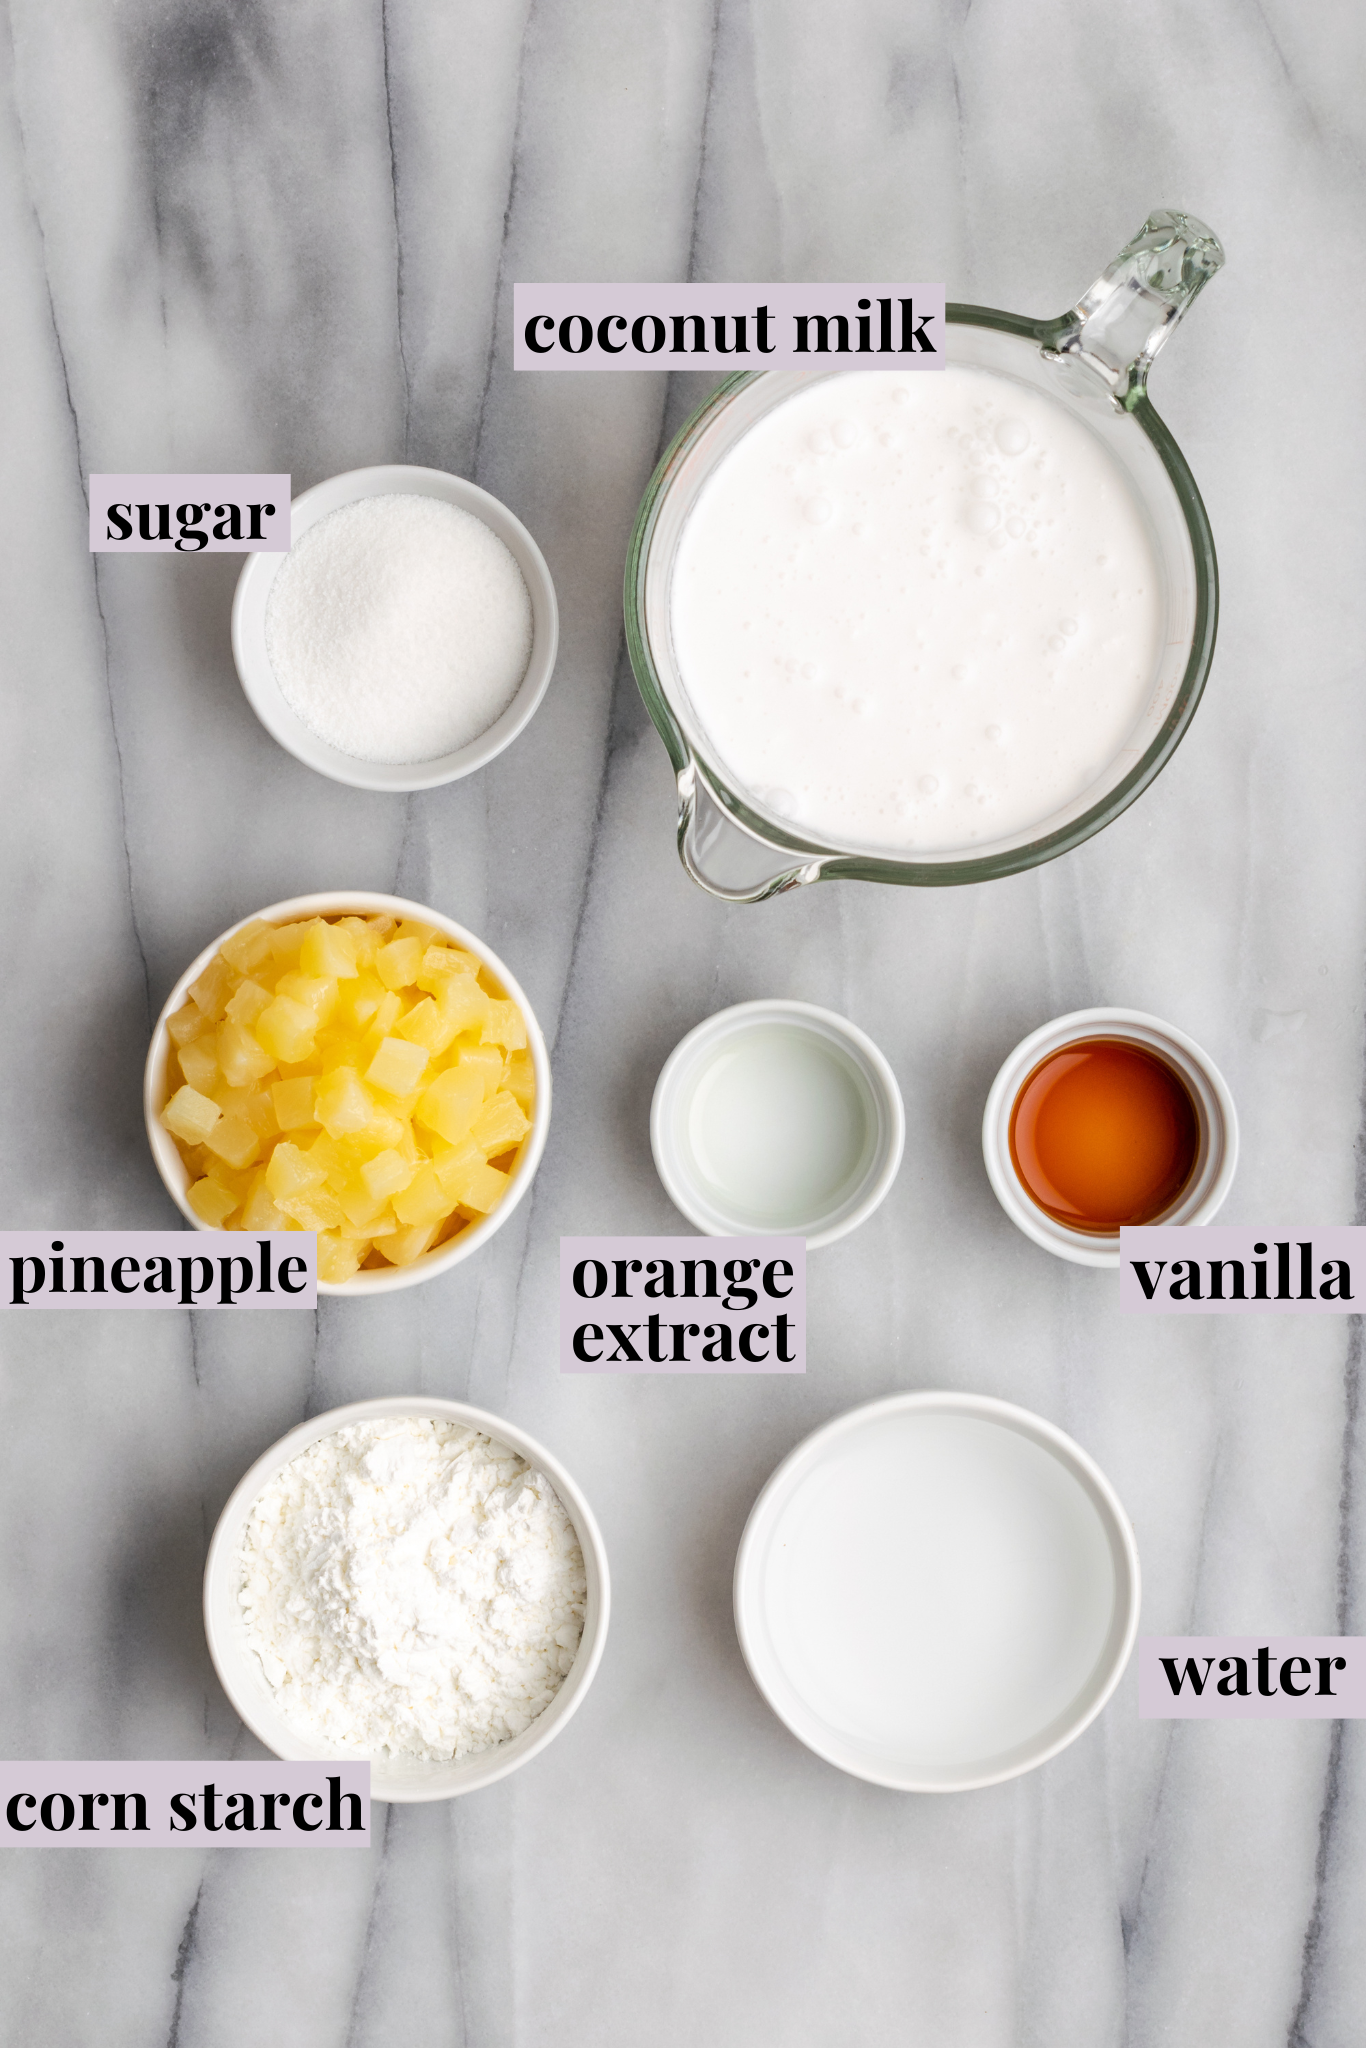
Notes on Ingredients
Scroll down to the recipe card to find the ingredient quantities and recipe instructions.
- Full-fat coconut milk – Don’t substitute lite coconut milk! You really need full-fat here.
- Sugar
- Vanilla extract – While this isn’t in the traditional version, I love the creamy flavour vanilla adds to the recipe.
- Orange extract
- Cornstarch
- Water
- Pineapple tidbits – Fresh, canned, or frozen and thawed will all work here.
What Can I Use Instead of Orange Extract?
You can simply omit the orange extract, or substitute orange zest or an orange liqueur like Cointreau. For a different flavour, try using almond extract instead.
How to Make Haupia
Making haupia is easy, and similar to making other types of pudding. Here’s what you’ll need to do.
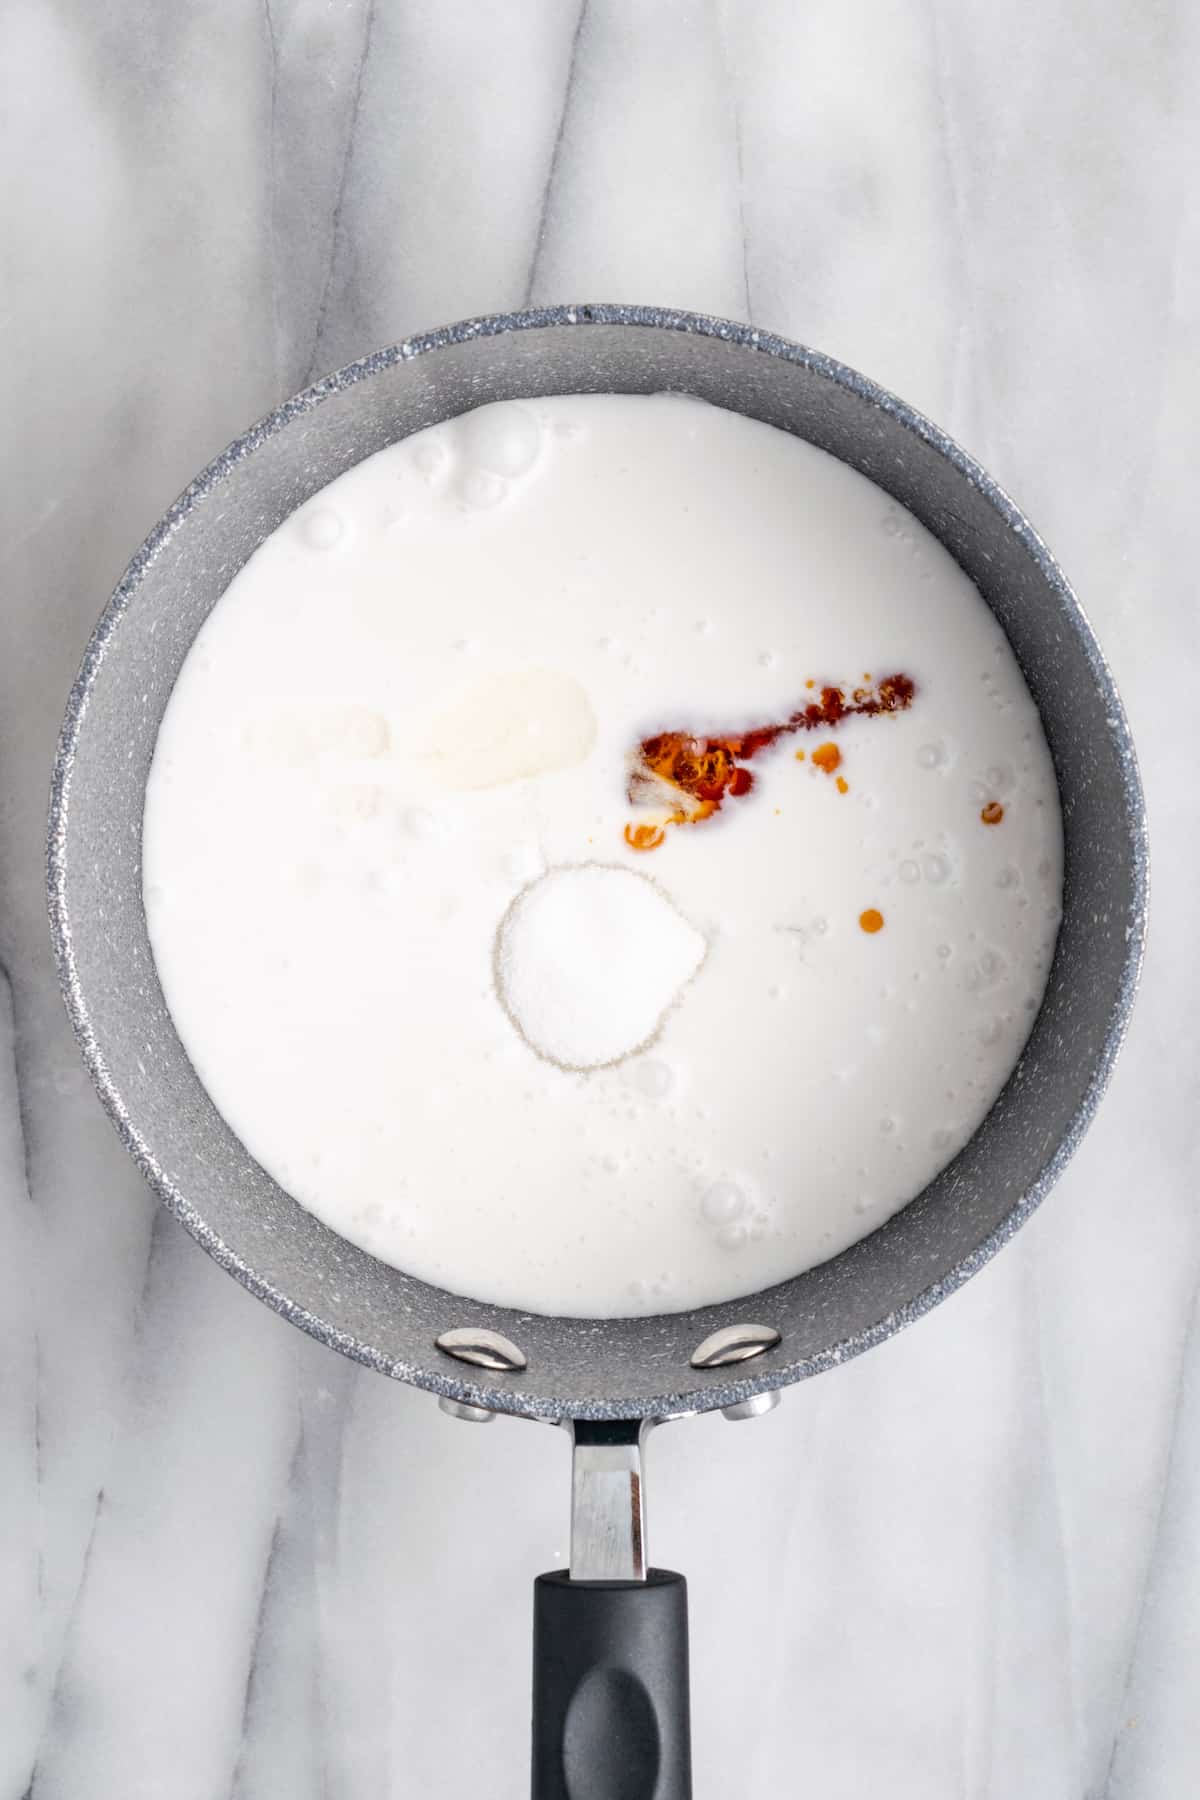
Bring the liquid to a boil. Whisk the coconut milk, sugar, vanilla extract, and orange extract in a saucepan set over medium-high heat. Continue to whisk until the mixture comes to a gentle boil.
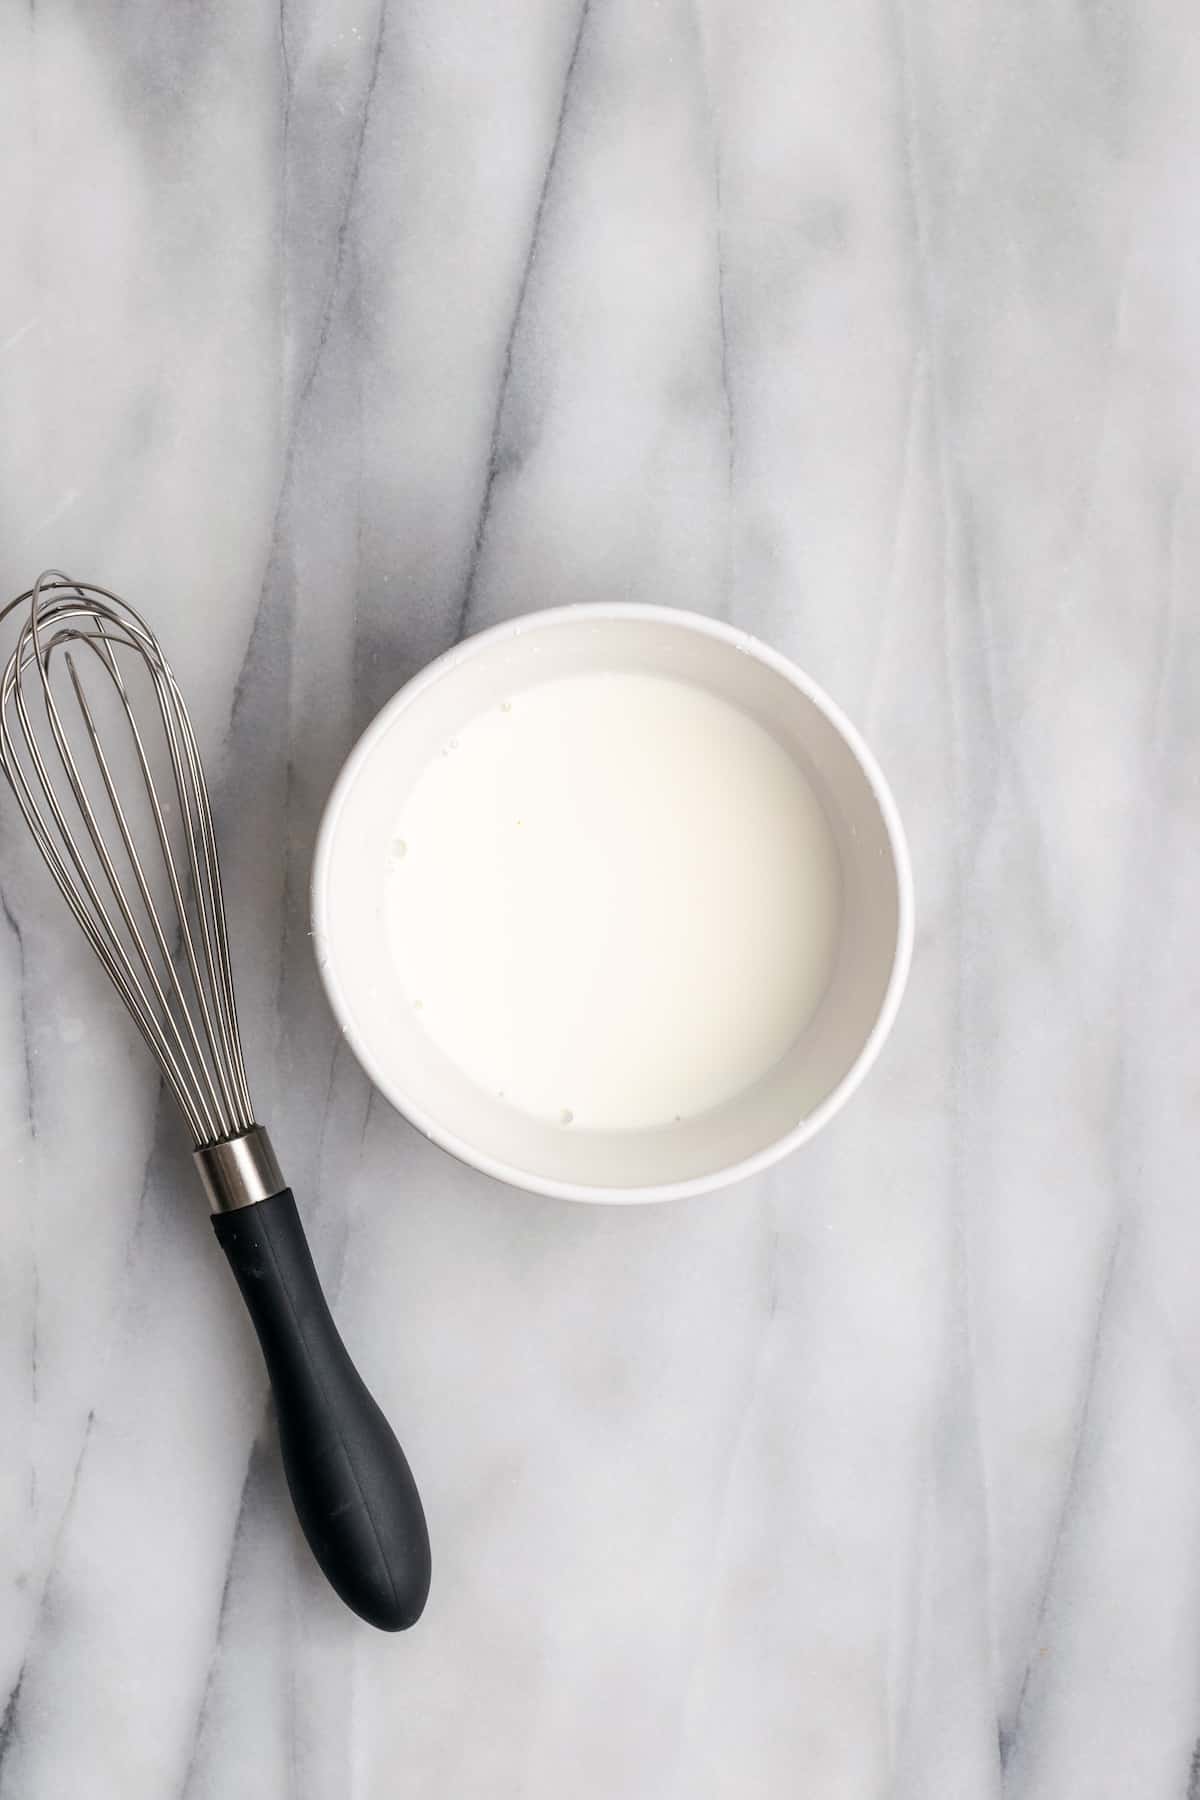
Make cornstarch slurry. In a small bowl, whisk together the cornstarch and water to create a slurry. Once the coconut mixture is boiling, reduce the heat to a simmer and whisk in the cornstarch slurry.
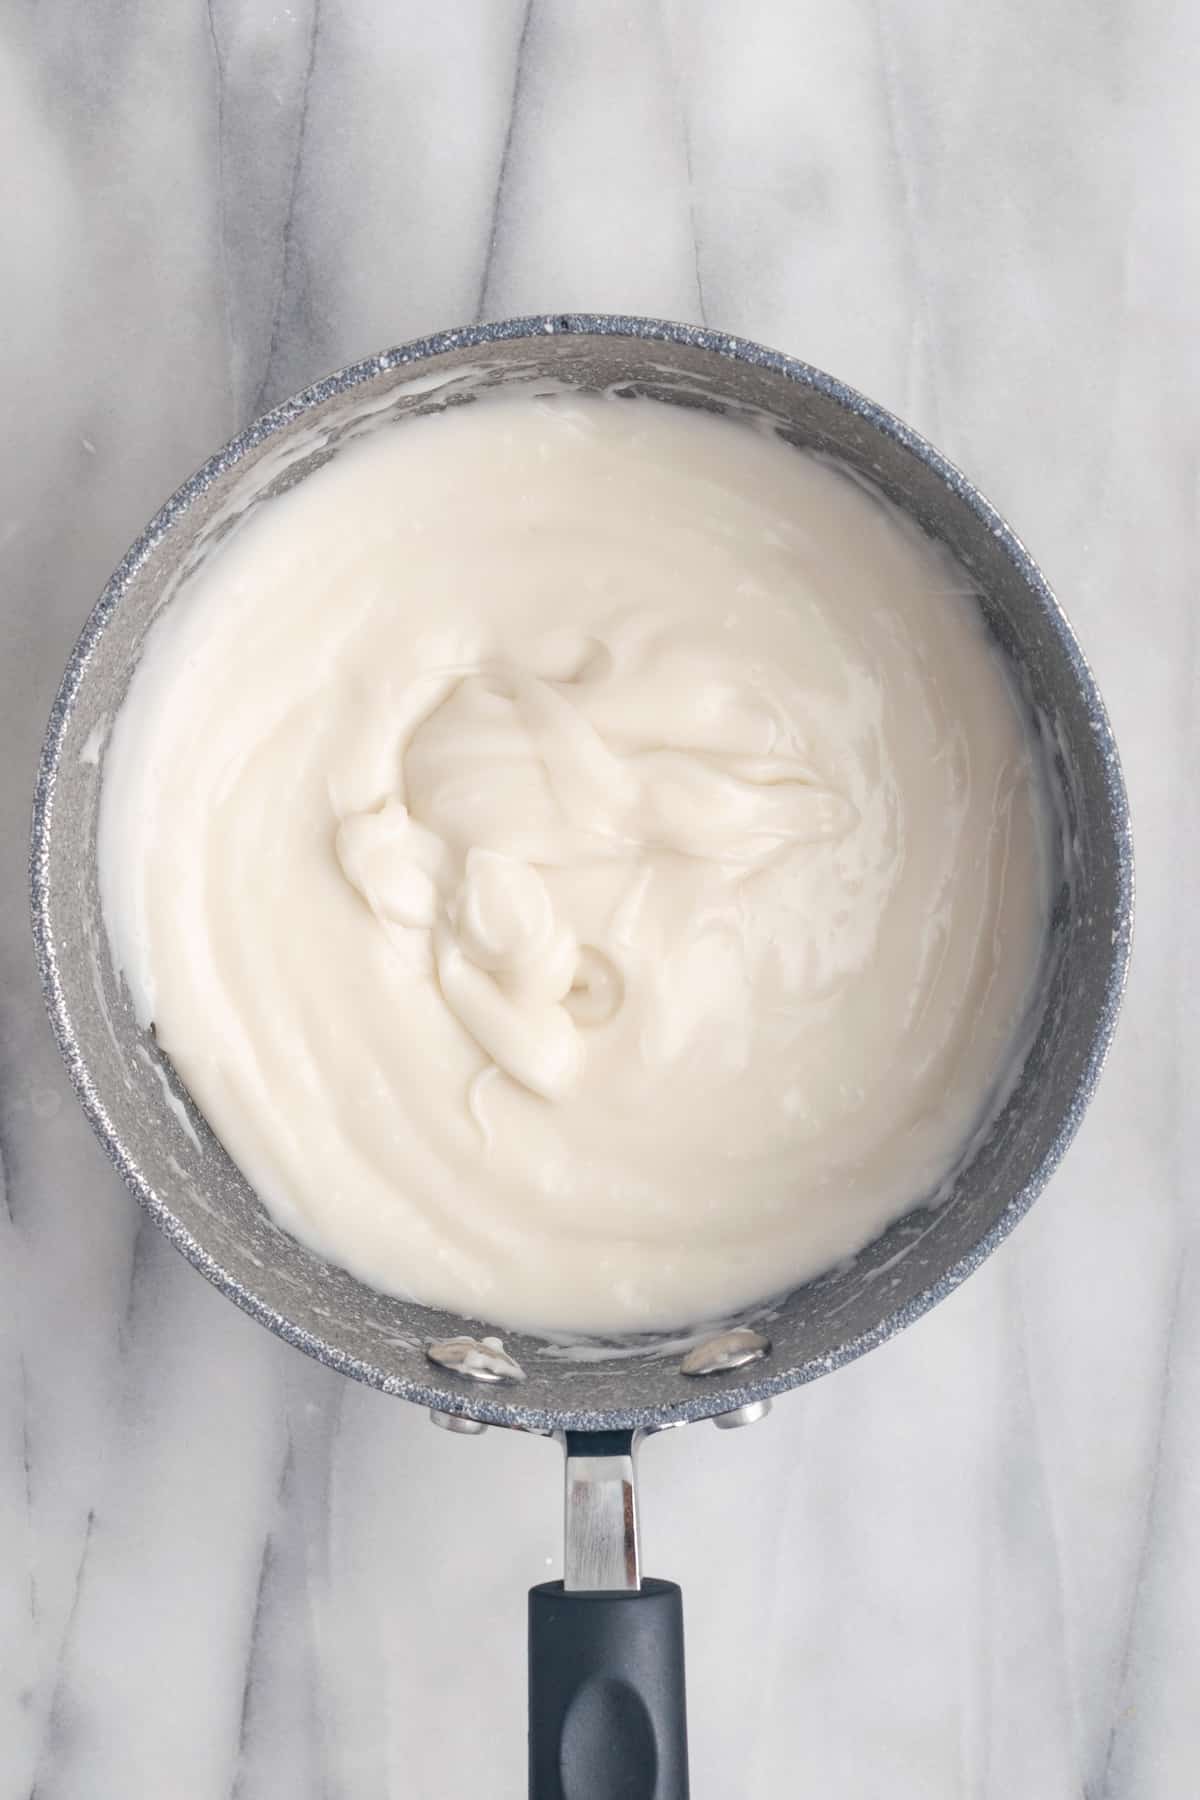
Add half of the pineapple. When the haupia mixture has thickened to the consistency of pudding, remove the pan from heat. Fold in half of the pineapple.
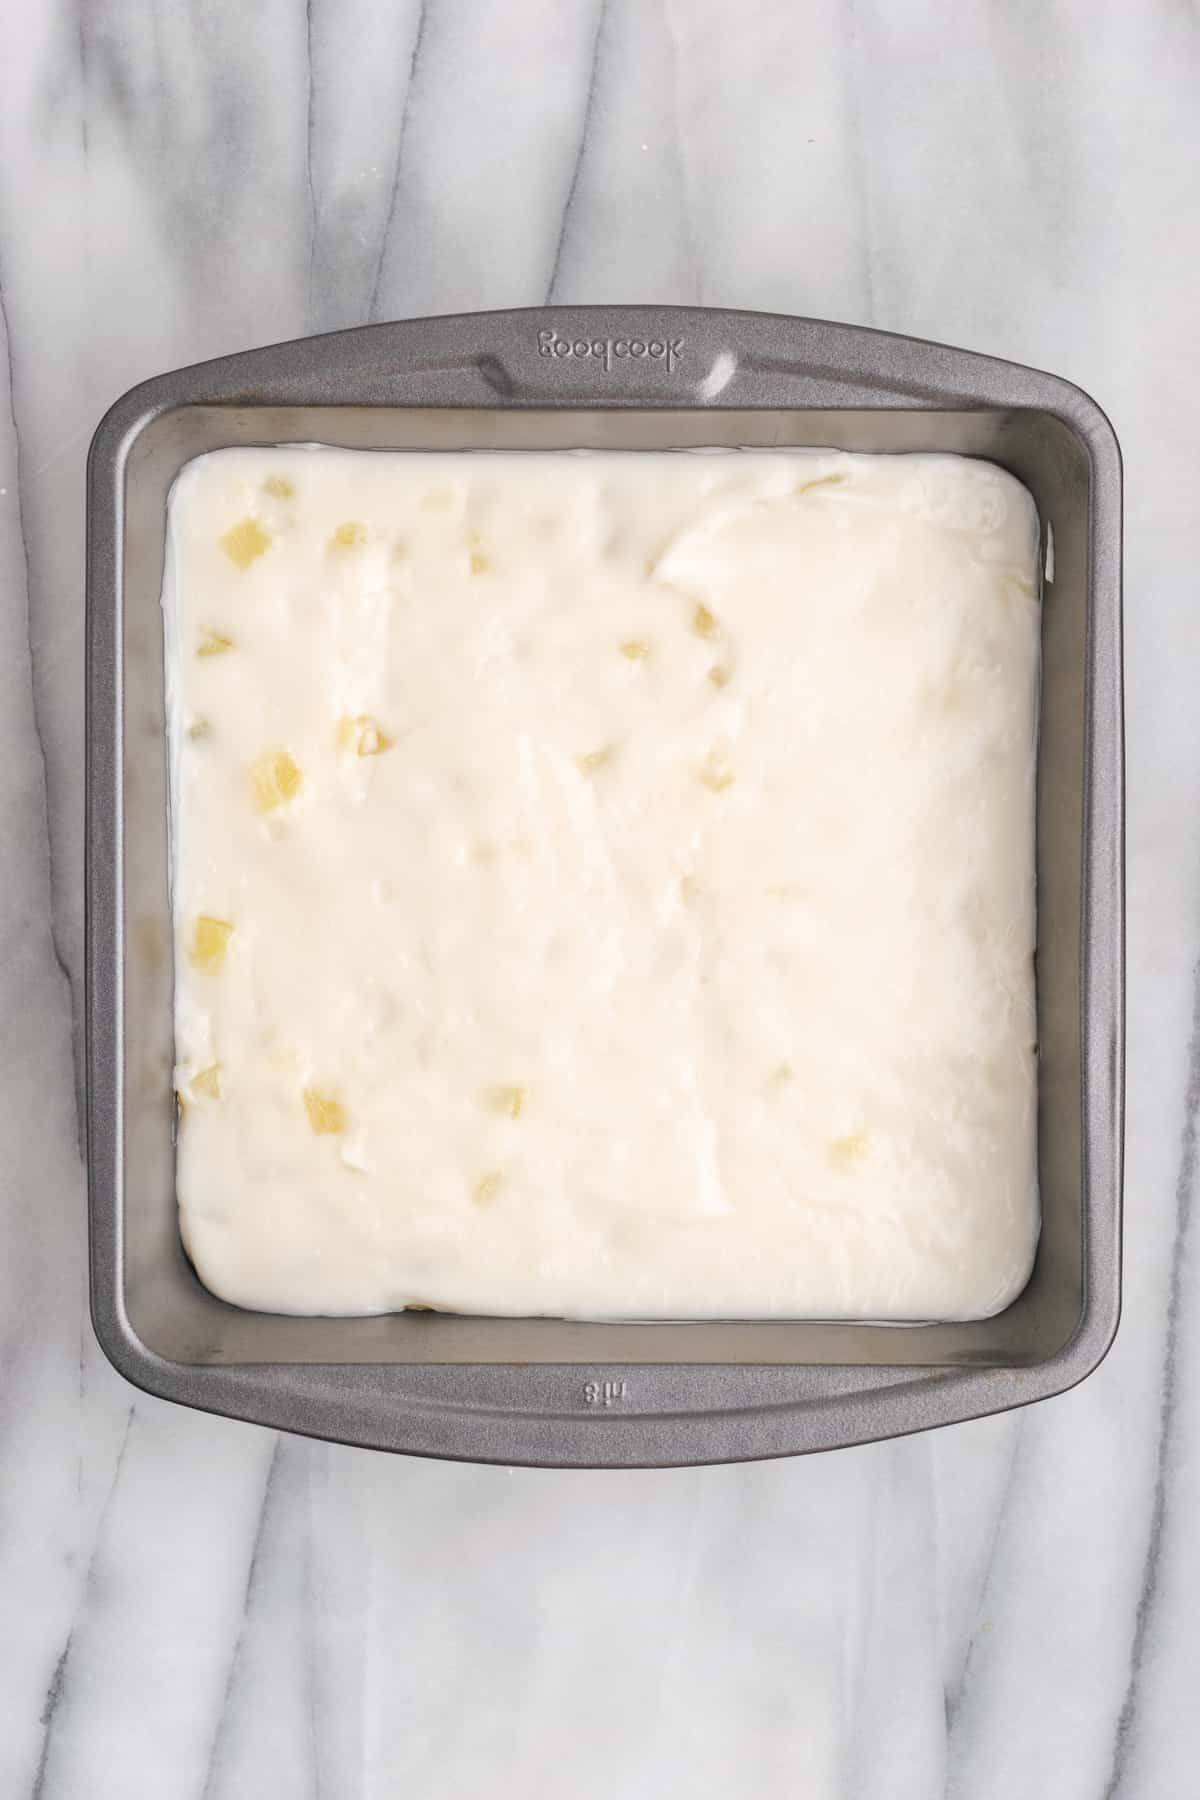
Assemble. Pour the haupia into an 8×8-inch pan. Smooth the top with an offset spatula. Scatter the remaining pineapple over the top and gently press it into the haupia so it sticks.
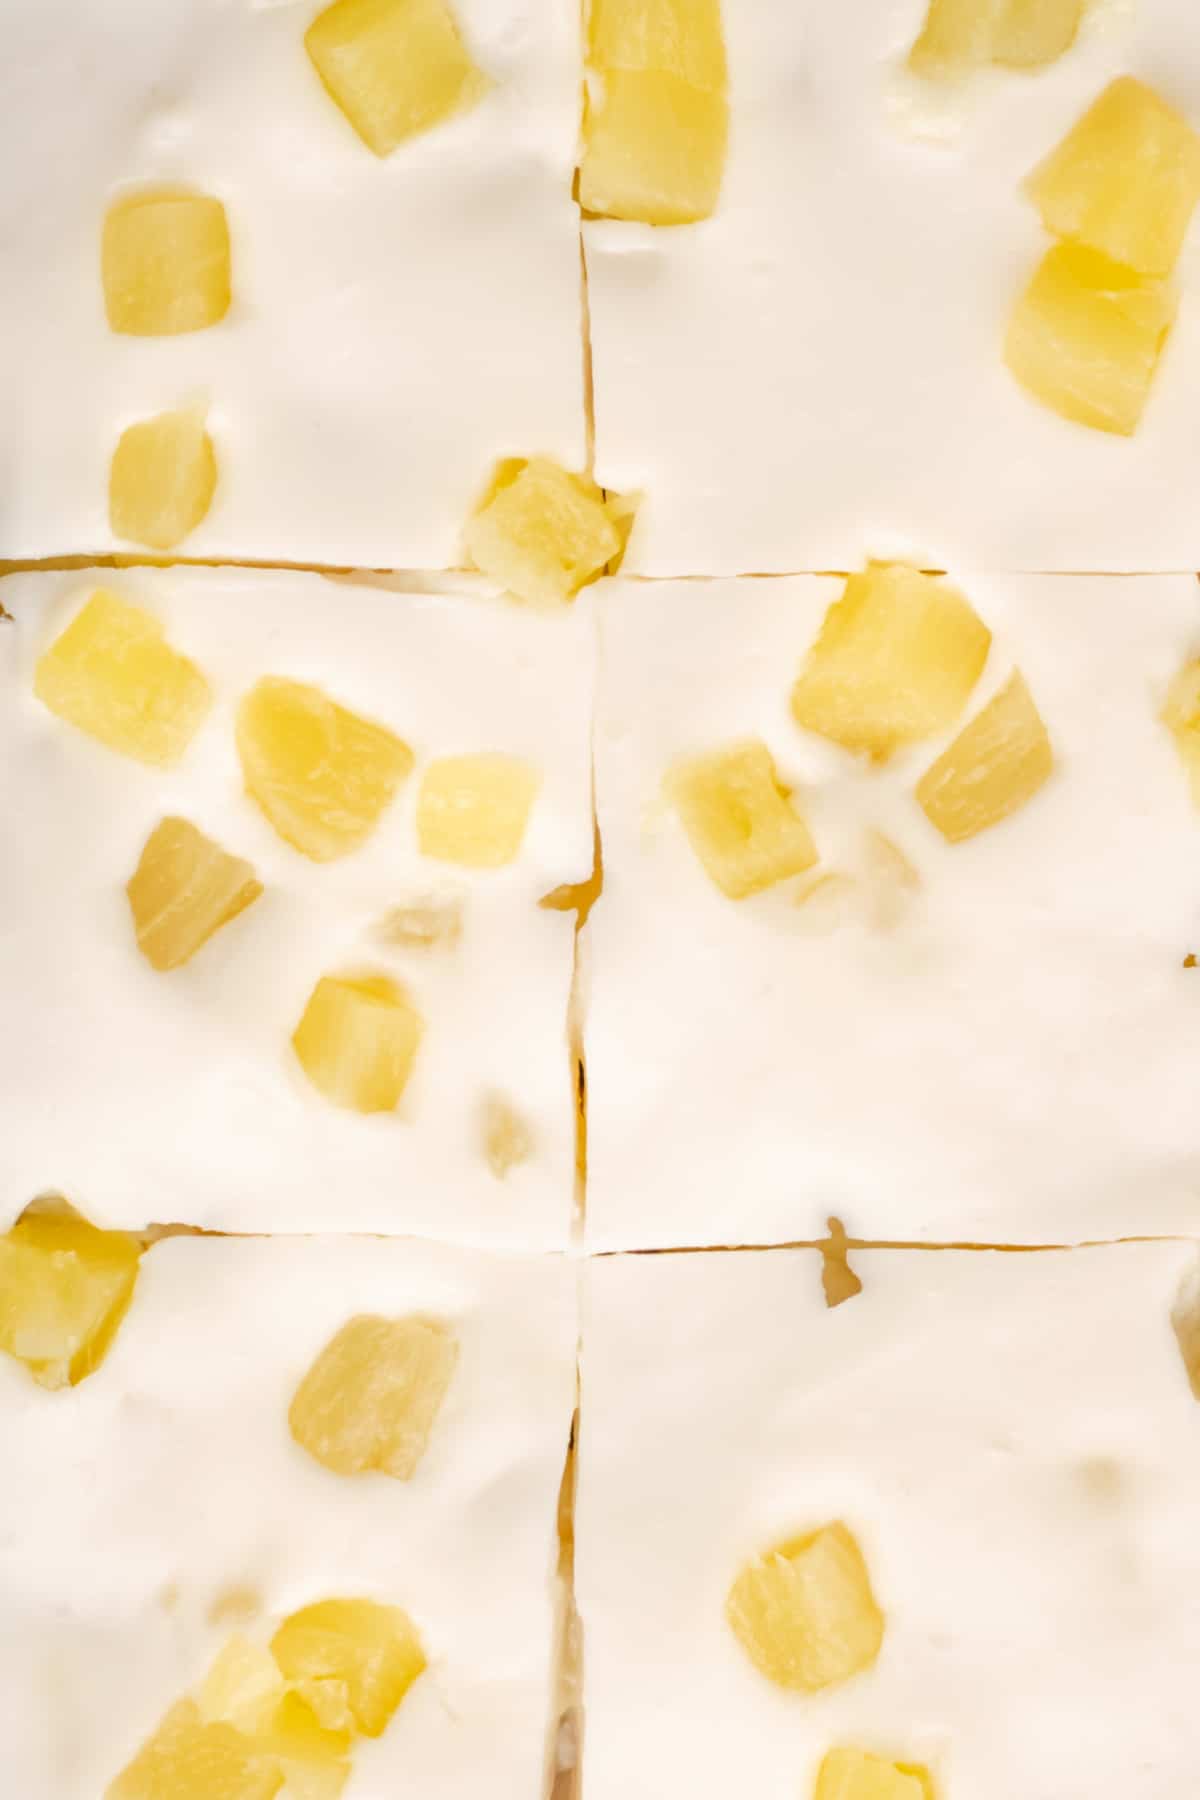
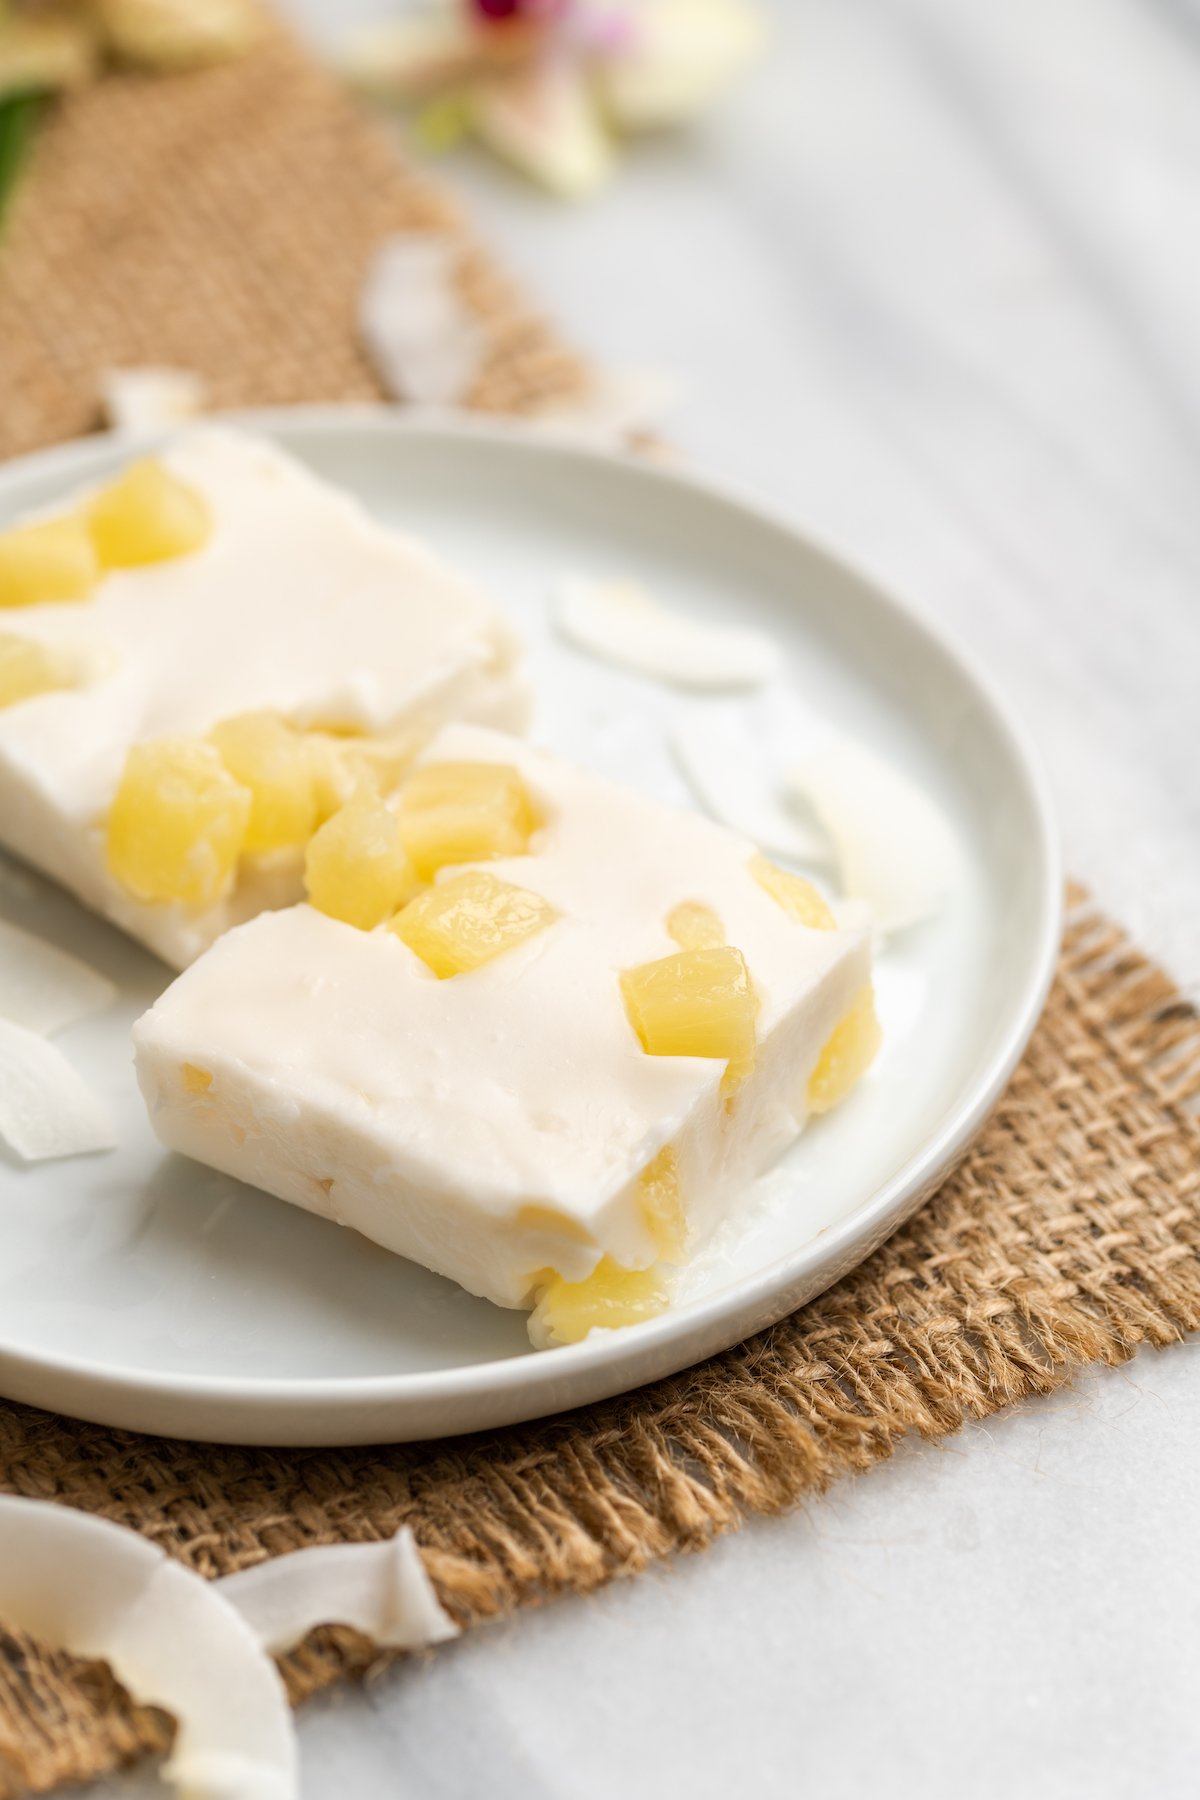
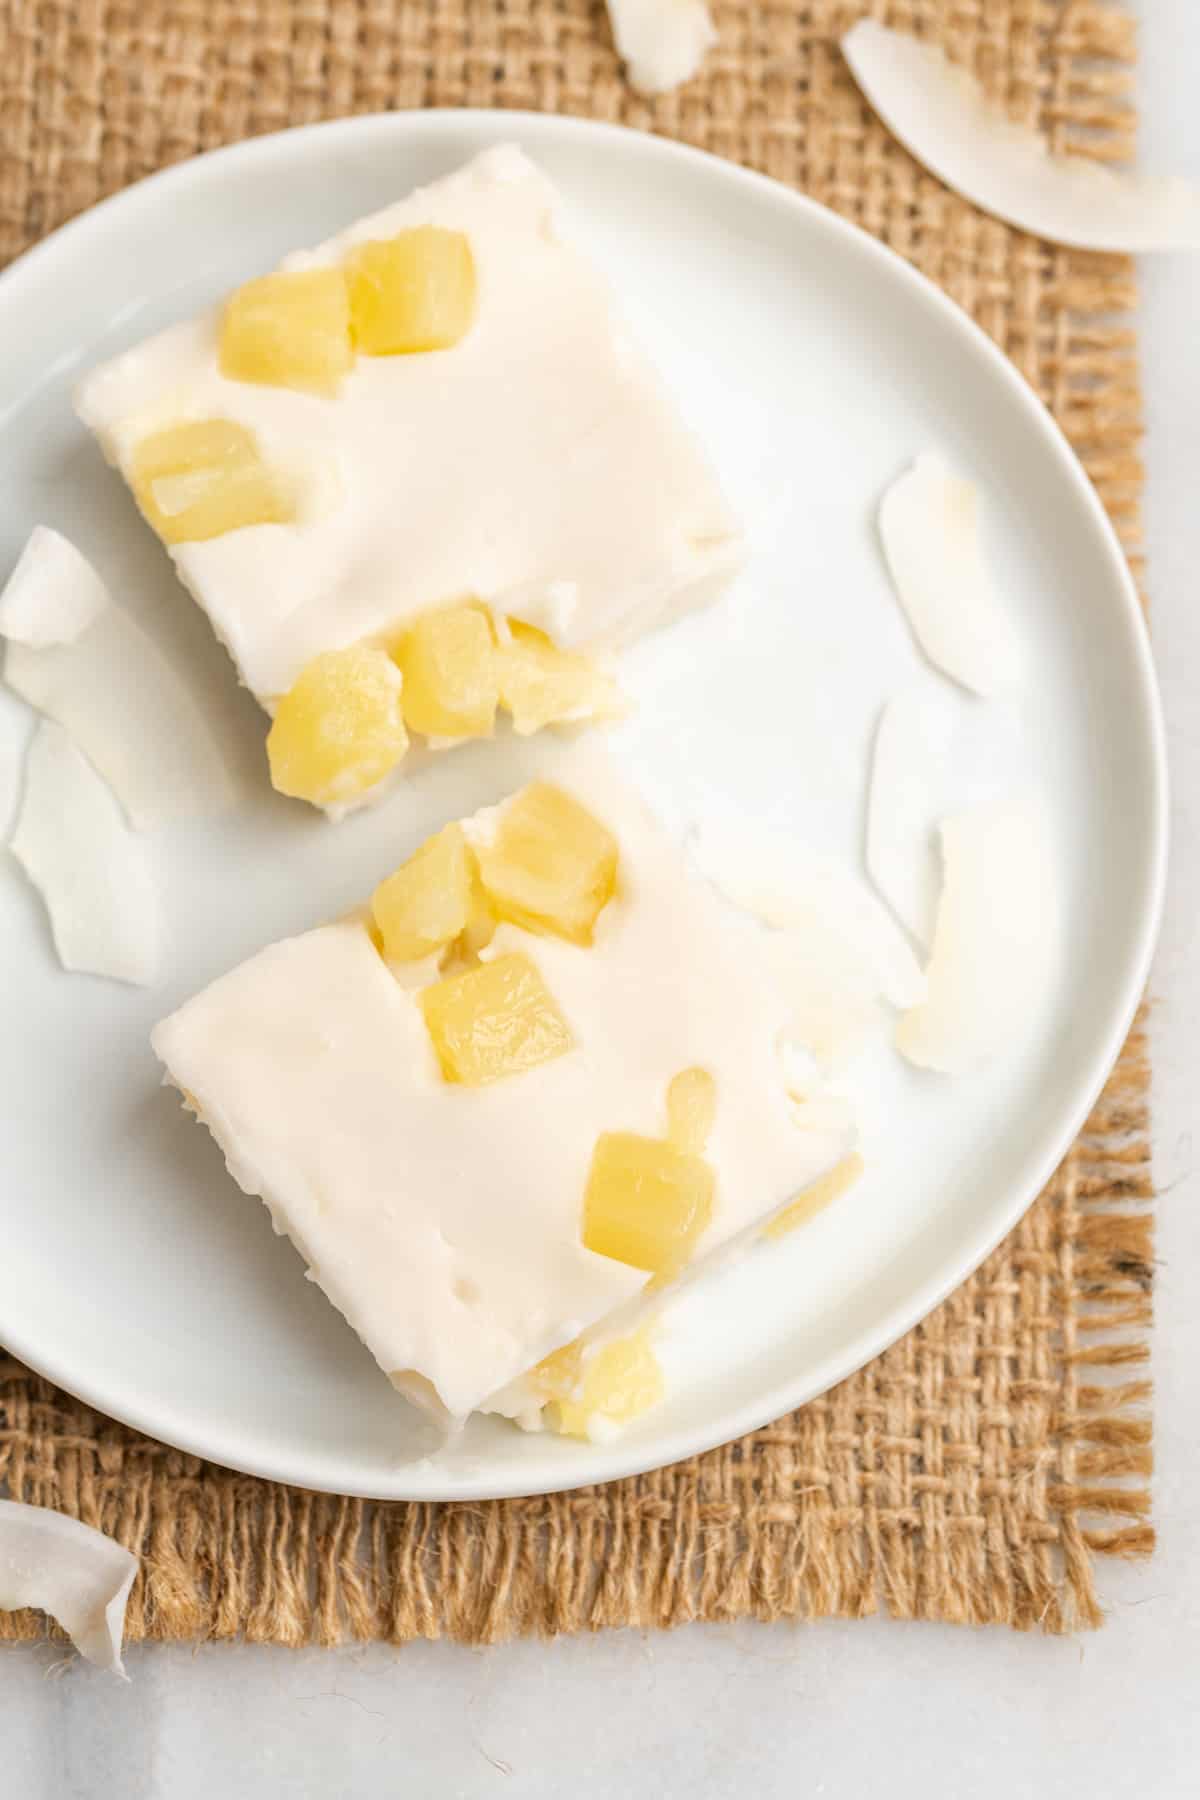
Chill. Place the pan in the refrigerator and chill for at least 2 hours. Cut into 2-inch squares and serve cold.
Tips for Success
This haupia recipe couldn’t be easier, but I still have a few tips to help make sure it turns out perfect!
- Whisk the slurry well. To avoid lumps, make sure the cornstarch is fully dissolved before adding it to the coconut milk, and then whisk constantly while adding it in.
- Make sure it’s thickened. Don’t remove the pan from the heat until the mixture is nice and thick. If you take it off the stovetop too soon, you’ll still have a delicious dessert, but it will be more creamy and pudding-like, rather than sliceable.
- Don’t rush it. Allow the haupia to cool completely before slicing it into squares, or it might be too soft to hold its shape.

Variations
Haupia can be easily customized with a variety of add-ins and flavours. Here are some of my favourite ideas:
- Add mango, passion fruit , or other fresh fruits for added flavor.
- Flavour the haupia with almond extract and top with sliced almonds.
- Top with macadamia nuts, coconut whipped cream , and toasted coconut for an island-inspired treat.
How to Store
Haupia should be stored in an airtight container in the refrigerator for 3 to 4 days. You can place parchment paper between the layers if you need to stack them.
Can I Freeze This Recipe?
Haupia can be frozen for up to 3 months. Thaw in the refrigerator overnight before serving. Note that the texture may change upon freezing and thawing; it will be a bit more chewy.
Ingredients
- 15 ounces full-fat coconut milk , 1 can, 403 ml
- ¼ cup sugar , 50 grams
- ½ teaspoon vanilla extract
- ¼ teaspoon orange extract
- 4 ½ tablespoons cornstarch , 36 grams
- 4 tablespoons water , 60 ml
- 8 ounces pineapple tidbits , 227 grams, drained and cut into small cubes (optional)
Instructions
- Add coconut milk, sugar, vanilla and orange extract to a saucepan over medium high heat. Whisk until it starts to gently boil.
- In a small dish, combine the cornstarch and water to create a slurry.
- Once the coconut milk is boiling, reduce the heat to a simmer and quickly whisk in the cornstarch slurry.
- Once thickened to the consistency of pudding, remove from heat. Fold in half the pineapple pieces if using.
- Pour into an 8×8 pan. Use an offset spatula to smooth the top.
- Sprinkle the remaining pineapple on top and press it gently into the coconut mixture.
- Place the pan in the refrigerator to cool for at least 2 hours. Once cooled, slice into 2” squares. Serve cold.
Notes

Haupia
Ingredients
- 15 ounces full-fat coconut milk 1 can, 403 ml
- ¼ cup sugar 50 grams
- ½ teaspoon vanilla extract
- ¼ teaspoon orange extract
- 4 ½ tablespoons cornstarch 36 grams
- 4 tablespoons water 60 ml
- 8 ounces pineapple tidbits 227 grams, drained and cut into small cubes (optional)
Instructions
- Add coconut milk, sugar, vanilla and orange extract to a saucepan over medium high heat. Whisk until it starts to gently boil.
- In a small dish, combine the cornstarch and water to create a slurry.
- Once the coconut milk is boiling, reduce the heat to a simmer and quickly whisk in the cornstarch slurry.
- Once thickened to the consistency of pudding, remove from heat. Fold in half the pineapple pieces if using.
- Pour into an 8x8 pan. Use an offset spatula to smooth the top.
- Sprinkle the remaining pineapple on top and press it gently into the coconut mixture.
- Place the pan in the refrigerator to cool for at least 2 hours. Once cooled, slice into 2” squares. Serve cold.
Notes
Nutrition
Haupia https://jessicainthekitchen.com/haupia/ February 2, 2023
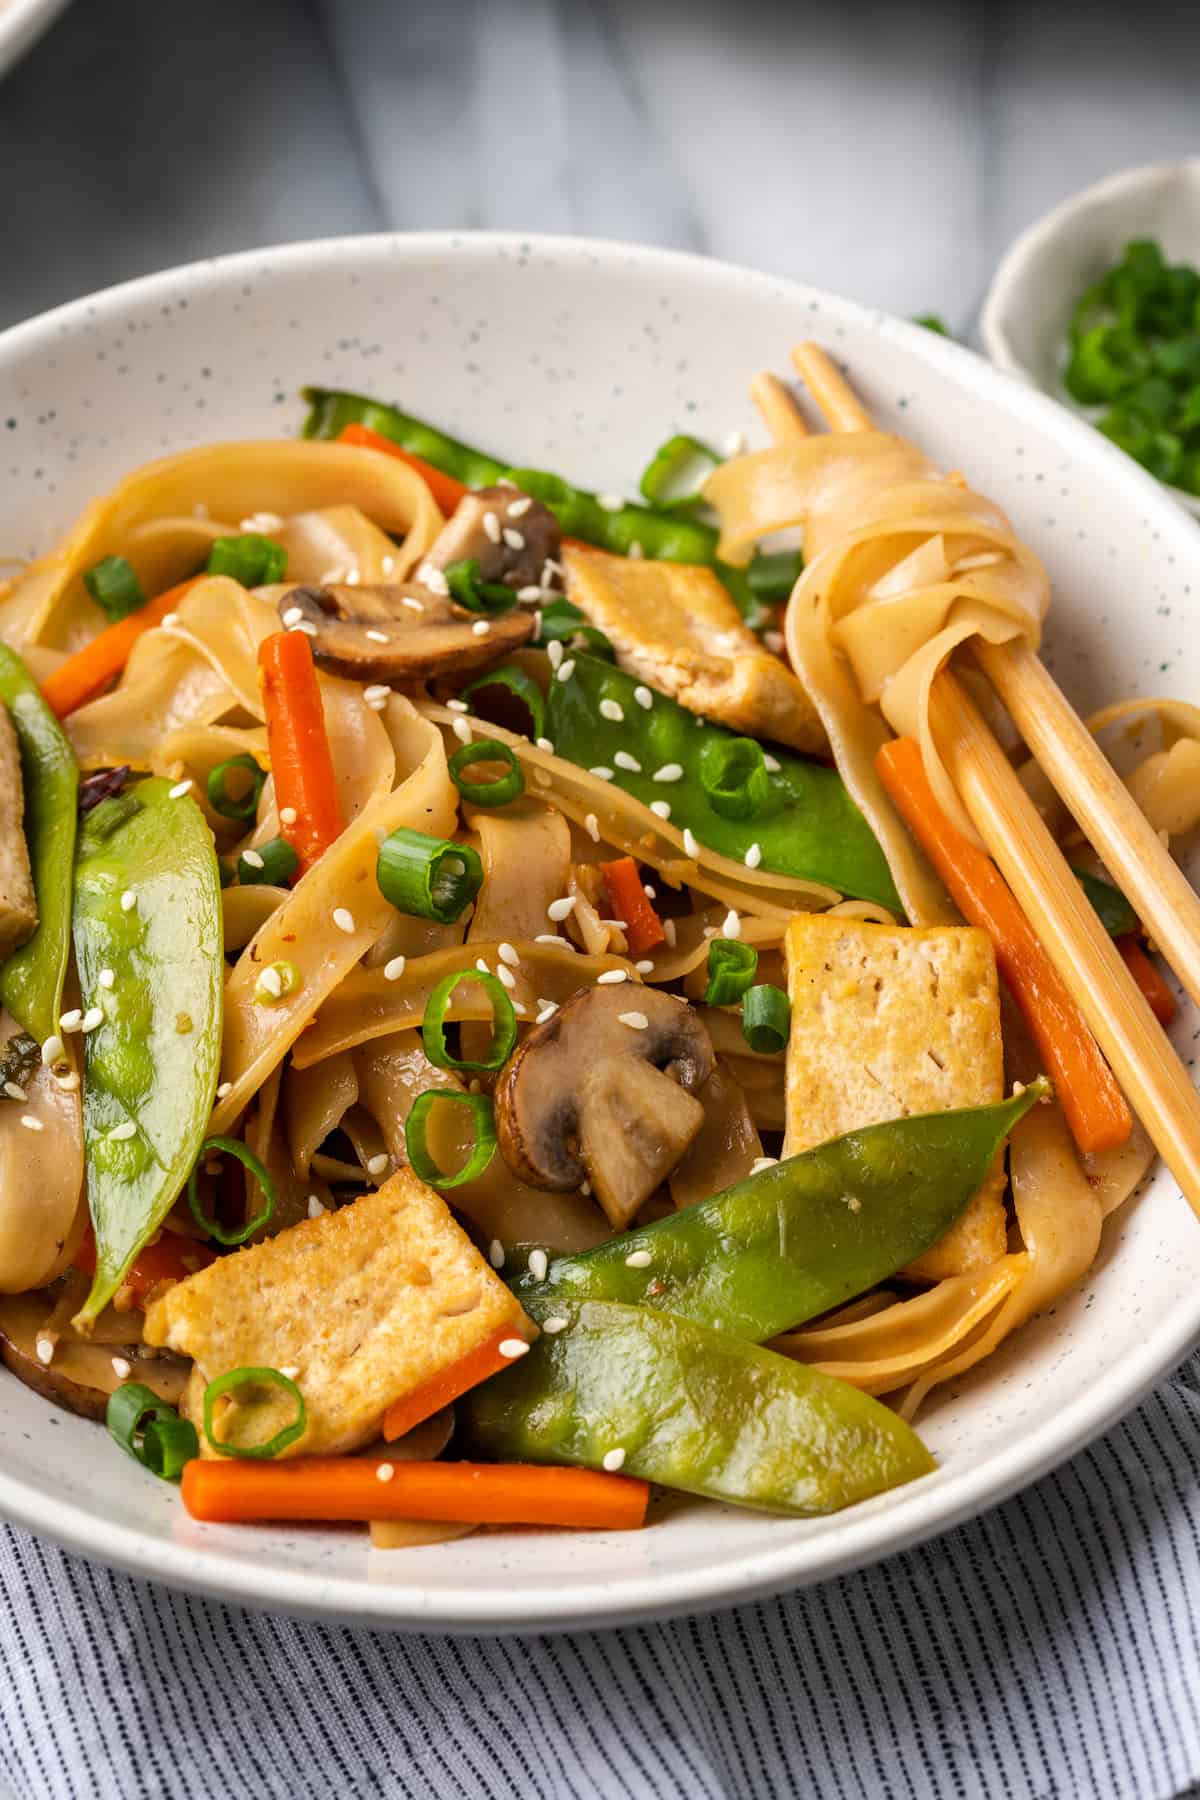
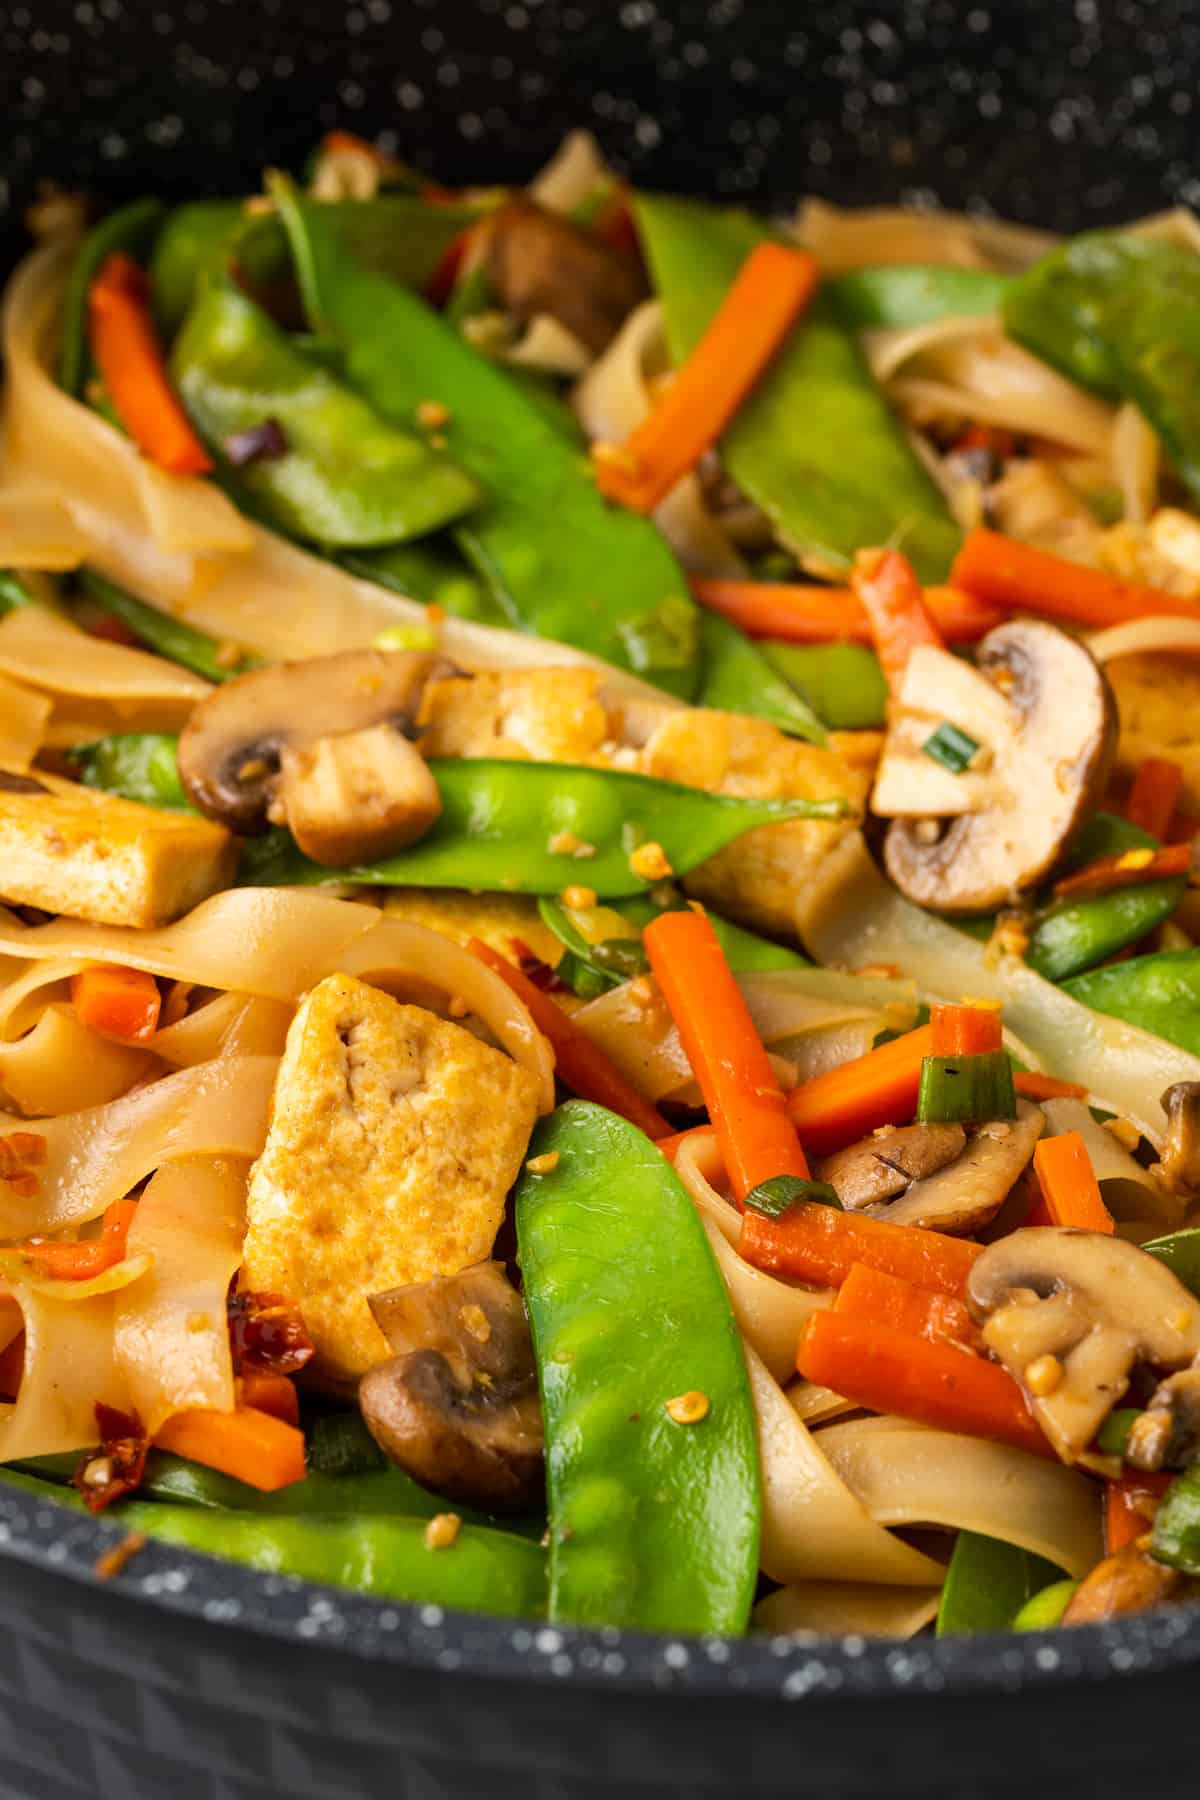
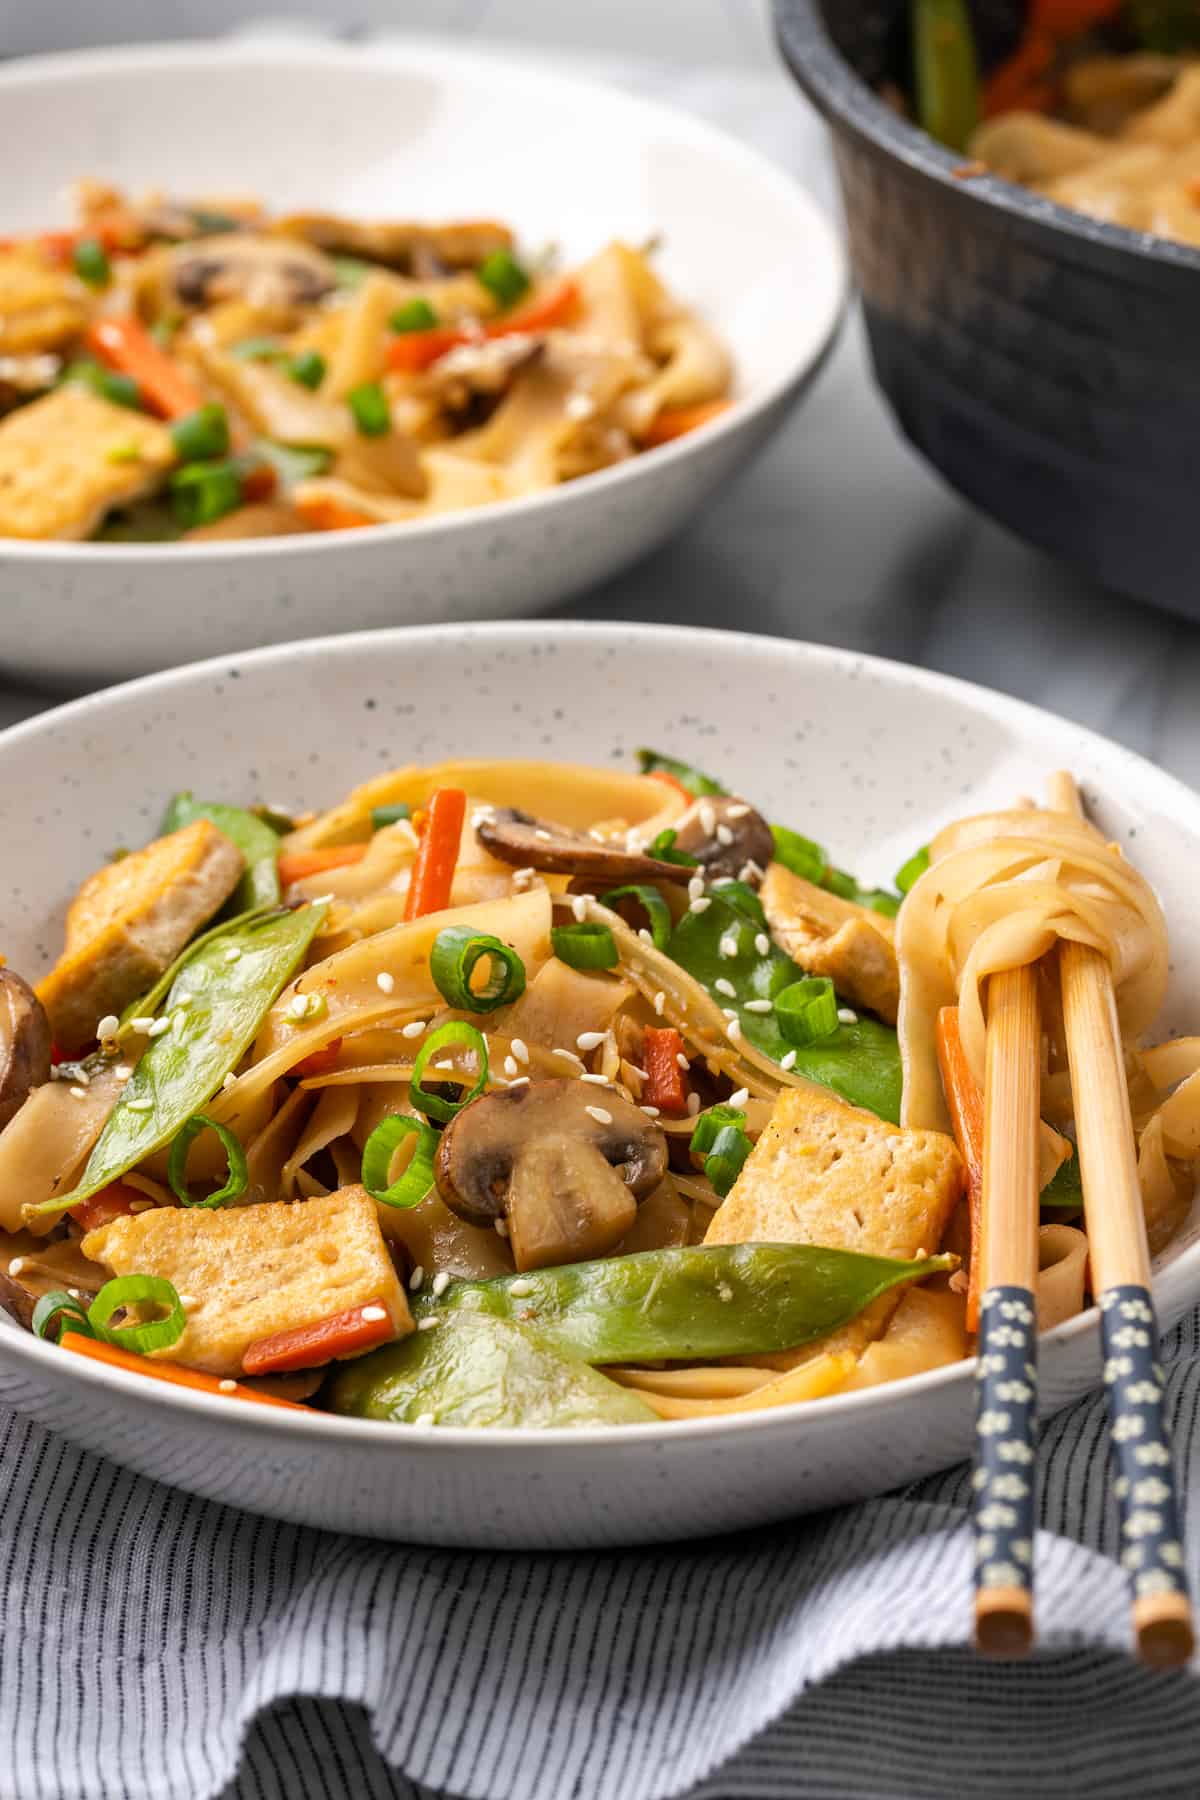
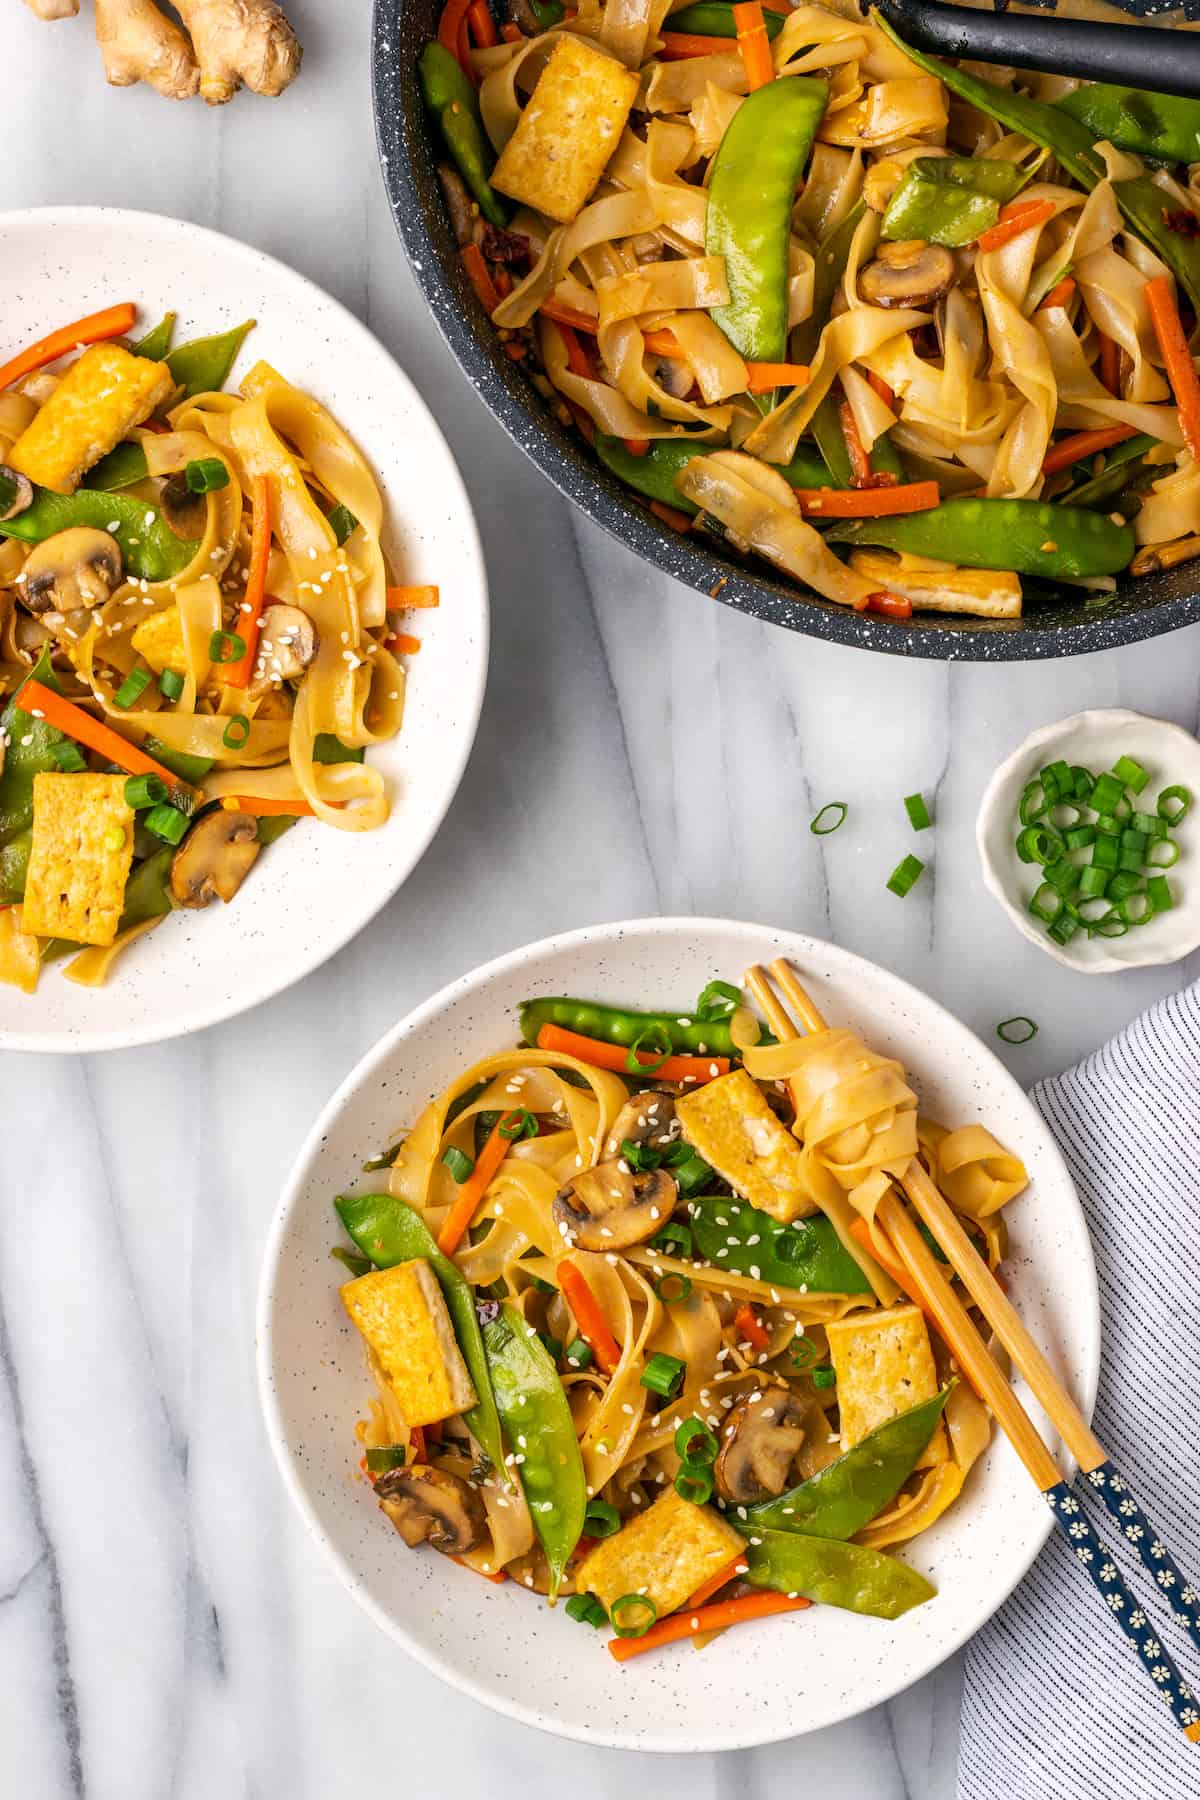
These vegan chow fun noodles are delightfully chewy, with a thick, sticky-sweet sauce, loads of veggies, and tofu for protein. Meet your new favorite weeknight dinner!
So many of my favorite vegan meals are Asian-inspired dishes— Quick and Easy Thai Green Curry , Sticky Sesame Shiitake Mushrooms , Tempeh Stir Fry with Peanut Ginger Sauce . I love how simple they are to make, and they’re also the types of dinners you can fill with fresh vegetables and plant proteins to make them extra satisfying. This recipe for chow fun noodles is no exception!
Chow fun noodles are a type of flat rice noodle popular in Chinese cuisine. These wide, smooth noodles are stir-fried with vegetables and proteins to create a variety of delicious dishes. Also known as ho fun or ho fan noodles, chow fun noodles pair with virtually any type of sauce, from peanut sauce to red curry, but their shape makes them especially suited for a sticky-sweet soy sauce—it clings to the noodles, coating them in flavour.
For this chow fun noodle recipe, we’re pairing our noodles with chewy tofu, mushrooms, carrots, snow peas, and scallions, with some spicy Thai chiles for added heat. Yum!
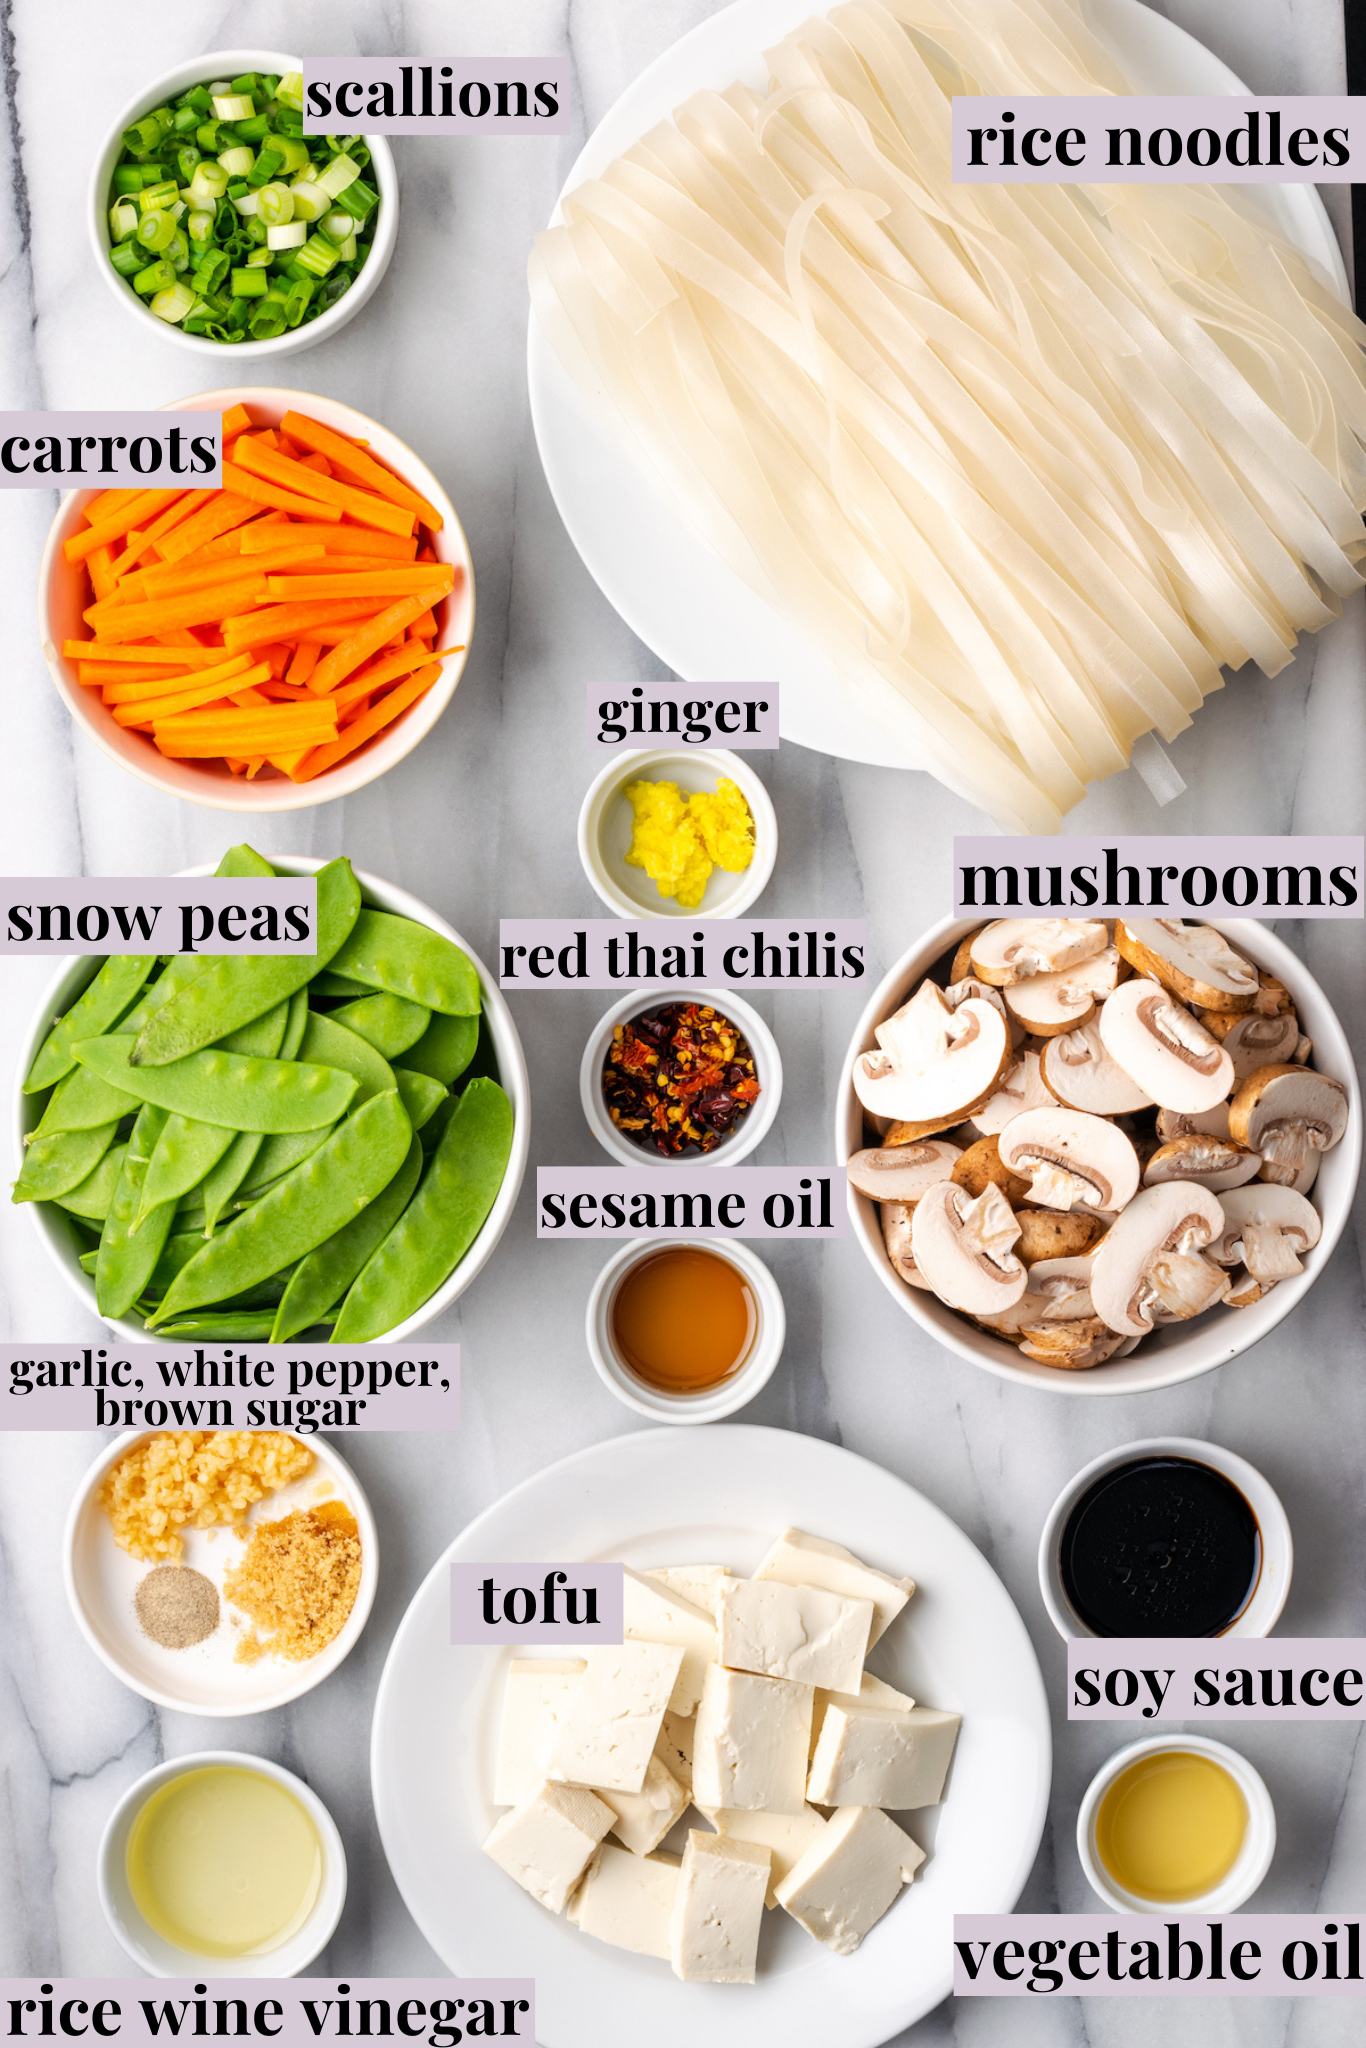
Notes on Ingredients
Scroll down to the recipe card to find the ingredient quantities and recipe instructions.
- XL wide rice noodles – You can find these at most Asian grocers, or purchase them online. While thinner rice noodles—the kind you use for pad Thai — can be substituted in this chow fun noodles recipe, they’re just not the same!
- Sesame oil
- Fresh ginger
- Garlic
- White pepper
- Rice wine vinegar – Be sure to use the unseasoned variety.
- Soy sauce – Tamari, low-sodium soy sauce, or even coconut aminos can be used instead.
- Brown sugar – Both dark or light brown sugar will work; you can also substitute coconut sugar .
- Red Thai chilis – Feel free to use more or less, depending on your heat preferences.
- Vegetable oil
- Firm tofu – Use the refrigerated firm tofu that comes packed in water, not the shelf-stable silken variety.
- Carrots – You’ll need to slice these into matchsticks, so you can save yourself some prep time by purchasing the pre-cut carrots.
- Baby bella mushrooms – These can also be purchased pre-sliced to save on prep!
- Snow peas
- Scallions
Why Use White Pepper Instead of Black Pepper?
White pepper has a less pungent flavour than black pepper, and it also has a bit more nuance, as it’s harvested from berries that are fully ripened, then fermented. It has quite a different taste than black pepper, so I recommend using white pepper rather than substituting black.
How to Make Chow Fun Noodles
Making this vegan chow fun noodles recipe is faster than ordering takeout! Here’s what you’ll need to do.
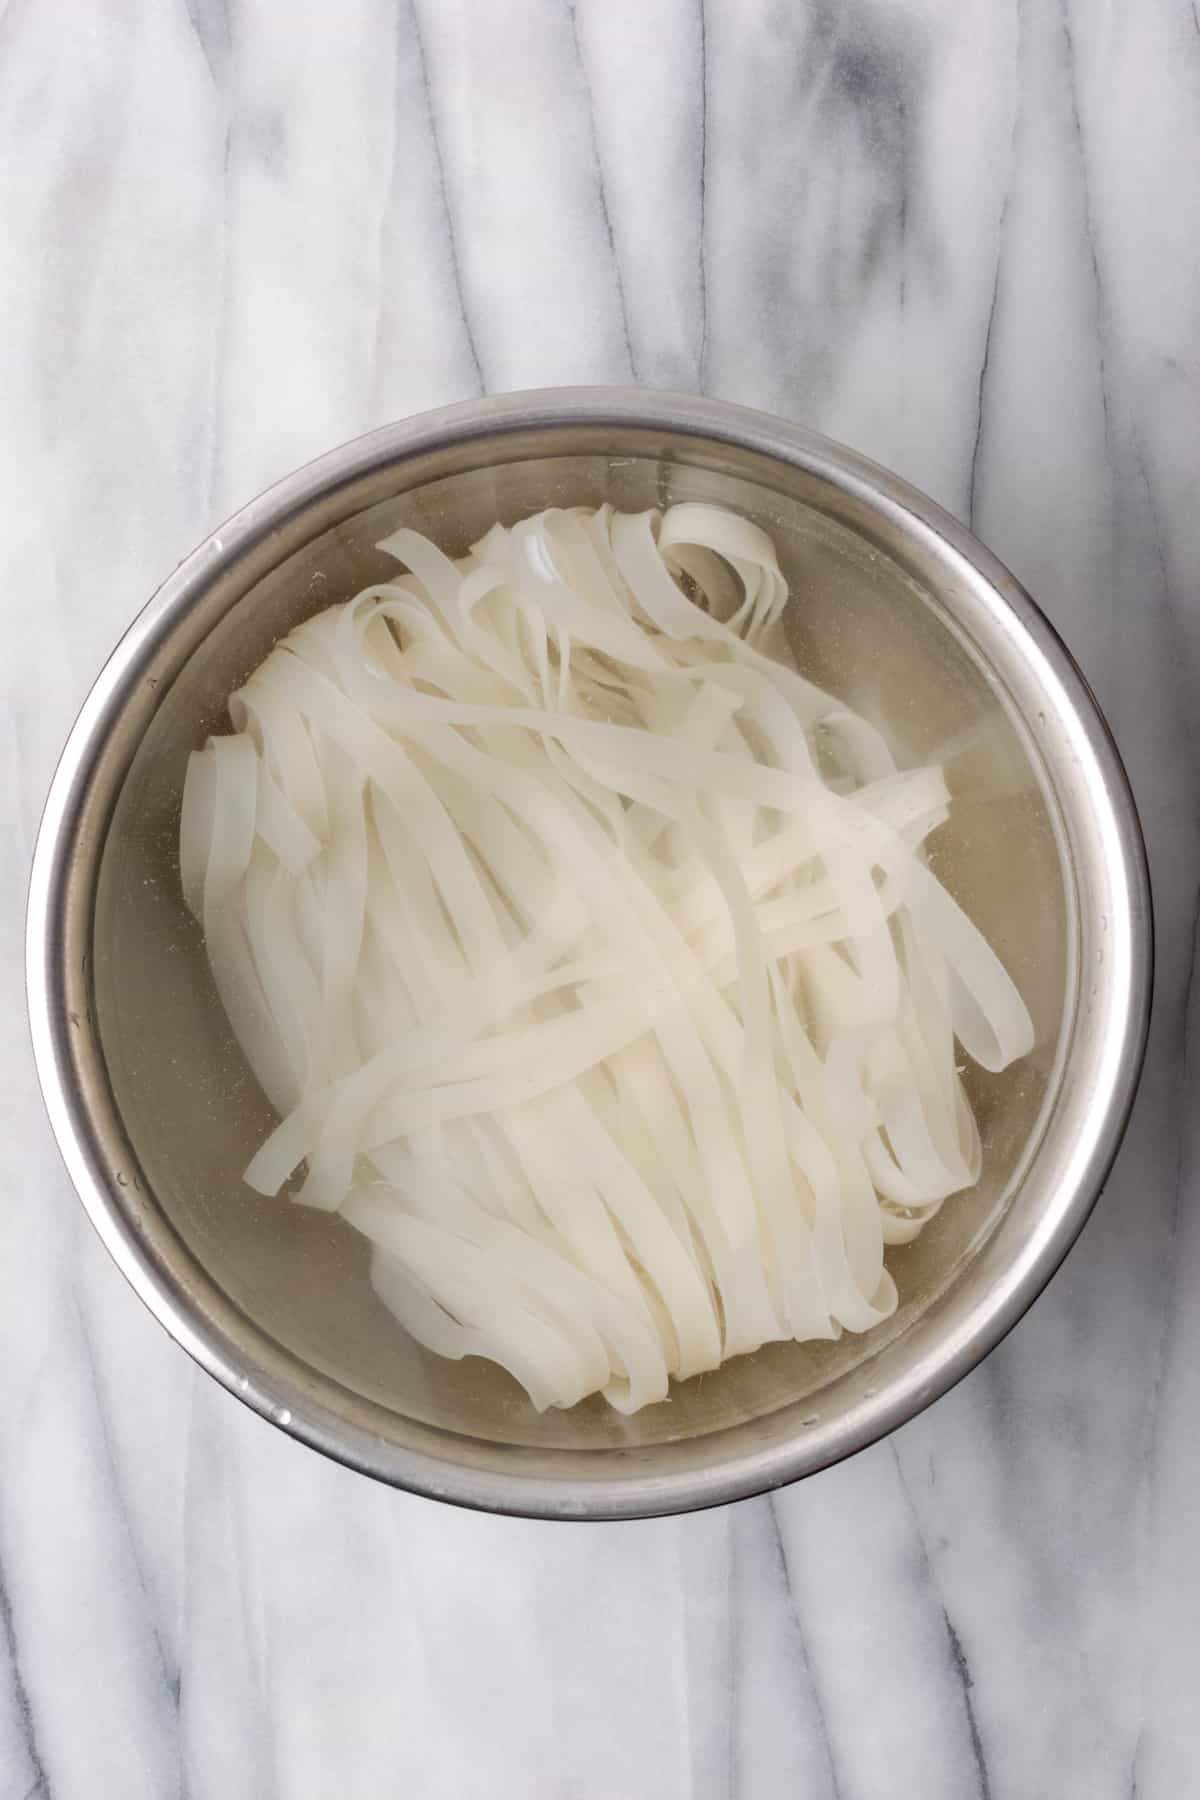
Soak the noodles. Place the noodles in a large bowl filled with warm water. Soak them for 30 minutes, or until they’re softened enough to wrap around your finger. Drain and rinse with cold water.
Make the sauce. Whisk the sesame oil, fresh ginger, garlic, white pepper, rice wine vinegar, soy sauce, brown sugar, and dried chilis in a small bowl.
Heat the oil. Add 2 tablespoons of oil to a large non-stick pan or wok set over medium-high heat. Preheat the oil for about 5 minutes.

Cook the tofu. Add the tofu cubes to the hot pan. Cook for about 5 minutes per side, or until golden brown. Transfer the tofu to a plate.
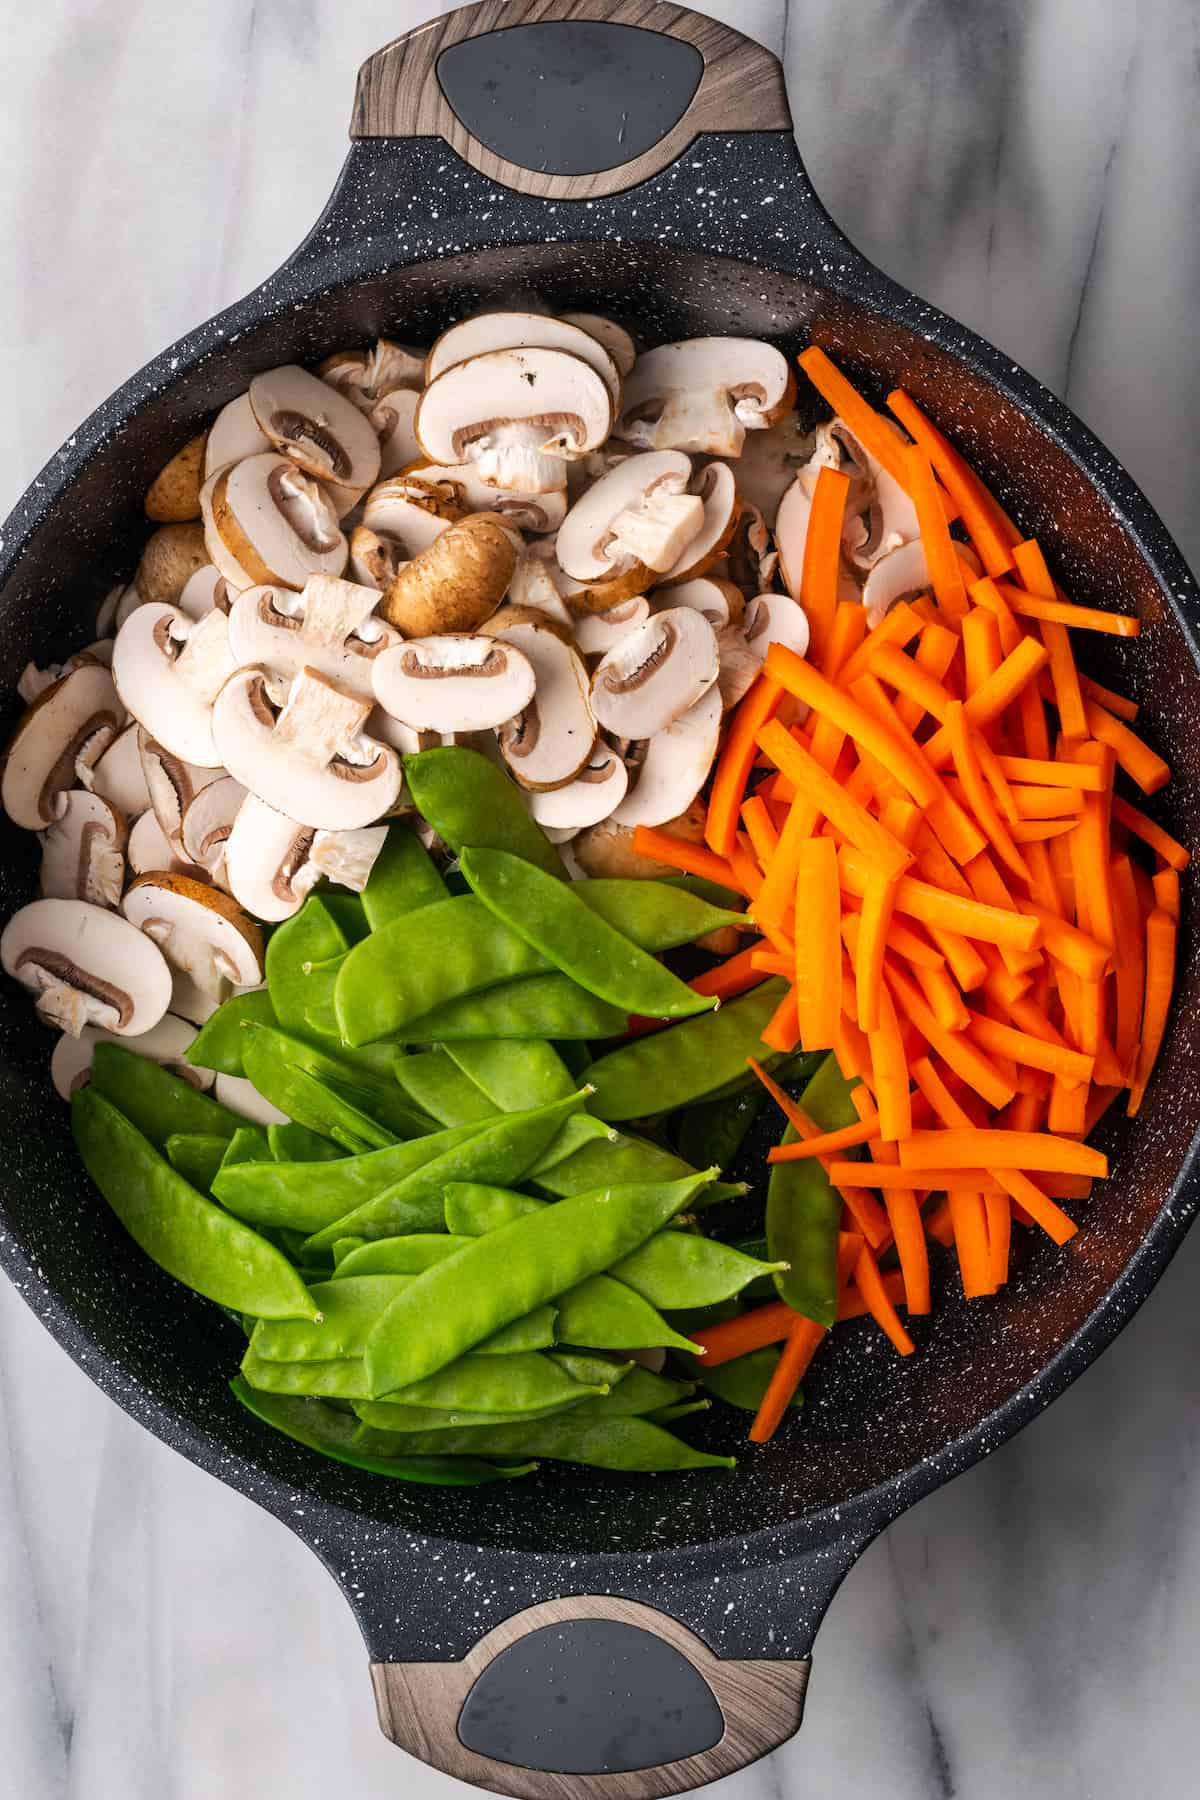
Cook the vegetables. Add the remaining oil, mushrooms, carrots, and snow peas to the hot pan. Cook, stirring occasionally, for 5 minutes, or until the vegetables are tender-crisp.
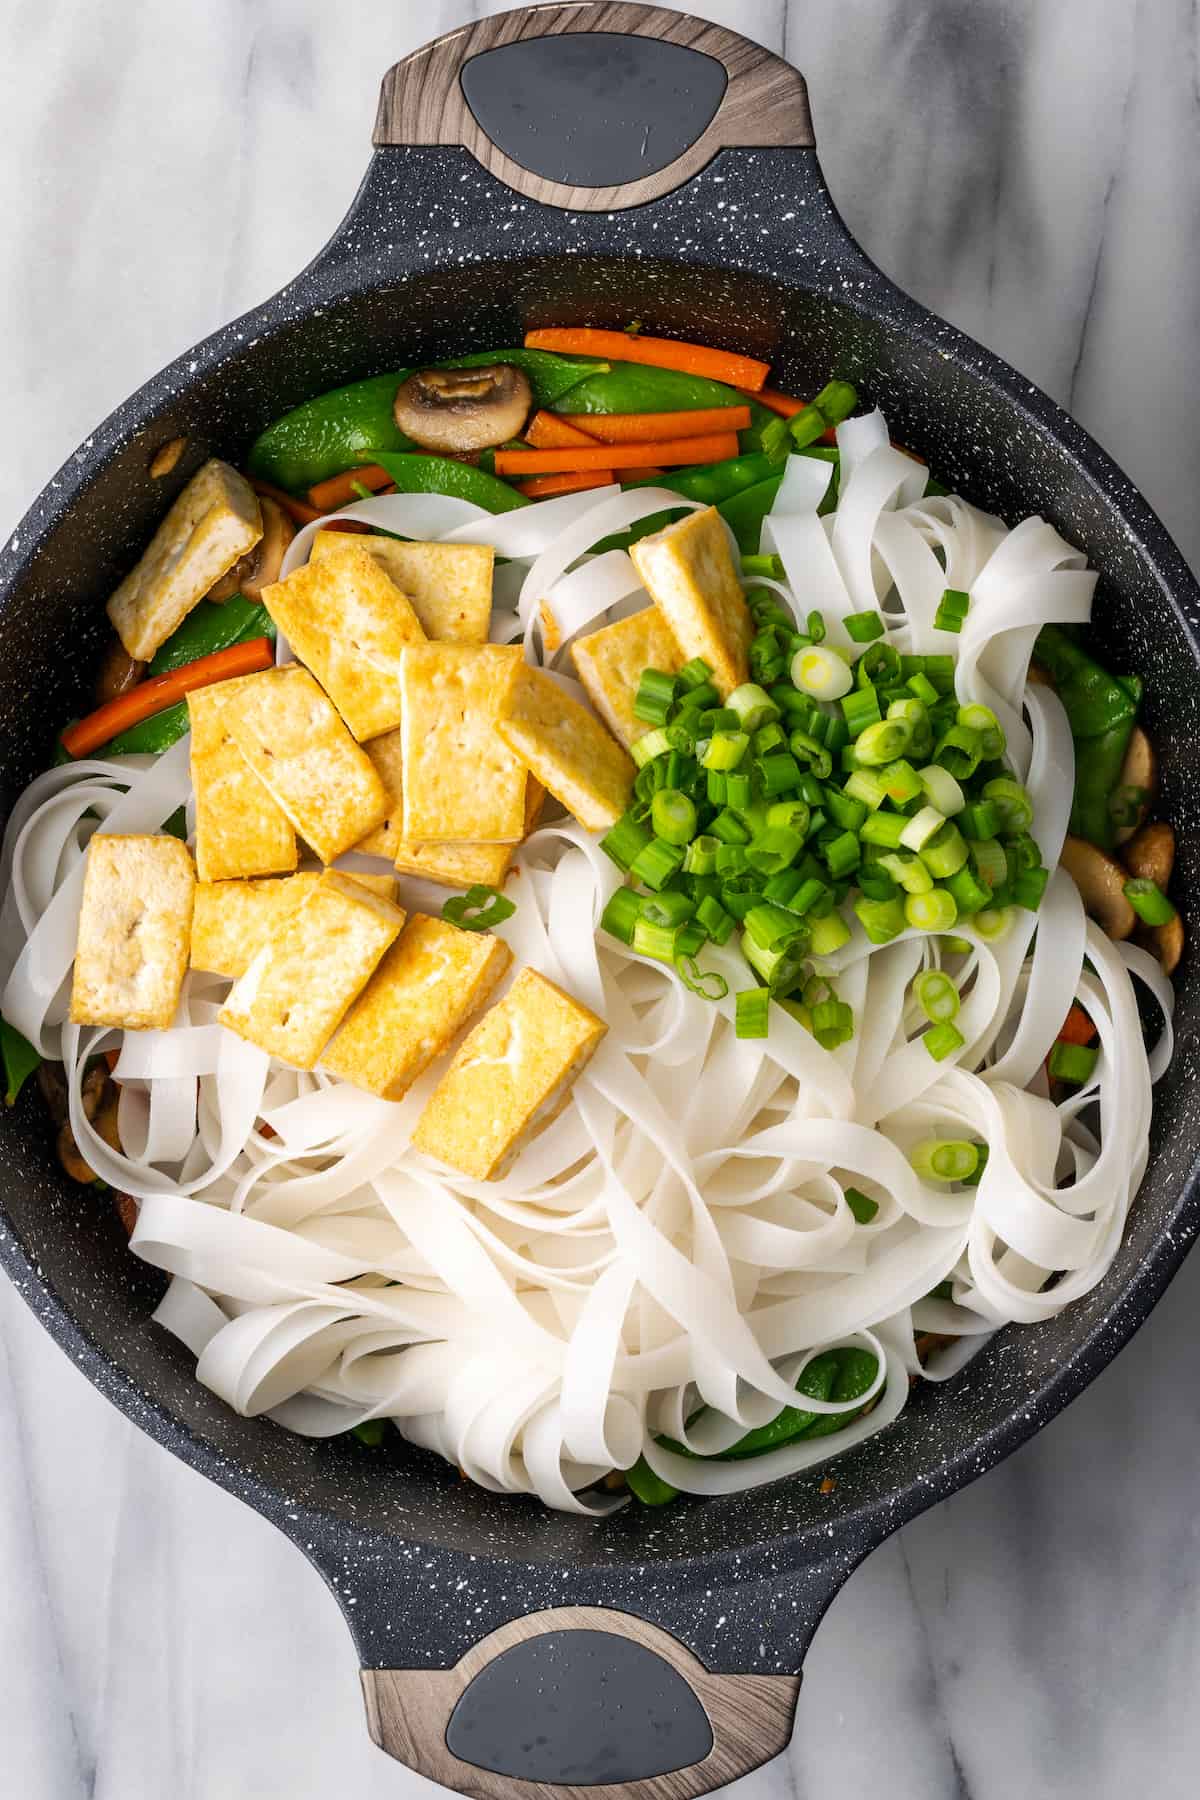
Finish. Add the chow fun noodles, tofu, scallions, and sauce to the pan. Stir to coat, then cook for about 2 minutes more.
Tips for Success
Follow these simple tips for no-fail chow fun noodles:
- Don’t skimp on the oil. It’s key to making sure the noodles and tofu don’t stick to the pan.
- Keep the veggies crisp. Cook them too long, and they’ll end up soggy. They really only need 5 minutes!
- Make it your own. You can use your favorite plant protein and vegetables in this recipe, as long as you keep the same veggie/protein-to-noodle ratio.
How to Store Leftovers
Store leftover chow fun noodles in an airtight container for 3 to 4 days. To reheat, simply microwave or stir fry them until they’re warmed through.
Can This Recipe Be Frozen?
Yes, this chow fun noodle recipe can be frozen for up to 2 months. To freeze, transfer the noodles to an airtight container or freezer bag. When you are ready to enjoy, thaw in the refrigerator overnight and then reheat as desired.
Ingredients
- ½ package XL wide rice noodles , 227 grams
- 2 teaspoons sesame oil
- 1 teaspoon grated fresh ginger
- 3 cloves garlic , minced
- ¼ teaspoon white pepper
- 2 tablespoons rice wine vinegar
- 4 tablespoons soy sauce
- 1 teaspoon brown sugar
- 4 red Thai chilis , diced
- 3 tablespoons vegetable oil , divided
- ½ package firm tofu , cut into cubes 170 grams
- 1 ¼ cup carrots , sliced into matchsticks 165 grams
- 8 ounces baby bella mushrooms , sliced 227 grams
- 8 ounces snow peas , 227 grams
- ½ cup scallions , thinly sliced 34 grams
Instructions
- Place noodles in a large bowl and submerge in warm water. Soak for 30 minutes until softened enough to wrap around your finger. Drain and rinse with cold water.
- Combine sesame oil, fresh ginger, garlic, white pepper, rice wine vinegar, soy sauce, brown sugar and dried chilis in a small bowl. Whisk together and set aside.
- Add 2 tablespoons of oil to a large non-stick pan or wok. Heat over medium high heat until very hot (heat about 5 minutes).
- Add the tofu cubes to the hot pan. Cook about 5 minutes per side or until golden brown.
- Remove tofu to a plate and set aside.
- Add the remaining oil, mushrooms, carrots and snow peas to the hot pan. Cook, stirring occasionally, for 5 minutes.
- Add noodles, tofu, scallions and sauce to the pan. Stir to coat all of the ingredients with the sauce. Cook for about 2 minutes.
- Serve immediately.
