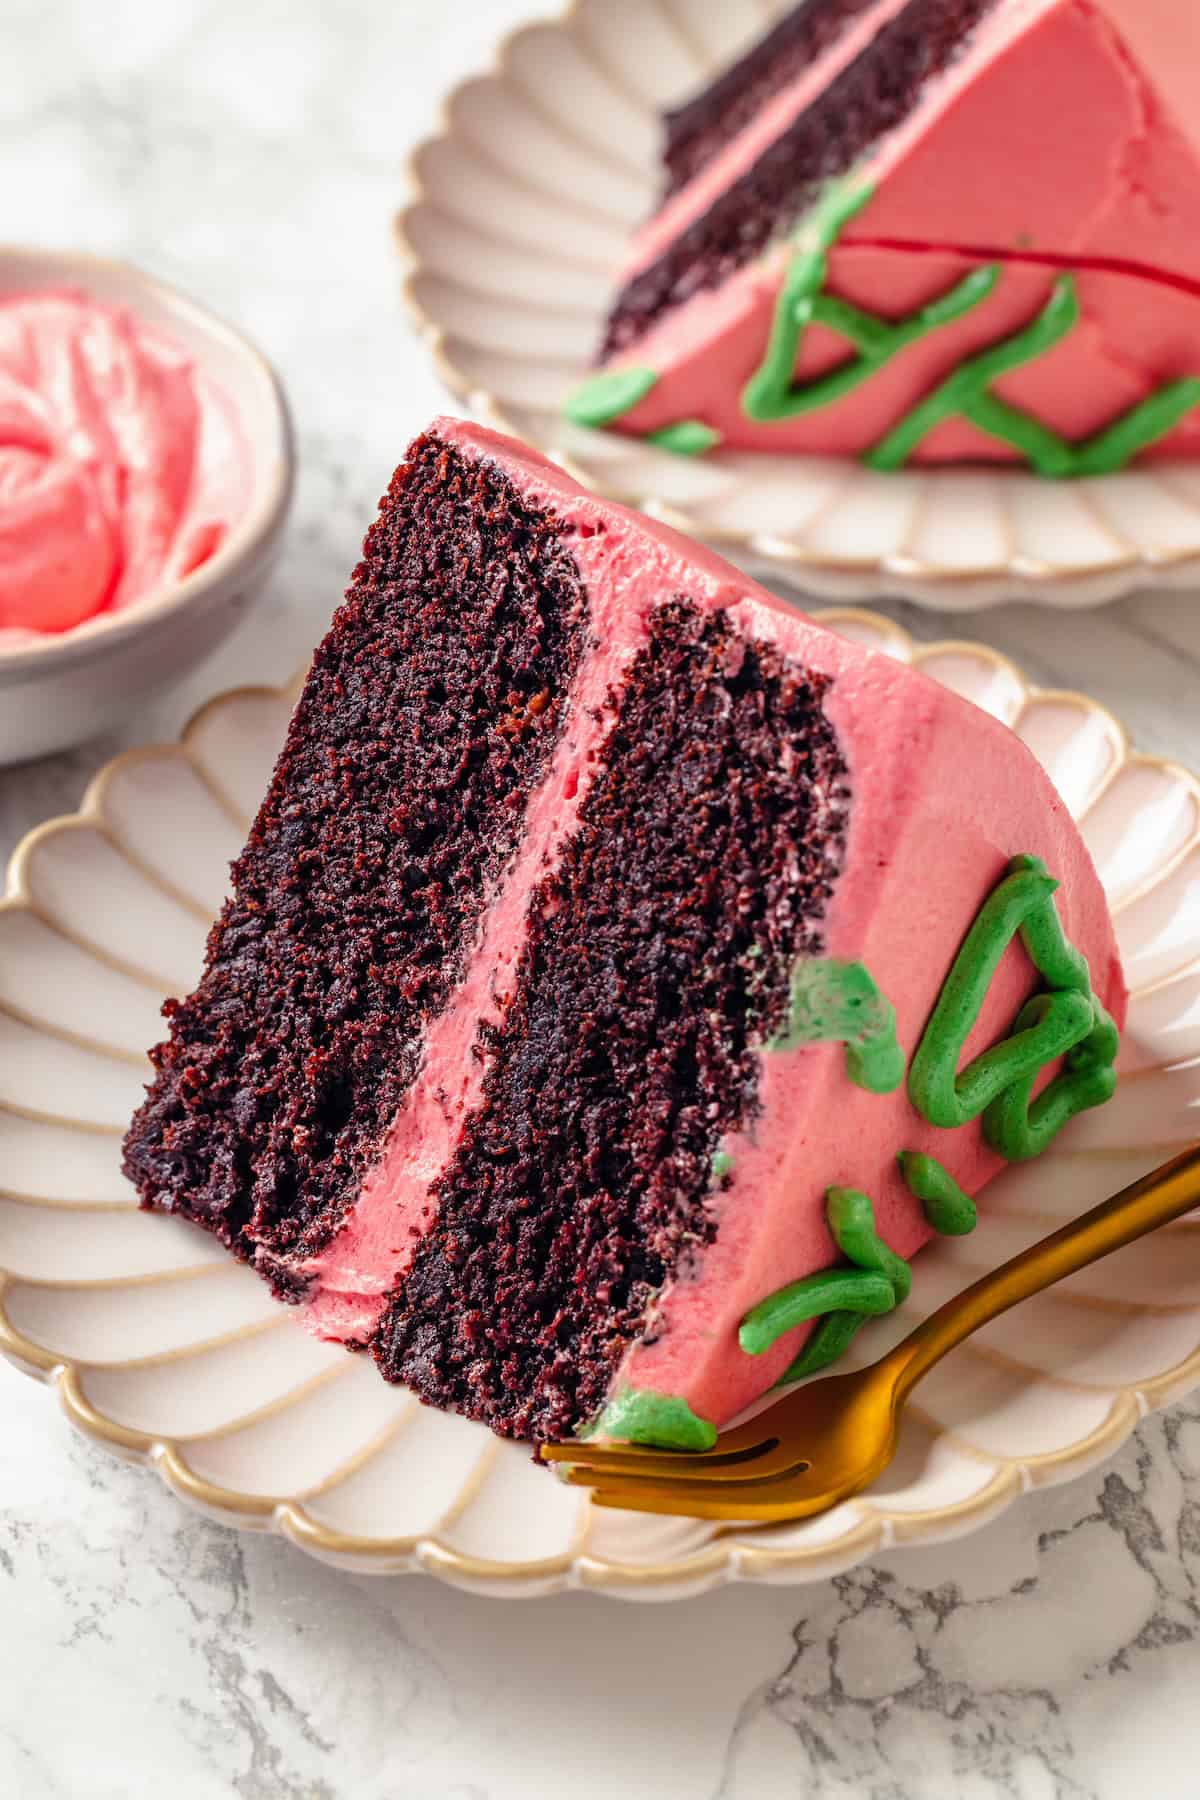
This Harry Potter Cake is a replica of Harry’s birthday cake from the movie! Underneath that iconic pink and green frosting is my famous moist vegan chocolate cake.
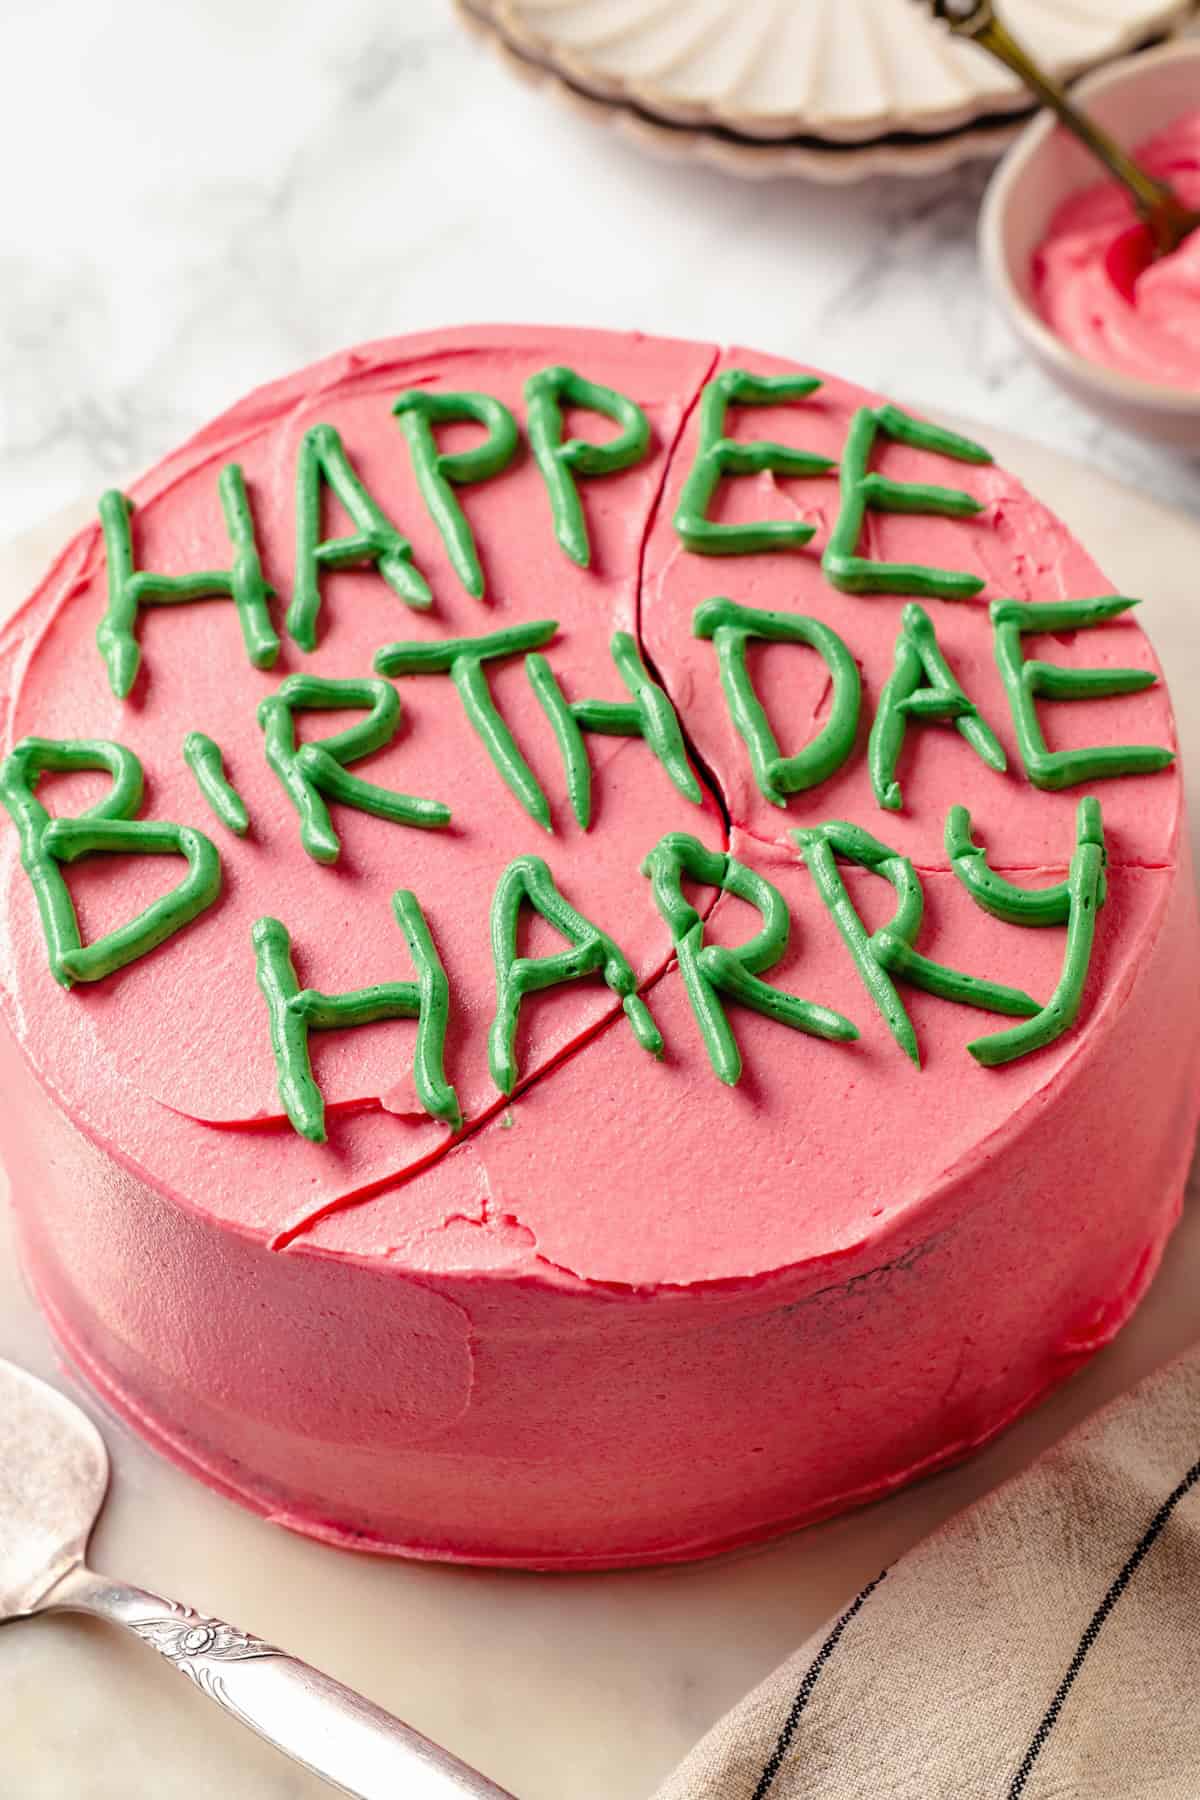
If you are a fan of the wizarding world of Harry Potter, then you are already familiar with this cake! This is the chocolate cake that Hagrid gave to Harry on his 11th birthday—a chocolate cake which, in the movie, had pink frosting and green icing that spelled out HAPPEE BIRTHDAE HARRY. Bake this cake for a Harry Potter themed party or to celebrate the birthday (or birthdae) of the Harry Potter fanatic in your life.
Why This Harry Potter Cake Is Sure to Be a Hit
Even people who have never read the books or watched the movie will love this cake!
- Adapted from my famous chocolate cake recipe . My Vegan Chocolate Cake is a reader favourite and this Harry Potter cake starts with all the same ingredients, with applesauce added for a fudgier texture to match the description of the cake in the book.
- Light, fluffy buttercream . My vanilla buttercream is another fave around here and it’s tinted pink and green to create the frosting for this Harry Potter cake.
- Fans will be delighted . Everyone who’s seen the movies remembers Harry’s 11th birthday cake!
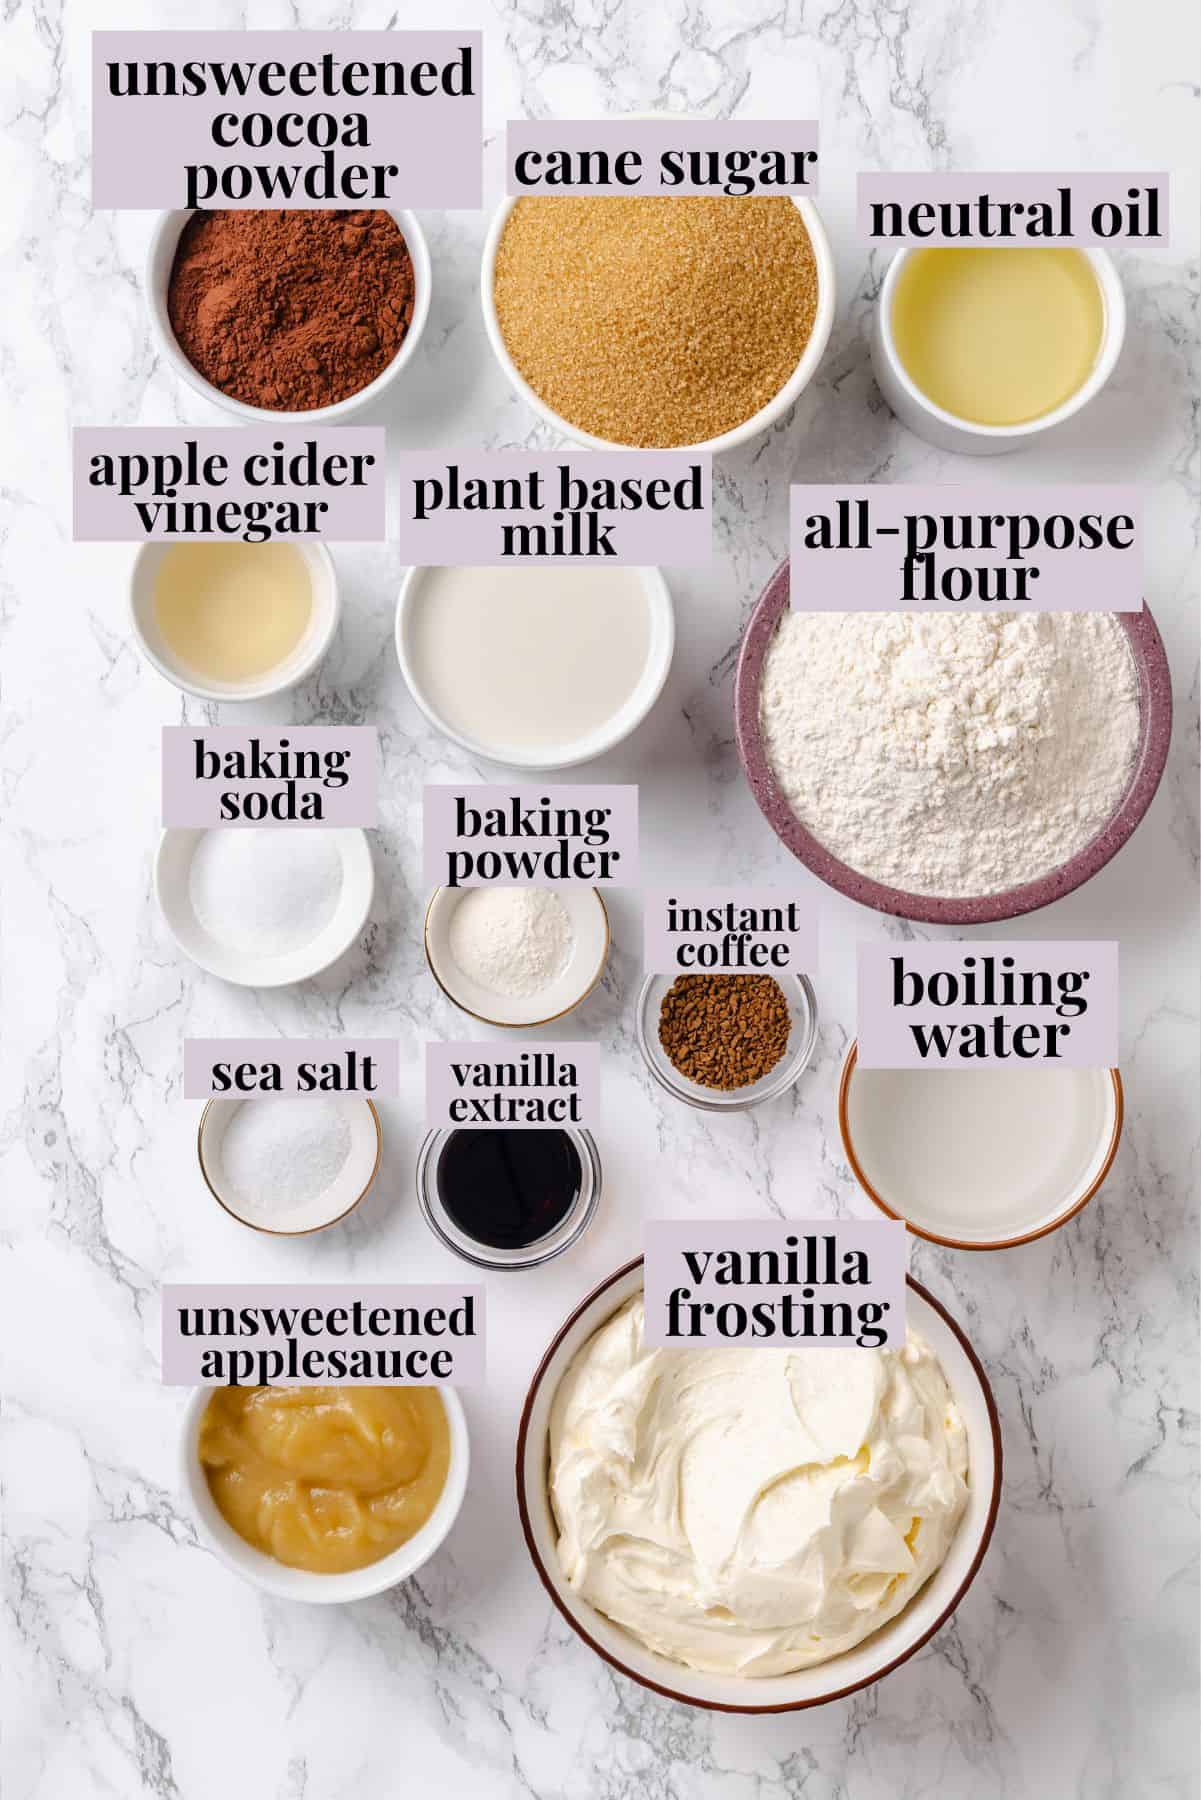
Notes on Ingredients
Here’s what you’ll need to grab to make this Harry Potter cake. Scroll down to the recipe card to find the ingredient quantities and recipe instructions.
- Apple cider vinegar – This is combined with the vegan milk to create Vegan Buttermilk .
- Soy milk – Or another unflavoured, unsweetened vegan milk.
- Cane sugar
- All-purpose flour – Want to make a gluten-free cake? Follow my Vegan Gluten Free Chocolate Cake Recipe .
- Unsweetened cocoa powder – You can use natural cocoa powder for a classic chocolate cake flavour or Dutch process, which has a more intense chocolate flavour.
- Baking powder and baking soda
- Sea salt
- Unsweetened applesauce – This makes the cake fudgy.
- Neutral oil – Like canola or sunflower seed oil.
- Vanilla extract
- Boiling water
- Instant coffee – This doesn’t make the cake taste like coffee; instead, it makes the chocolate flavour stand out more.
- Vanilla frosting – I use my Vegan Buttercream Frosting , but you could use store-bought or another recipe you like.
- Pink and green food colouring – I like to use gel food colouring because you can get deep, vibrant colour with it without watering down the frosting with a lot of liquid.
How to Make a Harry Potter Cake
Let’s get started! This step-by-step guide will show you the process of making a Harry Potter birthday cake.
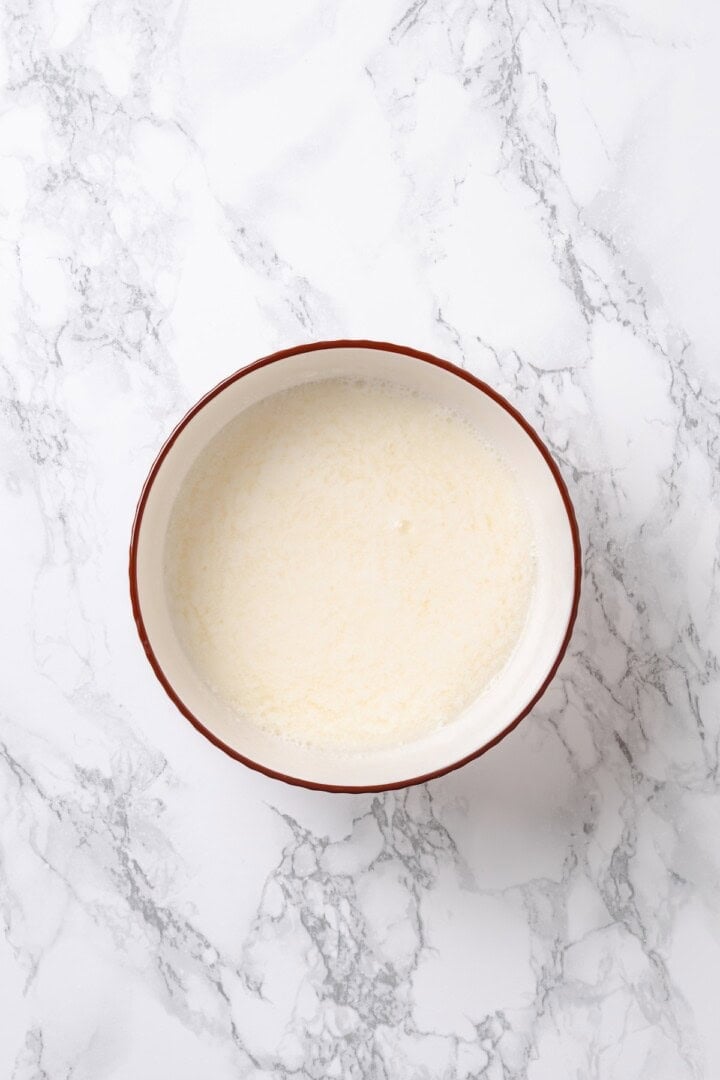
Mix vegan milk and vinegar.
- Prepare . Preheat your oven to 350ºF. Grease and flour two round cake pans, then line the bottoms with parchment paper circles.
- Make the vegan buttermilk . Whisk together the vegan milk and vinegar and set aside until thickened.
- Mix the batter . Whisk together the dry ingredients in a mixing bowl, then add the buttermilk, applesauce, oil, vanilla, and instant coffee dissolved in boiling water. Beat on medium speed to combine.
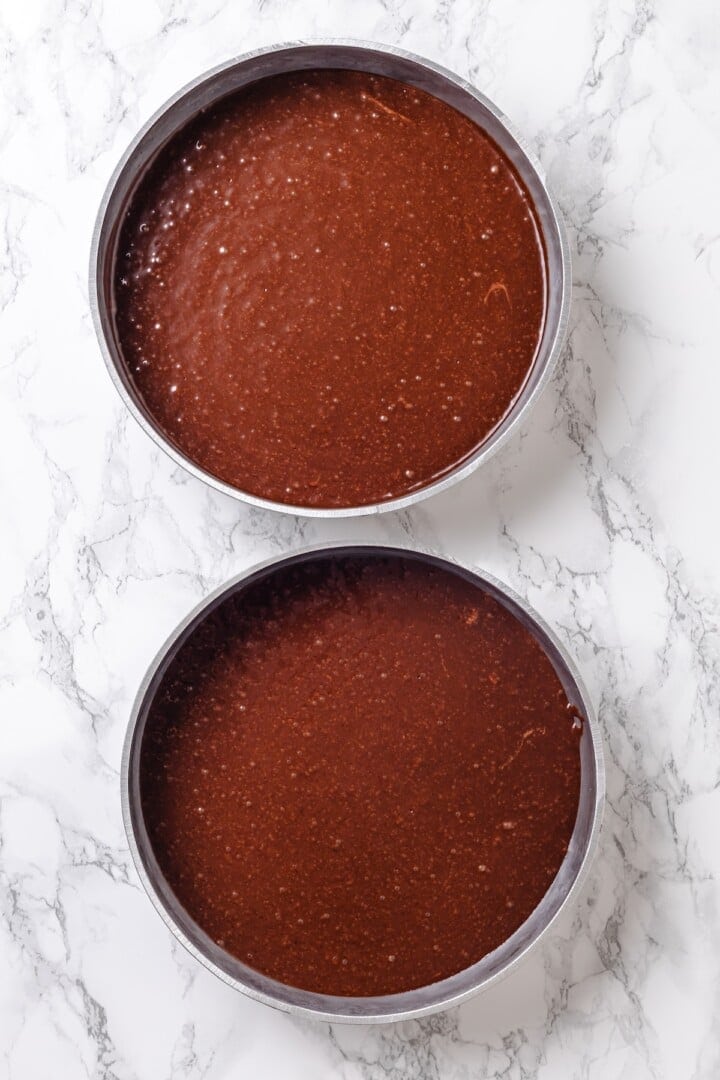
Divide the batter into pans.
- Bake the cakes . Divide the batter into the pans and bake for 27 minutes, or until a toothpick inserted into the centre comes out clean. Cool on a wire rack for 30 to 60 minutes, then turn out onto the wire rack to finish cooling.
Prepare the frosting.
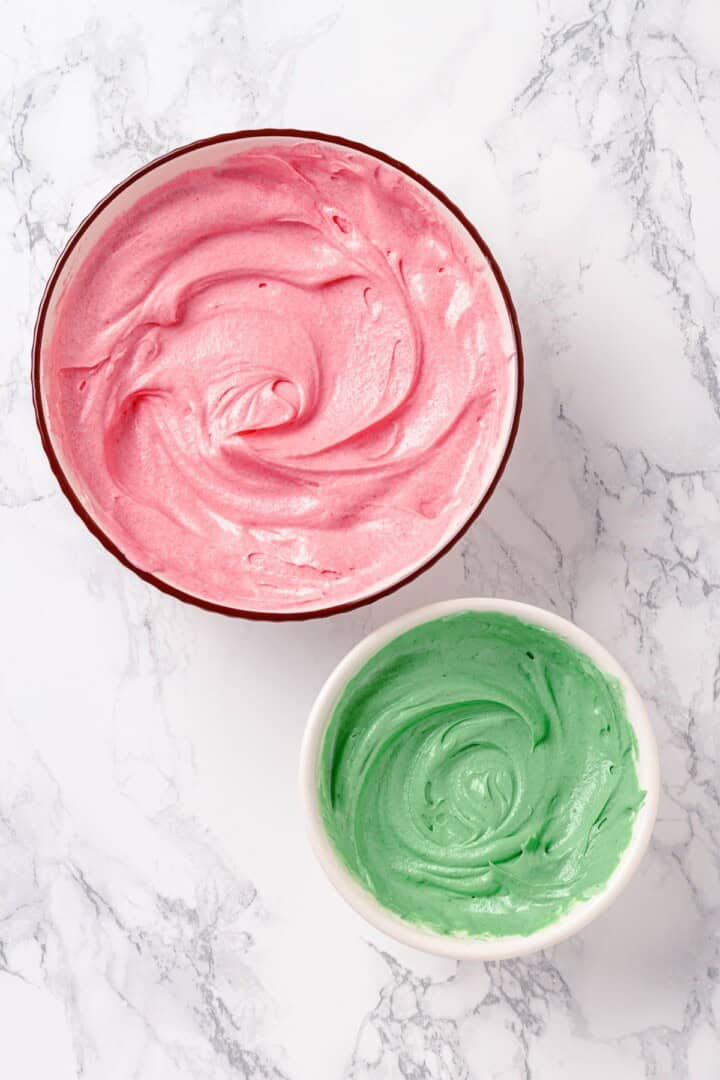
- Prepare the frosting . Follow the recipe directions for the frosting. Reserve a small portion and tint it green; colour the rest pink.
- Frost the cakes . Frost the first layer and then set the second layer on top. Spread the frosting over the top and sides, then use a piping bag to write your message in green frosting.

Tips and Variations
Here are a few more pointers for the perfect Harry Potter cake.
- Don’t overmix the batter . For maximum lift, mix the cake batter just until the wet ingredients are incorporated into the dry ingredients.
- Customise the message . Of course, you don’t have to write Harry on the cake if you’re celebrating someone else’s birthday! You can wish Happee Birthdae to anyone.
- Swap in cream cheese frosting . My Vegan Cream Cheese Frosting can be tinted to look just like the frosting used in the movie, but with a tangy cream cheese flavour!
- Add a filling . Although it’s not true to the book or movie, you could add a layer of Strawberry Cake Filling between the two layers of chocolate cake.
How to Store
- Room temperature : This Harry Potter cake will keep up to a day at room temperature, assuming your kitchen isn’t too warm.
- Refrigerator : You can refrigerate this cake for up to 4 days. Loosely wrap it in plastic wrap or transfer leftovers to an airtight container.
- Freezer : Freeze leftover Harry Potter cake in an airtight container for up to 2 months. Thaw in the refrigerator before serving.
More Vegan Cake Recipes
- Pistachio Cake
- Vanilla Sheet Cake
- Chocolate Lava Cake
- Vegan Red Velvet Cake
Ingredients
- 2 tablespoons apple cider vinegar , 30 mL
- 1 cup soy milk , or other vegan milk – 240 mL
- 1 ¾ cups cane sugar , 350 g
- 2 cups all-purpose flour , 240 g
- ¾ cup unsweetened cocoa powder , 60 g
- 1 teaspoon baking powder , 5 g
- 2 teaspoons baking soda , 10 g
- 1 teaspoon sea salt , 5 g
- ½ cup unsweetened applesauce , 120 mL
- ½ cup + 2 teaspoons neutral oil , e.g. canola, sunflower – 110 mL
- 2 teaspoons vanilla extract , 10 mL
- 1 cup boiling water , 240 mL
- 1 tablespoon instant coffee , 6 g
- 1 batch vanilla frosting
- Pink and green food coloring
Instructions
- Preheat oven to 350°F (180°C).
- Grease and flour two 9-inch (23 cm) round cake pans, and line the bottoms with parchment paper circles to prevent sticking.
Make the Cake Layers:
- In a small bowl, whisk together the soy milk and apple cider vinegar. Let sit for 5–10 minutes until curdled.
- In a large mixing bowl, whisk together the cane sugar, flour, cocoa powder, baking powder, baking soda and sea salt. Add the soy milk mixture, applesauce, oil, and vanilla extract.
- Mix boiling water and instant coffee in a small bowl until dissolved. Immediately pour into the batter.
- Using an electric mixer, beat the batter on medium speed for 2 minutes until fully combined. Scrape down the sides and stir once more by hand to ensure everything is incorporated.
- Divide the batter evenly between the two prepared pans.
- Bake for 27 minutes, or until a toothpick inserted in the center comes out clean.
- Let cakes cool in the pans on a wire rack for 30–60 minutes.
- Run a butter knife around the edges, then carefully turn out and let them cool completely on the wire rack.
Frost and Decorate:
- Tint most of the frosting light pink (use beet powder or plant-based pink food coloring).
- Reserve a small portion of frosting and color it green for piping the message.
- Place one cake layer on a serving plate or cake stand.
- Add a layer of pink frosting over the first cake.
- Top with the second cake layer and apply a layer of pink frosting over the top and sides. Don’t worry about it being smooth—it should look like the homemade cake Hagrid gave Harry.
- Use a piping bag with a small round tip (or a ziplock bag with a snipped corner) filled with green frosting to write: “Happee Birthdae Harry”
Notes
- Room temperature : This Harry Potter cake will keep up to a day at room temperature, assuming your kitchen isn’t too warm.
- Refrigerator : You can refrigerate this cake for up to 4 days. Loosely wrap it in plastic wrap or transfer leftovers to an airtight container.
- Freezer : Freeze leftover Harry Potter cake in an airtight container for up to 2 months. Thaw in the refrigerator before serving.
- Nutritional information is for cake without frosting, as the exact calculations will depend on the type of frosting you use.

Harry Potter Cake
Ingredients
- 2 tablespoons apple cider vinegar 30 mL
- 1 cup soy milk or other vegan milk – 240 mL
- 1 ¾ cups cane sugar 350 g
- 2 cups all-purpose flour 240 g
- ¾ cup unsweetened cocoa powder 60 g
- 1 teaspoon baking powder 5 g
- 2 teaspoons baking soda 10 g
- 1 teaspoon sea salt 5 g
- ½ cup unsweetened applesauce 120 mL
- ½ cup + 2 teaspoons neutral oil e.g. canola, sunflower – 110 mL
- 2 teaspoons vanilla extract 10 mL
- 1 cup boiling water 240 mL
- 1 tablespoon instant coffee 6 g
- 1 batch vanilla frosting
- Pink and green food coloring
Instructions
- Preheat oven to 350°F (180°C).
- Grease and flour two 9-inch (23 cm) round cake pans, and line the bottoms with parchment paper circles to prevent sticking.
Make the Cake Layers:
- In a small bowl, whisk together the soy milk and apple cider vinegar. Let sit for 5–10 minutes until curdled.
- In a large mixing bowl, whisk together the cane sugar, flour, cocoa powder, baking powder, baking soda and sea salt. Add the soy milk mixture, applesauce, oil, and vanilla extract.
- Mix boiling water and instant coffee in a small bowl until dissolved. Immediately pour into the batter.
- Using an electric mixer, beat the batter on medium speed for 2 minutes until fully combined. Scrape down the sides and stir once more by hand to ensure everything is incorporated.
- Divide the batter evenly between the two prepared pans.
- Bake for 27 minutes, or until a toothpick inserted in the center comes out clean.
- Let cakes cool in the pans on a wire rack for 30–60 minutes.
- Run a butter knife around the edges, then carefully turn out and let them cool completely on the wire rack.
Frost and Decorate:
- Tint most of the frosting light pink (use beet powder or plant-based pink food coloring).
- Reserve a small portion of frosting and color it green for piping the message.
- Place one cake layer on a serving plate or cake stand.
- Add a layer of pink frosting over the first cake.
- Top with the second cake layer and apply a layer of pink frosting over the top and sides. Don’t worry about it being smooth—it should look like the homemade cake Hagrid gave Harry.
- Use a piping bag with a small round tip (or a ziplock bag with a snipped corner) filled with green frosting to write: “Happee Birthdae Harry”
Notes
- Room temperature : This Harry Potter cake will keep up to a day at room temperature, assuming your kitchen isn’t too warm.
- Refrigerator : You can refrigerate this cake for up to 4 days. Loosely wrap it in plastic wrap or transfer leftovers to an airtight container.
- Freezer : Freeze leftover Harry Potter cake in an airtight container for up to 2 months. Thaw in the refrigerator before serving.
- Nutritional information is for cake without frosting, as the exact calculations will depend on the type of frosting you use.
Nutrition
Harry Potter Cake https://jessicainthekitchen.com/harry-potter-cake/ October 27, 2025
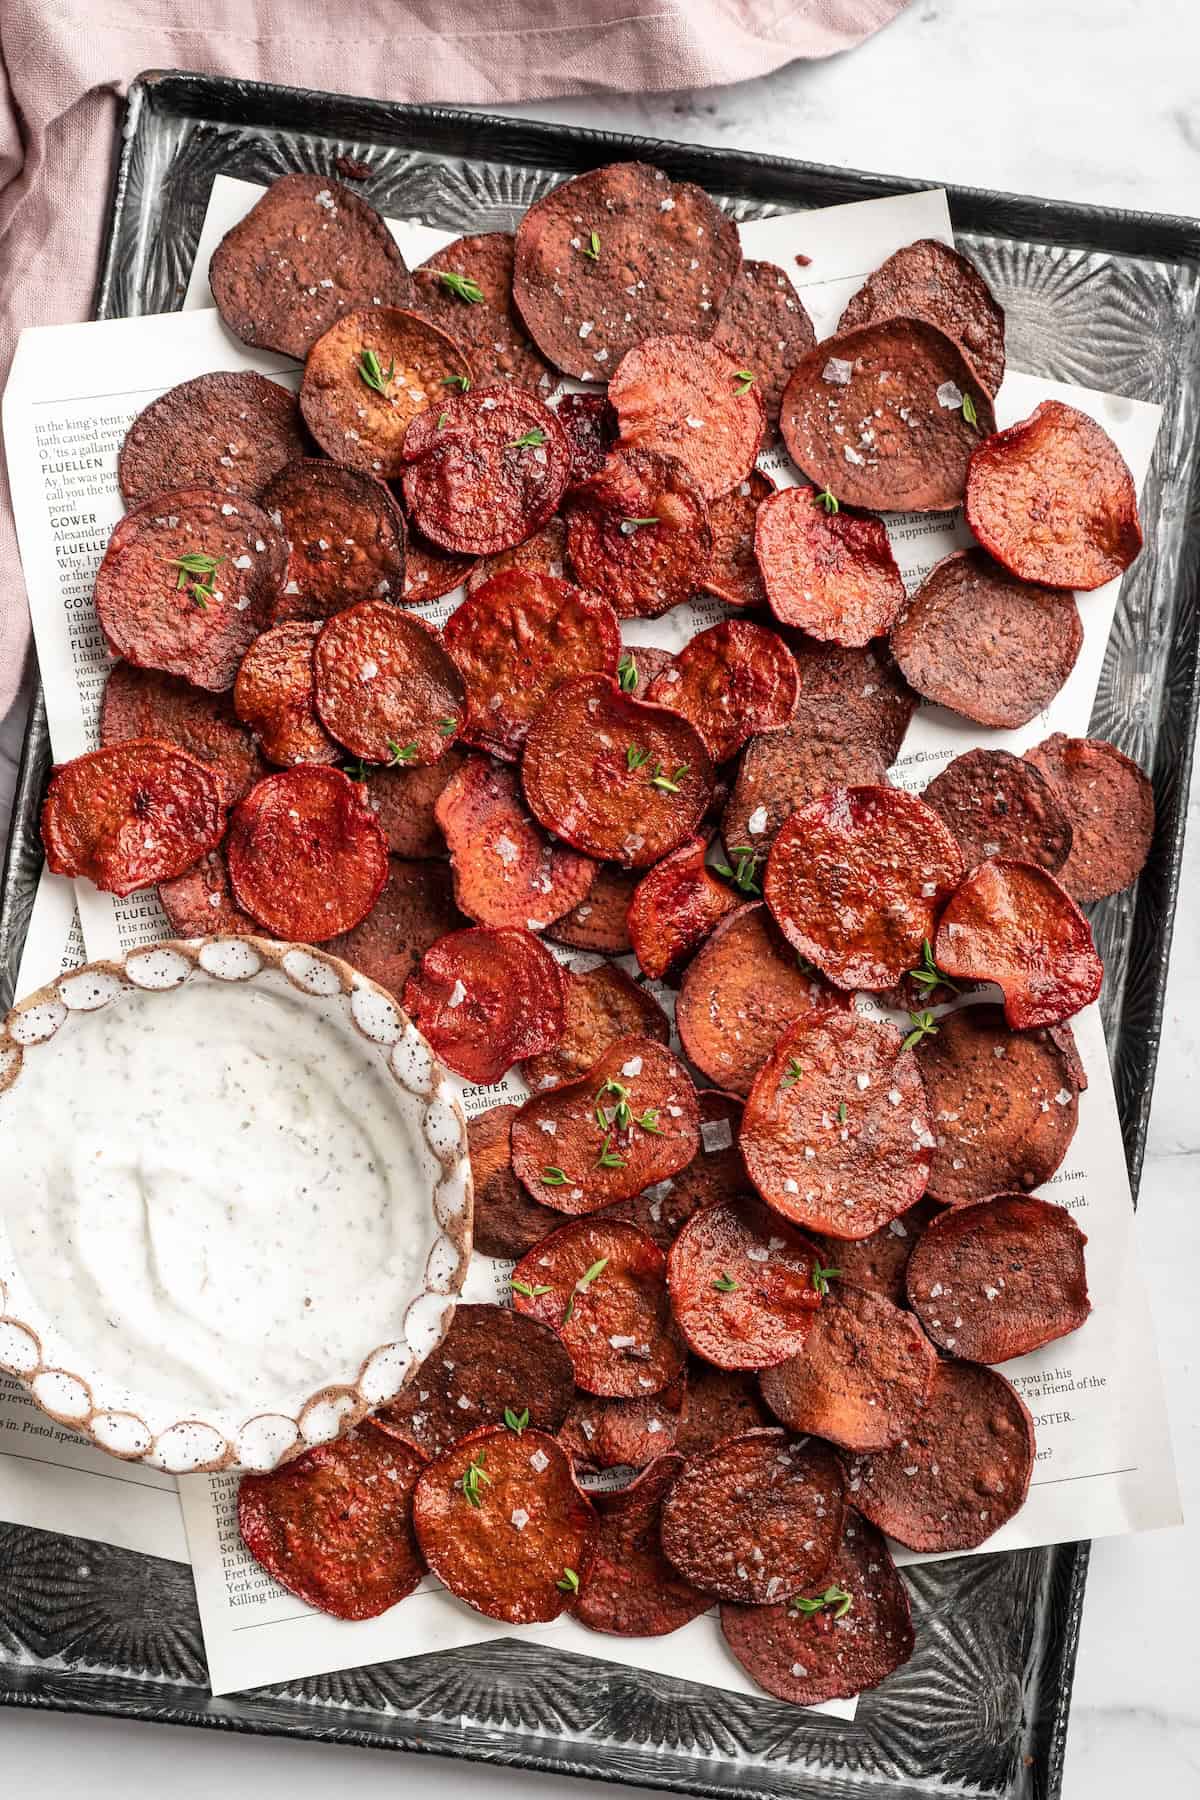
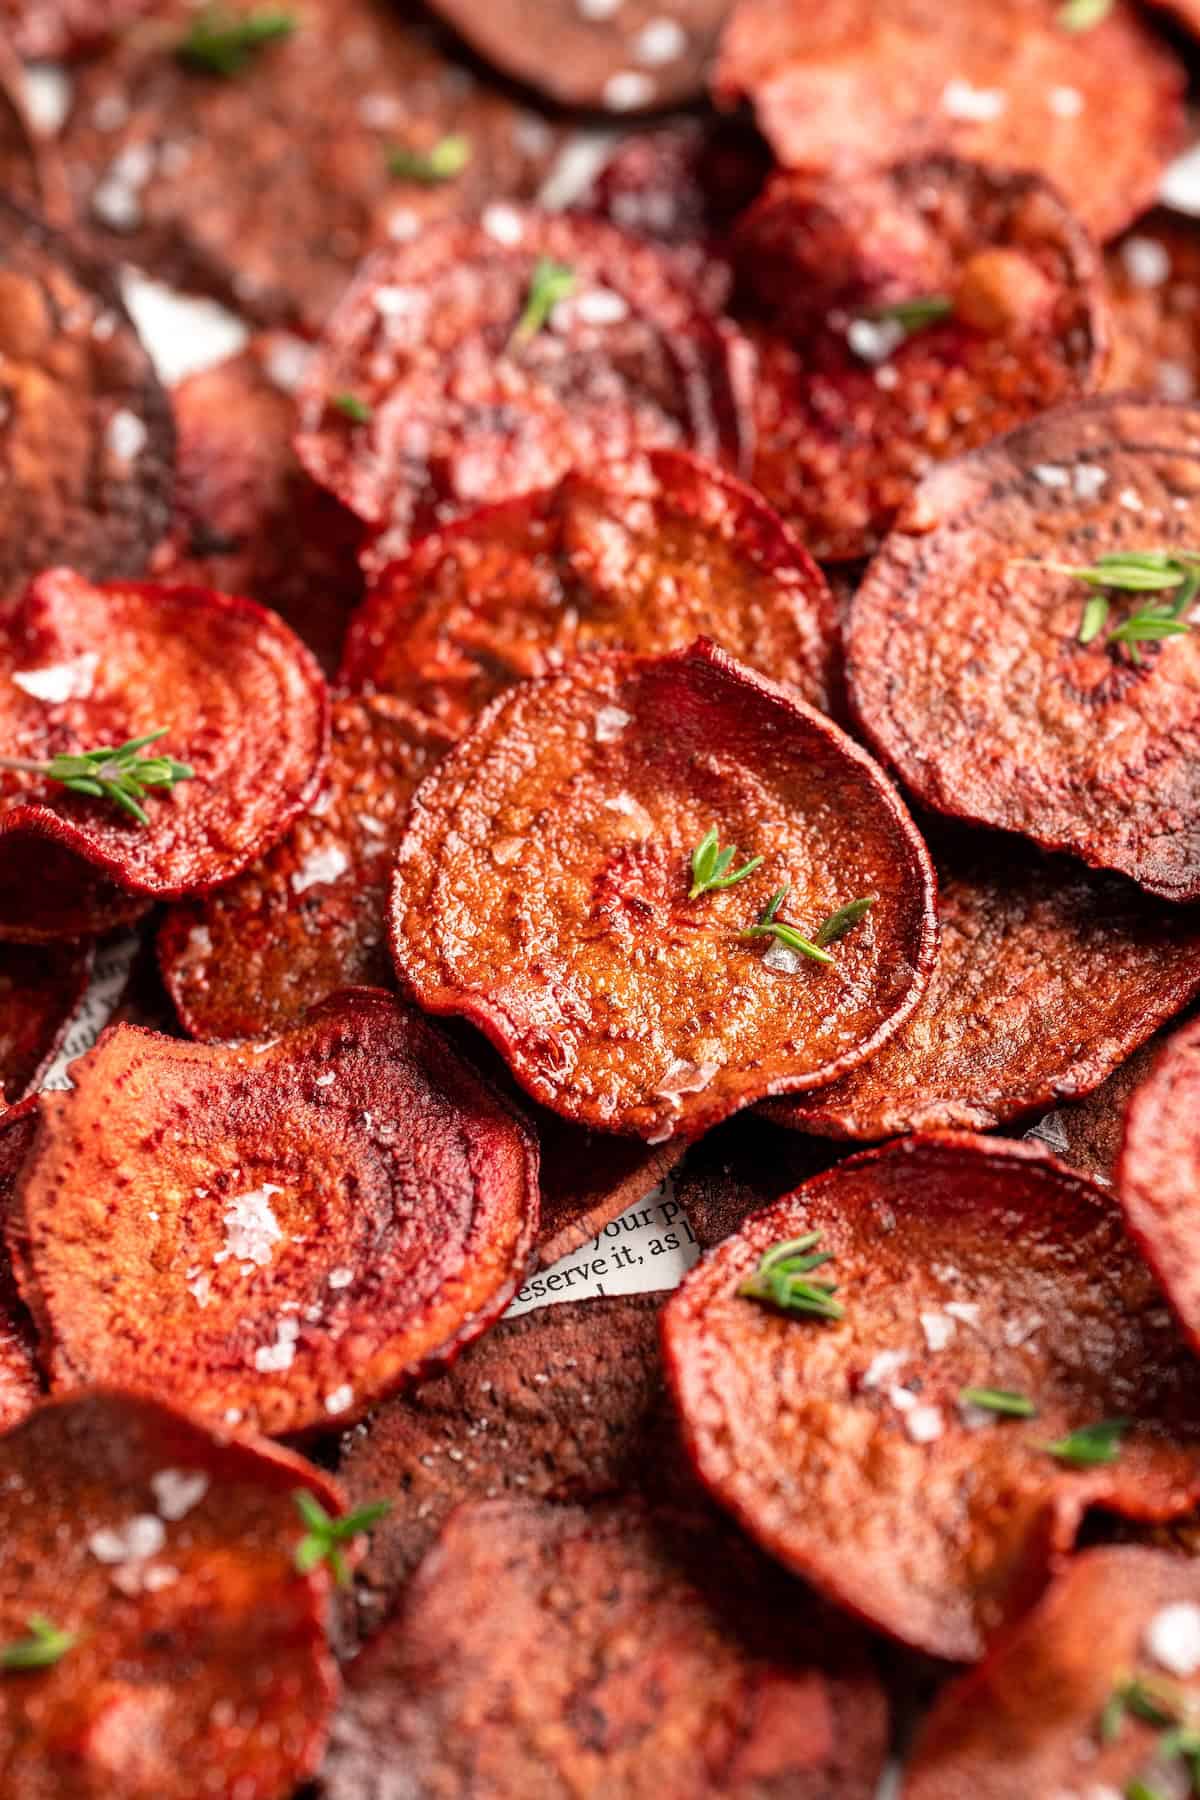
Beet Chips are a brightly coloured, sweet-and-salty, crunchy snack you only need 3 simple ingredients to make. No frying and no food dehydrator needed—bake them right in your oven!
Here’s the thing with me and beets. When I was younger, I had beet juice almost every single morning, made fresh by my amazing mother. And to this day, I crave beets, which is what inspired this recipe for beet chips. Although they get a bad rap, beets are a delicious sweet vegetable, perfect for everything from Beet Salad to Banana Berry Beet Smoothie Bowls . Who lied to us about beets? Probably someone who wanted them all to themselves!
Why I Can’t Get Enough of These Beet Chips
These bright, beautiful, incredibly crunchy chips are deliciously sweet, and the salt provides an amazing contrast to beets’ natural sweetness. (Kind of like my Sweet Potato Chips !) Here’s why this recipe is a favourite.
- Better than store-bought . My homemade beet chips are made with just three ingredients, with no additives or preservatives. And unlike store-bought chips, they’re not deep fried either!
- Perfect way to win over beet skeptics . My entire family devoured this recipe. My mom, I understand, she loves beets. But the beet skeptics gave them a try and loved them too. While I was happy… to be honest, I kinda wanted them ALL for myself. (Sigh.)
- So incredibly easy . Aside from the short list of ingredients, this recipe also has a simple process. Slice the beets, toss them with oil, season with salt, and bake. That’s it!
Notes on Ingredients
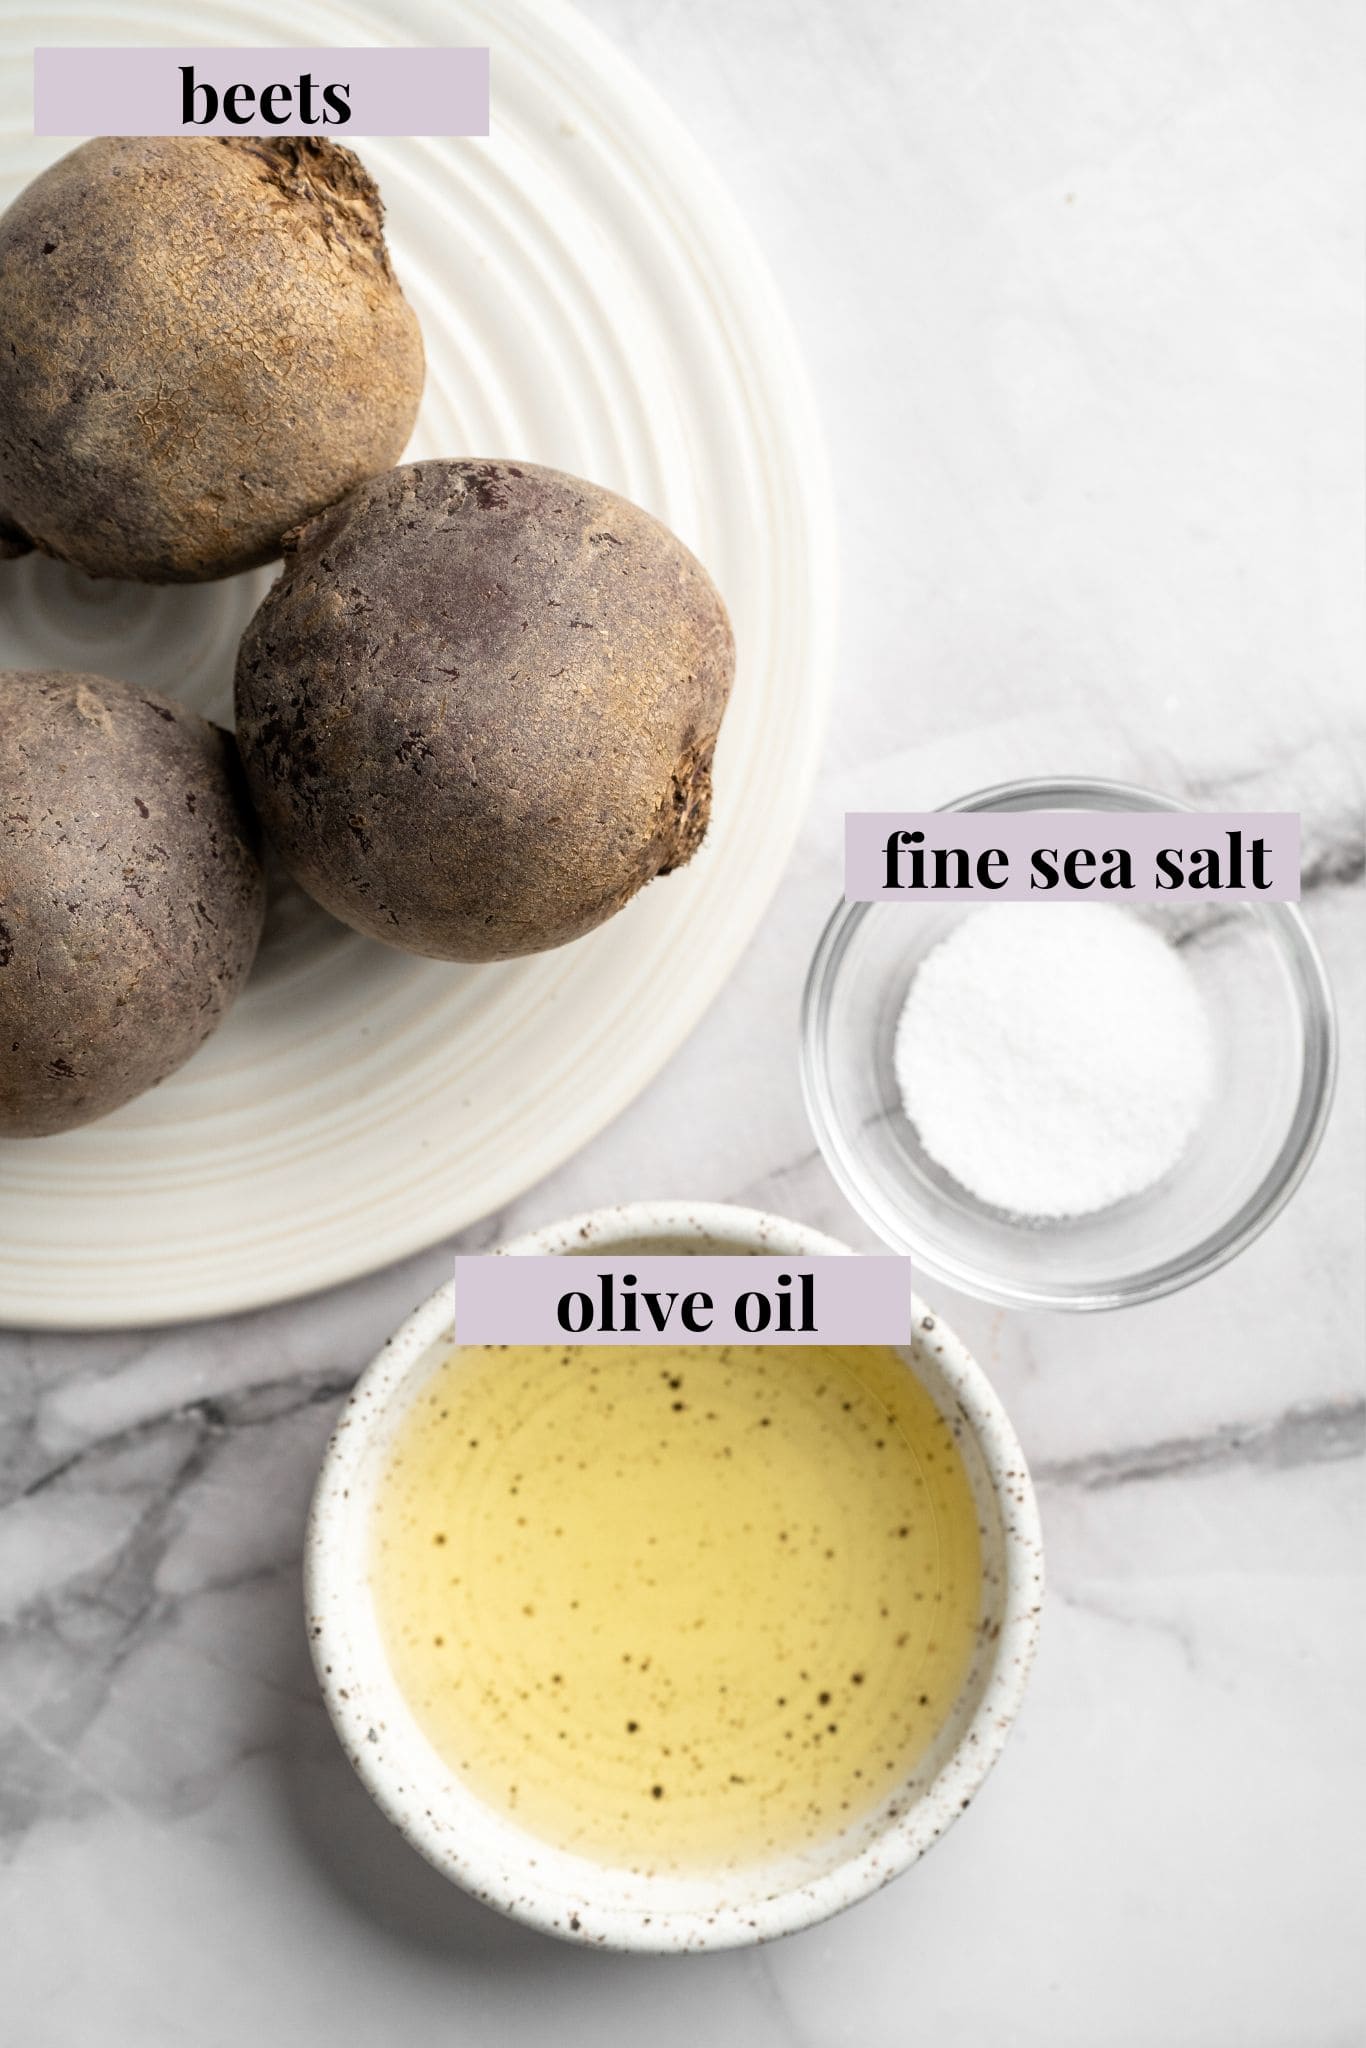
Your shopping list for these beet chips will be super short! Scroll down to the recipe card to find the ingredient quantities and recipe instructions.
- Beets – I love red beets for that beautiful, deep colour. But you can use golden beets if you’d like, and they’re less messy to cut!
- Sea salt
- Olive oil – Or another oil you like to cook with.
How to Make Beet Chips
Here’s how simple it is to make these crispy chips!
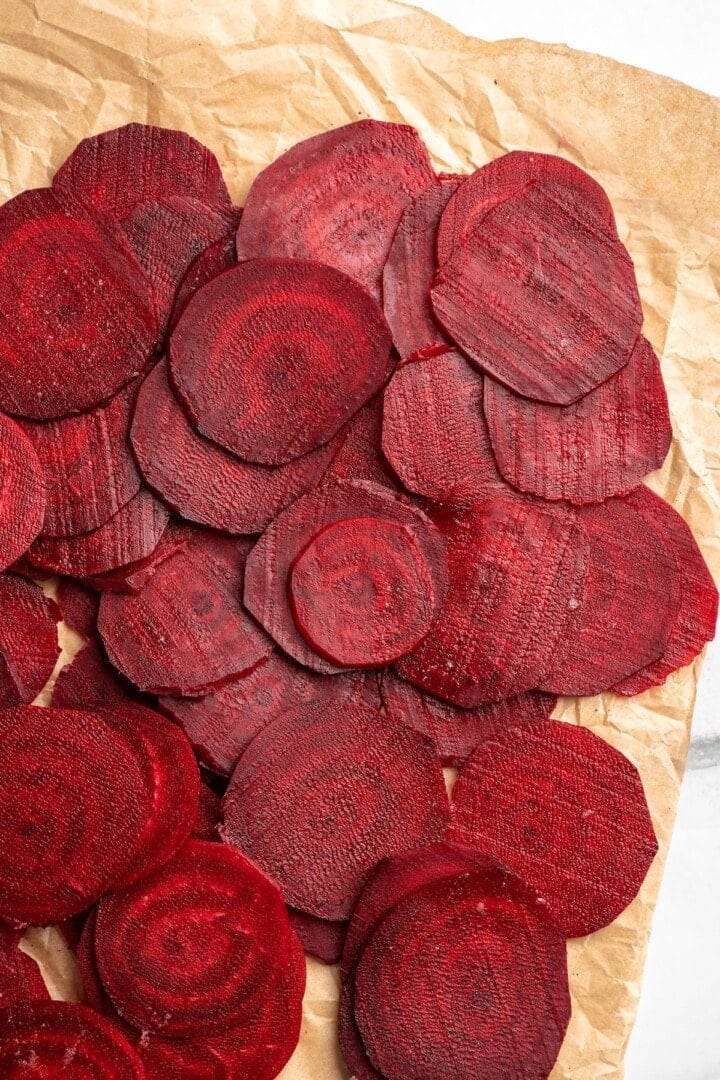
Slice the beets.
- Prepare . Preheat your oven to 300ºF. Scrub and peel the beets, then slice them. (A mandoline slicer works best for achieving an even thickness.)
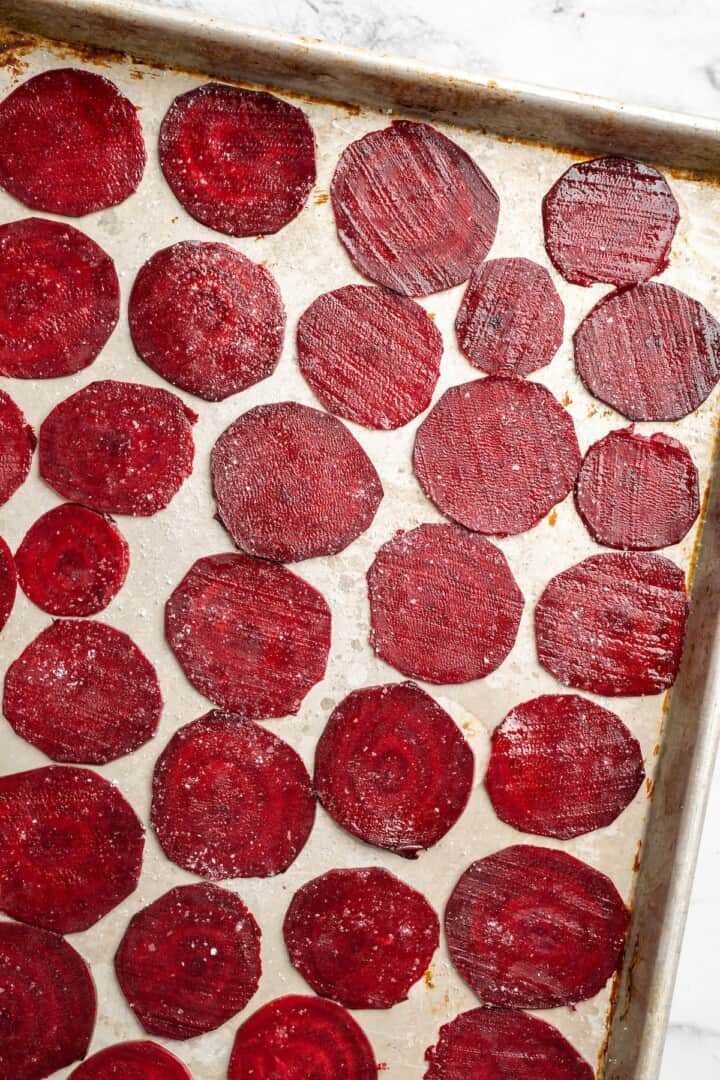
- Season . Toss the beet slices in a bowl with 1/2 tablespoon of olive oil. Use the rest of the oil to grease a baking sheet, place the chips on the sheet in a single layer, and add the salt.
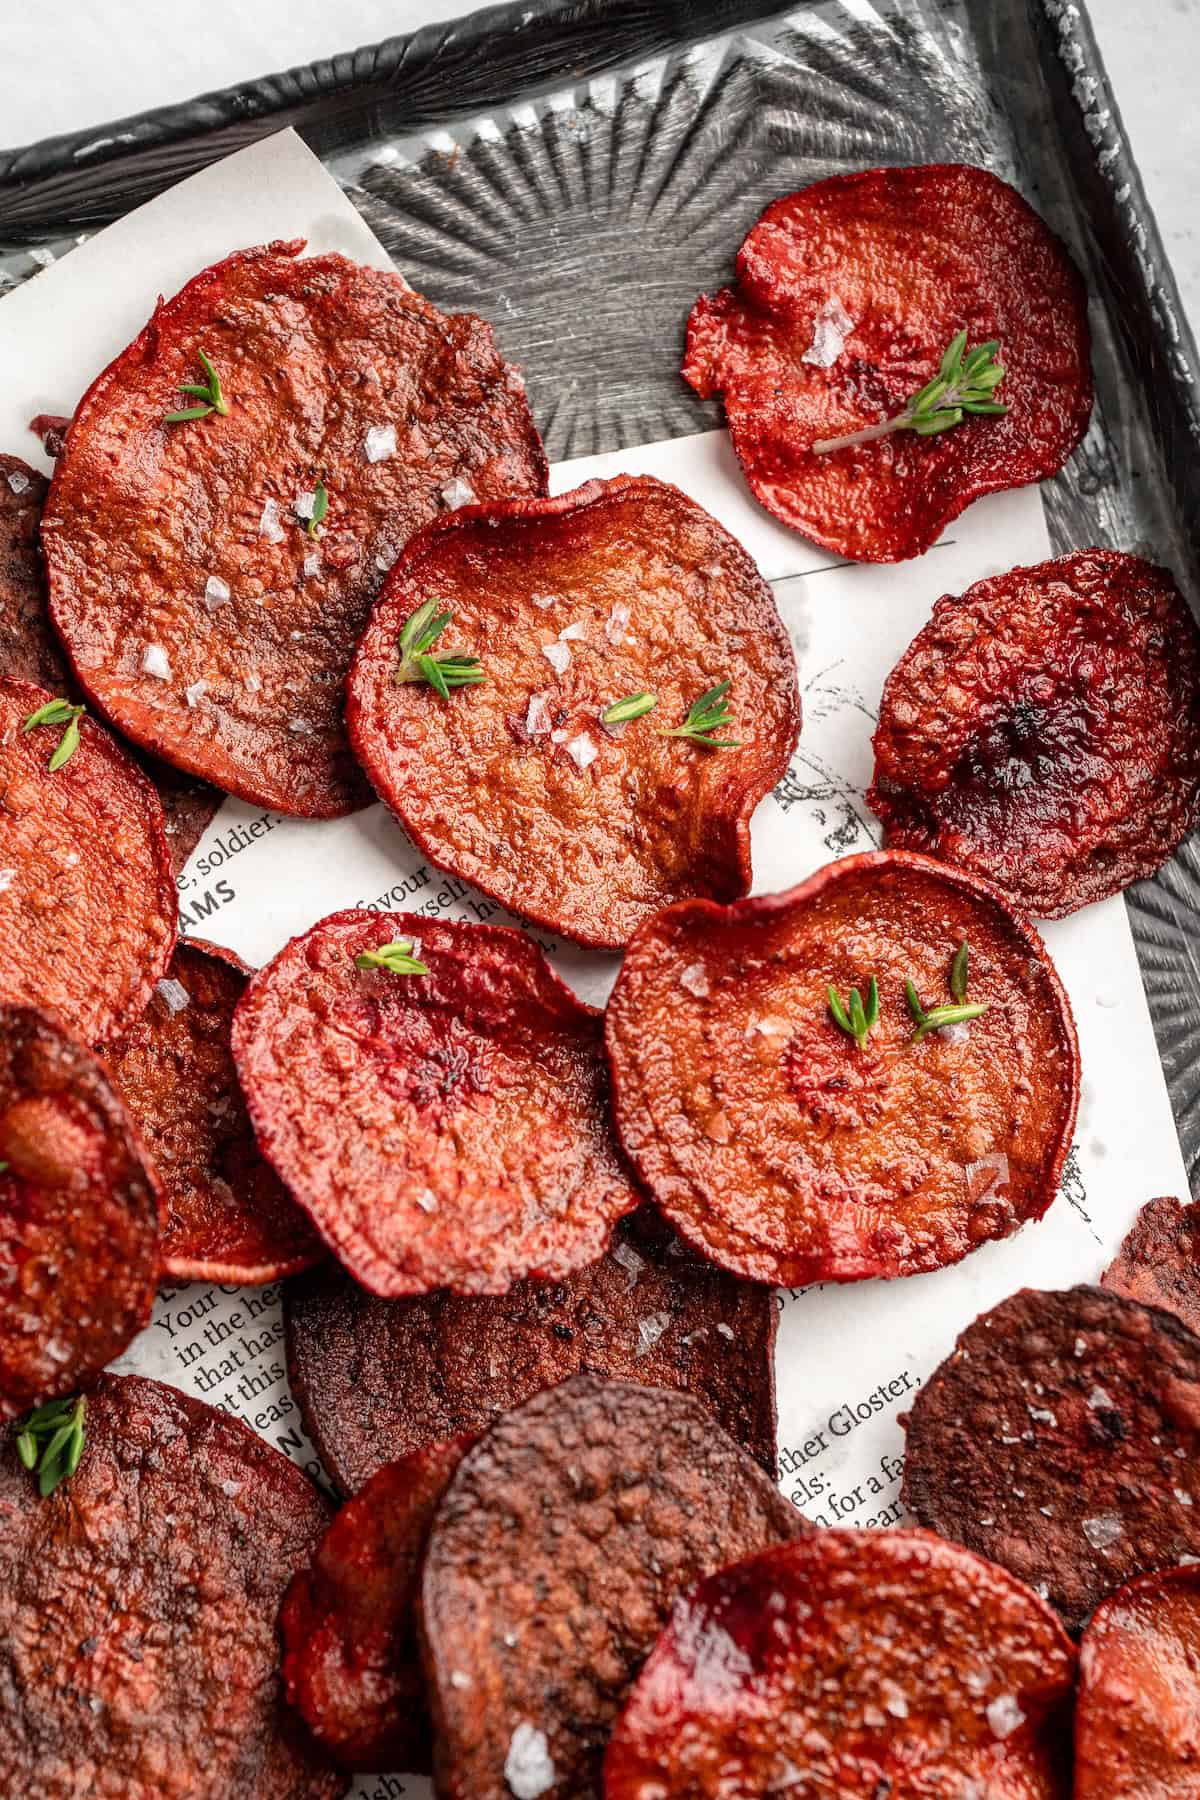
Bake until crispy.
- Bake . Bake the chips for 35 to 40 minutes, or until they’re crispy. Add more salt and serve.
Tips for Success
- Even slices are key . If you don’t have a mandoline slicer, you can use a sharp chef’s knife, but take care to cut the beet into even slices so they all cook at the same rate. It can help if you turn the beet a quarter turn with each slice, which keeps it from getting lopsided as you cut.
- Remove crispy chips if needed . If you notice some chips are done while the others still feel soft, you can take them off the pan and then keep baking the rest.
- Let them cool a bit before serving . As the chips sit on the pan after you remove them from the oven, they’ll continue to crisp up a little more.
- Season as desired . You can add dried herbs and spices while tossing the beet chips with the oil. Rosemary and thyme are both delicious, and cumin works well if you’re planning on dipping your chips in hummus !
Serving Suggestions
In addition to hummus (or Beet Hummus for double the beet goodness!), you can dip these chips in Vegan Spinach Artichoke Dip , Roasted Garlic White Bean Dip , or Vegan Whipped Feta Dip . Beet chips and dip is my ideal Netflix viewing snack, but it’s also great for a party!
How to Store
Let the chips cool completely, then transfer them to an airtight container. They’ll keep for up to 2 weeks at room temperature, but they won’t be as crisp with storage. You can heat them in a 300ºF oven to restore some of their crispiness if you’d like.
More Vegan Snack Ideas
- Apple Chips
- Pretzel Bites
- Homemade Granola Bars
- Peanut Butter Energy Balls
Ingredients
- 4 small beets , or 2 large beets
- Handful fine sea salt
- 1 tablespoon olive oil , 15 mL
Instructions
- Preheat the oven to 300 degrees.
- Wash the beets and peel off the skin. Slice the beets through your mandolin until you have made circular chips out of everything.
- In a bowl, toss raw beets with 1/2 tablespoon olive oil until coated. Coat a baking sheet with remaining olive oil.
- Place raw chips on the baking sheet and sprinkle with fine sea salt (salting prior to will also help dry them out which helps with the crunch).
- Bake for 35 to 40 minutes (watch them after the 35 minute mark) until chips are crisp and cooked through. Sprinkle more sea salt on top as soon as you remove them from the oven.
- Serve immediately and enjoy.
