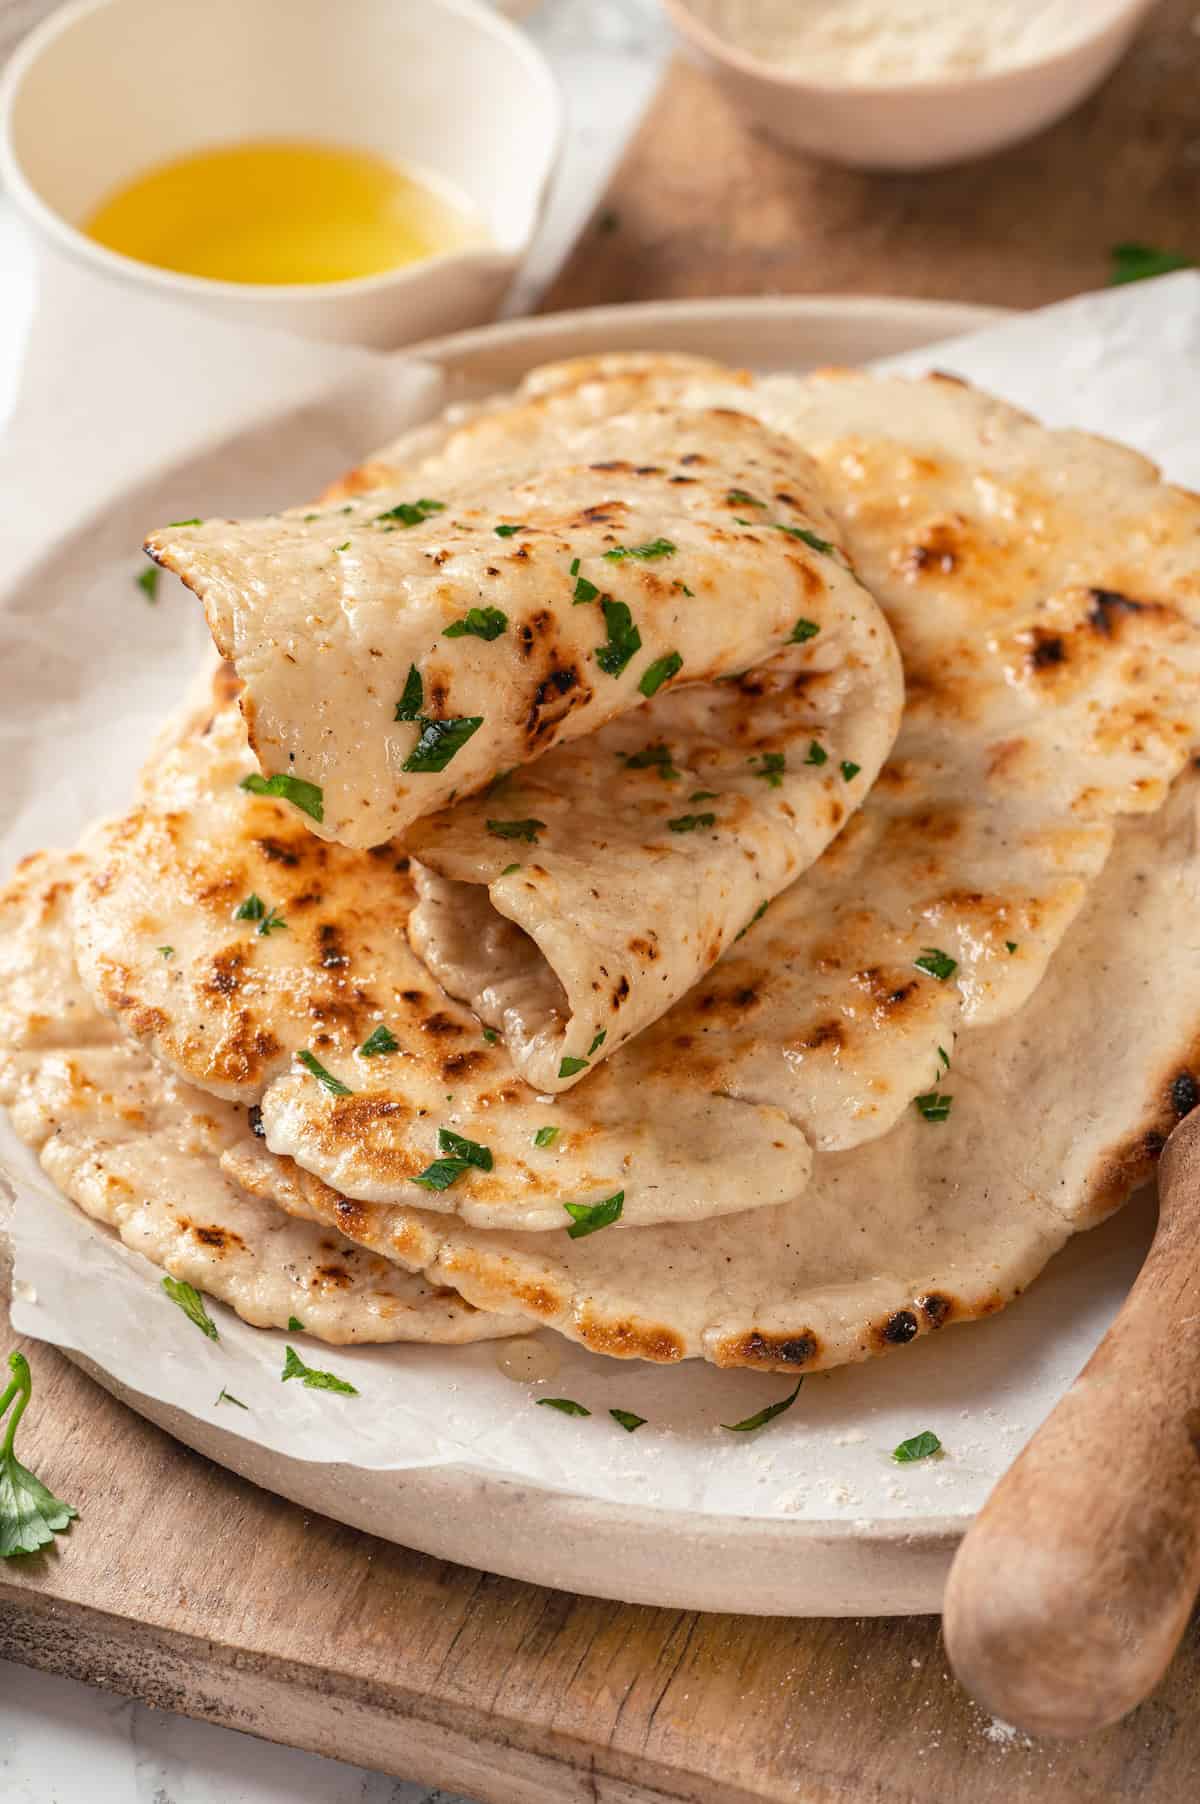
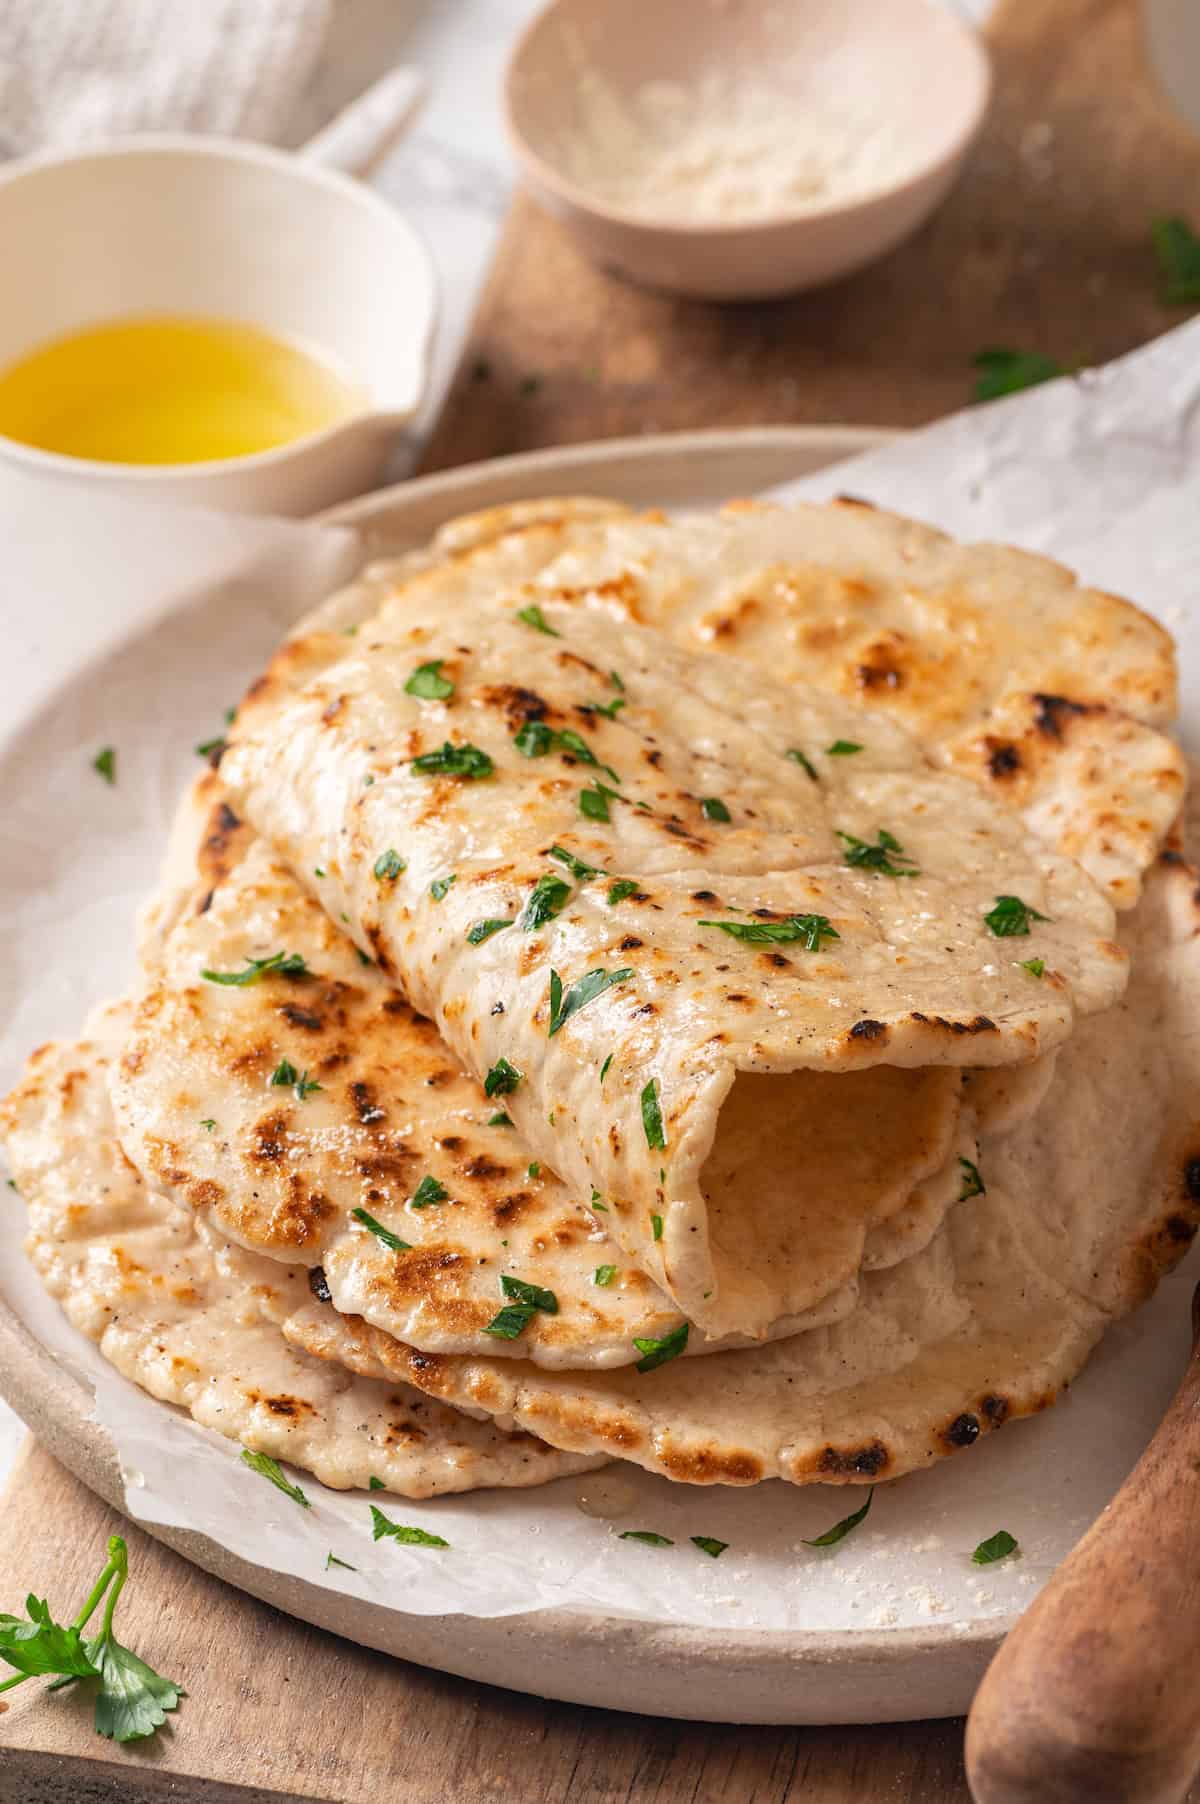
Gluten-free naan has the fantastic chewy texture and slightly charred bits that make naan so irresistible, but without the wheat! It’s easy to make and perfect for serving with all your favourite Indian dishes.
Why This Gluten-Free Naan Recipe Works
What makes this gluten-free naan the best? Read on!
- A smart blend of ingredients . I do love baking with 1:1 gluten-free flour, but to replicate the chewy texture of naan, I use a custom blend here. Rice flours have a slight chew to them, but what really helps give this naan that irresistible texture is psyllium husk and xanthan gum .
- Easy to make . The process of making naan is quite simple, and much easier than making something like gluten-free sandwich bread . It’s also quick, cooking in just a few minutes on the stovetop.
- Flavourful . Yogurt adds a bit of tang, while garlic powder adds some garlickiness without hitting you over the head with it, if you know what I mean! Add optional toppings for even more flavour.
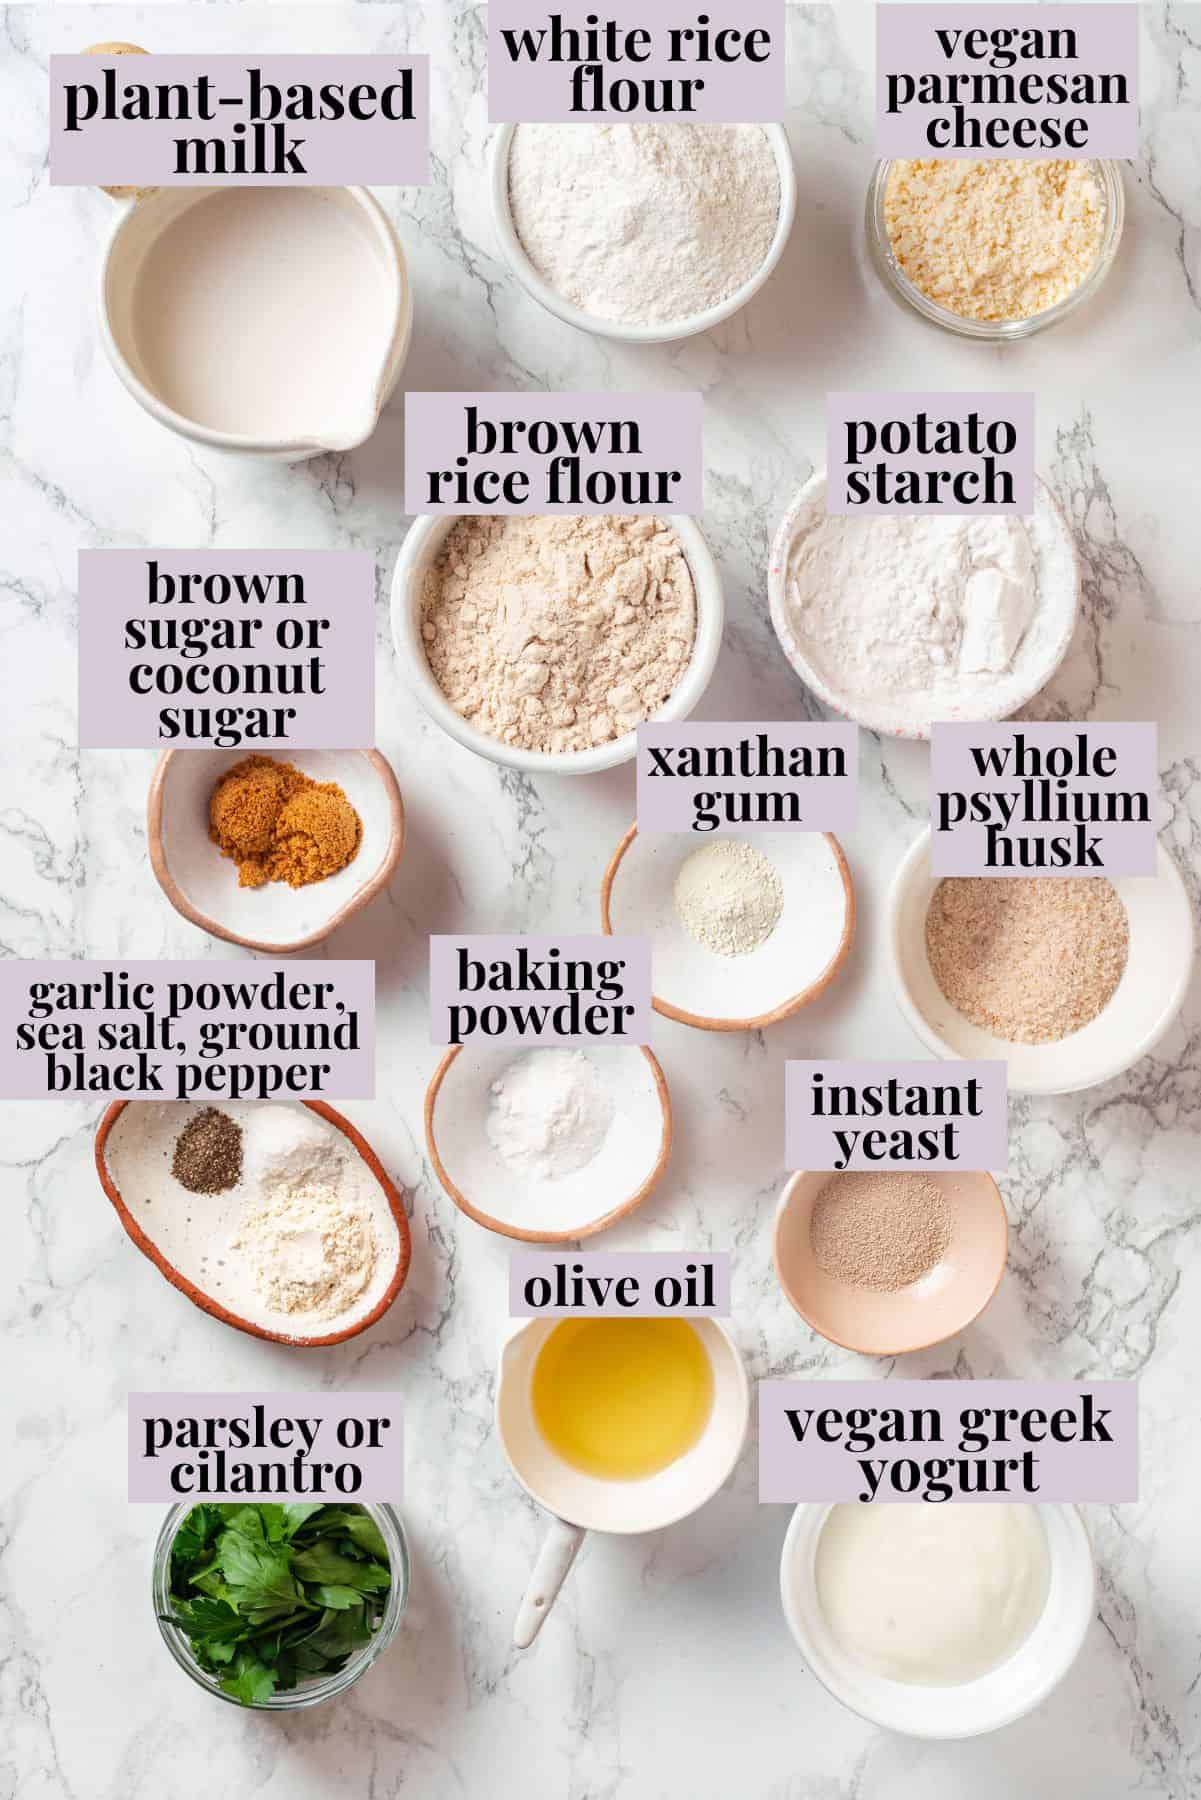
Notes on Ingredients
Gluten-free baking is very much a science—mess around with the formula and it won’t work out! I don’t recommend making any substitutions that aren’t suggested below. Scroll down to the recipe card to find the ingredient quantities and recipe instructions.
- Plant milk – Any kind you like, as long as it’s unflavoured and unsweetened. Warm this up before staring the recipe.
- Vegan Greek yogurt – Coconut cream works as well, but you won’t get the tanginess from it.
- Whole psyllium husk – This is often used as a vegan egg replacer , but in this naan recipe, it helps create the right texture.
- Rice flour – I use a mix of brown and white.
- Potato starch – This helps make the naan tender.
- Xanthan gum – Another ingredient added for texture.
- Brown sugar or coconut sugar
- Baking powder
- Instant yeast – Here’s how to check to see if your yeast is still good .
- Garlic powder
- Sea salt and ground black pepper
- Olive oil or coconut oil – For cooking the naan.
- Optional toppings – Vegan Parmesan cheese , fresh minced garlic, parsley, or cilantro.
How to Make Gluten-Free Naan
You’ll want to scroll down to the recipe card at the bottom of this post for full instructions, but here are some step-by-step photos to illustrate the process of making gluten-free naan.
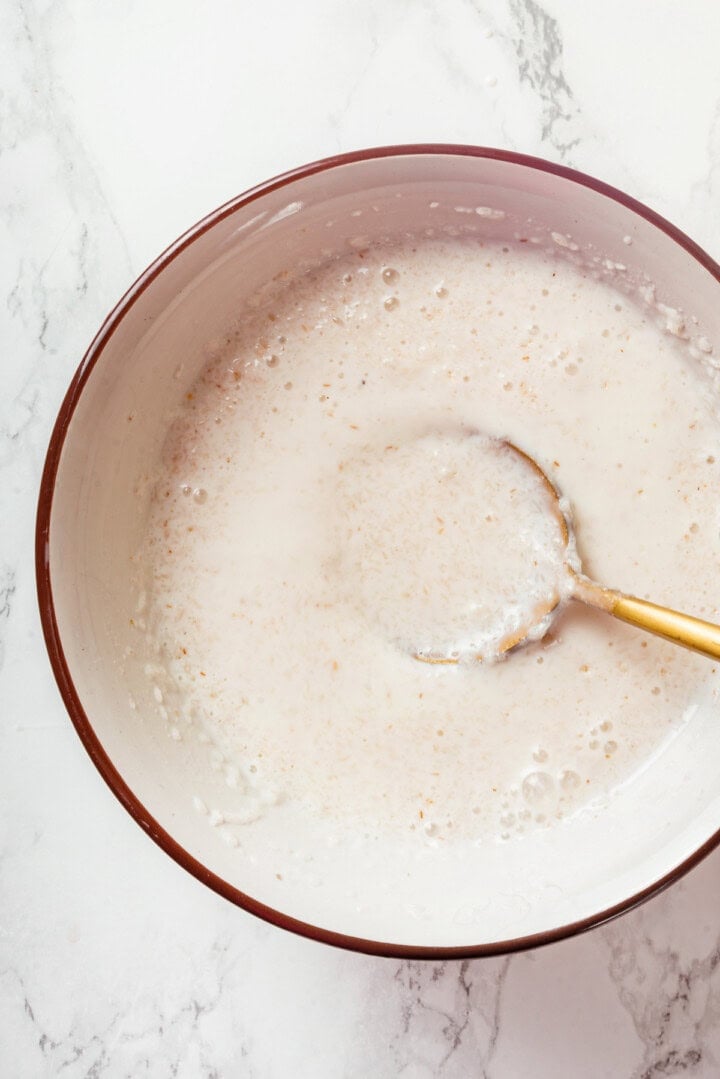
Mix the psyllium with the vegan milk and yogurt.
- Gel the psyllium husk . Mix the vegan milk, yogurt, and psyllium husk in a small bowl and let the mixture sit for about 5 minutes, until it thickens.
- Mix the dry ingredients . Whisk together the flours, potato starch, xanthan gum, brown sugar, baking powder, yeast, garlic powder, salt and pepper in another bowl.
- Combine wet and dry . Form a well in the middle of the dry ingredients and add the psyllium mixture to it. Stir to combine.
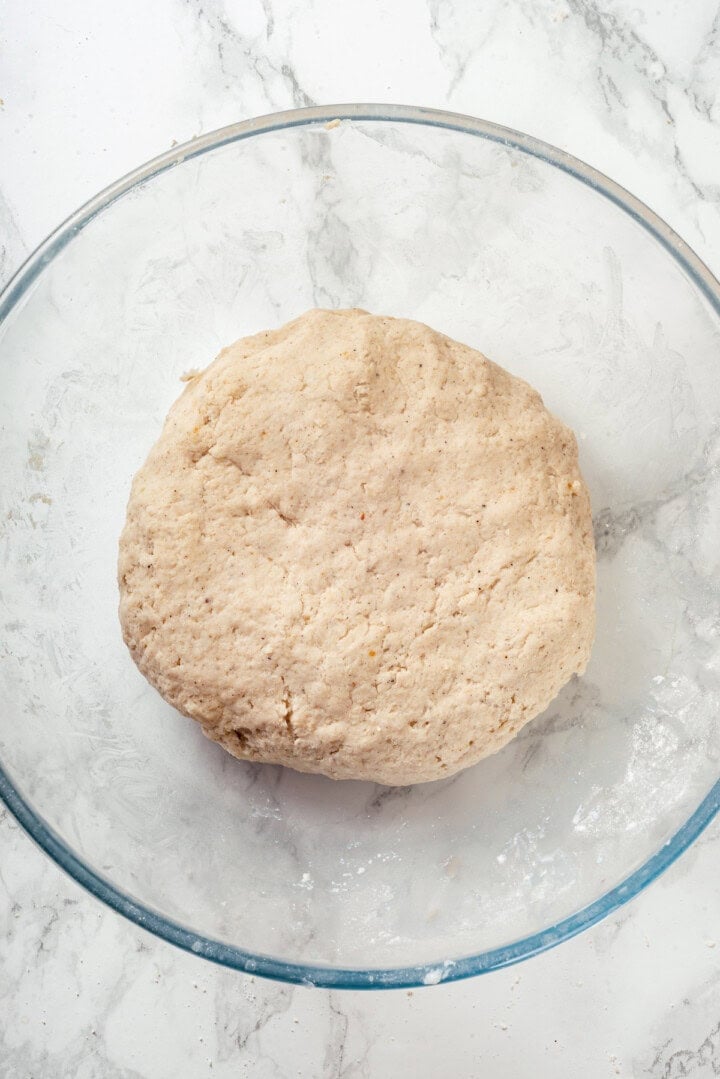
Stir, then knead.
- Knead and rest . Knead the dough for 3 minutes, then brush a small amount of oil on the dough ball and set it back in the bowl. Cover and rest for 30 minutes, until it rises slightly.
- Form the naan . Divide the dough into 8 portions. Roll each into a ball, then flatten the balls into large ovals. You can use a rolling pin to do this or stretch them with your hands.
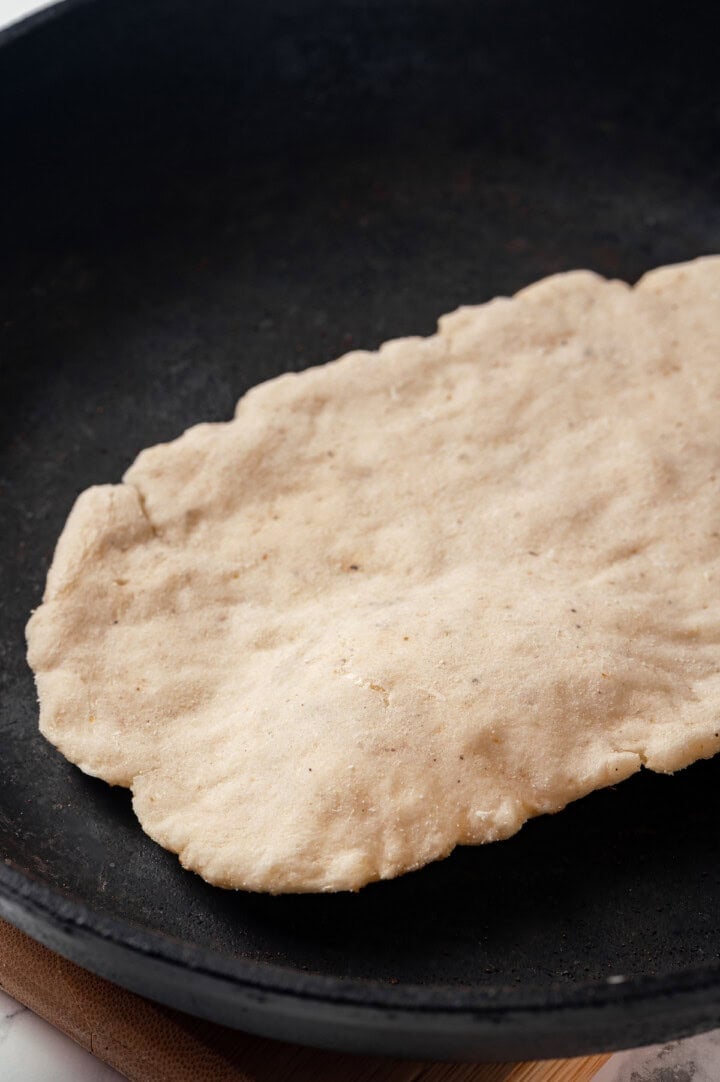
Cook in a skillet.
- Cook the naan . Heat a skillet over medium-high; once it’s very hot, add a naan and cook until bubbles form and the bottom chars a bit. Flip and cook the other side until it’s also charred in spots.
- Keep warm . Wrap finished naan in a clean kitchen towel. (This will ensure the naan stays soft.) Repeat with the remaining dough.
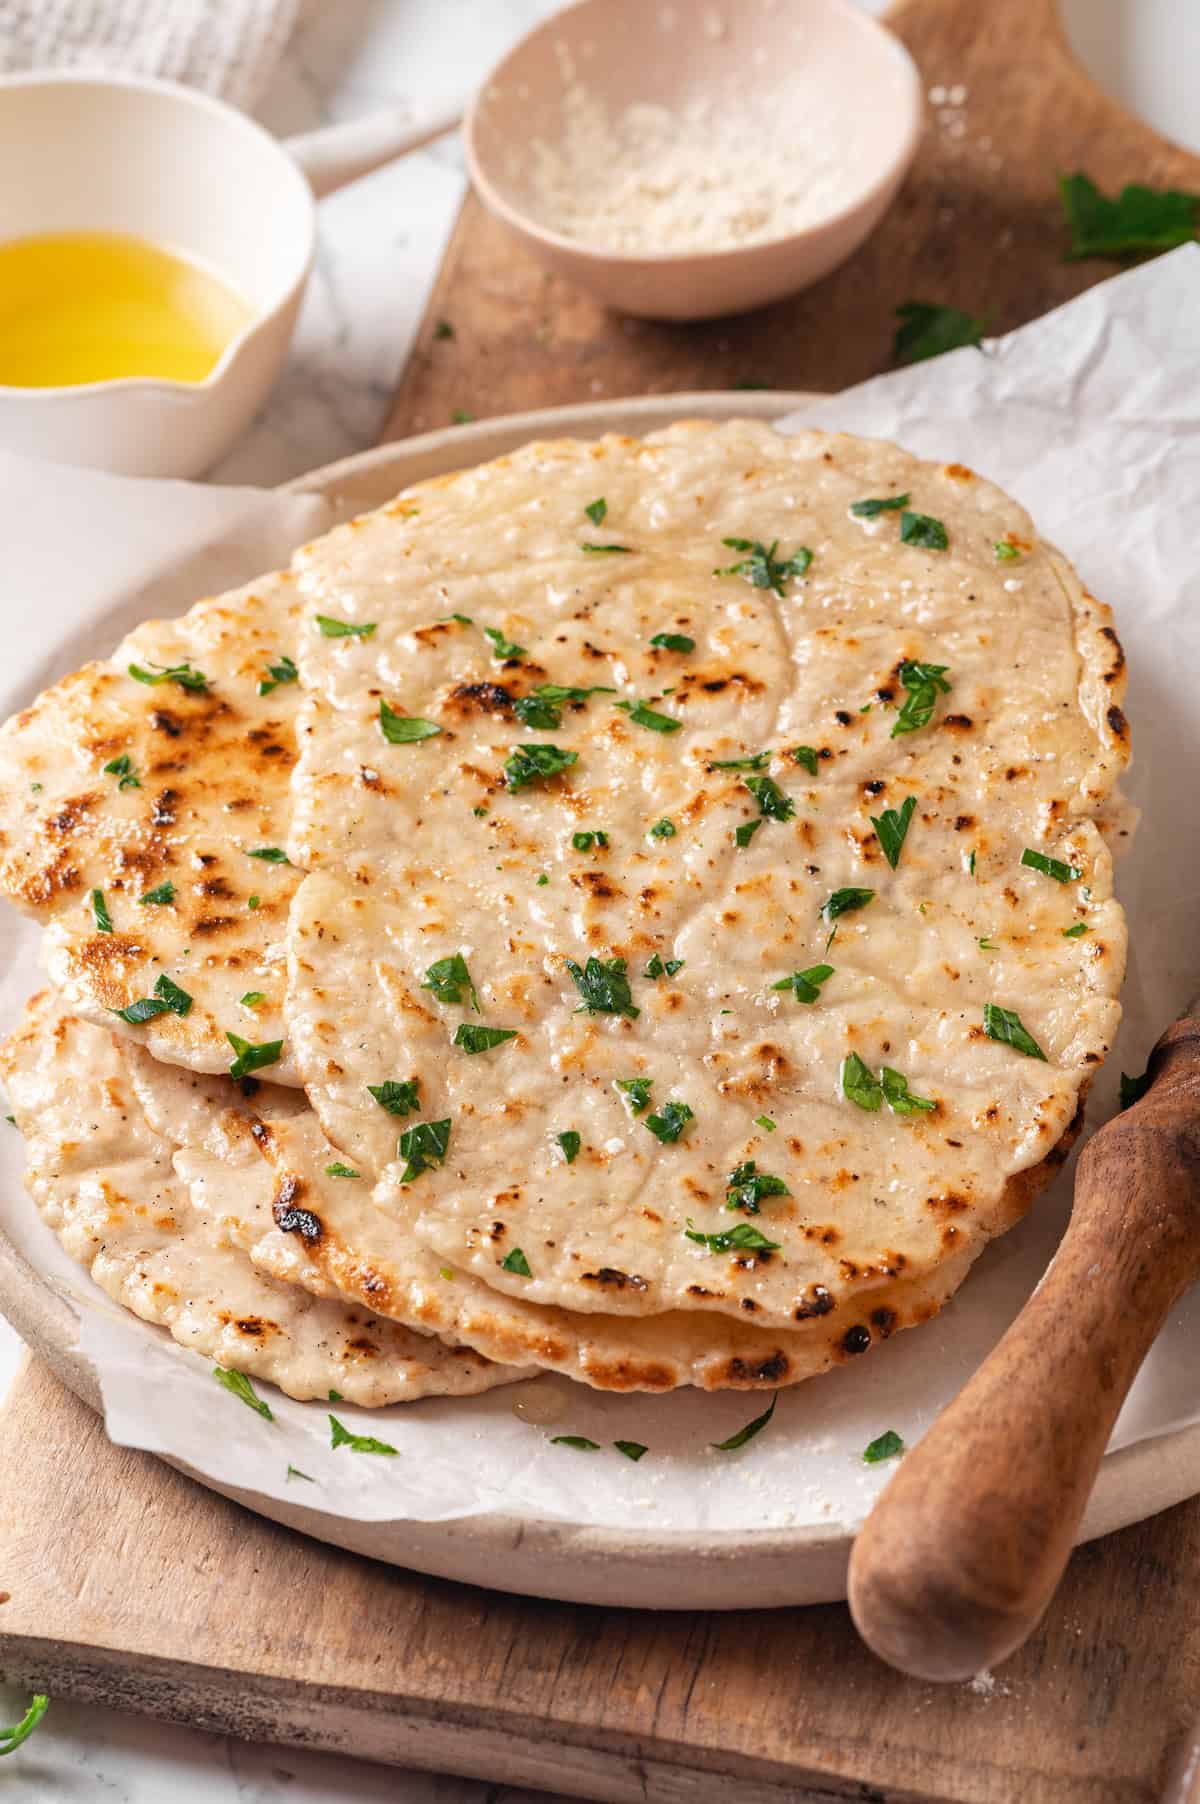
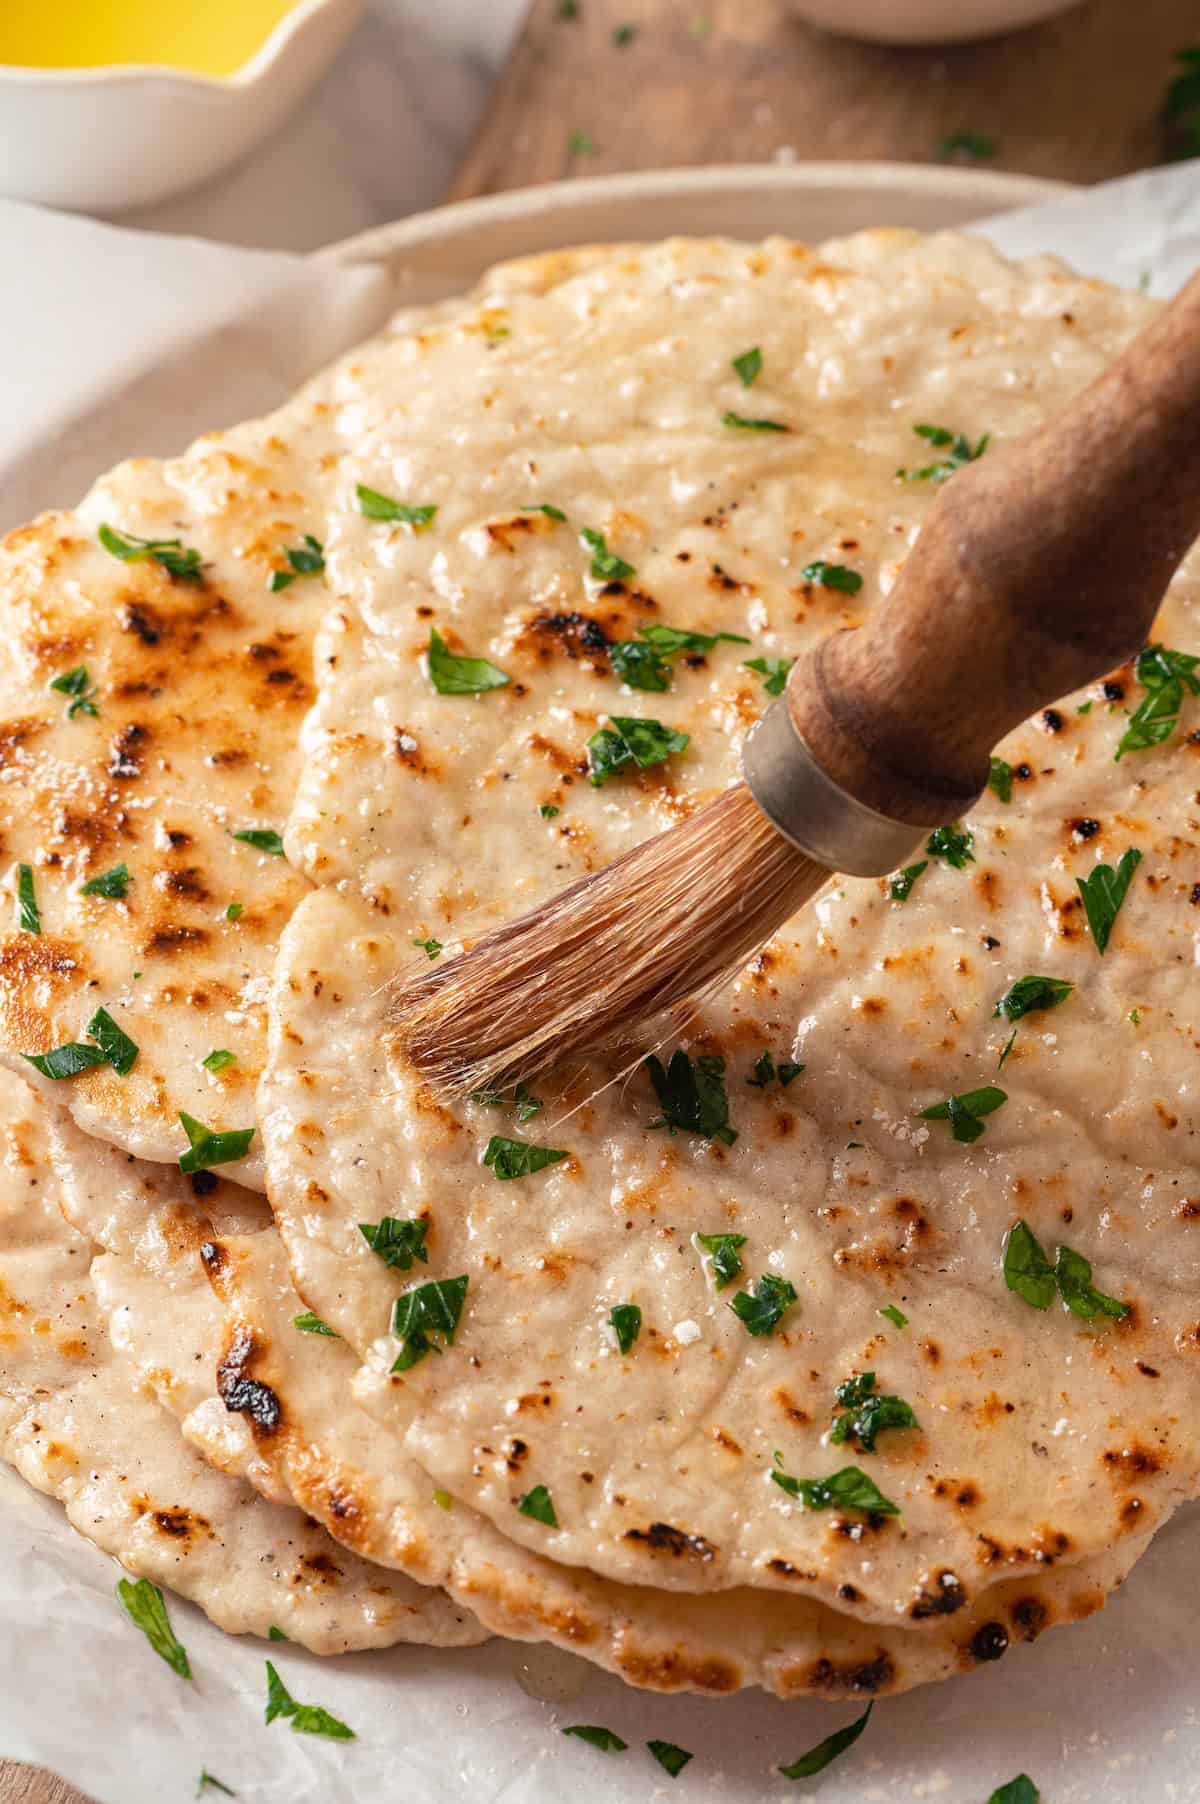
- Serve. Brush with oil before serving and garnish with vegan parmesan, garlic, parsley, or cilantro as desired. Serve warm for the best texture.
Tips for Success
- Make sure the pan is hot . If the pan isn’t heated up enough, the naan might not form bubbles or char. It will still taste good, though!
- Ensure the dough is properly hydrated . The dough should be soft and easy to roll out. If it feels too dry, you can add a splash more milk until it comes together when you stir it.
- Use a nonstick or cast iron skillet . The naan shouldn’t stick to the pan as long as it’s either nonstick or well-seasoned cast iron. If it does stick, you can brush oil on the pan before adding each piece of naan dough.
Serving Suggestions
Serve this gluten-free naan with your favourite Indian dishes, like red lentil dal , butter cauliflower , and aloo gobi . You can also use it as a base to make vegan naan pizza with plant-based cheese and your go-to toppings!
How to Store
- Room temperature : Let the naan cool completely, then store it in a sealed freezer bag, wrap it in foil, or place it in an airtight container. It will keep for 2 to 3 days this way, although it really is best enjoyed right away if possible!
- Freezer : Freeze gluten-free naan in a freezer bag or airtight container for up to 3 months. You can reheat it directly from frozen.
- To reheat : Warm naan in the microwave, in a nonstick or cast iron skillet on the stovetop, or in a 350ºF oven until heated through.
More Gluten-Free Recipes
- Gluten-Free Dinner Rolls
- Gluten-Free Focaccia
- Vegan Gluten Free Chocolate Cake Recipe
- Gluten-Free Vegan Pie Crust
- Gluten-Free Vegan Puff Pastry
Ingredients
- ½ cup warm plant based milk , almond, soy, etc., 120 ml
- ½ cup thick vegan Greek yogurt , or coconut cream from canned coconut milk, 120 g
- 2 tablespoons whole psyllium husk , 12 g
- ½ cup brown rice flour , 65 g
- ½ cup white rice flour , 80 g
- ½ cup potato starch , 85 g
- ½ teaspoon xanthan gum , 2 g
- 2 teaspoons brown sugar or coconut sugar , 8 g
- 1 teaspoon baking powder , 4 g
- 1 teaspoon instant yeast , 3 g
- 1 ½ teaspoons garlic powder , 5 g
- ½ teaspoon sea salt , 3 g
- ¼ teaspoon ground black pepper , 0.5 g
- 1 ½ tablespoons olive oil or coconut oil , for dough rising, and for brushing before serving, 22 ml
- Optional toppings: vegan parmesan cheese, extra garlic, parsley, or cilantro
Instructions
- In a small bowl mix plant based milk, vegan yogurt and psyllium husk. Let it sit for 5 minutes to allow the mixture to thicken.
- In a large bowl, whisk together the flours and potato starch with xanthan gum, brown sugar, baking powder, yeast, garlic powder, salt and pepper.
- Create a well in the center of the dry ingredients. Slowly add the psyllium husk mixture. Mix with a spatula until the dough starts to come together.
- Knead the dough for 3 minutes. Psyllium husk will make the dough soft and reduce stickiness, but it may still feel slightly sticky. I don’t recommend dusting the surface with flour because it may make the dough too dry.
- Lightly grease the dough ball with oil (about 1 teaspoon) and place it back in the bowl. Cover with plastic wrap and let it rest for 30 minutes in a warm place. The dough should slightly rise but won’t double as much as regular dough.
- Divide the dough into 8 equal portions. Roll each piece into a ball, then press it down on a lightly floured surface and roll into an oval about 6-8 inches long.
- Heat a cast-iron or nonstick skillet over medium-high heat and place the naan in.
- Cook for 30 seconds to 1 minute, or until bubbles form and dark spots appear.
- Flip and cook the other side for another 30 seconds to 1 minute.
- Remove the naan from the skillet and cool it wrapped in a clean kitchen towel. This will ensure the naan stays soft. Repeat with remaining dough.
- Brush with oil before serving and garnish with vegan parmesan, garlic, parsley, or cilantro as desired.
- Serve warm for the best texture.
Notes
- Room temperature : Let the naan cool completely, then store it in a sealed freezer bag, wrap it in foil, or place it in an airtight container. It will keep for 2 to 3 days this way, although it really is best enjoyed right away if possible!
- Freezer : Freeze gluten-free naan in a freezer bag or airtight container for up to 3 months. You can reheat it directly from frozen.
- To reheat : Warm naan in the microwave, in a nonstick or cast iron skillet on the stovetop, or in a 350ºF oven until heated through.

Gluten-Free Naan
Ingredients
- ½ cup warm plant based milk almond, soy, etc., 120 ml
- ½ cup thick vegan Greek yogurt or coconut cream from canned coconut milk, 120 g
- 2 tablespoons whole psyllium husk 12 g
- ½ cup brown rice flour 65 g
- ½ cup white rice flour 80 g
- ½ cup potato starch 85 g
- ½ teaspoon xanthan gum 2 g
- 2 teaspoons brown sugar or coconut sugar 8 g
- 1 teaspoon baking powder 4 g
- 1 teaspoon instant yeast 3 g
- 1 ½ teaspoons garlic powder 5 g
- ½ teaspoon sea salt 3 g
- ¼ teaspoon ground black pepper 0.5 g
- 1 ½ tablespoons olive oil or coconut oil for dough rising, and for brushing before serving, 22 ml
- Optional toppings: vegan parmesan cheese, extra garlic, parsley, or cilantro
Instructions
- In a small bowl mix plant based milk, vegan yogurt and psyllium husk. Let it sit for 5 minutes to allow the mixture to thicken.
- In a large bowl, whisk together the flours and potato starch with xanthan gum, brown sugar, baking powder, yeast, garlic powder, salt and pepper.
- Create a well in the center of the dry ingredients. Slowly add the psyllium husk mixture. Mix with a spatula until the dough starts to come together.
- Knead the dough for 3 minutes. Psyllium husk will make the dough soft and reduce stickiness, but it may still feel slightly sticky. I don’t recommend dusting the surface with flour because it may make the dough too dry.
- Lightly grease the dough ball with oil (about 1 teaspoon) and place it back in the bowl. Cover with plastic wrap and let it rest for 30 minutes in a warm place. The dough should slightly rise but won’t double as much as regular dough.
- Divide the dough into 8 equal portions. Roll each piece into a ball, then press it down on a lightly floured surface and roll into an oval about 6-8 inches long.
- Heat a cast-iron or nonstick skillet over medium-high heat and place the naan in.
- Cook for 30 seconds to 1 minute, or until bubbles form and dark spots appear.
- Flip and cook the other side for another 30 seconds to 1 minute.
- Remove the naan from the skillet and cool it wrapped in a clean kitchen towel. This will ensure the naan stays soft. Repeat with remaining dough.
- Brush with oil before serving and garnish with vegan parmesan, garlic, parsley, or cilantro as desired.
- Serve warm for the best texture.
Notes
- Room temperature : Let the naan cool completely, then store it in a sealed freezer bag, wrap it in foil, or place it in an airtight container. It will keep for 2 to 3 days this way, although it really is best enjoyed right away if possible!
- Freezer : Freeze gluten-free naan in a freezer bag or airtight container for up to 3 months. You can reheat it directly from frozen.
- To reheat : Warm naan in the microwave, in a nonstick or cast iron skillet on the stovetop, or in a 350ºF oven until heated through.
Nutrition
Gluten-Free Naan https://jessicainthekitchen.com/gluten-free-naan/ February 7, 2025
Don’t pay a fortune for pumpkin pie spice at the grocery store! Use pantry ingredients and make it yourself in a matter of minutes.
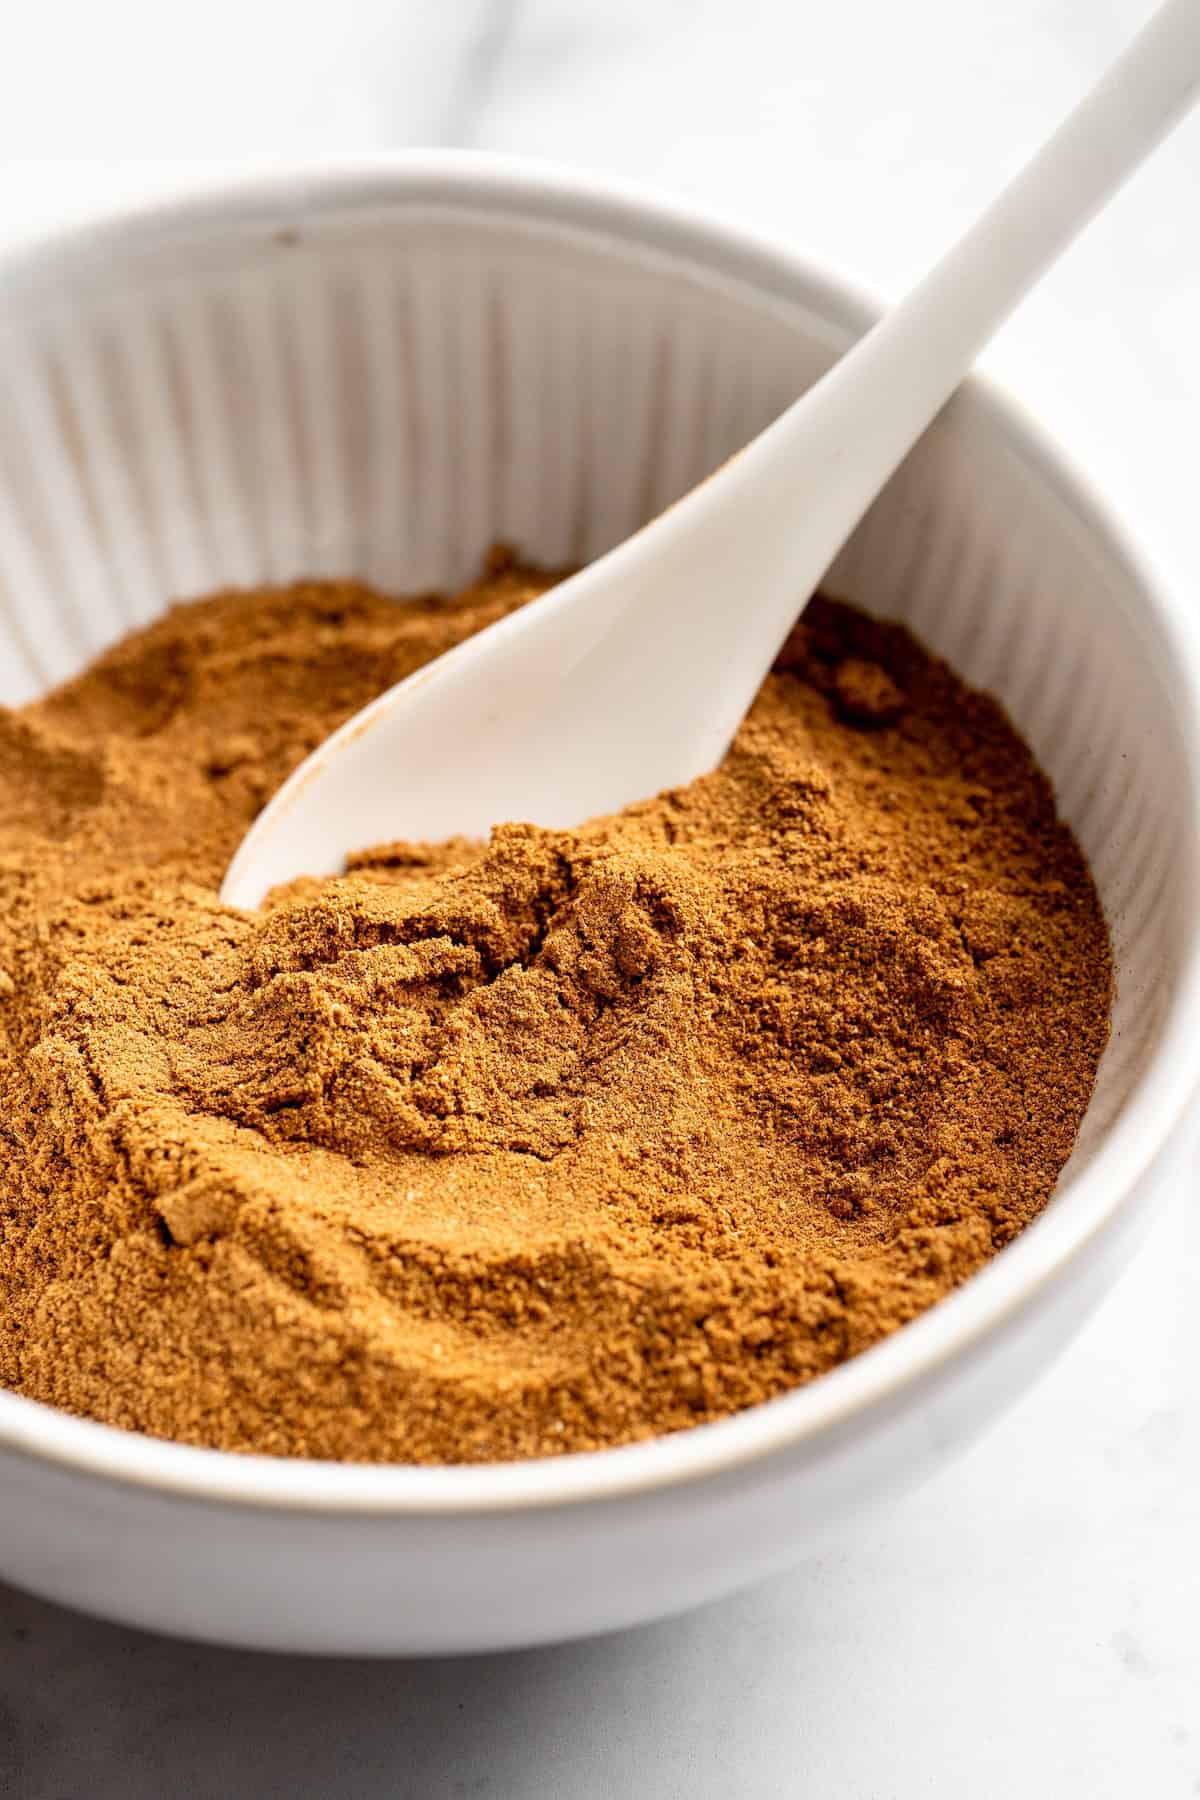
Making your own pumpkin pie spice is as easy as pie! Er, wait—now that I think about it, it’s MUCH easier since there’s no rolling out pie crust or baking. This is the blend I use in all my cozy pumpkin recipes, from pumpkin spice syrup to pumpkin pop tarts . I posted it on Instagram a few weeks ago and I decided it was time to share it here on the blog too!
Why It’s Worth Making Your Own Pumpkin Pie Spice
- Fresher flavour . Although you can use the jars you have in your pantry, I love grinding my own spices for a fresher, more flavourful pumpkin spice when I’m baking for a special occasion (like Thanksgiving pumpkin pie !).
- Budget-friendly . At my local grocery store, bottles of pumpkin pie spice are $8! But I can make the same mix at home with ingredients I already have on hand.
- Easy to customise . You can change up the spices according to your taste preferences. Sometimes I even add a little ground black pepper for some extra oomph.
Notes on Ingredients
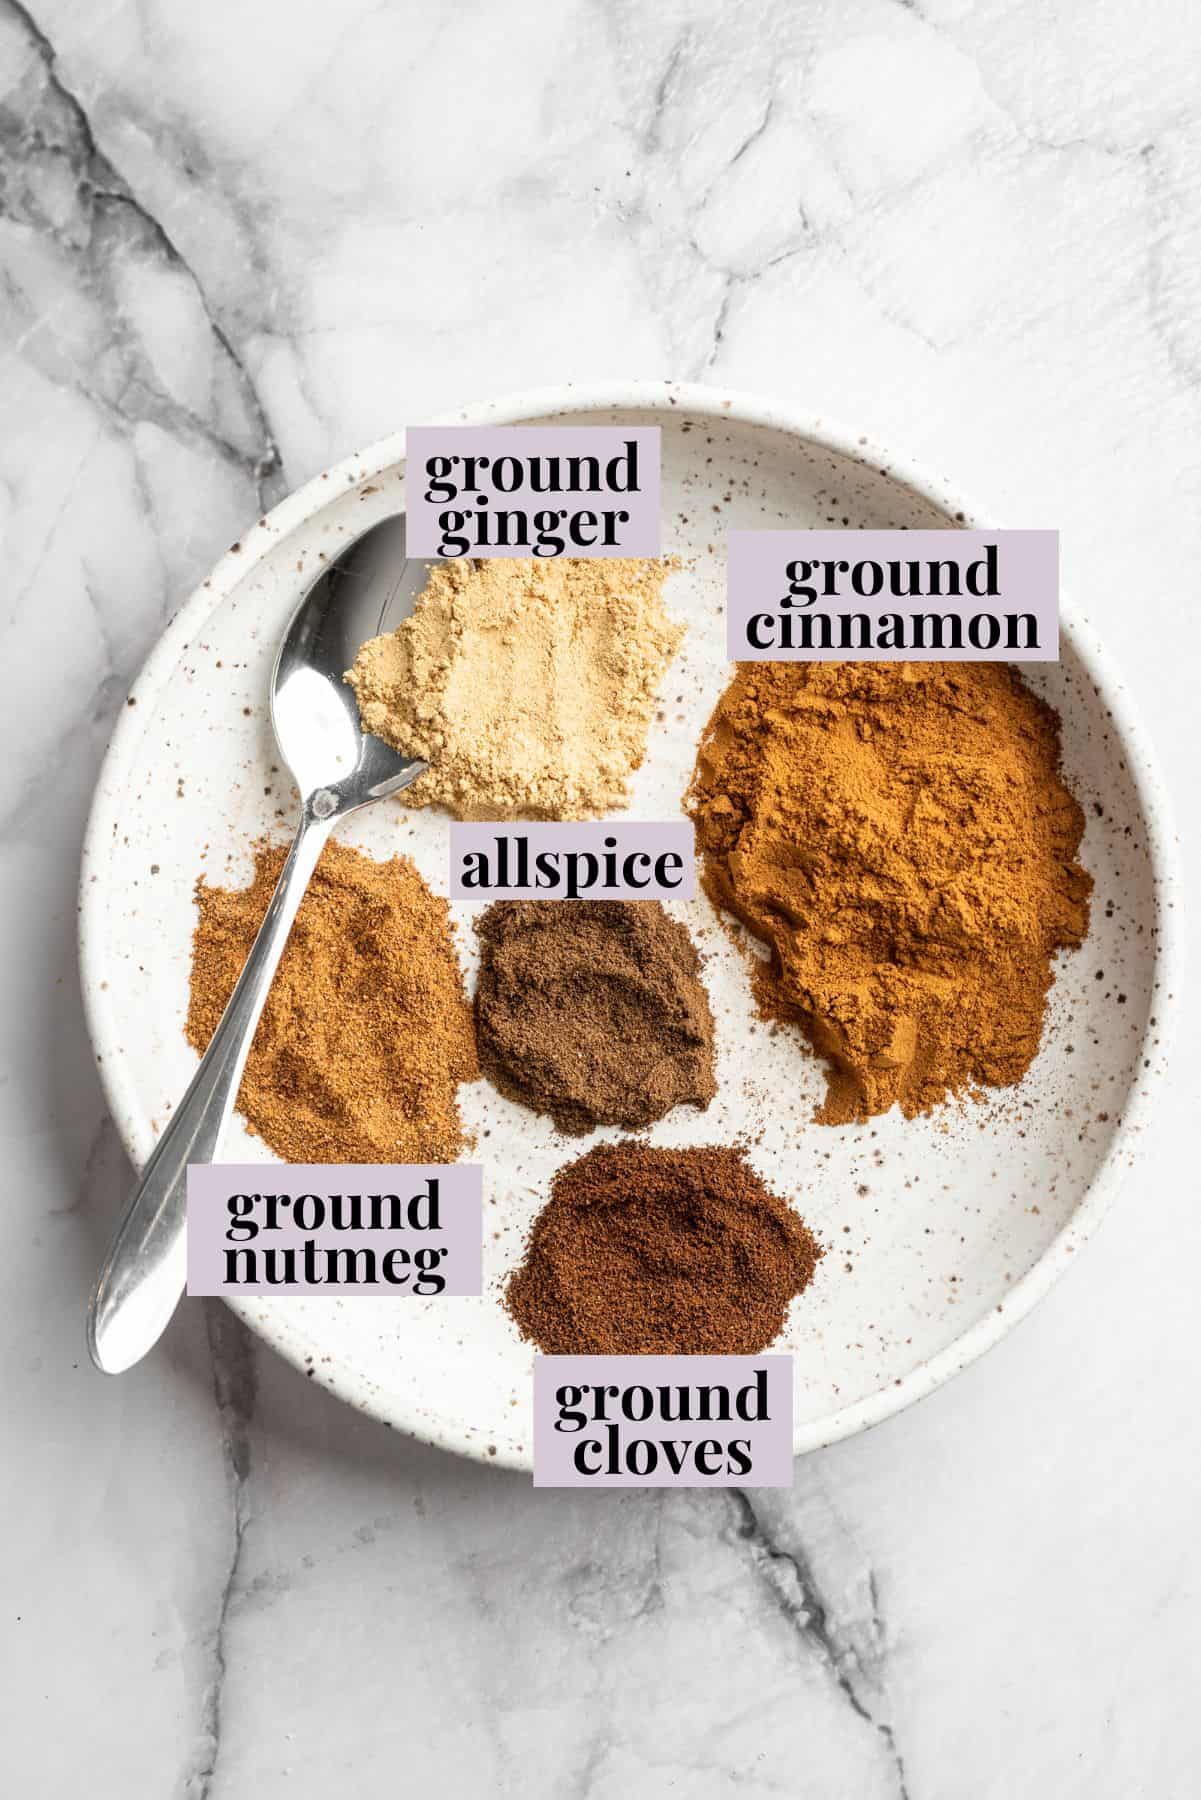
Here’s a quick look at what you’ll need to make pumpkin spice from scratch. Nothing fancy here! Scroll down to the recipe card to find the ingredient quantities.
- Cinnamon – For that pure warm, cozy flavour.
- Ginger – Ginger adds a bit of zing.
- Nutmeg – Another warm spice, nutmeg is also earthy and woodsy.
- Cloves – Pungent, spicy cloves give pumpkin pie spice some pep.
- Allspice – Allspice is not a blend of spices as some people think! It comes from the allspice berry, which is native to the Caribbean. That’s why you’ll also find it in Jamaican jerk and rice and peas !
How to Make Pumpkin Pie Spice
Gather your ingredients, then mix everything together in one bowl. How’s that for easy?
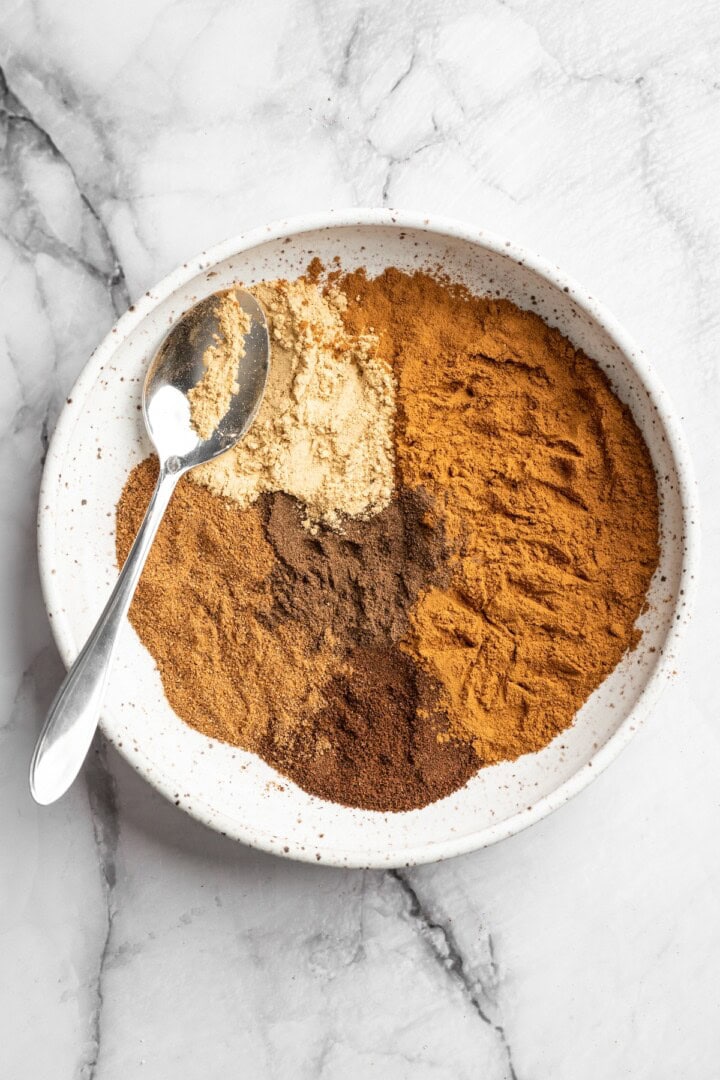
Combine the spices in a bowl.
- Combine . Mix all the spices together in a small bowl and funnel them into a jar, or just mix the spices right in the jar if you have enough space to stir.
- Store and use . Keep the jar in your pantry and use it for all your favourite pumpkin recipes.
Ways to Use Homemade Pumpkin Pie Spice
- Recipes . Like pumpkin bread , pumpkin cream cheese muffins , and pumpkin pancakes .
- Oatmeal . Sprinkle it over your oatmeal for some cozy flavour.
- Lattes . You don’t even need to make a pumpkin spice latte ! Just sprinkle some onto the foam of a regular latte instead of cinnamon.
- Chia pudding . Make this pumpkin chia pudding or just add some pumpkin pie spice to your favourite vanilla chia pudding recipe.
- Roasted butternut squash . Toss butternut squash with pumpkin pie spice and oil, roast it, then drizzle with a little maple syrup. It’s a side dish that tastes like a treat!

How to Store
Pumpkin pie spice won’t spoil, but the flavour will fade as time goes on. As long as the spices you use are fresh, it will last up to 3 years in an airtight container in a cool, dry place.
More Vegan Pumpkin Recipes
- Pumpkin Banana Muffins
- Pumpkin Waffles
- Vegan Pumpkin Cheesecake
- Pumpkin Brownies
- Pumpkin Chocolate Chip Muffins

Ingredients
- 3 tablespoons ground cinnamon , 21 g
- 2 teaspoons ground ginger , 5 g
- 2 teaspoons ground nutmeg , 5 g
- 1 teaspoon ground cloves , 2.1 g
- 1 teaspoon ground allspice , 2 g
Instructions
- Mix all the spices together and store in an airtight jar. Enjoy anywhere you use pumpkin pie spice! It’s as easy as pie!
