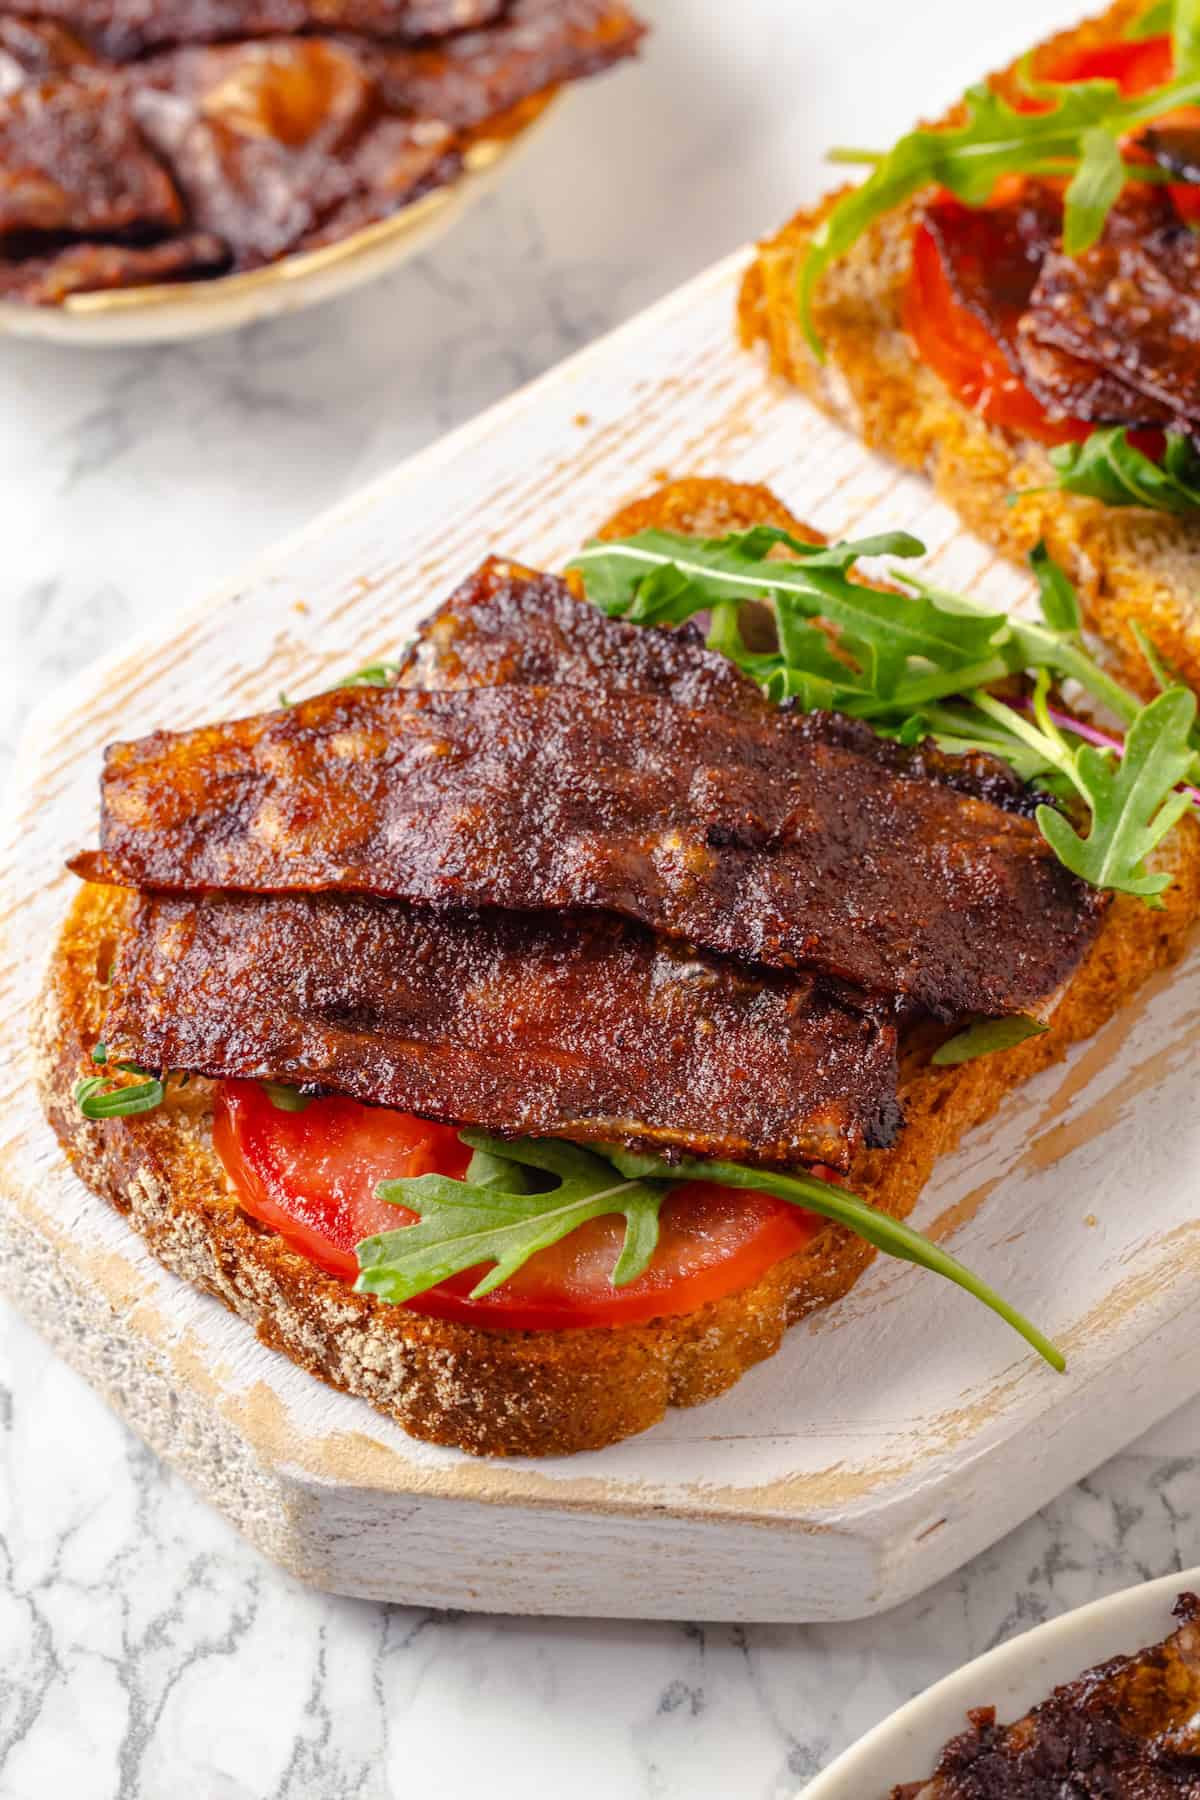
Rice paper makes this crispy vegan bacon the go-to when you want your bacon as crisp as the real deal! This rice paper bacon recipe is smoky, sweet, and savoury, perfect for adding to salads, sandwiches, and your breakfast plate.
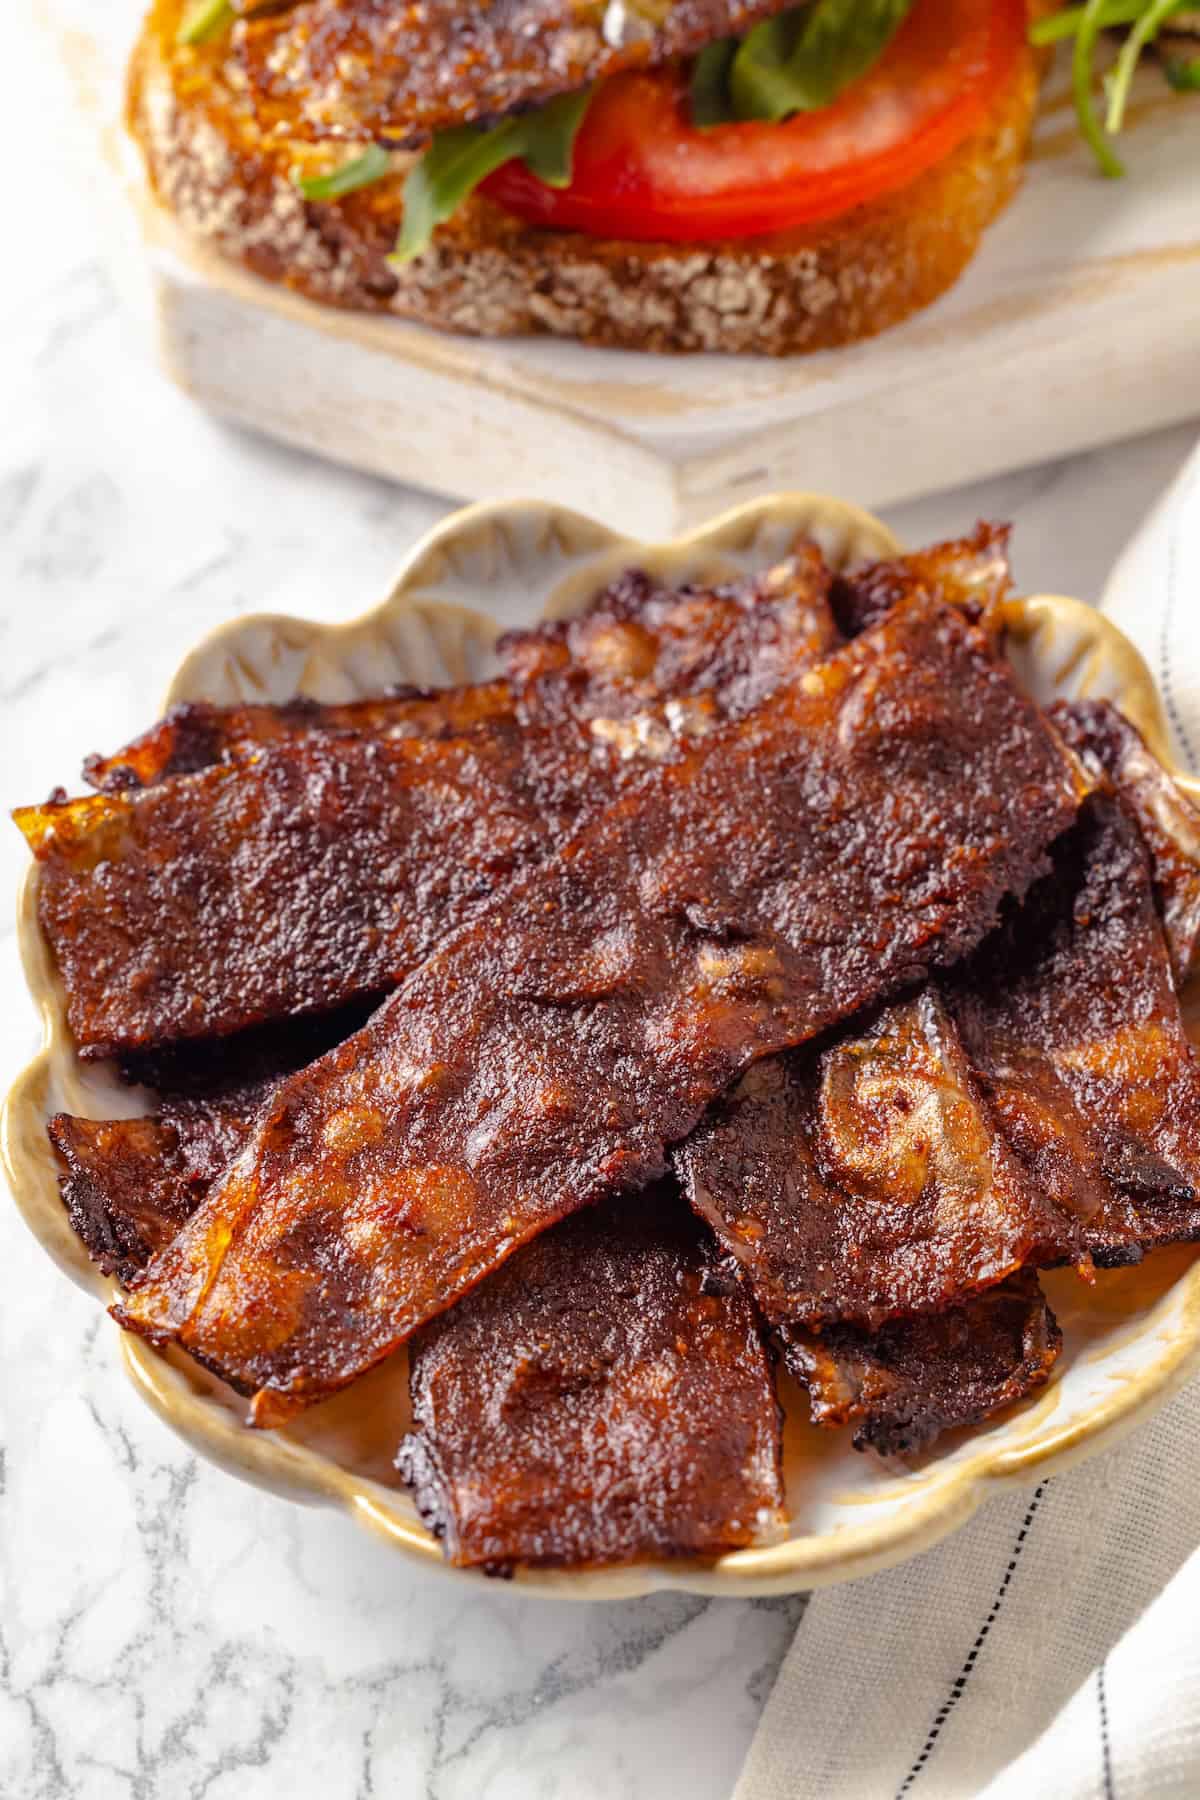
While there are many ways to do vegan bacon ( Tofu Bacon ! Tempeh Bacon ! Even Vegan Bacon Crumbles made with coconut!), none of them are as crispy as this rice paper vegan bacon! We’re talking all-caps CRISPY here. Unlike other vegan bacon alternatives made with tofu, tempeh, or seitan, rice paper is crisp rather than chewy. It also has a neutral taste, making it a blank canvas for adding those irresistible smoky, bacon-y flavours.
Why This Crispy Vegan Bacon Is Better Than Store-Bought
Yes, it’s a bold statement, but I stand by it! Here’s why you’ll never buy bacon at the grocery store again after trying this rice paper bacon recipe.
- Actually crispy . Store-bought vegan bacon is good in terms of flavour, but it’s hard to find versions that nail that crispy texture. This rice paper bacon does the trick!
- You know what’s in it . Store-bought vegan bacon is often heavily processed and can contain a lot of sodium, preservatives, and artificial flavors. When you make your own vegan bacon at home, you know exactly what’s in it!
- Budget-friendly . Making your own plant-based bacon is much more affordable than buying it from the grocery store. And once you have the ingredients in your pantry, you can make it anytime!
Notes on Ingredients
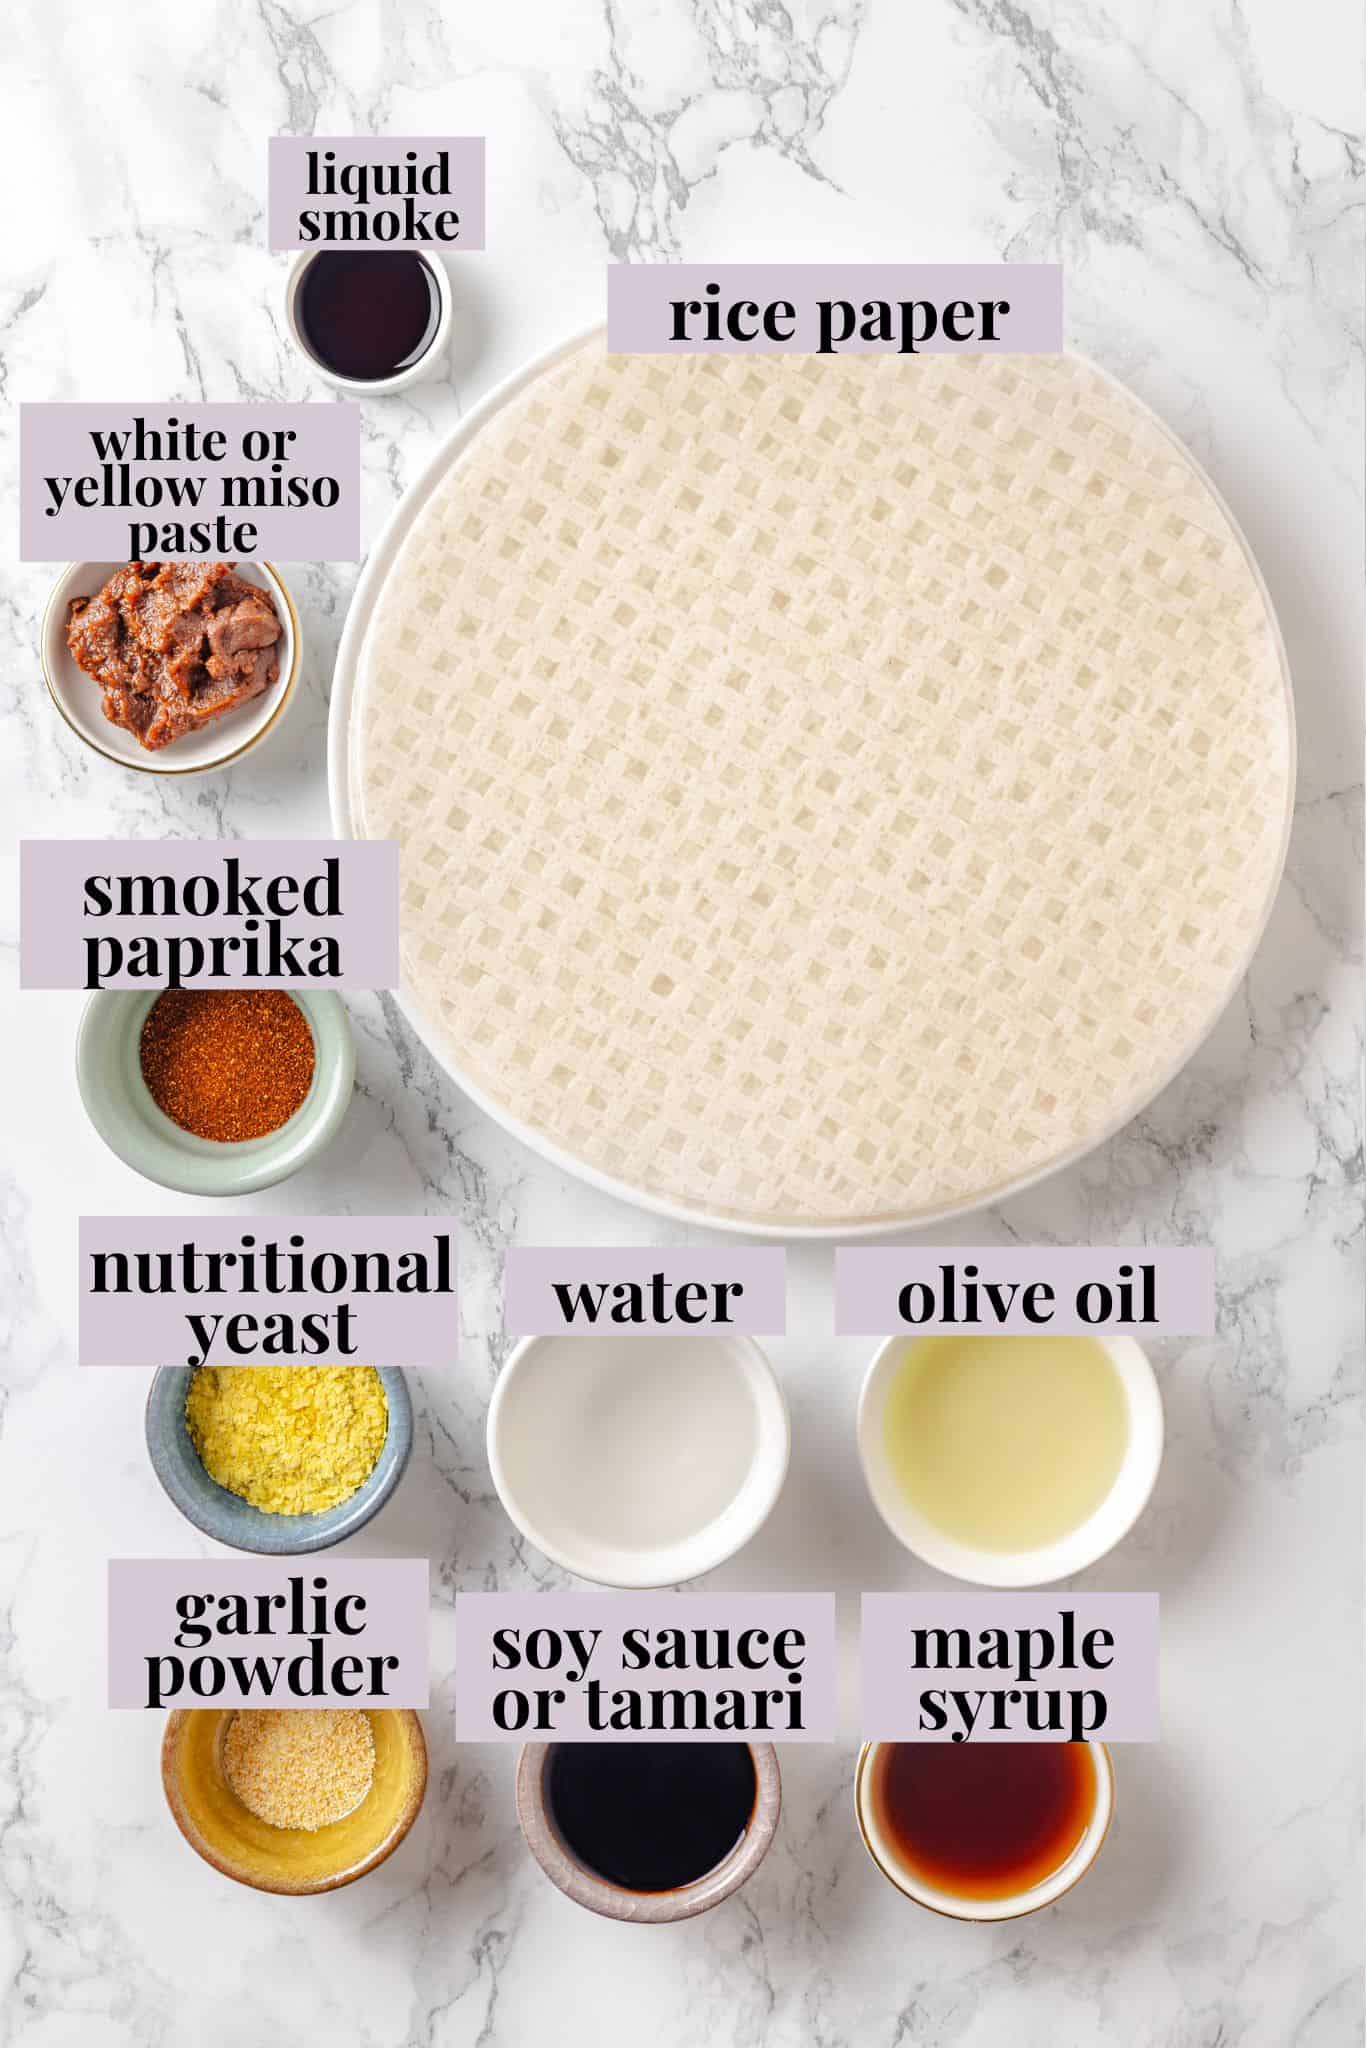
Here’s what you’ll need to make this rice paper bacon recipe. Scroll down to the recipe card to find the ingredient quantities and recipe instructions.
- Rice paper – The most important ingredient! If you’re not sure what this is or where to buy it, scroll down and I share more details.
- Soy sauce – You can use tamari for a gluten-free option.
- Miso paste – Provides a rich depth to the marinade; white or yellow miso works well, but avoid red miso, which is too salty for this recipe.
- Maple syrup – For a touch of sweetness. Brown sugar would also work, but you’ll need far less—I’d add 1 to 2 tablespoons, to taste.
- Olive oil – Or another oil you like to use for cooking.
- Seasonings – Nutritional yeast , smoked paprika, and garlic powder.
- Liquid smoke – Optional, but this will make your vegan bacon extra smoky.
What Is Rice Paper?
Rice paper is a thin, edible sheet made with rice flour, tapioca flour, salt, and water; it’s most commonly used for wrapping spring rolls. (I use them in this Summer Fruit Spring Roll recipe!) Out of the package, they are translucent and delicate, but when you soak them in liquid, the sheets of rice paper become pliable. You can find this ingredient in the international or Asian aisle at the grocery store, or at East Asian markets.
How to Make Rice Paper Bacon
Are you ready to transform rice paper into smoky, crispy vegan bacon? Here’s what you’ll need to do!

Make the marinade.
- Prepare . Preheat your oven to 375°F and line a baking sheet with parchment paper.
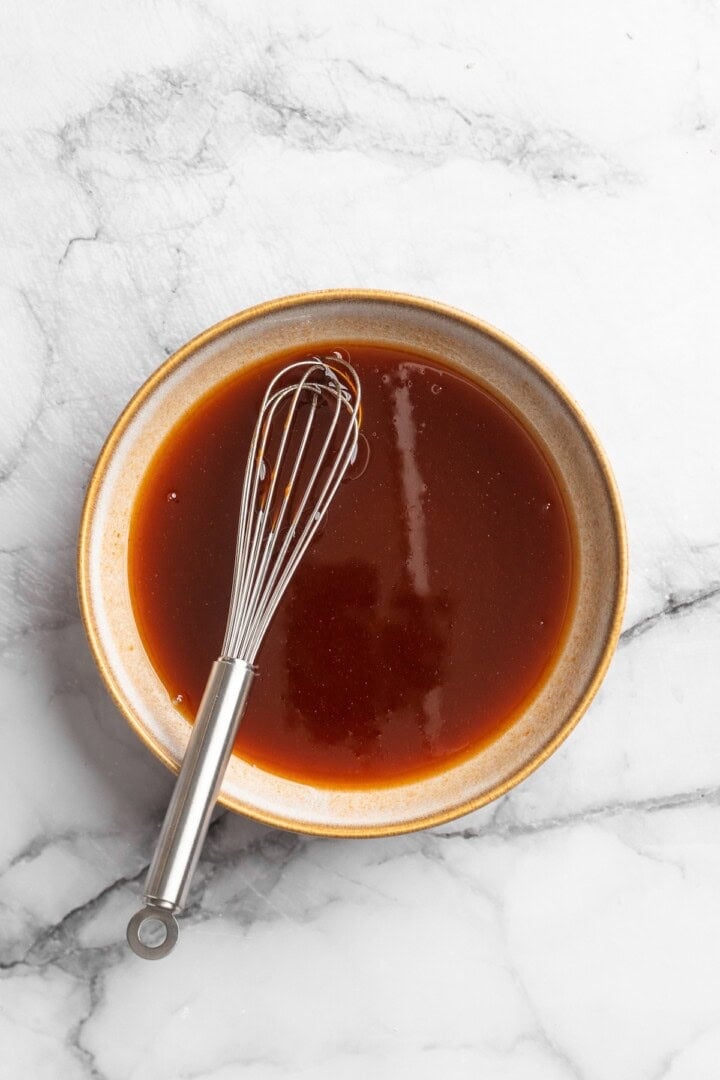
- Make the marinade . Whisk the soy sauce, miso, maple syrup, oil, seasonings, and liquid smoke in a small bowl. Whisk in the water a tablespoon at a time, until the liquid reaches a brushable consistency.
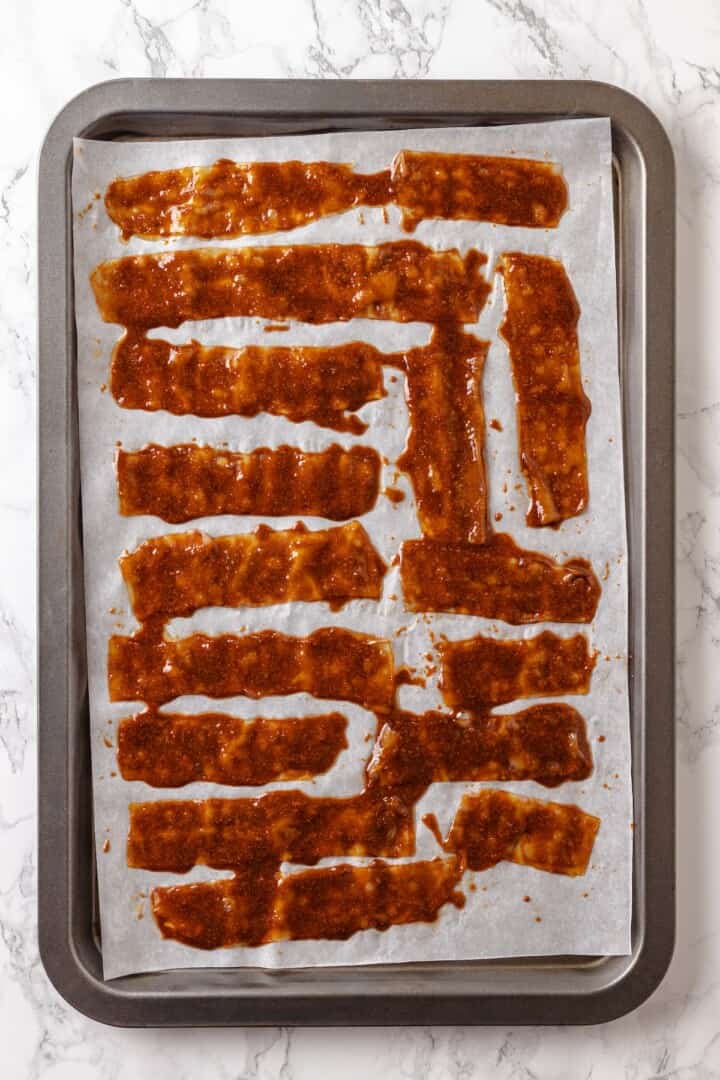
- Prep the bacon . Stack two rice paper sheets and dip them in water. Once softened, cut them into strips. Place the strips on the prepared baking sheet and brush both sides with the marinade.
Bake for a few minutes, then flip.
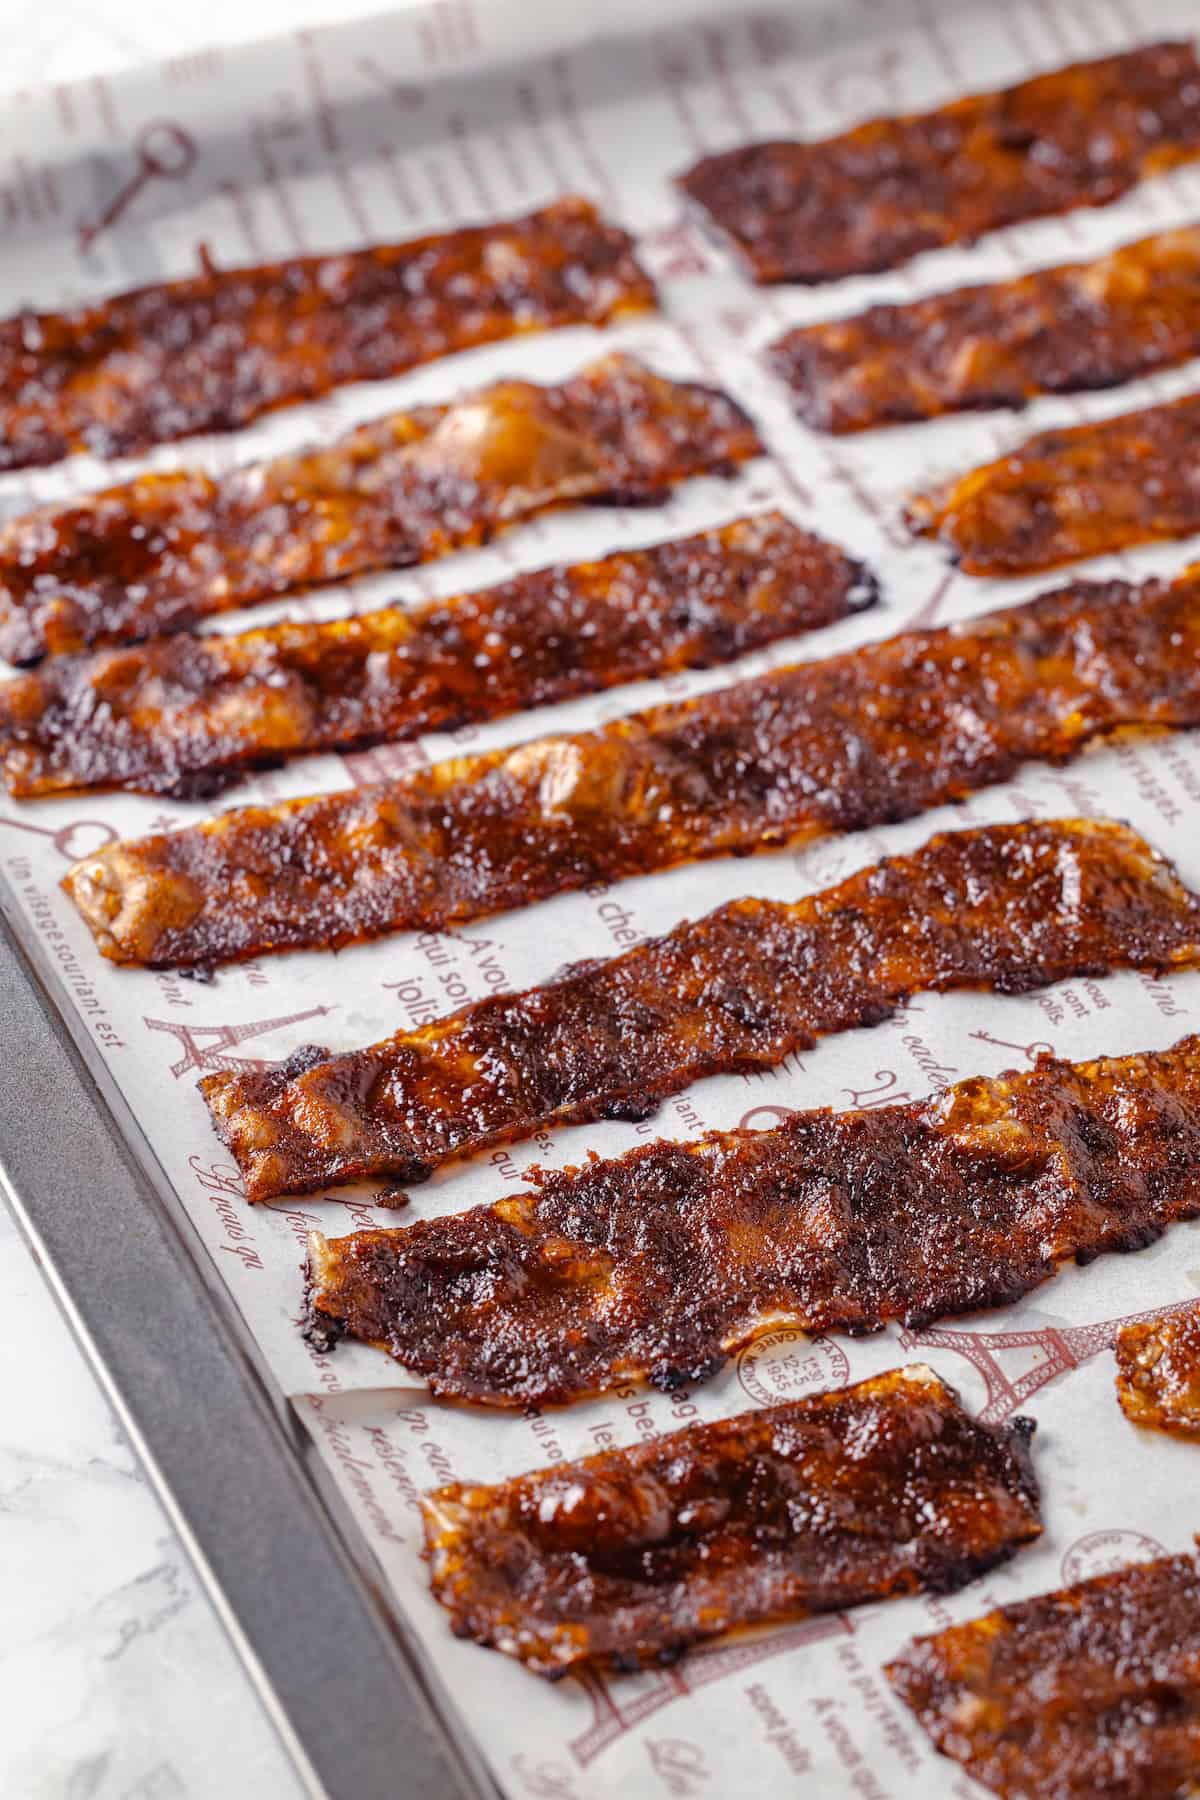
- Bake . Place the pan in the oven and bake for 7–10 minutes, flipping halfway through the cooking time.
- Serve . Cool for a minute or two, then serve.
Tips and Variations
- Use the liquid smoke for extra smoky flavour. If you want a more intense smoky flavour in your vegan bacon, don’t skip the liquid smoke. It really makes it taste like bacon!
- Make it spicy. Y’all know that I LOVE spicy food, so when I make vegan bacon, I like to add a pinch of cayenne for some heat.
- Cook a big batch. You can easily scale up the recipe and make a lot, but don’t overlap the strips of rice paper on the baking sheet; instead, lay them out on multiple baking sheets and cook in batches if needed. This will ensure your vegan bacon turns out crispy!
My Favorite Ways to Use This Vegan Bacon
Any way you’d use regular bacon, you can use this crispy rice paper bacon!
- For breakfast . Serve it alongside Fluffy Tofu Scramble for a vegan version of bacon and eggs.
- On top of salads. Crumble the bacon strips onto Vegan Cobb Salad .
- As a topping for pizza. It would be great on this Vegan Breakfast Pizza !
- In potato skins or baked potatoes. Like my Loaded Potato Skins .
- On burgers and sandwiches. Swap it into this Vegan BLT Sandwich recipe.
- In pasta dishes. You can also swap it into this Pasta Carbonara or sprinkle it over my Baked Vegan Mac and Cheese before serving.
How to Store
Store leftover rice paper bacon in an airtight container at room temperature for up to 2 days. Reheat in a 350ºF oven to restore the crispiness, if needed.
More Vegan Meat Swaps
- Vegan Chicken
- Sofritas (Chipotle Copycat)
- Vegan Turkey
- Carrot Lox
Ingredients
- 6 sheets rice paper
- 2 tablespoons soy sauce , or tamari for gluten-free, 30 mL
- 1 tablespoon white or yellow miso paste , 18 g
- 1 tablespoon maple syrup , 15 mL
- 1 tablespoon olive oil , 15 mL
- 1 tablespoon nutritional yeast , 5 g
- 1 teaspoon smoked paprika , 2.3 g
- ½ teaspoon garlic powder , 1.6 g
- ¼ teaspoon liquid smoke , optional, for extra smokiness, 1.25 mL
- 2 –3 tablespoons water , to thin the marinade, 30 – 45 mL
Instructions
- Preheat oven to 375°F (190°C) and line a baking sheet with parchment paper.
- In a small bowl, whisk together the soy sauce, miso paste, maple syrup, olive oil, nutritional yeast, smoked paprika, garlic powder, and liquid smoke (if using). Add water gradually, 1 tablespoon at a time, until the mixture is thin enough to brush onto rice paper.
- Stack two sheets of rice paper together. Briefly dip the stack into water until just softened—do not over-soak. Let excess water drip off and place the softened stack on a cutting board. Using kitchen scissors or a knife, cut into strips about 1 to 1.5 inches wide.
- Arrange strips on the prepared baking sheet, spaced slightly apart. Use a pastry brush to apply the marinade to both sides of each rice paper strip, coating evenly.
- Bake for 7–10 minutes, flipping halfway through. Watch closely, especially in the final minutes, as they can burn quickly.
- Let the strips cool for 1–2 minutes to crisp up further. Serve on salads, sandwiches, or vegan breakfast plates.
Notes

Vegan Rice Paper Bacon
Ingredients
- 6 sheets rice paper
- 2 tablespoons soy sauce or tamari for gluten-free, 30 mL
- 1 tablespoon white or yellow miso paste 18 g
- 1 tablespoon maple syrup 15 mL
- 1 tablespoon olive oil 15 mL
- 1 tablespoon nutritional yeast 5 g
- 1 teaspoon smoked paprika 2.3 g
- ½ teaspoon garlic powder 1.6 g
- ¼ teaspoon liquid smoke optional, for extra smokiness, 1.25 mL
- 2 –3 tablespoons water to thin the marinade, 30 - 45 mL
Instructions
- Preheat oven to 375°F (190°C) and line a baking sheet with parchment paper.
- In a small bowl, whisk together the soy sauce, miso paste, maple syrup, olive oil, nutritional yeast, smoked paprika, garlic powder, and liquid smoke (if using). Add water gradually, 1 tablespoon at a time, until the mixture is thin enough to brush onto rice paper.
- Stack two sheets of rice paper together. Briefly dip the stack into water until just softened—do not over-soak. Let excess water drip off and place the softened stack on a cutting board. Using kitchen scissors or a knife, cut into strips about 1 to 1.5 inches wide.
- Arrange strips on the prepared baking sheet, spaced slightly apart. Use a pastry brush to apply the marinade to both sides of each rice paper strip, coating evenly.
- Bake for 7–10 minutes, flipping halfway through. Watch closely, especially in the final minutes, as they can burn quickly.
- Let the strips cool for 1–2 minutes to crisp up further. Serve on salads, sandwiches, or vegan breakfast plates.
Notes
Nutrition
Vegan Rice Paper Bacon https://jessicainthekitchen.com/rice-paper-bacon/ July 23, 2025
These cauliflower bites are crispy, crunchy, tasty snacks coated in a sweet-and-spicy sweet sriracha sauce for ALL the flavour. They’ll turn anyone into a cauliflower lover!

Cauliflower bites and wings are some of my favourite recipes to make and eat. And judging by the response when I post them, you love them too! I have endless options to choose from, whether it’s Mango Habanero Cauliflower Wings , Sticky Sesame Cauliflower Wings , or BBQ Cauliflower Wings , but if you want crispy-crunchy bites with the perfect balance of sweet and spicy, these sweet sriracha cauliflower bites are for you, my friend!
What Makes These Cauliflower Bites a Hit
Cauliflower is so versatile, you can use it in anything and it comes out beautifully. This is one of those meatless recipes that will have the meat lovers come a-running.
- Perfect crispy coating . The almond milk coating provides a light battering and the gluten-free breadcrumbs create a crunchy exterior, all without the usual egg and dairy.
- Tender insides . Under that crispy coating is meltingly tender cauliflower. These cauliflower bites are pretty reminiscent of nuggets, just twenty times better!
- Sweet heat . I LOVE spicy food (see my Scotch Bonnet Pepper Hot Sauce for evidence!), but it’s even better when the heat is balanced with sweet, which is exactly what you get in these cauliflower bites.
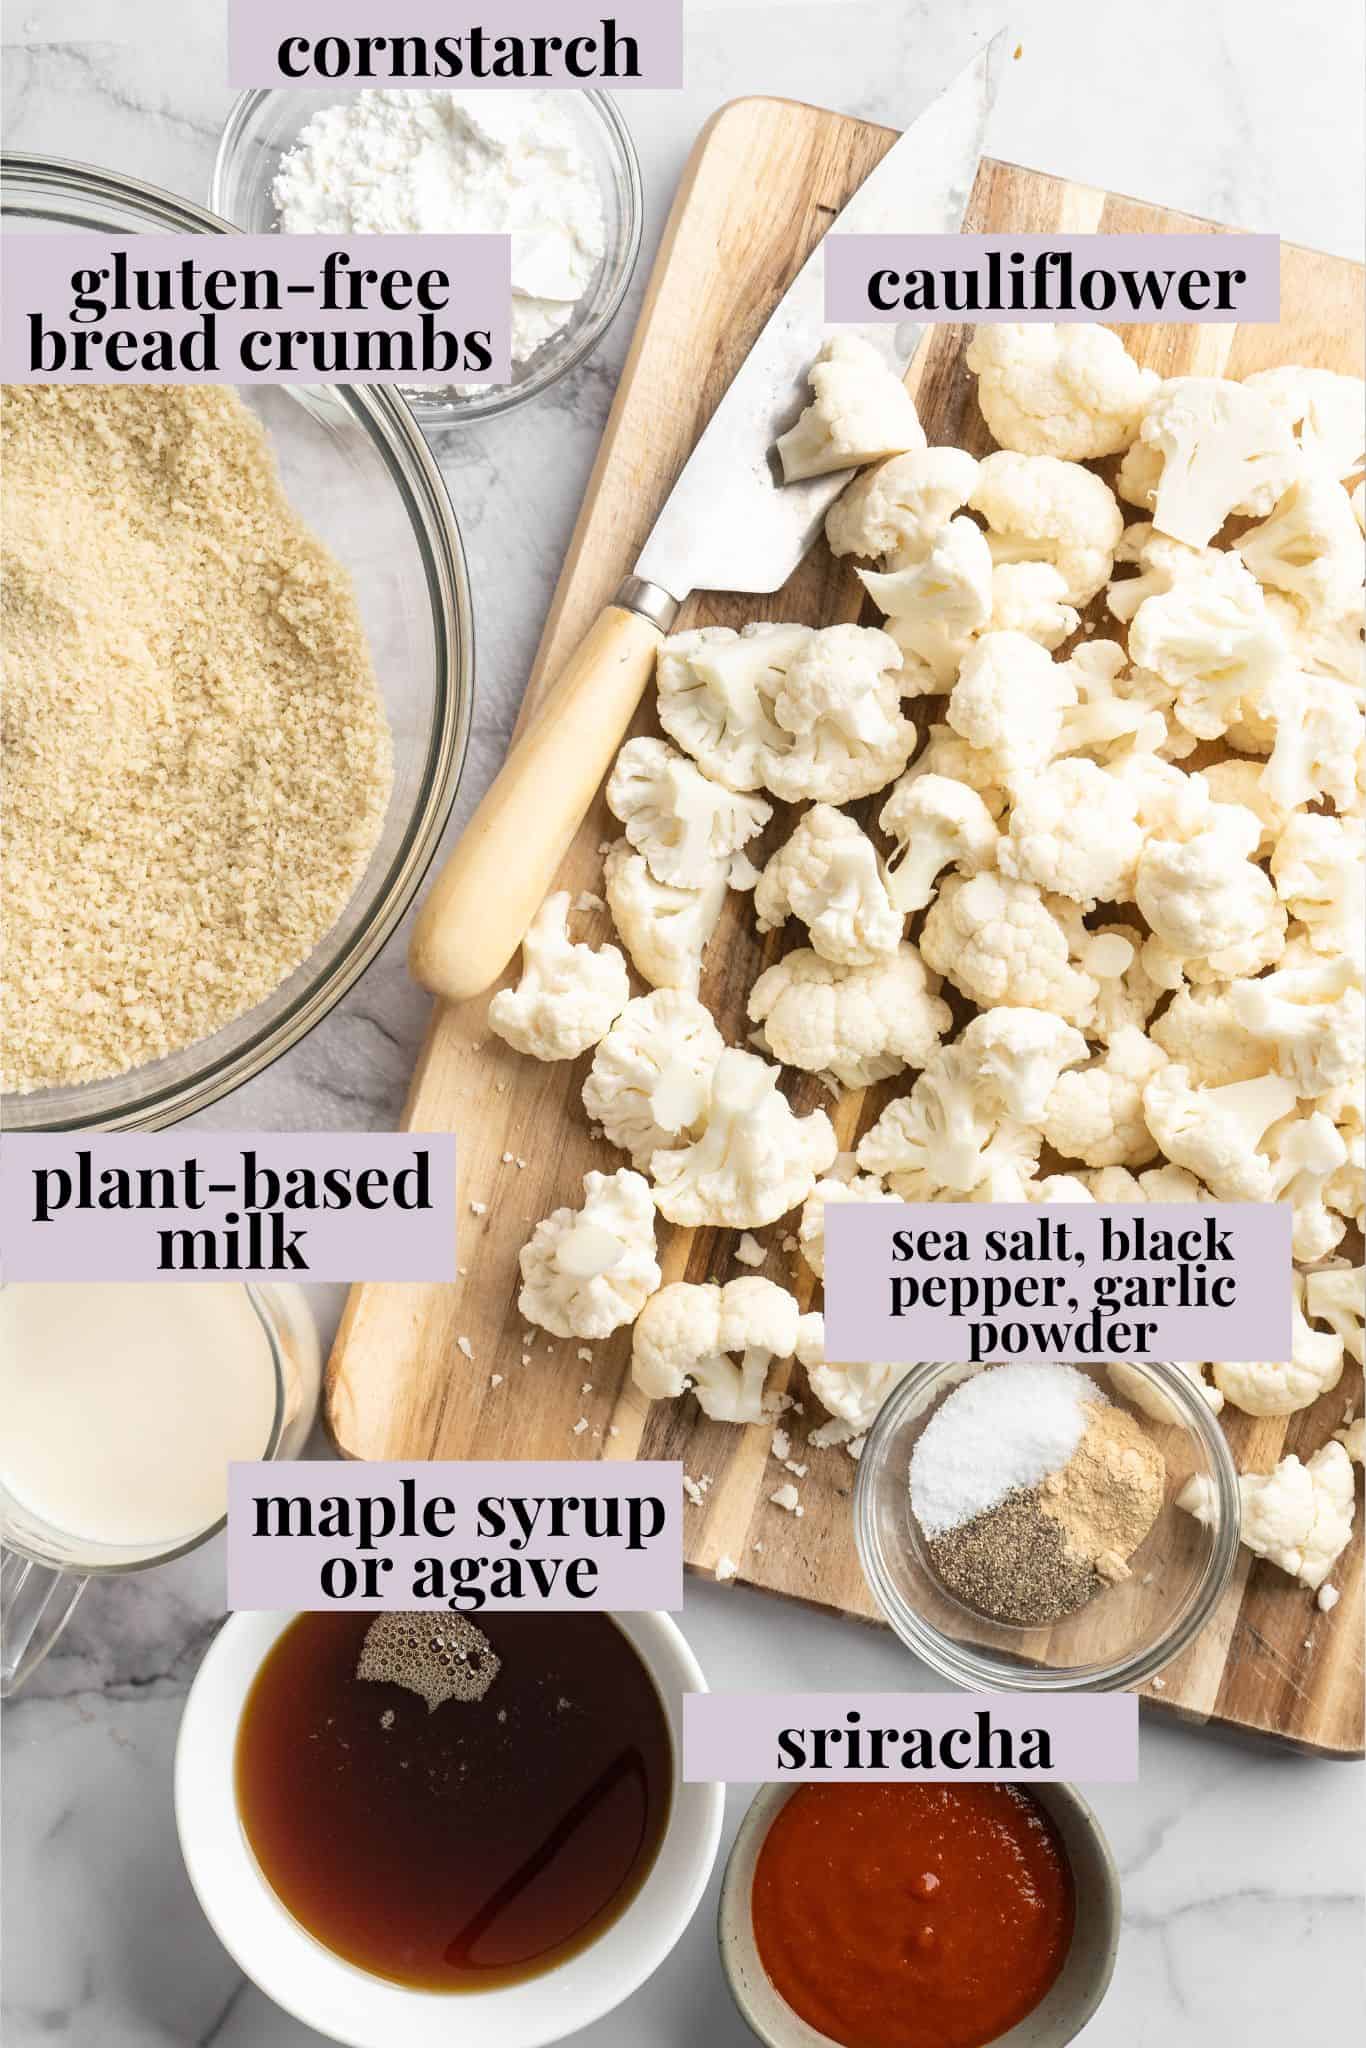
Notes on Ingredients
You’ll be surprised how short the ingredient list is for these cauliflower bites! Scroll down to the recipe card to find the ingredient quantities and recipe instructions.
- Cauliflower – You can buy a head of cauliflower and break it into bite-sized pieces or buy a bag of pre-cut cauliflower to save on prep time. Just don’t use frozen cauliflower, which bakes up too mushy for this cauliflower bite recipe.
- Plant milk – Any kind you like, as long as it’s unsweetened and unflavoured.
- Cornstarch – Or arrowroot, if you prefer.
- Seasonings – Sea salt, ground black pepper, and garlic powder.
- Gluten-free breadcrumbs – Or regular breadcrumbs if you’re not gluten-free.
- Sriracha – I use a generous amount to make these cauliflower bites spicy, but you can use less for a milder flavour!
- Sweetener – I use maple syrup or agave.
How to Make Cauliflower Bites
You know what I love about this recipe? You don’t need to dredge the florets one by one! All the cauliflower is tossed in the batter, then the breadcrumbs. Here’s how easy it is:
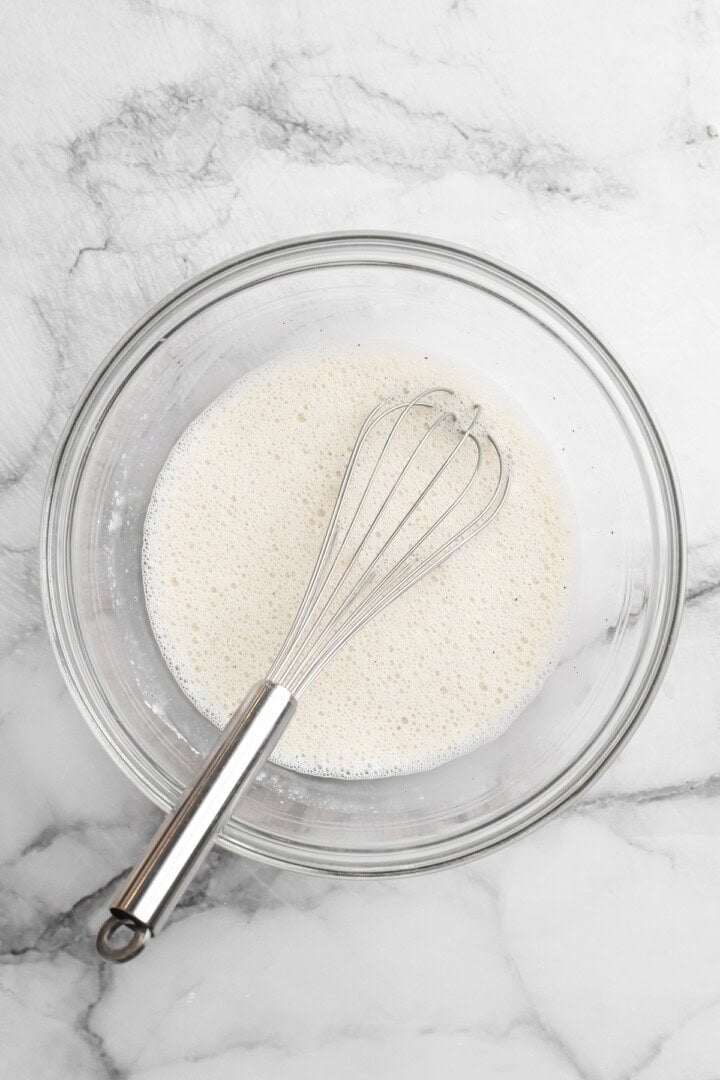
Make the batter.
- Prepare . Preheat your oven to 450℉ and grease a baking sheet.
- Make the batter . Whisk the plant milk with a teaspoon of salt, a teaspoon of pepper, and garlic powder, then whisk in the cornstarch until smooth.
- Batter the cauliflower . Break the cauliflower into florets then toss with the batter.
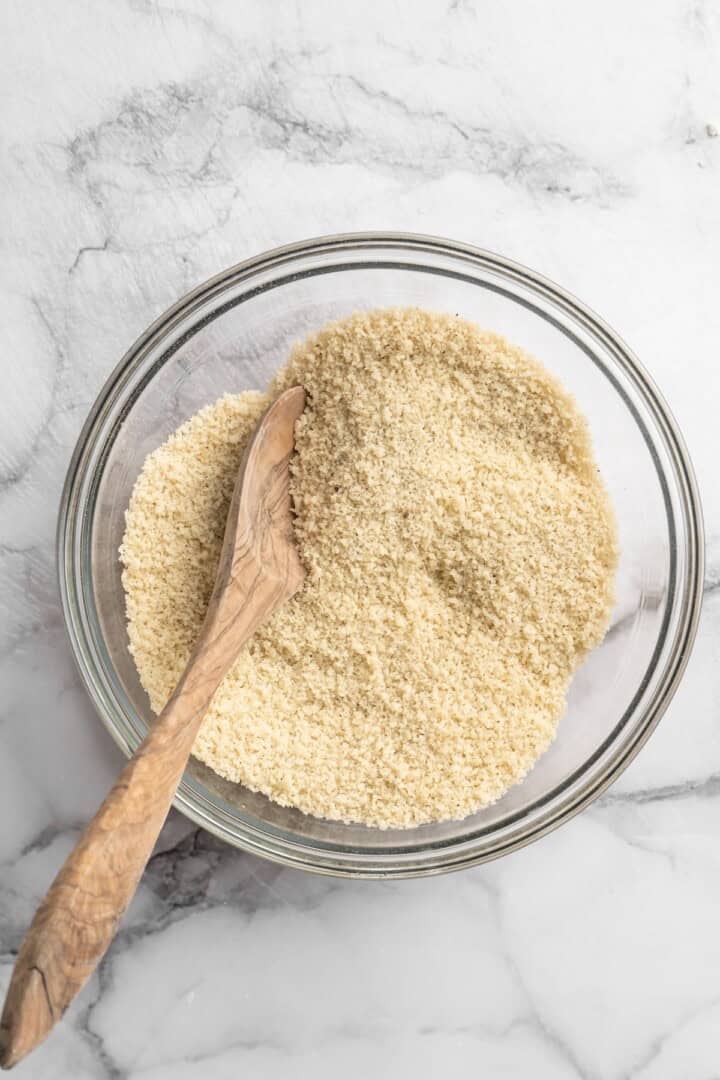
Season the breadcrumbs.
- Coat with breadcrumbs . Whisk the breadcrumbs with the remaining salt and pepper, then toss the cauliflower in this mixture.
- Bake . Spread the cauliflower bites on the baking sheet. For extra crispiness and a golden brown colour, spray the bites with oil or cooking spray. Bake for 18 to 20 minutes.
Make the sauce.
- Make the sauce . Whisk the sriracha and sweetener together.
- Serve . Plate the cauliflower bites with a bowl of the sauce for dipping, drizzle the sauce over the bites, or toss the bites in the sauce. (The last option gives you the most flavour, but the coating will soften if you don’t eat them immediately!)
Tips and Variations
- Cut the cauliflower florets into even sizes . This way, it will all bake at the same rate and the bites will be done cooking at the same time.
- Adjust the size of the florets to adjust the texture . For cauliflower bites that are softer in the centre, cut the florets smaller. If you want the cauliflower crunchier, you can cut larger florets.
- Try another sauce . You can use store-bought teriyaki sauce, use Frank’s Red Hot Sauce mixed with melted vegan butter, or any other sauce you like with these cauliflower bites. Or try double dipping and cool down the sweet sriracha with some Vegan Ranch Dressing !

Serving Suggestions
Cauliflower bites are a crowd-pleasing snack—but I also like making a batch to snack on by myself! If I’m making them for a party, I pair them with other vegan apps like Creamy Vegan Queso and Pretzel Bites .
I also like making this recipe for dinner. We pair it with mains like Quinoa Burgers or Vegan Fried Chicken .
How to Store and Reheat Leftovers
- Refrigerator : Store the sauce and the cauliflower bites separately. The sauce will last up to 2 weeks in the refrigerator, and the cauliflower bites can be kept in an airtight container for up to 4 days. I don’t recommend freezing this recipe, as the cauliflower will be quite mushy afterwards.
- To reheat : Warm up the cauliflower in a 400ºF oven or the air fryer . You can also microwave them, but the coating won’t be crispy.

More Recipes for Cauliflower Lovers
- Cauliflower Steaks
- Orange Cauliflower
- Butter Cauliflower
- Cauliflower Pizza Bites
Ingredients
Cauliflower Bites:
- 1 head of cauliflower
- ½ cup plant milk , 120 mL
- 3 teaspoons cornstarch , 9 g
- 1 ½ teaspoons sea salt , 9 g
- 1 ½ teaspoons ground black pepper , 3.2 g
- ½ teaspoon garlic powder , 3.2 g
- 1 ½ cups gluten free bread crumbs , 180 g
Sweet Sriracha Sauce:
- 3 tablespoons sriracha , 48 g
- ½ cup maple syrup or agave , 160 g
Instructions
- Preheat the oven to 450℉/232℃ and grease a cookie sheet. Set aside.
- Mix plant milk, 1 teaspoon salt, 1 teaspoon pepper and garlic powder together in a bowl. Add cornstarch, whisking together to prevent lumps from forming. Set aside.
- Remove florets from the cauliflower (aka don’t use the stem).
- Chop the cauliflower into smaller pieces, the desired size of your bites. Toss the cauliflower in the seasoned batter mixture made earlier until coated.
- Season the breadcrumbs with the remaining ½ teaspoon sea salt and ½ teaspoon ground black pepper and then toss the battered cauliflower in the bread crumbs until coated.
- Spread out on cookie sheet, and optionally spray the bites with a cooking spray again to help with colour and crisping. Bake for 18-20 minutes.
- Remove from oven and serve immediately.
Sweet Sriracha Sauce
- Whisk all the ingredients together and serve with bites.
Notes
- You can use arrowroot starch instead of cornstarch.
- Refrigerator: Store the sauce and the cauliflower bites separately. The sauce will last up to 2 weeks in the refrigerator, and the cauliflower bites can be kept in an airtight container for up to 4 days. I don’t recommend freezing this recipe, as the cauliflower will be quite mushy afterwards.
- To reheat: Warm up the cauliflower bites in a 400ºF oven or the air fryer . You can also microwave them, but the coating won’t be crispy.
