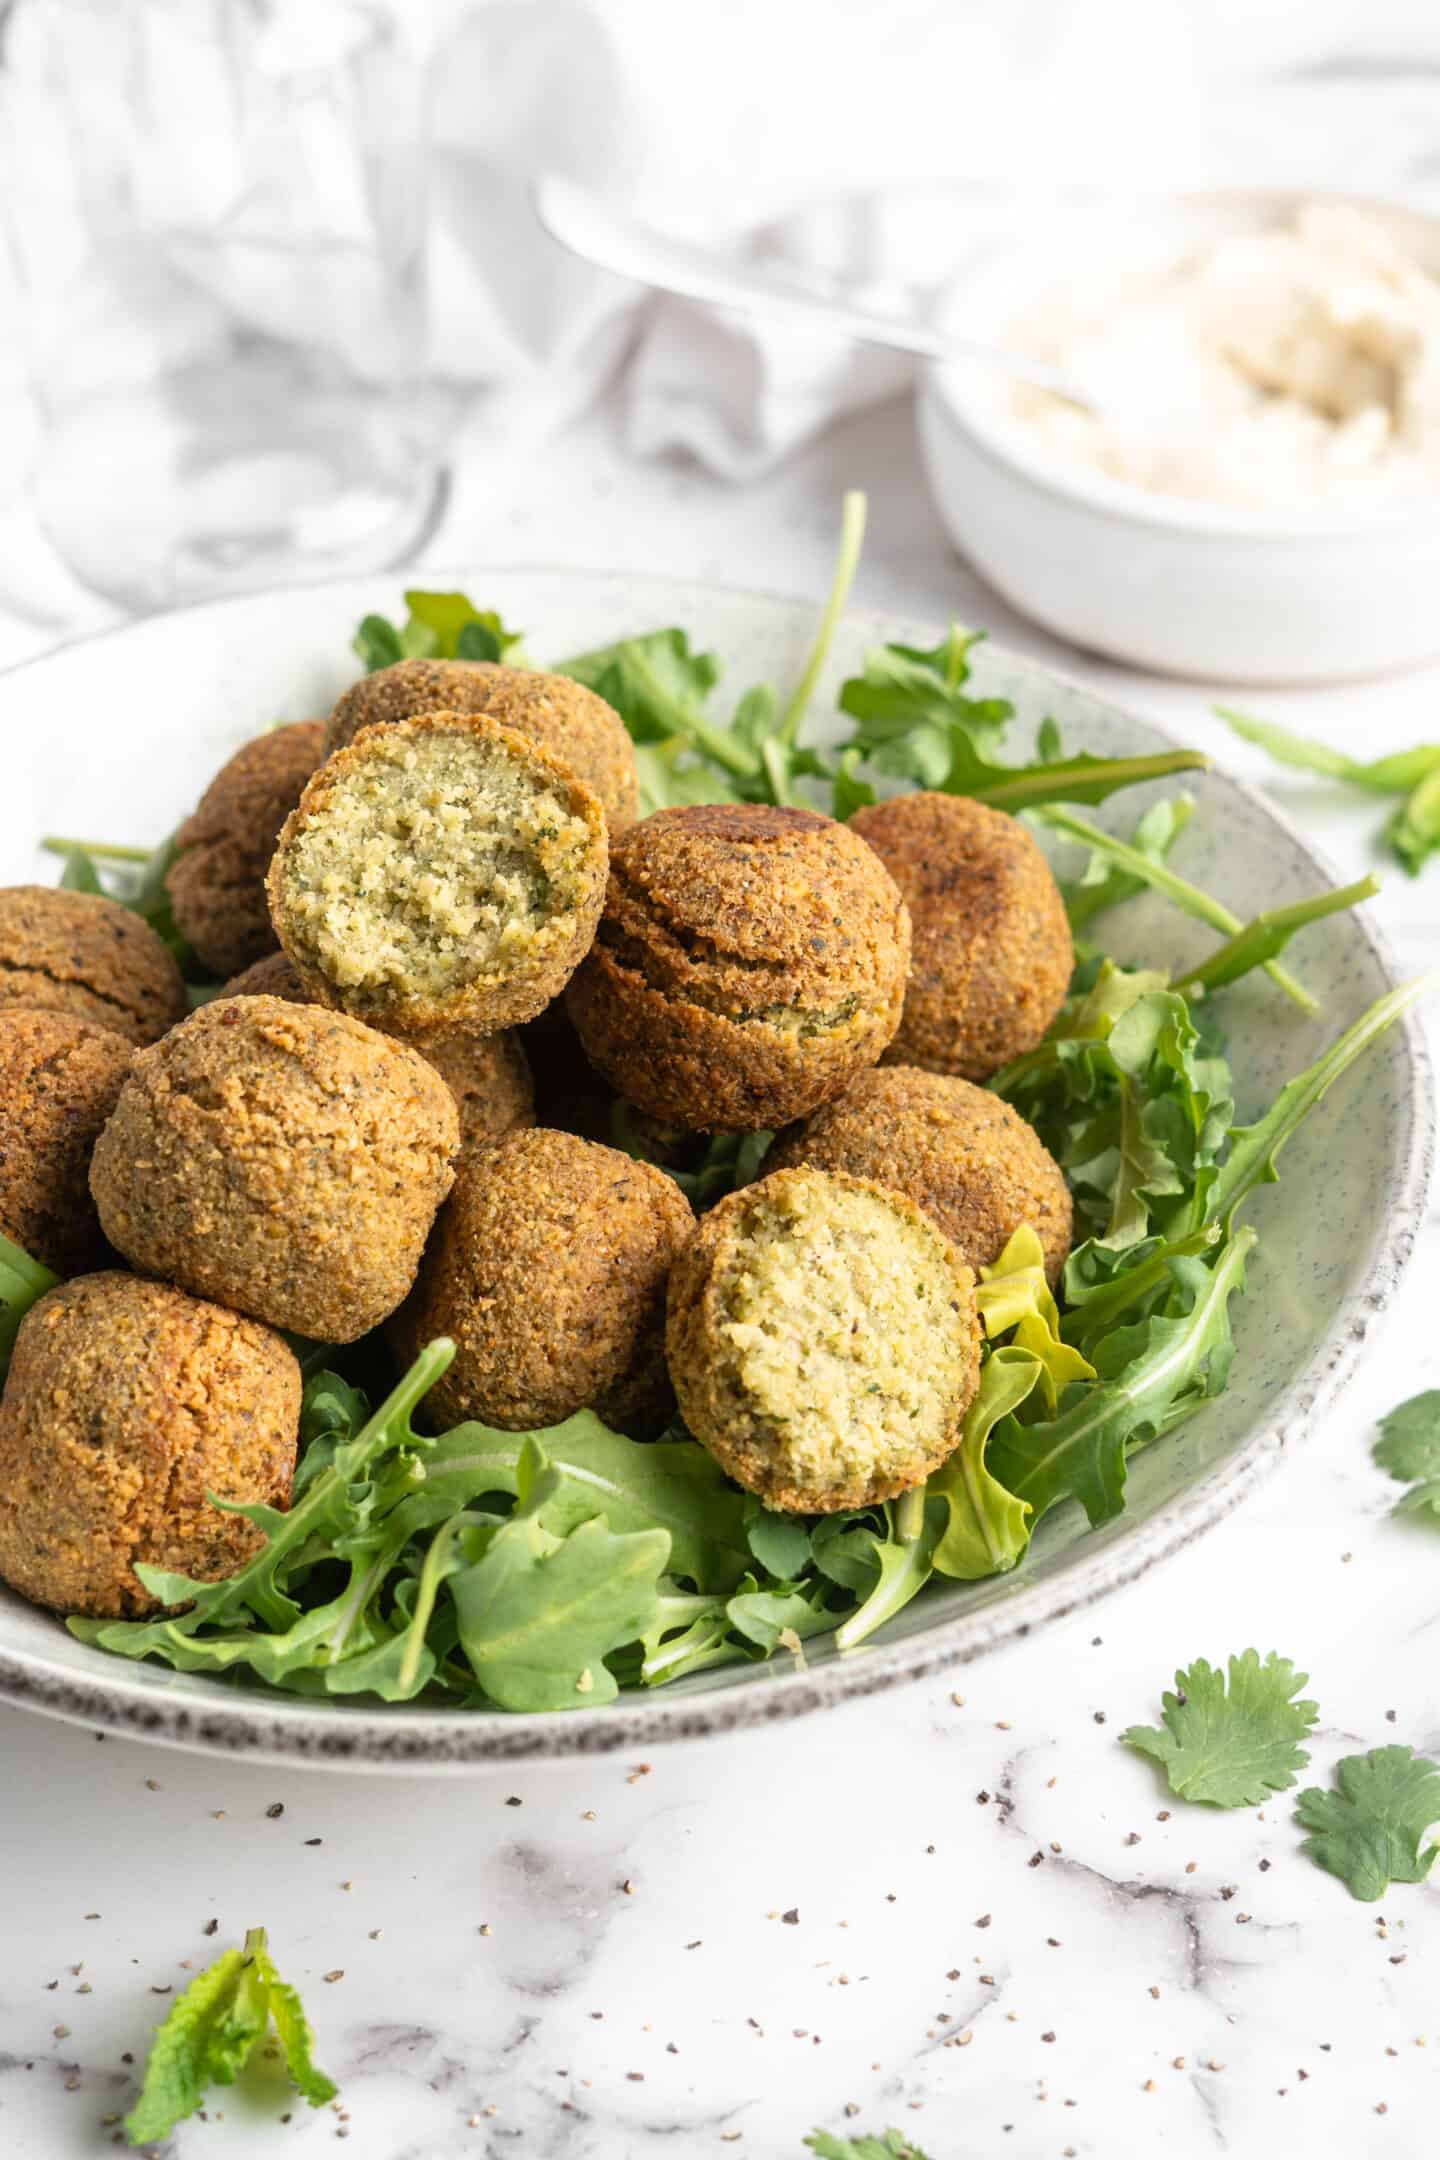
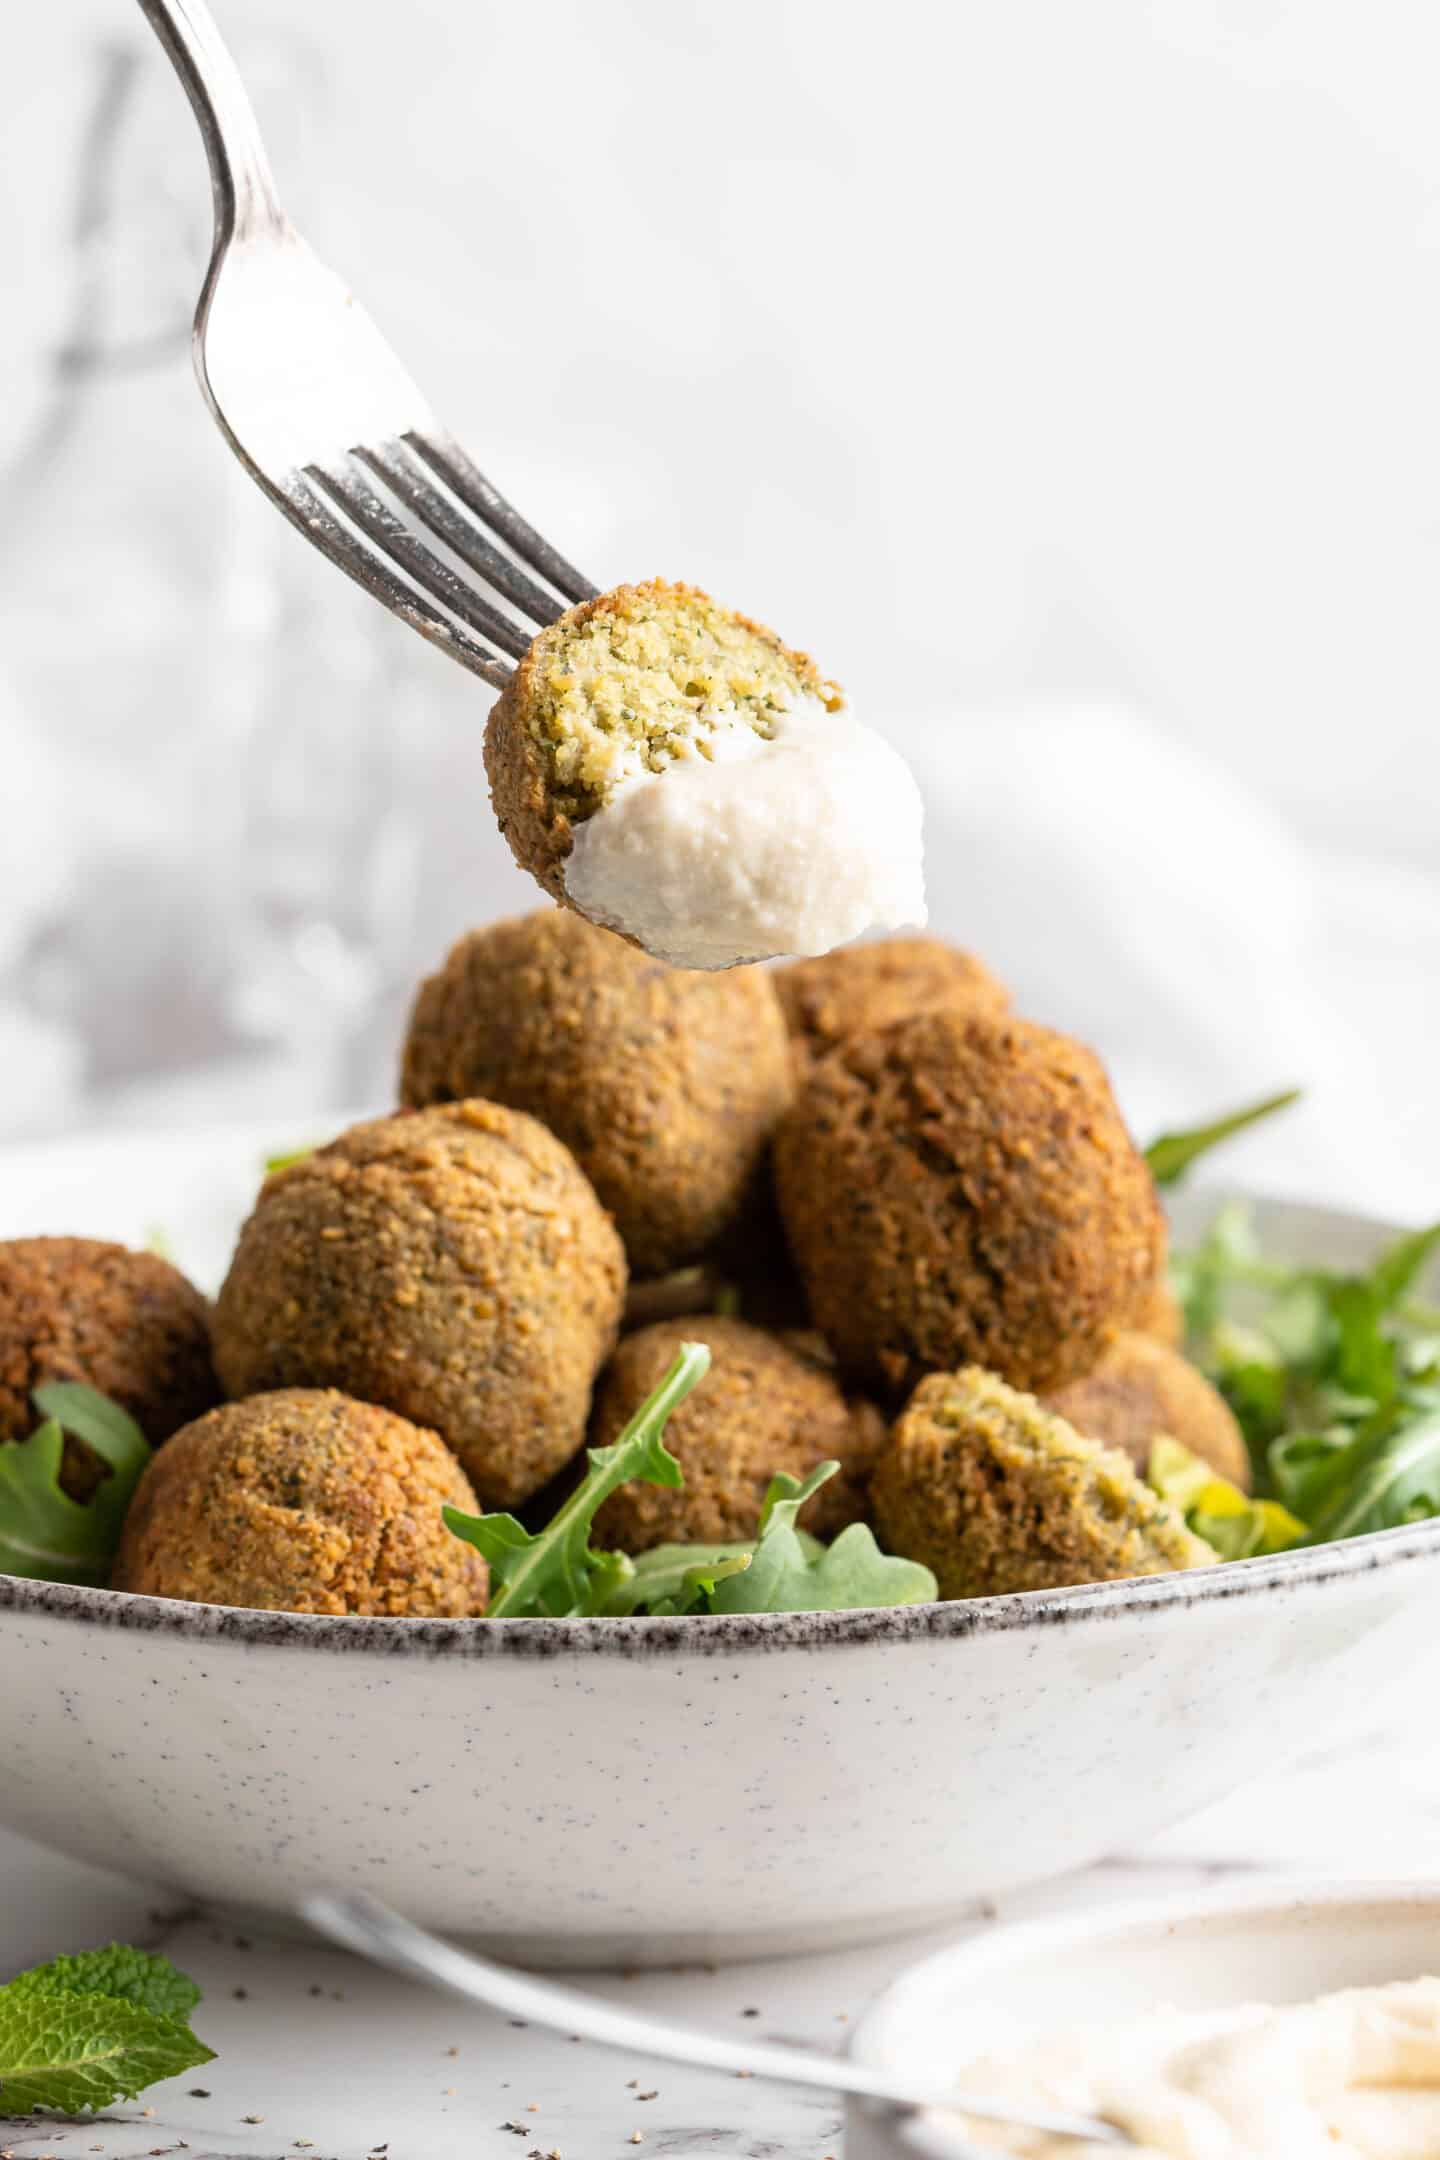
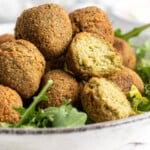
This restaurant-style homemade falafel is perfectly seasoned, crispy on the outside, and everything you want your falafel to be! Tuck it into pita bread and drizzle it with tahini, or just eat it as-is for a tasty vegan snack!
As a vegan, falafel is one of my go-to restaurant orders because it’s naturally plant-based. There’s no awkward, “Yes, I’ll order this, but can you make it without butter? And cheese?” or “Is this soup made with beef stock?” because falafel is made with chickpeas, herbs, and spices. No hidden butter or beef stock!
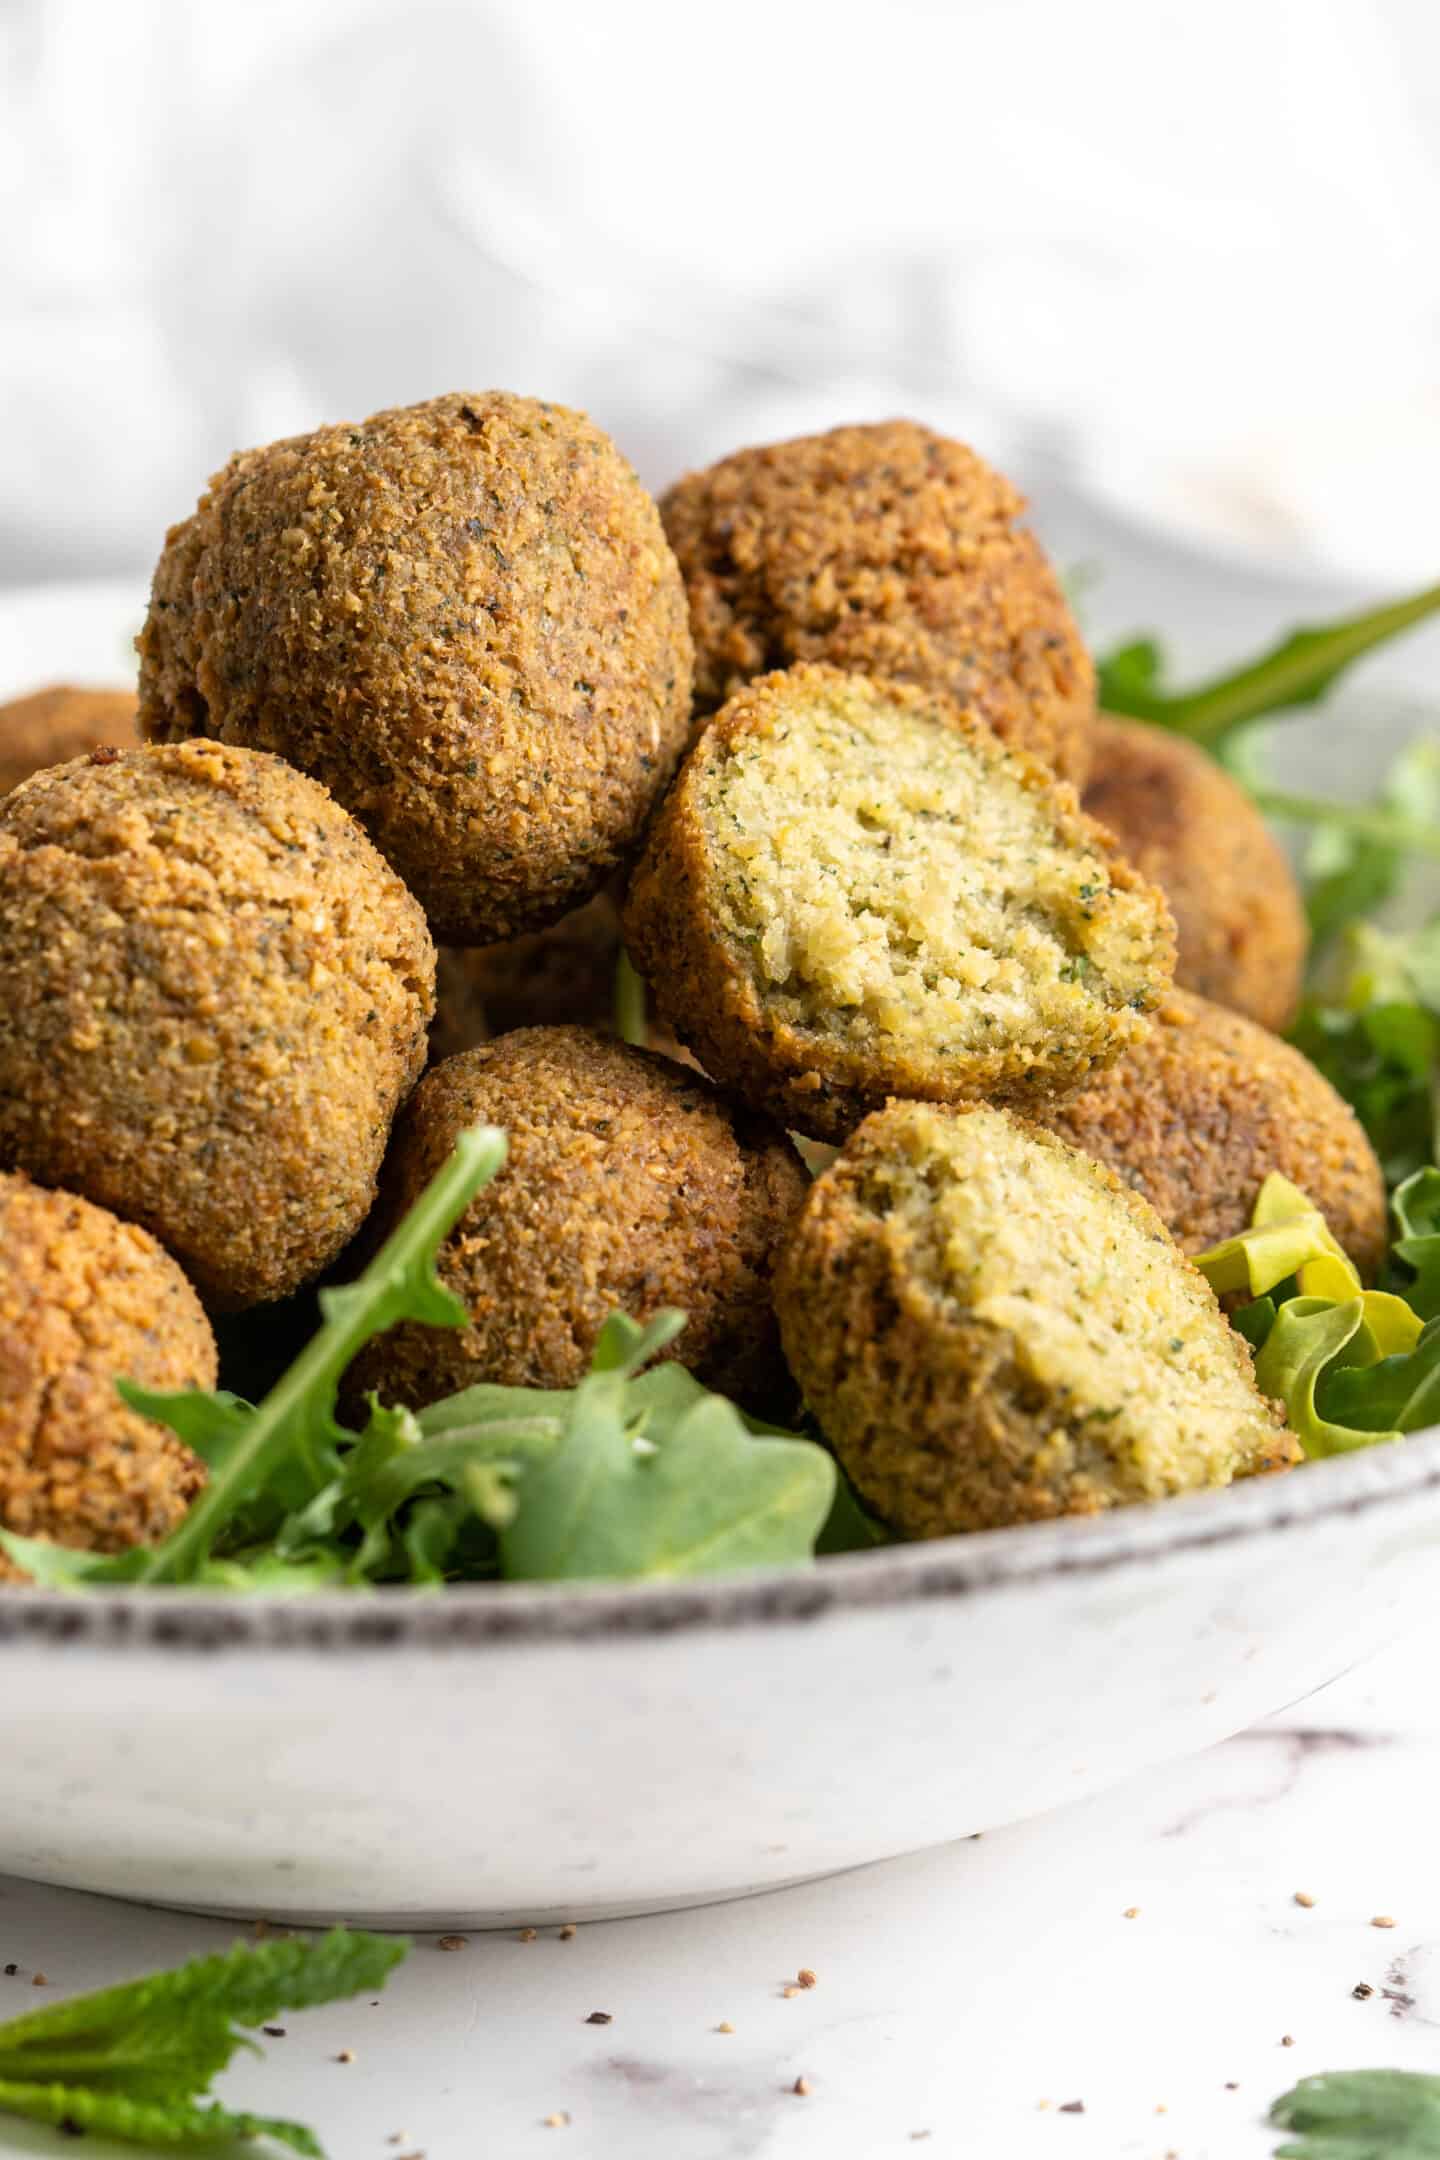
And falafel is so good . It has that irresistibly crispy exterior, the pillowy soft inside, and it’s delicious paired with some of my other favourite foods—namely, fluffy pita bread and tahini sauce . But up until now, I could never get homemade falafel to taste like the kind they serve at restaurants.
Well, I’ve figured out the secret: it’s deep frying.
I know, a lot of people have an aversion to deep frying. I get it! And for you, there’s a baked version of this falafel recipe below. But if you’re game for frying the falafel, you will get perfect restaurant-style falafel at home. Crispy, golden brown, soft on the inside, and just all around amazing.
Obviously, we’re not going to be deep frying every meal every day of the week, but I believe in everything (well, everything except meat and dairy) in moderation, and like my homemade vegan donuts , this falafel recipe is totally worth it.
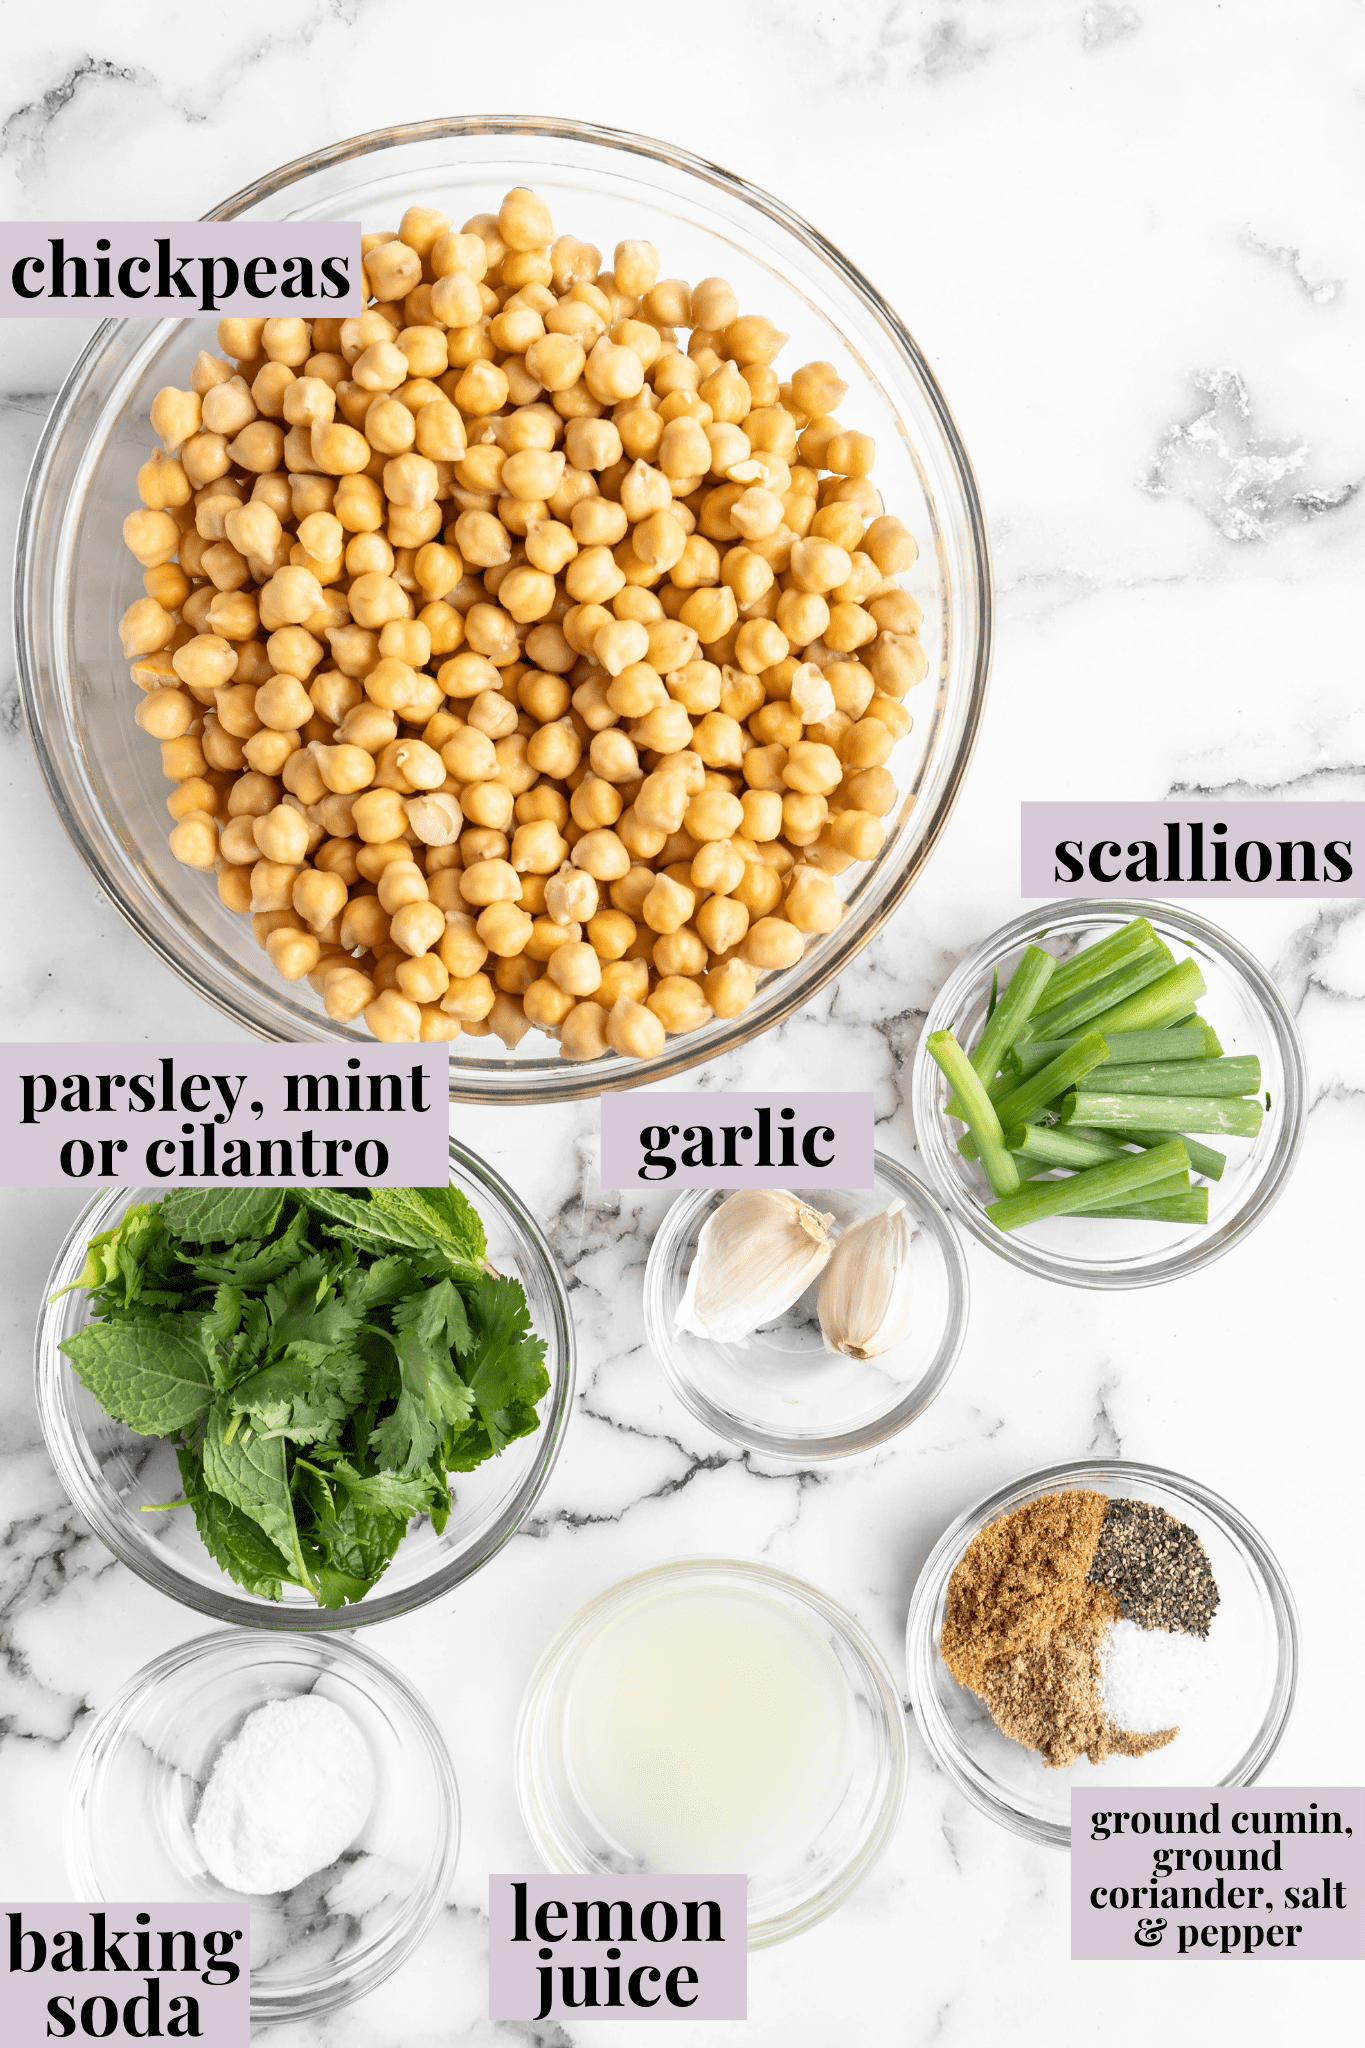
Notes on Ingredients
Please note that this is important information on the ingredients and instructions and the FULL recipe with amounts and details can be found DOWN BELOW (scroll to it) in the recipe card.
- Dried chickpeas – Soak them in water for 24 hours, then rinse them before starting the recipe.
- Parsley, mint, or cilantro – You can choose one, two, or use all three.
- Scallions – Some recipes call for regular onions, but I prefer green onions because they have a milder flavour that doesn’t compete with the herbs and spices.
- Garlic
- Ground cumin
- Ground coriander
- Sea salt
- Black pepper
- Baking soda – This is what makes the inside of the falafel soft and fluffy.
- Lemon juice
- Water
- Canola, grapeseed, or peanut oil – You’ll need to fill a deep saucepan or Dutch oven with 2 to 3 inches, so the exact amount depends on the size and shape of your cooking vessel.
Why Can’t You Use Canned Chickpeas for Falafel?
Canned chickpeas are a great convenience, but they shouldn’t be used when making homemade falafel! Because they’re pre-cooked, most of the starch is released into the cooking liquid, which means they won’t hold together as well when cooked (again) in the falafel.
In addition, canned chickpeas have that distinct canned bean flavour to them, and that will come through in the finished falafel. Using dried chickpeas tastes much better, too.
How to Make Homemade Falafel
Ready to make falafel as good as your favourite restaurant’s? Here’s what you’ll need to do.
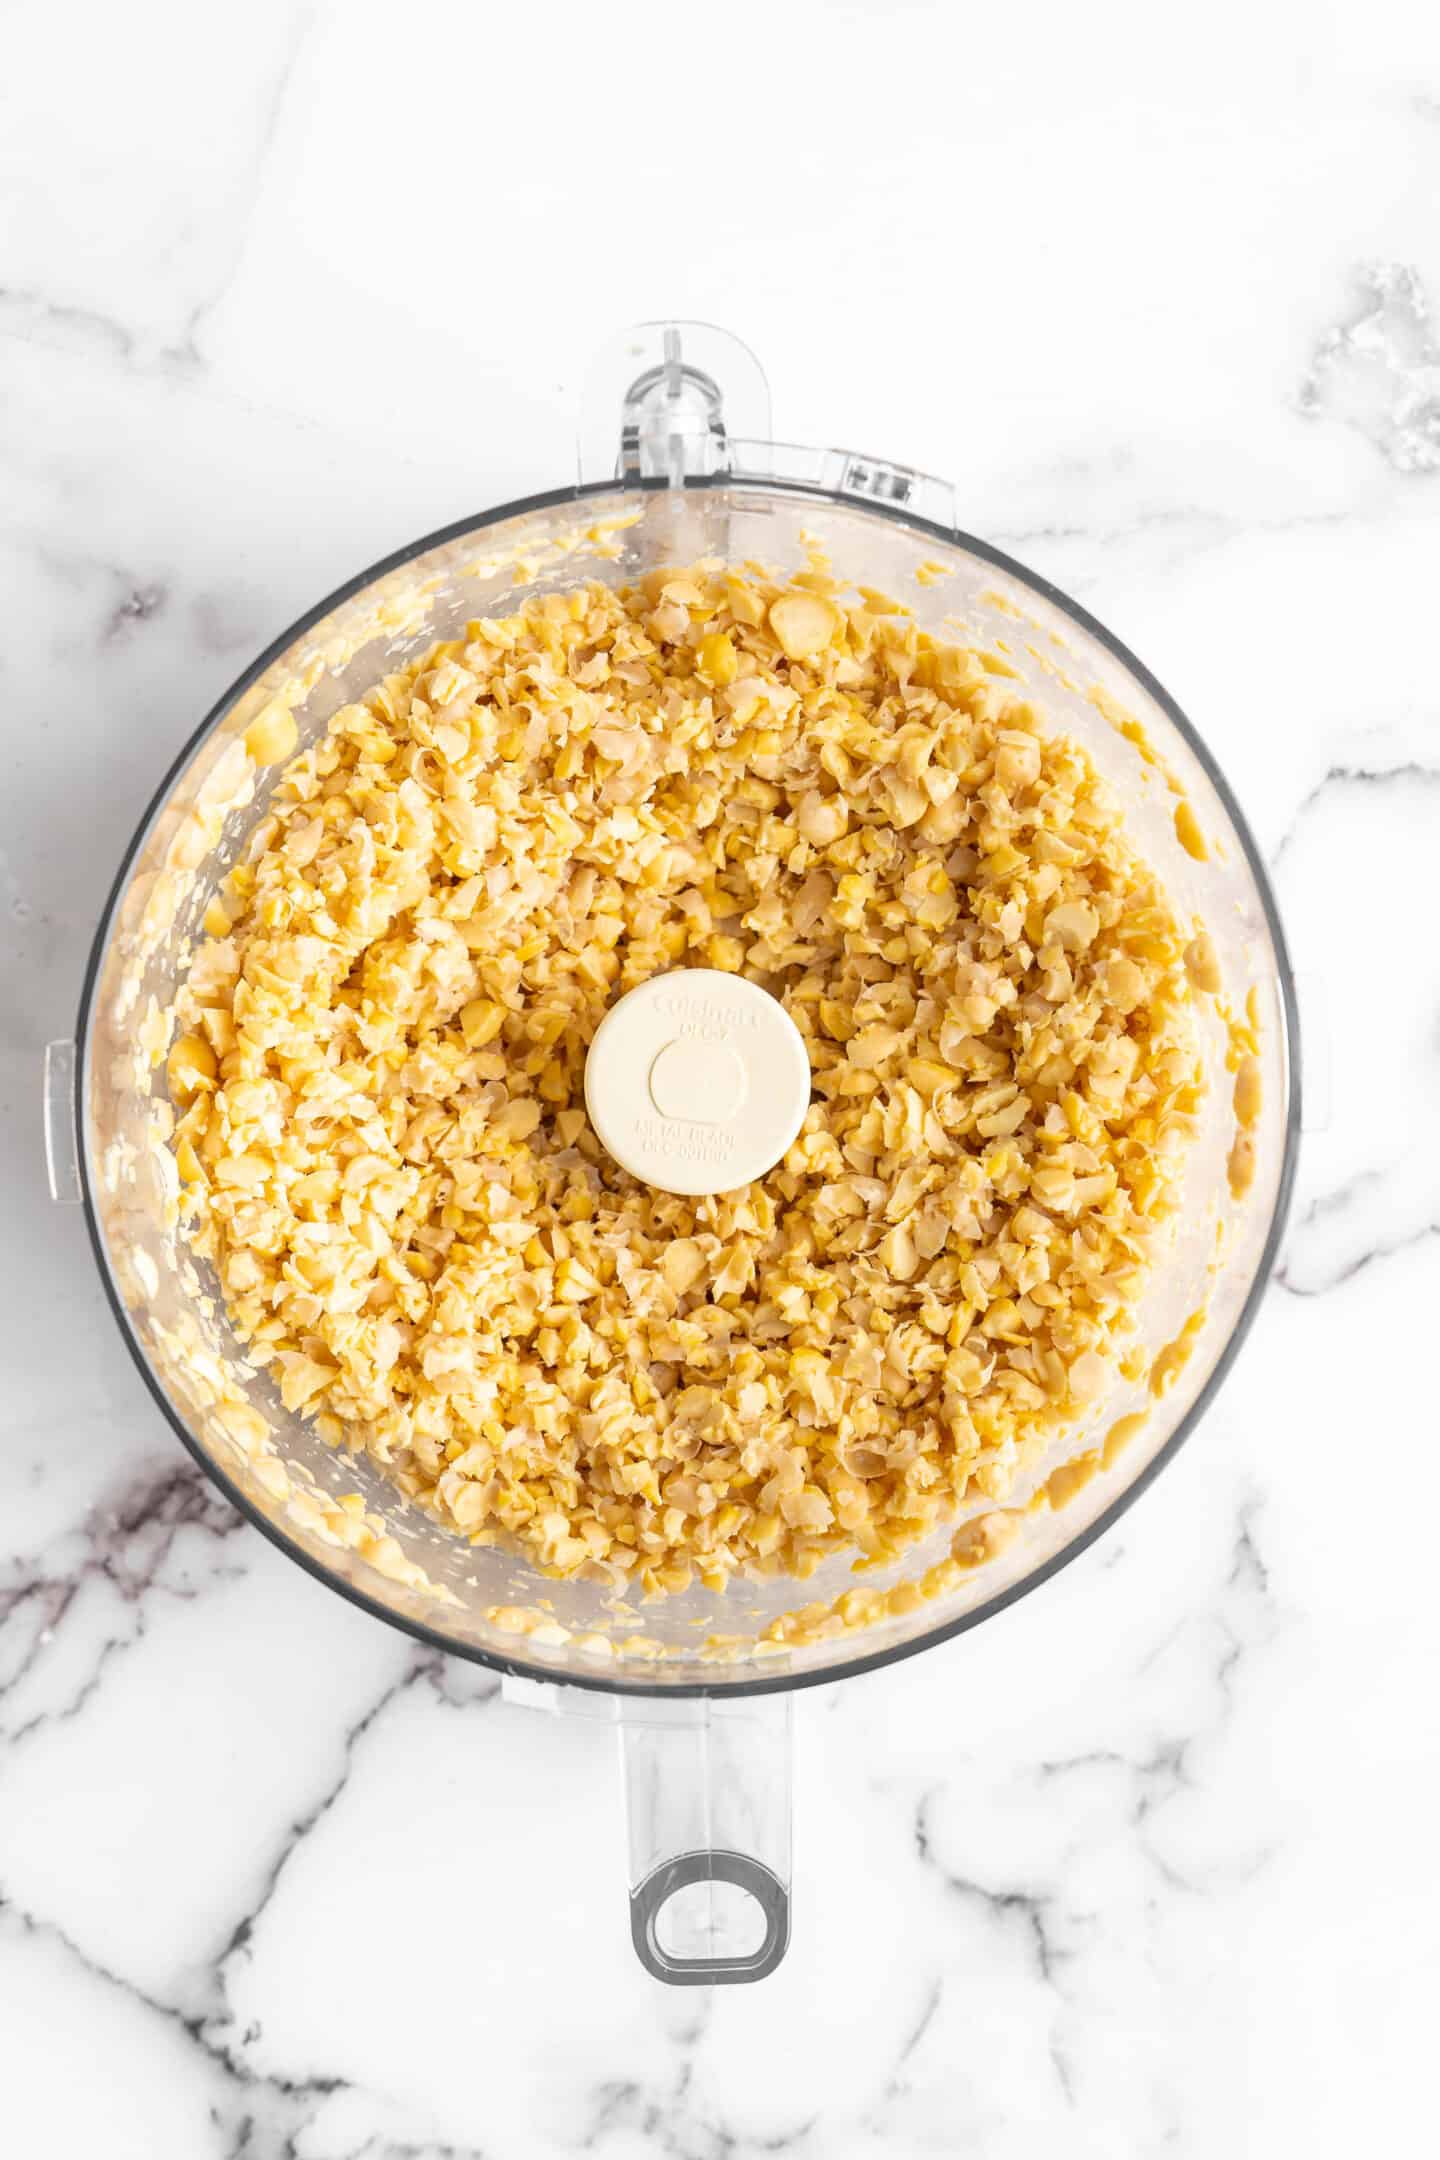
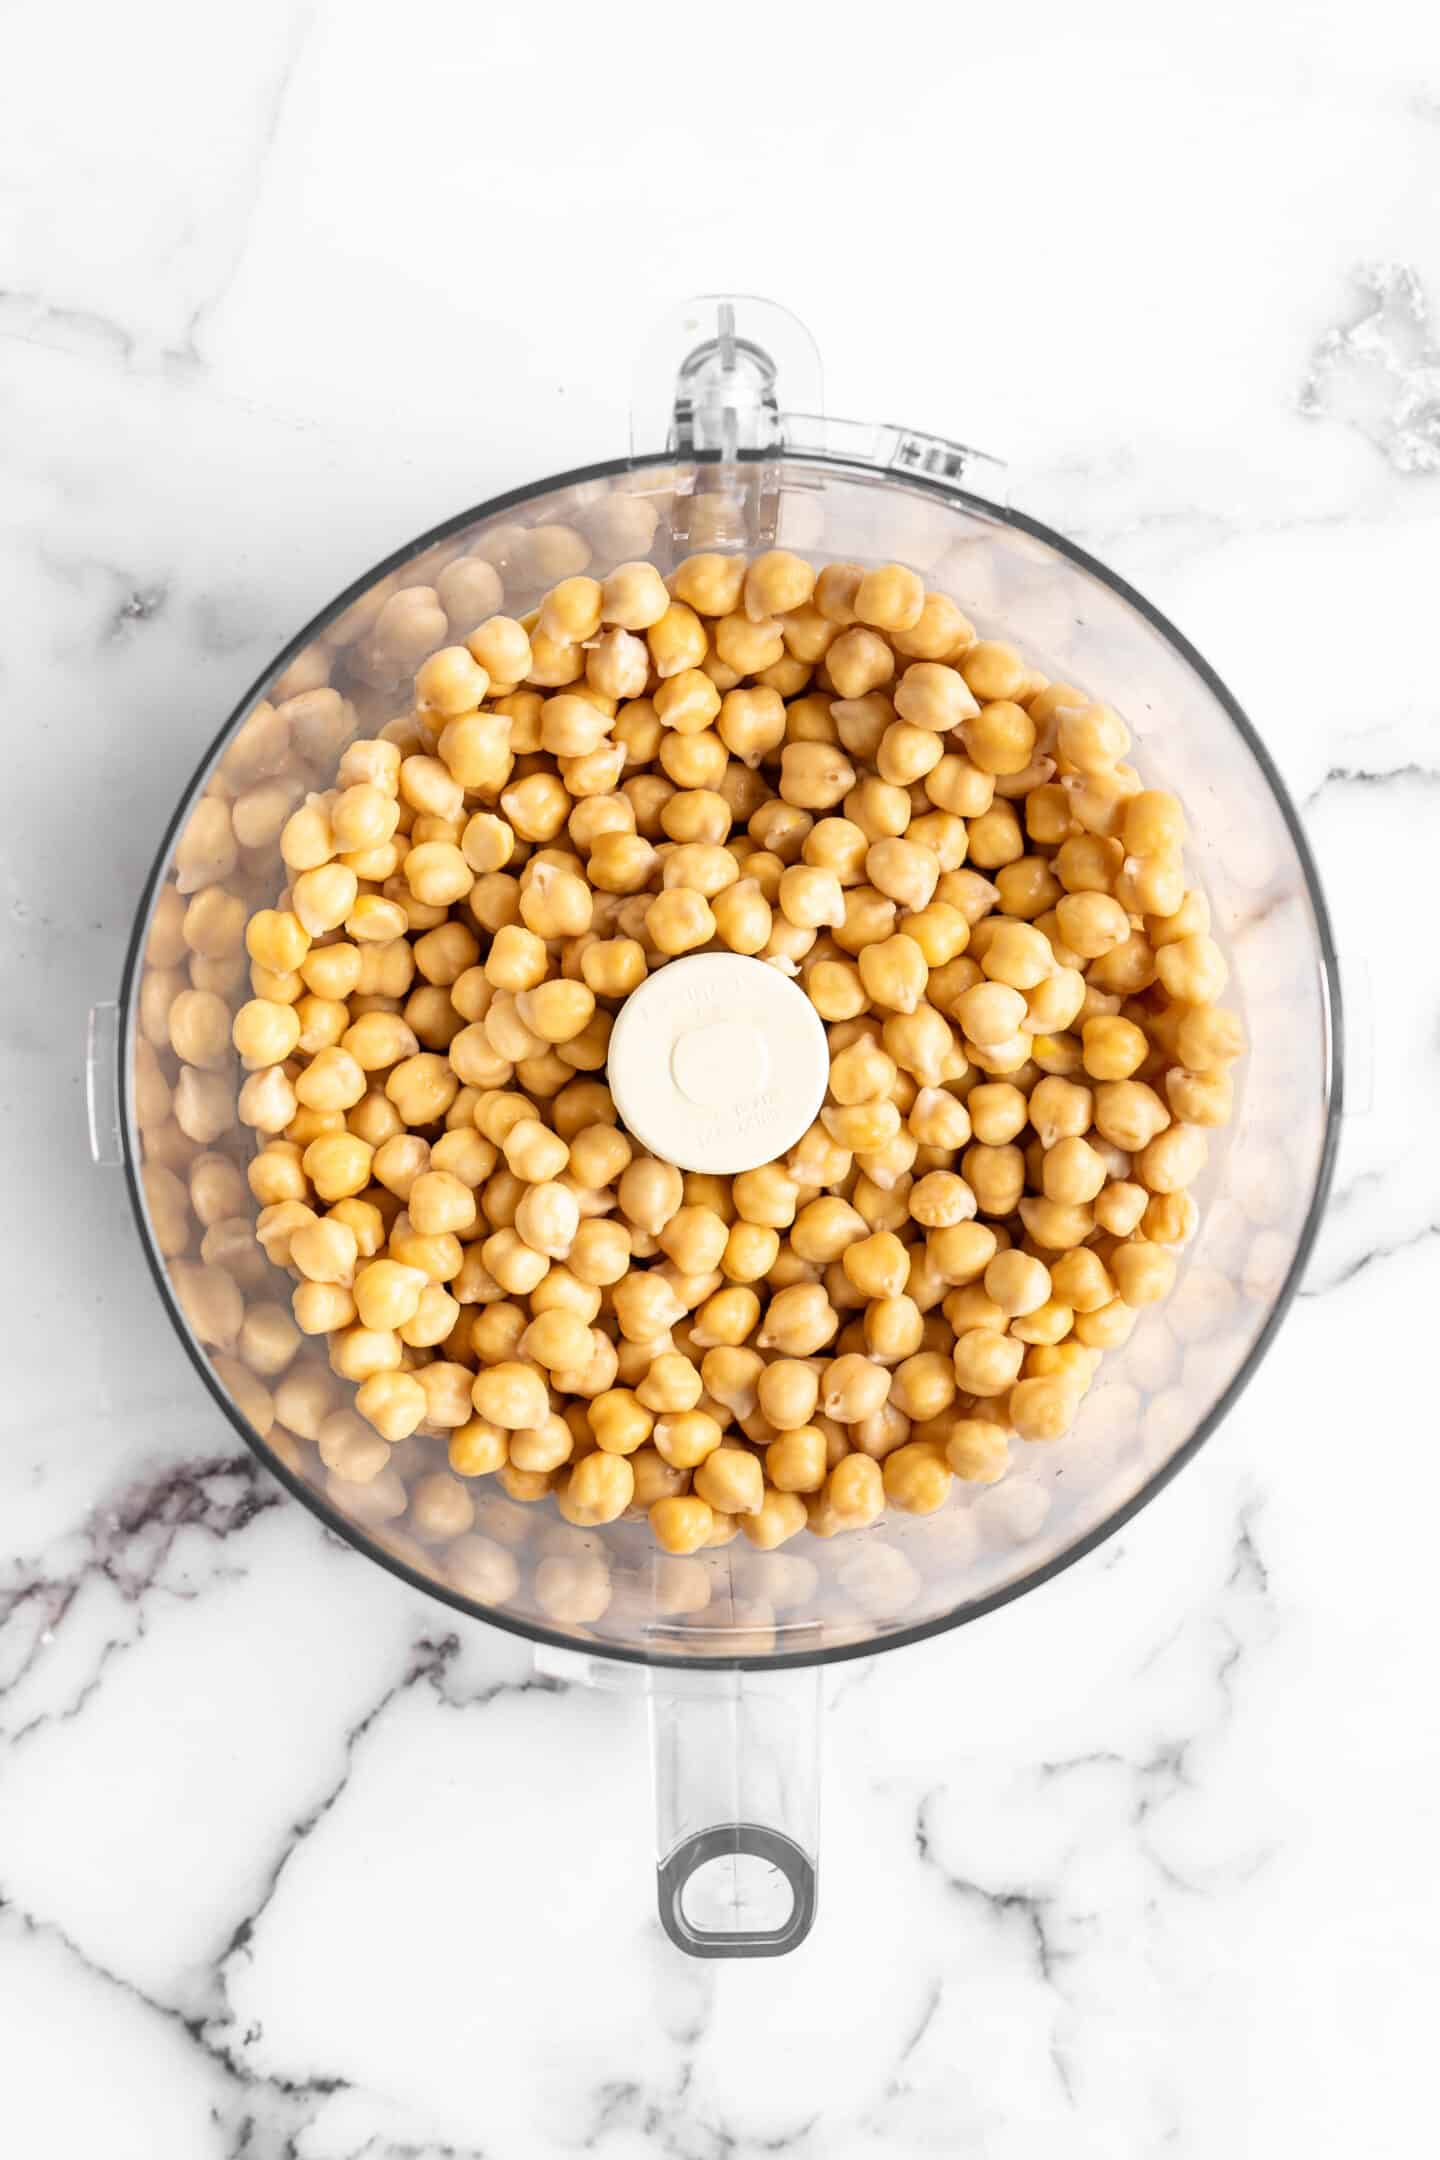
Grind the chickpeas. Place the soaked chickpeas in your food processor. Turn it on and process until the mixture resembles a coarse crumb—it should have the texture of homemade breadcrumbs. Transfer the ground chickpeas into a large bowl.
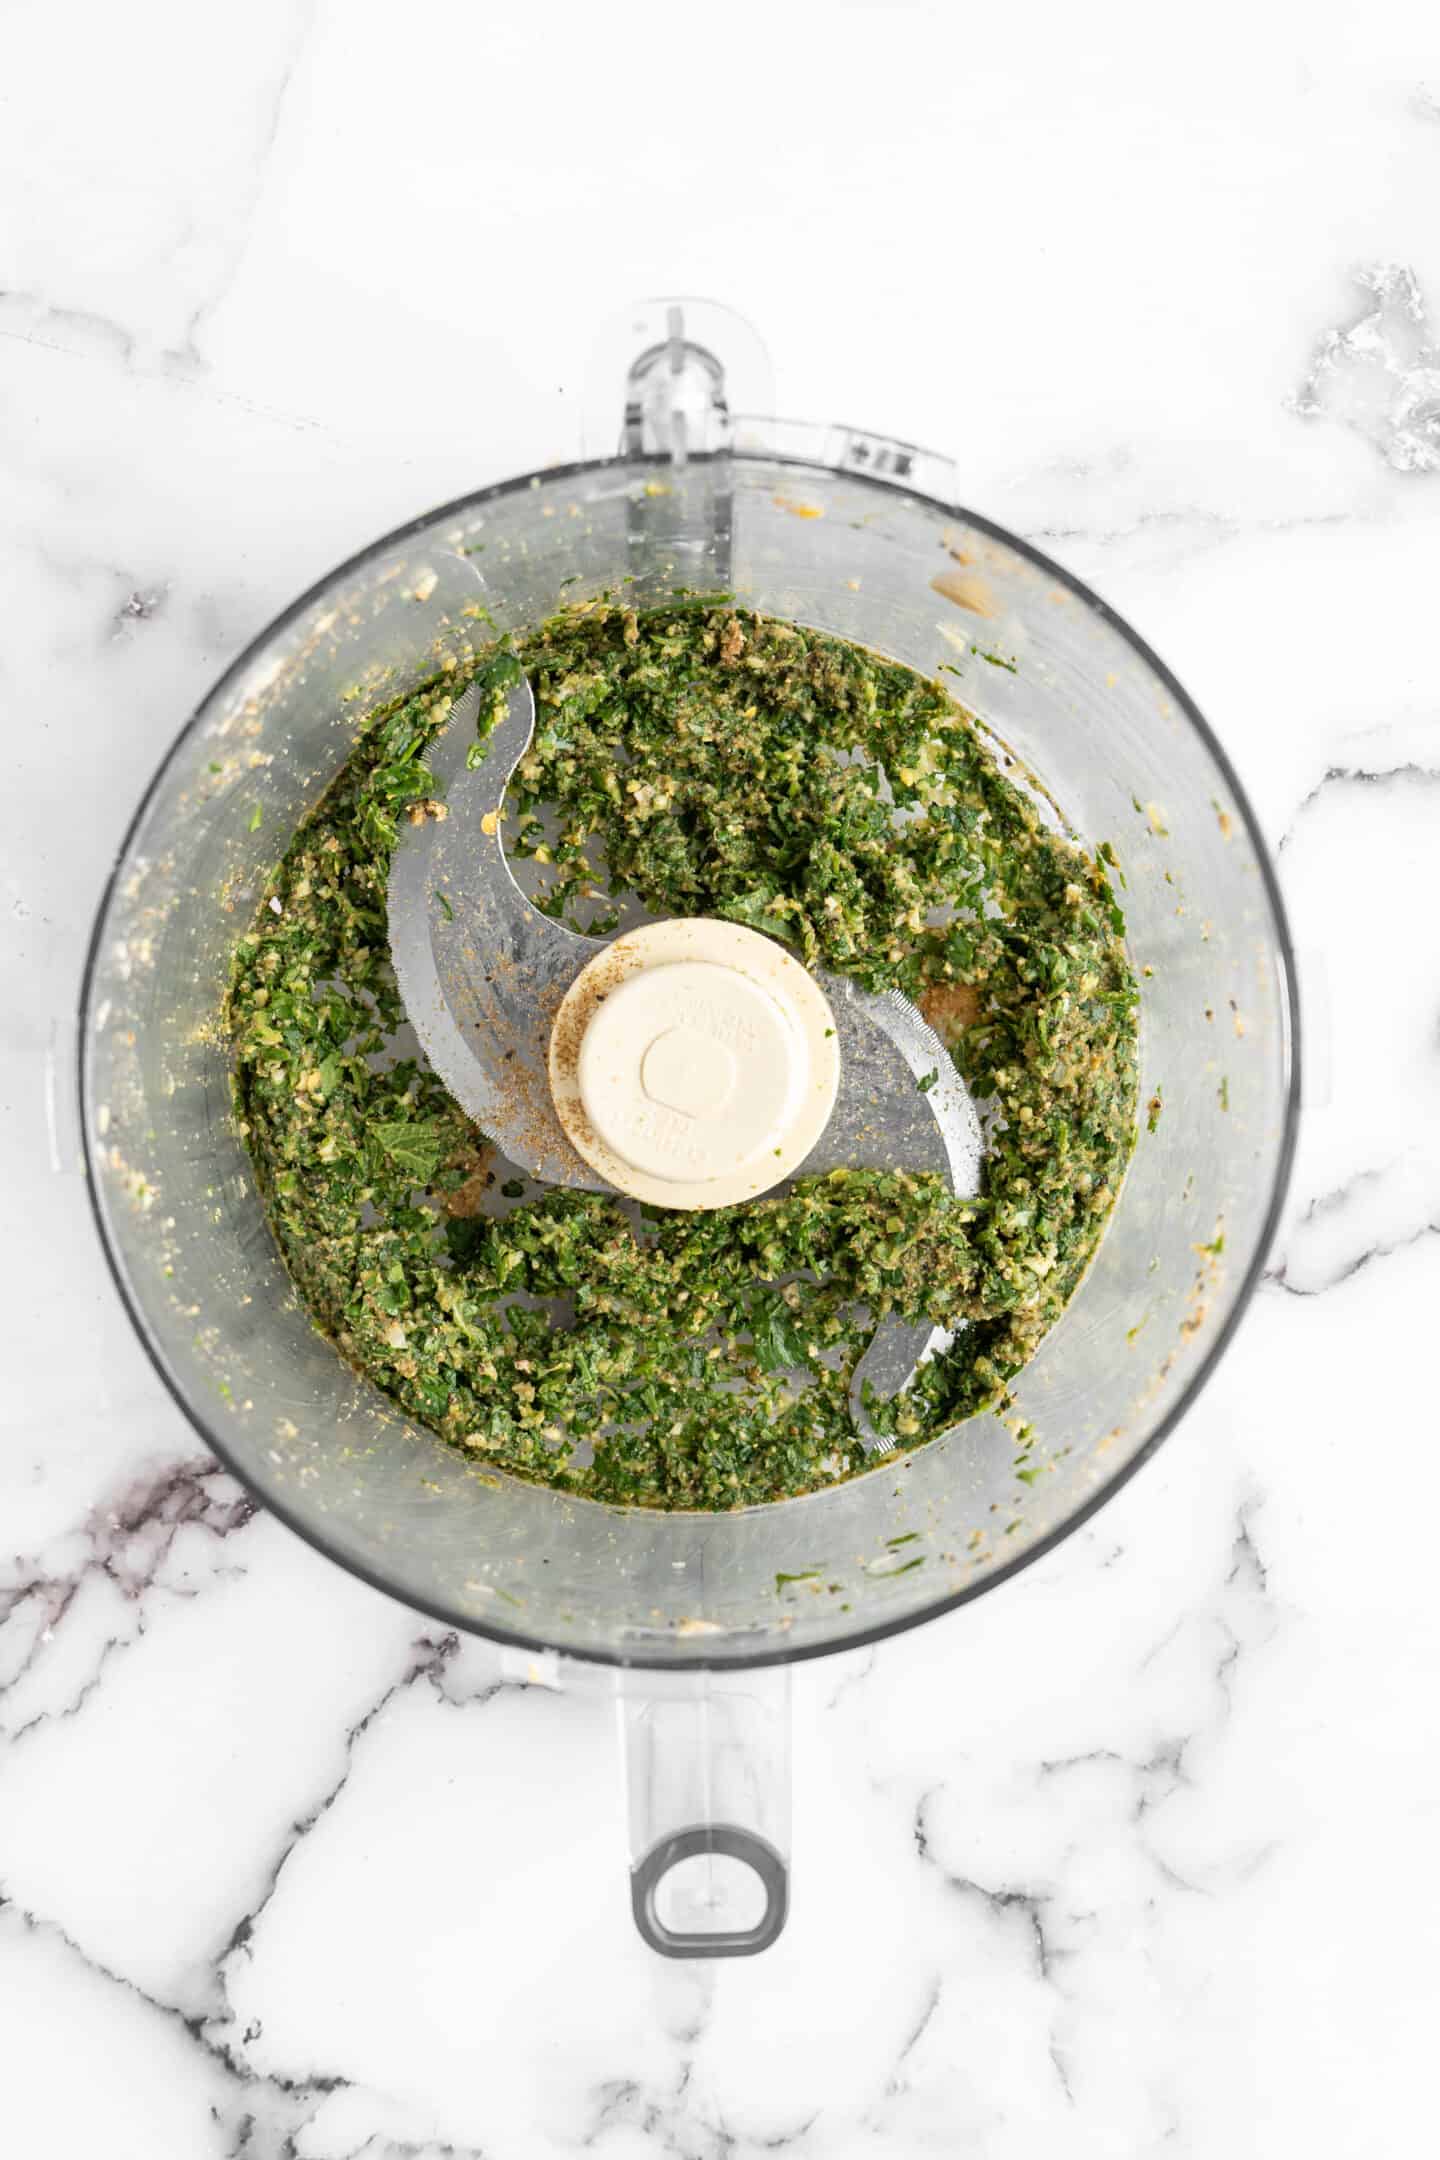
Make the seasoning mixture . Add the fresh herbs, scallions, garlic, cumin, coriander, salt, pepper, baking soda, and lemon juice to the food processor. Process until the mixture is smooth.

Finish the falafel mixture . Add the chickpeas back into the food processor. Stir them into the herb mixture, then turn on the food processor. You’ll want to let it run until the falafel mixture is light green in color, with only small bits of herbs, and the mixture comes together when you pinch it. If it doesn’t hold together, add water one tablespoon at a time. Season to taste.
Heat the oil. Add the oil to a deep saucepan or Dutch oven, filling it 2 to 3 inches deep. Turn the stove to medium-high and heat the oil until it reaches about 350ºF.

Cook the falafel . Use clean hands to shape the falafel mixture into balls (or slightly flattened balls) and carefully place them in the oil. Cook for about 4 to 5 minutes, or until the outside is crispy and browned.
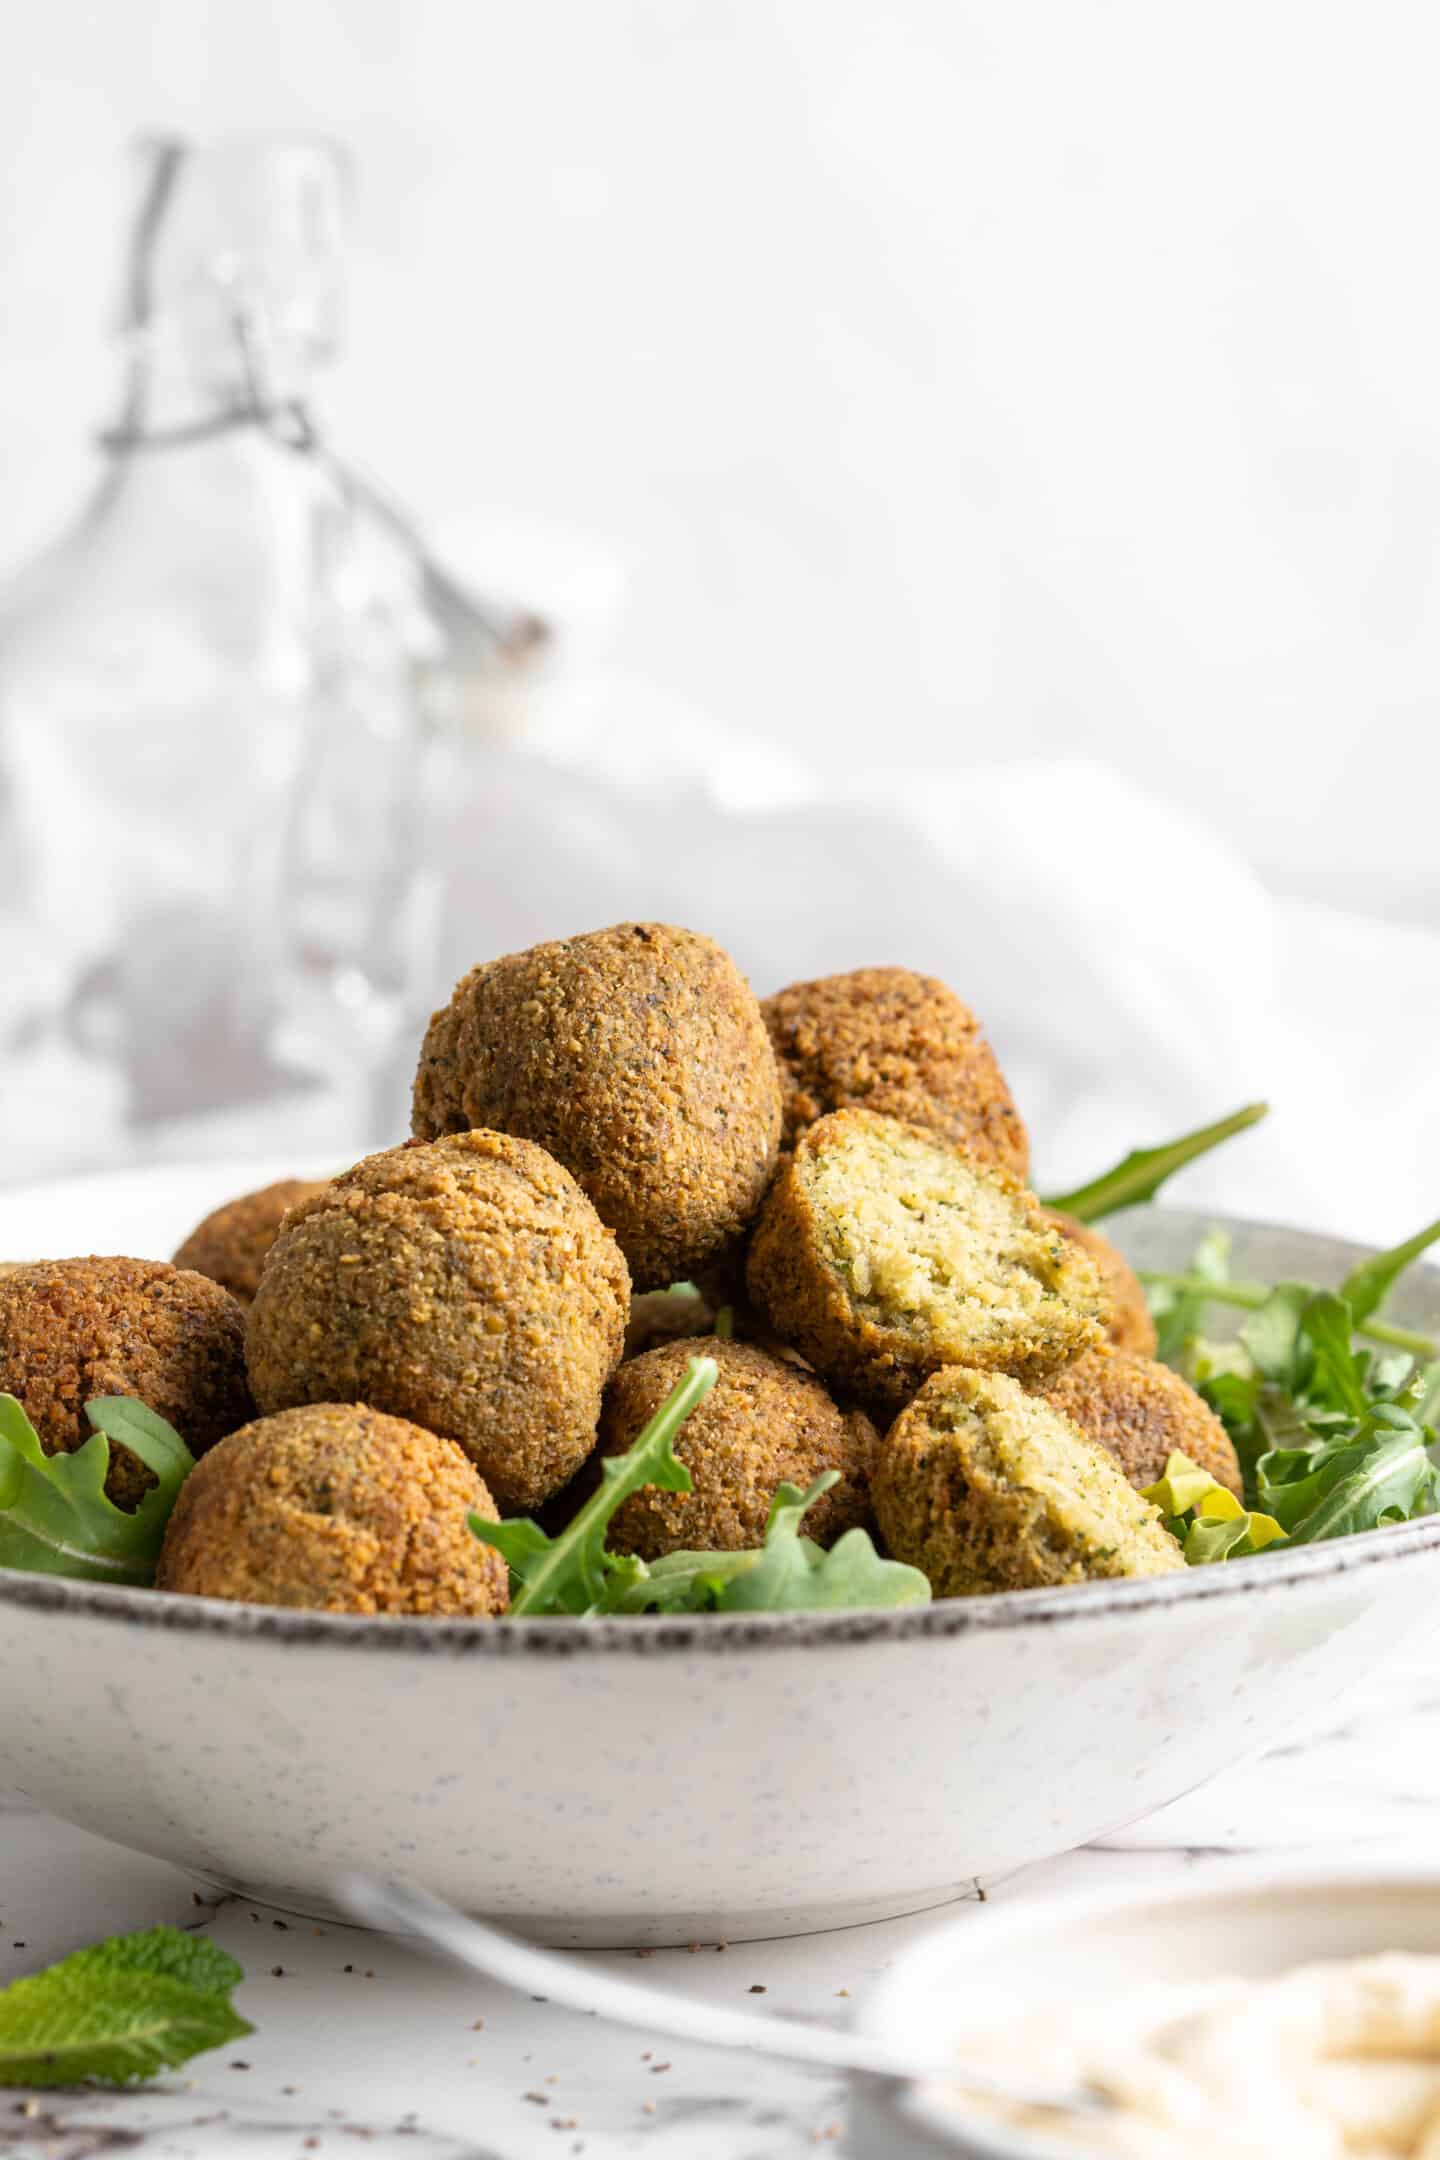
Cool and serve . Set the cooked falafel on a paper-towel-lined plate to absorb excess oil, then serve them with your favourite bread, sauces, and accompaniments.
How Can I Bake This Falafel Recipe?
As mentioned above, fried falafel is crispier and fluffier than baked falafel, but if you prefer to make it in the oven, you can.
Preheat your oven to 375ºF. Set the falafel on a sheet pan and generously spray them with cooking spray or an oil mister. Bake for 20 minutes, flipping halfway through the cooking time to make sure both sides brown.
Tips for Success
Here are some tips for perfect restaurant-style homemade falafel:
- Don’t over-process the chickpeas . You want them to be coarsely ground, not a paste. Over-processing will make for dense falafel.
- Use a thermometer to monitor the oil temperature. They’re not expensive, and they’re totally worth it when it comes to deep frying. If the oil is too hot, foods won’t cook all the way through, but if it’s not hot enough, food will absorb the oil and get greasy.
- Don’t over-crowd the pan when frying . You want each falafel to have plenty of room to cook, so don’t overcrowd the pan. Fry them in batches if necessary.
How to Store and Reheat Leftovers
Homemade falafel is best when served hot and fresh. However, you can store leftovers in an airtight container in the fridge for up to 3 days. Reheat in a 350ºF oven until warmed through, or warm it up in the microwave.
Can This Recipe Be Frozen?
Yes, this recipe can be frozen. I recommend freezing the uncooked falafel balls or patties on a baking sheet, then transferring them to a freezer-safe bag once they’re frozen solid.
To cook, thaw the falafel overnight in the fridge, then cook according to the recipe instructions.
If you want to freeze leftover cooked falafel, you can do that too, but as discussed above, it really is best eaten fresh, so if you want to freeze falafel for future meals, I definitely recommend freezing it uncooked vs. cooking it first.
5 Ways to Eat Homemade Falafel
There are way more than five, of course, but these are my favourites:
- Make falafel wraps with hummus and/or tahini .
- Add them to a bed of greens with pita chips and tahini dressing for a falafel salad.
- Pair them with couscous or rice, kalamata olives or Middle Eastern-style pickles, hummus, and baba ghanoush for falafel meal bowls.
- Shape the falafel mixture into burger patties; bake them and make falafel burgers.
- Cut or crumble them into pieces and fold them into warm tortillas for falafel tacos.
Ingredients
- 1 3/4 cup dried chickpeas , soaked in water for 24 hours, then rinsed
- 1 cup parsley , mint, or cilantro (use one, two, or all three)
- 3 scallions , cut into 3–4 pieces
- 2 cloves garlic
- 2 teaspoons ground cumin
- 1 teaspoon ground coriander
- 1 teaspoon sea salt
- 1/2 teaspoon black pepper
- 1/2 teaspoon baking soda
- 1 tablespoon lemon juice
- A few tablespoons of water , as needed
- Canola, grapeseed, or peanut oil for frying , you’ll need to fill a deep saucepan or Dutch oven with 2–3 inches, so the exact amount depends on the shape of your cooking vessel
Instructions
- Place the chickpeas in a food processor and process until the mixture resembles a coarse crumb. Transfer the ground chickpeas into a large mixing bowl.
- Add the herbs, scallions, garlic, cumin, coriander, salt, pepper, baking soda, and lemon juice to the food processor. Process until the mixture is smooth.
- Add the ground chickpeas back to the food processor and stir them into the herb mixture a bit. Turn on the food processor and process until the mixture is light green in color, with small bits of herbs, and the mixture comes together when pinched, adding water as needed. (I needed to add 2 tablespoons, but I recommend adding it only a tablespoon at a time, as the falafel will fall apart if too little or too much is added.) Taste and adjust the seasonings if needed.
- Pour the oil into a deep saucepan or Dutch oven until it’s 2–3 inches deep. Heat over medium-high until the oil reaches about 350ºF.
- Shape the falafel mixture into balls (or flattened balls, kind of like a flying saucer) and drop them into the oil, being careful not to crowd the pan. Cook for about 4–5 minutes, or until the outside is crispy and nicely browned. Place the cooked falafel on a paper-towel-lined plate to absorb any excess oil, then serve.
Notes
- To bake the falafel, generously spray the falafel with cooking spray or an oil mister and bake them on a sheet pan in a 375ºF oven for 20 minutes, flipping halfway through the cooking time. (If you shape them into balls, a mini muffin tin will keep them from rolling all over!)
- Falafel is best when served hot and fresh. However, you can store leftovers in an airtight container in the fridge for up to 3 days. Reheat in a 350ºF oven until warmed through, or warm it up in the microwave.
Crispy Homemade Falafel
Ingredients
- 1 3/4 cup dried chickpeas soaked in water for 24 hours, then rinsed
- 1 cup parsley mint, or cilantro (use one, two, or all three)
- 3 scallions cut into 3–4 pieces
- 2 cloves garlic
- 2 teaspoons ground cumin
- 1 teaspoon ground coriander
- 1 teaspoon sea salt
- 1/2 teaspoon black pepper
- 1/2 teaspoon baking soda
- 1 tablespoon lemon juice
- A few tablespoons of water as needed
- Canola, grapeseed, or peanut oil for frying you’ll need to fill a deep saucepan or Dutch oven with 2–3 inches, so the exact amount depends on the shape of your cooking vessel
Instructions
- Place the chickpeas in a food processor and process until the mixture resembles a coarse crumb. Transfer the ground chickpeas into a large mixing bowl.
- Add the herbs, scallions, garlic, cumin, coriander, salt, pepper, baking soda, and lemon juice to the food processor. Process until the mixture is smooth.
- Add the ground chickpeas back to the food processor and stir them into the herb mixture a bit. Turn on the food processor and process until the mixture is light green in color, with small bits of herbs, and the mixture comes together when pinched, adding water as needed. (I needed to add 2 tablespoons, but I recommend adding it only a tablespoon at a time, as the falafel will fall apart if too little or too much is added.) Taste and adjust the seasonings if needed.
- Pour the oil into a deep saucepan or Dutch oven until it’s 2–3 inches deep. Heat over medium-high until the oil reaches about 350ºF.
- Shape the falafel mixture into balls (or flattened balls, kind of like a flying saucer) and drop them into the oil, being careful not to crowd the pan. Cook for about 4–5 minutes, or until the outside is crispy and nicely browned. Place the cooked falafel on a paper-towel-lined plate to absorb any excess oil, then serve.
Notes
- To bake the falafel, generously spray the falafel with cooking spray or an oil mister and bake them on a sheet pan in a 375ºF oven for 20 minutes, flipping halfway through the cooking time. (If you shape them into balls, a mini muffin tin will keep them from rolling all over!)
- Falafel is best when served hot and fresh. However, you can store leftovers in an airtight container in the fridge for up to 3 days. Reheat in a 350ºF oven until warmed through, or warm it up in the microwave.
Nutrition
Crispy Homemade Falafel https://jessicainthekitchen.com/crispy-homemade-falafel/ July 25, 2022
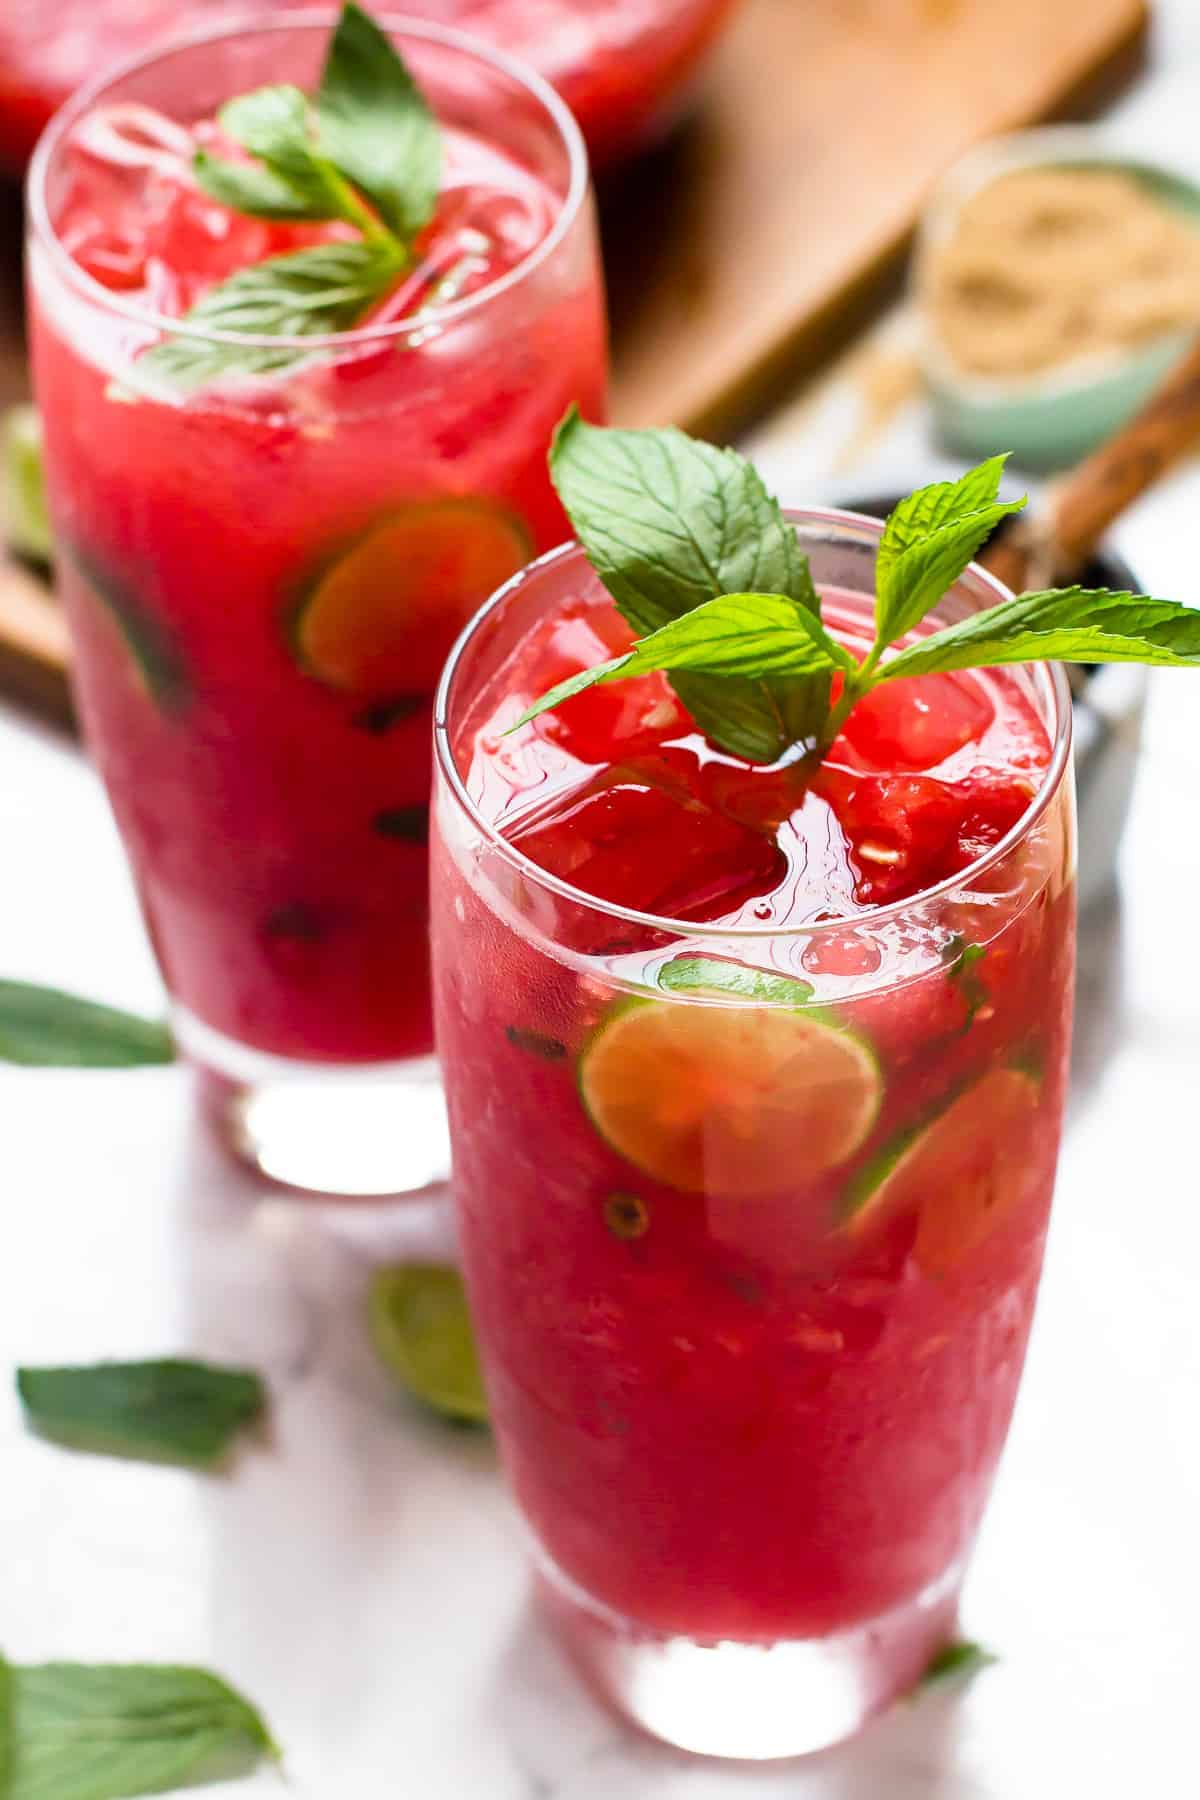
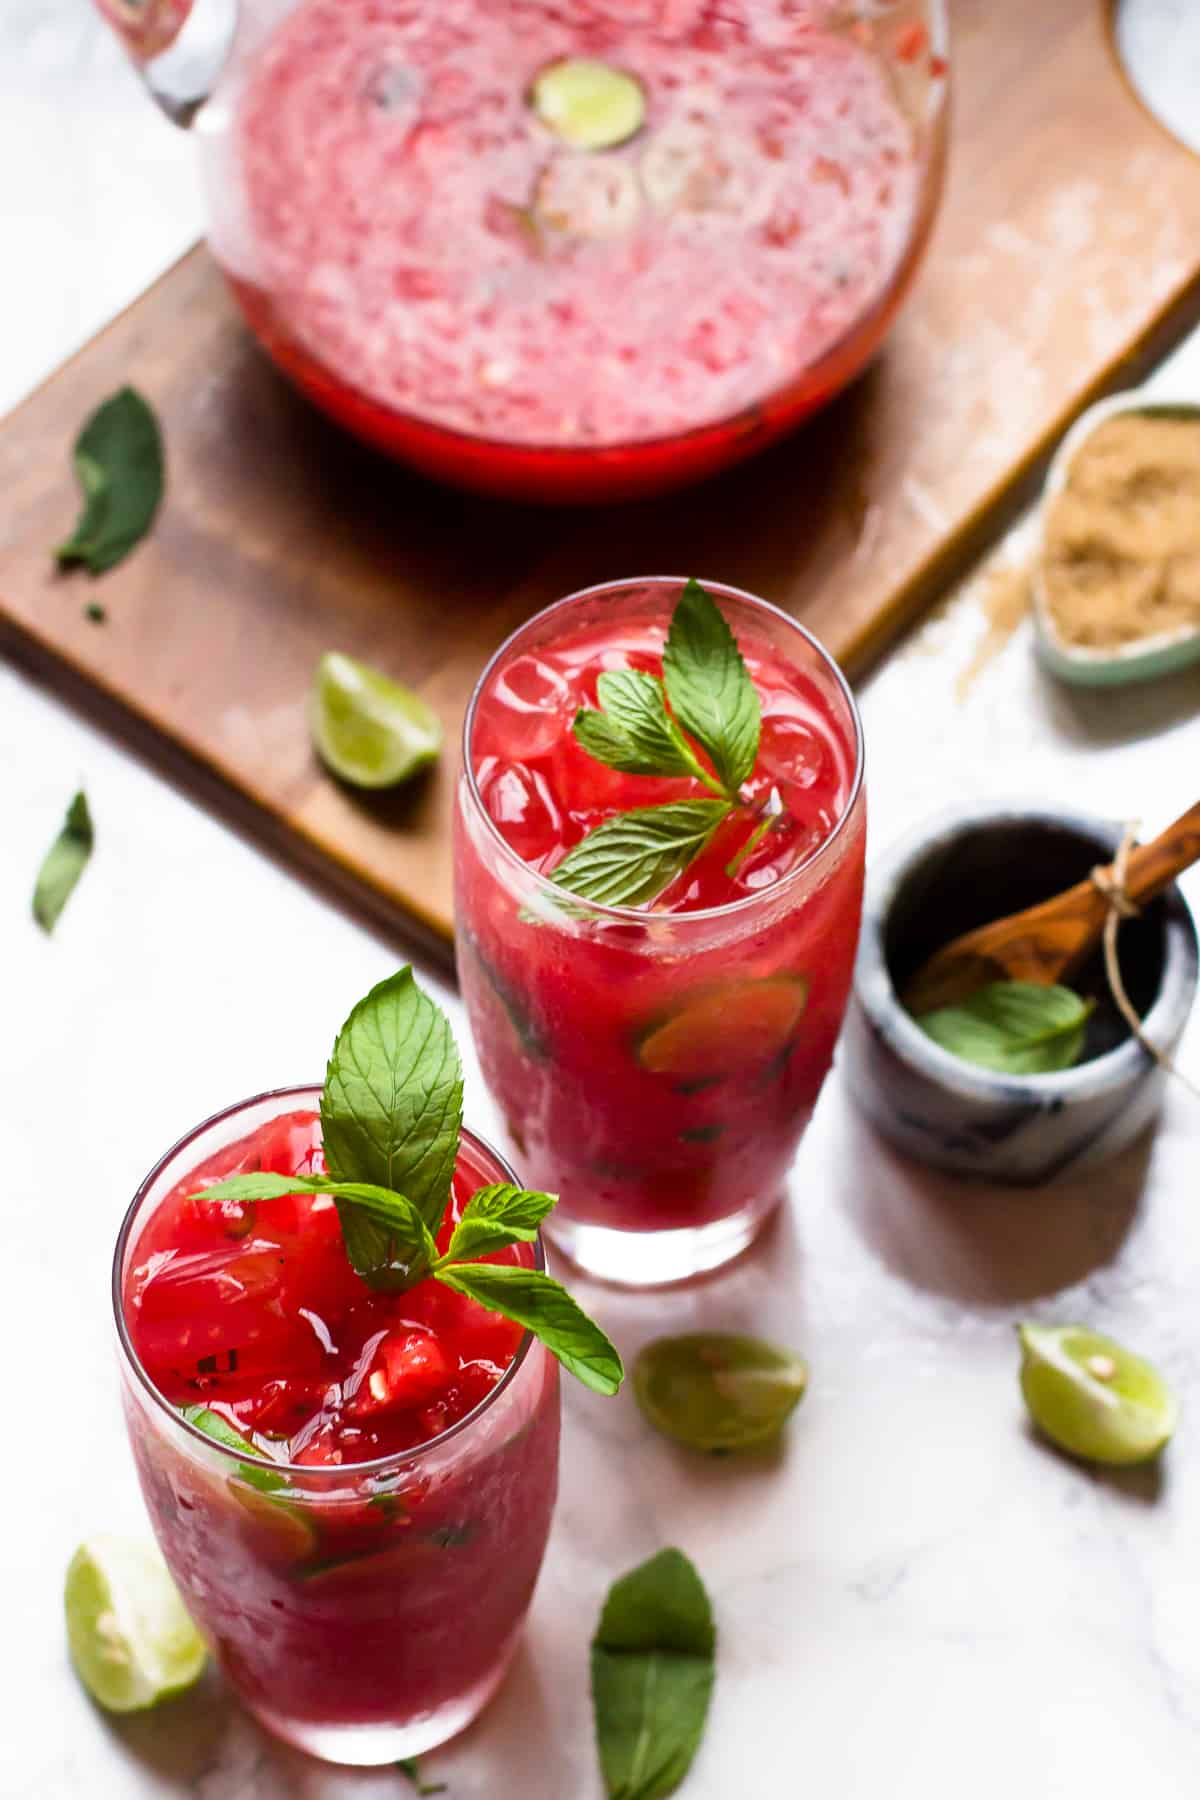
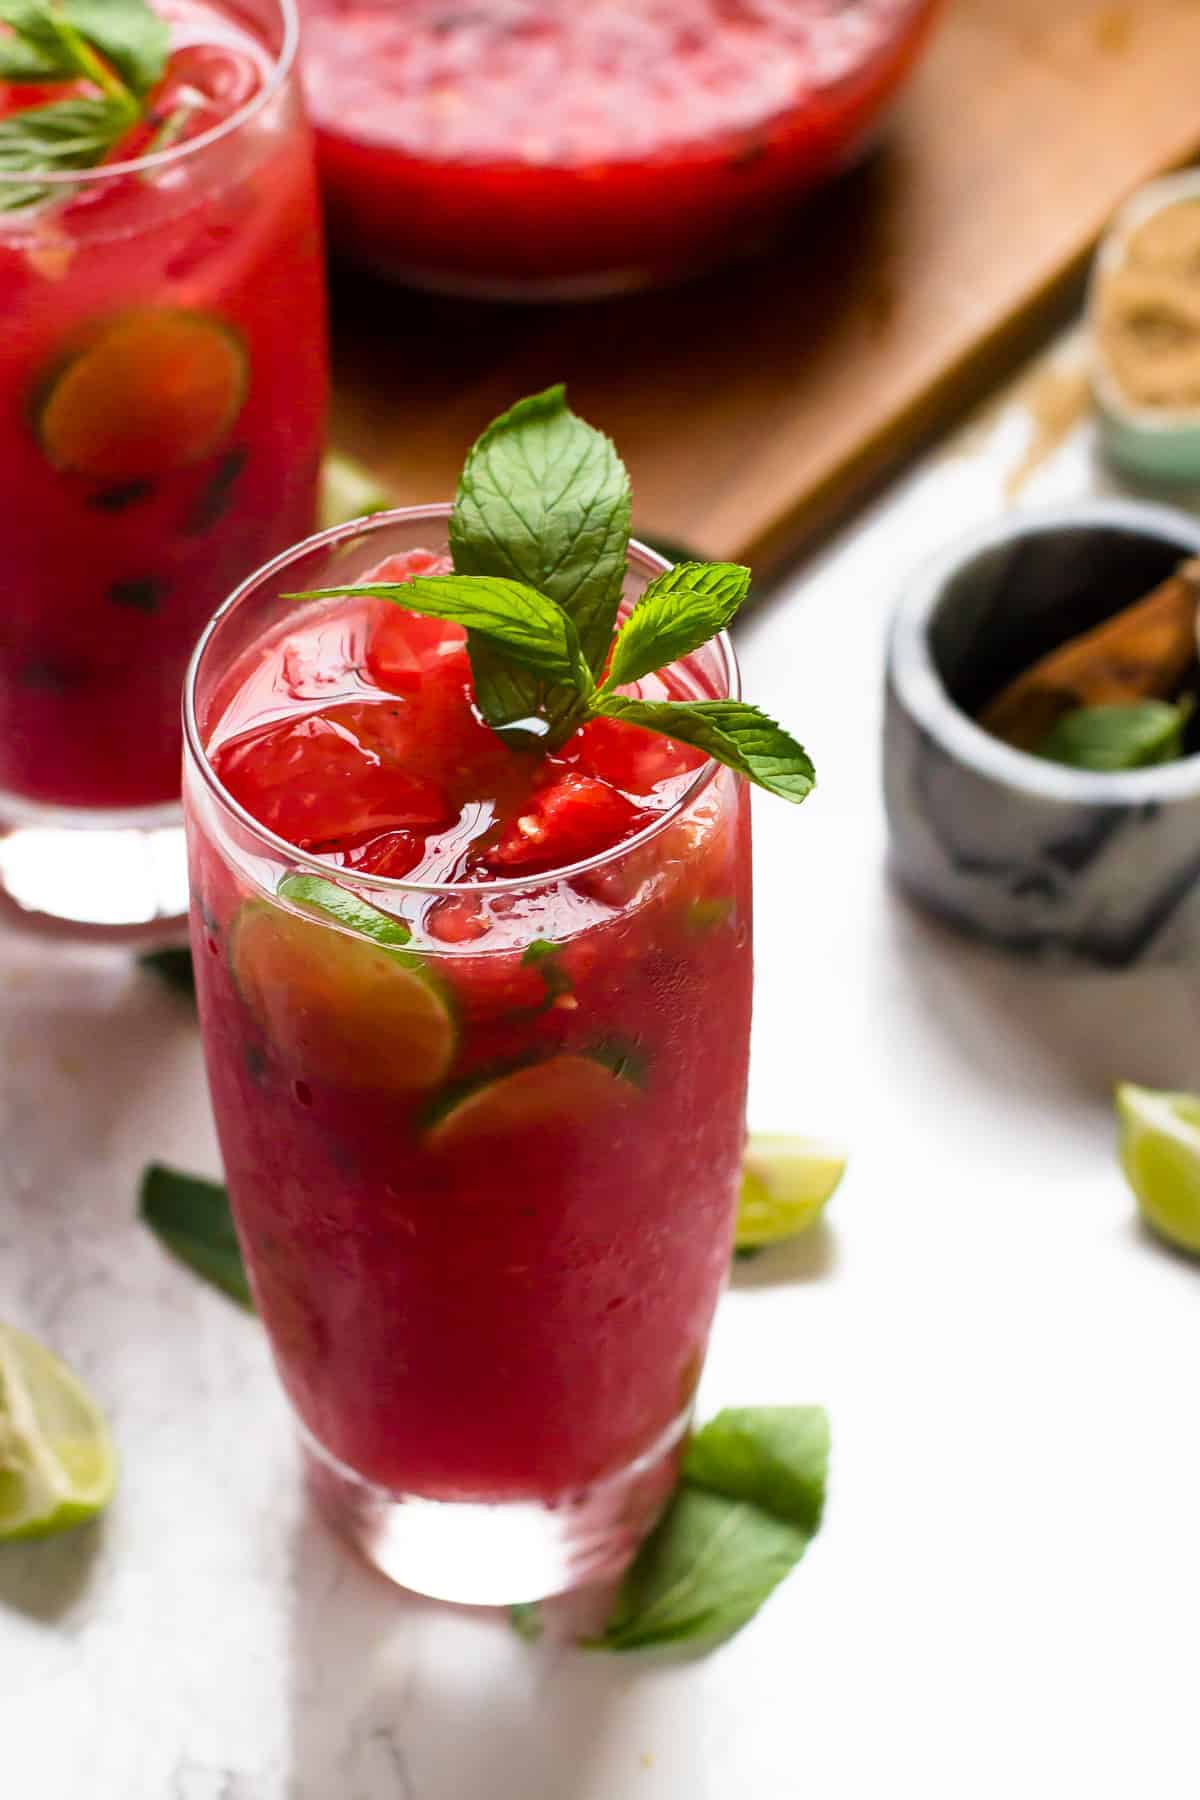
These Watermelon Mojitos are a refreshing, minty summer cocktail that’s incredibly easy to make—and you only need 5 simple ingredients!
Anyone else love the idea of making cocktails at home, but balk at the recipes that require all kinds of special equipment and several $30 bottles of liquor that you’ll probably never use again? I see you, friends, and these watermelon mojitos are for you.
No shakers, strainers, or fancy barware needed! And they only use white rum, so you don’t have to buy a bunch of pricy spirits.
Mojitos are great all by themselves thanks to the magic of mint, and well, rum . But add fresh, ripe watermelon to the mix and you’ve got the best cocktail for summer sipping. You may just feel like you’ve been transported to a tropical (hey!) island on the beach, sipping on watermelon mojitos while gazing into the deep, clear blue sea. Ahhh . These cocktails are so refreshing and they’ll definitely help with the summer heat!
(Do you love watermelon as much as I do? Add my Watermelon Mint Popsicles and 3-Ingredient Easy Watermelon Granita to your summer bucket list too!)
Notes on Ingredients
Please note that this is important information on the ingredients and instructions and the FULL recipe with amounts and details can be found DOWN BELOW (scroll to it) in the recipe card.
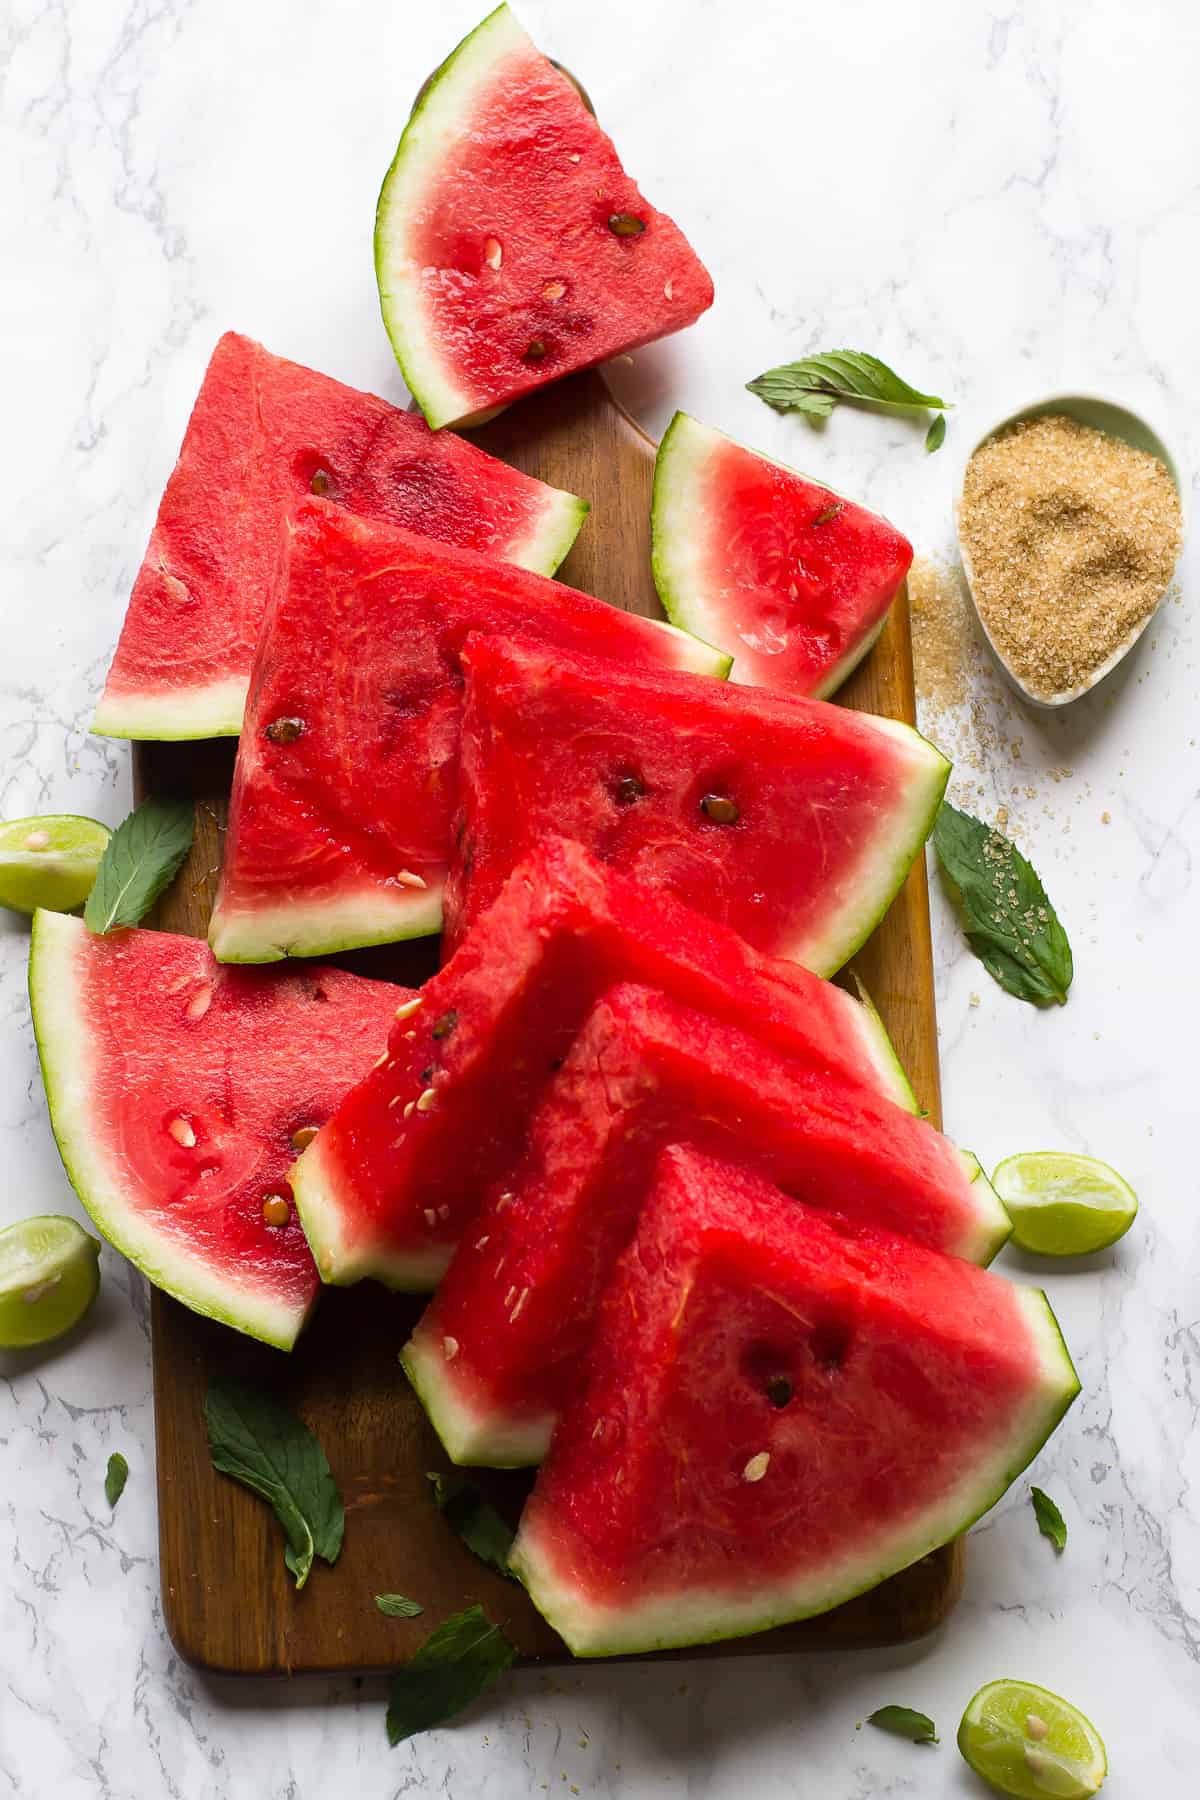
- Watermelon – You’ll need about 4 pounds; buy a seedless watermelon, or remove the seeds from a regular watermelon.
- Freshly-squeezed lime juice – Don’t use the kind in a bottle! It’s just not the same.
- White rum – I’ve used both a Jamaican Appleton White Rum and a Brazilian White Rum. Just don’t use spiced rum; the warm spices don’t work well with the cool, refreshing flavour we’re going for with these watermelon mojitos.
- Mint leaves
- Simple syrup
How Do You Make Simple Syrup?
You can buy simple syrup at the grocery or liquor store, but it’s much cheaper to make your own—and as the name suggests, it’s quite simple!
Boil 1/2 cup of sugar with 1/2 cup of water, stirring often. Once the sugar is dissolved, remove the pan from the heat and let the syrup cool. Store it in an airtight container in the refrigerator for up to 4 weeks and use it to sweeten cocktails and lemonade.
How to Make Watermelon Mojitos
It’s mojito time! (And mojito time is the best time, right?!) Here’s what you’ll need to do.
Blend the watermelon . Add the watermelon to a food processor or high speed blender and puree until the mixture is smooth, about 30 seconds to 1 minute.
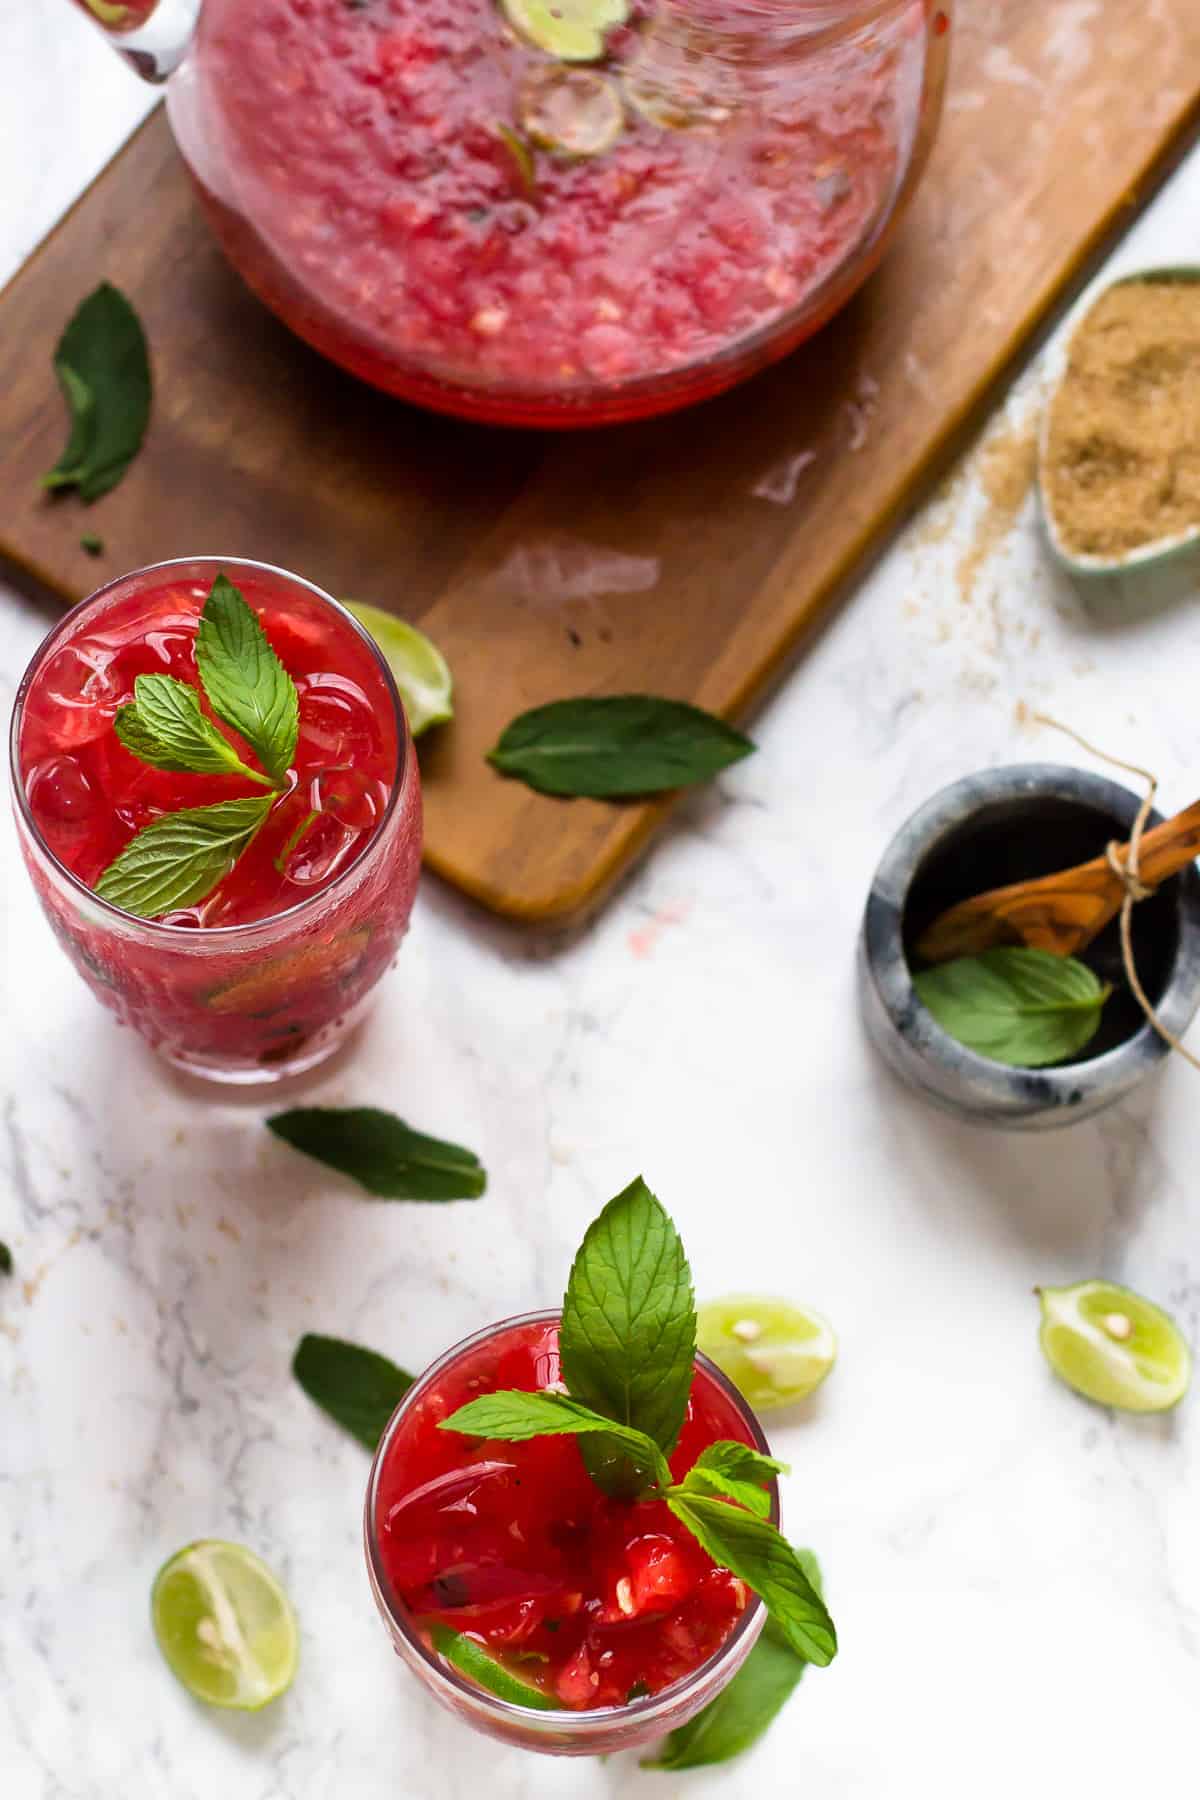
Mix the mojitos. Pour the pureed watermelon into a large pitcher. Stir in the lime juice and mint leaves. Add the white rum and stir vigorously for about 15 to 30 seconds.
Sweeten. Add simple syrup to taste (you may need more or less, depending on the sweetness of the melon) and stir again.
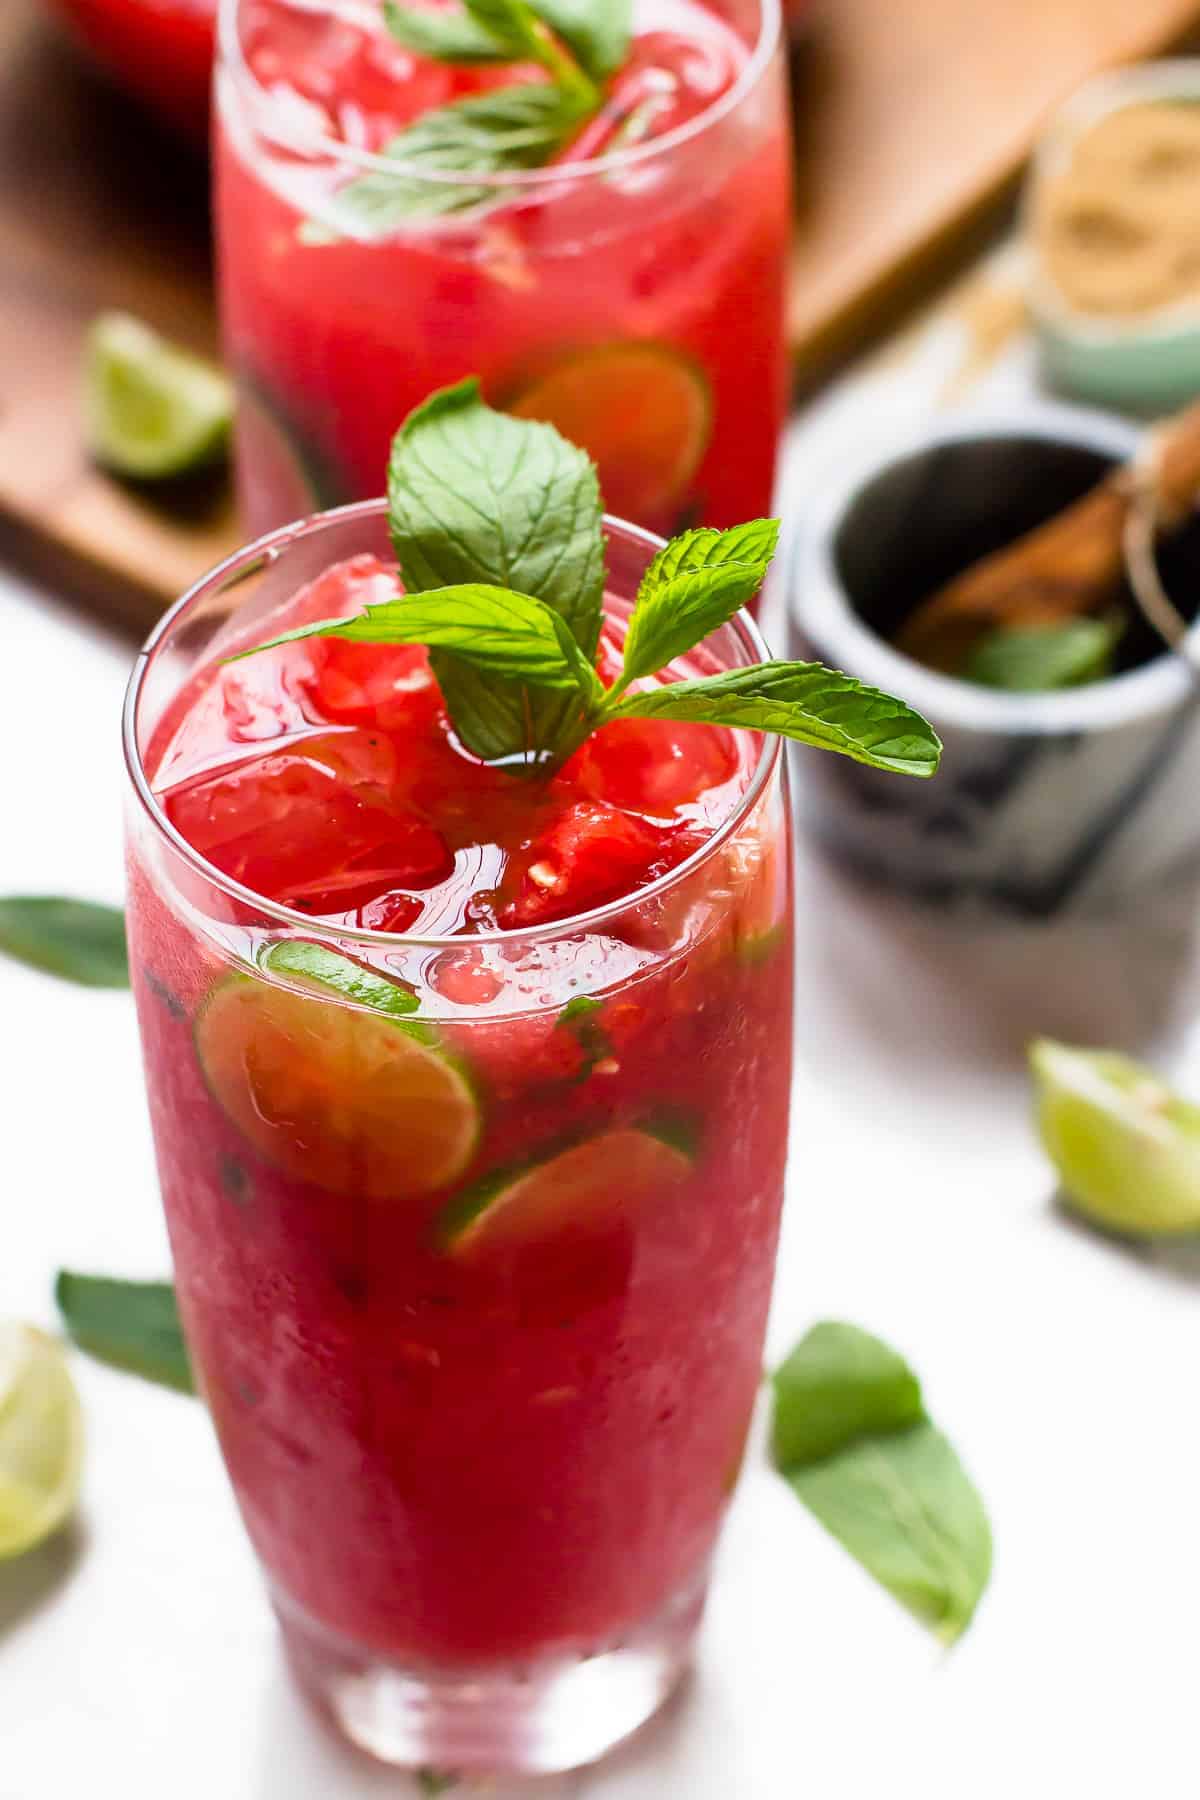
Serve. Pour the watermelon mojitos over crushed ice and serve.
Tips for Success
Here are some simple tips and hints for the best watermelon mojitos:
- Spring for a good rum. Since mojitos are a simple cocktail with a minimal number of ingredients, you’ll want to use a rum that tastes good on its own.
- Don’t over-muddle the mint. If you smash it too much and tear the leaves, it will become bitter. You want to muddle it just enough to release the mint oils in the leaves.
- Garnish the glasses. Add a sprig of fresh mint and a lime wedge.
Variations
Here are some simple ideas for switching up these watermelon mojitos:
- Add club soda. After pouring the mojito mixture over ice, you can top them off with club soda.
- Make virgin watermelon mojitos. Swap the white rum for ginger ale or lemon-lime soda.
- Sweeten with agave nectar. You can skip the simple syrup and use agave nectar if you want to avoid refined sugar.
- Try different fruit. Like my mango mojitos !
How to Store
You can store leftover watermelon mojitos in a pitcher in the fridge for several days.
WATCH THE VIDEO TO SEE HOW IT’S MADE:

Ingredients
- 1/2 a medium size watermelon , about 4 lbs watermelon, seeds removed and cut into chunks
- 1/3 cup freshly squeezed lime juice
- 3/4 cup to 1 cup white rum
- 20-30 fresh mint leaves , muddled
- 1/2 cup simple syrup* , see notes for how to make it
Instructions
- Add your watermelon chunks to a food processor or high speed blender until smooth, about 30 seconds to 1 minute in the food processor or in the blender.
- Pour the pureed watermelon into a large pitcher and add in the lime juice, muddled mint leaves and stir. Add in the white rum. Stir vigorously for about 15-30 seconds to incorporate.
- Taste and add the appropriate amount of simple syrup based on the sweetness of your watermelon, up to ½ cup simple syrup, and stir again.
- Pour into an ice filled glass and enjoy!
Notes
- This recipe is vegan and gluten free. I’ve used both a Jamaican Appleton White Rum and a Brazilian White Rum, so any white rum should be fine! If your watermelon has seeds, you should remove the seeds. Alternatively, you could strain the watermelon but you will miss that cool refreshing watermelon taste.
- You can make the simple syrup by boiling ½ cup sugar (cane sugar, brown sugar, coconut sugar or any granulated sugar) with ½ cup water until completely liquid, stirring often. Cool it down, then measure it out! This makes a bit more than ½ cup simple syrup, closer to ¾ cup, so use as much or as little of it as you want depending on the sweetness of your watermelon.
- HOW TO STORE You can store this Mojito recipe in the pitcher in the fridge for several days.
- Feel free to add more or less rum!
