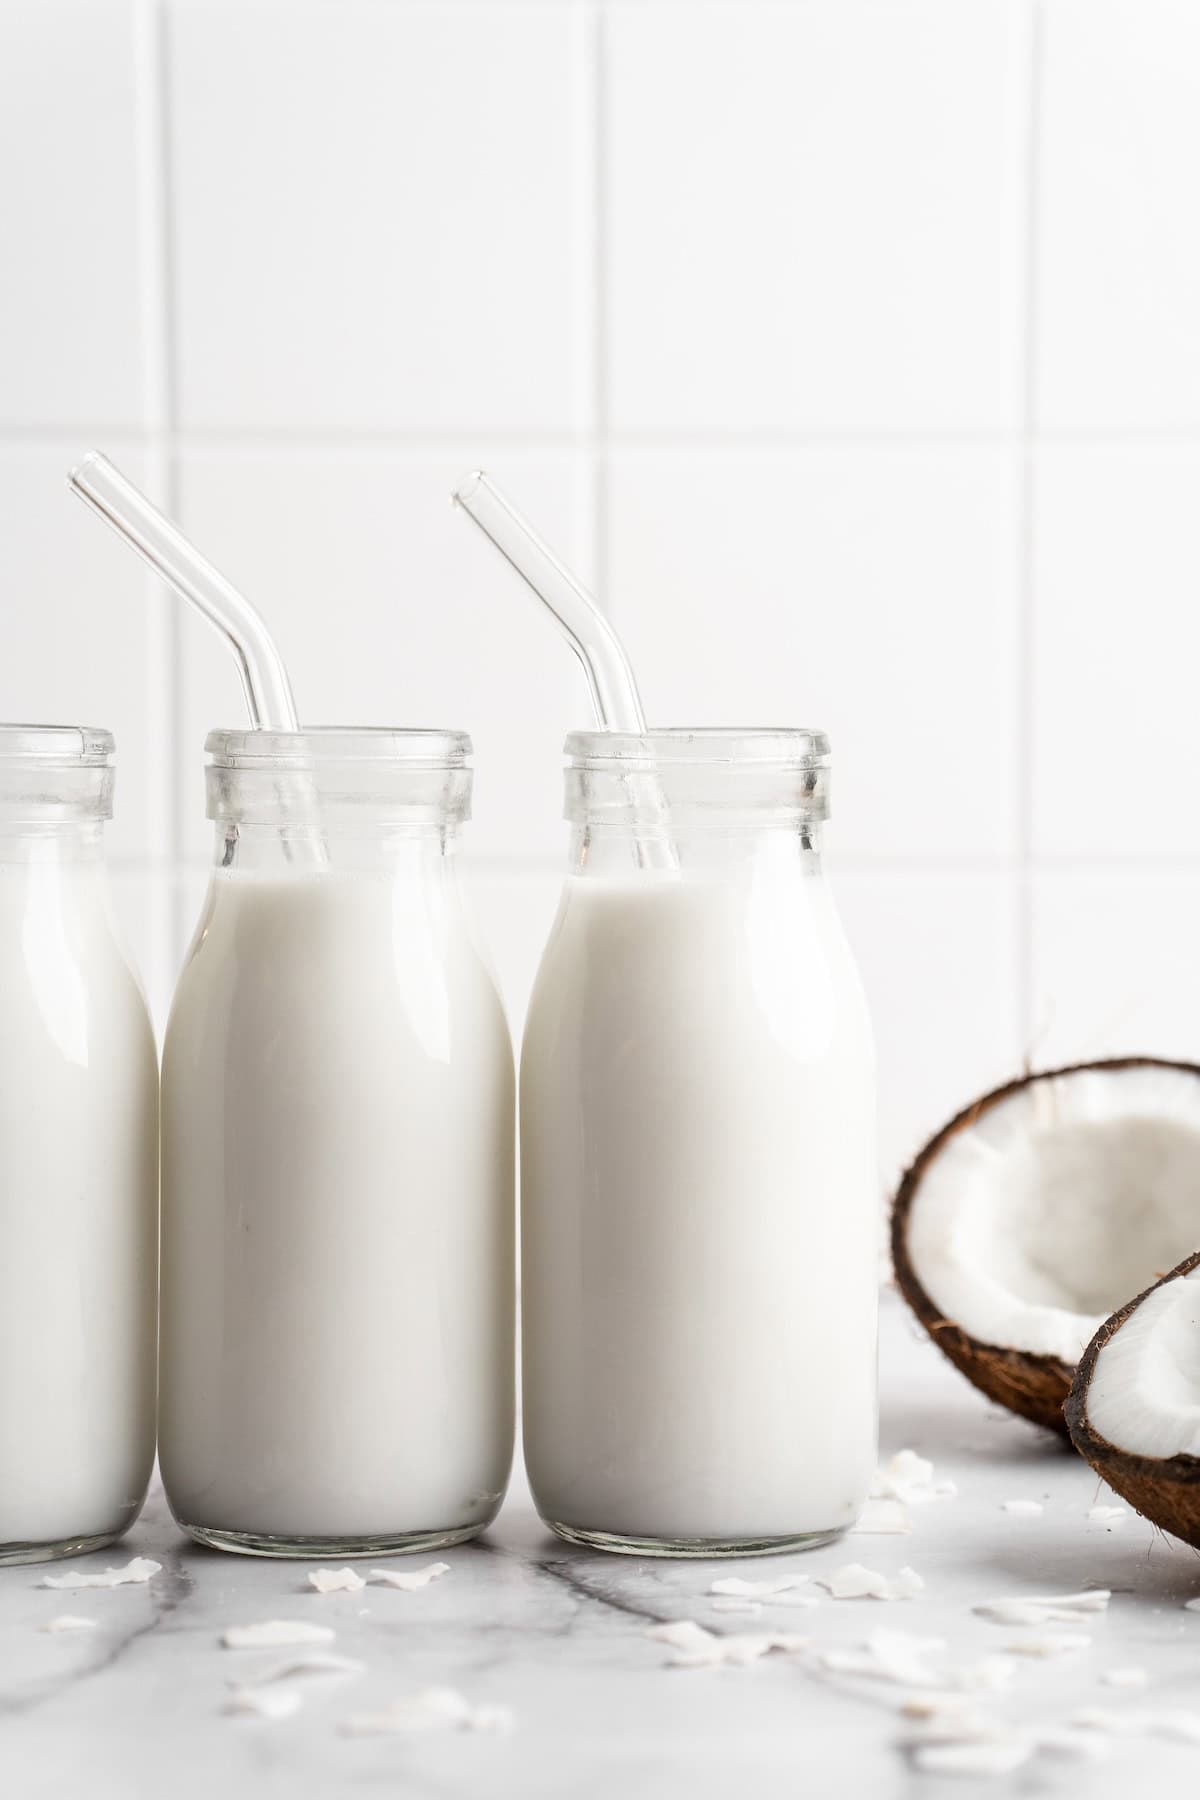
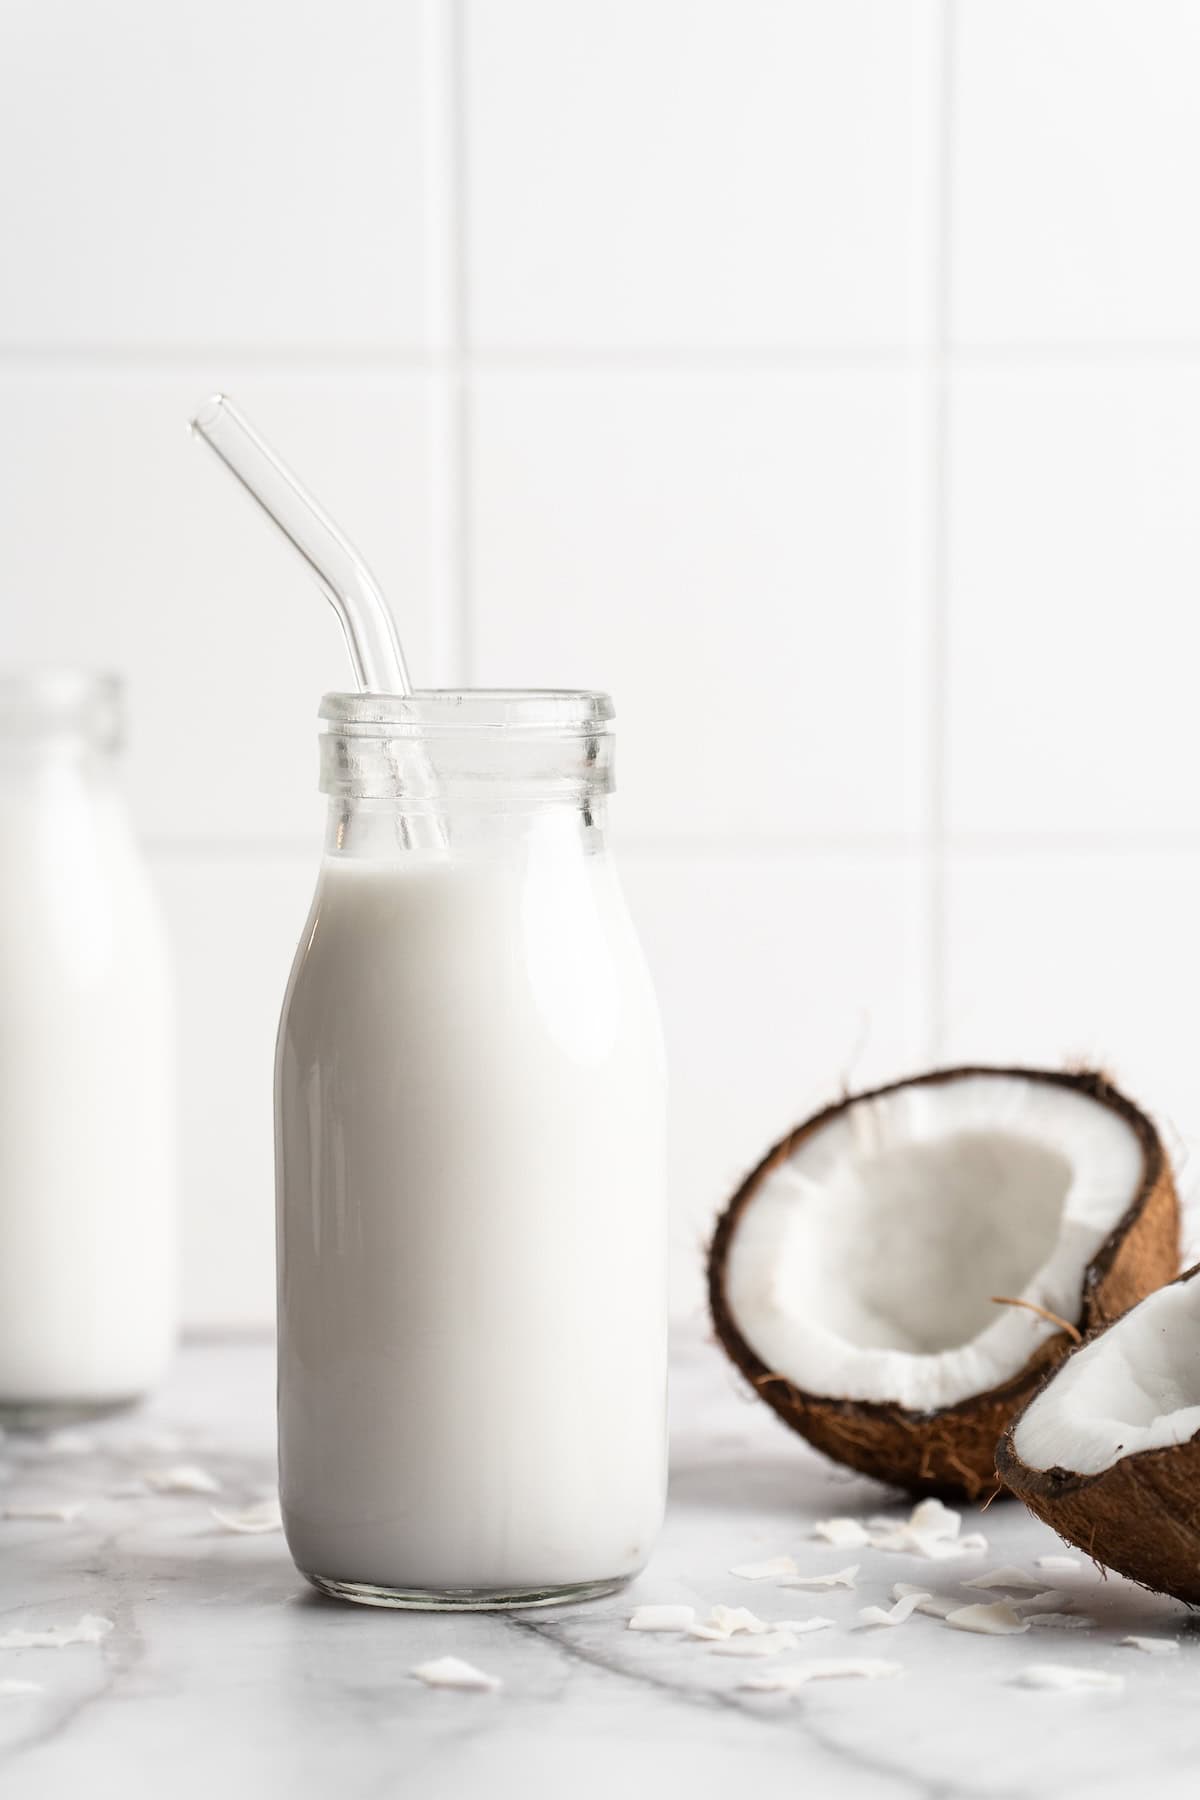
Instead of buying coconut milk, you can make it at home! This homemade coconut milk recipe is easy and delicious, and you only need two ingredients to make it. (Spoiler: One of them is water!)
Do you ever watch those influencers on TikTok who seem to make everything from scratch? Okay, I may have fallen down that rabbit hole personally (as evidenced by my posts on How to Make Sprinkles and How to Make Almond Milk ), but there really is something so satisfying about making the kitchen staples you usually buy. And in that spirit, I’m sharing this creamy, incredibly tasty homemade coconut milk recipe! Yep, you can make coconut milk at home—and no, you don’t need to crack open a bunch of coconuts to do it. (Although I have made coconut milk from coconuts and it is so satisfying and delicious!)
Why It’s Worth It to Make Your Own Coconut Milk
Here’s why it’s time to put homemade coconut milk on your to-do list!
- As creamy as you like it . Full-fat coconut milk straight from the can is fab for recipes, but it’s not exactly something you’d sip on or pour in your cereal because it’s so rich. But lite coconut milk often has the opposite problem—it’s thin and watery. I love that with this homemade coconut milk, I can nail that perfect consistency for a coconut milk we use in practically everything!
- So simple to make . Seriously, you only need two ingredients to make this homemade coconut milk, and one of them is water! And the process itself is a breeze.
- No additives or preservatives . When you make your own coconut milk, you know exactly what’s going into it! Store-bought versions may contain additives or preservatives that can affect the taste and nutrition.

Notes on Ingredients
Here’s what you’ll need to make your own coconut milk. Scroll down to the recipe card to find the ingredient quantities and recipe instructions.
- Unsweetened coconut flakes – A lot of coconut flakes are sugary sweet, so it’s important to check the label and make sure the ones you’re buying are unsweetened.
- Water – This should be room temperature. Adjust the amount to get your desired consistency.
- Vanilla extract – Optional, if you plan on drinking your homemade coconut milk, using it for cereal, etc.
- Sweetener – Another optional add in! You can blend in a date, or add agave syrup.
How to Make Coconut Milk
The full instructions for this coconut milk recipe are at the bottom of the post, but here’s a visual overview so you can see what the process looks like.
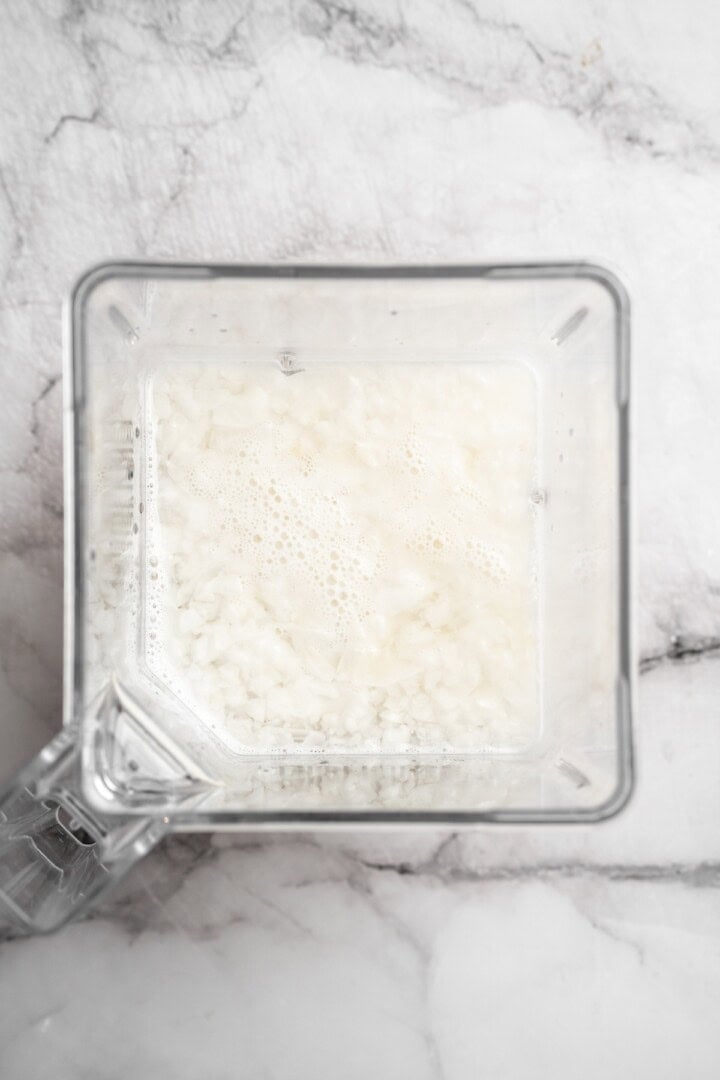
Combine the water and coconut flakes.
- Blend . Combine the coconut and water in a blender and blend until the mixture is creamy and smooth. (If you want to sweeten the milk with a date, you can add this to the blender too.)
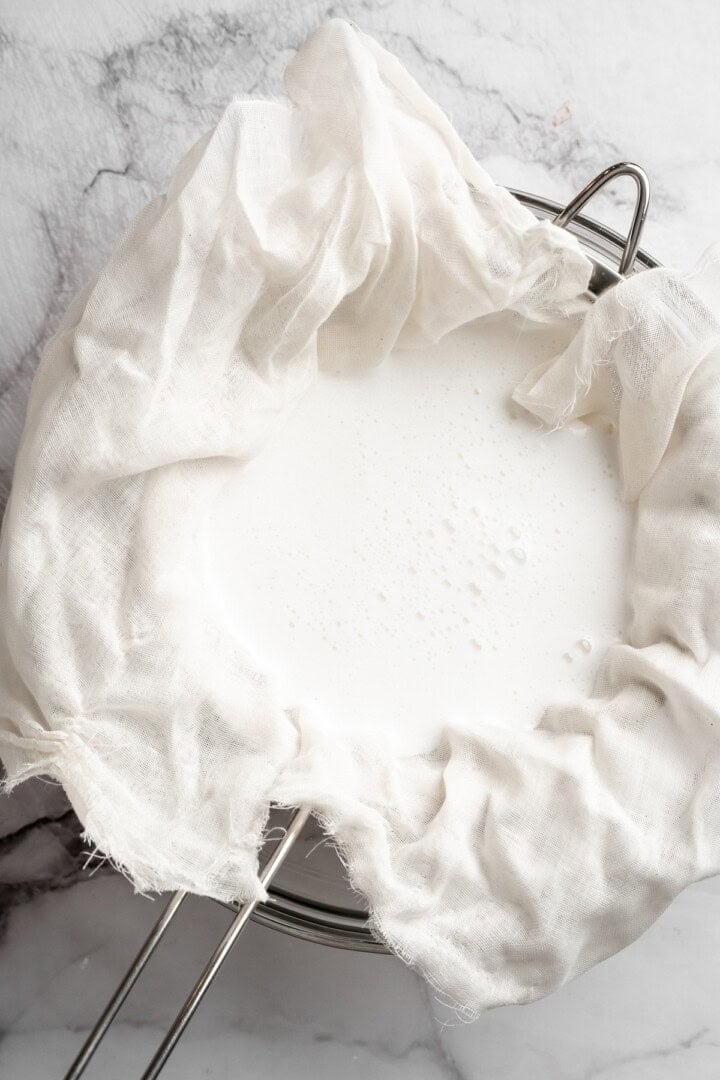
Strain.
- Strain . Pour the coconut milk through a cheesecloth, nut milk bag, or fine mesh strainer.
- Flavour it . Add the vanilla or agave syrup if you’re using it.
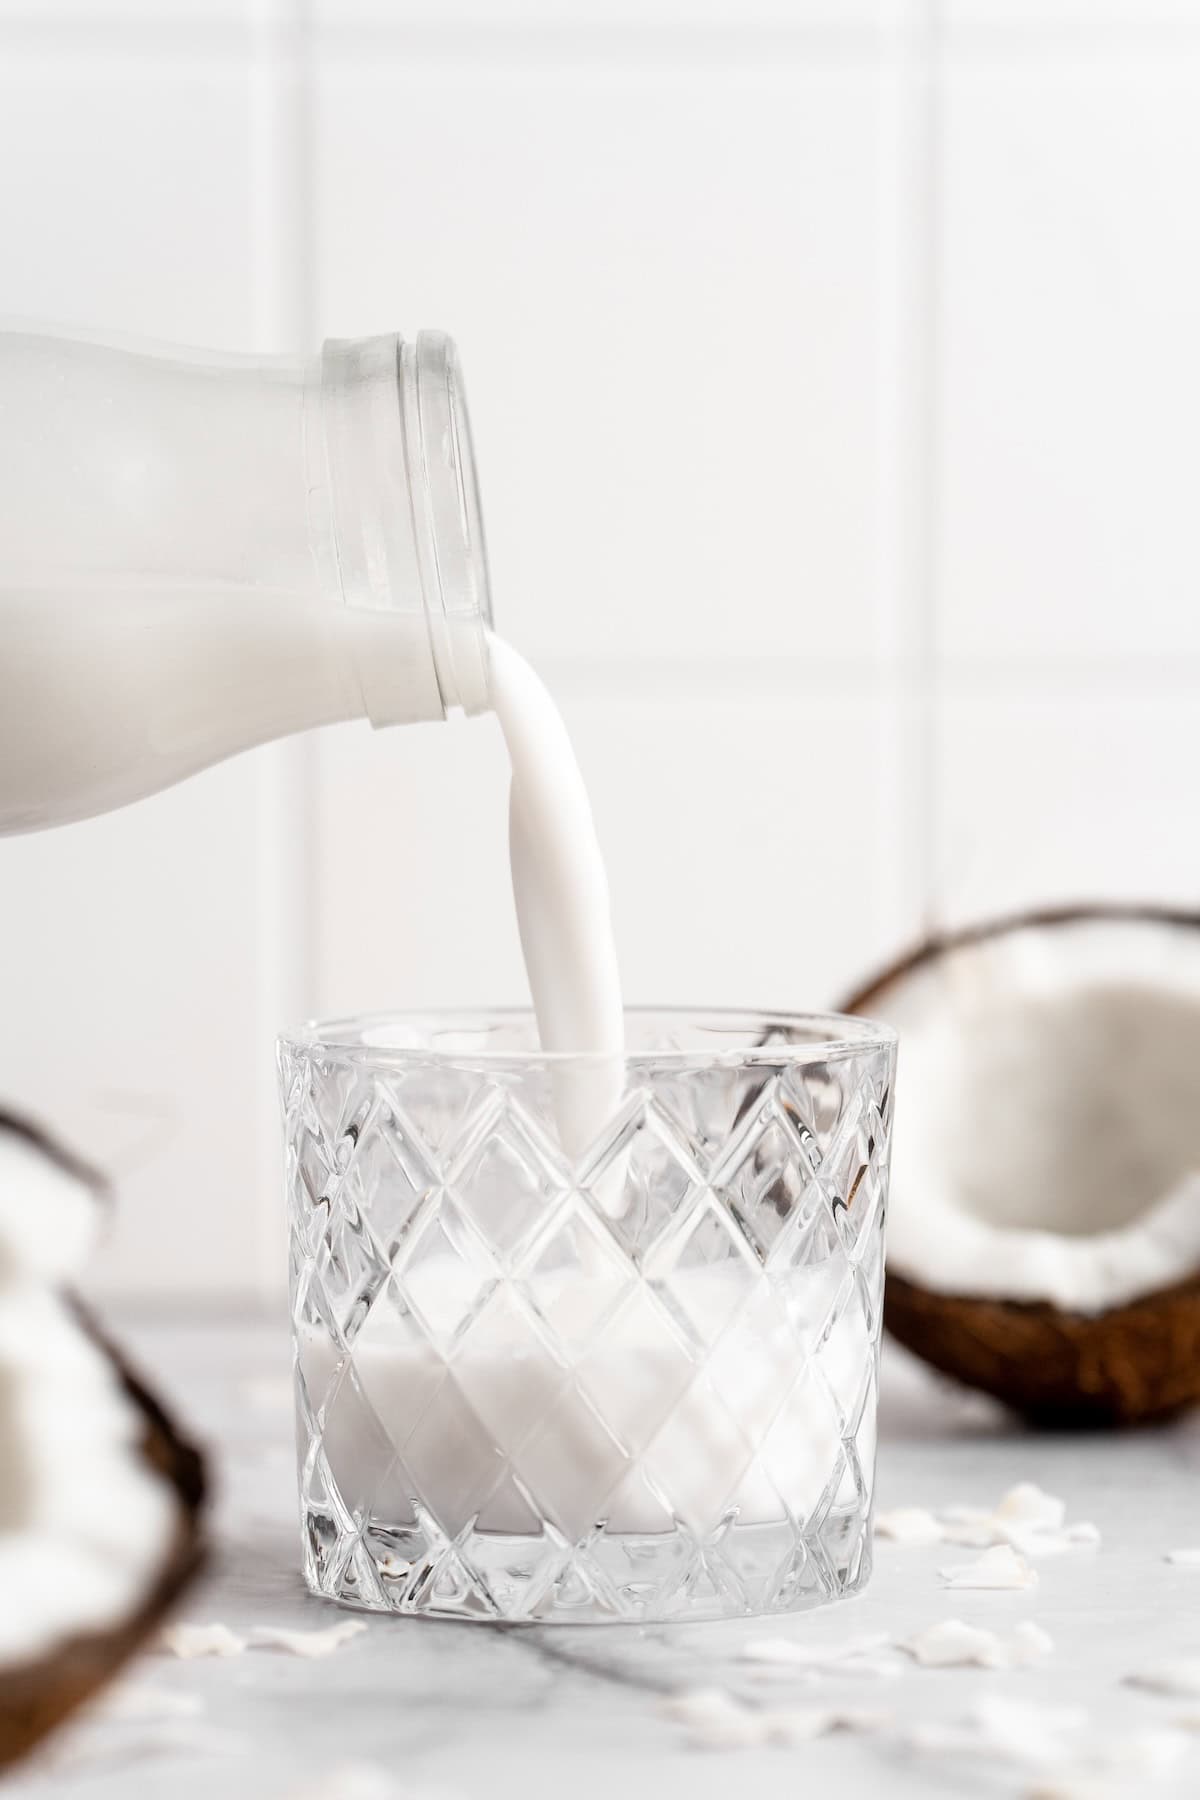
- Use or store . You can use the coconut milk right away or pour it into a jar or other airtight container and refrigerate it for later.
Tips for Success
- Blend thoroughly . The more you blend, the creamier and smoother your homemade coconut milk will be. If you don’t have a high-speed blender, blend in intervals to prevent overheating.
- Adjust water to your liking . The amount of water used will affect the consistency of your coconut milk. Add more or less depending on how thick or thin you want it.
- Get creative with add-ins . You can customise your homemade coconut milk by using different sweeteners (try maple syrup or date syrup ), extracts, and spices (I love adding cinnamon!).
What to Do With Leftover Coconut Pulp
You’ll have leftover coconut pulp after straining your coconut milk. Guess what? You can put it to use instead of throwing it away! Here’s what I do with it.
- Make coconut butter. Blend the pulp in a high-speed blender or food processor until it’s smooth. Learn more: How to Make Coconut Butter .
- Toast it. Spread the pulp on a baking sheet and toast it in the oven for a crunchy topping to add to Vegan Mango Ice Cream and Strawberry Lime Coconut Smoothie Bowls .
- Dry it for coconut flour . Spread the pulp in a thin layer on a baking sheet and bake at a low temperature (around 200°F/90°C) until it’s completely dry. Then, blend into a fine flour.
Using Your Homemade Coconut Milk
Homemade coconut milk is incredibly versatile and can be used in any recipe that calls for coconut milk or plant milk. I love using it to make smoothies (it’s especially delicious in this Mango Coconut Smoothie ) and Pumpkin Spice Golden Milk . We also use it in cereal and add it to Instant Pot Steel-Cut Oats for breakfast. You can even warm it up to enjoy alongside this vegan Moravian sugar cake for a cozy snack.
How to Store
- Refrigerator : Homemade coconut milk should be stored in an airtight container, bottle, or jar. It can be refrigerated for 4-5 days. Make sure to shake well before each use.
- Freezer : You can also freeze your homemade coconut milk in an airtight container for up to 6 months. Just make sure to leave some room at the top of the container for expansion. Thaw in the refrigerator and shake well before using.
More Homemade Vegan Staples
- Vegan Butter
- Vegan Heavy Cream Substitute
- How to Make Vegan Parmesan Cheese
- Vegan Mayo
- Vegan Chicken
Ingredients
- 2 cups unsweetened coconut flakes , 120 grams
- 3 cups room temperature water , 710 grams, (add up to 1 cup more for a thinner consistency)
Optional:
- 1 teaspoon vanilla extract , 4.2 grams
- 1 date , or 1 – 2 teaspoons agave syrup for sweetness
Instructions
- Add the coconut flakes and 3 cups of room temperature water to a high-speed blender. Blend on high for 2-3 minutes until the mixture is creamy and well-combined. If you’re not using a high-speed blender, you’ll need to blend longer – maybe up to 5 minutes, pausing in between. If you’d like thinner milk, add up to 1 cup more water and blend again briefly.
- Place a nut milk bag, cheesecloth, or fine-mesh strainer over a bowl or large measuring cup. Pour the blended mixture through the strainer to separate the coconut pulp from the milk. Squeeze or press out as much liquid as possible.
- If desired, add vanilla and a date or agave syrup to the strained milk. Blend briefly to incorporate. Adjust sweetness to taste.
- Transfer the coconut milk to an airtight container or jar.
Notes

Coconut Milk
Ingredients
- 2 cups unsweetened coconut flakes 120 grams
- 3 cups room temperature water 710 grams, (add up to 1 cup more for a thinner consistency)
Optional:
- 1 teaspoon vanilla extract 4.2 grams
- 1 date or 1 - 2 teaspoons agave syrup for sweetness
Instructions
- Add the coconut flakes and 3 cups of room temperature water to a high-speed blender. Blend on high for 2-3 minutes until the mixture is creamy and well-combined. If you’re not using a high-speed blender, you’ll need to blend longer - maybe up to 5 minutes, pausing in between. If you’d like thinner milk, add up to 1 cup more water and blend again briefly.
- Place a nut milk bag, cheesecloth, or fine-mesh strainer over a bowl or large measuring cup. Pour the blended mixture through the strainer to separate the coconut pulp from the milk. Squeeze or press out as much liquid as possible.
- If desired, add vanilla and a date or agave syrup to the strained milk. Blend briefly to incorporate. Adjust sweetness to taste.
- Transfer the coconut milk to an airtight container or jar.
Notes
Nutrition
Coconut Milk https://jessicainthekitchen.com/coconut-milk/ March 17, 2025
No canning needed! This is the easiest strawberry jam recipe you’ll ever make and the flavour is sweet, fruity, and bright. You only need 3 ingredients!
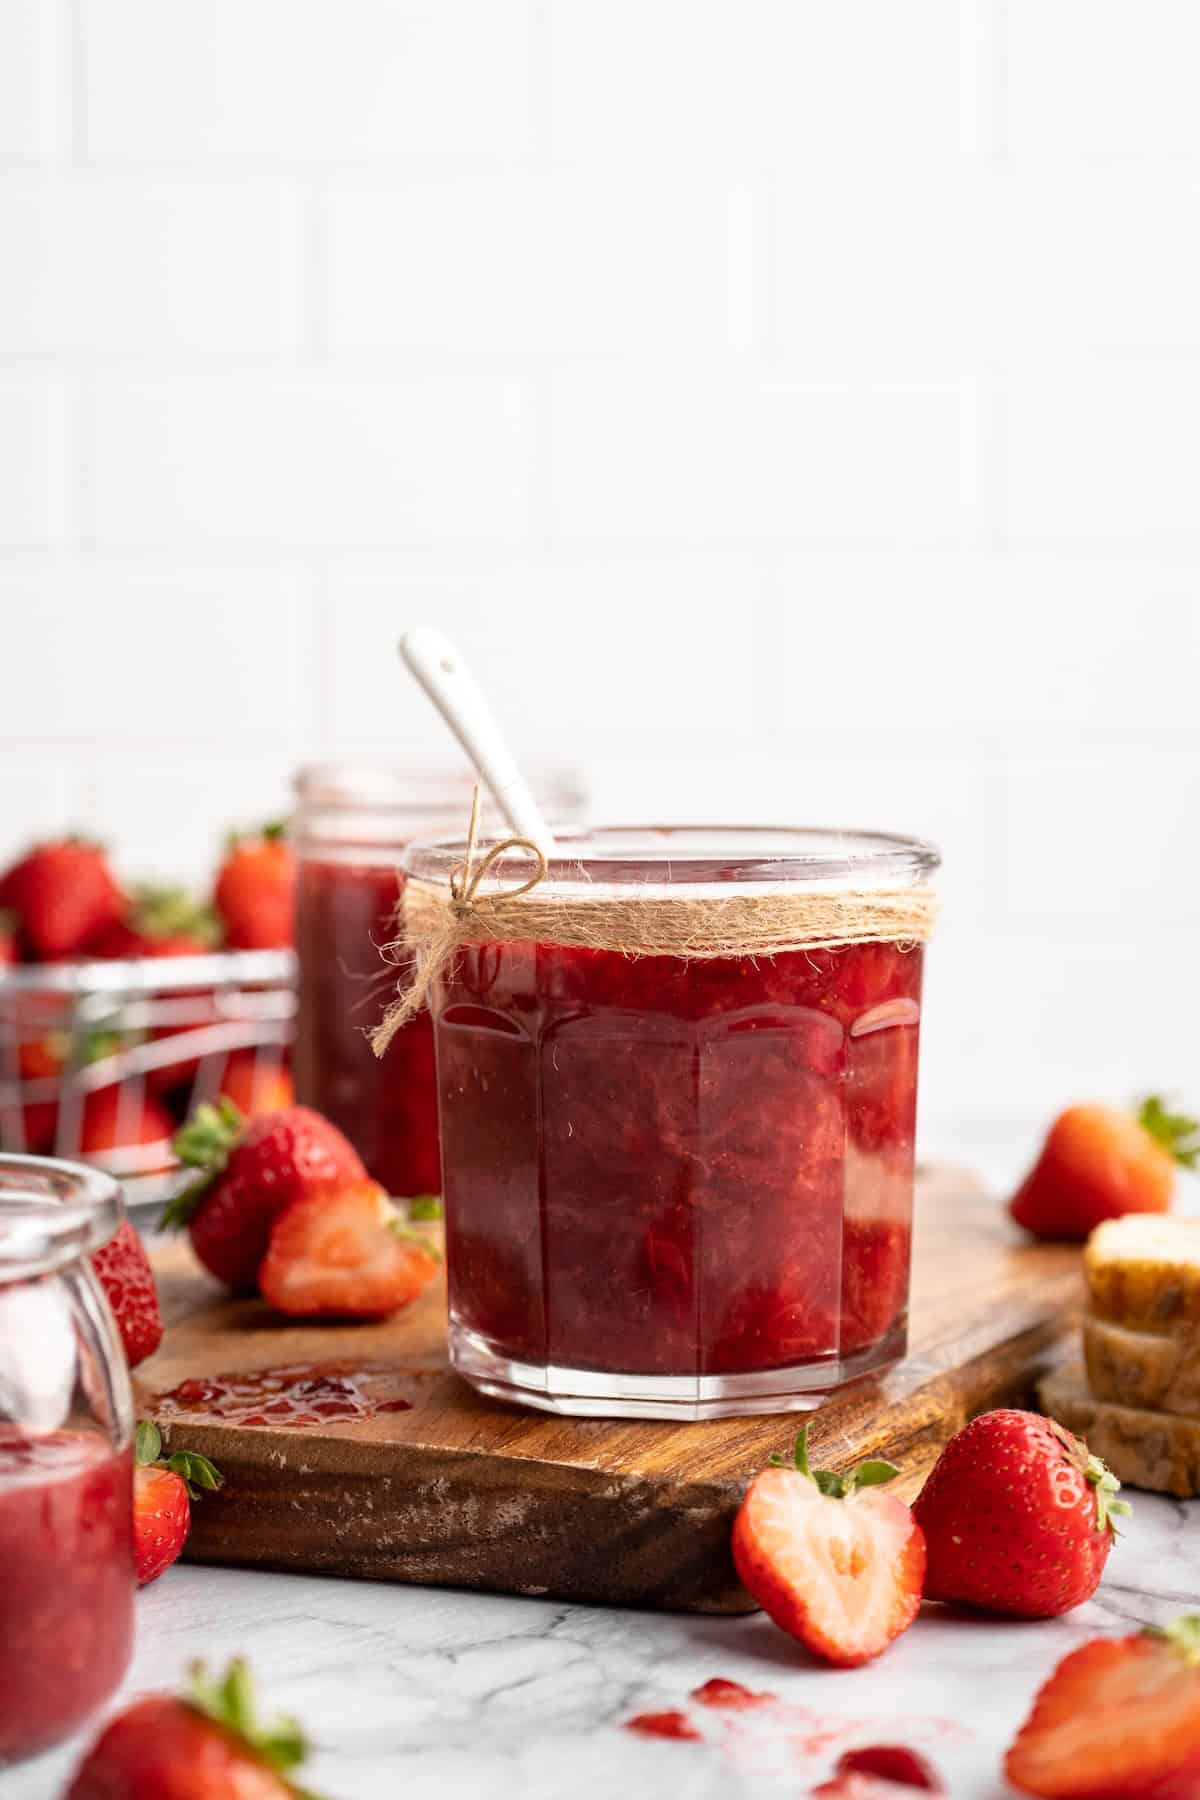
As much as I want to be that person who cans her own sauces and jams, at this point in my life, it’s just not in the cards. I have the time to make the sauces and jams, but mastering the canning process to preserve them—well, we’ll wait until my little one is no longer a toddler before we tackle that! So that’s why this strawberry jam is the EASY kind of jam that doesn’t need to be canned. Like my Homemade Refrigerator Pickles , you just store it in the fridge! The ingredients are simple, so the strawberry flavour really shines.
Why This Strawberry Jam Is My Favourite
There’s a lot to love about this simple strawberry jam recipe! Here’s what makes it so special.
- Super simple ingredients . You’ll only need strawberries, a lemon or lime, and sugar—that’s it! You don’t even need pectin for this recipe.
- No canning needed . As mentioned before, this jam doesn’t require any complicated canning process. Just make it and store it in the fridge!
- Fresh and bright flavour . Because it’s made without a lot of add-ins, this strawberry jam is bursting with fresh, fruity flavour that takes everything from Vegan Waffles to High-Protein Overnight Oats to the next level.

Notes on Ingredients
As promised, the ingredient list is short and sweet! Scroll down to the recipe card to find the ingredient quantities and recipe instructions.
- Strawberries – You can use fresh or frozen; if you use frozen berries, thaw them first.
- Lemon or lime – You’ll need both the zest and the juice. Zest the fruit before juicing it.
- Sugar – The amount of sugar is usually precise for jams that are canned because it helps with the preserving process, but the beauty of this refrigerator jam is that you can reduce the amount you use significantly—by up to half. Just don’t eliminate it all together because it does contribute to the jammy texture.
How to Make Strawberry Jam
You’ll find the full instructions for this strawberry jam recipe at the bottom of the page. Here’s a quick overview.

Combine ingredients.
- Combine . Add the strawberries, zest and juice, and sugar to a pot set over medium-high heat. Mash it all together a bit.
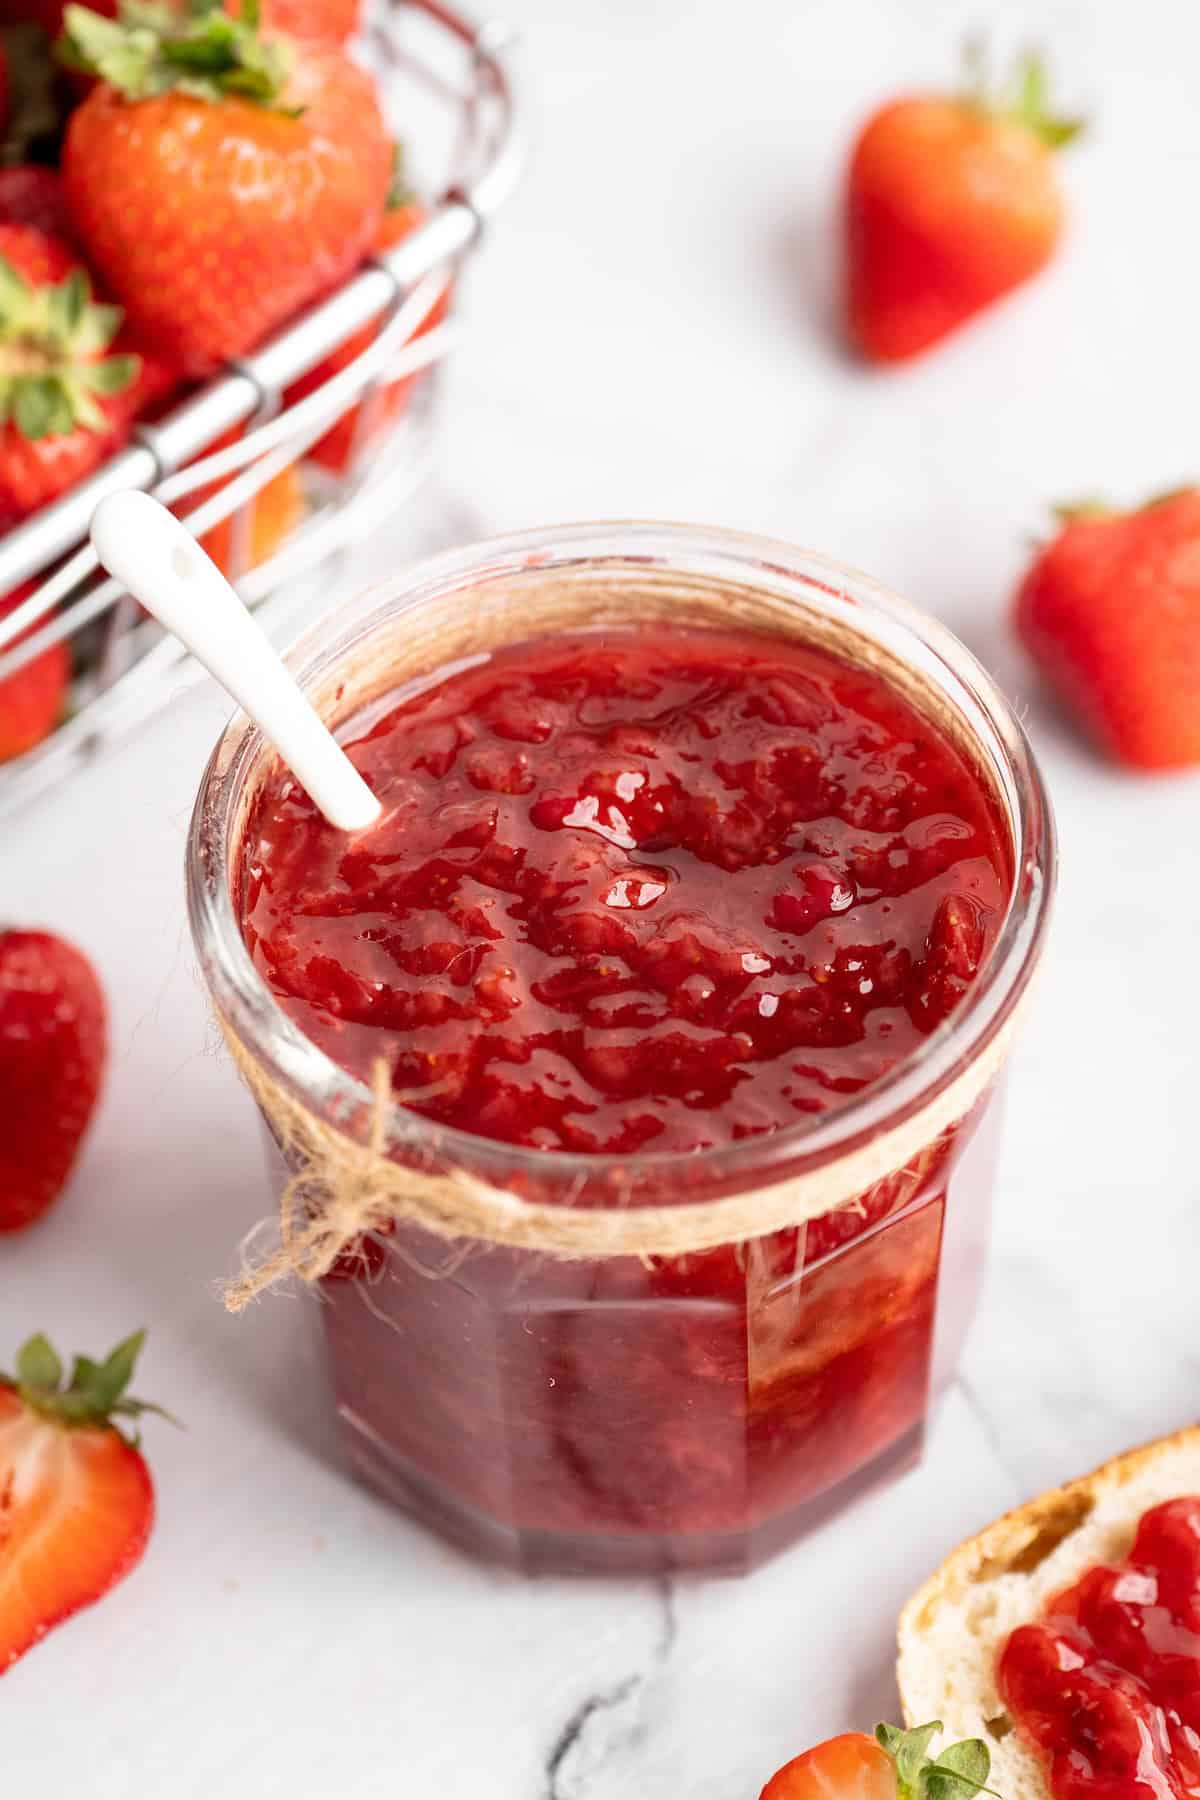
- Cook . Bring the mixture to a boil, then reduce the heat and simmer for about 30 minutes, stirring and mashing occasionally.
- Refrigerate . Once the jam reaches your desired thickness, taste it and adjust the ingredients as needed. Transfer to clean jars and store in the refrigerator.
Tips and Variations
Here’s how to make sure your strawberry jam turns out perfect—and some ideas to help you put your own spin on it.
- Add some herbs . Cook the strawberry jam with a sprig of fresh thyme, rosemary, or basil. (Don’t use dried!) Remove the herbs before storing. This will infuse your jam with lovely flavour and add a little complexity!
- Or try adding an extract . Almond extract or vanilla extract would be lovely. Alternatively, you can scrape the inside of a vanilla bean into the strawberry mixture, then toss the pod in the pot while the jam simmers. Discard the pod before storing.
- Use ripe, tasty strawberries . If your strawberries aren’t ripe and flavourful on their own, you won’t get a tasty jam. Make sure your berries are sweet and fragrant!
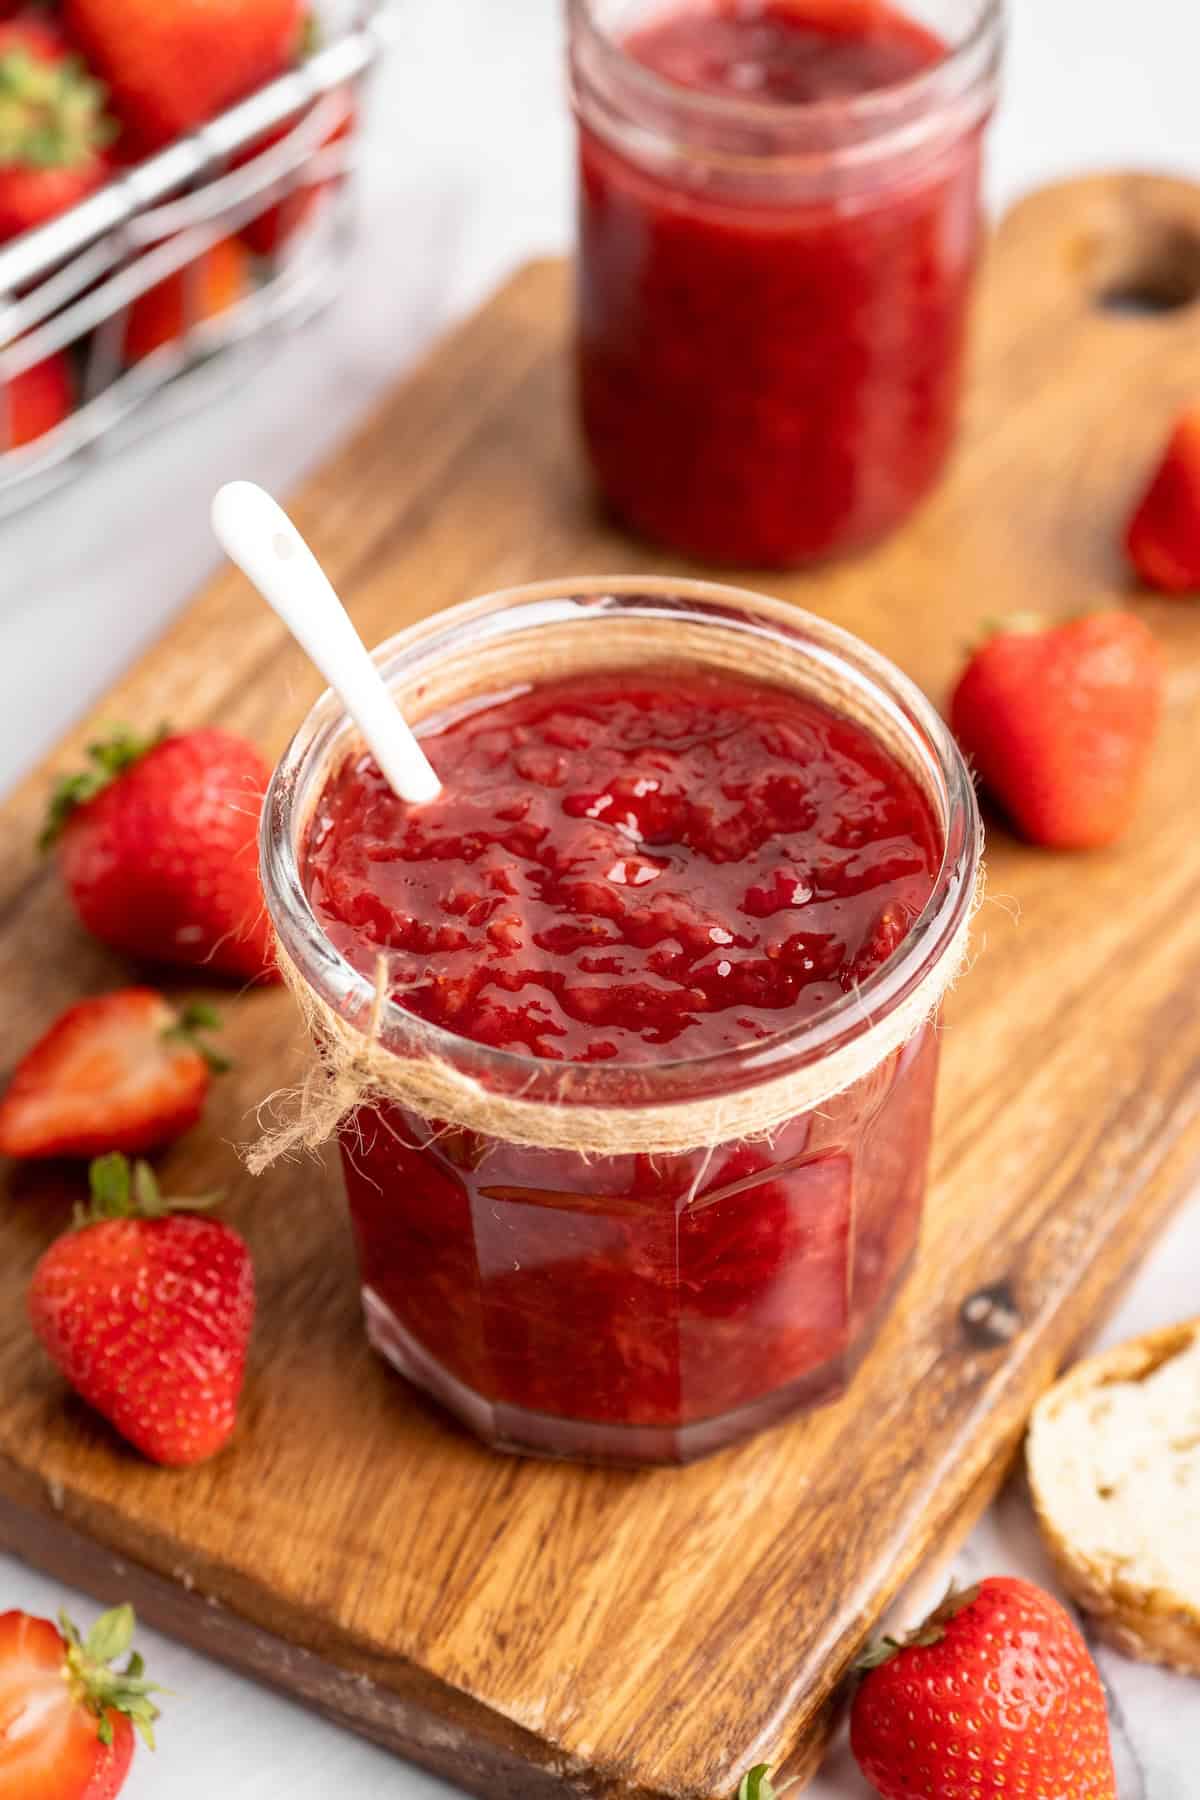
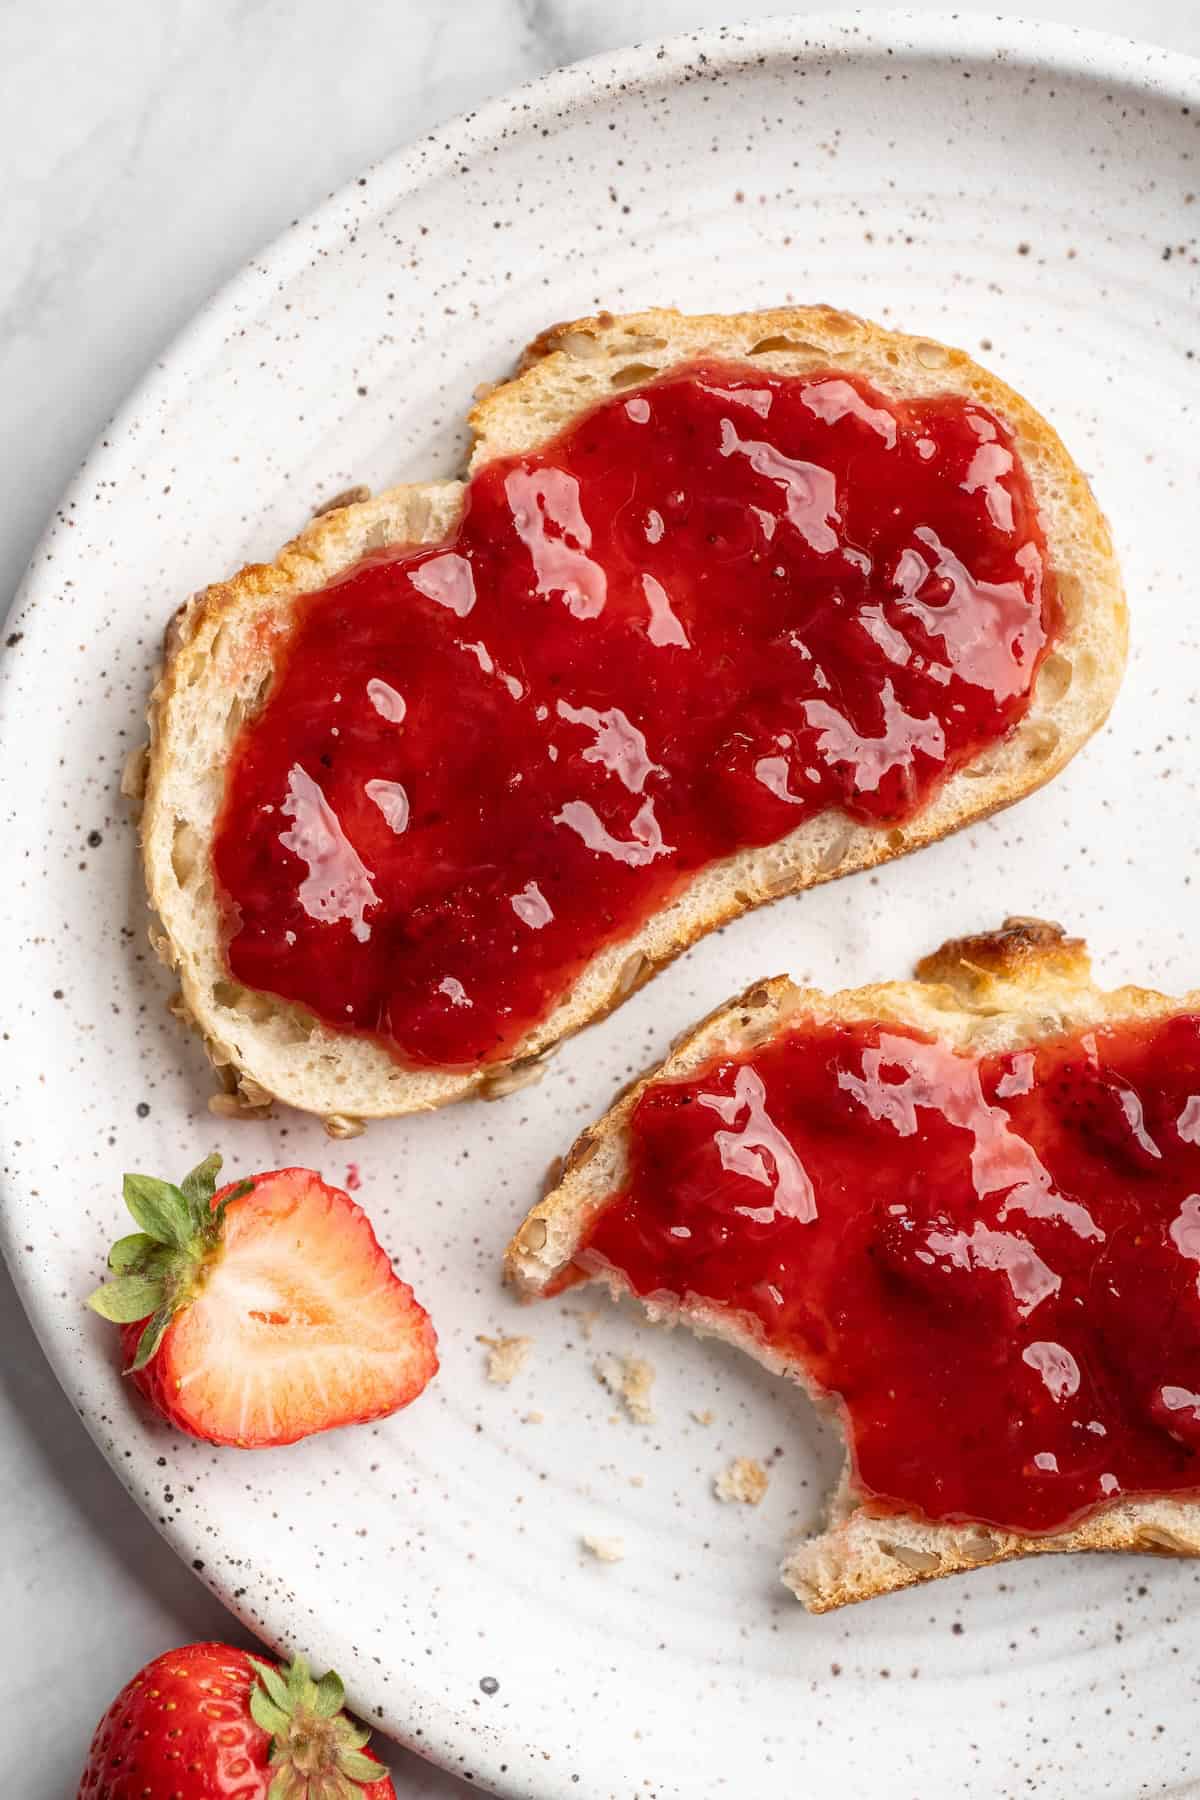
Serving Suggestions
I love smearing slices of toast made from my Japanese Milk Bread with this homemade strawberry jam! It’s also amazing swirled into Homemade Vegan Yogurt , spooned over this 2-Ingredient Blueberry Ice Cream , or slathered onto these Vegan Scones .
How to Store
- Refrigerator : This strawberry jam can be stored in airtight containers or mason jars in the fridge for up to 2 weeks.
- Freezer : You can also freeze this jam for longer storage. Just make sure to leave some room at the top of your container for expansion, and thaw it in the fridge before using.
More Recipes With Strawberries
- Strawberry Salsa
- Strawberry Banana Bread
- Korean Strawberry Milk
- Strawberry Granita
- Strawberry Banana Smoothie
Ingredients
- 1 pound strawberries , fresh or frozen (if fresh, remove tops. If frozen, thawed), 454 grams
- Juice of one large lime OR lemon , (about 2 tablespoons or 30 grams)
- Zest of one large lime or lemon
- 1 cup sugar , (feel free to use ½ this), 200 grams
Instructions
- Add the strawberries, lime or lemon, zest and sugar into a pot over medium high heat. Stir everything together and mash the entire mixture together.
- Let the mix come to a rolling boil and lower to medium low heat (to an active simmer). Continue to simmer for 30 minutes to reduce, stirring and mashing every few minutes and watching that the bottom isn’t caramelising or burning (lower heat if it is). Test your jam on a cold plate from the freezer – if it sticks and doesn’t immediately slide it’s ready. I cooked mine for an extra 10 minutes at this point.
- Once ready, turn off heat and let cool for a few (3-5) minutes. Taste test to see if you need more or less of anything. Scoop the jam into sterilised and dried mason jars to store. Enjoy!
Notes
- Refrigerator : This strawberry jam can be stored in airtight containers or mason jars in the fridge for up to 2 weeks.
- Freezer : You can also freeze this jam for longer storage. Just make sure to leave some room at the top of your container for expansion, and thaw it in the fridge before using.
