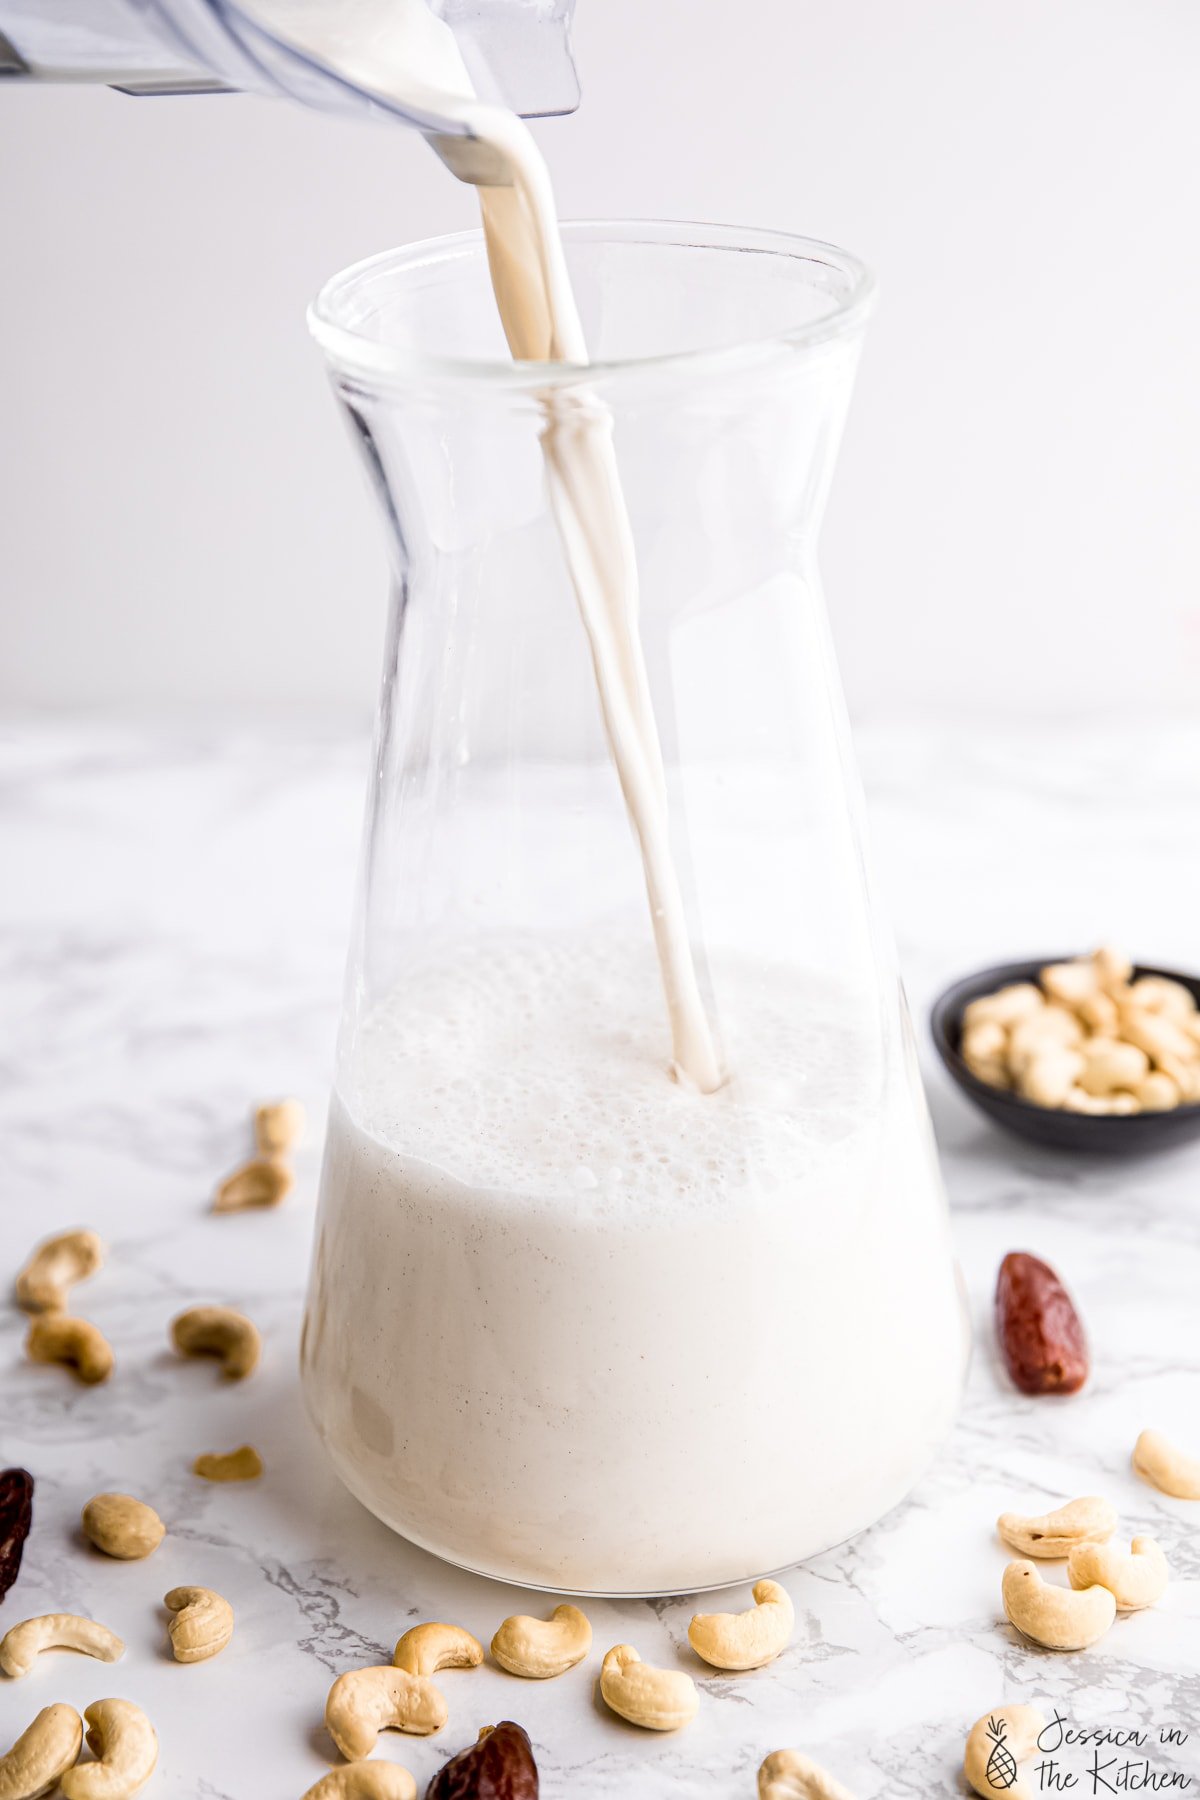
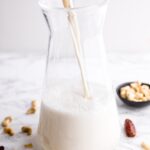
Cashew milk is my absolute favourite vegan milk—and it’s also the easiest to make! It’s incredibly creamy, delicious, and you don’t need any special equipment to make it.
The first time I made cashew milk at home I realised that I had been missing out—homemade cashew nut milk tastes extraordinary! It’s fresher, you can flavour it exactly how you want, and it’s more economical than store-bought options. Similar to making your own tomato sauce , nut butters , and homemade bread , making your own cashew milk at home is satisfying and totally worth it.
Why You’ll Love This Cashew Milk Recipe
- Quick and easy . Making cashew milk is very simple. Soak the cashews, blend them with water and that’s it—you’ve made cashew milk!
- No straining needed . One of my favourite things about homemade cashew nut milk is that you don’t have to strain the nuts since they blend smoothly into the liquid, unlike almond milk, for example. This means that you don’t need to buy a nut milk bag.
- Highly customisable . Sweeten this cashew milk however you like, add flavourings , or adjust the thickness. You can tweak this recipe and make it your own!
Notes on Ingredients
Scroll down to the recipe card to find the ingredient quantities and recipe instructions.
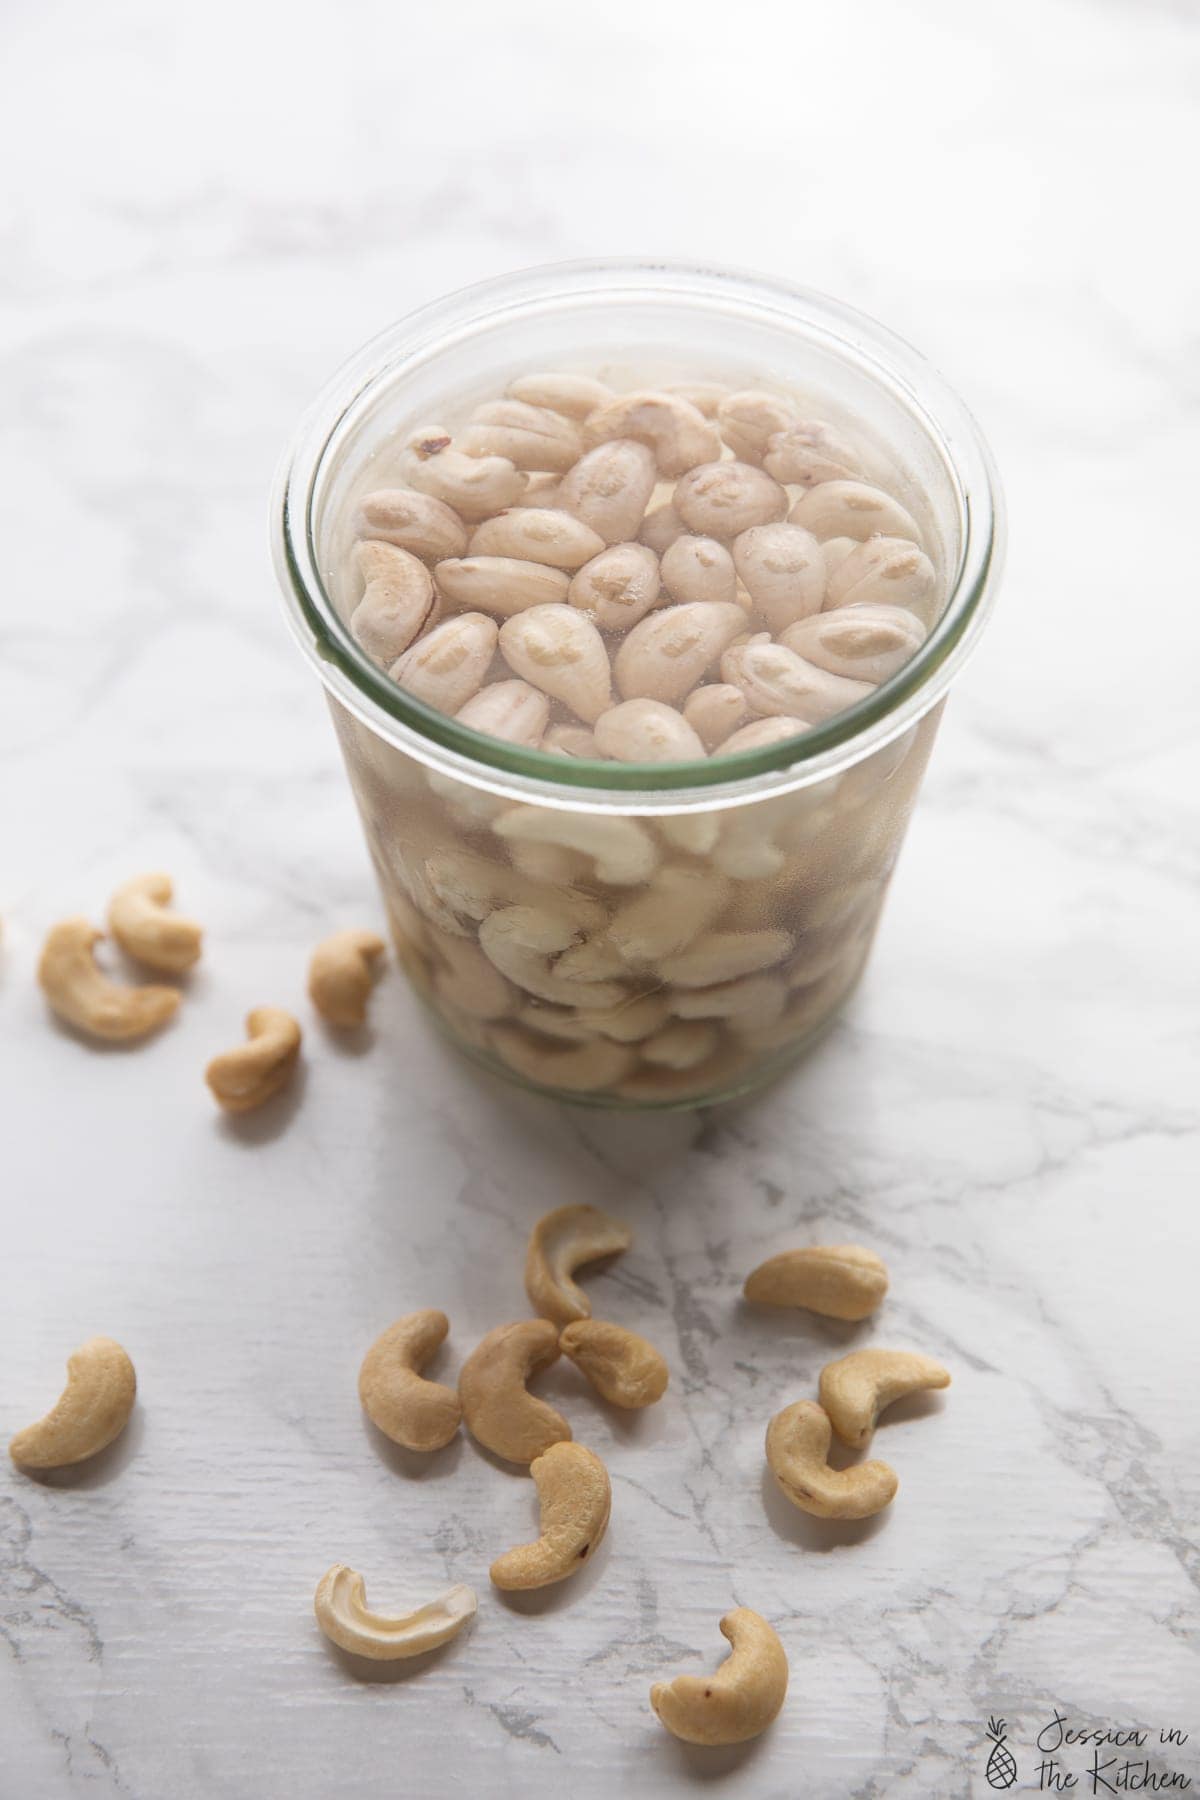
- Raw cashews – Soak overnight ; this helps you achieve the smoothest, creamiest cashew milk.
- Cold water – I recommend using filtered water for the best flavour.
- Sea salt – Just a bit to enhance the overall flavor.
- Sweetener – Maple syrup, agave nectar, or soaked pitted dates.
- Vanilla extract – You can leave this out, but if I’m making cashew milk for drinking, smoothies, or oatmeal, I love adding some vanilla.
How to Make Cashew Milk
- Combine . Add all of the ingredients to a high speed blender .
- Puree . Blend on high until the liquid is completely smooth, with no bits of cashew at all.
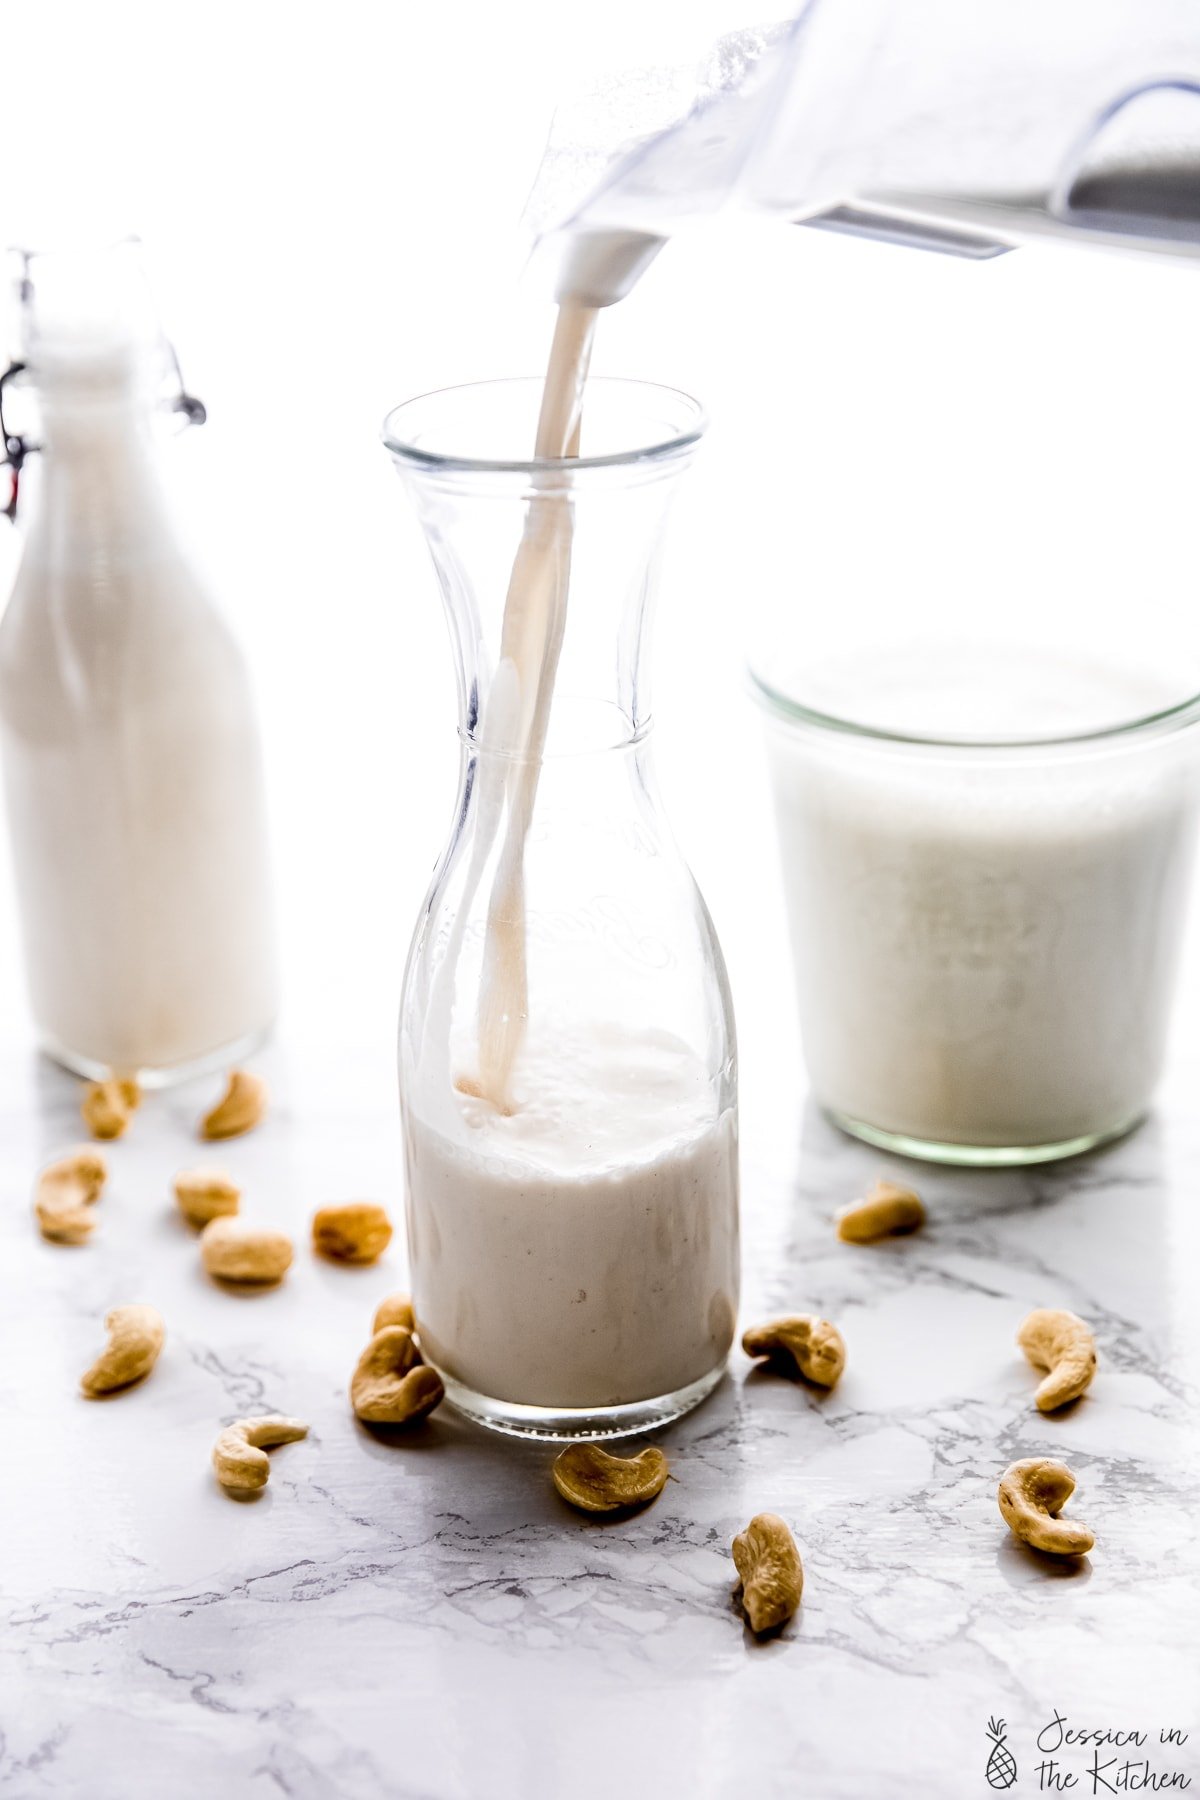
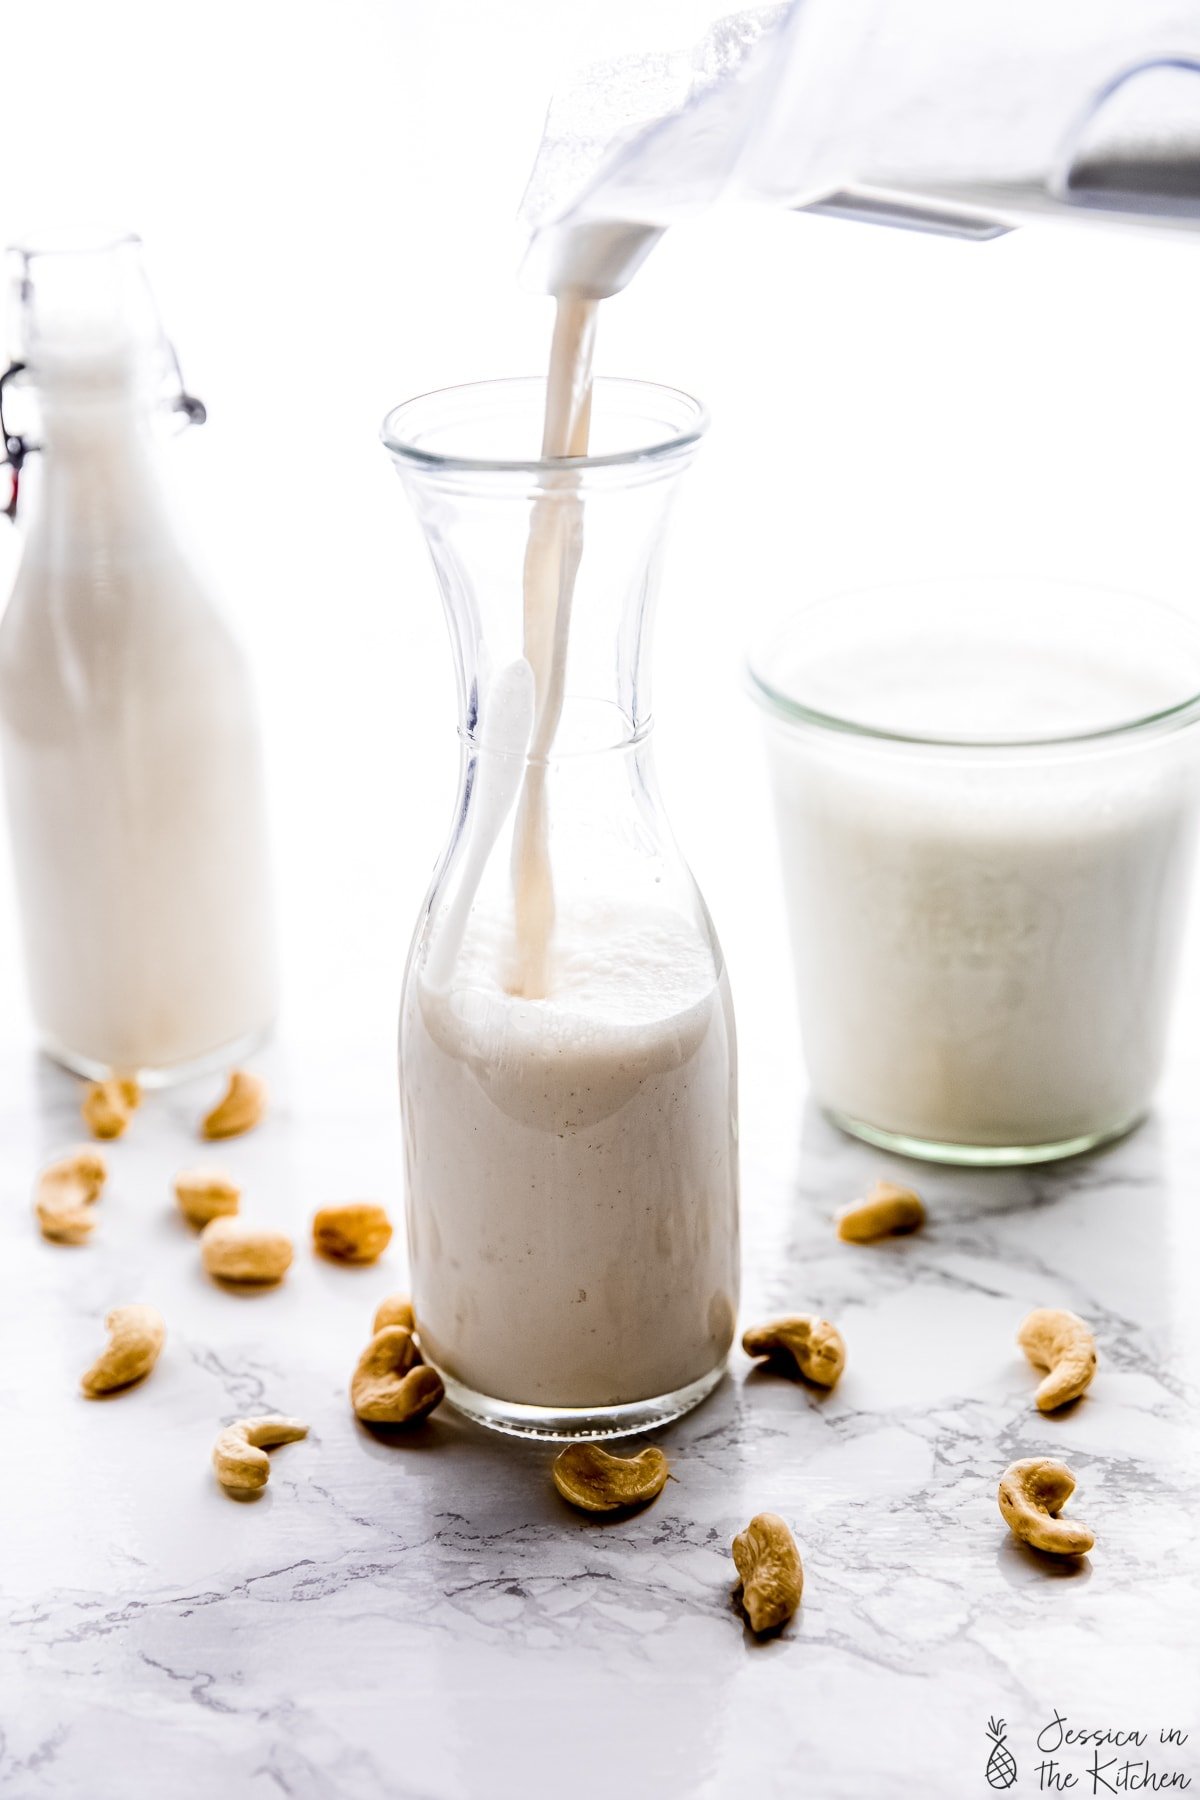
- Use or store . Transfer the cashew milk to jars or bottles and use right away or refrigerate.
Tips for Success
- Leave out the sweetener if needed . You can adjust the amount of sweetener, or leave it out altogether if you’ll be using this milk for a savory recipe.
- Forgot to soak the cashews? No problem! You can soak them in boiling water for an hour instead if needed.
- Change the consistency . As written, this recipe is fairly thick, but you can add less water to make it even thicker, or add more water for a thinner consistency.
- Make sure it’s fully blended . It can be hard to tell sometimes while the cashew milk is still in the blender, so I usually take out a spoonful or two and then pour them back into the blender to see if there’s any grit in the liquid. If there is, just keep blending.

Cashew Nut Milk Add-Ins
In addition to vanilla extract, try adding any of these, or come up with your own variation!
- Cocoa powder
- Vanilla bean paste (for flecks of vanilla!)
- Cinnamon
- Apple pie spice
- Pumpkin spice
- Cardamom
How to Use Cashew Milk
Truly, you could use this cashew nut milk in any of my recipes that call for a vegan milk. Because it’s so creamy and subtle in flavour, I especially love it in:
- Coffee or tea (like Iced Matcha Latte )
- Cereal or oatmeal (like Apple Pie Overnight Oats )
- Vegan Baked Mac and Cheese
- Vegan Eggnog
- Vegan Cornbread
- Naan
How to Store
This homemade cashew milk recipe will last up to 5 days in the refrigerator, but I find it’s best within the first 3 to 4 days. Shake or stir it before using.
Can I Freeze This Recipe?
You can freeze this cashew milk for up to 3 months. I recommend freezing it into ice cubes to store it easily and conveniently. You can then thaw it afterwards, or add it straight to smoothies.
More Homemade Vegan Staples
- Homemade Oat Milk Creamer
- How To Make Date Syrup
- How to Make Vegan Parmesan Cheese
- Homemade Vegan Yogurt (Cultured and Creamy)
- Vegan Ice Cream
Ingredients
- 1 cup raw cashews , soaked overnight, drained and rinsed
- 3.5-4 cups filtered cold water
- ¼ teaspoon sea salt
- 2 tablespoons maple syrup , or agave nectar or 3 soaked pitted dates
- ½ tablespoon vanilla extract
Instructions
- In a high speed blender, add the soaked cashews, filtered cold water, sweetener, sea salt and vanilla extract. Blend on high for about 2 minutes or until the cashews are completely blended out and the nut milk is smooth and creamy.
- Pour into air tight jars or a milk jar and store in your fridge. Use for any recipe you prefer and enjoy!
Notes
- For neutral flavored milk, you can leave out the sweetener.
- To speed soak the cashews, soak them in just boiled water for 1 hour.
- For thinner milk, add more water to taste.
- Calories are for 1/2 cup.
How to Store Cashew Milk
Cashew Milk
Ingredients
- 1 cup raw cashews soaked overnight, drained and rinsed
- 3.5-4 cups filtered cold water
- ¼ teaspoon sea salt
- 2 tablespoons maple syrup or agave nectar or 3 soaked pitted dates
- ½ tablespoon vanilla extract
Instructions
- In a high speed blender, add the soaked cashews, filtered cold water, sweetener, sea salt and vanilla extract. Blend on high for about 2 minutes or until the cashews are completely blended out and the nut milk is smooth and creamy.
- Pour into air tight jars or a milk jar and store in your fridge. Use for any recipe you prefer and enjoy!
Notes
- For neutral flavored milk, you can leave out the sweetener.
- To speed soak the cashews, soak them in just boiled water for 1 hour.
- For thinner milk, add more water to taste.
- Calories are for 1/2 cup.
How to Store Cashew Milk
Nutrition
Cashew Milk https://jessicainthekitchen.com/cashew-milk-recipe-vegan/ September 18, 2024
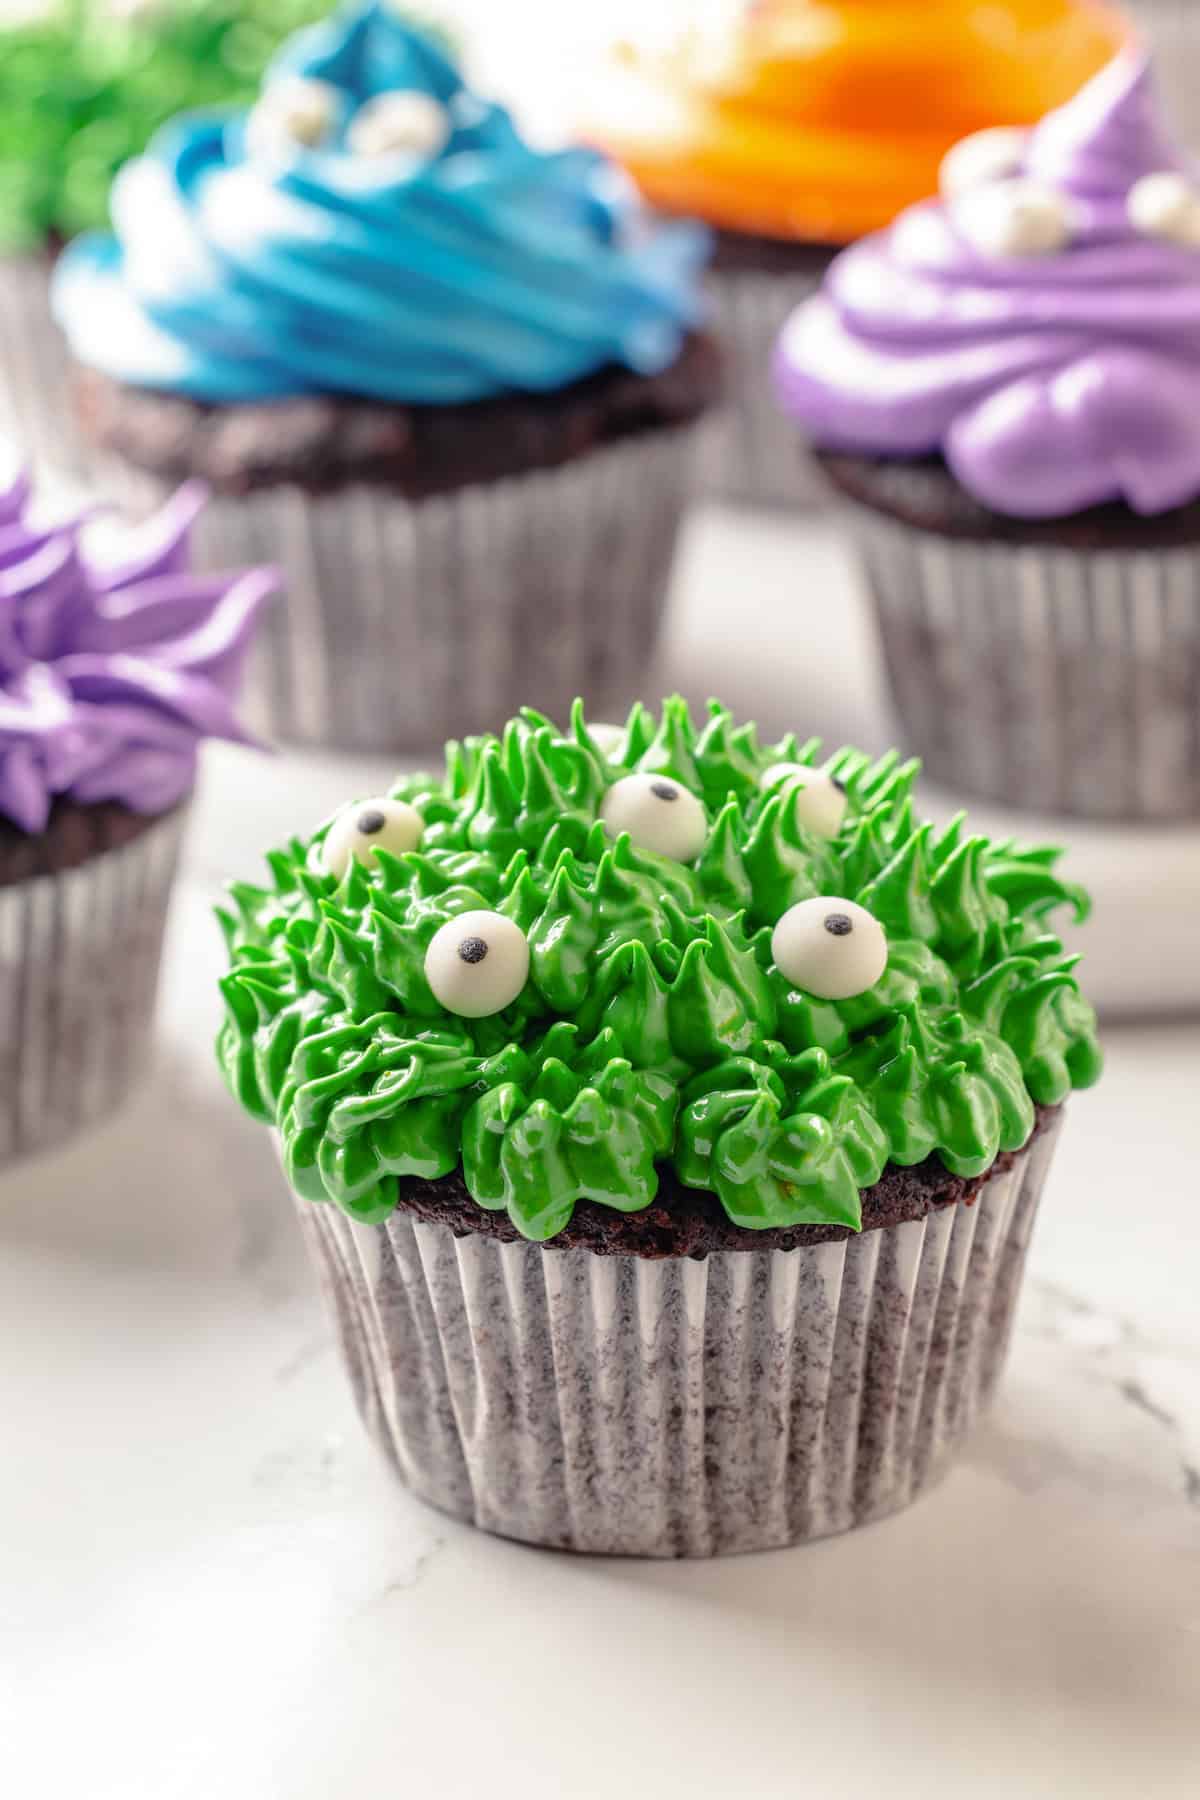
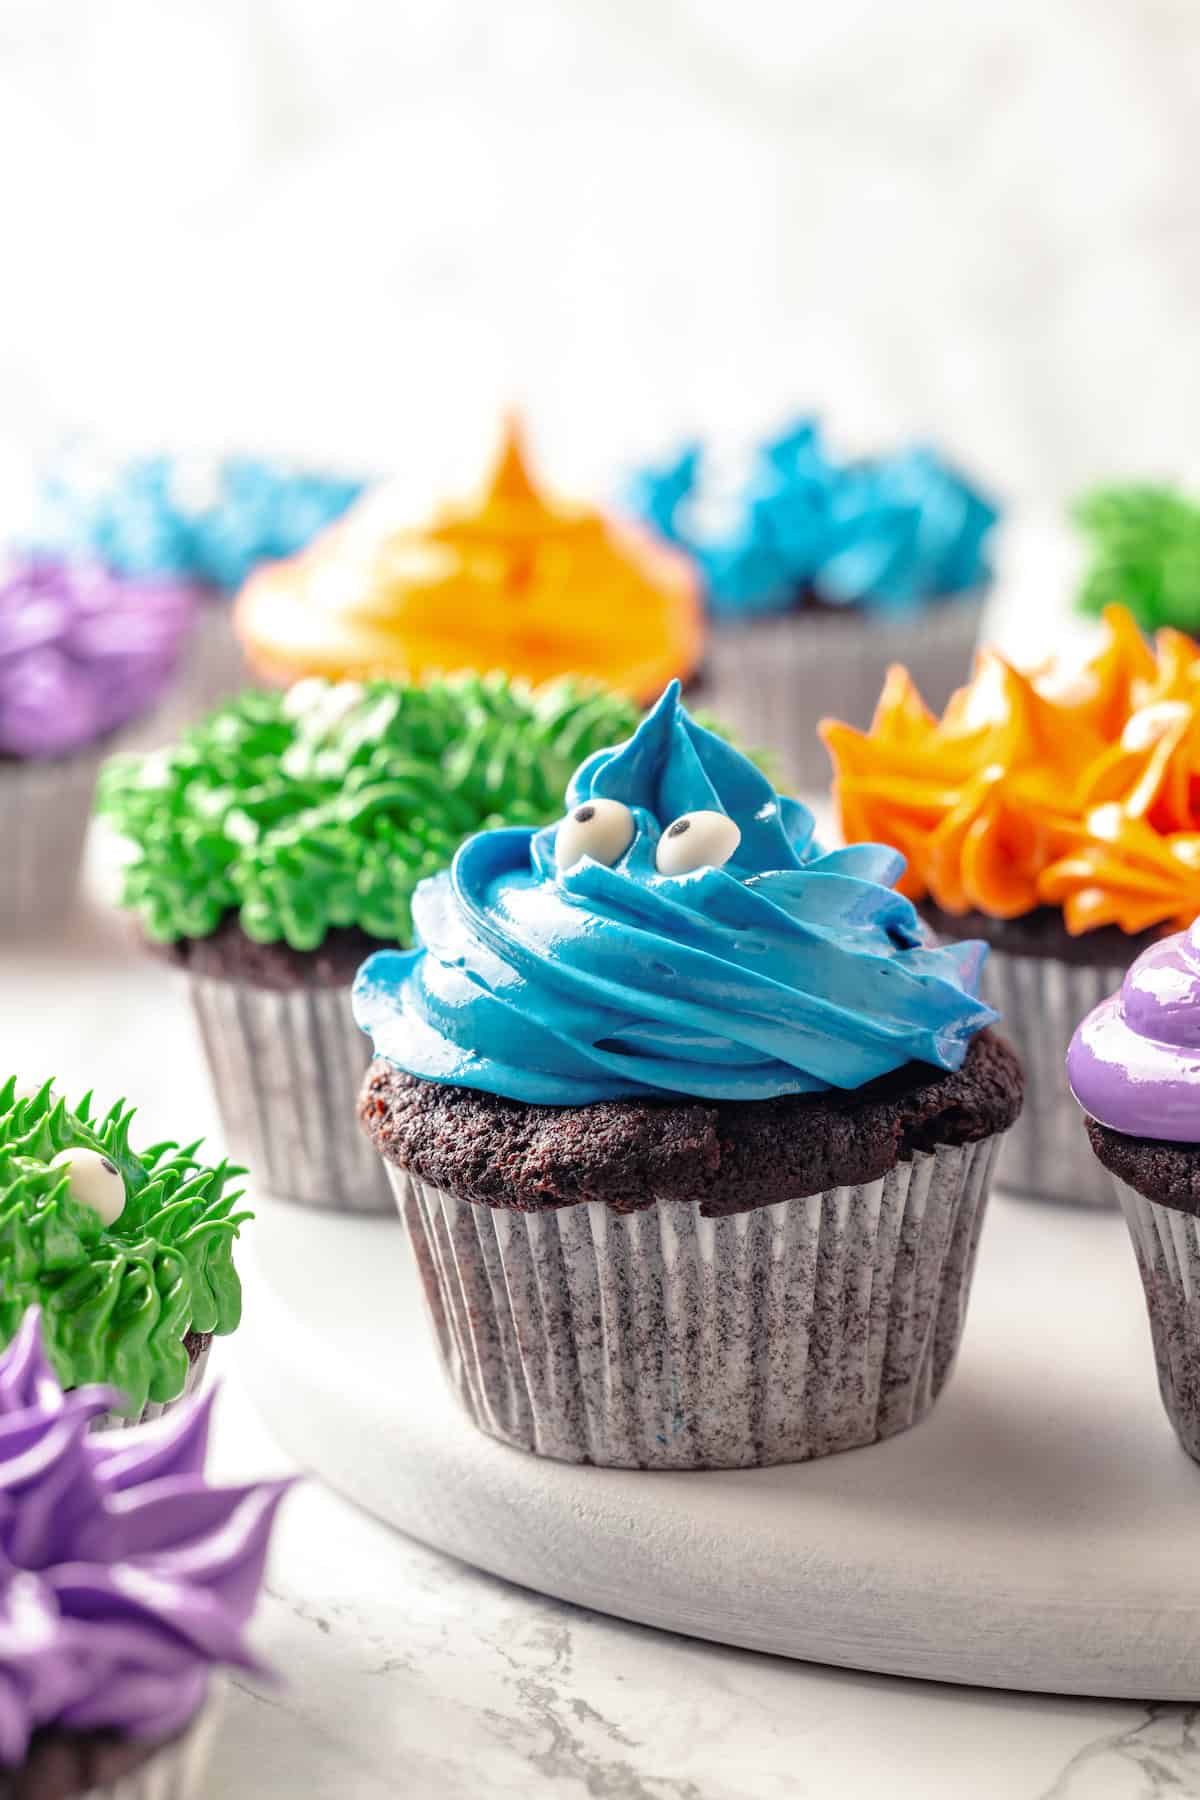
These Halloween cupcakes are topped with furry frosting monsters in a variety of colours, and you’ll never guess that they’re plant-based. Moist chocolate cake and rich vegan buttercream make them taste as good as they look!
Halloween is just around the corner, which means the time to start planning your spooky treats is now! While I love vegan pumpkin cupcakes and vegan chocolate cupcakes , this year I wanted to dust off some of my old cake decorating skills (I used to own a bakery, after all!) and make decorated cupcakes for the holiday. The result is these cute Halloween cupcakes!
Why You’ll Love This Halloween Cupcake Recipe
- Easy for everyone . You don’t need to be an expert with a piping bag to make these Halloween cupcakes! The decorating is quite simple, and you can even enlist your kids to help.
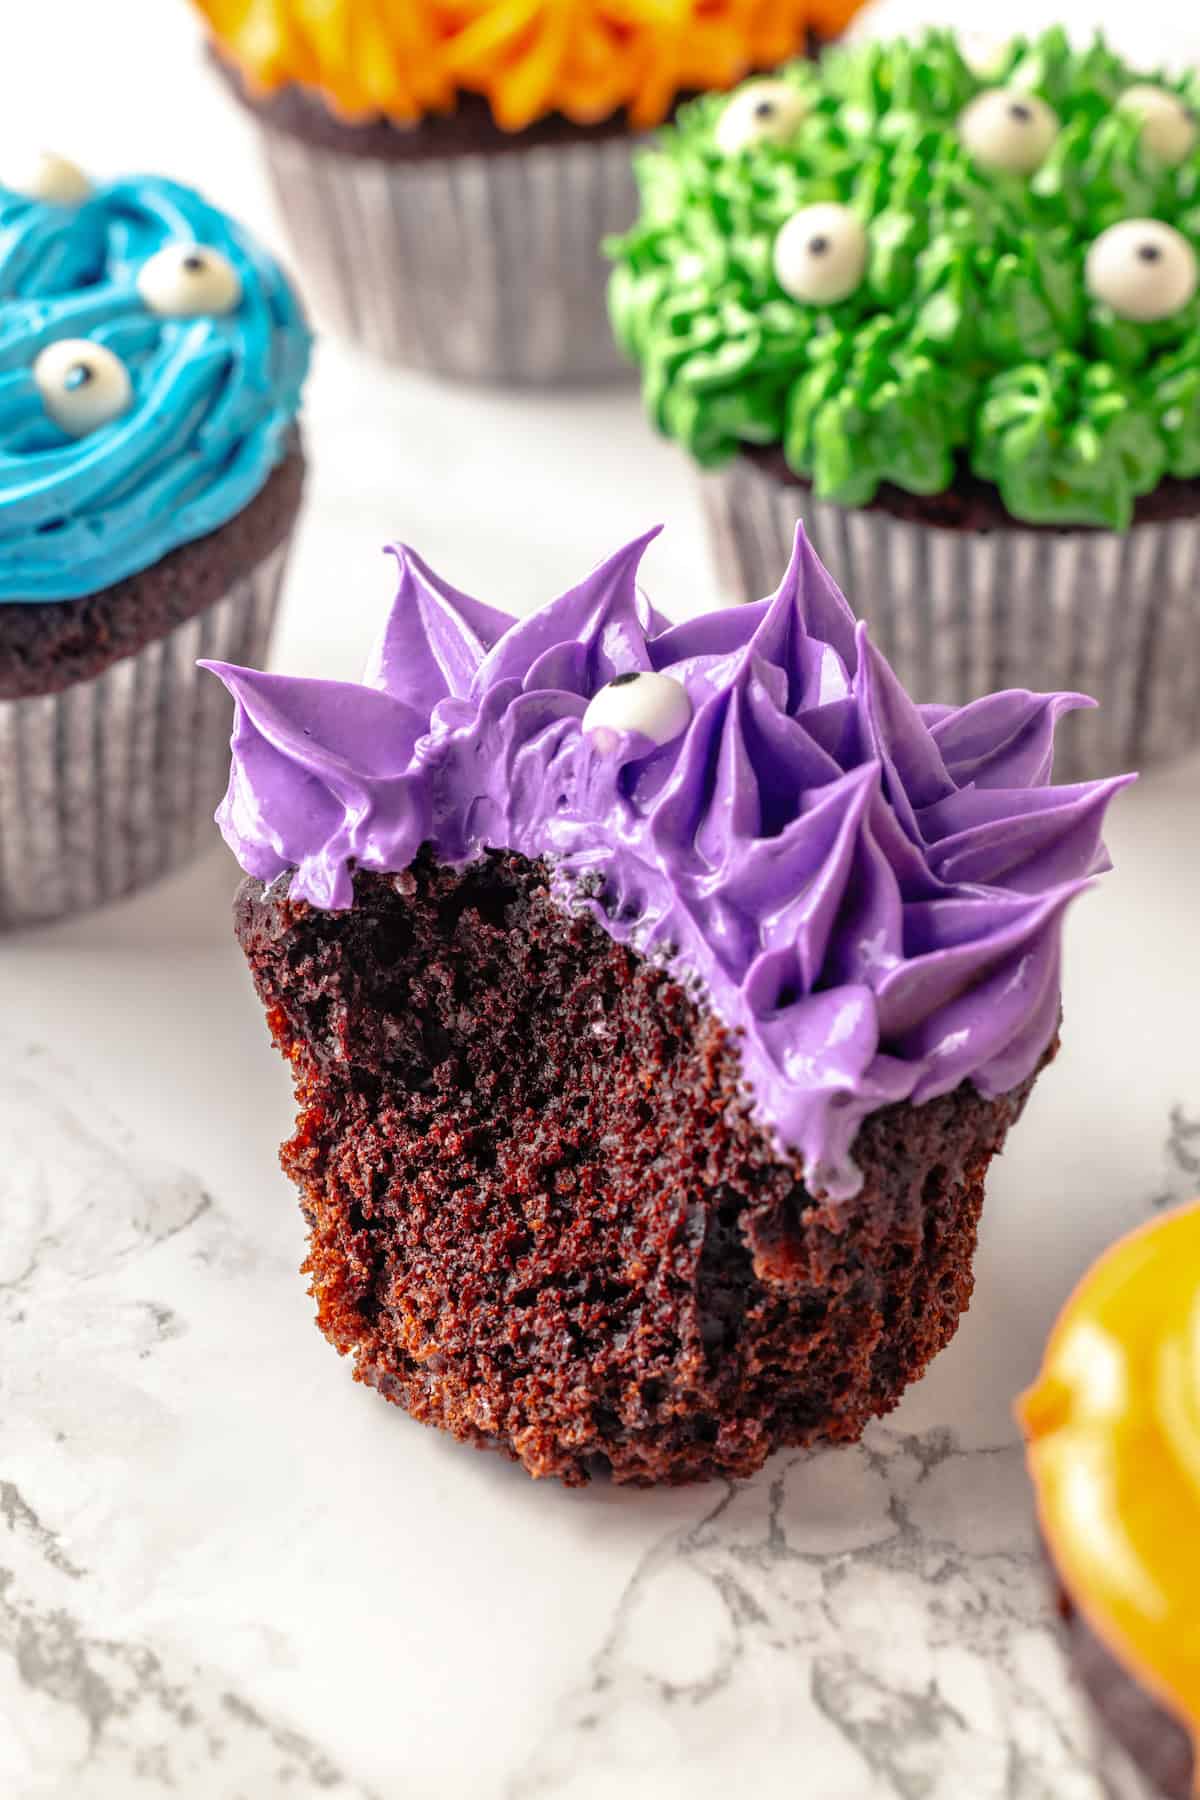
- Delicious . The rich buttercream frosting and tender chocolate cupcakes make these Halloween treats totally irresistible. They’ll be a hit at any party!
- Adorable . These Halloween cupcakes are fun for young kids because they’re not too spooky—these monsters look pretty sweet if you ask me!
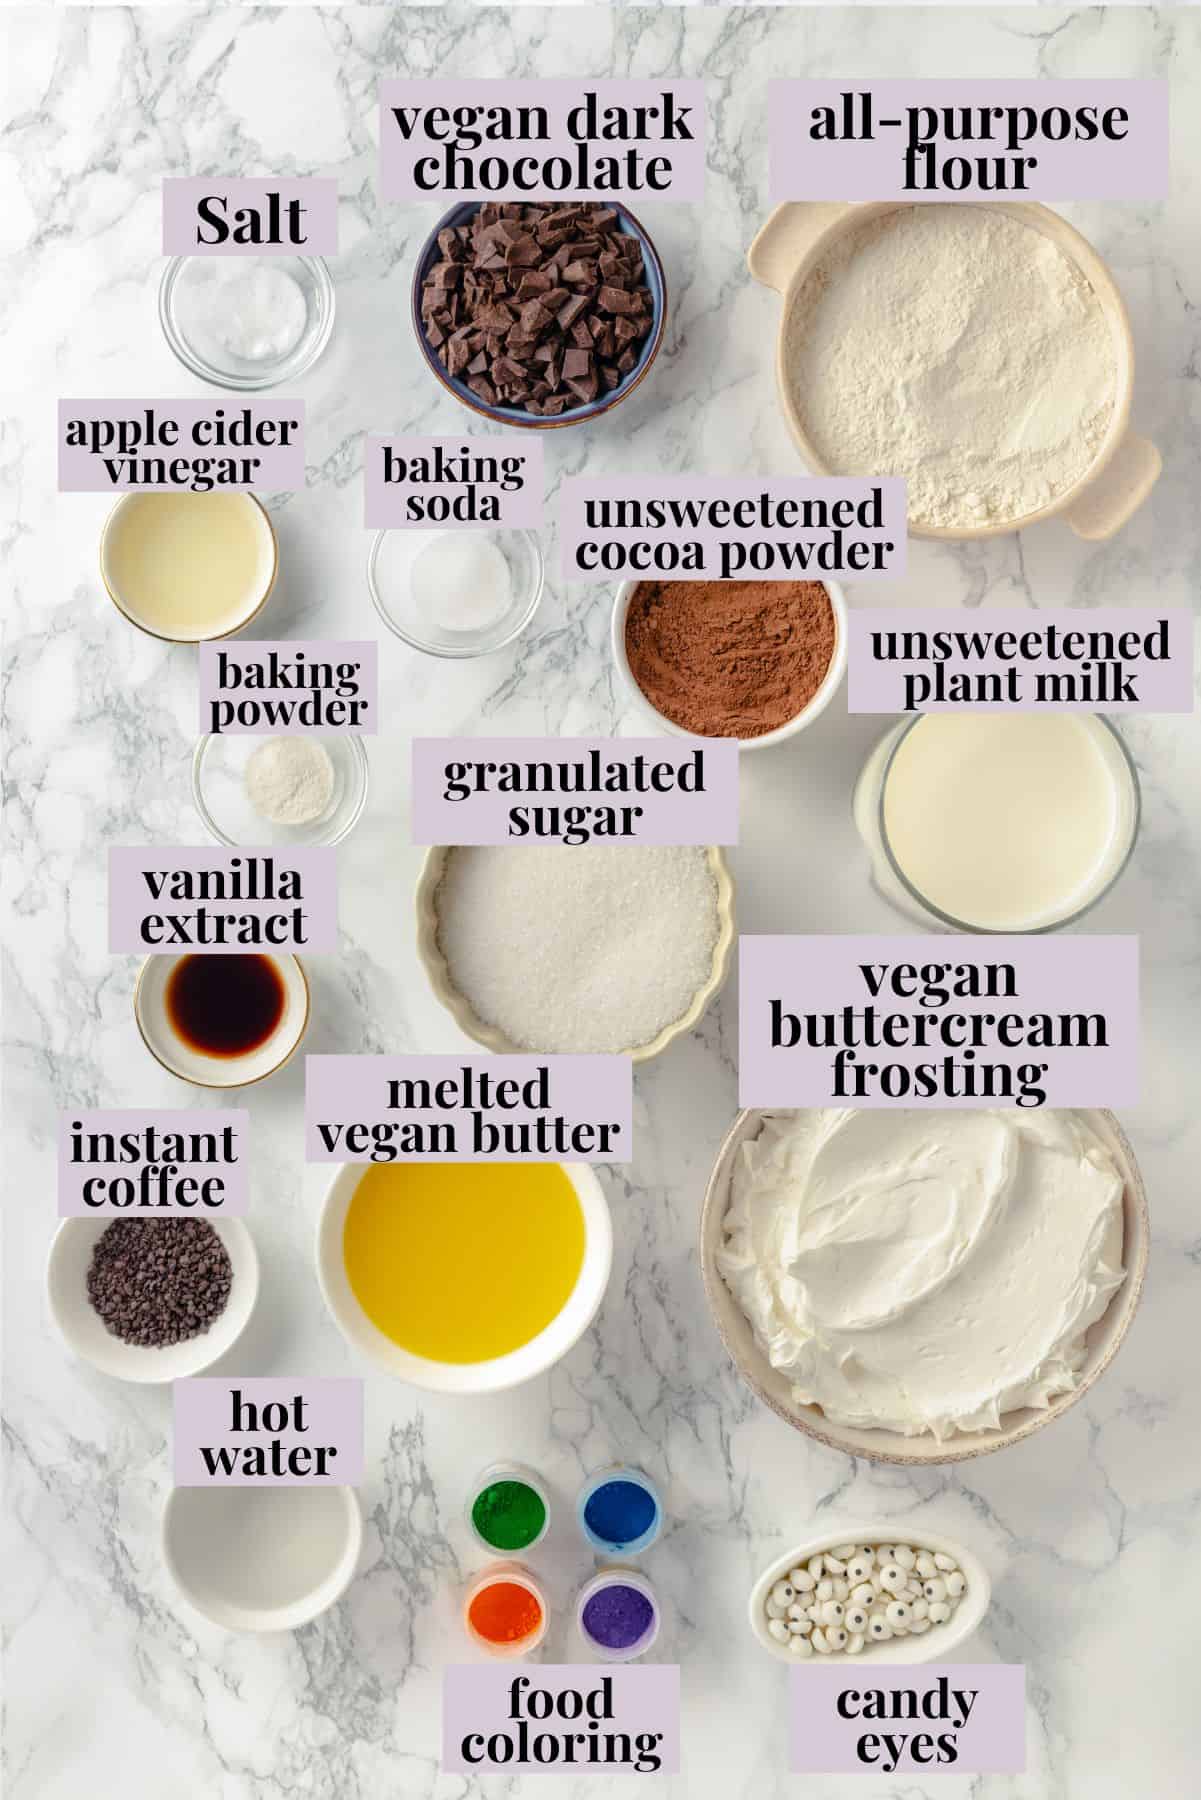
Notes on Ingredients
Scroll down to the recipe card to find the ingredient quantities and recipe instructions.
For the Cupcakes:
- All-purpose flour – Lightly spoon this into the measuring cup or, for best results, weigh the flour.
- Granulated sugar
- Unsweetened cocoa powder – Be sure to use cocoa powder, not hot cocoa mix, which is sweetened.
- Baking soda and baking powder
- Salt
- Plant-based milk – You can use any kind you like as long as it’s unsweetened and unflavoured.
- Vegan butter – Melt this before you get started. Melted coconut oil also works.
- Apple cider vinegar – Vinegar helps make the cupcakes light and fluffy.
- Vanilla extract
- Hot water and instant coffee – Coffee helps create a more intense chocolate flavour.
- Vegan dark chocolate
For Decoration:
- Vegan buttercream frosting – I use my vegan buttercream frosting recipe.
- Food colouring – I used green, blue, purple, and orange, but you can use any colours you like.
- Candy eyes – If you can’t find these, you can make them with white and black frosting.
How to Make Halloween Cupcakes
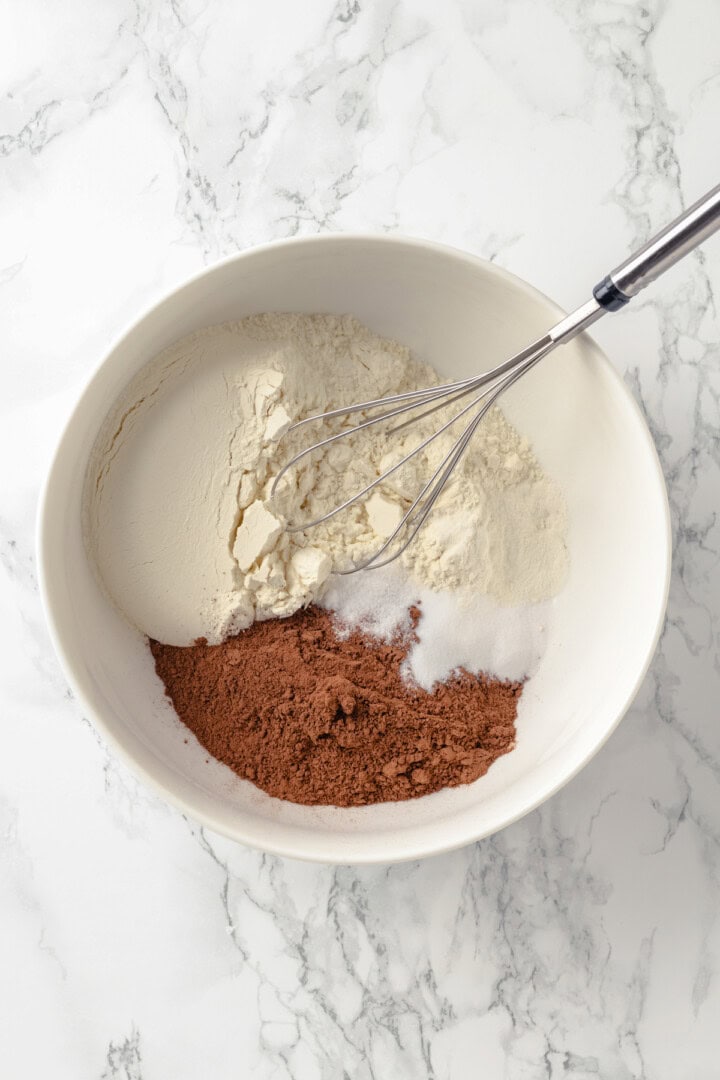
Mix dry ingredients.
- Mix the dry ingredients . Sift the flour, sugar, cocoa powder, baking soda, baking powder, and salt into a large mixing bowl.
- Combine the wet ingredients . Whisk the plant milk, vegan butter, apple cider vinegar, and vanilla extract in another bowl.
- Finish the batter . Slowly mix the wet ingredients into the bowl of dry ingredients, then add the coffee mixture. Fold in the chopped chocolate.
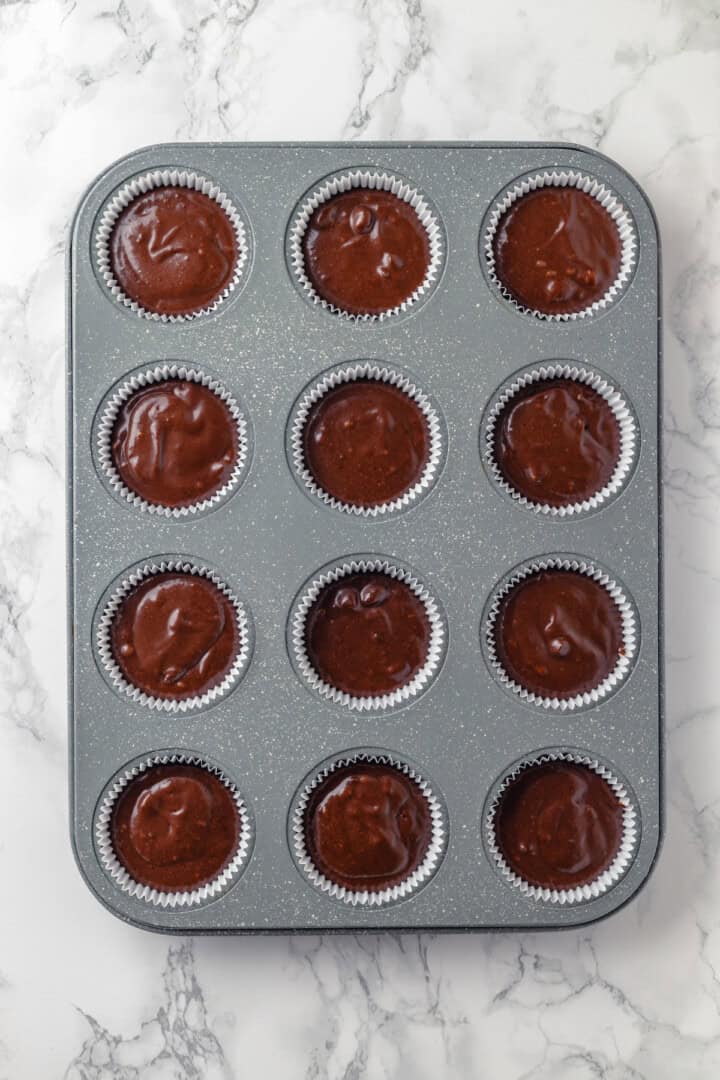
Fill cupcakes.
- Bake . Pour the batter into a cupcake pan with liners and bake in a 350ºF oven for 20 to 22 minutes, or until a toothpick inserted into the middle comes out clean.
- Cool . Let the cupcakes cool in the pan for 5 minutes, then transfer to a wire rack to finish cooling.
- Prepare the frosting . Make the frosting according to the recipe instructions. Divide it into bowls and add food coloring to each. Scoop the frosting into piping bags fitted with different tips.
- Frost the cupcakes . Hold the piping bag at a 90-degree angle to the cupcake; start piping from the outside and work your way to the center. Gently press the eyes into the frosting.
- Enjoy!

Tips for Success
- Don’t over-mix the batter . If you do, you’ll over-work the gluten in the flour, which can result in dense cupcakes.
- Practice before you start . If you’ve never used piping tips before, experiment on a plate or piece of parchment paper first to get the hang of it.
- Work quickly . The frosting can start to get warm and not hold its shape well if you’re holding the piping bag for a while. If needed, pop it in the fridge for a bit to chill it again.
Variations
- Use a different cake flavour . Any kind of vegan cupcake will work. You could try my vegan carrot cupcakes , vegan red velvet cupcakes or vegan vanilla cupcakes .
- Try cream cheese frosting . I love this vegan cream cheese frosting !
- Make them sparkly . A sprinkle of sanding sugar or edible glitter will make these Halloween cupcakes extra fun.
- Make them gluten-free . Use a gluten-free flour blend in place of all-purpose flour for a gluten-free version of these Halloween cupcakes.
How to Store
Store your Halloween cupcakes in an airtight container in the refrigerator for 3 to 4 days. Let them come to room temperature before enjoying.
Can I Freeze This Recipe?
If you want to make the cupcakes in advance, bake and freeze the unfrosted cupcakes for up to 2 months. Make sure to wrap them well and put them in a freezer-safe container. Then, thaw them at room temperature on the day you plan to decorate: whip up your frosting, decorate as desired and serve!
More Halloween Treats
- Vegan Pumpkin Cookies (Soft Batch)
- Vegan Marshmallows
- Pumpkin Chocolate Chip Muffins
- Vegan Peanut Butter Cups
- 4-Ingredient Salted Caramel Chocolate Cups (Vegan and No Bake)
Ingredients
For the Cupcakes:
- 1 ½ cups all-purpose flour , 173 g
- 1 cup granulated sugar , 200 g
- ½ cup unsweetened cocoa powder , 50 g
- 1 teaspoon baking soda
- ½ teaspoon baking powder
- ½ teaspoon salt
- 1 cup unsweetened plant-based milk , 240 ml
- ½ cup melted vegan butter , (or melted coconut oil) 115 g
- 1 tablespoon apple cider vinegar
- 1 teaspoon vanilla extract
- ¼ cup hot water +1 tablespoon instant coffee mixed in until dissolved , stir these together right before you need it so it’s still hot
- ½ cup vegan dark chocolate , chopped, 70 g
For Decoration:
- 1 batch vegan buttercream frosting
- Food colouring , green, blue, purple, orange, or any “monster” colours
- Piping bags and assorted tips , (grass tip, round tip, star tip)
- Candy eyes
Instructions
- Preheat your oven to 350°F (175°C) and line a cupcake/muffin pan with cupcake liners.
- In a large mixing bowl, sift together the flour, sugar, cocoa powder, baking soda, baking powder, and salt.
- In another bowl, whisk together the plant based milk, melted butter, apple cider vinegar, and vanilla extract until well combined.
- Slowly pour the wet ingredients into the dry ingredients, mixing until just combined.
- Gradually add the hot water and coffee mix to the batter, mixing until smooth. The batter will be thin. Gently fold in the chopped chocolate.
- Pour the batter evenly into the cupcake liners, filling each about 3⁄4 full. Bake for 20-22 minutes, or until a toothpick inserted into the center comes out clean.
- Let the cupcakes cool in the pan for about 5 minutes, then transfer them to a wire rack to cool completely before frosting.
- Prepare the Frosting : Divide the frosting into separate bowls based on how many colours you want to use.
- Add food colouring to each bowl and mix until you reach the desired shades. Aim for vibrant, bold colors.
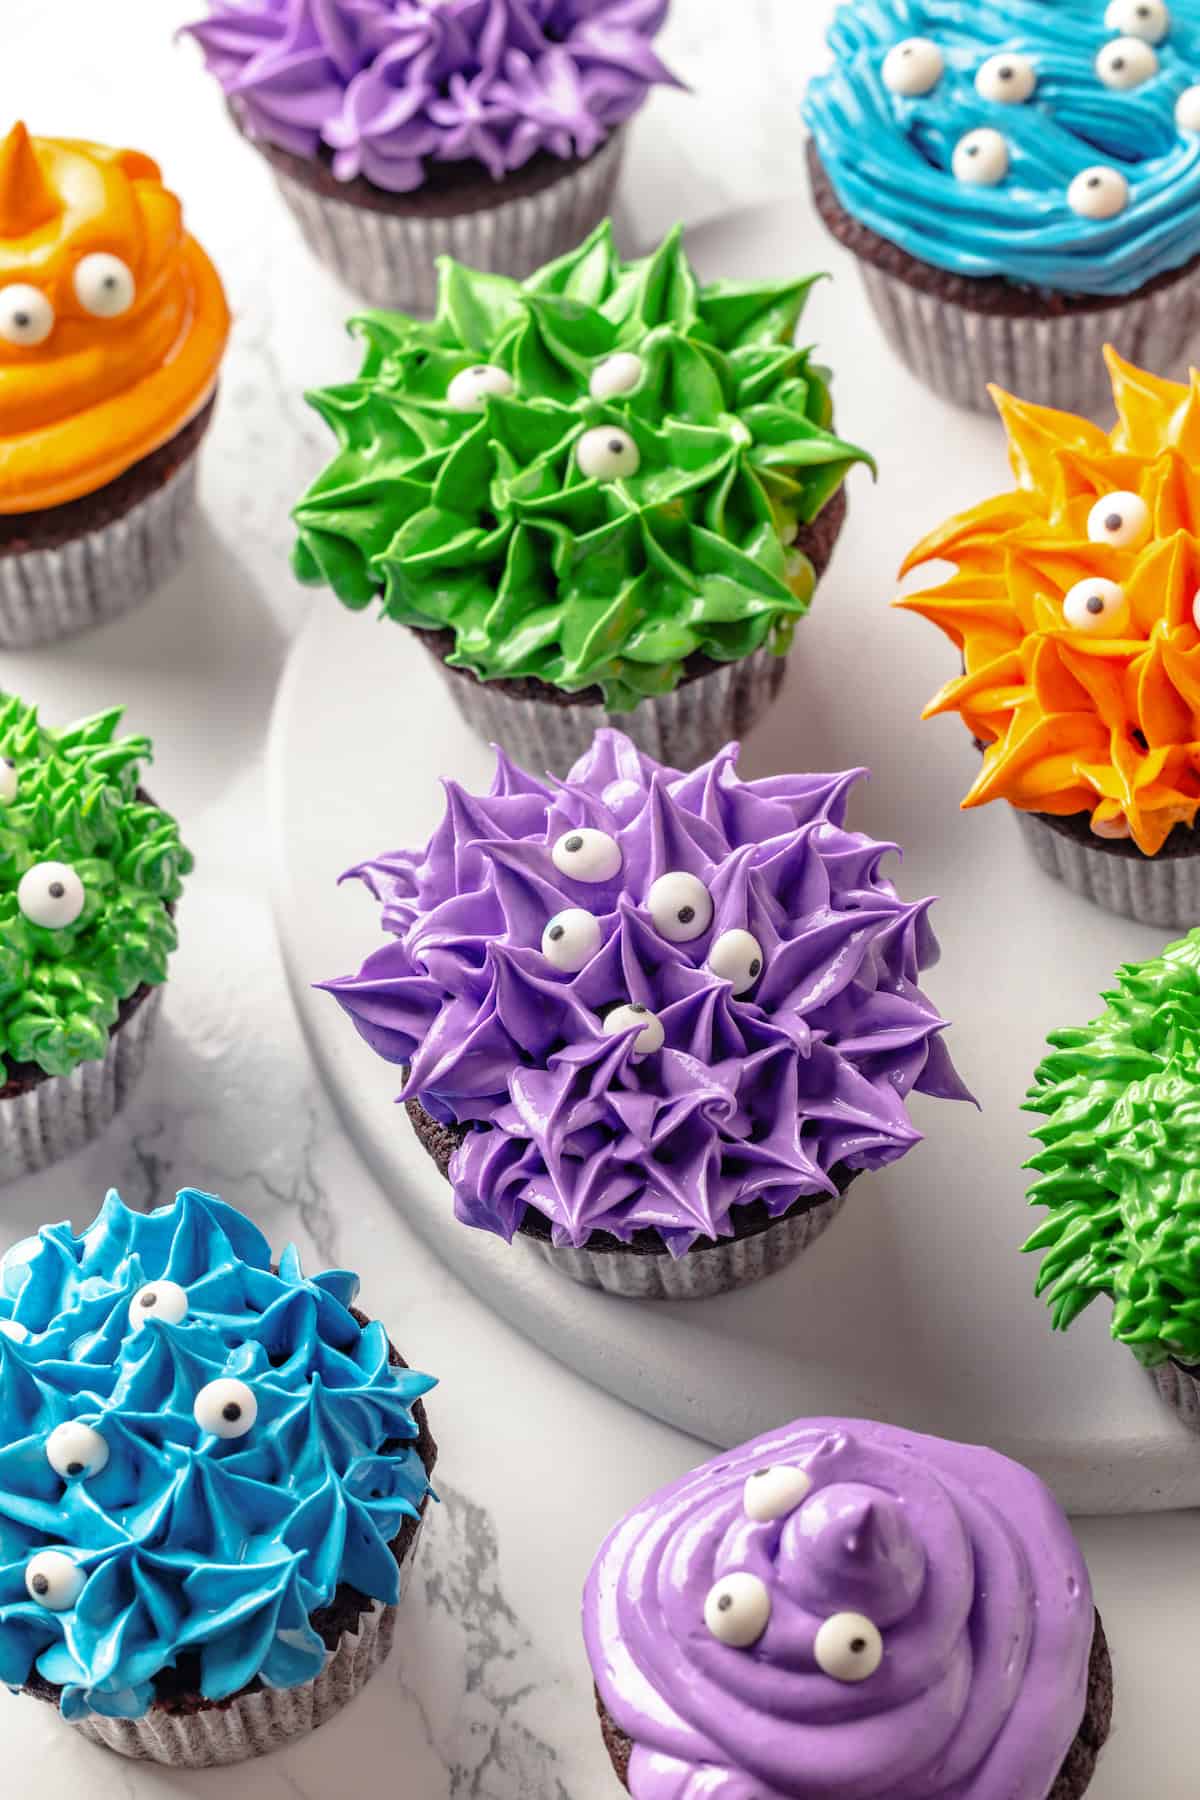
- Fill Piping Bags : Use different piping tips to create various monster textures. For shaggy fur, use a grass tip. For spiky fur, use a star tip. A round tip can be used for smooth, round shapes. Fill each bag with a different coloured frosting.
- Hold the piping bag at a 90-degree angle to the cupcake. Apply pressure to the bag and pipe fur or spikes starting from the outside and working your way inward. For a more chaotic monster look, pipe the frosting in random patterns and directions.
- Press candy eyes into the frosting. Add one for a cyclops monster or multiple for a goofy look.
