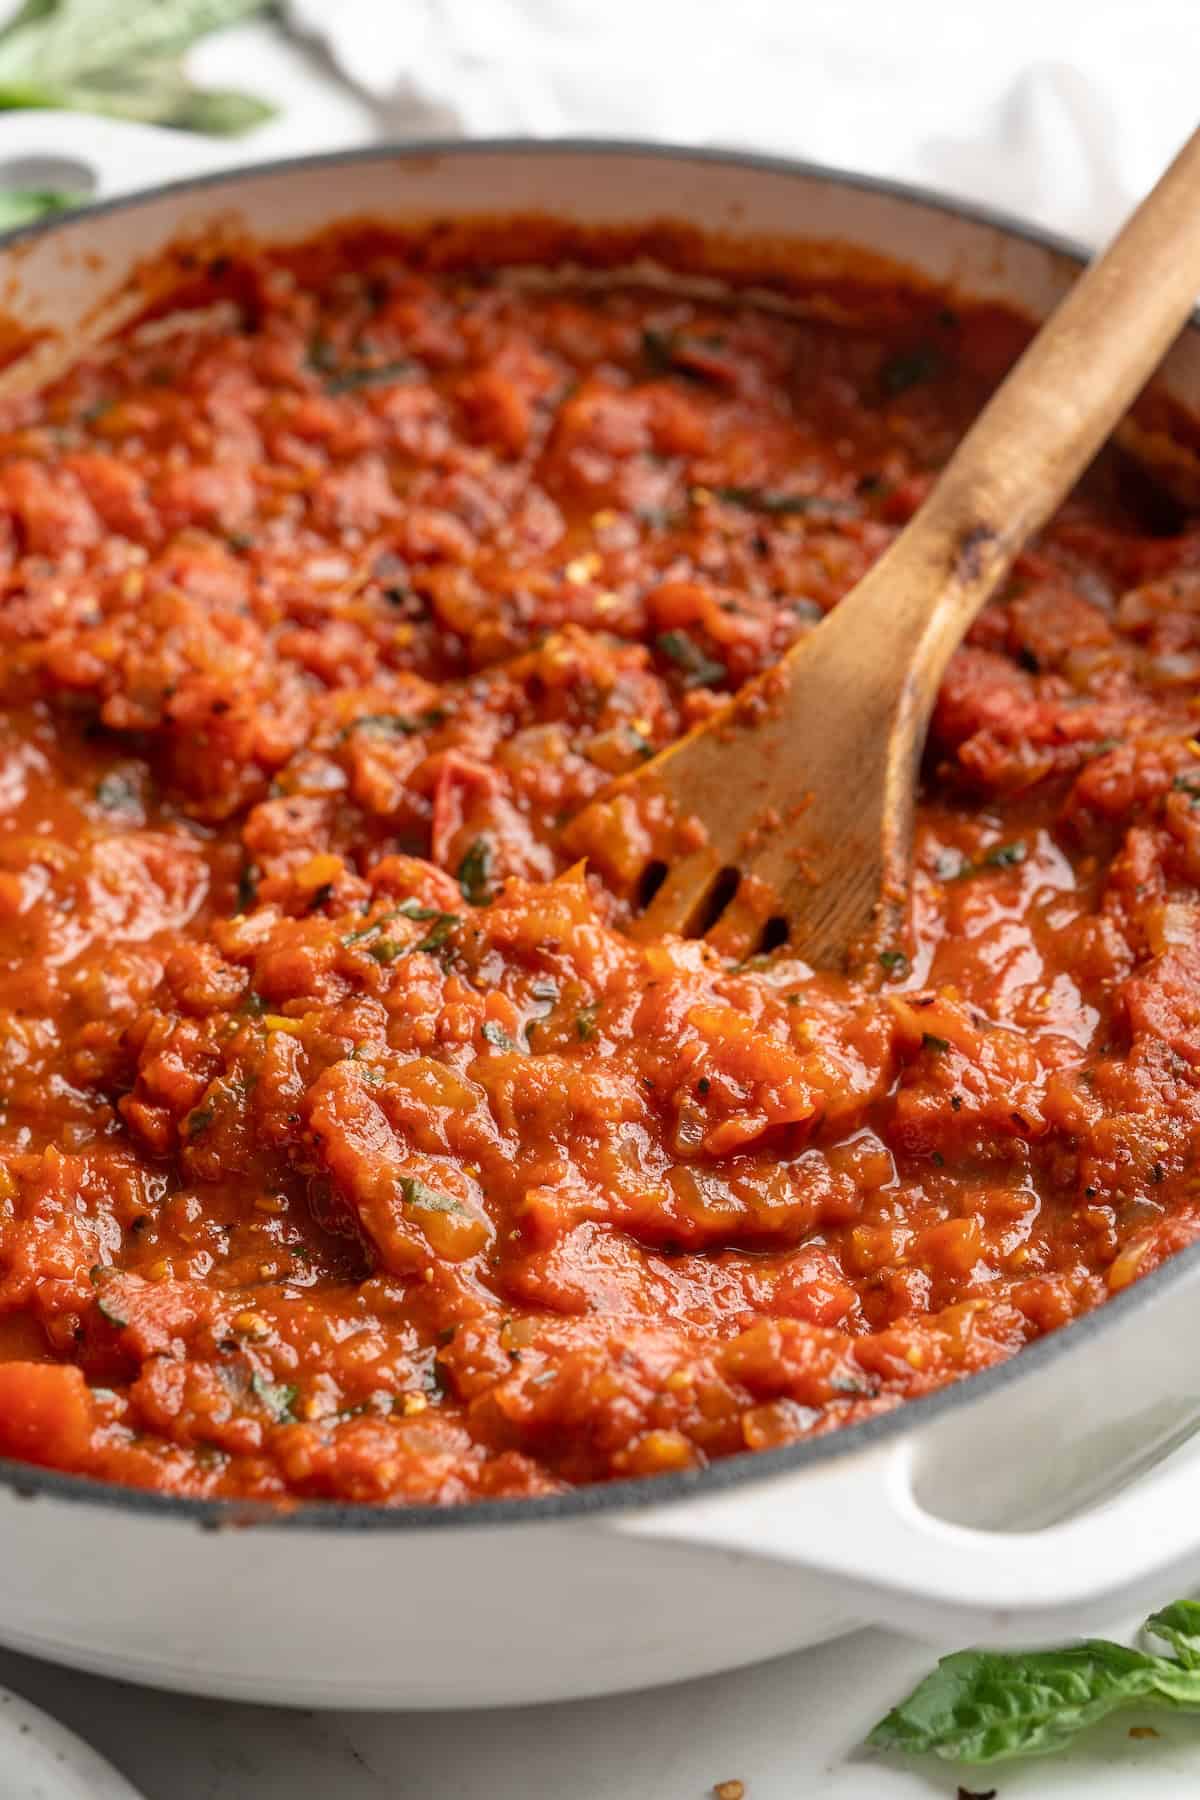
This spicy arrabbiata sauce is about to be your new go-to for pasta dinners! It’s easy to make with only 8 ingredients, but it has so much depth and flavour.
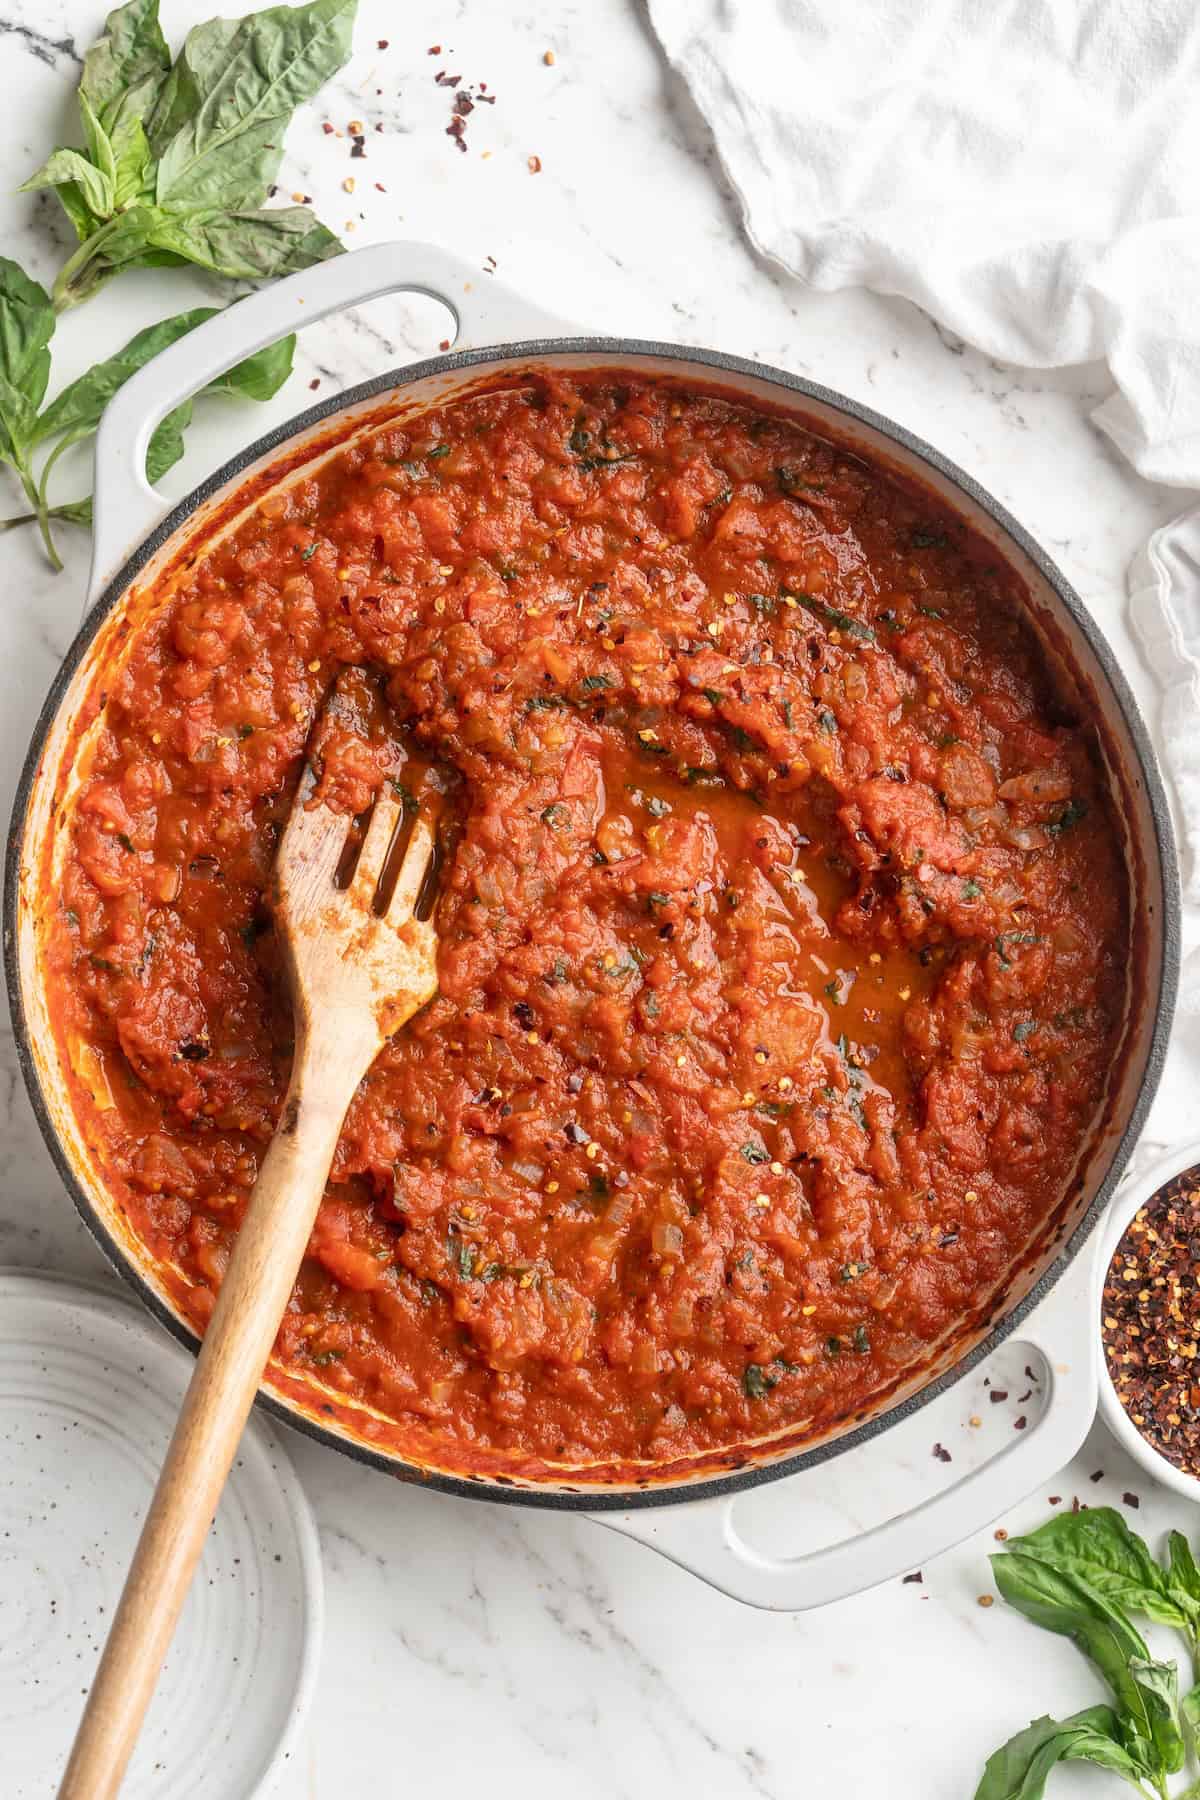
Although I’m an avid lover of marinara sauce , sometimes I like something with more depth. More layers of flavour. More spice! That’s where arrabbiata sauce comes in.
Arrabbiata means “angry,” which refers to the heat level of this sauce. Traditionally it’s made with dried chili peppers; for the sake of ease, I used fresh red pepper flakes. Apart from the pepper flakes, I tried to keep everything else as traditional as possible, and based the technique loosely off of my homemade tomato sauce .
Why You’ll Love This Arrabbiata Sauce Recipe
- Better than store-bought . This sauce is so much fresher and has more depth of flavour than any store-bought tomato sauce in a jar!
- Versatile . Use it as a dipping sauce, pasta sauce, or in any recipe that calls for marinara.
- Easy to make . Although it does take some time, most of it is hands-off. There’s nothing complicated about this recipe!
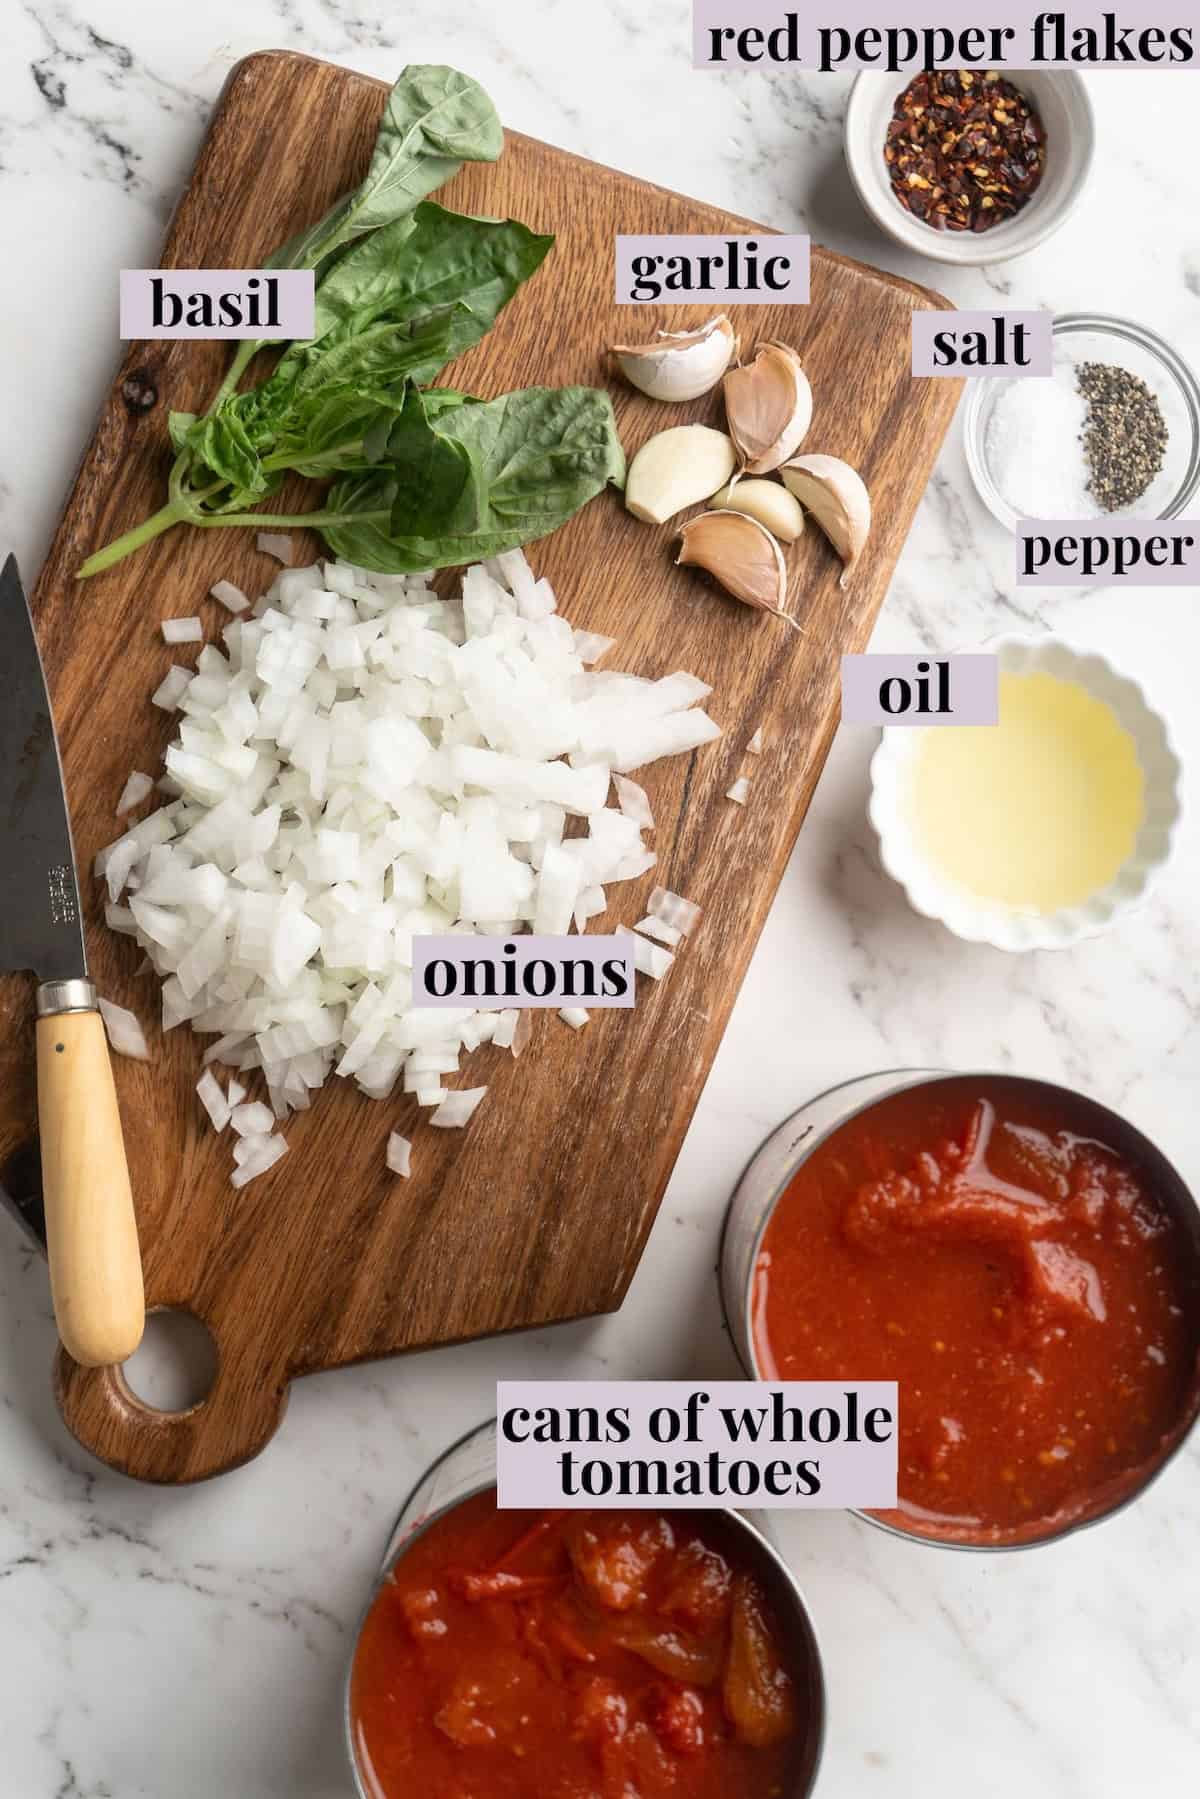
Notes on Ingredients
Scroll down to the recipe card to find the ingredient quantities and recipe instructions.
- Oil – Extra-virgin olive oil is the traditional choice.
- Red pepper flakes – You can use as much or as little as you’d like!
- White onion – White onion has a bit more bite than yellow, but you can swap in a yellow onion if that’s what you have on hand.
- Tomatoes – For the most traditional choice, use San Marzano tomatoes, which are imported from Italy.
- Garlic
- Sea salt and black pepper
- Fresh basil – You really want to use fresh basil here, not dried. The flavor is so much better!
How to Make Arrabbiata Sauce
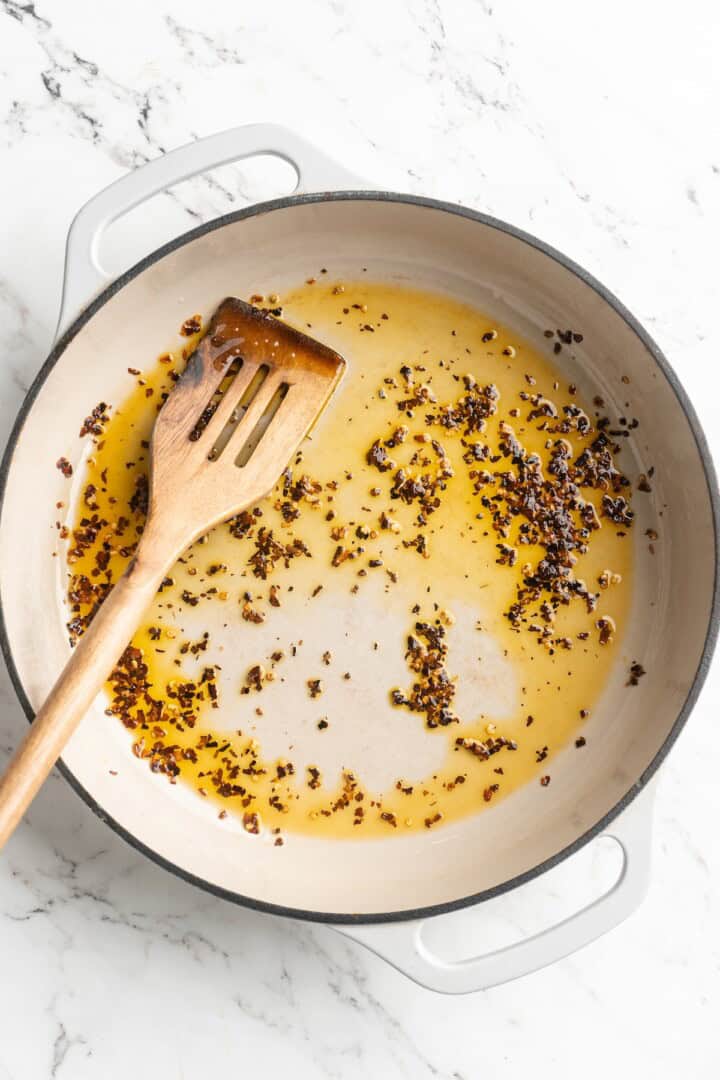
- Infuse the oil . Heat the oil in a pan over medium heat and add the red pepper flakes. Cook for about 3 minutes.
- Cook the garlic and onion . Reduce the heat to medium and a sauté the garlic and onion until the onion is softened and translucent.
- Add the tomatoes . Stir in the tomatoes, cover, and cook for 10 minutes.
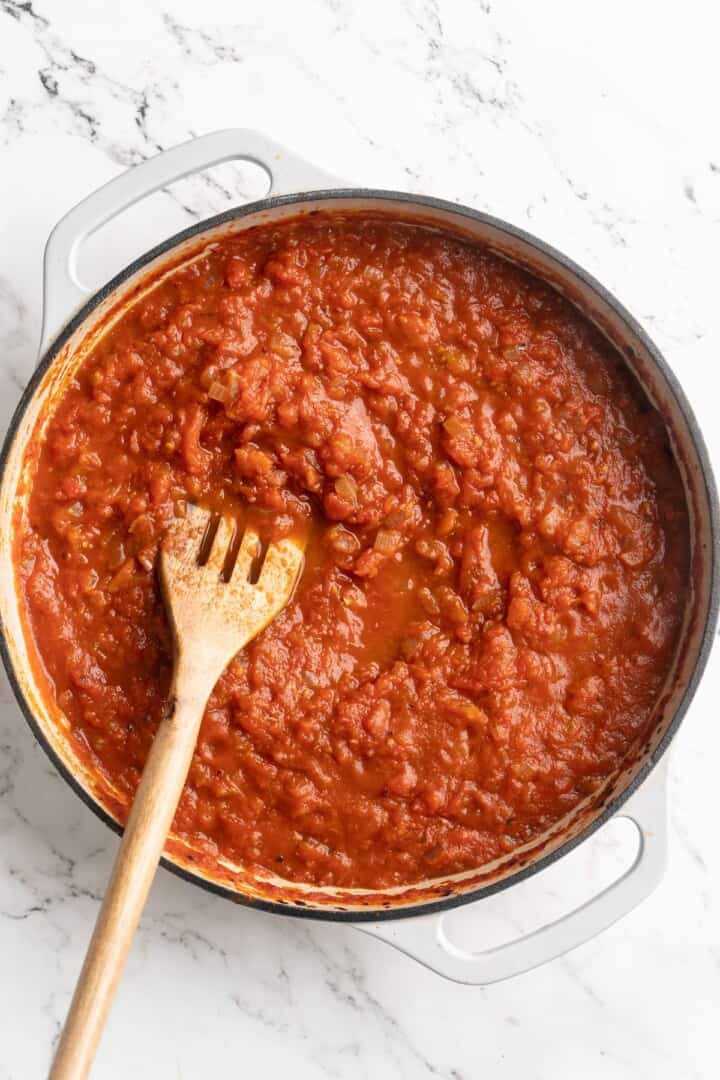
- Mash the tomatoes . Use a wooden spoon to crush the tomatoes, then stir and cook 30 minutes more.
- Finish . Season to taste with salt and pepper, then stir in the basil before serving.
Tips for Success
- Adjust the heat level . If you prefer a milder sauce, start with half the amount of red pepper flakes.
- Be patient with simmering . Allowing the sauce to simmer for the full 30 minutes is crucial for developing its depth of flavour. Resist the urge to turn up the heat so your sauce is done faster!
- Don’t skip the oil infusion . Sautéing the red pepper flakes in the oil at the beginning is a key step. It infuses the oil with a deep, spicy flavour that forms the foundation of arrabbiata sauce.
Ways to Use Arrabbiata Sauce
- Pasta . The most obvious answer! Serve this spicy sauce over your favorite pasta, topped with some fresh basil and vegan parmesan cheese. (Don’t forget the roasted garlic bread !)
- Zoodles . Keep things light and toss this sauce with zucchini noodles.
- Pizza . Use arrabbiata sauce on my homemade pizza dough recipe and add your favourite toppings.
- Dipping Sauce . Serve as a dip for arancini or fried polenta .
- Lasagna . Swap arrabbiata for marinara in vegan lasagna .
- Stuffed shells . You can also use arrabbiata sauce for vegan stuffed shells !
How to Store Leftovers
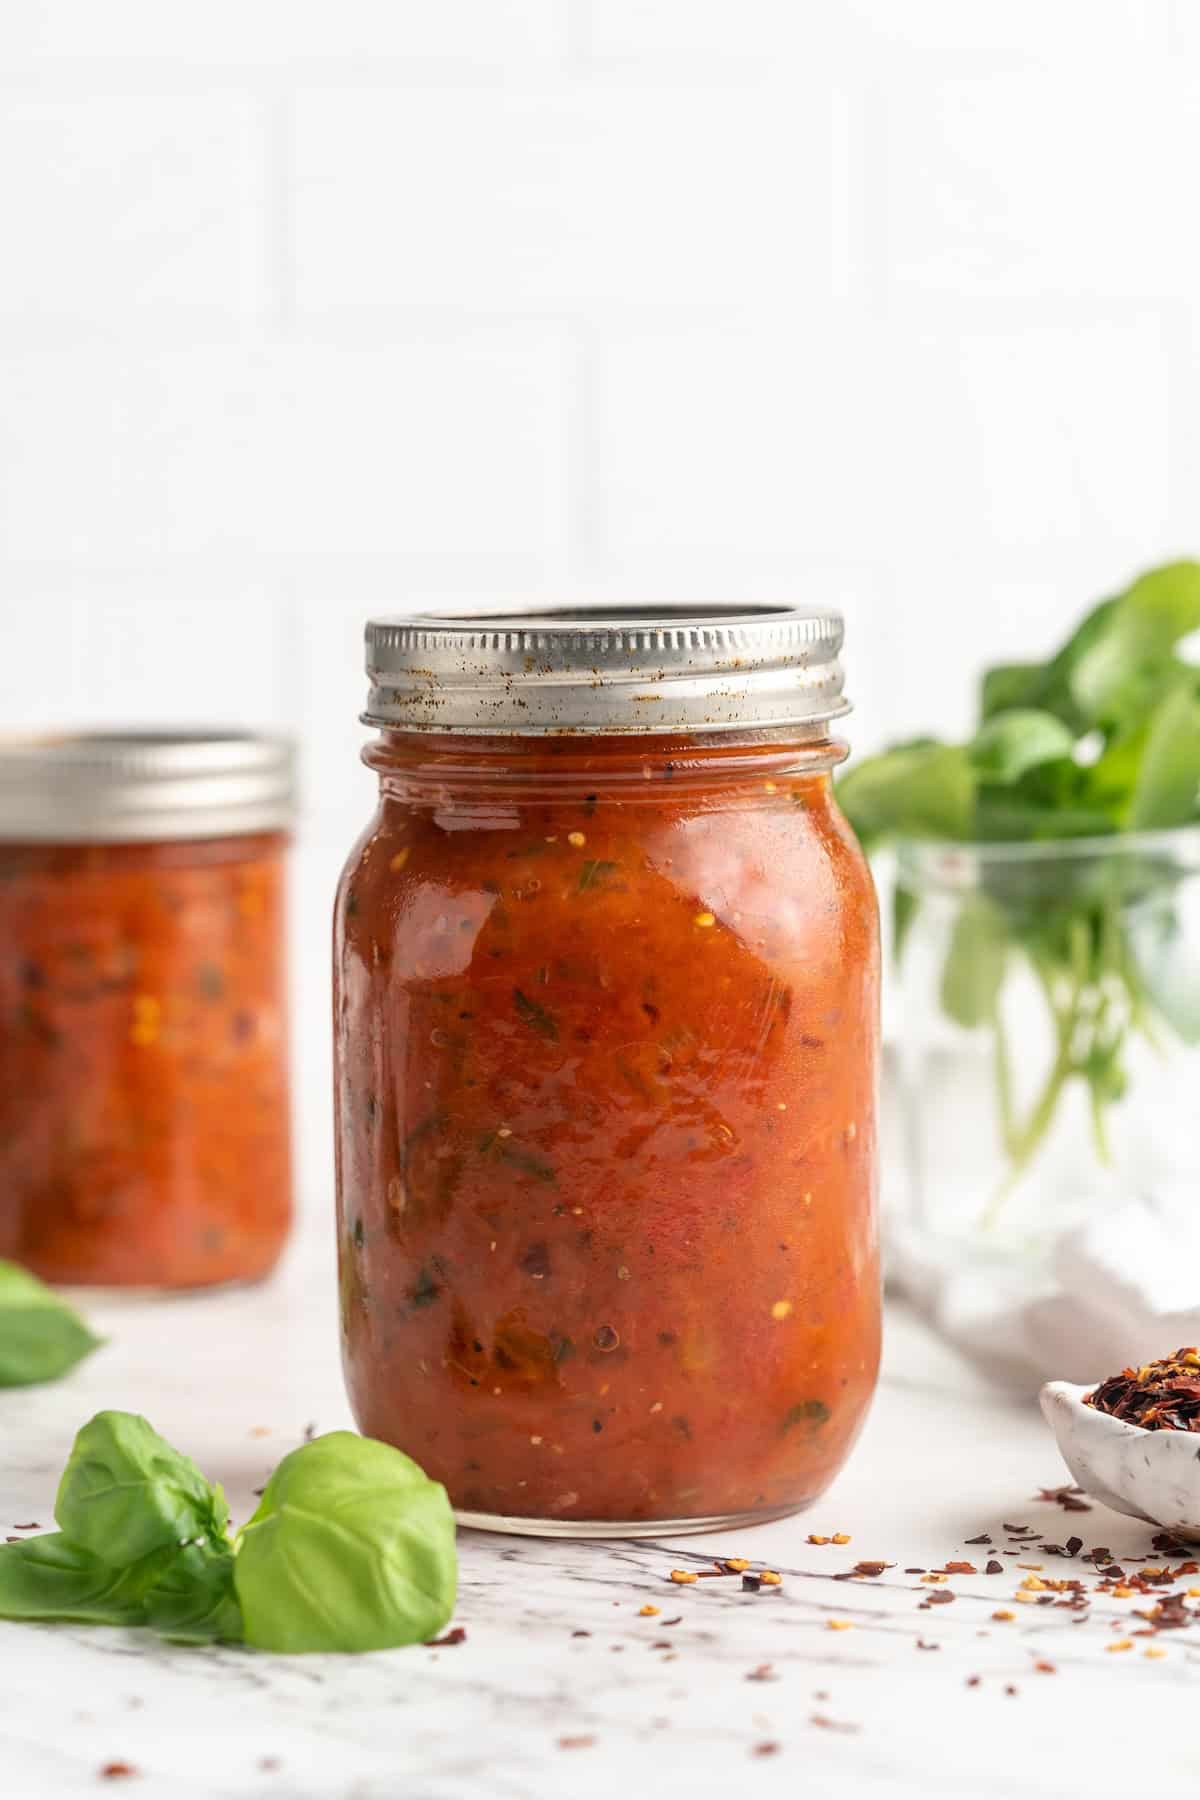
Transfer the arrabbiata sauce to an airtight container and store in the refrigerator for up to a week. I recommend reheating it in a saucepan on the stovetop over medium heat.
Can I Freeze This Recipe
Yes! Arrabbiata sauce freezes exceptionally well. Portion it into freezer-safe containers or freezer bags and freeze for up to 3 months. Thaw in the refrigerator overnight before reheating.
More Vegan Sauce Recipes
- Scotch Bonnet Pepper Hot Sauce
- Tartar Sauce
- Thai Peanut Sauce
- Jamaica Jerk Sauce – Homemade and Easy
- Vegan Alfredo Sauce + 5 Ways to Use it
Ingredients
- 1 tablespoon oil , of choice
- 2 teaspoons red pepper chilli flakes
- 1 large white onion , diced
- 2-28 ounce cans of whole tomatoes
- 6 cloves garlic , minced
- sea salt to taste*
- ¼ to ½ teaspoon ground black pepper
- ½ cup fresh basil , chopped or julienned
Instructions
- In a pan over medium high heat, heat the oil.
- Add in the red pepper chilli flakes and cook through for about 3 minutes, swirling in the oil, checking to ensure they don’t burn. The flakes should be sizzling.
- Reduce heat to medium and add in the garlic and the onions. Sauté for about 5 minutes until onions are translucent and garlic is fragrant.
- Add in the entire two cans of tomatoes. Stir everything together. Cover the pot for about 10 minutes to break down the tomatoes slightly.
- Remove cover and using your wooden spoon or spatula, kind of chop up the tomatoes. I loved mine chunkier but you could even taste an immersion blender to the mix at the end. Stir the tomato mixture and let simmer for 30 minutes, stirring infrequently.
- After 30 minutes, season to taste with salt and add the black pepper and stir again. Remove from heat and fold in the chopped basil. Allow to cool slightly then serve and enjoy!
Notes
- *I say sea salt to taste because some cans of tomatoes including salt. I added 1/2 teaspoon of sea salt to my entire pot, but add based on your tomatoes and taste.
- You know I usually always recommend fresh tomatoes but canned tomatoes are more traditional here. It will work with fresh tomatoes though, but you may need to cook it for about 15 minutes longer for an added depth of flavour! I would just remove the skins first.
- To store : Transfer the arrabbiata sauce to an airtight container and store in the refrigerator for up to a week. I recommend reheating it in a saucepan on the stovetop over medium heat.
- To freeze : Portion into freezer-safe containers or freezer bags and freeze for up to 3 months. Thaw in the refrigerator overnight before reheating.

Arrabbiata Sauce
Ingredients
- 1 tablespoon oil of choice
- 2 teaspoons red pepper chilli flakes
- 1 large white onion diced
- 2-28 ounce cans of whole tomatoes
- 6 cloves garlic minced
- sea salt to taste*
- ¼ to ½ teaspoon ground black pepper
- ½ cup fresh basil chopped or julienned
Instructions
- In a pan over medium high heat, heat the oil.
- Add in the red pepper chilli flakes and cook through for about 3 minutes, swirling in the oil, checking to ensure they don’t burn. The flakes should be sizzling.
- Reduce heat to medium and add in the garlic and the onions. Sauté for about 5 minutes until onions are translucent and garlic is fragrant.
- Add in the entire two cans of tomatoes. Stir everything together. Cover the pot for about 10 minutes to break down the tomatoes slightly.
- Remove cover and using your wooden spoon or spatula, kind of chop up the tomatoes. I loved mine chunkier but you could even taste an immersion blender to the mix at the end. Stir the tomato mixture and let simmer for 30 minutes, stirring infrequently.
- After 30 minutes, season to taste with salt and add the black pepper and stir again. Remove from heat and fold in the chopped basil. Allow to cool slightly then serve and enjoy!
Notes
- *I say sea salt to taste because some cans of tomatoes including salt. I added 1/2 teaspoon of sea salt to my entire pot, but add based on your tomatoes and taste.
- You know I usually always recommend fresh tomatoes but canned tomatoes are more traditional here. It will work with fresh tomatoes though, but you may need to cook it for about 15 minutes longer for an added depth of flavour! I would just remove the skins first.
- To store : Transfer the arrabbiata sauce to an airtight container and store in the refrigerator for up to a week. I recommend reheating it in a saucepan on the stovetop over medium heat.
- To freeze : Portion into freezer-safe containers or freezer bags and freeze for up to 3 months. Thaw in the refrigerator overnight before reheating.
Nutrition
Arrabbiata Sauce https://jessicainthekitchen.com/spicy-arrabbiata-sauce-easy-vegan/ August 5, 2024
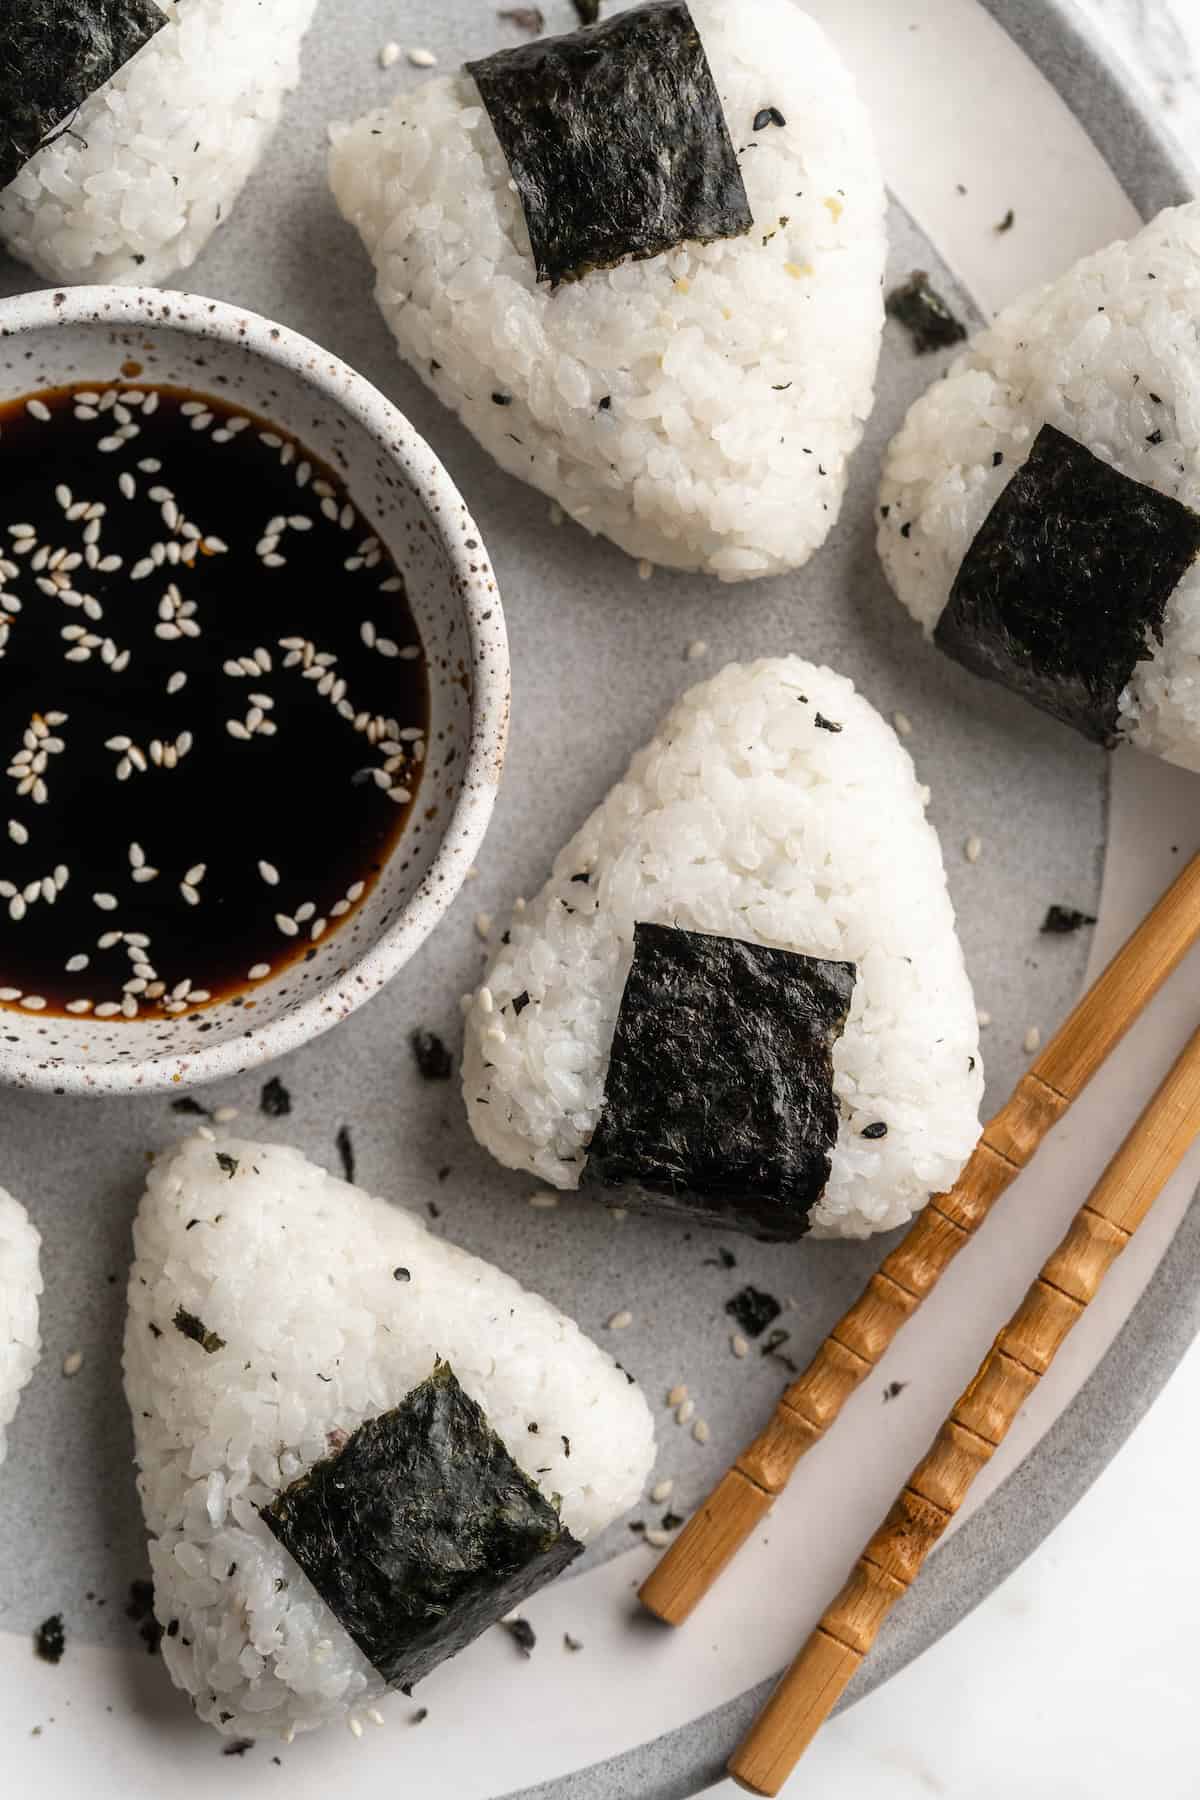
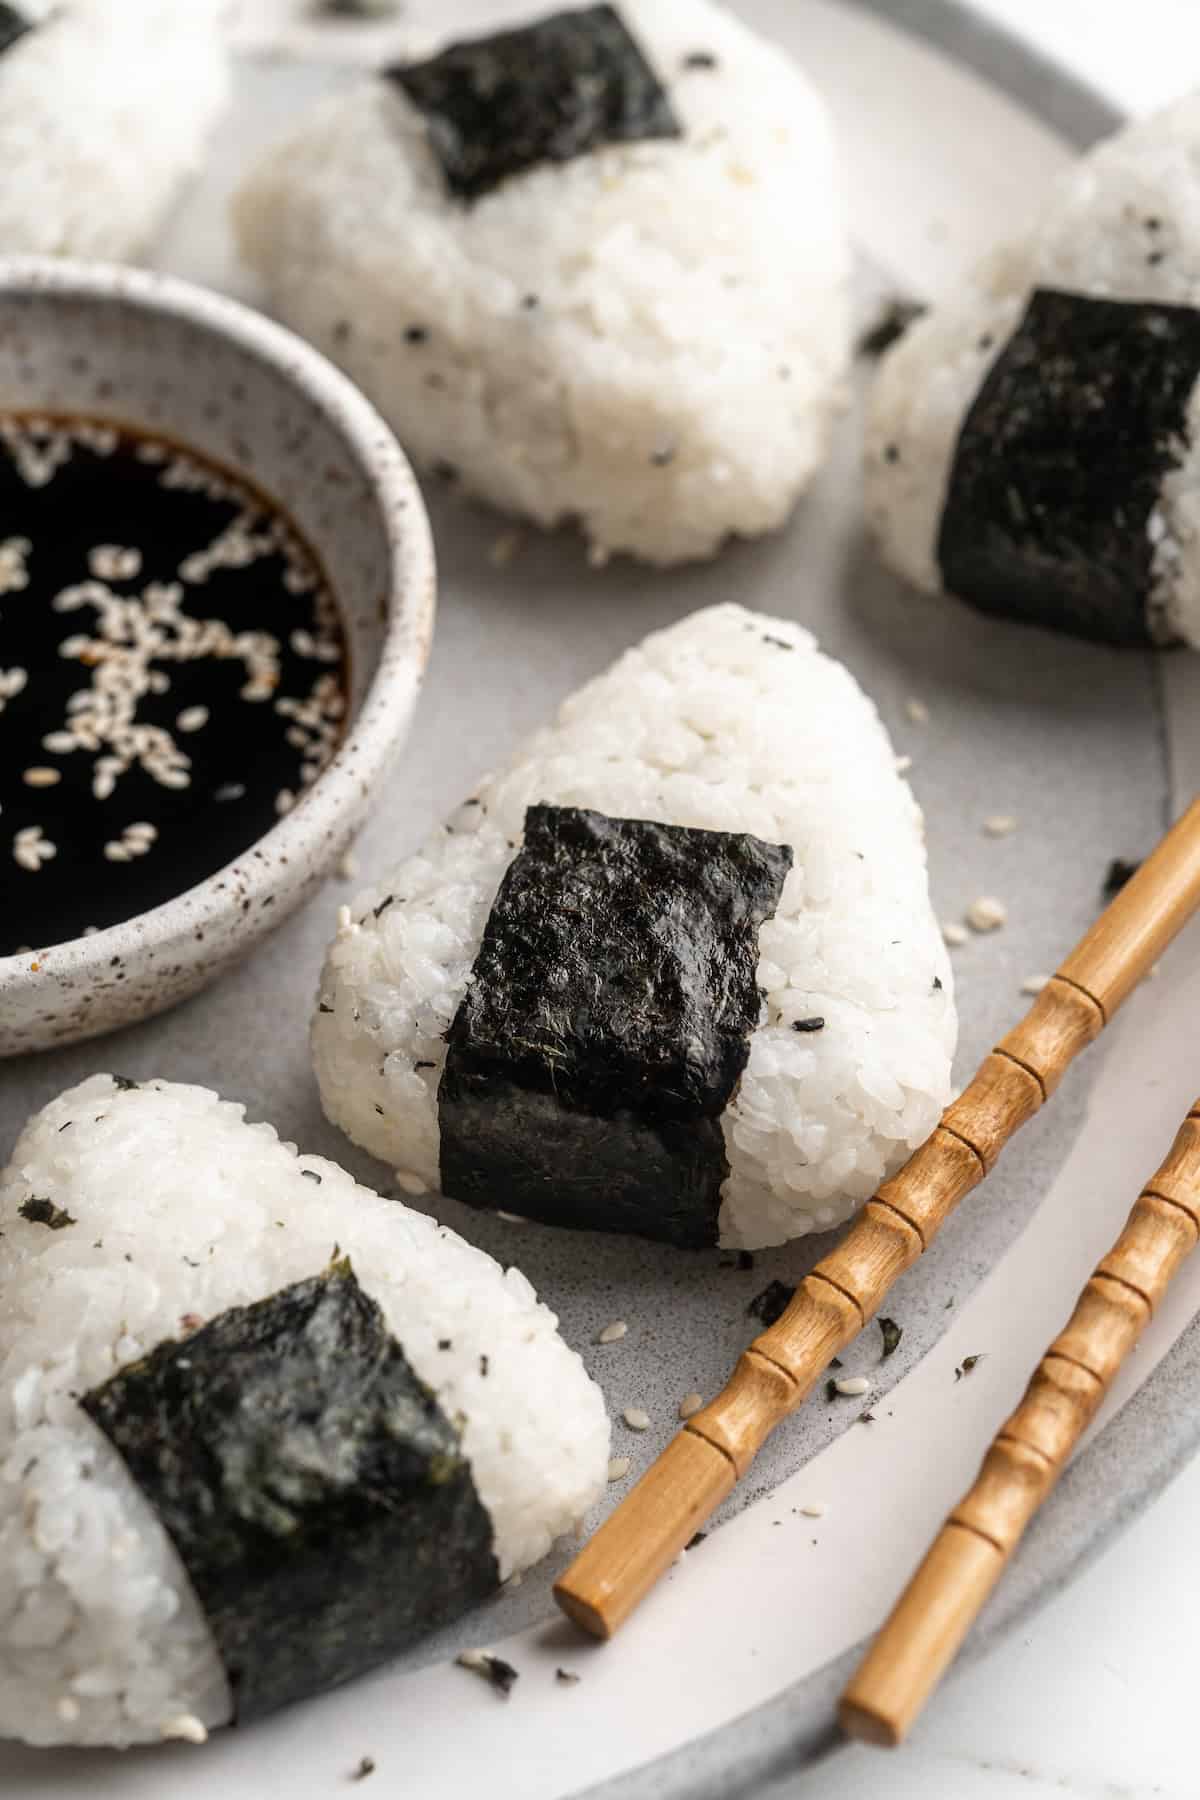
Onigiri are a handheld Japanese snack that tucks a filling into sushi rice and presses it into shape so it doesn’t fall apart. They’re fun to make and delicious to eat!
Onigiri are rice balls that are a traditional snack in Japan. If you’ve been reading my blog for a while, you know that I love making vegan versions of Japanese favourites at home— vegan Japanese milk bread , vegan katsu curry , and now vegan onigiri!
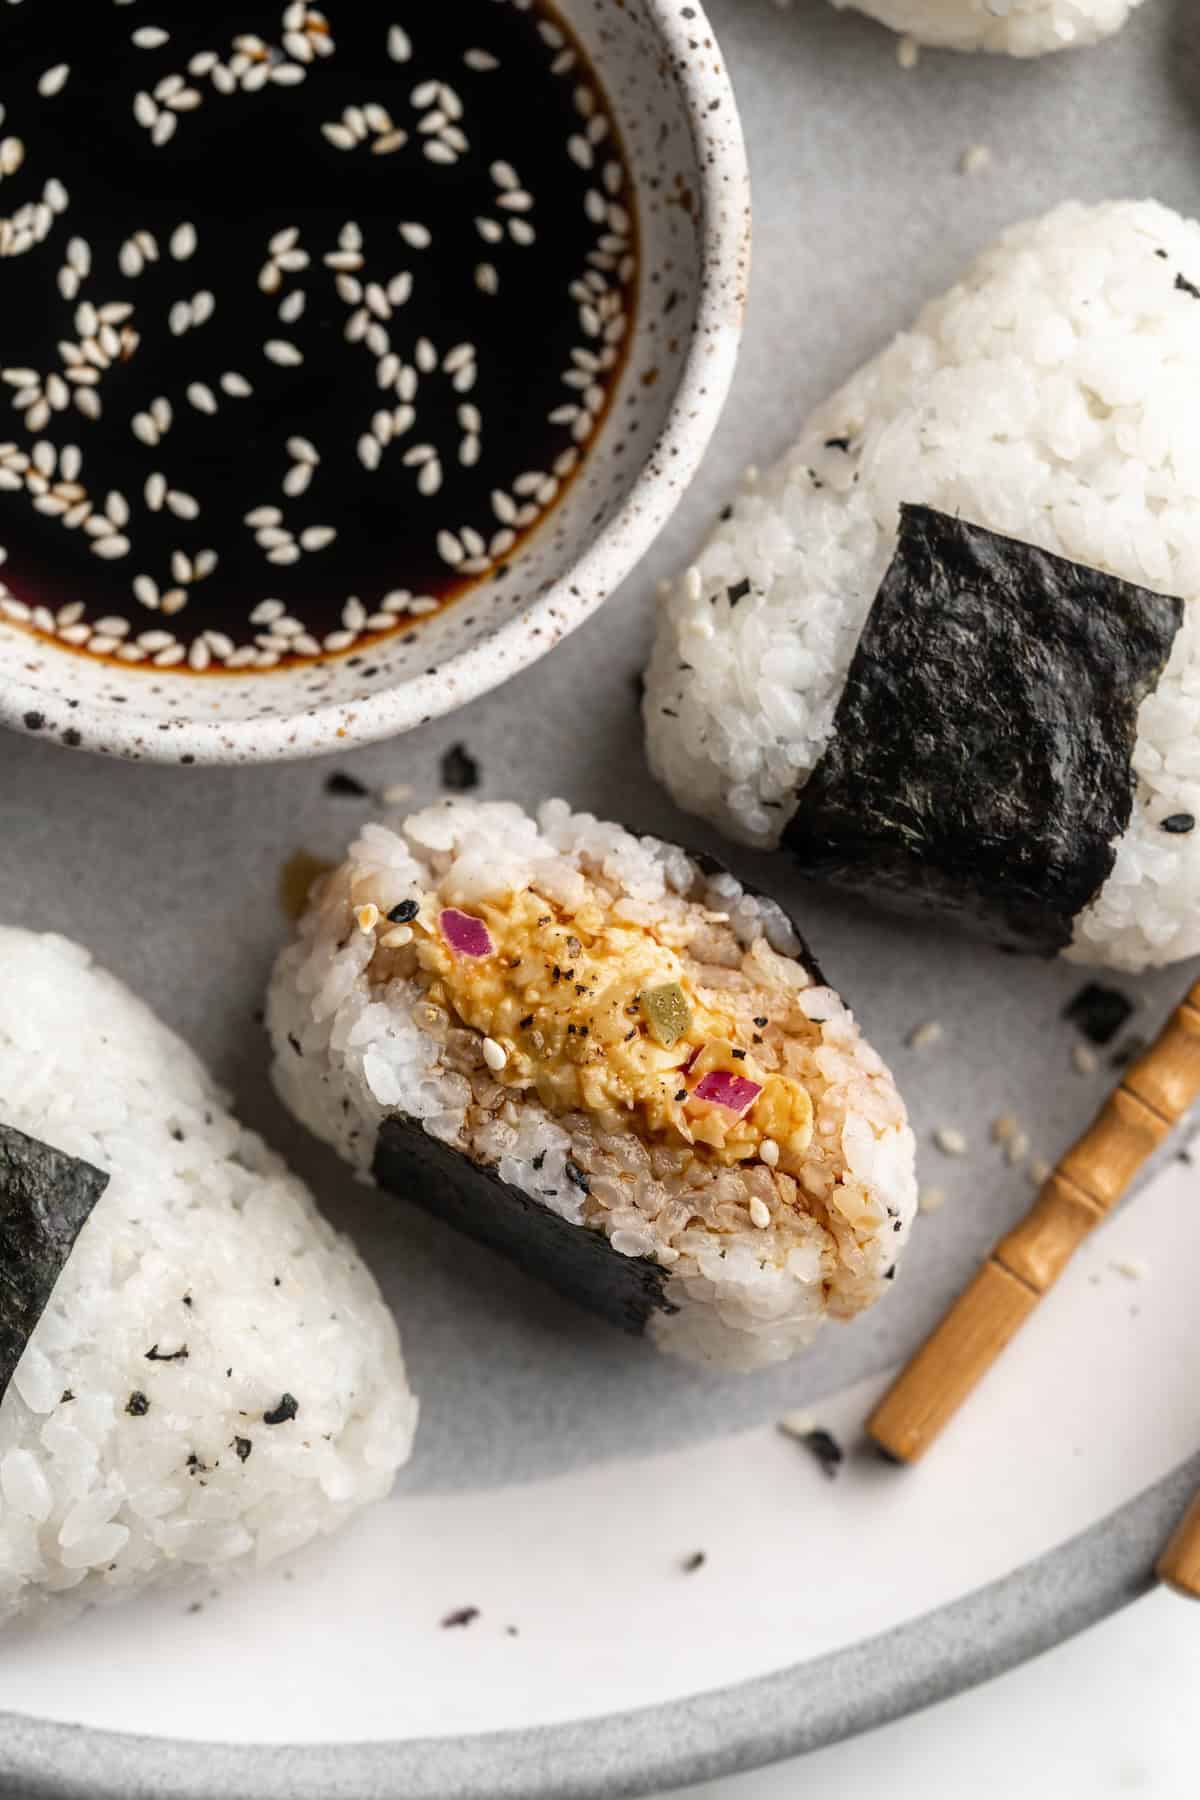
To make onigiri, sticky sushi rice is molded into shapes and wrapped in nori (seaweed). Usually there is a filling tucked into the center of each onigiri—traditional fillings include pickled ume (plum) and various seafoods, but this vegan version uses chickpea “tuna” instead.
Why You’ll Love This Onigiri Recipe
- Perfect for lunch . Onigiri is ideal for adding to lunchboxes—it’s easy to pack, mess-free, and it can be eaten on-the-go!
- Easy and fun to make . Once you get the hang of it, making onigiri is a cinch. I think it’s kind of fun, too. It’s the type of recipe your kids will love to help you make!
- Versatile filling options . While I like to use chickpea tuna, this is definitely a recipe that you can tweak to make your own. I share some additional filling ideas below!

Notes on Ingredients
Scroll down to the recipe card to find the ingredient quantities and recipe instructions.
- Sushi rice – This Japanese short grain rice is naturally sticky, so when you compact it, it holds its shape. Long grain rice doesn’t do this.
- Furikake seasoning – A seasoning blend that typically contains sesame seeds, seaweed, and salt, but some versions also have dried fish or egg so be sure to check the label.
- Vegan chickpea tuna – Here’s my chickpea tuna recipe. Use the leftovers for sandwiches!
- Water
- Sea salt
- Roasted nori – The seaweed wrapper for the onigiri. It can be found in most Asian grocery stores or online.
How to Make Onigiri
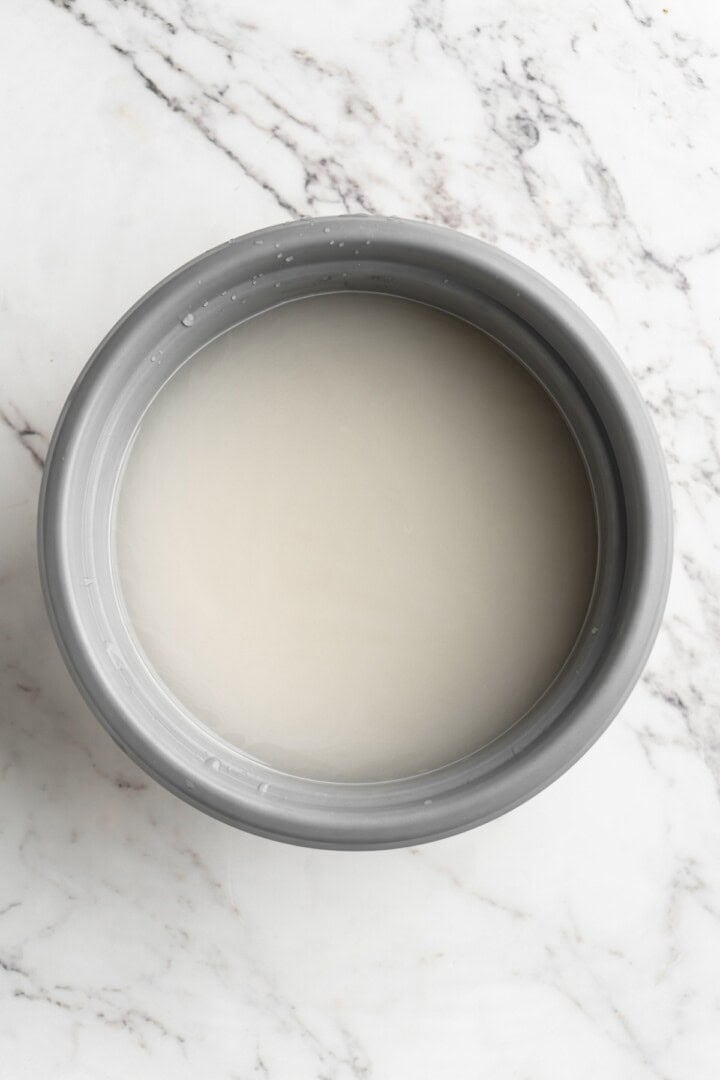
- Rinse the rice . Cover the sushi rice with cold water. Swish it around, then drain and add more water. Repeat the process until the water is clear.
- Cook the rice . I like to use a rice cooker; follow its instructions.
- Season the rice . Transfer it to a bowl and fold in the furikake.
- Make the chickpea tuna . I recommend making this ahead of time so it’s chilled when you’re ready to use it.
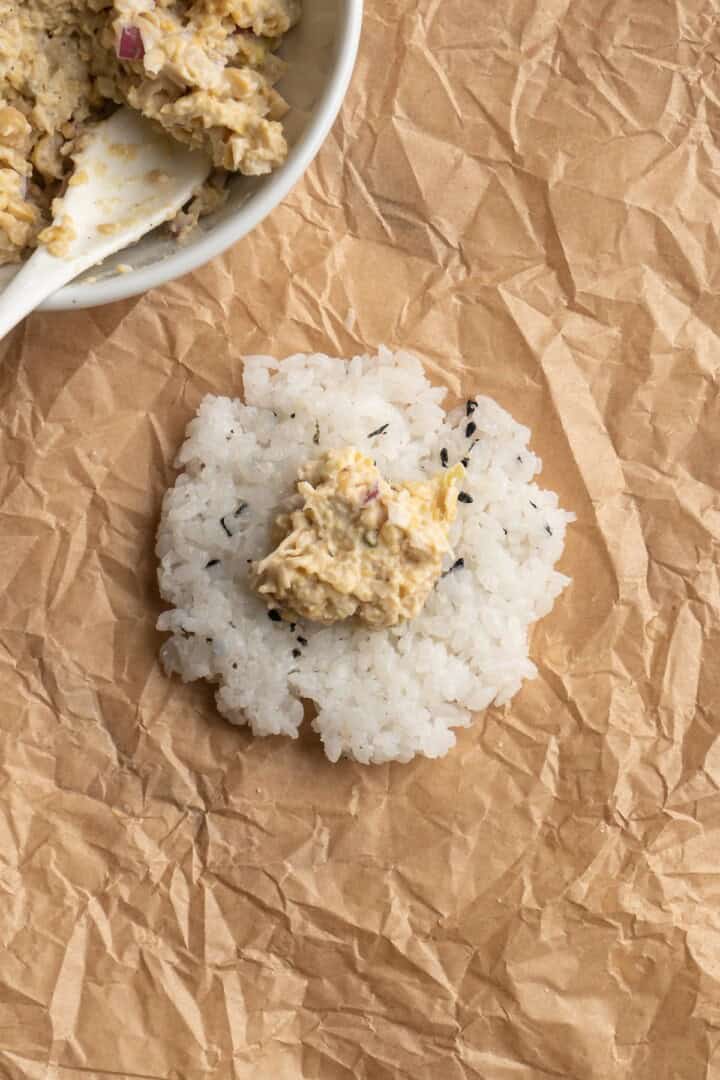
- Form the onigiri . Wet your hands and sprinkle salt on them. Shape a tablespoon or two of rice into a patty, then add the chickpea tuna in the middle. Cover with additional rice, then use your hands to shape into a triangle or ball.
- Wrap it . Cut the nori into strips and wrap a piece along the bottom of the onigiri.
- Repeat and serve . Repeat the process with the rest of the rice. Serve immediately or refrigerate for later.
Tips for Success
- Don’t overfill . While it might be tempting to add lots of filling, too much can cause the onigiri to fall apart.
- Keep your hands wet . Keep a bowl of water nearby and wet your hands frequently to prevent the rice from sticking.
- Be gentle yet firm . Press the rice gently but firmly to shape it. You’ll get a good idea of the right amount of pressure after making one or two onigiri!
More Vegan Filling Ideas for Onigiri
- Shiitake mushrooms. Use these sticky sesame shiitake mushrooms .
- Tofu. Cut marinated tofu into a very small dice.
- Pickled vegetables . A mix of pickled vegetables adds a crunchy, tangy contrast to the rice. You can go to a Japanese market and buy traditional pickled veggies, or try quick pickled radishes .
- Sesame spinach . Sauté spinach and season it with toasted sesame oil, soy sauce, and a sprinkle of sesame seeds.
- Cucumber . Dice a Persian or English cucumber and add it to the onigiri.
- Watermelon tuna . Use the watermelon “tuna” from these vegan poke bowls .
How to Store
Onigiri are best enjoyed immediately, but they’ll keep for up to a day in the fridge. Wrap them in plastic wrap before storing. I do not recommend freezing this recipe.
More Vegan Snack Ideas
- Homemade Granola Bars
- Chocolate Chia Pudding
- Pretzel Bites
- Peanut Butter Energy Balls
- Pumpkin Banana Muffins
Ingredients
- 400 g sushi rice/Japanese short grain rice
- 1 tablespoon furikake seasoning
- About ½ cup vegan chickpea tuna , see note
- Water
- Sea salt
- Several strips of roasted nori
Instructions
- Place the sushi rice in a large bowl and cover with cold water. Gently swirl the rice with your hand, then drain the water. Repeat this process 3-4 times until the water runs clear. This step is essential to remove excess starch and prevent the rice from becoming too sticky.
- Transfer the washed rice to a rice cooker. Add the appropriate amount of water (refer to your rice cooker’s instructions, typically it’s a 1:1.25 ratio of rice to water). Let the rice cook until done.
- Once the rice has cooled slightly but is still warm, transfer it to a large bowl. Gently fold in the furikake seasoning, ensuring it’s evenly distributed. Adjust the amount of furikake to taste.
- If you haven’t already made the vegan chickpea tuna, prepare it according to the recipe linked here . Ensure it’s chilled before using it as a filling.
- Wet your hands with a little water and sprinkle with a pinch of sea salt. This prevents the rice from sticking to your hands and adds a bit of flavor. Scoop about 1-2 tablespoons of seasoned rice into your palm, then slightly flatten it to form a small patty. Place about 1 teaspoon of the vegan chickpea tuna filling in the center of the rice.
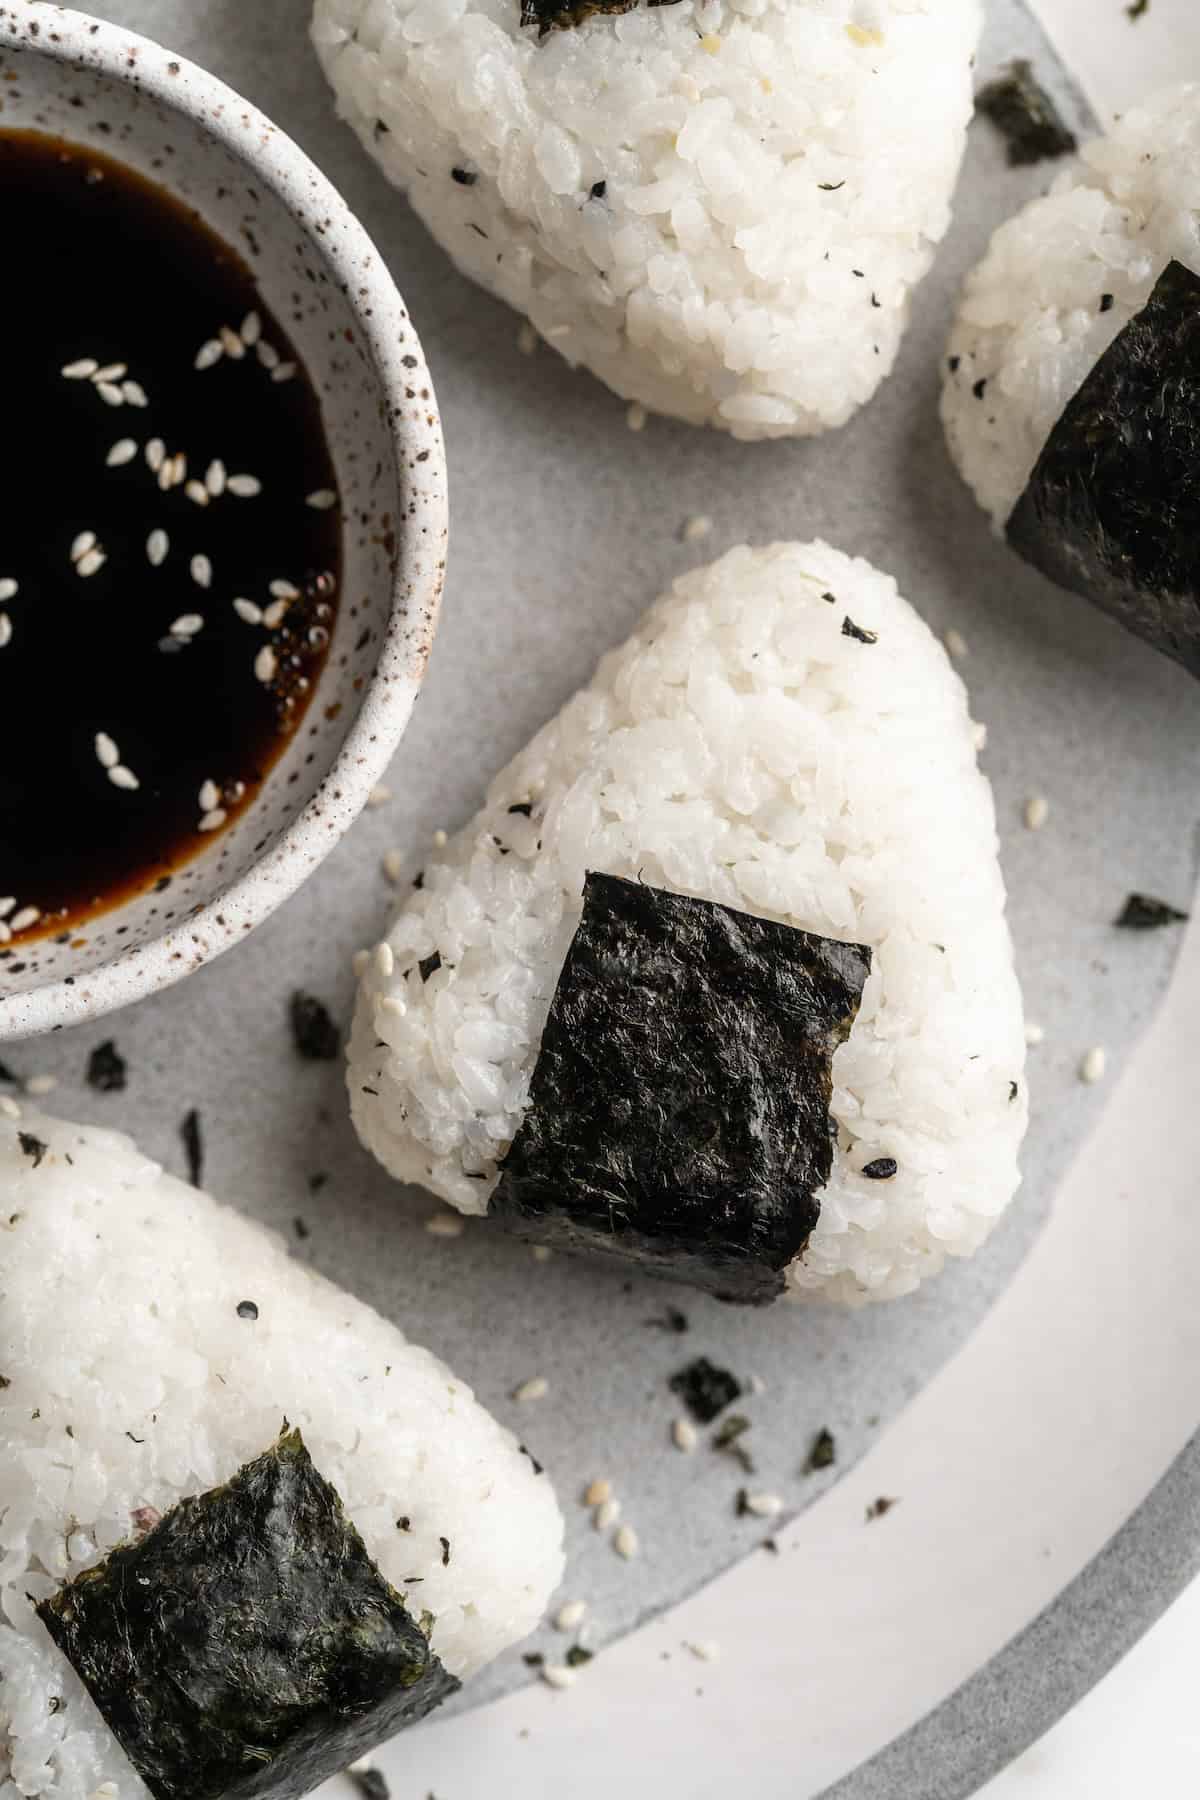
- Cover the filling with an equal amount of rice, then gently press and shape the rice into a triangle or ball, ensuring the filling is completely enclosed. Press firmly but gently to compact the rice without crushing it.
- Cut the roasted nori into strips (around 1/3 of the perforated strip found in most nori packages). Wrap a strip of nori around the bottom of each onigiri, pressing it slightly to adhere. The nori strip helps hold the shape of the onigiri and adds a nice flavor and texture.
- Repeat the process with the remaining rice and filling, adjusting the amount of filling and rice according to your preference. Serve the onigiri immediately, or wrap them individually in plastic wrap and store them in the refrigerator for up to a day.
Notes
- Vegan Chickpea Tuna : This can be made in advance and stored in the refrigerator. It’s a flavorful and protein-rich filling that mimics the texture of traditional tuna.
- Furikake Seasoning : This Japanese seasoning blend typically contains sesame seeds, seaweed, salt, and sometimes dried fish or egg. Ensure you choose a vegan variety if required.
- Serving Suggestions : Onigiri can be enjoyed as a snack, part of a bento box, or as a light meal. They are great for picnics and lunchboxes.
- Storage : While onigiri are best enjoyed fresh, they can be stored in an airtight container in the refrigerator for up to 24 hours. The nori may lose its crispiness, but they will still be delicious.
- Nutrition : Nutritional information includes the rice only, not the filling.
