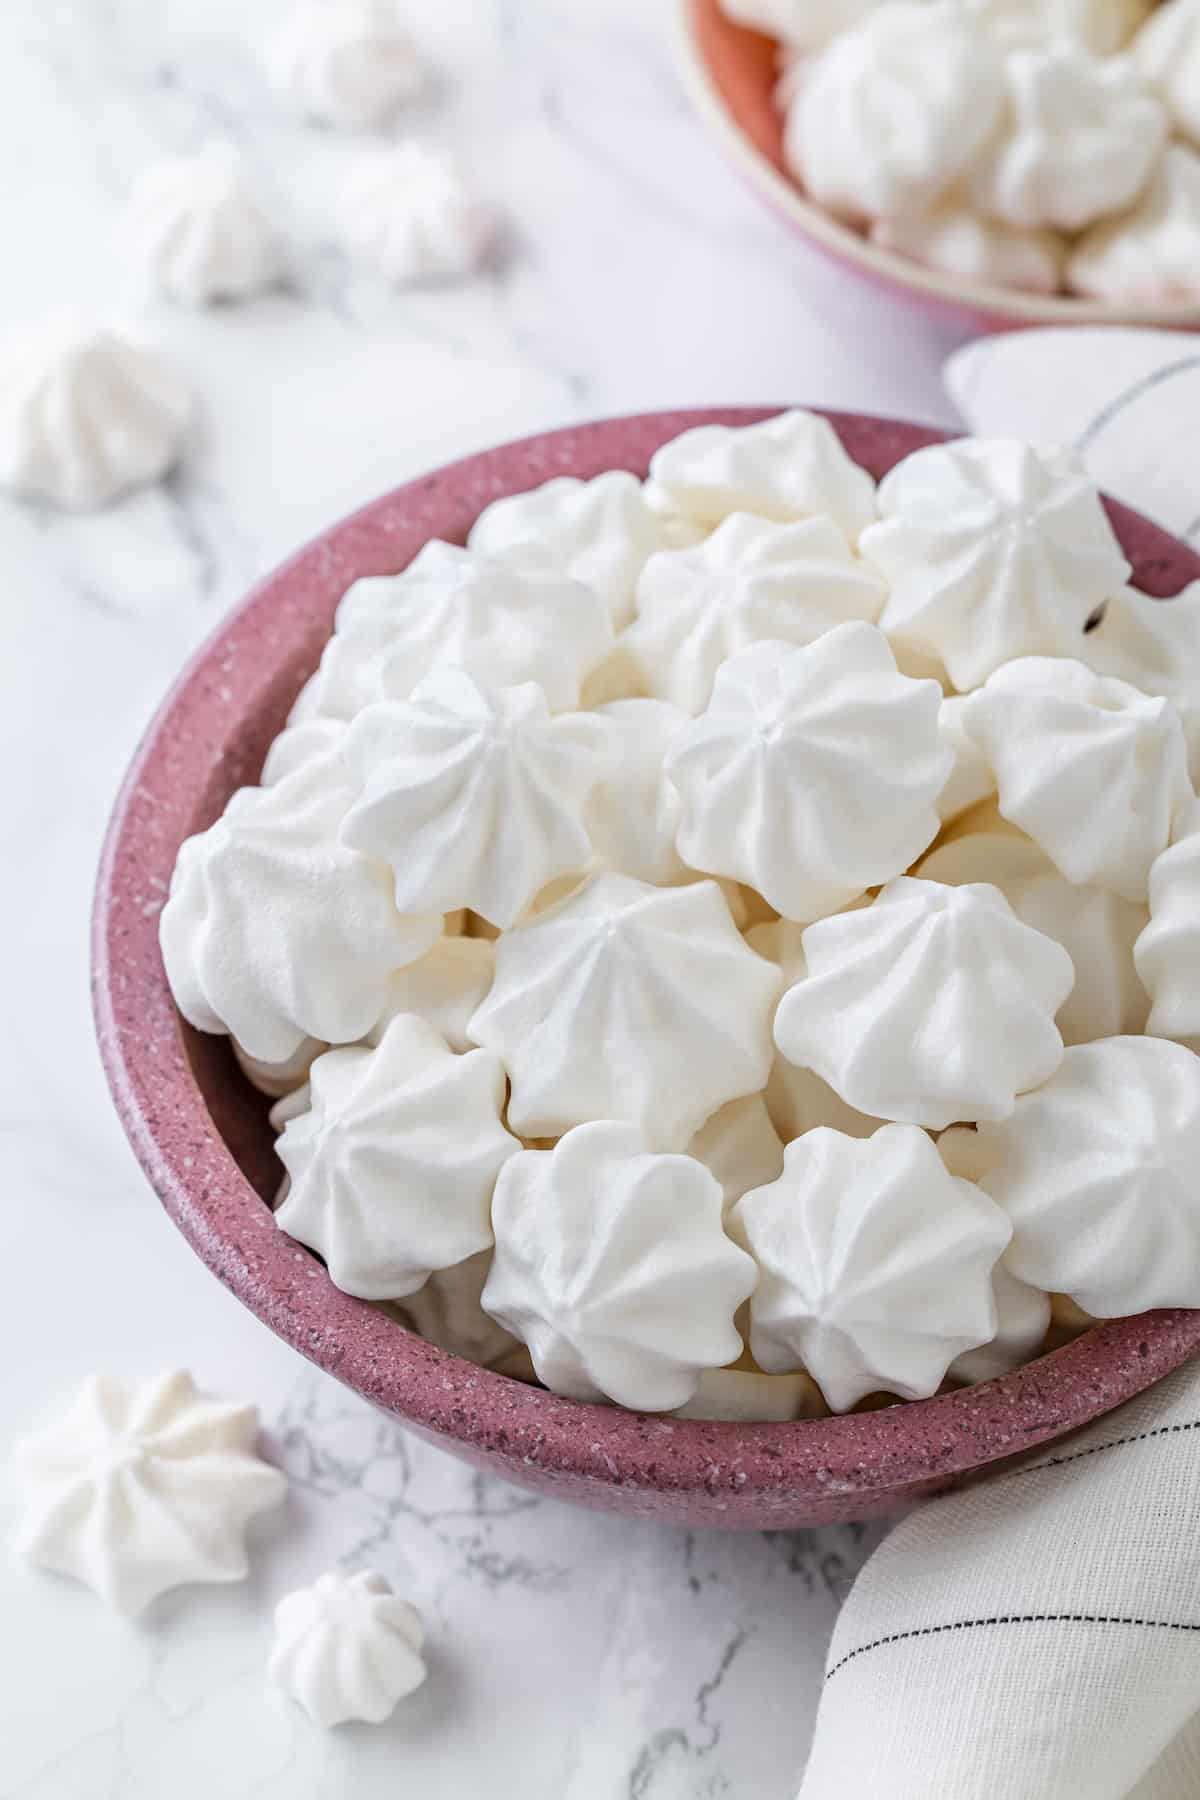
Aquafaba meringue is light, airy, and impossible to resist! Who knew you could use the liquid from a can of chickpeas instead of egg whites to make this magical treat?!
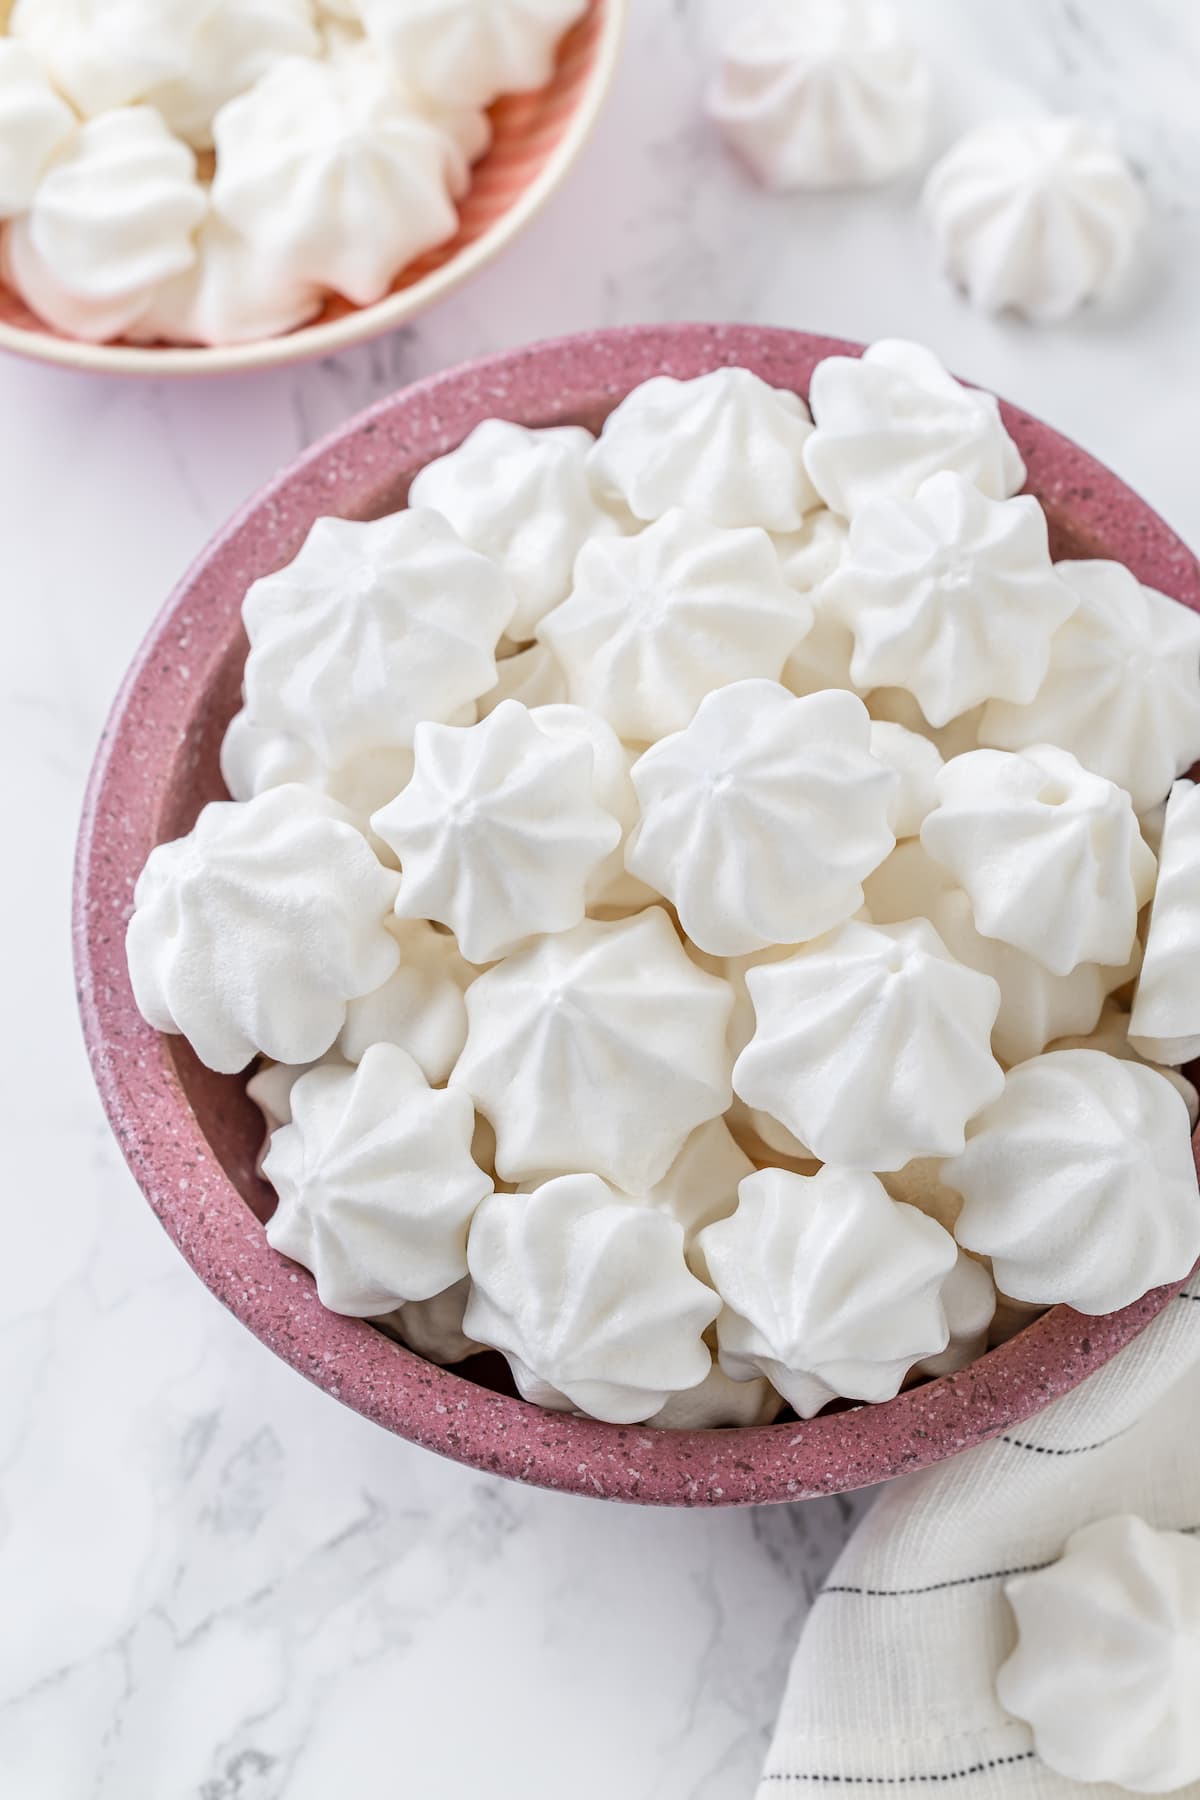
Aquafaba has been a game-changer in the vegan food world. The same liquid you usually pour down the drain from canned chickpeas can be used to make aquafaba meringues and as an egg substitute in recipes from Vegan Marshmallows to Sweet Potato Soufflé !
If you’re ready to dive in and start experimenting with aquafaba, vegan aquafaba meringues are the perfect place to begin. This 4-ingredient recipe will help you familiarize yourself with how to whip aquafaba and how it performs in comparison to traditional egg whites.
Why You’ll Love This Aquafaba Meringue Recipe
- Just like the traditional recipe . These vegan meringues are as light and airy as the original—you will never guess they were made with chickpea water!
- Easy to make . You only need 4 ingredients to make aquafaba meringue and it’s a great recipe to get you started working with aquafaba. Once you get the hang of it, you can use this base recipe as a topping for pies, tarts, and more.
- Vegan and allergy-friendly . This aquafaba meringue recipe is gluten-free, dairy-free, nut-free, and soy-free, making it the perfect treat for those with dietary restrictions.
Notes on Ingredients
Scroll down to the recipe card to find the ingredient quantities and recipe instructions.
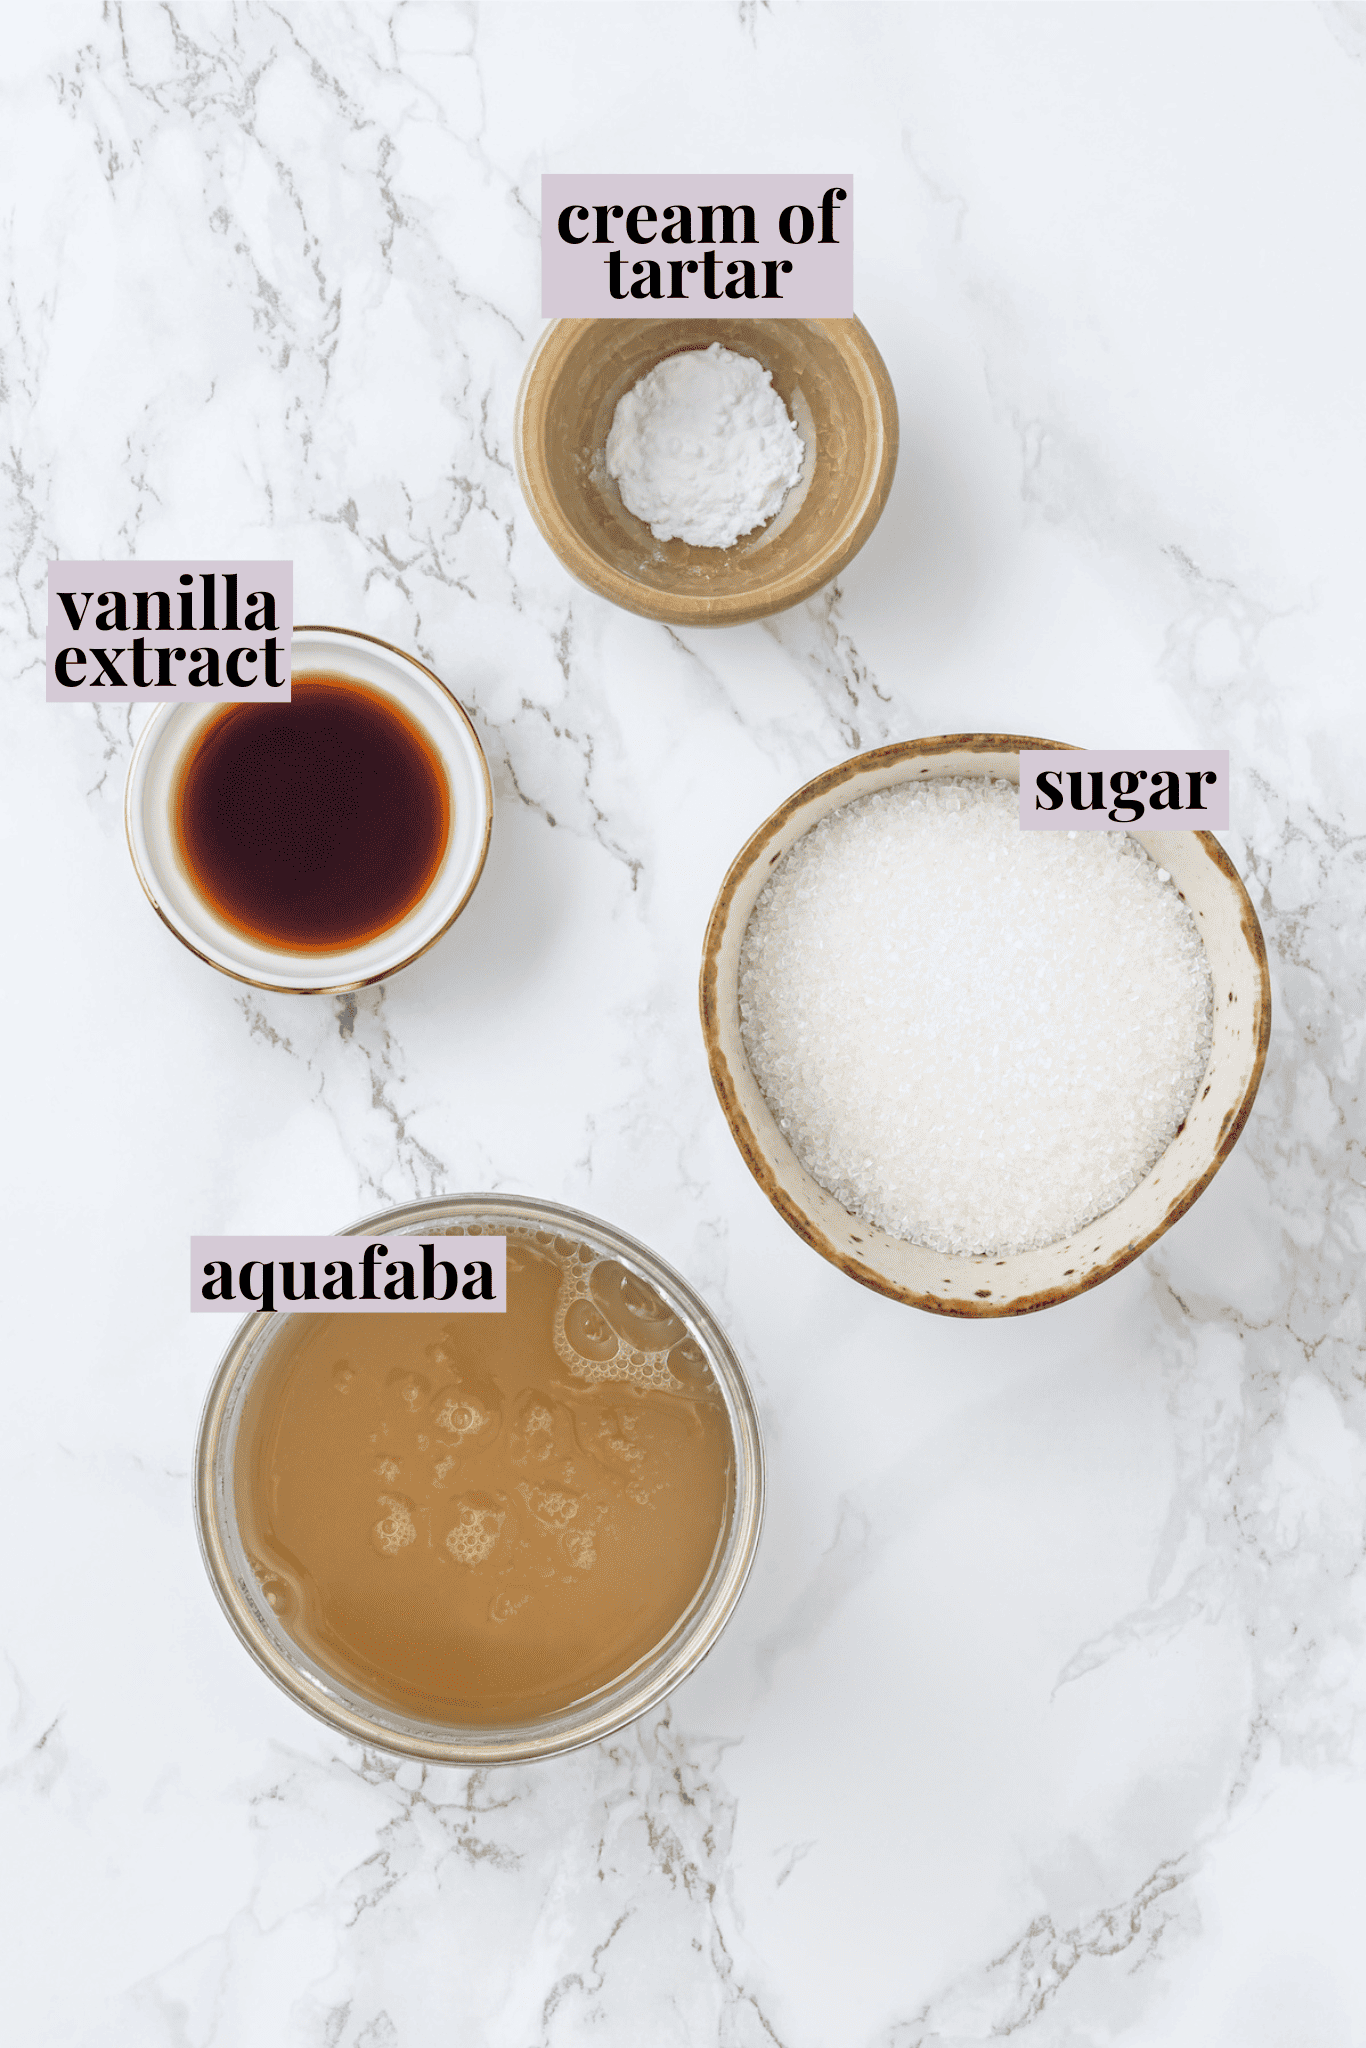
- Aquafaba – Pour this off of a can of chickpeas. (Use the chickpeas to make Perfect Homemade Hummus .)
- Cream of tartar – Cream of tartar is a stabilizer that helps create the fluffy texture of meringues.
- Sugar – In this recipe, we use regular granulated white sugar to give the aquafaba meringues their sweet taste.
- Vanilla extract – Use pure vanilla extract.
What Is Aquafaba?
How to Make Aquafaba Meringues
- Prepare . Preheat your oven to 210°F and line 3 baking sheets with parchment paper.
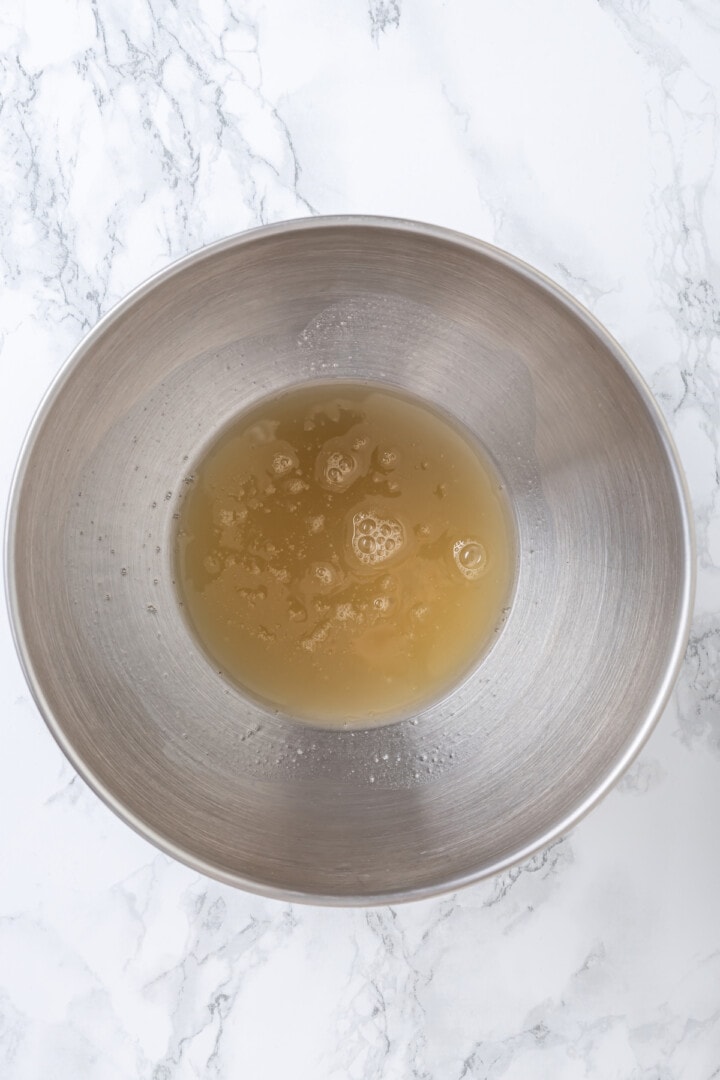
- Whip the aquafaba . In the bowl of a stand mixer fitted with a whisk attachment, whip the aquafaba and cream of tartar on medium speed until it forms soft peaks.
- Add the sugar . Gradually add the sugar while continuing to whip the aquafaba. Increase the speed to high and continue whipping until stiff peaks form and the meringue is glossy. Add vanilla extract into the meringue and beat until just mixed.
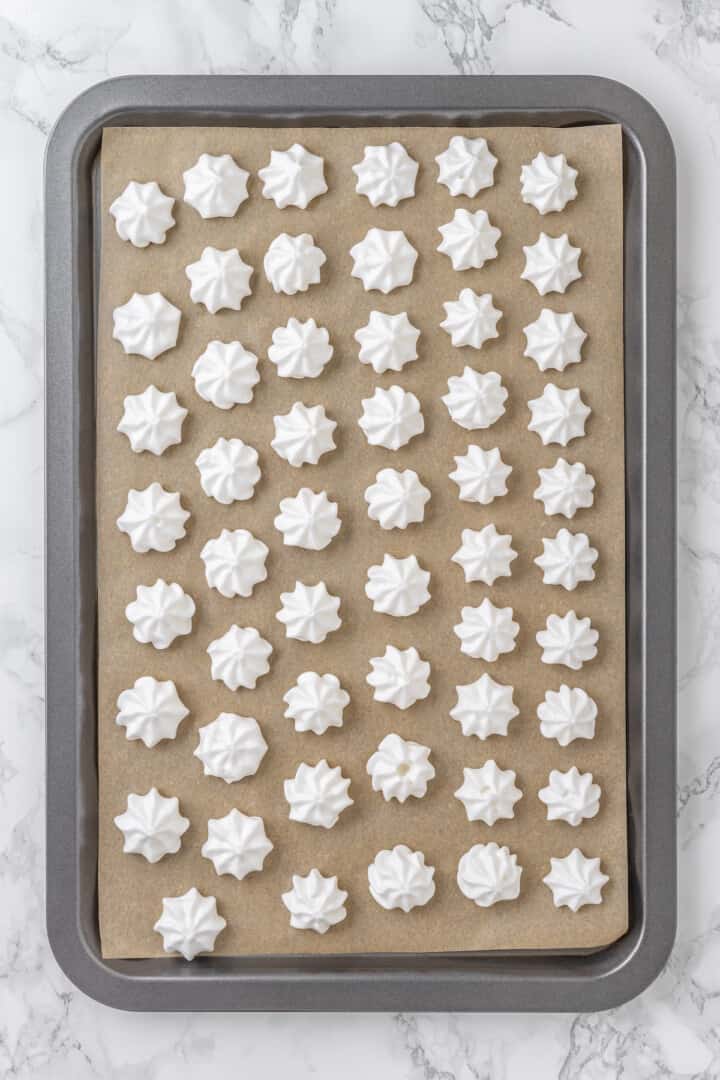
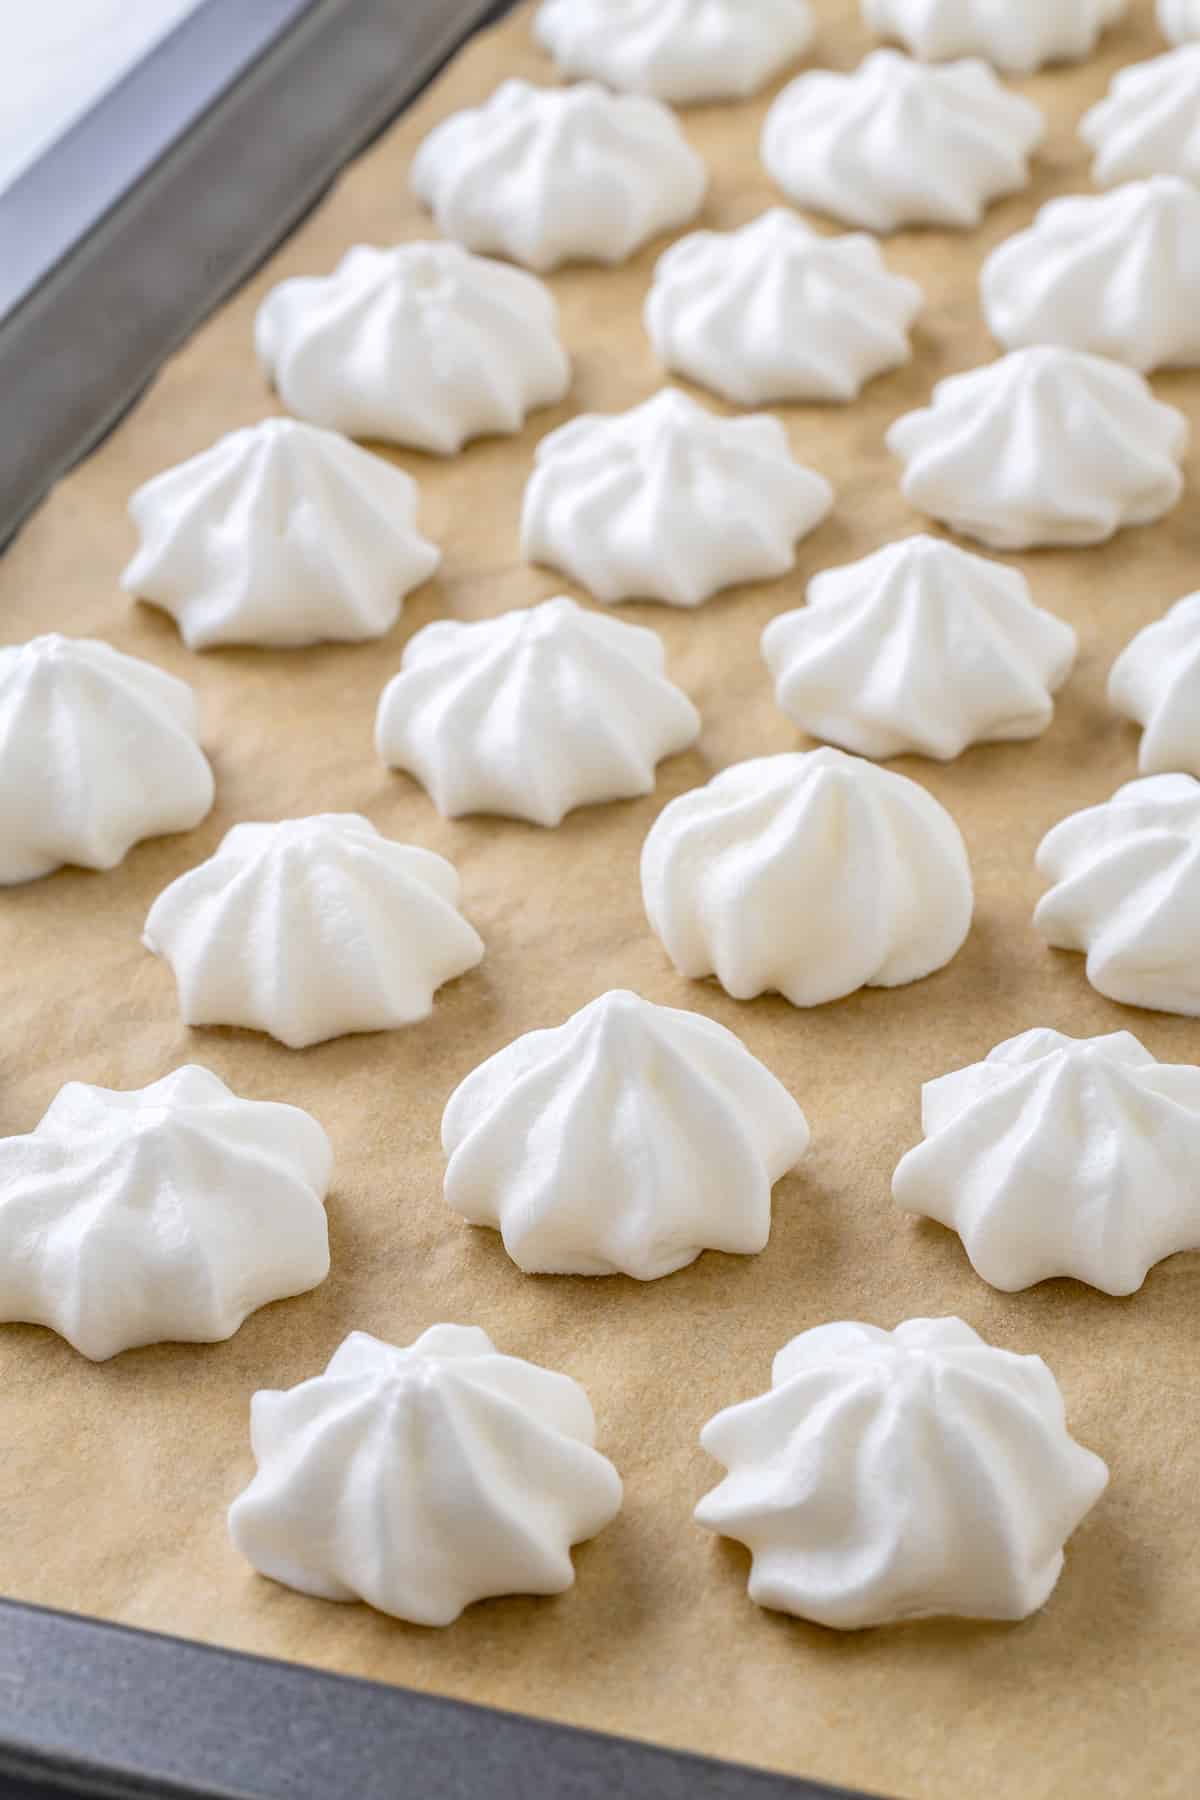
- Pipe . Transfer the meringue into a pastry bag and pipe small meringues onto the prepared baking sheets.
- Bake . Place the pans in the oven and bake for about 1 hour and 30 minutes, or until the meringues are crisp on the outside. Turn off the oven and leave the meringues inside for another hour or until they cool completely.
Tips for Success
- Know when it reaches a stiff peak . Stiff peaks are when the meringue holds its shape and doesn’t droop when you lift the beaters or whisk.
- Take your time . Whipping aquafaba requires patience, so be prepared to spend a bit of time whipping it until it reaches the desired consistency. It’s worth the wait!
- Don’t overbeat . Keep an eye on your aquafaba as you whip it, as overbeating can cause it to deflate and become runny.
Variations
- Use another extract . Almond extract or peppermint extract would both make delicious flavored meringues. Just use the same amount as you would for vanilla extract.
- Get creative with food colo u ring . Use gel food coloring to add pretty hues to your aquafaba meringue.
- Add a mix-in . Fold in crushed peppermint candies or mini chocolate chips.
How to Store
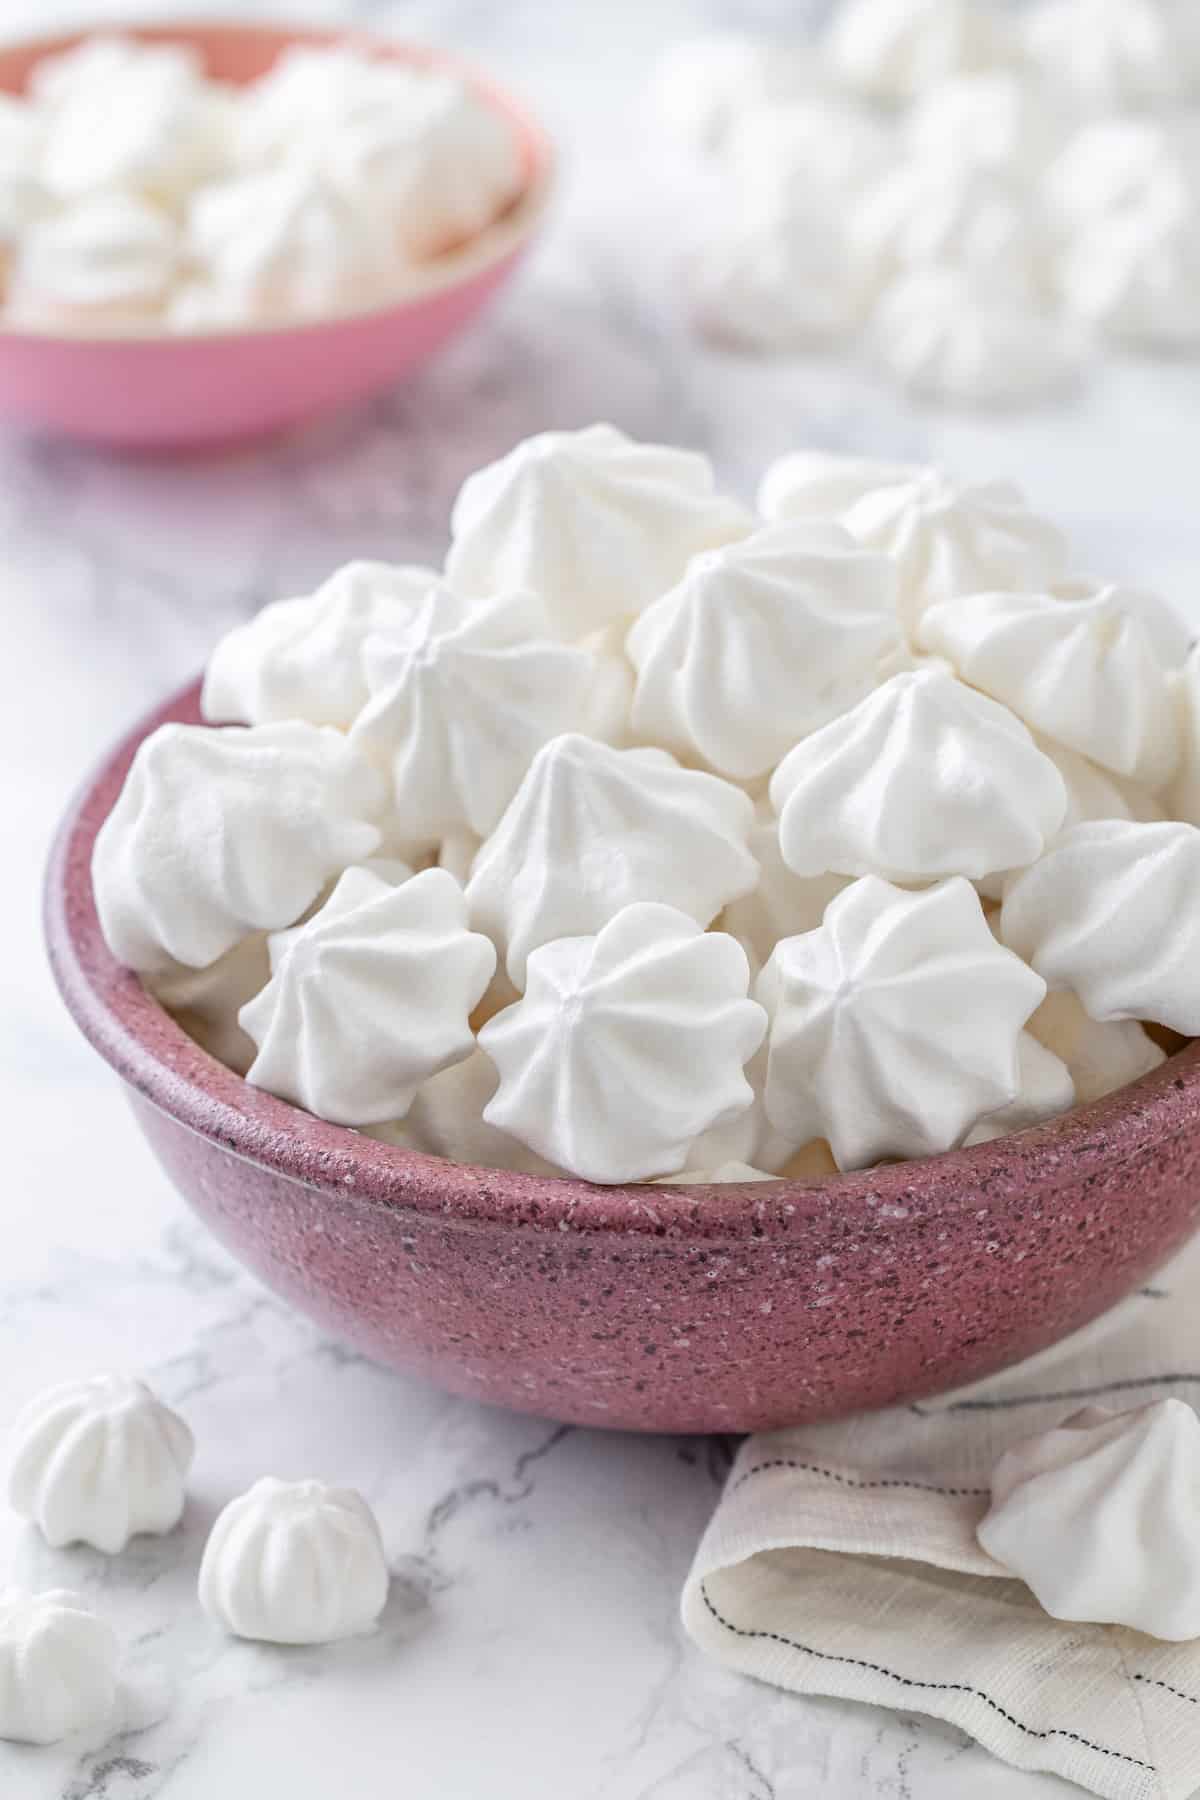
Vegan meringues are best stored in an airtight container at room temperature. They will stay fresh for 2 to 3 days.
Can I Freeze This Recipe?
Yes, you can freeze aquafaba meringues! Store them in an airtight container for up to 2 months and thaw them at room temperature. They may lose some of their crisp texture after thawing, but they will still taste delicious.
More Vegan Sweets
- S’mores Cookies
- Vegan Peanut Butter Cups
- Protein Cookie Dough
- Vegan Red Velvet Cupcakes
- Vegan Sugar Cookies
Ingredients
- ½ cup aquafaba , 120 grams
- ¼ teaspoon cream of tartar , 1 gram
- ½ cup sugar , 100 grams
- 1 teaspoon vanilla extract , 6 grams
Instructions
- Preheat your oven to 210°F (100°C). Line 3 baking sheets with parchment paper.
- In a clean, dry bowl of a stand mixer fitted with a whisk attachment, add the aquafaba and cream of tartar. Begin whipping the aquafaba on medium speed until it forms soft peaks.
- Gradually add the sugar, a spoonful at a time, while continuing to whip the aquafaba. Increase the speed to high and continue whipping. This should take about 8-10 minutes. Whip until you reach stiff peaks, and the meringue is glossy and holds its shape when you lift the beaters. Add vanilla extract into the meringue and beat until just mixed.
- Transfer meringue mixture into pastry piping bag fitted with desired tip and pipe small meringues on prepared baking sheets.
- Bake in the preheated oven for about 1 hour and 30 minutes (periodically changing position of the trays for even cooking), or until the meringues are crisp on the outside. It’s important to bake them at a low temperature to avoid browning.
- Once they are done baking, turn off the oven and leave the meringues in the oven for another hour or until they cool completely. This helps to further dry them out.
Notes
Aquafaba Meringue
Ingredients
- ½ cup aquafaba 120 grams
- ¼ teaspoon cream of tartar 1 gram
- ½ cup sugar 100 grams
- 1 teaspoon vanilla extract 6 grams
Instructions
- Preheat your oven to 210°F (100°C). Line 3 baking sheets with parchment paper.
- In a clean, dry bowl of a stand mixer fitted with a whisk attachment, add the aquafaba and cream of tartar. Begin whipping the aquafaba on medium speed until it forms soft peaks.
- Gradually add the sugar, a spoonful at a time, while continuing to whip the aquafaba. Increase the speed to high and continue whipping. This should take about 8-10 minutes. Whip until you reach stiff peaks, and the meringue is glossy and holds its shape when you lift the beaters. Add vanilla extract into the meringue and beat until just mixed.
- Transfer meringue mixture into pastry piping bag fitted with desired tip and pipe small meringues on prepared baking sheets.
- Bake in the preheated oven for about 1 hour and 30 minutes (periodically changing position of the trays for even cooking), or until the meringues are crisp on the outside. It’s important to bake them at a low temperature to avoid browning.
- Once they are done baking, turn off the oven and leave the meringues in the oven for another hour or until they cool completely. This helps to further dry them out.
Video
Notes
Nutrition
Aquafaba Meringue https://jessicainthekitchen.com/aquafaba-meringue/ December 11, 2023
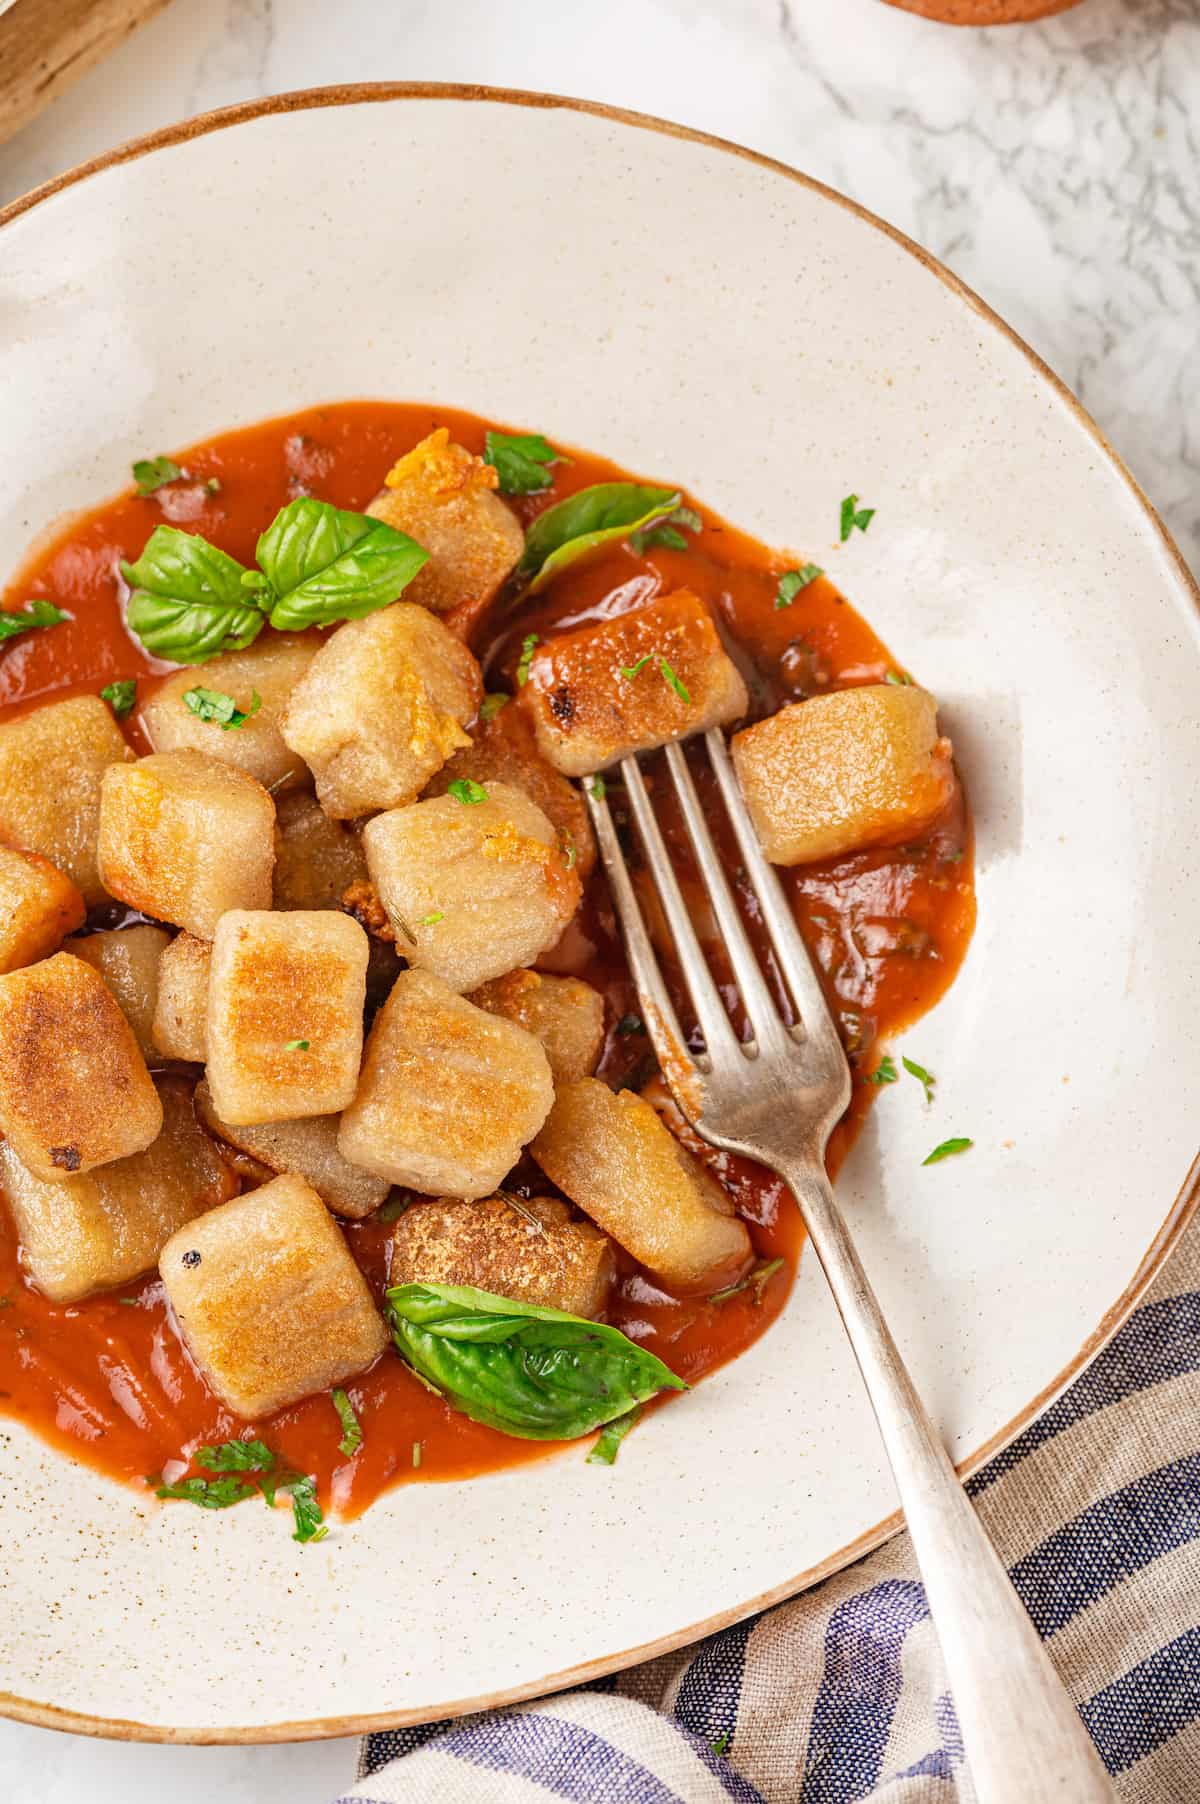
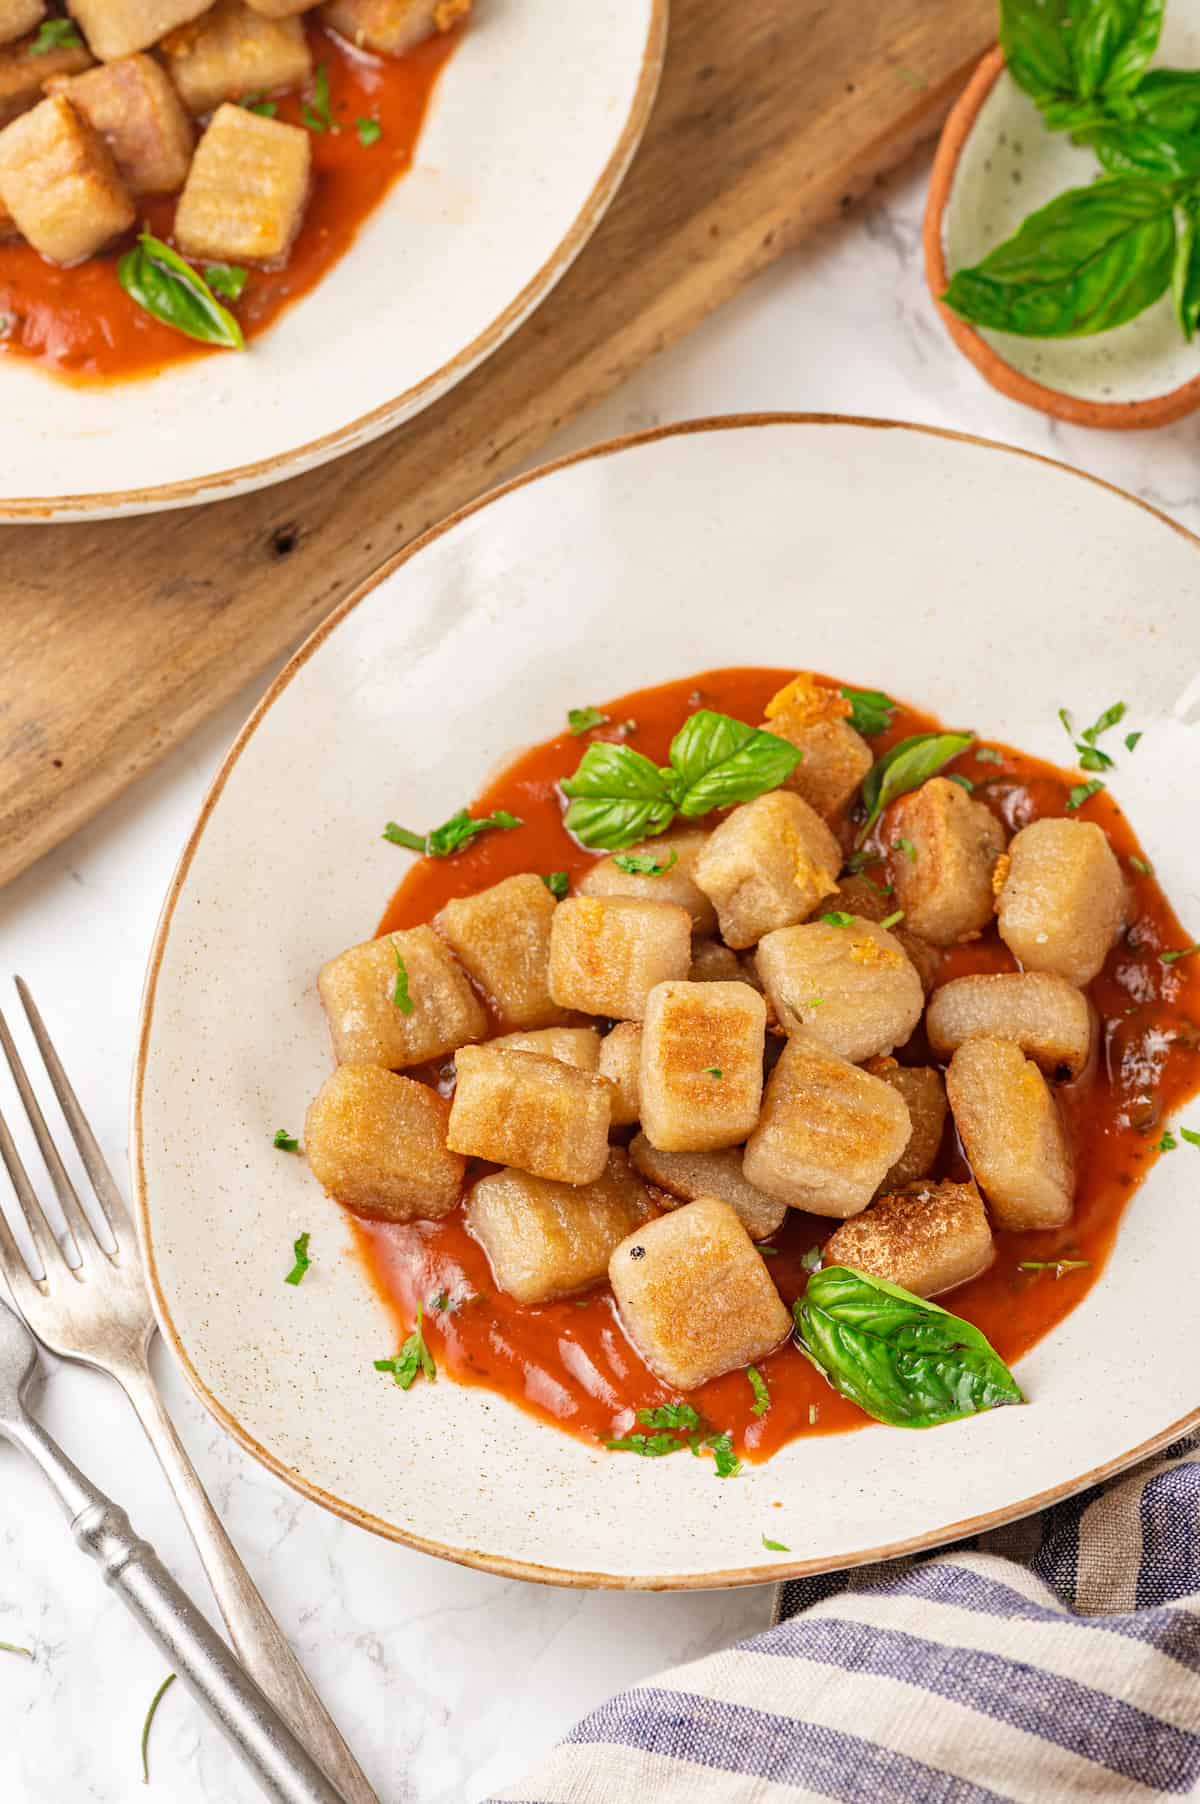
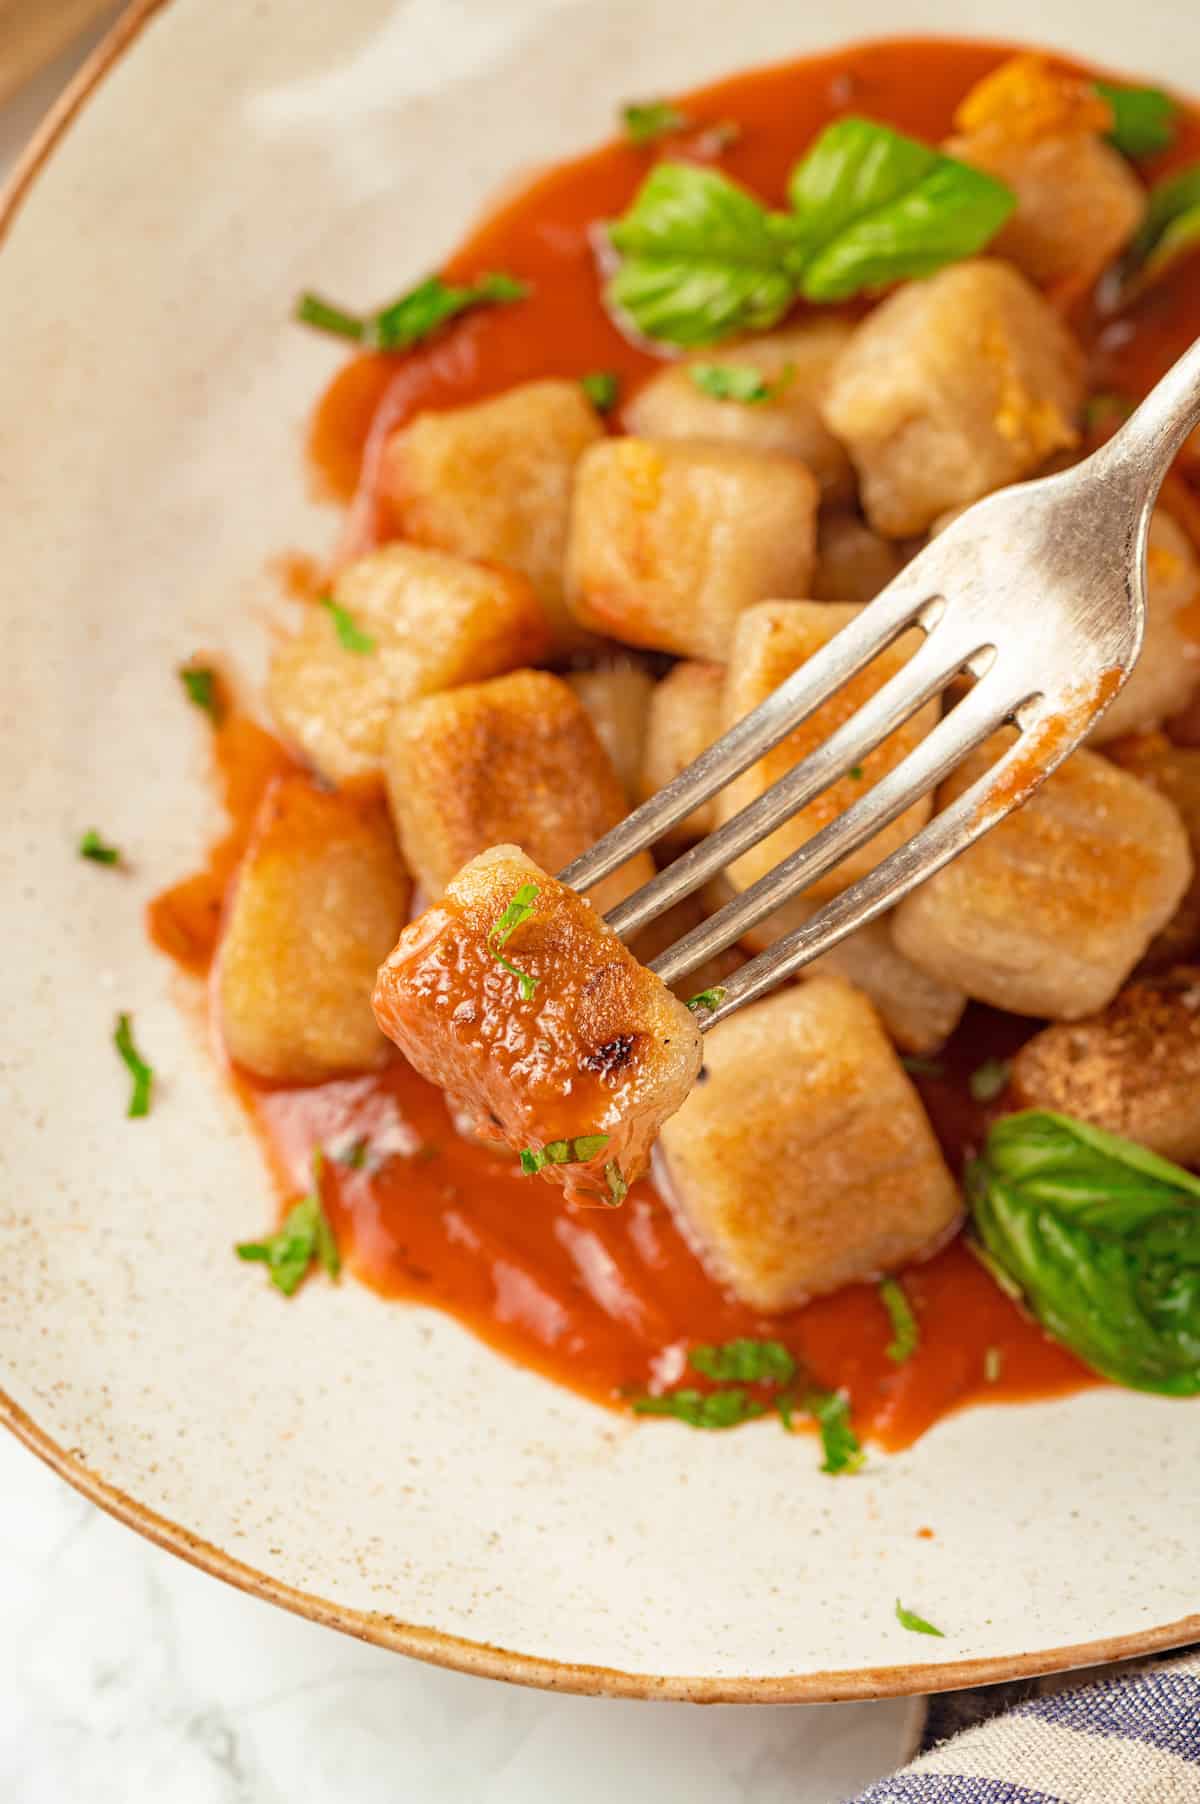
This homemade cauliflower gnocchi is tender and pillowy, perfect for pairing with your favourite sauce. Make them for dinner tonight or freeze them for another day!
If you don’t live near a Trader Joe’s, you’re out of luck if you want to try their famous cauliflower gnocchi. But this recipe lets you make cauliflower gnocchi at home with only 5 ingredients!
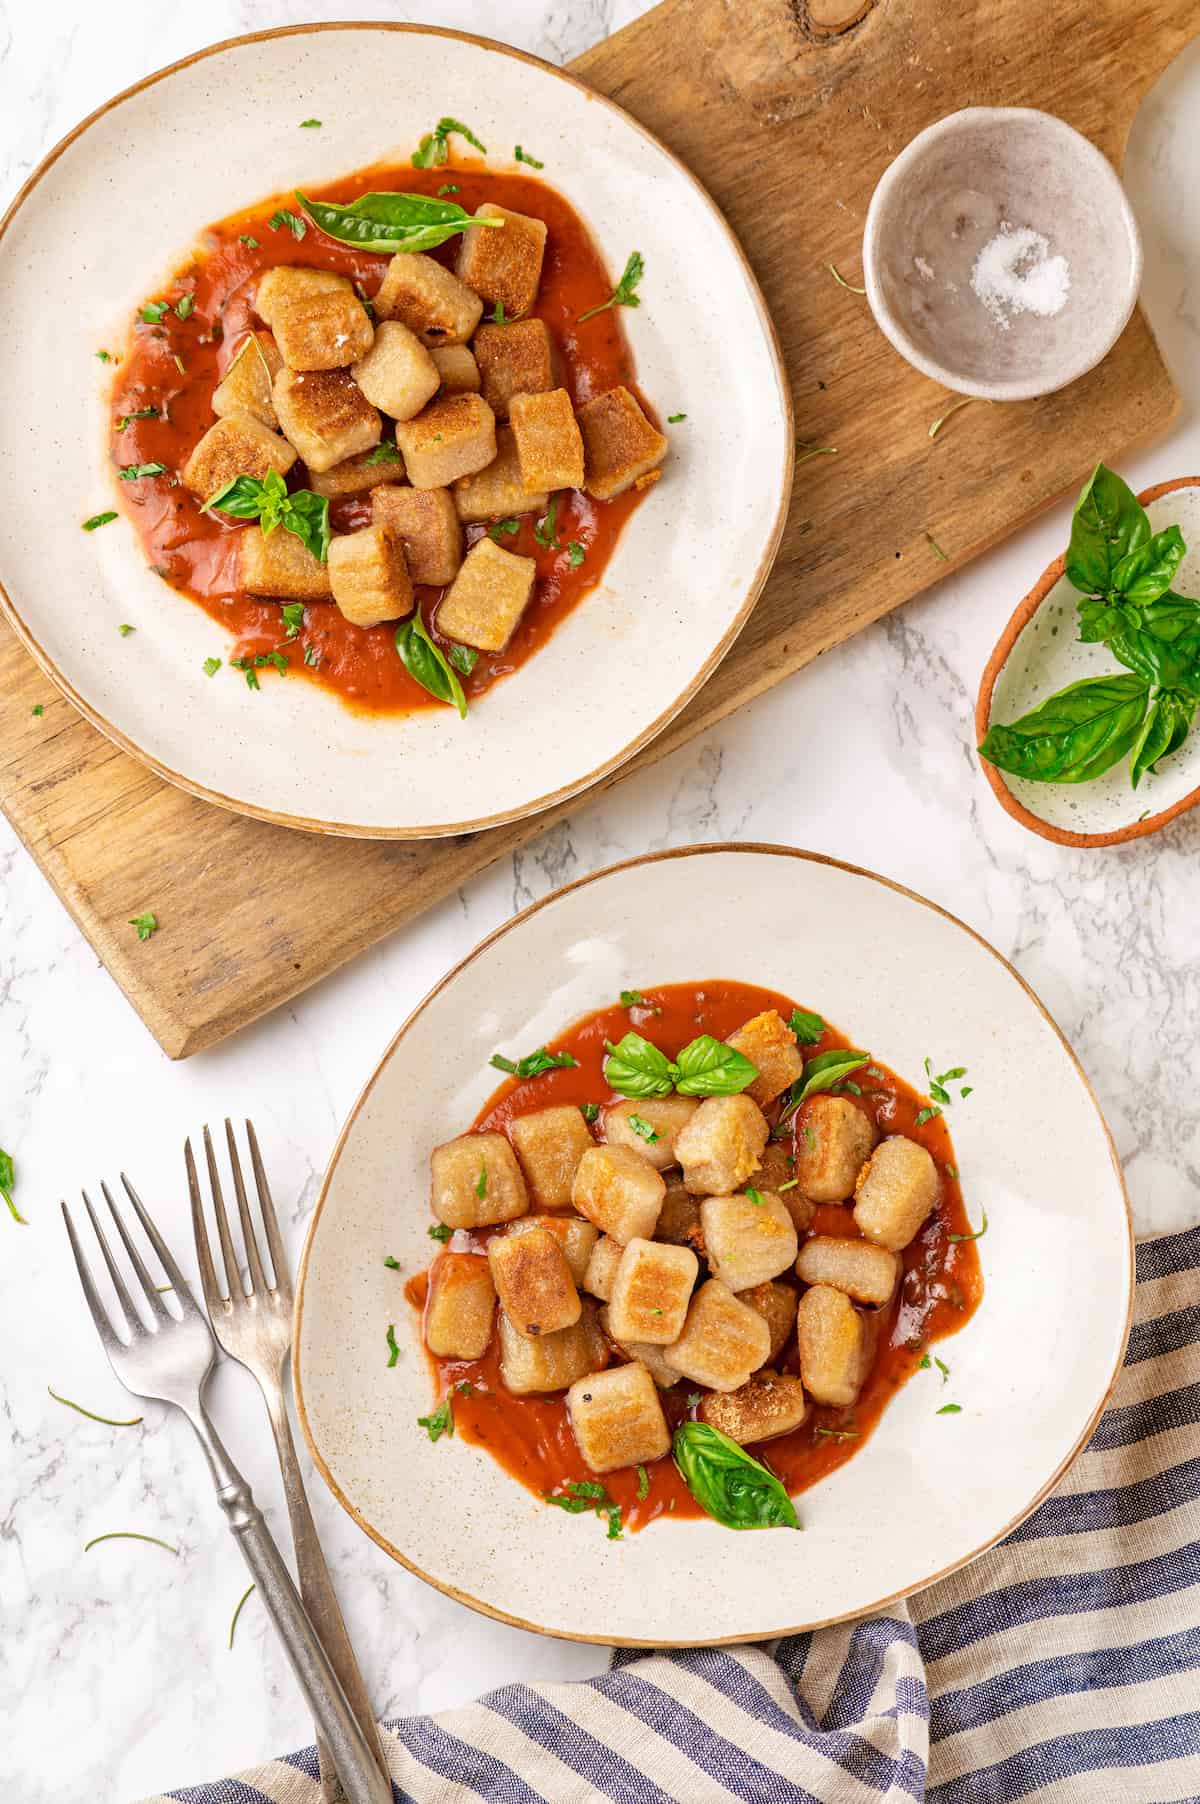
Just like the Trader Joe’s version, you can stash them in the freezer for quick weeknight dinners or just fry ‘em and eat ‘em right away. Add your favourite sauce and some veggies on the side and you’ve got a delicious vegan dinner ready in minutes.
Why You’ll Love This Cauliflower Gnocchi Recipe
- Naturally vegan . Traditional gnocchi is made with eggs, but cauliflower gnocchi doesn’t require eggs or dairy, so it’s naturally vegan—no egg substitutes needed!
- Gluten-free option . Want to make your cauliflower gnocchi gluten-free? It’s easy! Just substitute the all-purpose flour with cassava flour or almond flour.
- Versatile . Pair your gnocchi with any sauce, protein, or veggies. Just like pasta, the flavour of gnocchi is kind of like a blank slate, so it works with almost any ingredients!
- Freezer-friendly . Cauliflower gnocchi freezes beautifully so you can keep it on hand for easy weeknight meals.
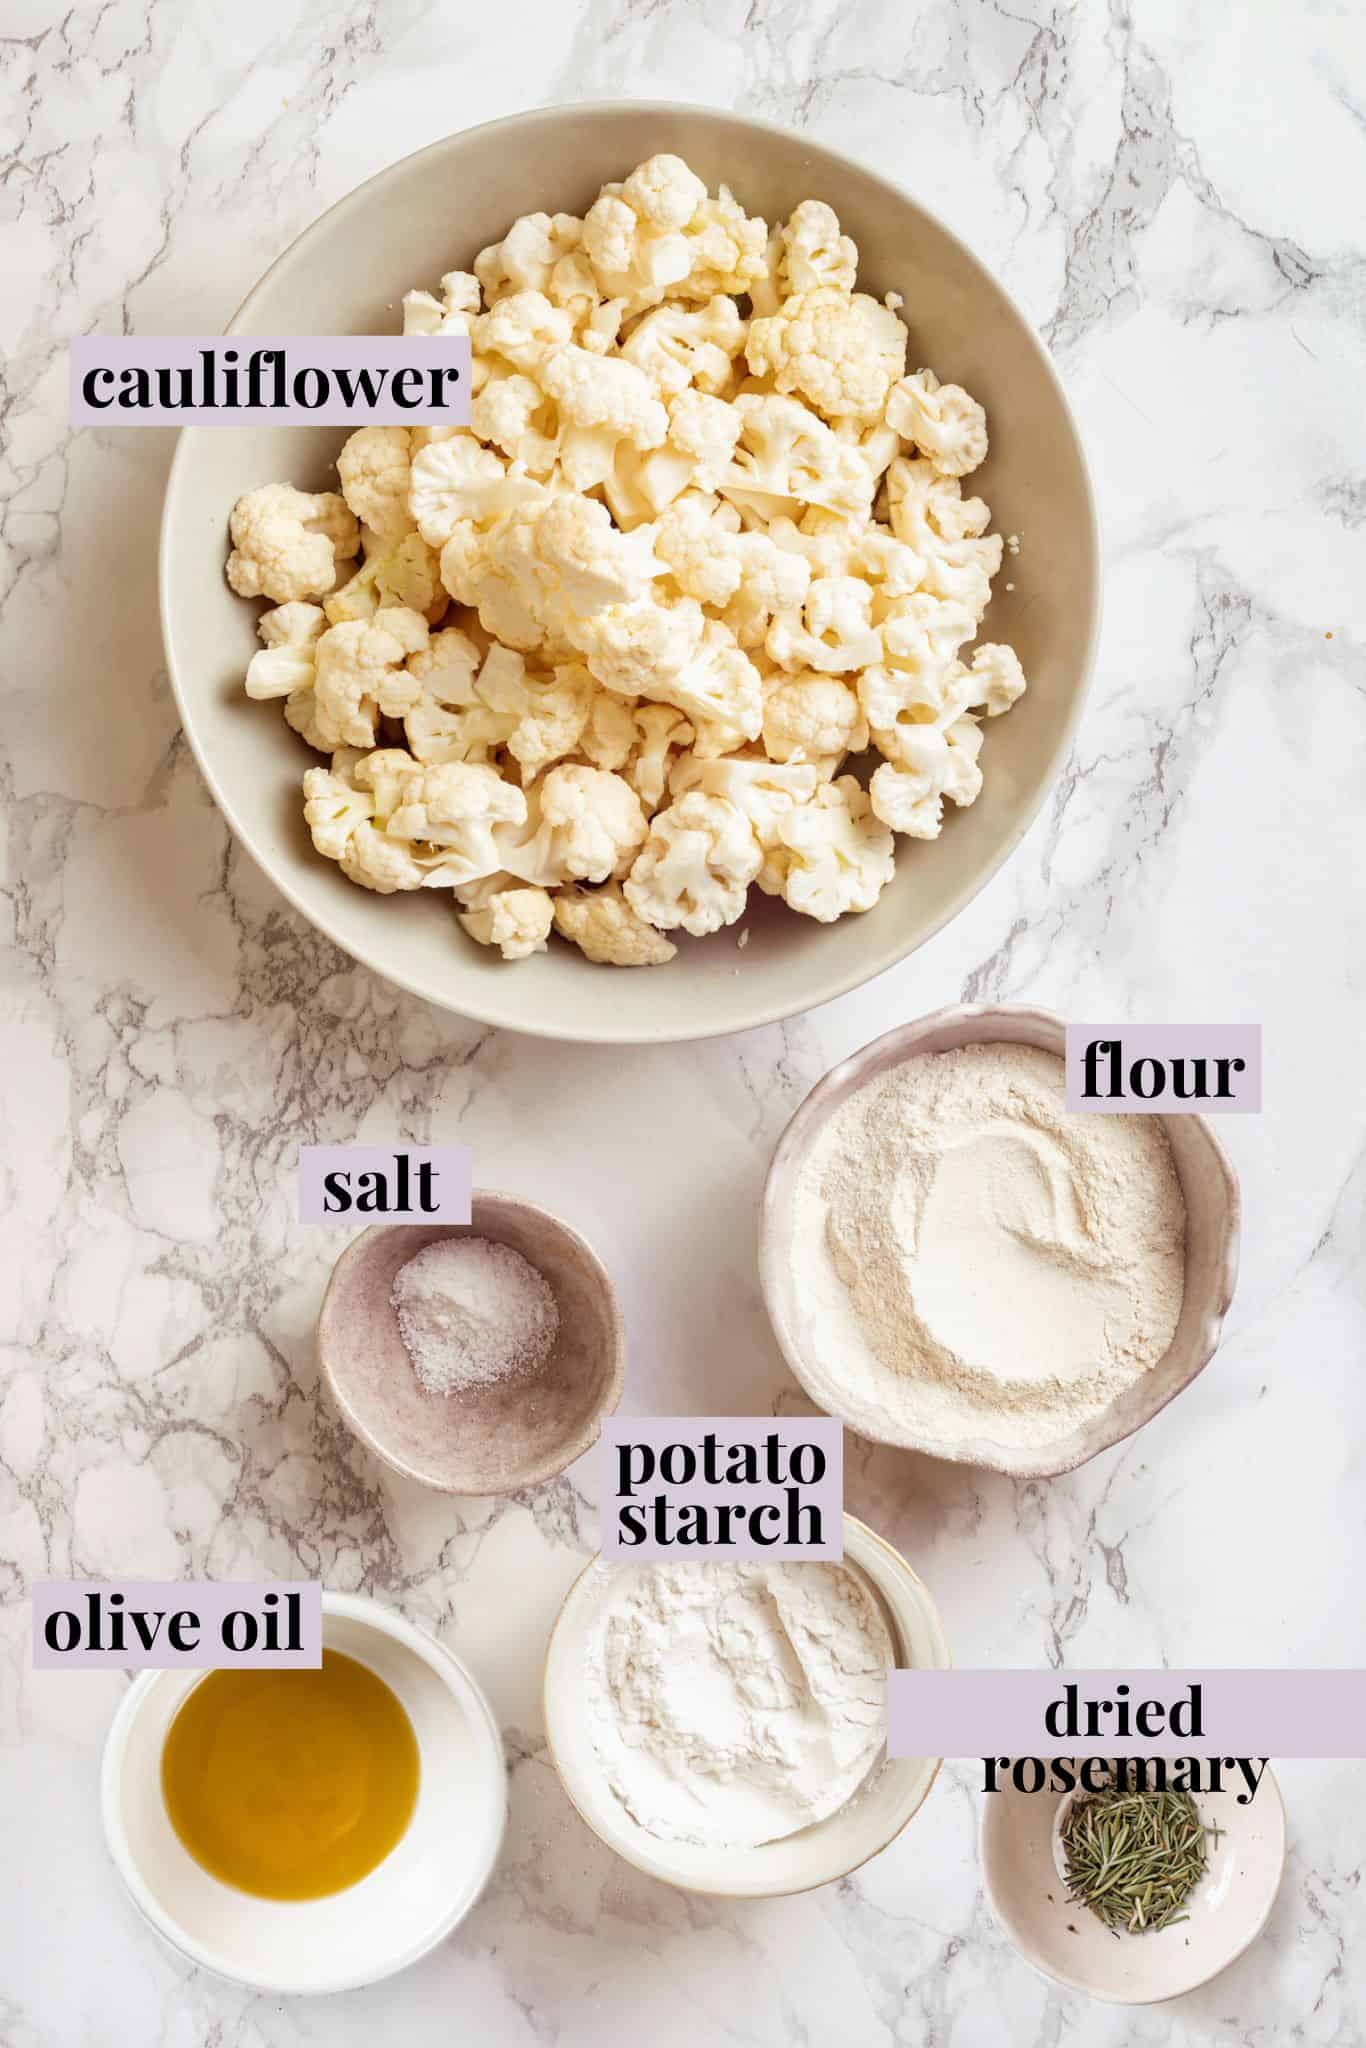
Notes on Ingredients
Scroll down to the recipe card to find the ingredient quantities and recipe instructions.
- Cauliflower – Make sure your cauliflower is the weight specified in the recipe, or your cauliflower gnocchi won’t turn out.
- Olive oil
- All-purpose flour – This helps bind the gnocchi.
- Potato starch – If you can’t find potato starch, you can use potato flakes instead, but you will need to measure them by weight (45 grams) rather than volume.
- Salt
For Frying:
- Olive oil – Or another oil you like to use for cooking. Vegan butter would also work.
- Dried rosemary – You can use fresh rosemary if you’d like.
How to Make Cauliflower Gnocchi
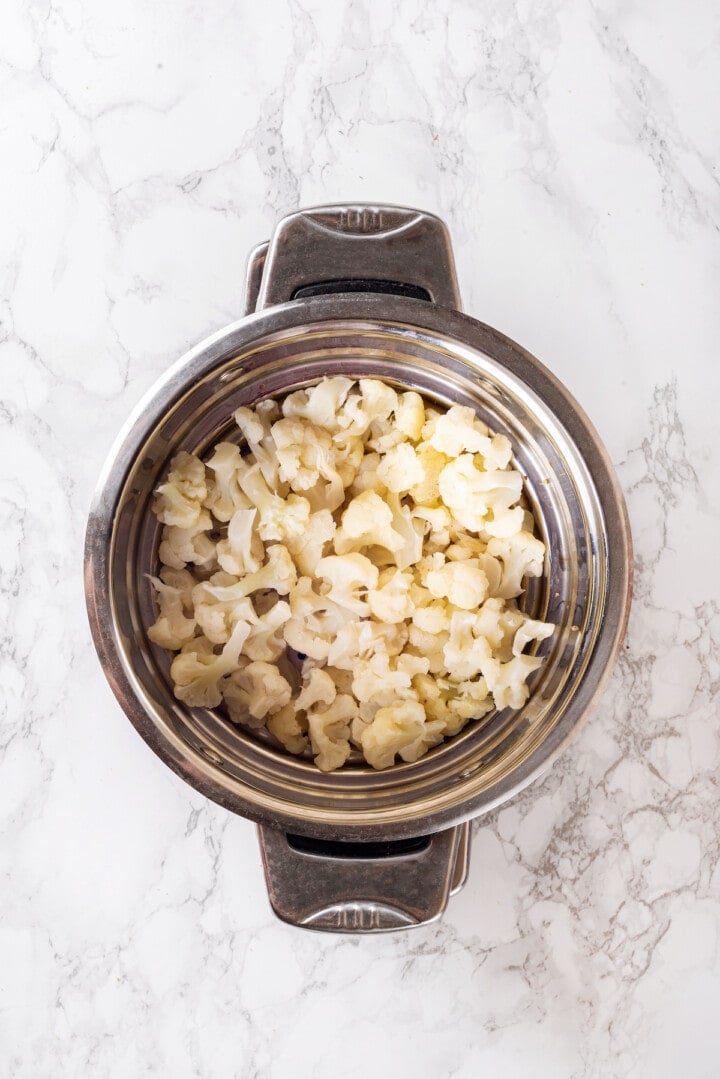
- Prepare the cauliflower . Break the cauliflower into florets and steam it until it’s tender.
- Drain . Transfer the cauliflower to a colander lined with a clean kitchen towel. Wrap the towel around the cauliflower and squeeze out as much moisture as possible.

- Process . Place the cauliflower in your food processor and blend until it’s smooth and paste-like.
- Add the remaining ingredients . Add the flour, starch and salt to the cauliflower and pulse to combine.

- Shape the gnocchi . Transfer the dough to a floured work surface. Divide the dough into 3 logs, about ¾-inch thick, then cut each into ½-inch gnocchi with a knife or dough cutter. Make dents in each gnocchi with a fork, if desired.
- Boil . Bring 2 quarts of salted water to a boil. Reduce the heat to medium and add the gnocchi to the water, stirring to keep them from sticking. After the gnocchi floats up to the surface, cook them for 30 seconds more. Drain them in a colander and let them cool.
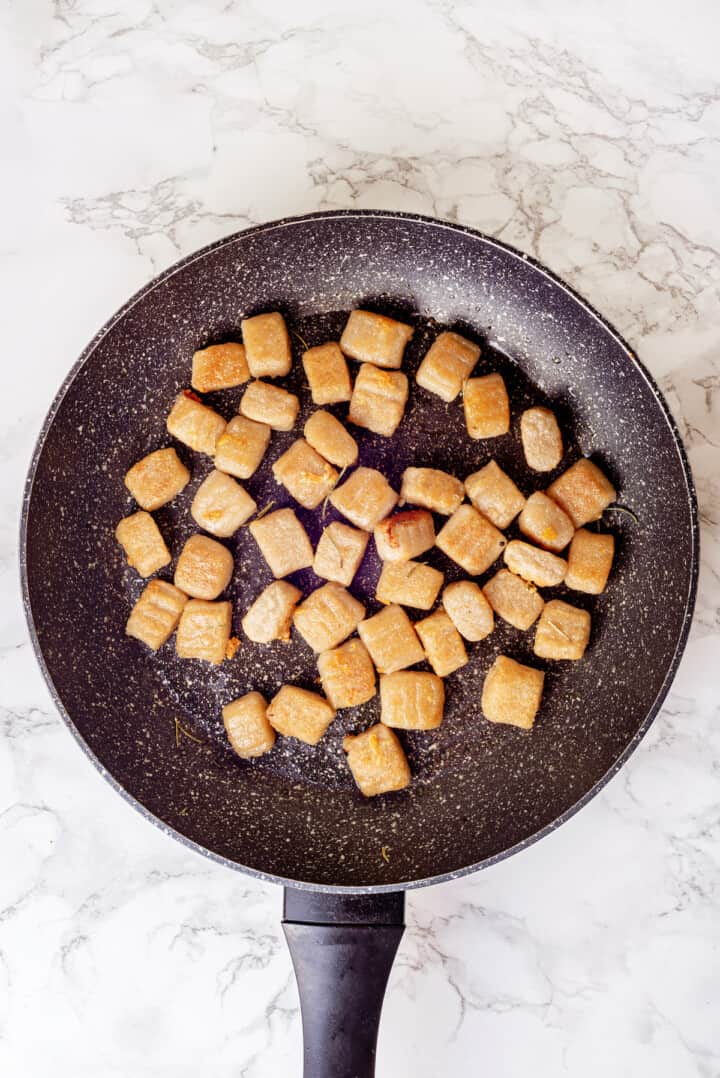
- Fry . Heat the olive oil in a nonstick pan set over medium heat. Add the rosemary and boiled gnocchi and cook until both sides are lightly browned and crisp.
- Finish . Serve with your desired sauce.
Tips for Success
- Adjust the moisture level as needed . Touch the dough with your fingers. If the mixture feels dry and doesn’t stick together, you can add 1-2 tablespoons of water. The dough should not be sticky, but it should hold together and be easy to shape.
- Drain the gnocchi well . If they’re still very wet, the oil will spatter when you add them to the skillet. This makes a mess and it can be painful if the oil hits your hands and arms!
- Measure by weight, if possible . This is a recipe where too much of one ingredient or too little of another can throw everything off. Weighing your ingredients will give you more precision and guarantee perfect results.
Serving Suggestions
I like to serve cauliflower gnocchi with my homemade marinara sauce (pictured here) or basil pesto . Parsley pesto and kale pesto would also be excellent, as would arrabbiata sauce . To round out your meal, add balsamic roasted vegetables or almond-crusted baked eggplant .
How to Store Leftovers
Store leftover cauliflower gnocchi in an airtight container in the refrigerator for 3 to 4 days. You can reheat it in a skillet over medium heat or in the microwave until warmed through.
Can I Freeze This Recipe?
You can freeze cauliflower gnocchi before boiling or after boiling—it’s up to you! It will keep in the freezer for up to 3 months.
To freeze it, I recommend setting the gnocchi on a parchment-lined baking sheet and placing it in the freezer. Once the gnocchi is frozen solid, transfer them to an airtight container or freezer bag.
If you’ve frozen the gnocchi before boiling, you can simply boil the gnocchi directly from frozen and proceed with the rest of the recipe as written.
If you boiled the gnocchi and then froze it, thaw it in the refrigerator or microwave, then fry it as described in the recipe.
More Vegan Cauliflower Recipes
- Cauliflower Mac and Cheese
- Roasted Cauliflower Soup
- Crispy Cauliflower Tacos with Chipotle Crema
- Sticky Sesame Cauliflower Wings
- Bang Bang Cauliflower
Ingredients
- 1 pound cauliflower , 450g
- 3 tablespoons olive oil
- ½ cup all purpose flour , 60g *
- ¼ cup potato starch , 45g
- ⅔ teaspoon salt
For frying:
- 2 tablespoons olive oil
- 1 ½ teaspoons dried rosemary , or 1 tablespoon fresh
Instructions
- Wash and separate cauliflower into small florets. Place in a steamer basket. Pour 2 inches of water into a pot and place the steamer basket with cauliflower on top. Cover and bring to boil on medium heat. Cook on small heat for about 15 minutes, or until the cauliflower is soft.
- Transfer cooked cauliflower to a colander lined with a clean kitchen towel. Wrap the towel tightly and squeeze the moisture from the cauliflower as much as possible.
- Transfer the drained cauliflower to the food processor and blend until no big clumps remain. The consistency will resemble a paste with small crumbs.
- Add flour, starch and salt to the cauliflower paste and pulse a few times until mixed. Try the resulting dough with your fingers. If the mixture is very dry and doesn’t stick together you may add 1-2 tablespoons of water. The dough should not be sticky but will hold together and should be easy to shape.
- Transfer the dough to the working surface sprinkled with flour. Shape into 3 logs, about ¾ inch thick, cut into ½ inch gnocchi with a knife or dough cutter.
- Make dents in every gnocchi with a fork. This step is optional; traditionally it’s made to help the sauce stick better.
- Bring a 3 quarts pot filled with 2 quarts water to boil, add 1 teaspoon salt and turn the heat to medium.
- Carefully add gnocchi to the boiling water, stir once with a wooden spoon to make sure they don’t stick to the bottom. After the gnocchi floats up to the surface, cook for 30 seconds more. Then transfer to the colander and let cool.
- In a nonstick pan, heat 2 tablespoons of olive oil over medium heat. Add rosemary sprigs and cooked gnocchi. Fry on medium heat for 5 minutes, stirring once halfway through.
- Serve with marinara sauce.
Notes
- You can use the same amount of cassava flour for the gluten free version, but the gnocchi will be a bit harder and chewier. To make them softer, replace 2 tablespoons of cassava flour with almond flour.
- To store : Store leftover cauliflower gnocchi in an airtight container in the refrigerator for 3 to 4 days. You can reheat it in a skillet over medium heat or in the microwave until warmed through.
- To freeze : You can freeze cauliflower gnocchi before boiling or after boiling—it’s up to you! It will keep in the freezer for up to 3 months. To freeze it, I recommend setting the gnocchi on a parchment-lined baking sheet and placing it in the freezer. Once the gnocchi is frozen solid, transfer them to an airtight container or freezer bag. If you’ve frozen the gnocchi before boiling, you can simply boil the gnocchi directly from frozen and proceed with the rest of the recipe as written. If you boiled the gnocchi and then froze it, thaw it in the refrigerator or microwave, then fry it as described in the recipe.
