This vegan almond flour pizza crust is ready in 30 minutes and bakes up perfectly crispy and golden! It’s yeast -free with only 8 ingredients. Use it as a base for all your favorite gluten-free and vegan pizza recipes!

I’m a little obsessed with homemade pizza . I love making the dough from scratch and I’ll never pass up the chance to make it deep-dish in my cast iron skillet ! This almond flour pizza crust has been my absolute favourite lately. It’s thin and crispy, the perfect base for a New York-style pizza, with only a fraction of the carbs. I’ve made this easy vegan pizza crust so many times, it’s become a tradition on pizza night. It’s so easy to make and it always turns out great smothered with sauce and loaded up with toppings.
(I love this thin and crispy pizza crust made with almond flour. For another easy pizza base, check out my vegan pizza dough recipe!)
Why This Vegan Pizza Crust Is a Must-Make
Here are all the reasons you’re going to love this vegan, gluten-free pizza crust!
- It ticks all the boxes. This almond flour pizza crust is vegan, gluten-free, yeast-free AND low-carb. I wanted a vegan pizza crust that would cover all the bases, and this recipe delivers. It’s still delicious and crispy, the perfect way to satisfy a pizza craving.
- Only 8 ingredients. I also wanted to keep things simple without any weird add-ins or ingredients. You need just a handful of pantry ingredients to make this pizza and a bag of your favorite almond flour.
- Perfect crust texture. This almond flour pizza has the crispy edges that I love in a pizza crust and holds the toppings beautifully. No flopping around here.
- Quick. From start to finish this crust takes under 30 minutes.
Notes on Ingredients
After countless requests for a gluten-free pizza crust, here it is! These are some quick notes on what you’ll need to make it. Scroll to the recipe card for a printable ingredients list with the full recipe details.
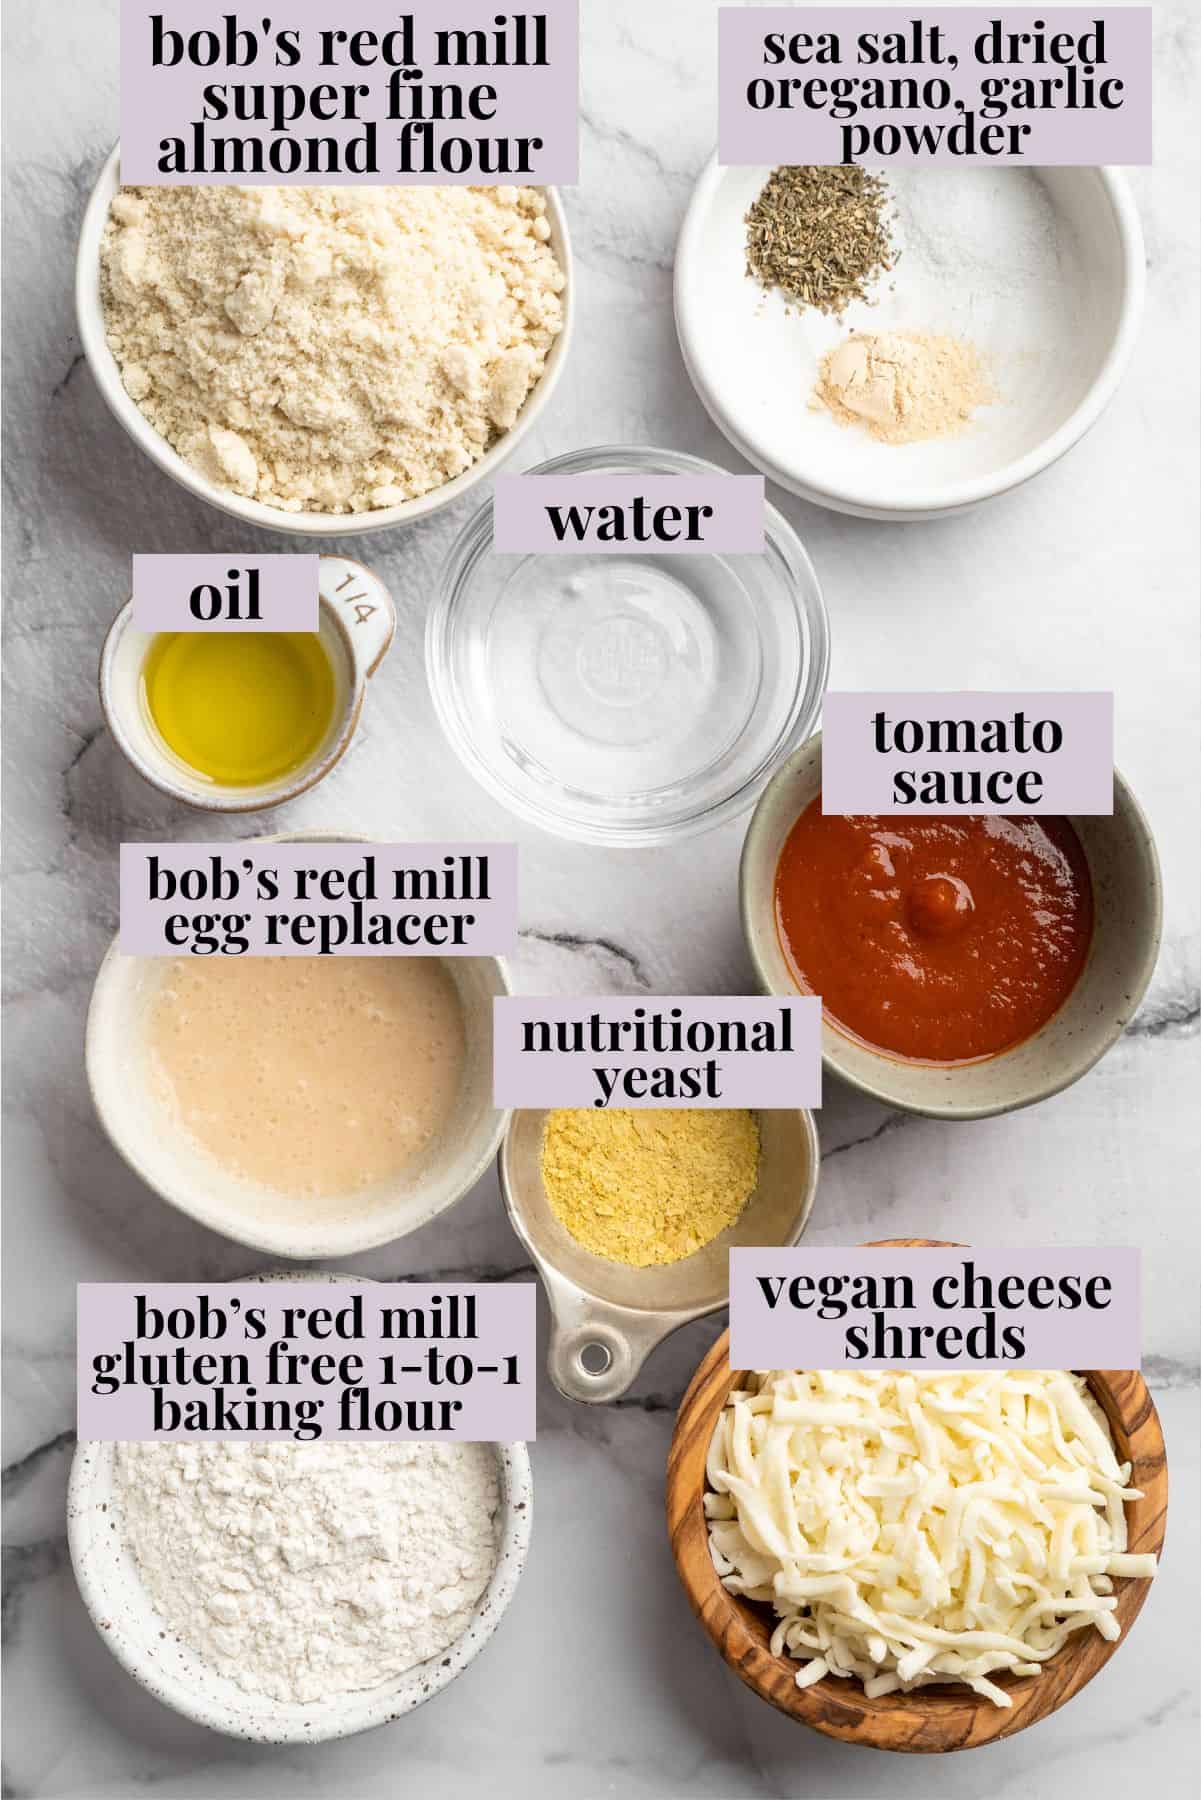
- Almond Flour – Almond flour is not actually milled flour, but rather almonds ground up into a fine powder. I’ve been using Bob’s Red Mill’s Super Fine Almond Flour in EVERYTHING, including this almond flour pizza crust.
- All-Purpose Flour – I wanted this crust to have the crisp, chewy texture of a traditional pizza crust, so I balanced the almond flour with gluten-free all-purpose baking flour . You could also use a gluten-free 1:1 baking flour .
- Egg Replacer – I use Bob’s Red Mill Egg Replacer, but you can also make this crust with a flax egg . I include how to mix both in the recipe card!
- Seasonings – A little sea salt, dried oregano, and garlic powder boost the flavors.
- Nutritional Yeast – Nutritional yeast also helps enhance the flavor in the crust.
- Oil – Olive oil, avocado oil, or another mild-flavored oil.
How to Make an Almond Flour Pizza Crust
This crust is SO easy to make and I’m always blown away by how amazing it bakes up afterward. Follow these short steps:
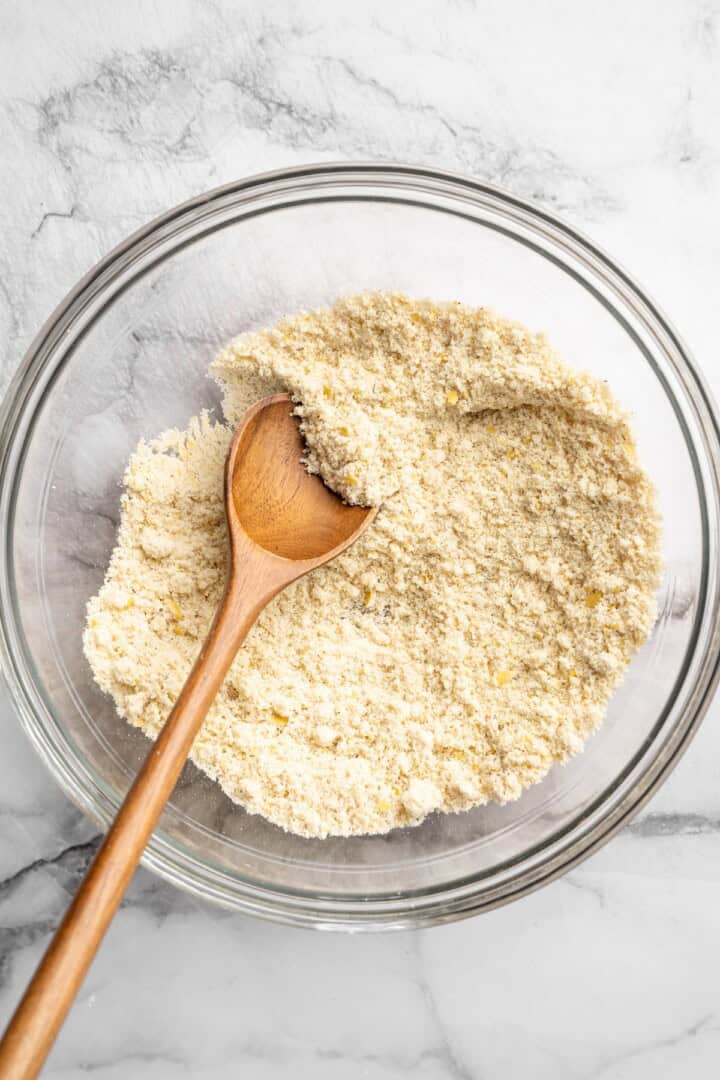
Mix the dry ingredients.
- Combine the dry ingredients. First, mix your flour with the other dry ingredients. I wanted to zhush up my crust so I added a few Italian seasonings, nutritional yeast, and garlic powder.
- Add the wet ingredients. Next, add in the flax egg, water, and oil. Stir to combine and roll into a disk.
- Bake! Bake it off, add your ingredients, then bake again! That’s it, and your beautiful pizza is done!
Turn This Almond Crust Into a Pizza!
With your almond flour pizza crust ready to go, you can make any kind of pizza you’d like. To make a simple vegan cheese pizza like the one pictured, here’s what to do:
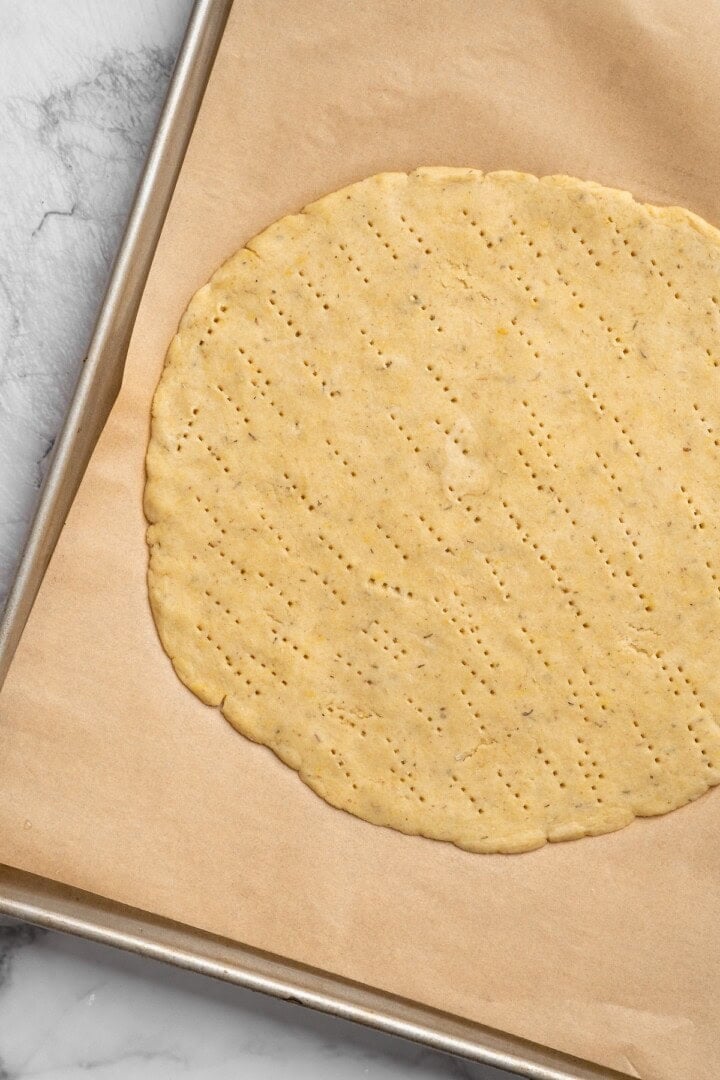
Roll out the crust and prick.
- Par-bake the almond flour crust. Prick the top of the pizza crust and bake at 450ºF for 7-8 minutes.
- Add toppings. Spread the crust with tomato sauce and sprinkle over shredded cheese and chopped kale.
- Bake. Return the finished pizza to the oven and bake for 8-10 minutes. If you’d like, switch the broiler on in the last couple of minutes to get the cheese nice and bubbly.

More Topping Ideas
If you’re looking for some topping inspiration, these are some of my favorite vegan pizza ideas:
- Vegan Spicy BBQ Chickpea Pizza
- Vegan Breakfast Pizza
- Grilled Peach, Basil, and Vegan “Goat” Cheese Pizza
- Kale Pesto Pizza
- Sweet Potato and Kale Pizza
How to Store Leftovers
- Refrigerator : Store the baked almond flour pizza airtight in the fridge. Storage times will depend on the toppings you use, but most pizzas last in the fridge for 2-3 days.
- Freezer: I highly recommend freezing the dough ball before baking. Thaw it in the fridge overnight when you need it, and bake it before making and adding the toppings!
- To reheat: Warm your pizza slices in the microwave or the oven.

More Vegan Pizza Recipes
- Vegan Naan Pizza
- Birria Pizza
- Cauliflower Pizza Bites
Ingredients
Pizza Crust
- 1 cup Bob’s Red Mill Super Fine Almond Flour , 112 g
- ¼ cup Bob’s Red Mill Gluten Free 1-to-1 Baking Flour , 34 g
- 1 Bob’s Red Mill Egg Replacer , or 1 flax egg*, see notes
- ½ teaspoon sea salt , 3 g
- ½ teaspoon dried oregano , 0.5 g
- ½ teaspoon garlic powder , 1.5 g
- 1 tablespoon nutritional yeast , 5 g
- Additional 2 tablespoons water , there are two in the Egg Replacer, 30 g
- 2 tablespoons oil , 27 g
Pizza Toppings (Optional and Up to You)
- ⅓ cup tomato sauce , 80 g
- 1 cup vegan cheese shreds , or homemade vegan mozzarella, 200 g
Instructions
- Preheat oven to 450ºF/230ºC.
- In a bowl, mix the Bob’s Red Mill Almond Flour, Bob’s Red Mill all purpose flour, flax meal (or egg replacer), sea salt, dried oregano, garlic powder and nutritional yeast. Add in the water and oil and stir to combine until a dough is formed. Knead for about two minutes then turn out into a bowl into a baking sheet lined with a silicone mat or a greased parchment paper.
- Press out the ball into a round crust shape about 10 inches diameter, even all around. Prick with a fork so it doesn’t rise during the first bake. Bake the crust for 7-8 minutes in the oven. Remove and let cool slightly.
- Top the pizza with your favourite toppings. I like a simple crispy kale pizza with the above pizza toppings. Add the tomato sauce, then the cheese, then the chopped kale. They can overlap the edges of the crust if you’d like, or you can leave it bare for a solid crust edge.
- Place in the oven and bake for 8-10 minutes, watching after 8 minutes to see that the crust doesn’t burn or only browns slightly. You can broil for a minute so the cheese is bubbly.
- Remove, slice into 8 slices, let cool slightly, and enjoy!
Notes
- The Bob’s Red Mill Egg Replacer works perfectly to bind this crust. Make it with 1 tablespoon Egg replacer powder and 2 tablespoons water according to the directions on the package.
- If you don’t have an egg replacer , swap this for a flax egg instead. A flax egg is 1 tablespoon flax meal, 3 tablespoons water, mixed and set up in the fridge for 15 minutes. When you’re using a flax egg, lower the additional 2 tablespoons of water to 1 tablespoon to balance it out. I have tested both and the egg replacer comes out on top each time.
- The calories are for the pizza crust alone since we may likely use different vegan cheeses and toppings.
- I also used Bob’s Red Mill for my nutritional yeast .
This vegan almond flour pizza crust is ready in 30 minutes and bakes up perfectly crispy and golden! It’s yeast -free with only 8 ingredients. Use it as a base for all your favorite gluten-free and vegan pizza recipes!
I’m a little obsessed with homemade pizza . I love making the dough from scratch and I’ll never pass up the chance to make it deep-dish in my cast iron skillet ! This almond flour pizza crust has been my absolute favourite lately. It’s thin and crispy, the perfect base for a New York-style pizza, with only a fraction of the carbs. I’ve made this easy vegan pizza crust so many times, it’s become a tradition on pizza night. It’s so easy to make and it always turns out great smothered with sauce and loaded up with toppings.
(I love this thin and crispy pizza crust made with almond flour. For another easy pizza base, check out my vegan pizza dough recipe!)
Why This Vegan Pizza Crust Is a Must-Make
Here are all the reasons you’re going to love this vegan, gluten-free pizza crust!
- It ticks all the boxes. This almond flour pizza crust is vegan, gluten-free, yeast-free AND low-carb. I wanted a vegan pizza crust that would cover all the bases, and this recipe delivers. It’s still delicious and crispy, the perfect way to satisfy a pizza craving.
- Only 8 ingredients. I also wanted to keep things simple without any weird add-ins or ingredients. You need just a handful of pantry ingredients to make this pizza and a bag of your favorite almond flour.
- Perfect crust texture. This almond flour pizza has the crispy edges that I love in a pizza crust and holds the toppings beautifully. No flopping around here.
- Quick. From start to finish this crust takes under 30 minutes.
Notes on Ingredients
After countless requests for a gluten-free pizza crust, here it is! These are some quick notes on what you’ll need to make it. Scroll to the recipe card for a printable ingredients list with the full recipe details.
- Almond Flour – Almond flour is not actually milled flour, but rather almonds ground up into a fine powder. I’ve been using Bob’s Red Mill’s Super Fine Almond Flour in EVERYTHING, including this almond flour pizza crust.
- All-Purpose Flour – I wanted this crust to have the crisp, chewy texture of a traditional pizza crust, so I balanced the almond flour with gluten-free all-purpose baking flour . You could also use a gluten-free 1:1 baking flour .
- Egg Replacer – I use Bob’s Red Mill Egg Replacer, but you can also make this crust with a flax egg . I include how to mix both in the recipe card!
- Seasonings – A little sea salt, dried oregano, and garlic powder boost the flavors.
- Nutritional Yeast – Nutritional yeast also helps enhance the flavor in the crust.
- Oil – Olive oil, avocado oil, or another mild-flavored oil.
How to Make an Almond Flour Pizza Crust
This crust is SO easy to make and I’m always blown away by how amazing it bakes up afterward. Follow these short steps:
Mix the dry ingredients.
- Combine the dry ingredients. First, mix your flour with the other dry ingredients. I wanted to zhush up my crust so I added a few Italian seasonings, nutritional yeast, and garlic powder.
- Add the wet ingredients. Next, add in the flax egg, water, and oil. Stir to combine and roll into a disk.
- Bake! Bake it off, add your ingredients, then bake again! That’s it, and your beautiful pizza is done!
Turn This Almond Crust Into a Pizza!
With your almond flour pizza crust ready to go, you can make any kind of pizza you’d like. To make a simple vegan cheese pizza like the one pictured, here’s what to do:
Roll out the crust and prick.
- Par-bake the almond flour crust. Prick the top of the pizza crust and bake at 450ºF for 7-8 minutes.
- Add toppings. Spread the crust with tomato sauce and sprinkle over shredded cheese and chopped kale.
- Bake. Return the finished pizza to the oven and bake for 8-10 minutes. If you’d like, switch the broiler on in the last couple of minutes to get the cheese nice and bubbly.
More Topping Ideas
If you’re looking for some topping inspiration, these are some of my favorite vegan pizza ideas:
- Vegan Spicy BBQ Chickpea Pizza
- Vegan Breakfast Pizza
- Grilled Peach, Basil, and Vegan “Goat” Cheese Pizza
- Kale Pesto Pizza
- Sweet Potato and Kale Pizza
How to Store Leftovers
- Refrigerator : Store the baked almond flour pizza airtight in the fridge. Storage times will depend on the toppings you use, but most pizzas last in the fridge for 2-3 days.
- Freezer: I highly recommend freezing the dough ball before baking. Thaw it in the fridge overnight when you need it, and bake it before making and adding the toppings!
- To reheat: Warm your pizza slices in the microwave or the oven.
More Vegan Pizza Recipes
- Vegan Naan Pizza
- Birria Pizza
- Cauliflower Pizza Bites
Ingredients
Pizza Crust
- 1 cup Bob’s Red Mill Super Fine Almond Flour , 112 g
- ¼ cup Bob’s Red Mill Gluten Free 1-to-1 Baking Flour , 34 g
- 1 Bob’s Red Mill Egg Replacer , or 1 flax egg*, see notes
- ½ teaspoon sea salt , 3 g
- ½ teaspoon dried oregano , 0.5 g
- ½ teaspoon garlic powder , 1.5 g
- 1 tablespoon nutritional yeast , 5 g
- Additional 2 tablespoons water , there are two in the Egg Replacer, 30 g
- 2 tablespoons oil , 27 g
Pizza Toppings (Optional and Up to You)
- ⅓ cup tomato sauce , 80 g
- 1 cup vegan cheese shreds , or homemade vegan mozzarella, 200 g
Instructions
- Preheat oven to 450ºF/230ºC.
- In a bowl, mix the Bob’s Red Mill Almond Flour, Bob’s Red Mill all purpose flour, flax meal (or egg replacer), sea salt, dried oregano, garlic powder and nutritional yeast. Add in the water and oil and stir to combine until a dough is formed. Knead for about two minutes then turn out into a bowl into a baking sheet lined with a silicone mat or a greased parchment paper.
- Press out the ball into a round crust shape about 10 inches diameter, even all around. Prick with a fork so it doesn’t rise during the first bake. Bake the crust for 7-8 minutes in the oven. Remove and let cool slightly.
- Top the pizza with your favourite toppings. I like a simple crispy kale pizza with the above pizza toppings. Add the tomato sauce, then the cheese, then the chopped kale. They can overlap the edges of the crust if you’d like, or you can leave it bare for a solid crust edge.
- Place in the oven and bake for 8-10 minutes, watching after 8 minutes to see that the crust doesn’t burn or only browns slightly. You can broil for a minute so the cheese is bubbly.
- Remove, slice into 8 slices, let cool slightly, and enjoy!
Notes
- The Bob’s Red Mill Egg Replacer works perfectly to bind this crust. Make it with 1 tablespoon Egg replacer powder and 2 tablespoons water according to the directions on the package.
- If you don’t have an egg replacer , swap this for a flax egg instead. A flax egg is 1 tablespoon flax meal, 3 tablespoons water, mixed and set up in the fridge for 15 minutes. When you’re using a flax egg, lower the additional 2 tablespoons of water to 1 tablespoon to balance it out. I have tested both and the egg replacer comes out on top each time.
- The calories are for the pizza crust alone since we may likely use different vegan cheeses and toppings.
- I also used Bob’s Red Mill for my nutritional yeast .

Almond Flour Pizza Crust
Ingredients
Pizza Crust
- 1 cup Bob’s Red Mill Super Fine Almond Flour 112 g
- ¼ cup Bob’s Red Mill Gluten Free 1-to-1 Baking Flour 34 g
- 1 Bob’s Red Mill Egg Replacer or 1 flax egg*, see notes
- ½ teaspoon sea salt 3 g
- ½ teaspoon dried oregano 0.5 g
- ½ teaspoon garlic powder 1.5 g
- 1 tablespoon nutritional yeast 5 g
- Additional 2 tablespoons water there are two in the Egg Replacer, 30 g
- 2 tablespoons oil 27 g
Pizza Toppings (Optional and Up to You)
- ⅓ cup tomato sauce 80 g
- 1 cup vegan cheese shreds or homemade vegan mozzarella, 200 g
Instructions
- Preheat oven to 450ºF/230ºC.
- In a bowl, mix the Bob’s Red Mill Almond Flour, Bob’s Red Mill all purpose flour, flax meal (or egg replacer), sea salt, dried oregano, garlic powder and nutritional yeast. Add in the water and oil and stir to combine until a dough is formed. Knead for about two minutes then turn out into a bowl into a baking sheet lined with a silicone mat or a greased parchment paper.
- Press out the ball into a round crust shape about 10 inches diameter, even all around. Prick with a fork so it doesn’t rise during the first bake. Bake the crust for 7-8 minutes in the oven. Remove and let cool slightly.
- Top the pizza with your favourite toppings. I like a simple crispy kale pizza with the above pizza toppings. Add the tomato sauce, then the cheese, then the chopped kale. They can overlap the edges of the crust if you’d like, or you can leave it bare for a solid crust edge.
- Place in the oven and bake for 8-10 minutes, watching after 8 minutes to see that the crust doesn’t burn or only browns slightly. You can broil for a minute so the cheese is bubbly.
- Remove, slice into 8 slices, let cool slightly, and enjoy!
Notes
- The Bob’s Red Mill Egg Replacer works perfectly to bind this crust. Make it with 1 tablespoon Egg replacer powder and 2 tablespoons water according to the directions on the package.
- If you don’t have an egg replacer , swap this for a flax egg instead. A flax egg is 1 tablespoon flax meal, 3 tablespoons water, mixed and set up in the fridge for 15 minutes. When you’re using a flax egg, lower the additional 2 tablespoons of water to 1 tablespoon to balance it out. I have tested both and the egg replacer comes out on top each time.
- The calories are for the pizza crust alone since we may likely use different vegan cheeses and toppings.
- I also used Bob’s Red Mill for my nutritional yeast .
Nutrition
Almond Flour Pizza Crust https://jessicainthekitchen.com/easy-vegan-almond-flour-pizza-crust-gluten-free/ March 14, 2025
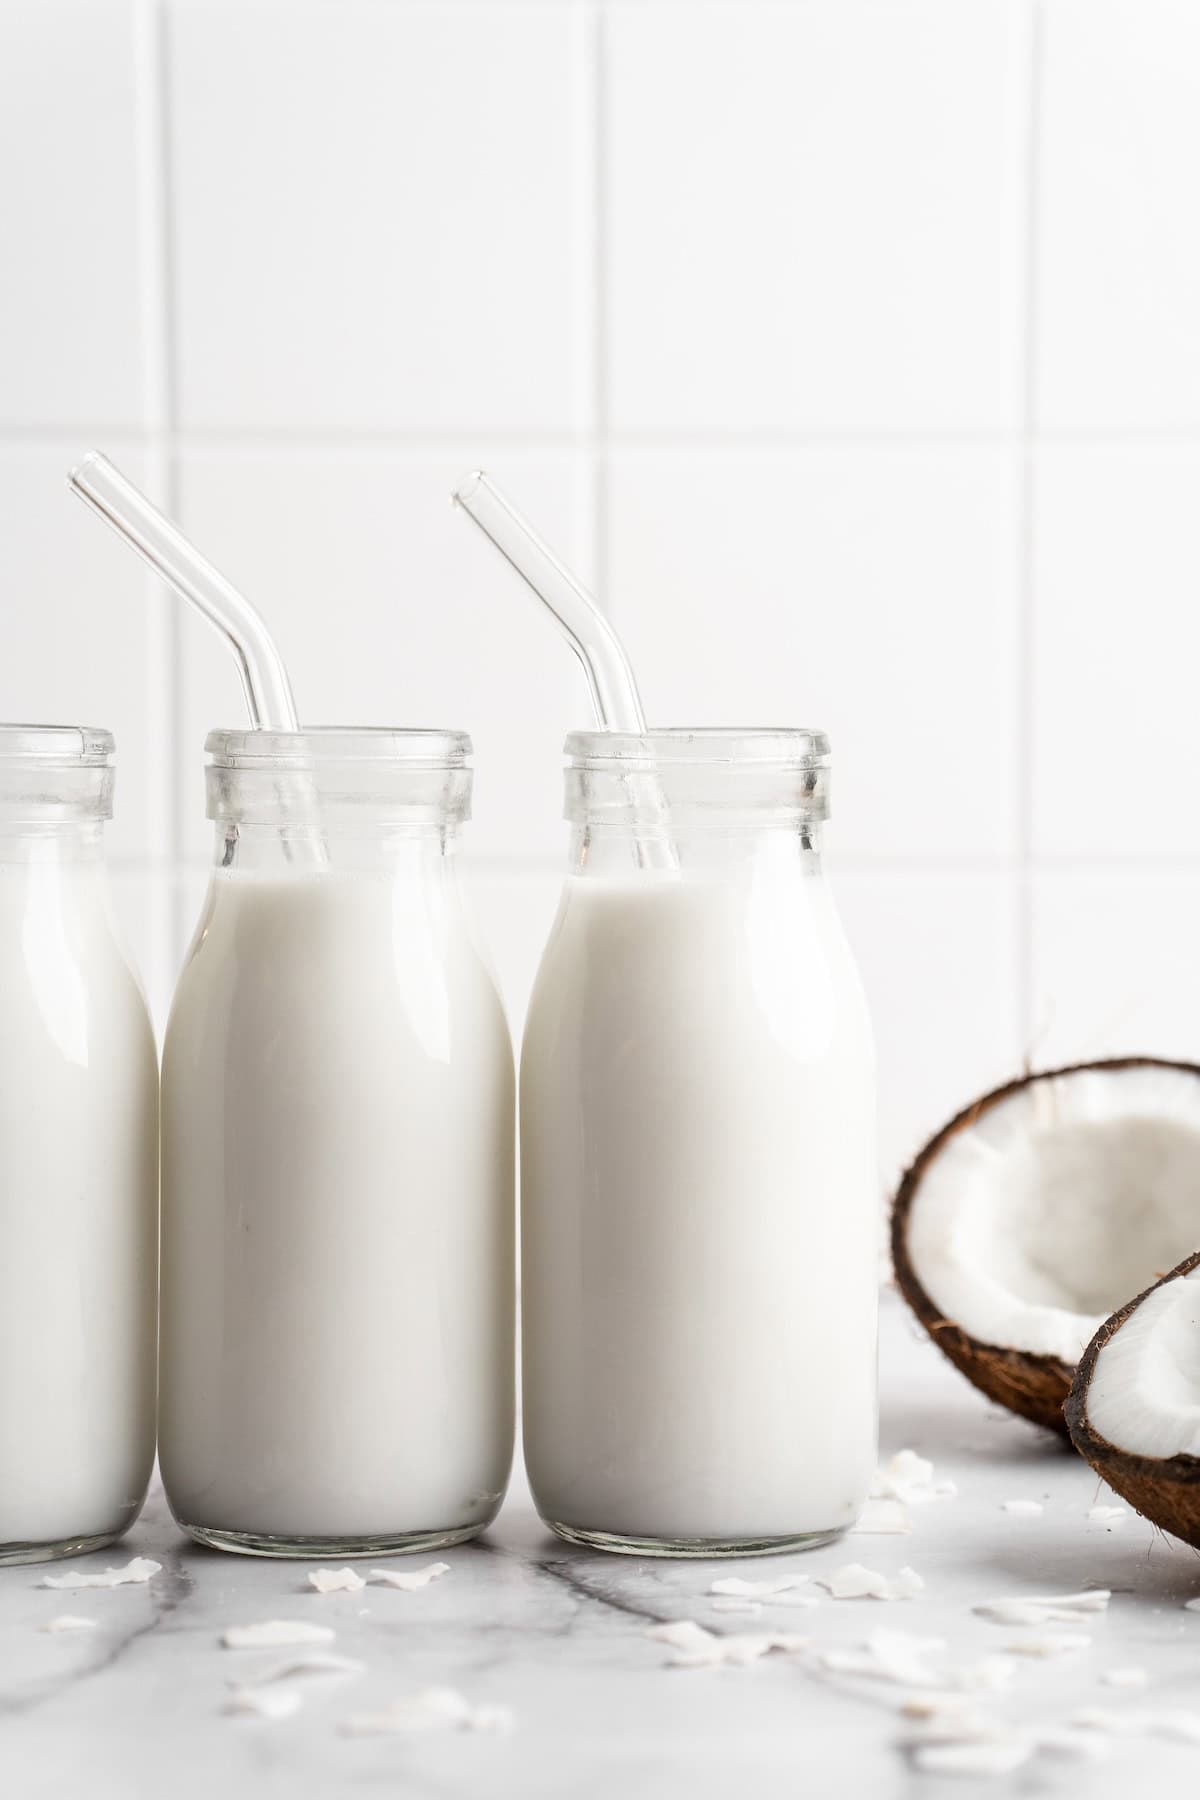
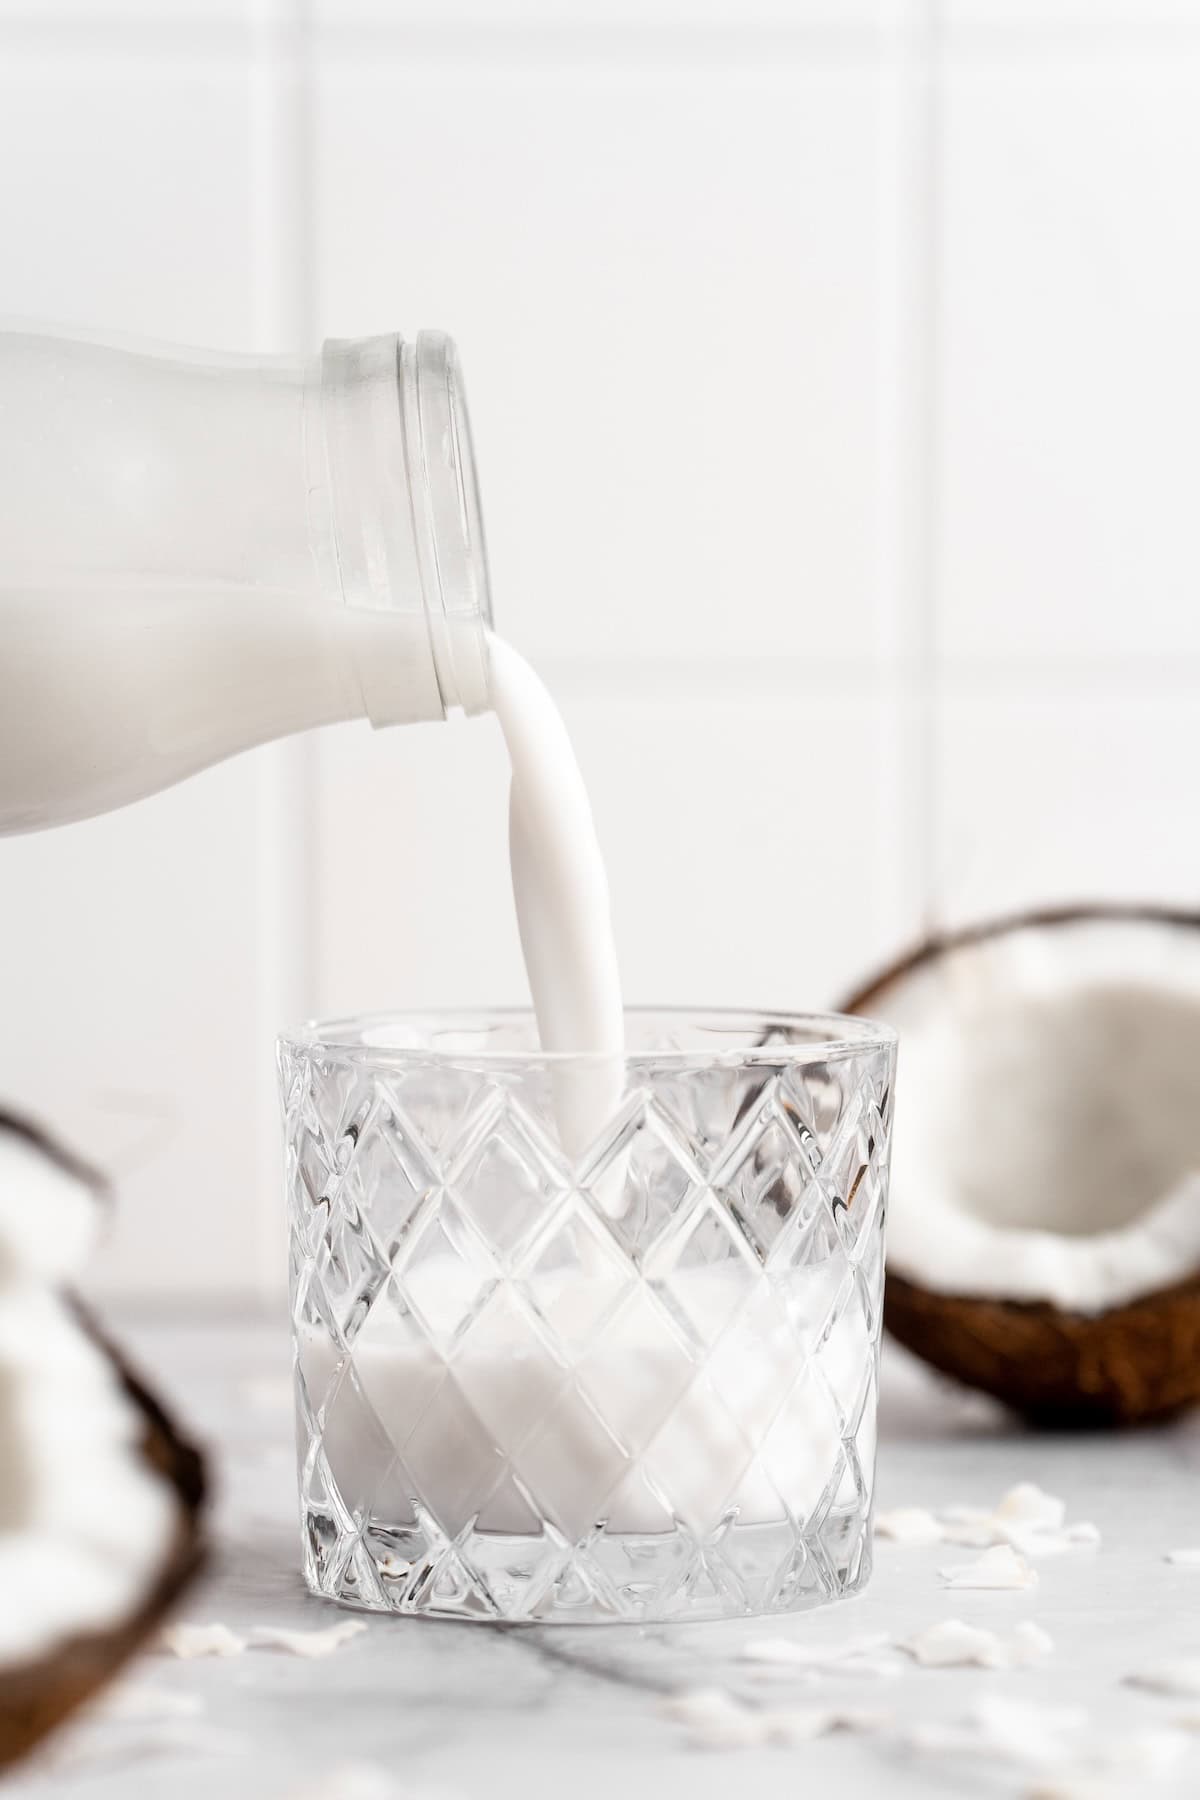
Instead of buying coconut milk, you can make it at home! This homemade coconut milk recipe is easy and delicious, and you only need two ingredients to make it. (Spoiler: One of them is water!)
Do you ever watch those influencers on TikTok who seem to make everything from scratch? Okay, I may have fallen down that rabbit hole personally (as evidenced by my posts on How to Make Sprinkles and How to Make Almond Milk ), but there really is something so satisfying about making the kitchen staples you usually buy. And in that spirit, I’m sharing this creamy, incredibly tasty homemade coconut milk recipe! Yep, you can make coconut milk at home—and no, you don’t need to crack open a bunch of coconuts to do it. (Although I have made coconut milk from coconuts and it is so satisfying and delicious!)
Why It’s Worth It to Make Your Own Coconut Milk
Here’s why it’s time to put homemade coconut milk on your to-do list!
- As creamy as you like it . Full-fat coconut milk straight from the can is fab for recipes, but it’s not exactly something you’d sip on or pour in your cereal because it’s so rich. But lite coconut milk often has the opposite problem—it’s thin and watery. I love that with this homemade coconut milk, I can nail that perfect consistency for a coconut milk we use in practically everything!
- So simple to make . Seriously, you only need two ingredients to make this homemade coconut milk, and one of them is water! And the process itself is a breeze.
- No additives or preservatives . When you make your own coconut milk, you know exactly what’s going into it! Store-bought versions may contain additives or preservatives that can affect the taste and nutrition.

Notes on Ingredients
Here’s what you’ll need to make your own coconut milk. Scroll down to the recipe card to find the ingredient quantities and recipe instructions.
- Unsweetened coconut flakes – A lot of coconut flakes are sugary sweet, so it’s important to check the label and make sure the ones you’re buying are unsweetened.
- Water – This should be room temperature. Adjust the amount to get your desired consistency.
- Vanilla extract – Optional, if you plan on drinking your homemade coconut milk, using it for cereal, etc.
- Sweetener – Another optional add in! You can blend in a date, or add agave syrup.
How to Make Coconut Milk
The full instructions for this coconut milk recipe are at the bottom of the post, but here’s a visual overview so you can see what the process looks like.
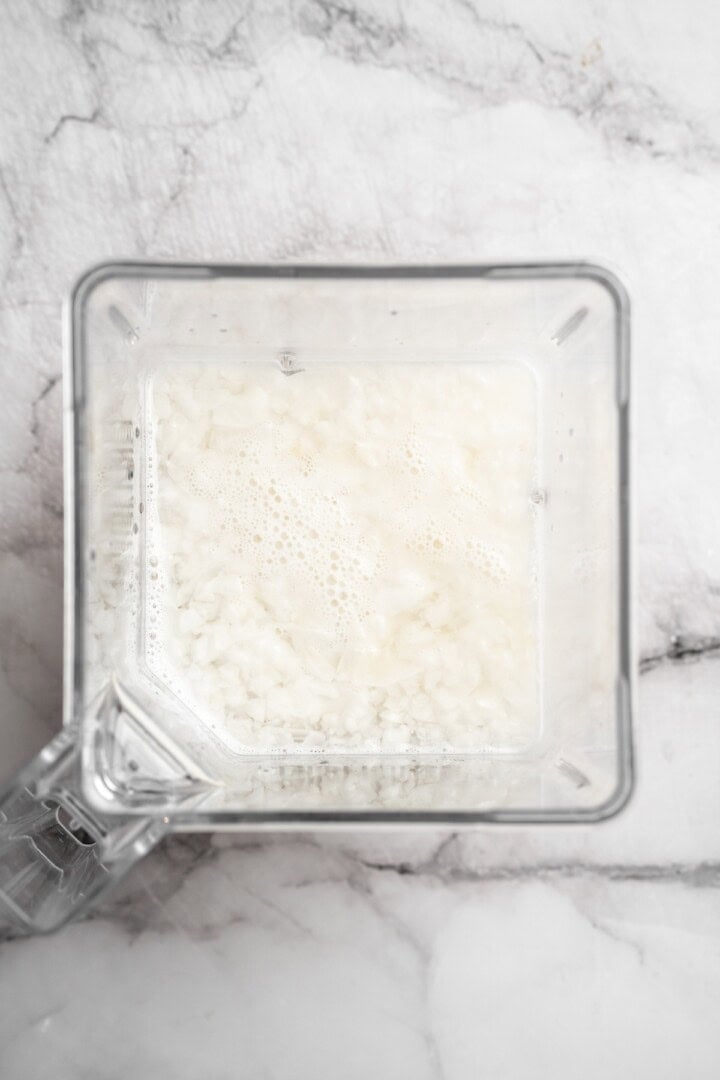
Combine the water and coconut flakes.
- Blend . Combine the coconut and water in a blender and blend until the mixture is creamy and smooth. (If you want to sweeten the milk with a date, you can add this to the blender too.)
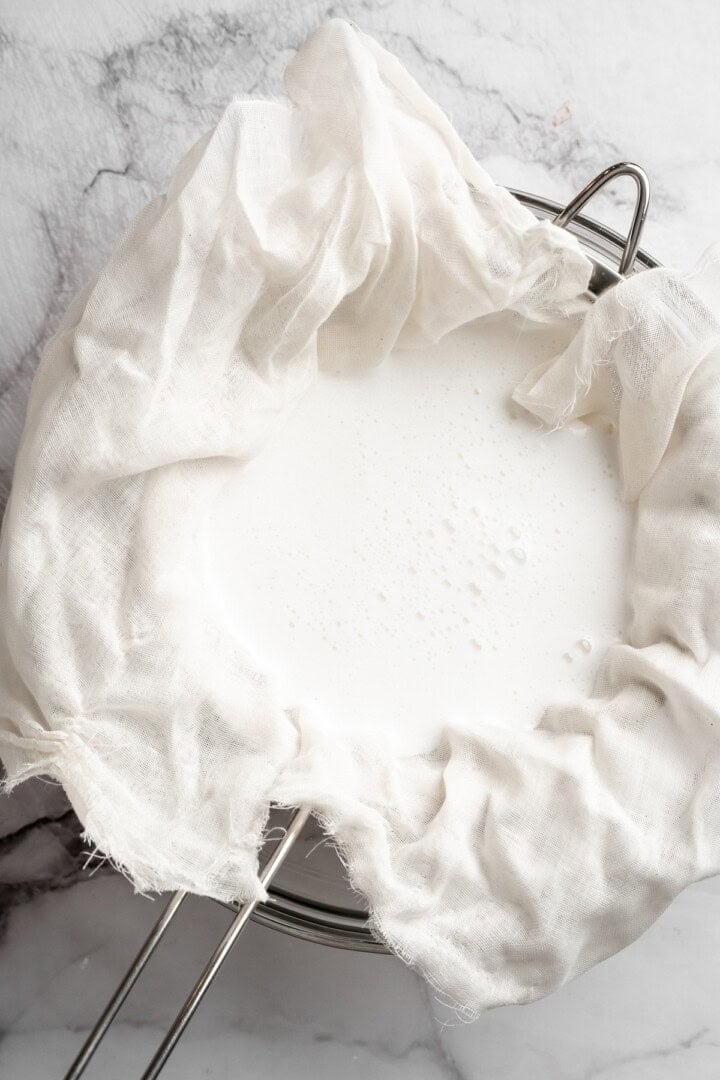
Strain.
- Strain . Pour the coconut milk through a cheesecloth, nut milk bag, or fine mesh strainer.
- Flavour it . Add the vanilla or agave syrup if you’re using it.
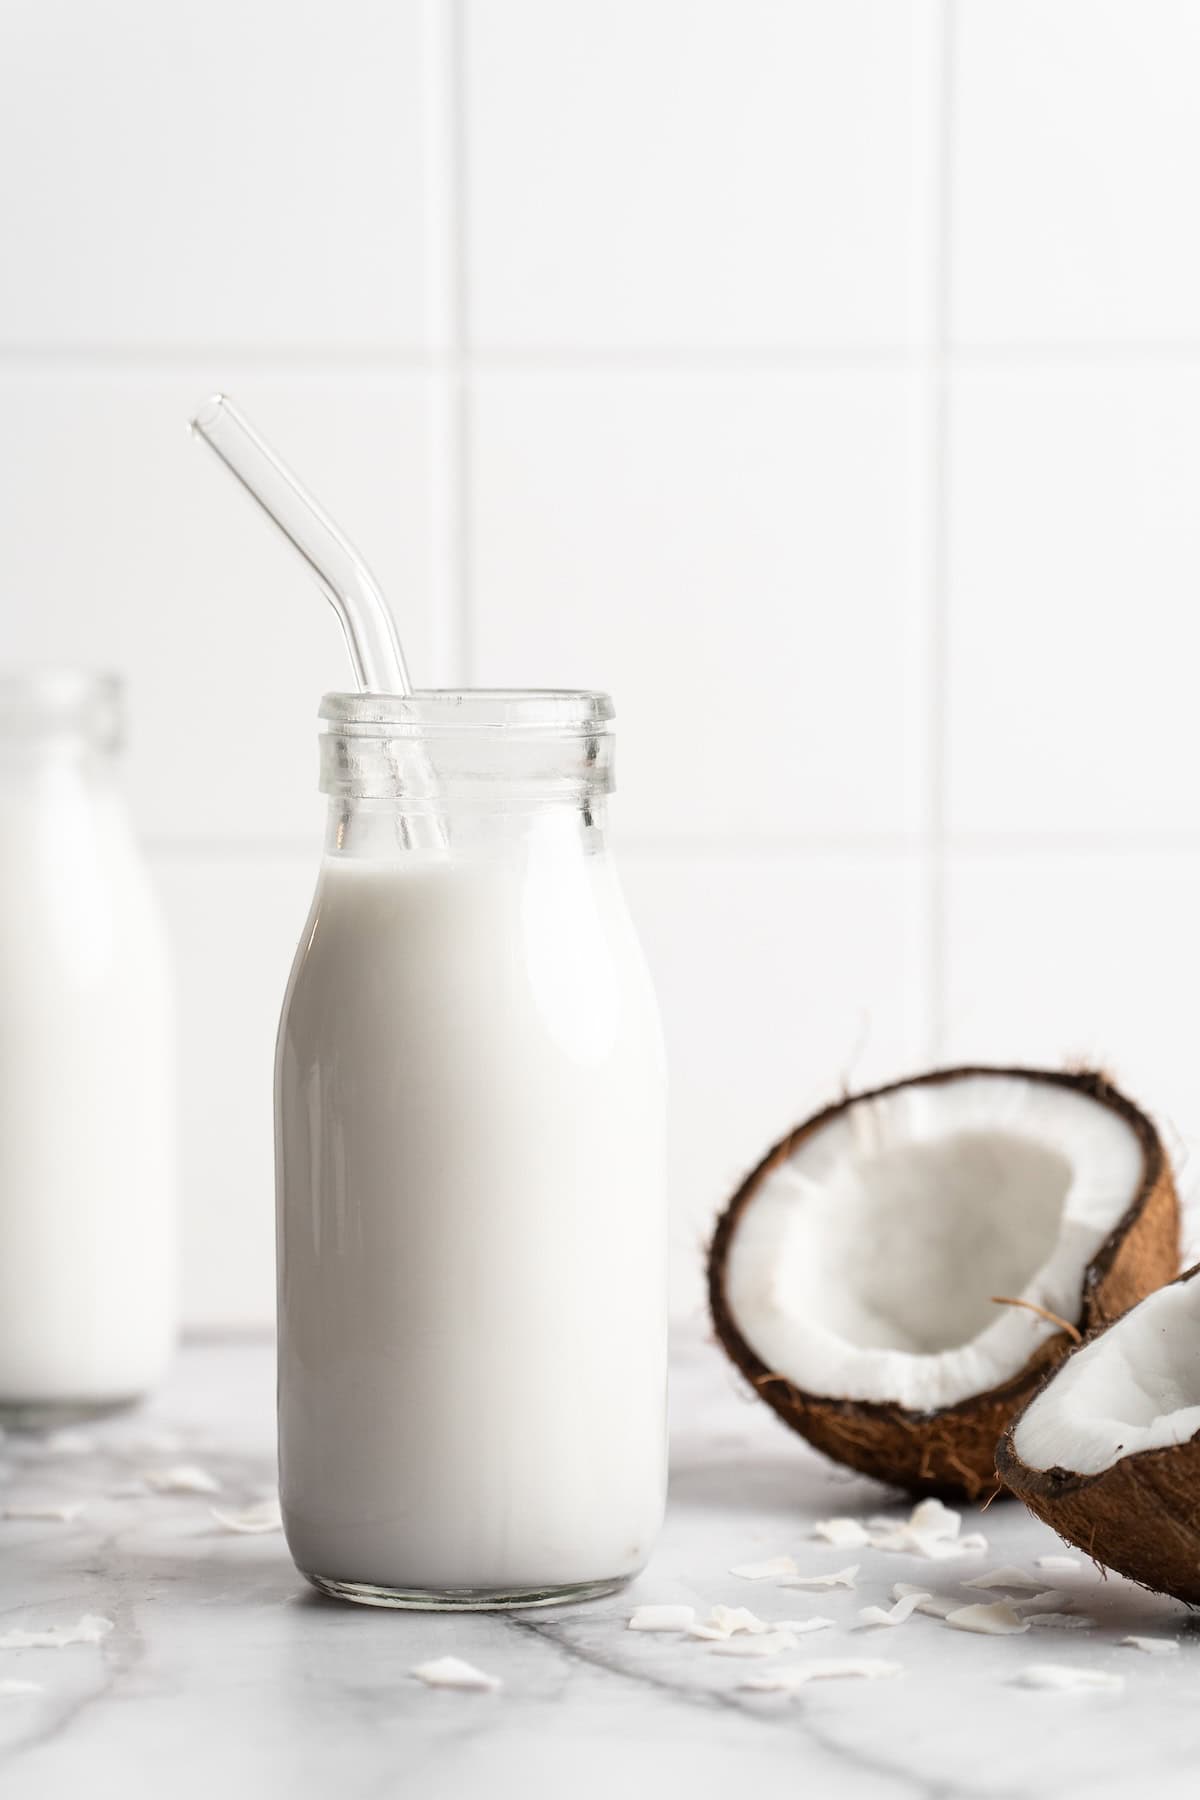
- Use or store . You can use the coconut milk right away or pour it into a jar or other airtight container and refrigerate it for later.
Tips for Success
- Blend thoroughly . The more you blend, the creamier and smoother your homemade coconut milk will be. If you don’t have a high-speed blender, blend in intervals to prevent overheating.
- Adjust water to your liking . The amount of water used will affect the consistency of your coconut milk. Add more or less depending on how thick or thin you want it.
- Get creative with add-ins . You can customise your homemade coconut milk by using different sweeteners (try maple syrup or date syrup ), extracts, and spices (I love adding cinnamon!).
What to Do With Leftover Coconut Pulp
You’ll have leftover coconut pulp after straining your coconut milk. Guess what? You can put it to use instead of throwing it away! Here’s what I do with it.
- Make coconut butter. Blend the pulp in a high-speed blender or food processor until it’s smooth. Learn more: How to Make Coconut Butter .
- Toast it. Spread the pulp on a baking sheet and toast it in the oven for a crunchy topping to add to Vegan Mango Ice Cream and Strawberry Lime Coconut Smoothie Bowls .
- Dry it for coconut flour . Spread the pulp in a thin layer on a baking sheet and bake at a low temperature (around 200°F/90°C) until it’s completely dry. Then, blend into a fine flour.
Using Your Homemade Coconut Milk
Homemade coconut milk is incredibly versatile and can be used in any recipe that calls for coconut milk or plant milk. I love using it to make smoothies (it’s especially delicious in this Mango Coconut Smoothie ) and Pumpkin Spice Golden Milk . We also use it in cereal and add it to Instant Pot Steel-Cut Oats for breakfast. You can even warm it up to enjoy alongside this vegan Moravian sugar cake for a cozy snack.
How to Store
- Refrigerator : Homemade coconut milk should be stored in an airtight container, bottle, or jar. It can be refrigerated for 4-5 days. Make sure to shake well before each use.
- Freezer : You can also freeze your homemade coconut milk in an airtight container for up to 6 months. Just make sure to leave some room at the top of the container for expansion. Thaw in the refrigerator and shake well before using.
More Homemade Vegan Staples
- Vegan Butter
- Vegan Heavy Cream Substitute
- How to Make Vegan Parmesan Cheese
- Vegan Mayo
- Vegan Chicken
Ingredients
- 2 cups unsweetened coconut flakes , 120 grams
- 3 cups room temperature water , 710 grams, (add up to 1 cup more for a thinner consistency)
Optional:
- 1 teaspoon vanilla extract , 4.2 grams
- 1 date , or 1 – 2 teaspoons agave syrup for sweetness
Instructions
- Add the coconut flakes and 3 cups of room temperature water to a high-speed blender. Blend on high for 2-3 minutes until the mixture is creamy and well-combined. If you’re not using a high-speed blender, you’ll need to blend longer – maybe up to 5 minutes, pausing in between. If you’d like thinner milk, add up to 1 cup more water and blend again briefly.
- Place a nut milk bag, cheesecloth, or fine-mesh strainer over a bowl or large measuring cup. Pour the blended mixture through the strainer to separate the coconut pulp from the milk. Squeeze or press out as much liquid as possible.
- If desired, add vanilla and a date or agave syrup to the strained milk. Blend briefly to incorporate. Adjust sweetness to taste.
- Transfer the coconut milk to an airtight container or jar.
