I’m sure from the title of this post that you probably already know it’s about to be a really helpful read. After being a vegetarian, then a vegan food blogger for over four years, I’ve learned quite a few things. The joys of finding the CORRECT tofu (post on that coming later). The happy tears from discovering nooch. The happy dance from Gav and I when making seitan for the first time at home. The kick that miso gives me. The brine that tempeh is able to absorb and how beautiful it is in a vegan BLT.
Okay – what are these ingredients I’m talking about and can I explain them already?!
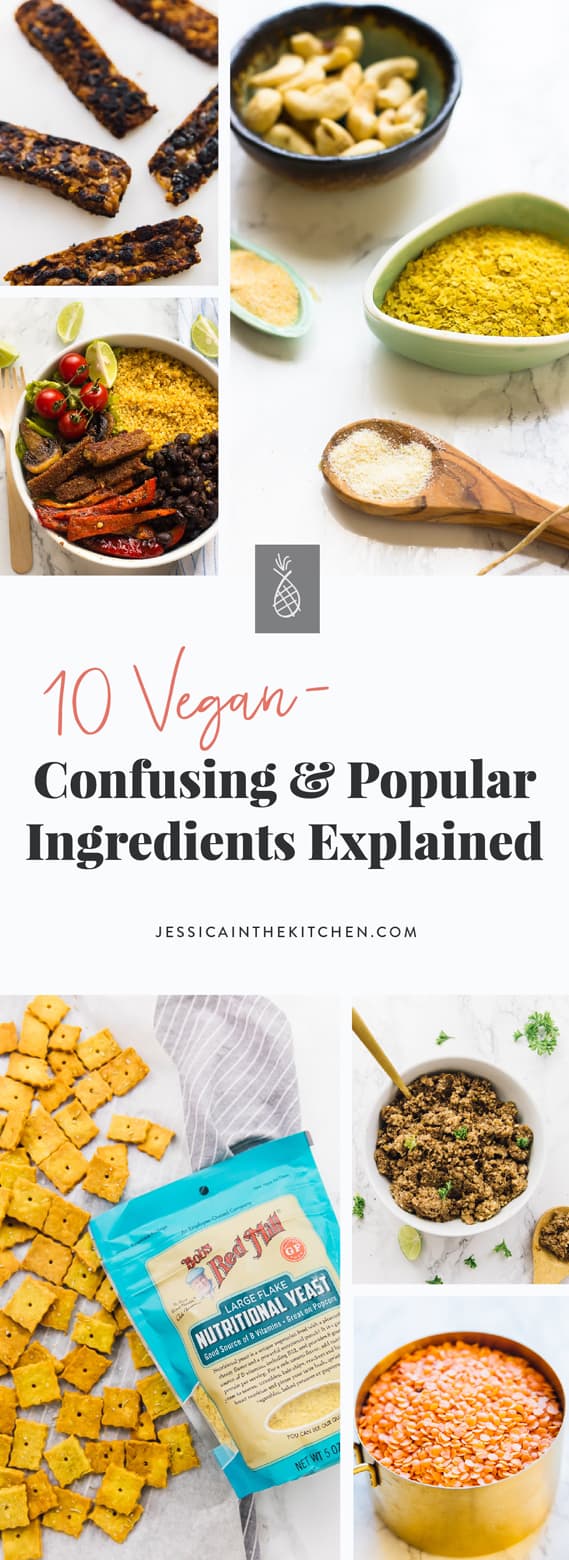
After explaining it one by one over and over to so many of you guys, I wanted to take the time to write a post explaining them all. Trust me, the names may be uncertain and a bit different (seitan? Wait what?) but the tastes are so welcome. Here’s a helpful guide on the 10 most popular confusing vegan ingredients explained!
Tempeh

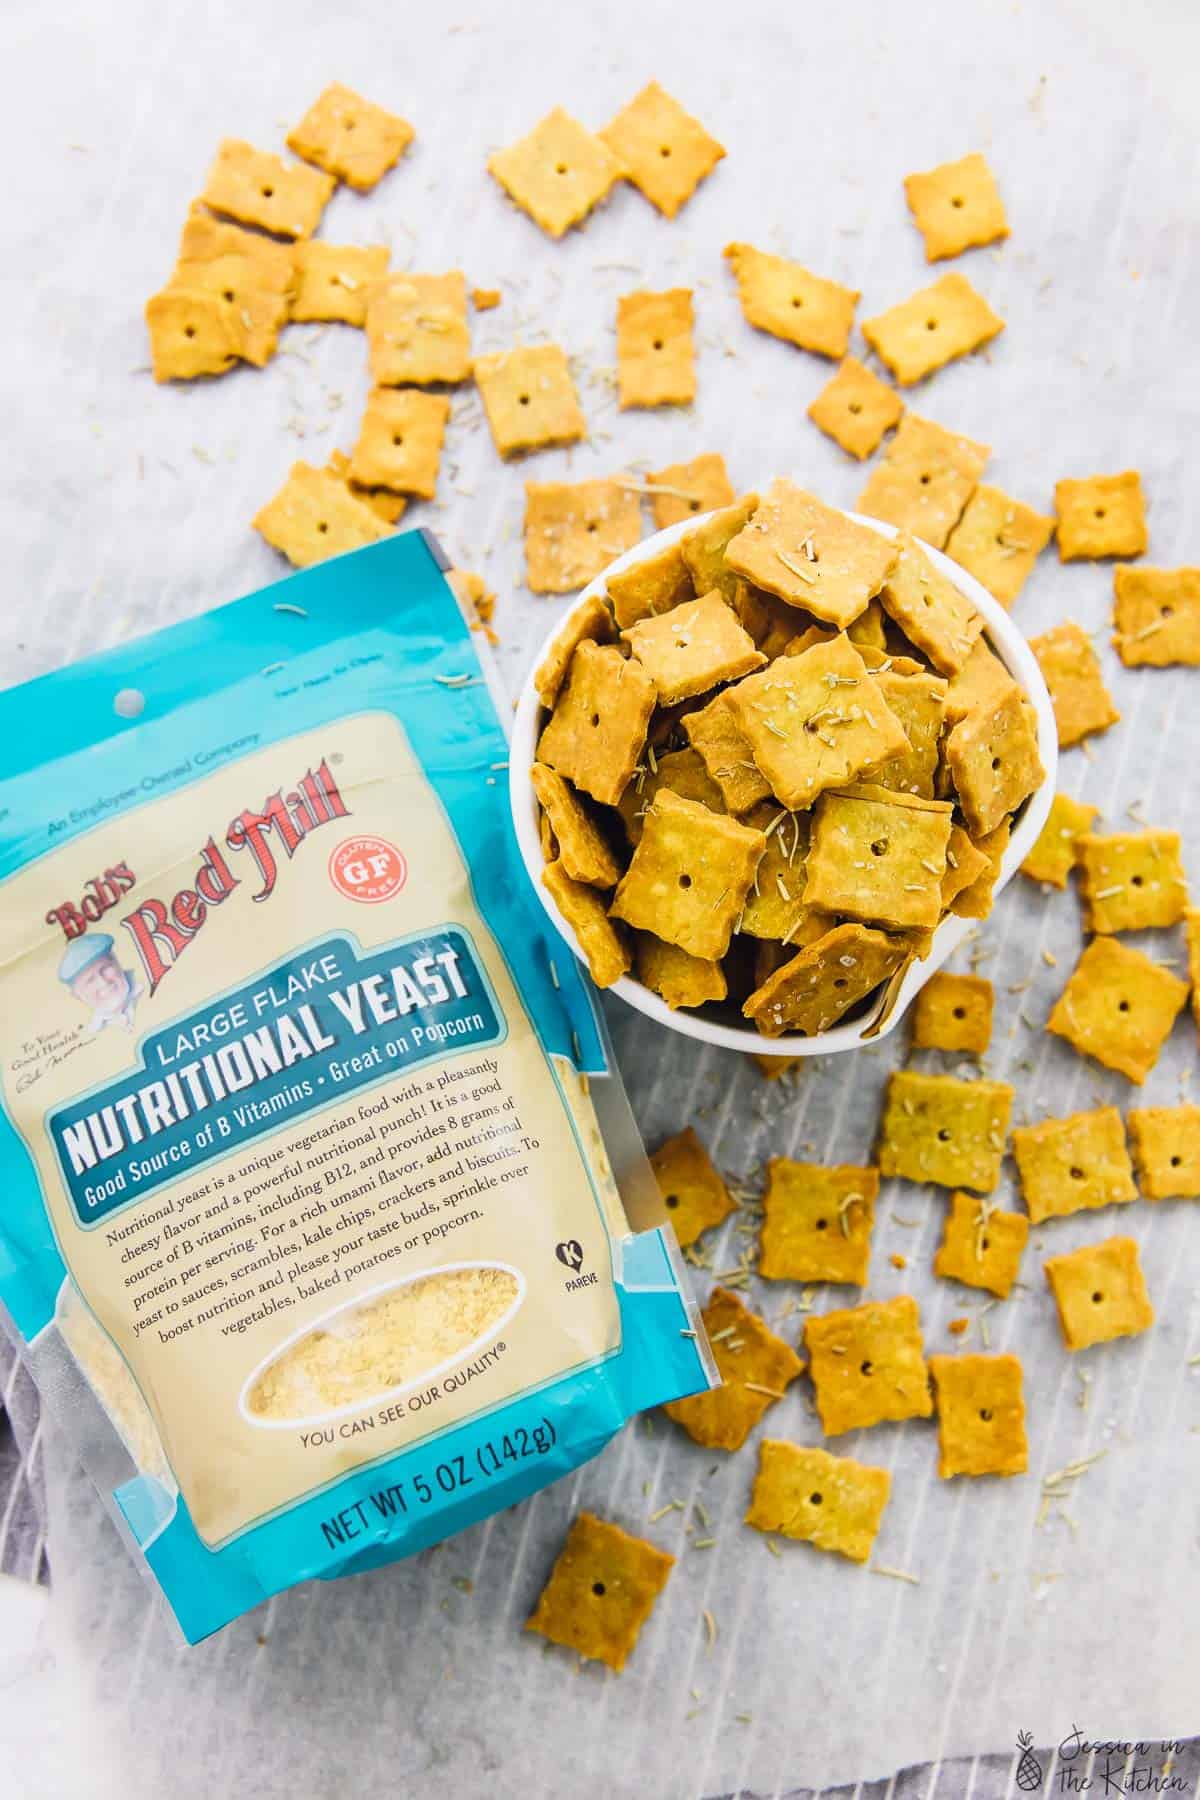
Nutritional Yeast
Jackfruit
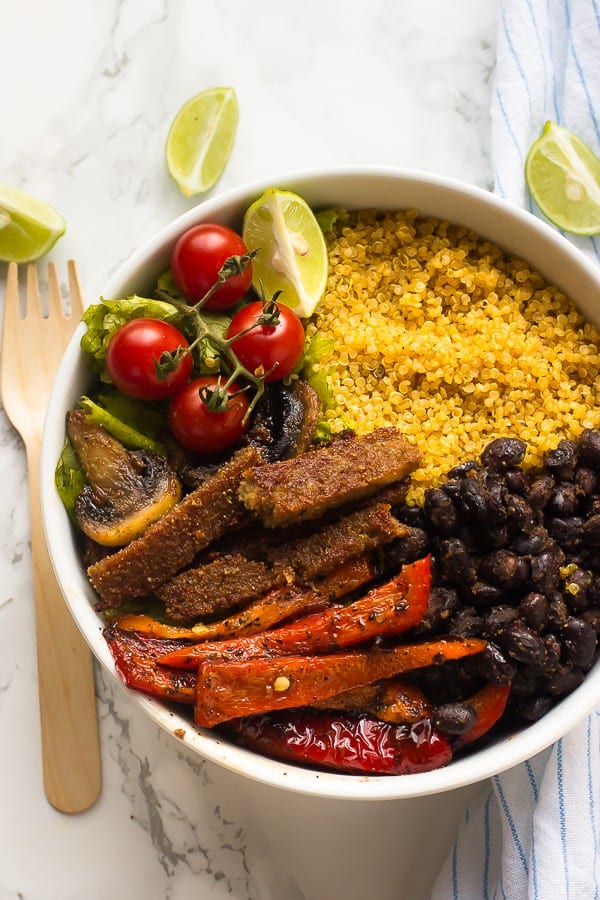
Jackfruit is near and dear to my heart because I’ve known about it way before it became a popularised meat substitute. Growing up on two Caribbean islands meant seeing it everywhere, especially in Jamaica. Jackfruit is the largest tree fruit in the world, and many people either love it or hate it in its ripen form. However, for recipes as meat replacements, I 100% recommend not using the fresh ripe fruit, but rather a younger green jackfruit. This eliminates the sweet flavour and gives it a more hardy texture for your dishes. It also means you don’t have to buy the large fruit to use it, which can take a lot of technique and time to properly get out of the fruit. However if you want to use it in desserts, you can definitely use the fresh fruit.
Because of it’s texture once shredded, jackfruit is often used in vegan and vegetarian recipes as a meat replacement for pulled pork. It certainly mimics the texture and can mimic the flavours too with the right type of jackfruit and seasonings. Don’t be intimidated by it! Just follow the directions of the recipe you’re using and you’ll be surprised. Like I said, starting with a jar or can of young ripe green jackfruit is a great start.
Seitan
Miso
Chia Seeds
Textured Vegetable Protein aka TVP
So we haven’t actually used TVP, also known as soy meat or soya chunks, but it’s something Gavin is very interested in trying. TVP is a versatile, easily portable and nutritious soy based product that’s high in protein, contains no fat and is a popular meat alternative. Due to its lightweight properties, you can actually carry with backpacking with you! Due to its texture, it’s usually used as a sub for ground meat. So think – Tacos, meatloaf, chilli, sloppy joes etc. We were specifically thinking of using it in a vegan lasagna. It’s naturally gluten free and really great at absorbing flavours, and you can season it anyway that you want.
Lentils
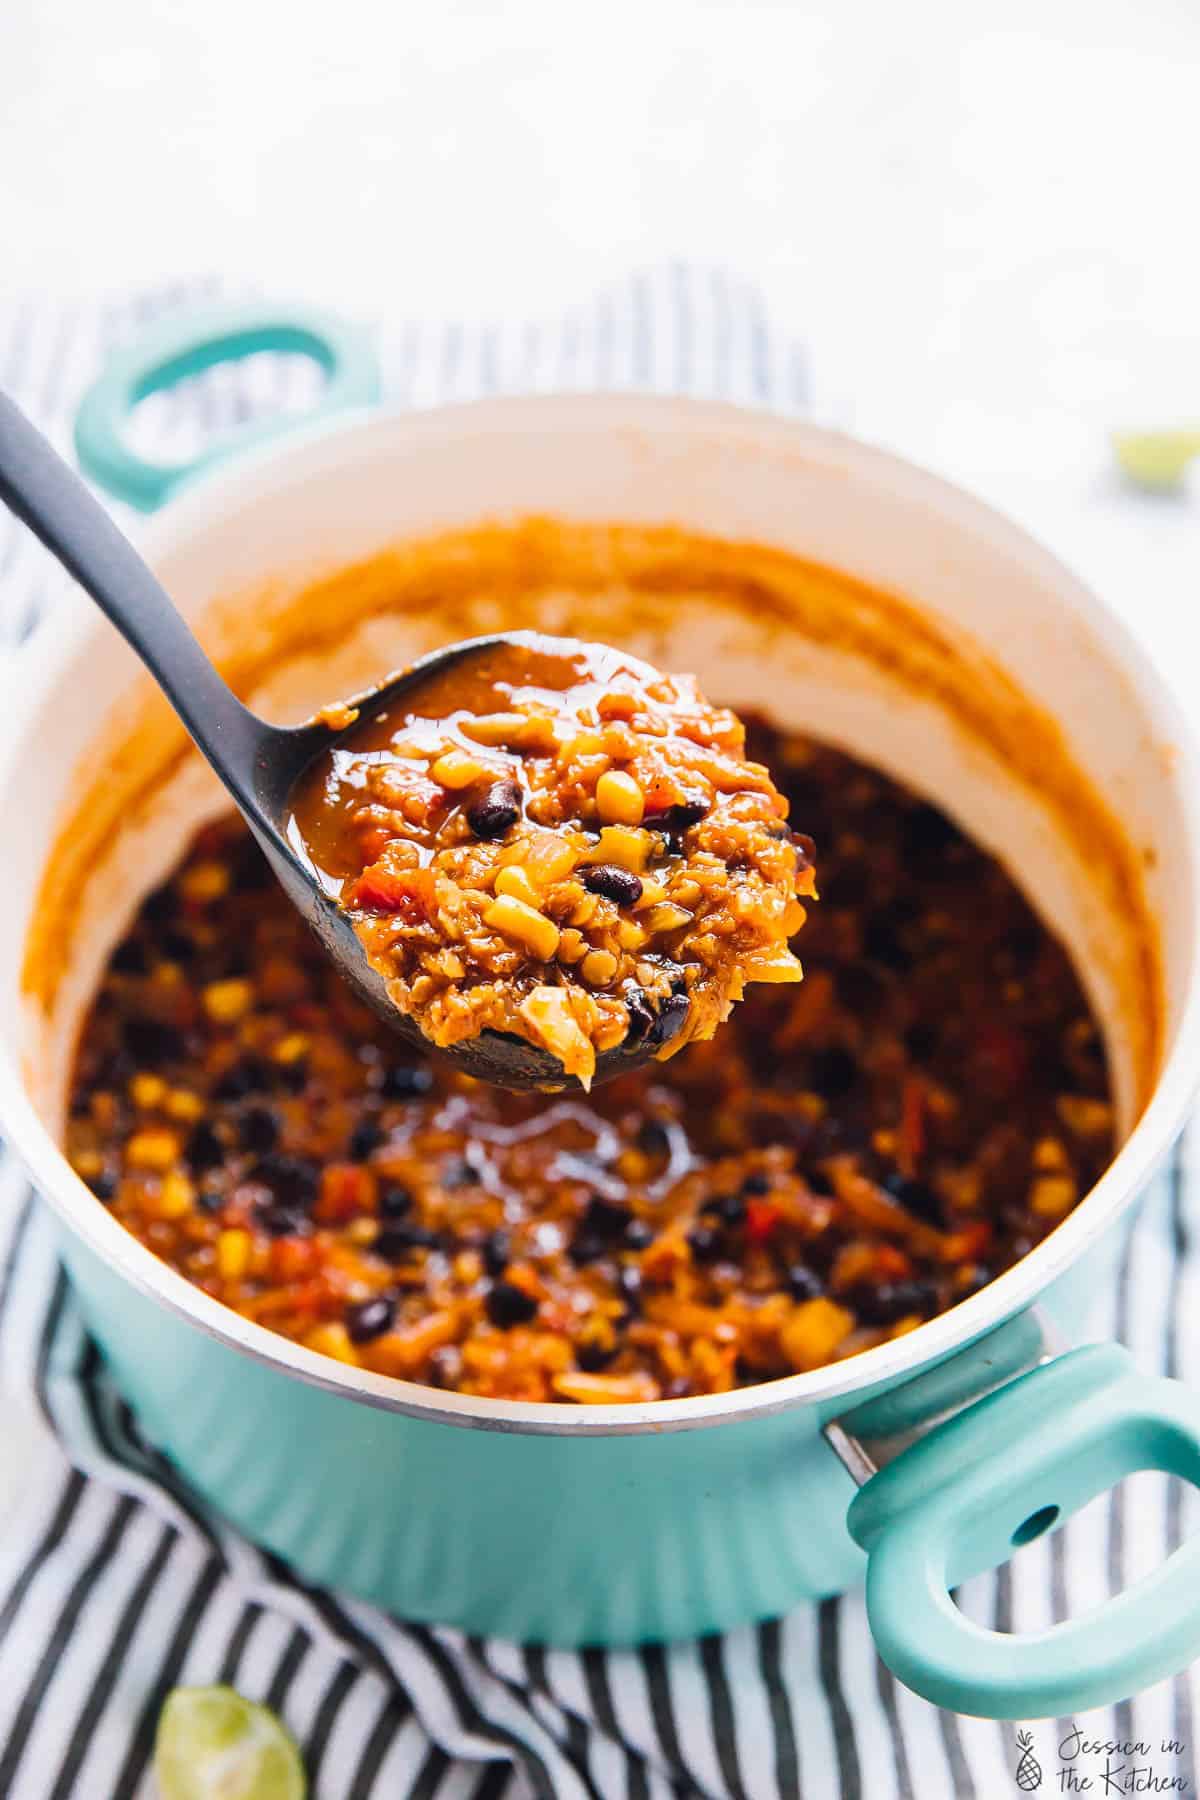
I love love love lentils!! I used to avoid lentils for no good reason and now I LOVE them! They are known as a power legume due to how long they’ve been around (all the way back to 8,000 BC) and their protein content. They’re also incredibly versatile: Whether you have them plain and on top of a salad, or in a chilli, or as a meat replacer in tacos.
There are many different colours of lentils – Black, red, brown, green and yellow. The different colours are cooked for different times. So no, they aren’t very easily exchanged. If you see a recipe asking for red lentils, I definitely recommend using red lentils since you’ll have to completely adjust the cooking times and may end up with too mushy or rock hard lentils instead. In general, lentils take up to 30-40 minutes to cook.
When cooked properly, lentils are absolutely divine. They’re rich in fibre and absolutely exploding with protein, so be sure to get a bag and try them out. Here are some recipes to get you started:
One Pot Red Lentil Chili and Vegan Red Lentil Curry
Chickpea Flour
Chickpea Flour aka Garbanzo Bean Flour, is a stone ground flour made from whole garbanzo beans. If you’re a vegan or someone who doesn’t love eggs, this is a great product to always have in your home. Not only is it high in fibre and protein and a good source of iron, it’s like a magic ingredient. If you want to make a vegan quiche or vegan omelette, this is the flour for you. Not only does it beautifully mimic the colour, it also bakes up beautifully too.
It’s great for thickening up soups and sauces, a lot of meals such as adding it to falafel, socca and papadums. I would recommend starting with the recipe on the back of your bag, then using it in your own ways to get a feel for its thickness. One thing to remember: always cook it all the way through to get the right texture.
Tofu, Magic Tofu
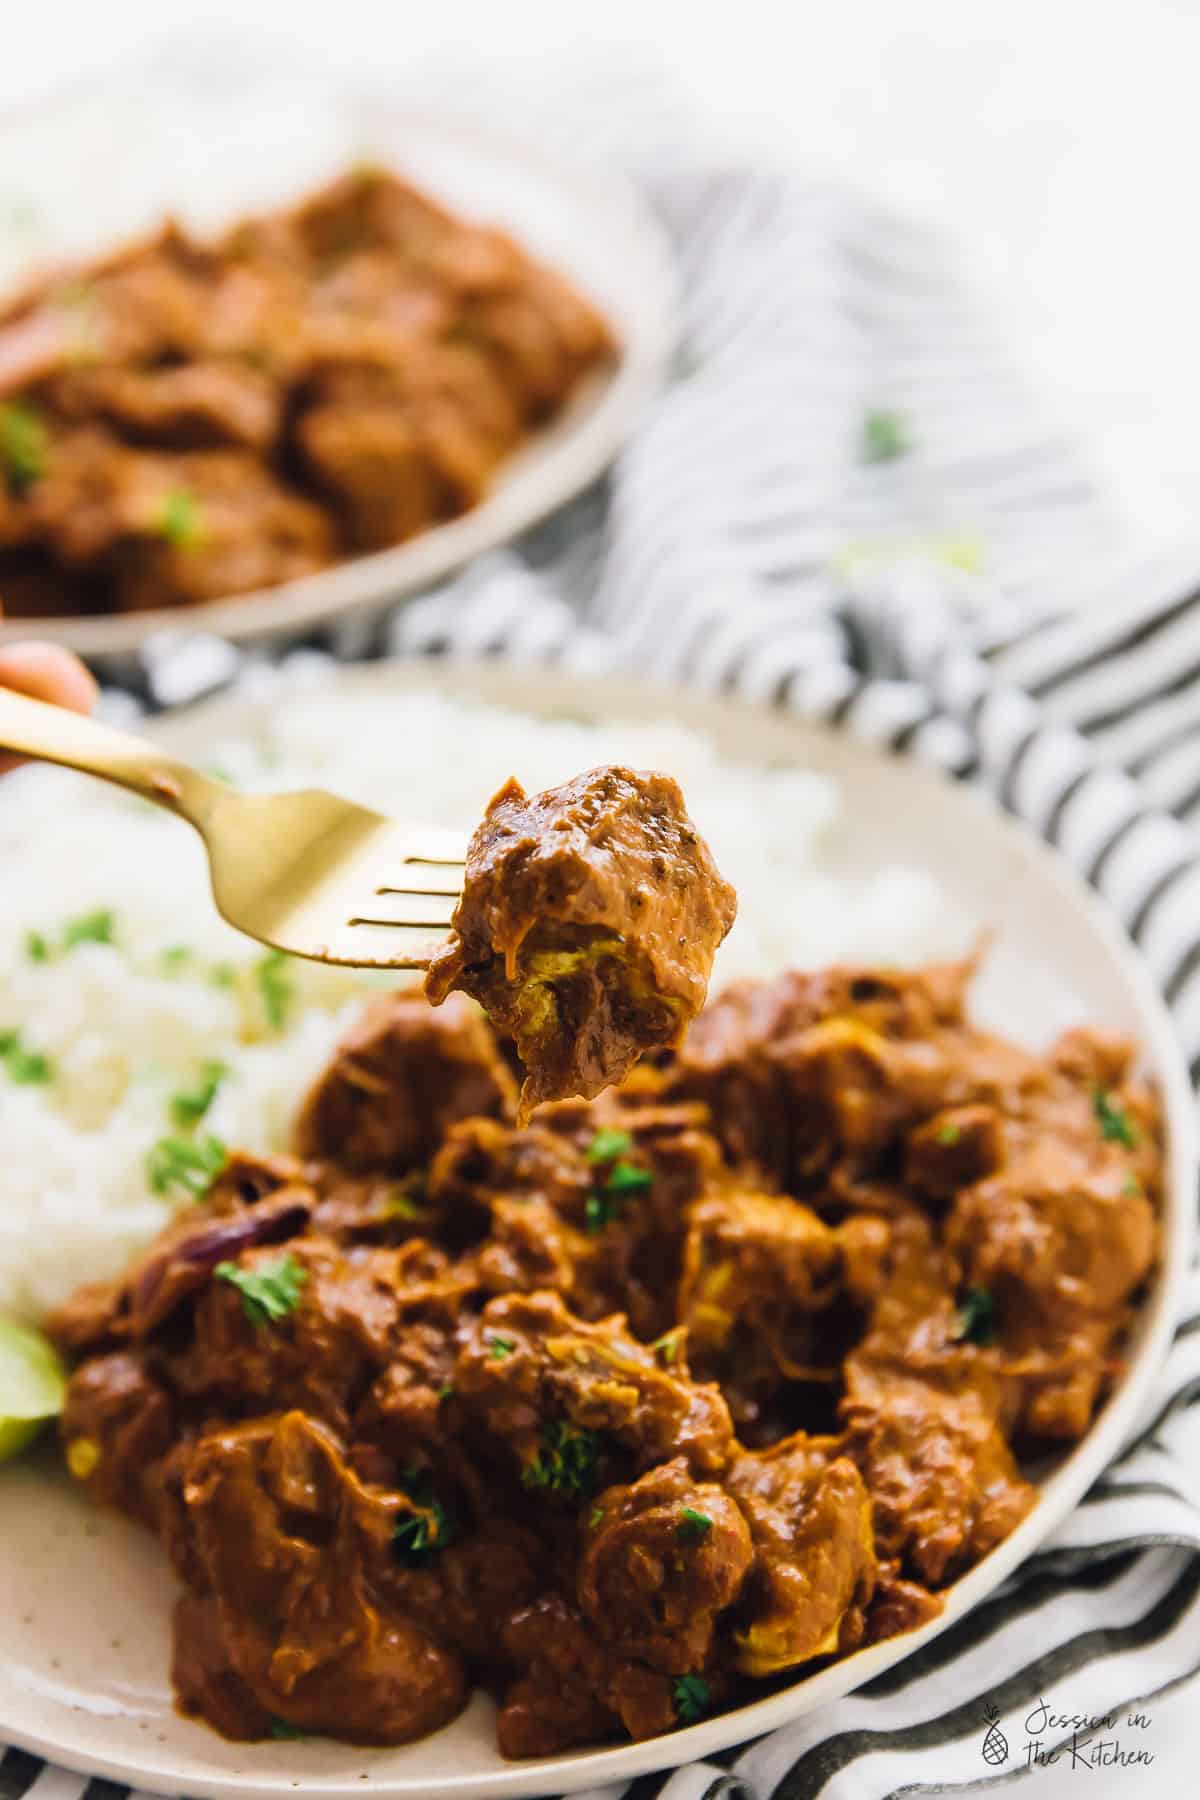
Tofu, also known as bean curd, is on this list because tofu has SO many misconceptions that it’s insane. I’ve heard so many complaints from a lot of non-vegans and vegans alike that they hate the flavour and the texture. I can tell you this with 100% guarantee – when you cook tofu properly AND are using the correct tofu your opinion will change. I too was a non-tofu lover, but that was because I had the wrong tofu.
I’ll do a whole post on this if you like, but long story short tofu comes in many forms – soft, firm, extra firm and SILKEN. Silken also comes in soft, firm & extra firm and it is not the tofu you want to buy to be using as a meat replacement. Silken is for soups, cheesecakes and smoothies. Rather, you want regular tofu. This was the largest difference for me. Then, tofu’s flavour is not delicious. That isn’t its job though . Tofu is there as a base for you to manipulate. It needs lots of seasonings and love and it can become anything you want.
One of the things that is asked a lot in relation to tofu is whether it is “real”. Yes, it definitely is. Tofu is actually made from soy milk and there are many videos on Youtube of making it straight from soy milk at home to show that it is just as easy to make at home as many other vegan meat replacers. It’s minimally processed and has been a component in East Asian and Southeast Asian cuisines for centuries, just to show that this isn’t some recent invention. Also, tofu definitely has an expiration date (trust me, I’ve personally experienced this one)! If you don’t have any soy issues and buy it non-GMO, it is definitely something to give a try.
Here are some recipes to start you off: Crispy Cajun Fried Chicken Salad with ‘Honey’ Mustard Dressing and Vegan Butter Chicken (with Amazing Tofu)
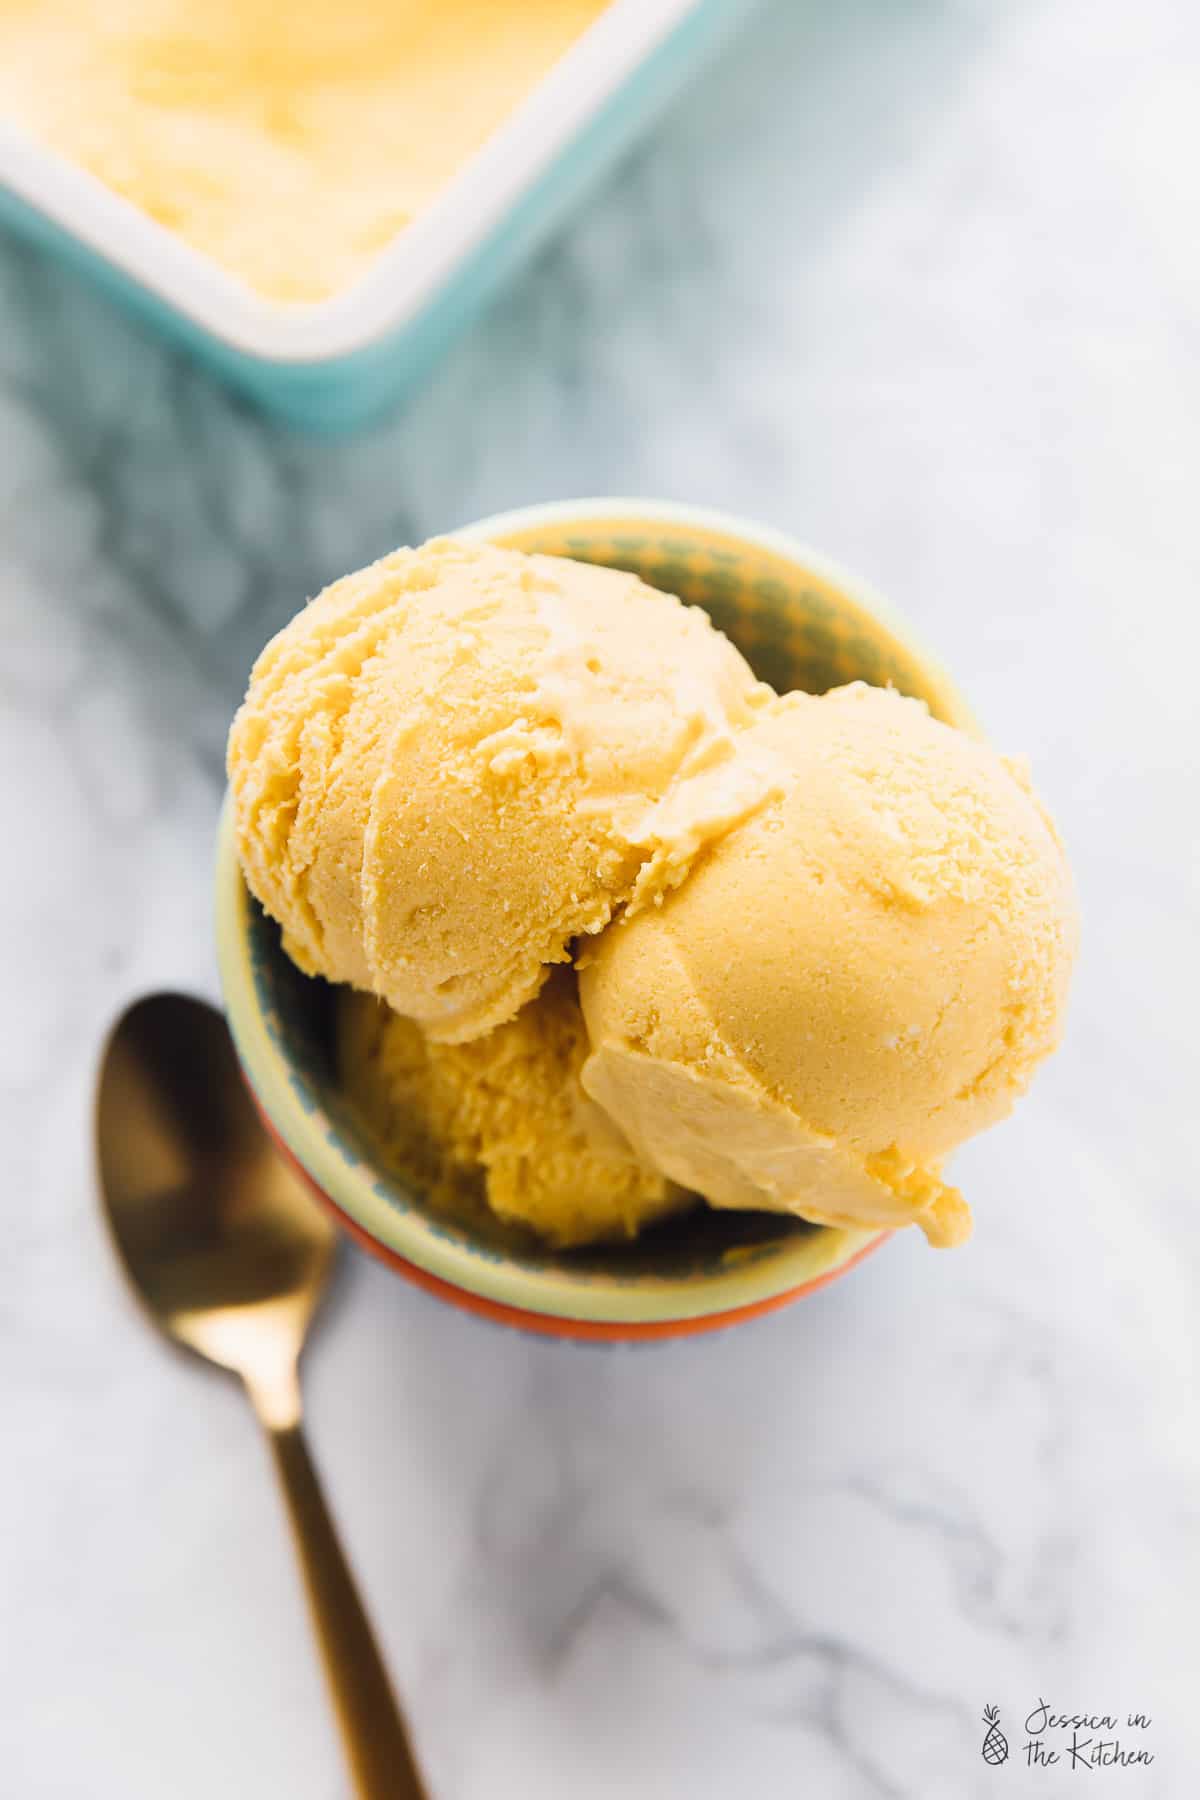
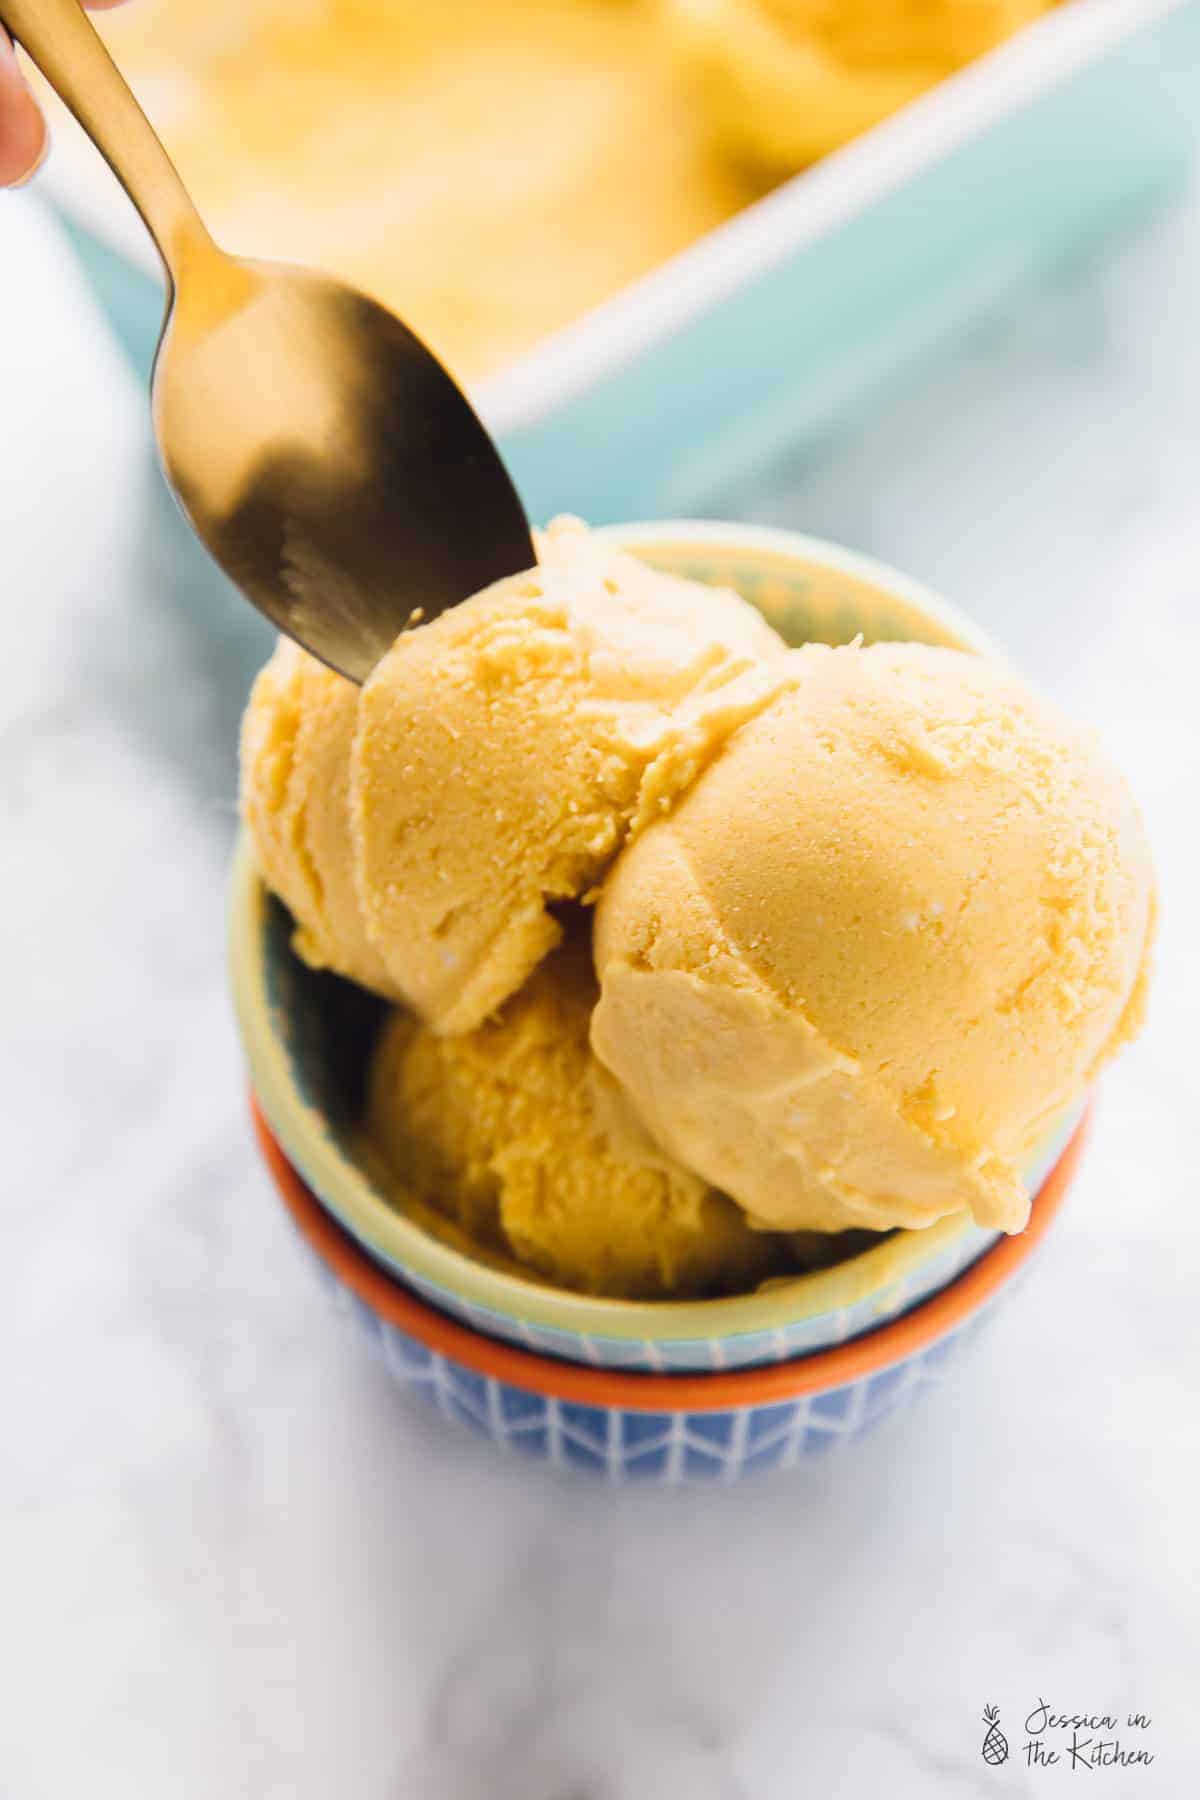
This no-churn vegan Mango Ice Cream is a creamy tropical dream come true! Bonus: you only need three ingredients to make it!
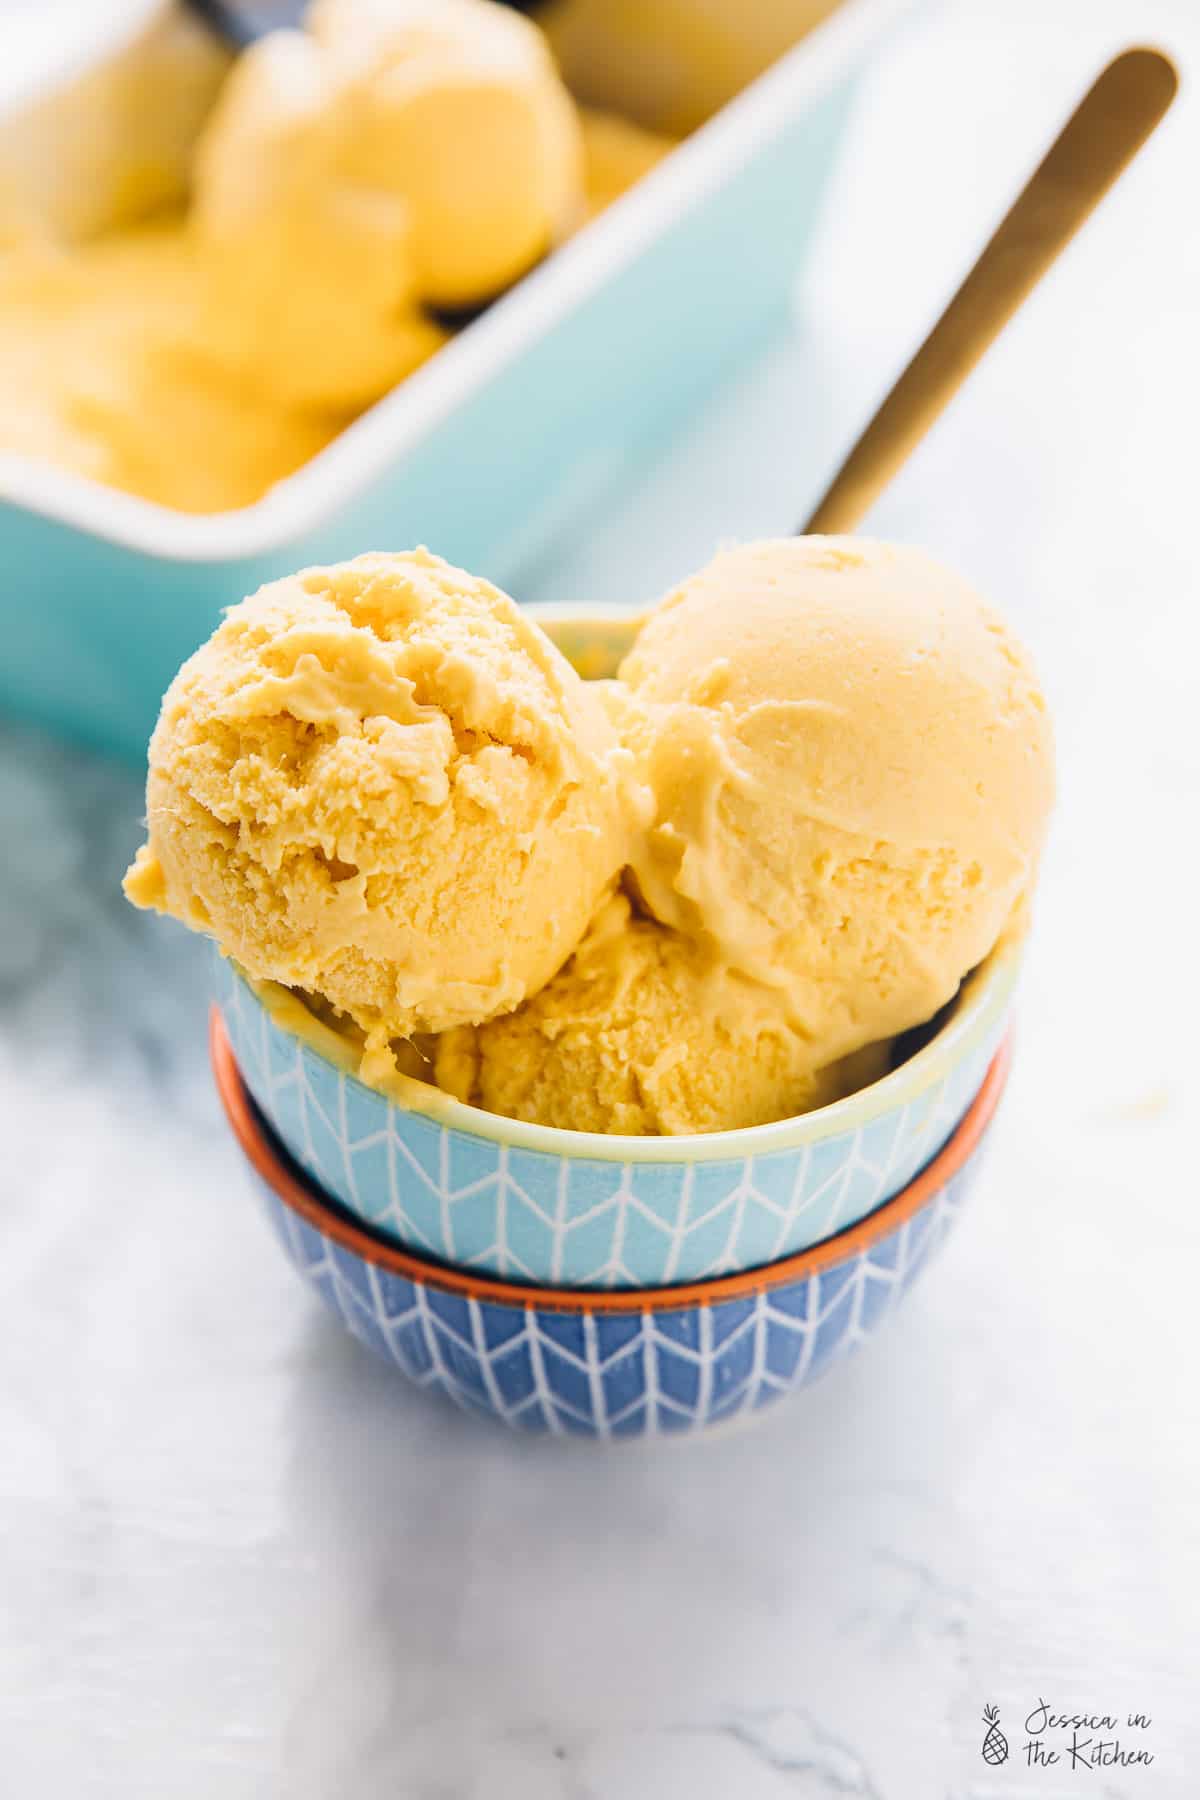
Is there any fruit more perfect than the mango? It’s soft, fragrant, and oh-so-sweet—at least when it’s ripe. I’ll take mangoes any way I can get them, but this vegan mango ice cream might just be my favorite way to enjoy them. (Okay, maybe second to just cutting them open and digging in.) It has all that tropical mango flavor, the creaminess of coconut, and the convenience of an ice cream you don’t even need an ice cream maker to make.
Why You’ll Love This Mango Ice Cream Recipe
- Yep, no ice cream maker! Remember the banana “soft serve” recipe that broke the internet about a decade ago? Well, this is kind of the same idea, except that frozen mangoes are used instead of frozen bananas.
- Rich and creamy . Since mangoes don’t have that natural creamy texture of bananas, I add in coconut cream for that authentic ice cream creaminess—without any dairy.
- So easy to make . Give everything a whirl in the food processor and grab a spoon!
Notes on Ingredients
Please note that this is important information on the ingredients and instructions and the FULL recipe with amounts and details can be found DOWN BELOW (scroll to it) in the recipe card.
- Mango – Being that I’m from Jamaica, I’m pretty partial to Jamaican mangoes! But any kind you like will work in this recipe. Ataulfo (also known as champagne or honey mangoes) are the perfect balance of sweetness and texture, since they don’t have the stringiness of many other varieties. When mangoes aren’t in season, simply use frozen.
- Coconut cream
- Vanilla extract – Friends, this doesn’t just add taste—it helps keep your vegan mango ice cream smooth instead of icy! Vanilla extract has alcohol in it, which keeps ice crystals from forming in the mixture.
How to Choose a Ripe Mango
If you buy unripe mangoes, you can keep them at room temperature until they ripen. This is probably the best way to make sure your mangoes are perfectly ripe when you’re ready to use them. Now, if you want to go out right now and buy ripe mangoes to make ice cream immediately, then you’re going to want to look for mangoes that have some give when you squeeze them (kind of like a peach or nectarine) and that are fragrant when you smell near the stem.
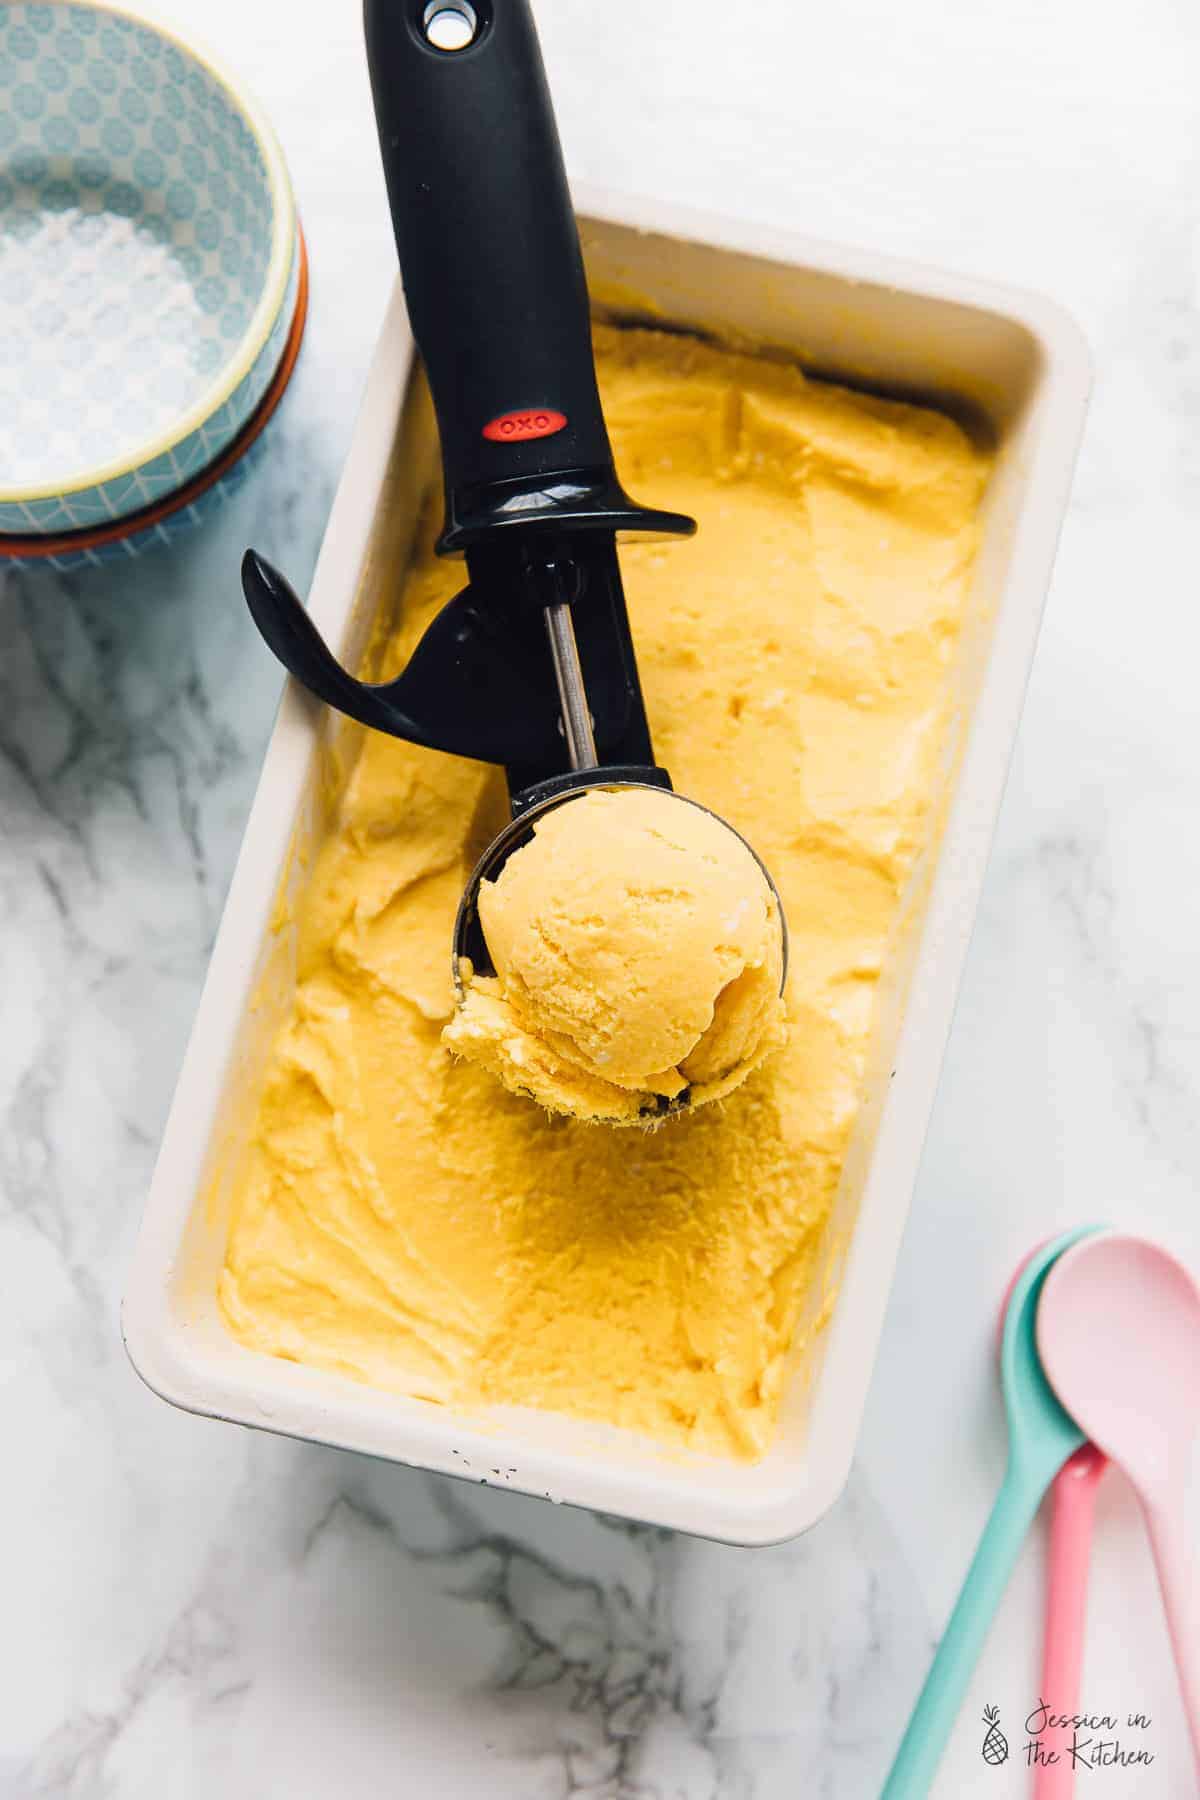
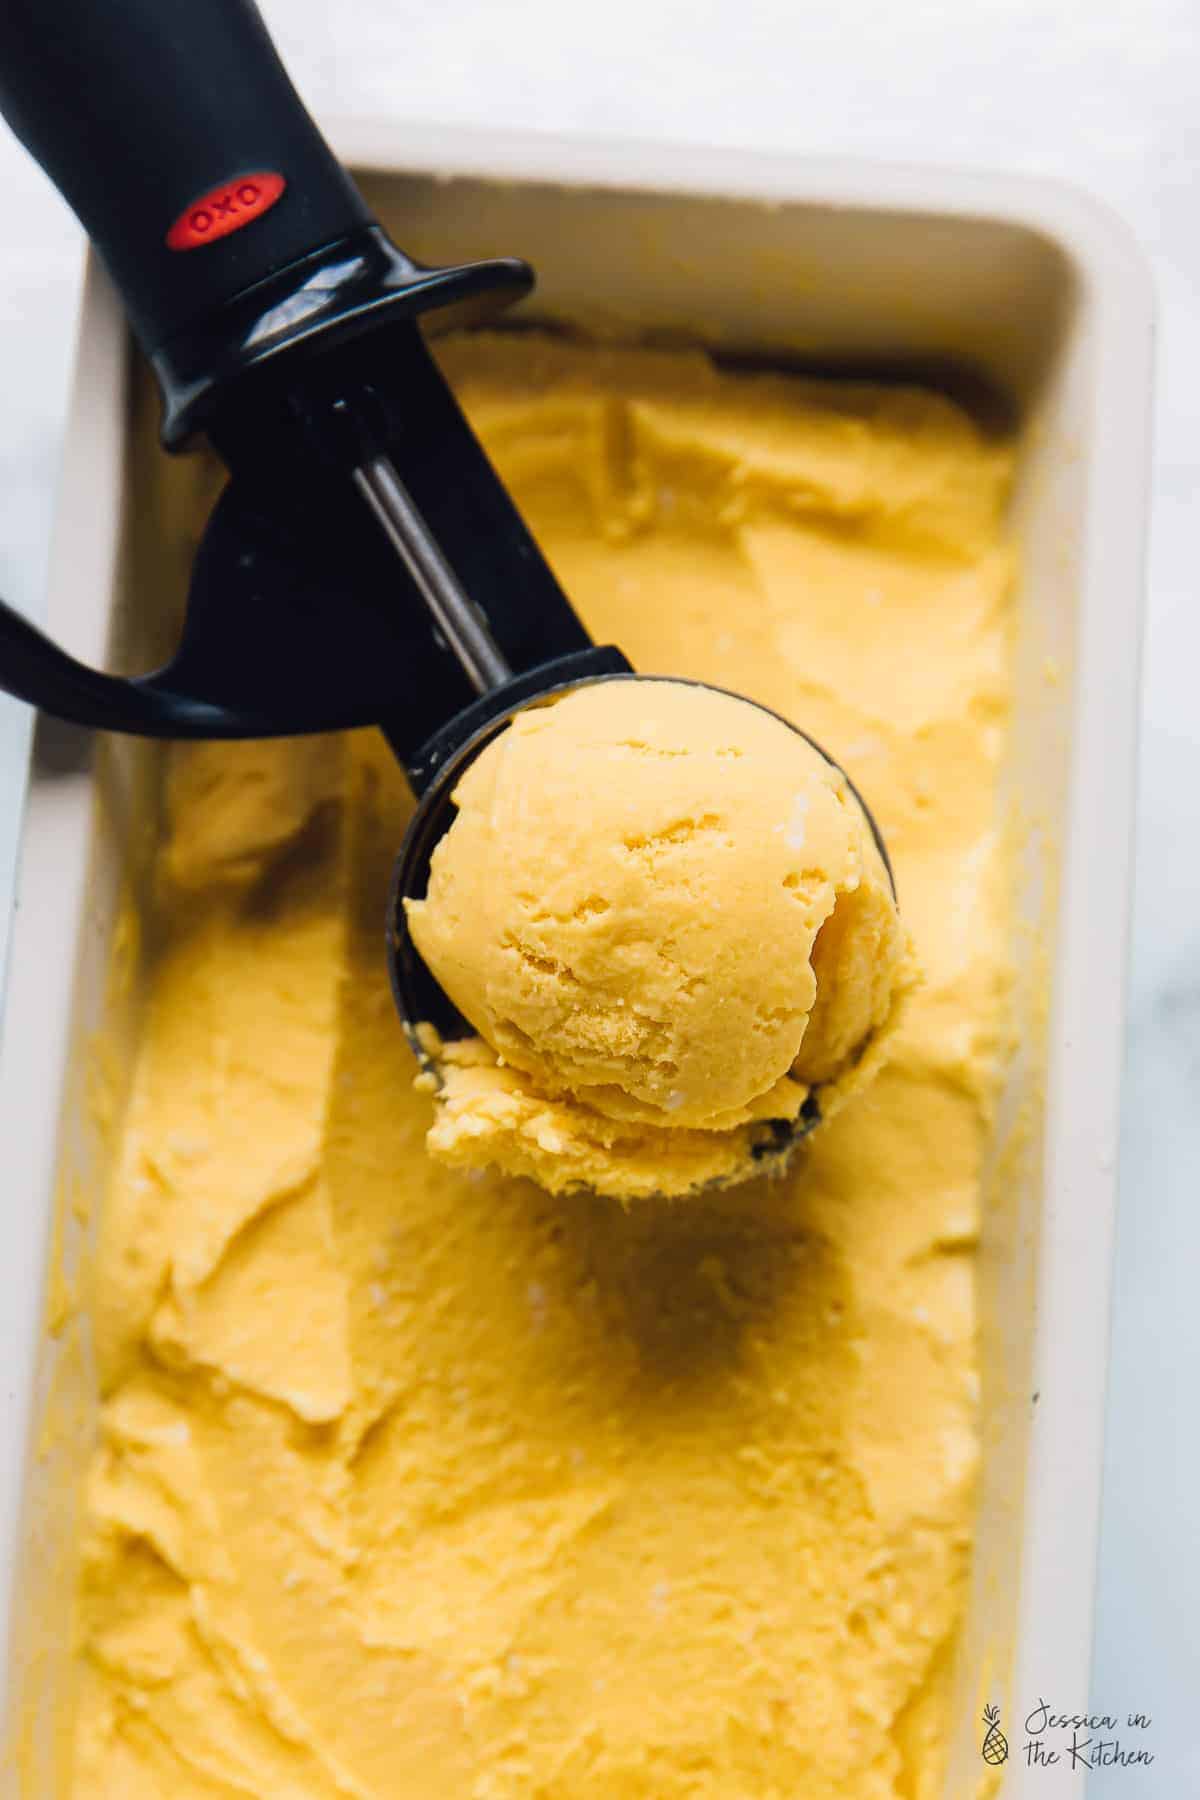
How to Make No-Churn Vegan Mango Ice Cream
- Blend. Place the frozen mango in a food processor and pulse it until small chunks form. Add the coconut cream and the vanilla extract and blend until the mixture completely smooth, scraping down the sides if necessary.
- Freeze . Pour the mango ice cream into a freezer-safe container and freeze it for an hour.
- Serve . Thaw the ice cream for 5 to 10 minutes, then scoop and serve.
Tips for Success
- About the coconut cream. Coconut cream is such a popular ingredient these days that you can often buy it in a can at the grocery store. If your store doesn’t sell it, you can make your own coconut cream with a can of full-fat coconut milk. Stick in the fridge overnight, turn it upside down, pour off the coconut water and use the thick cream in the recipe. Or you can use my super handy trick and stick it in the freezer for a few hours to speed up the process.
- Adding sweeteners. While I didn’t use sugar, you can add your sweetener of choice if your mangoes seem a bit tart.
- Preventing ice crystals. The vanilla extract will go a long way to make a smooth mango ice cream, but you can also whisk the ice cream mixture every 10 to 20 minutes to keep ice crystals from forming.
How to Store
Cover the ice cream in the container and store it in the freezer for up to a month.
Serving Suggestions
I love enjoying this mango ice cream as-is, but if you want to add some toppings, try one of these:
- Coconut Whipped Cream
- Strawberry sauce
- Easy Vegan Caramel Sauce
- Granola
- Toasted coconut flakes
- Fresh fruit
More Vegan Ice Cream Recipes
- Vegan Ice Cream
- Peanut Butter Ice Cream
- Chocolate Avocado Ice Cream
- 2-Ingredient Vegan Blueberry Ice Cream
- Vegan Strawberry Coconut Ice Cream (No Churn)
Ingredients
- 1 14 oz. can coconut milk , you only need the ¾ cup coconut cream – see instructions below
- 4 cups frozen mango chunks
- 1 tablespoon vanilla extract
Instructions
- In a food processor, add the frozen mango and blend until in frozen smaller chunks, about 1 minute.
- Add in the coconut cream and the vanilla extract. Blend until completely smooth and incorporated, scraping down sides as necessary, for about 3 minutes.
- Pour/spoon the ice cream base into a freezer-safe container and place in the freezer and allow to freeze for 1 hour.
- While not necessary, I love to go in, whisk the entire thing EVERY 10-20 minutes, then place back in the freezer, to prevent ice crystals forming. Freeze until frozen.
- To eat: serve immediately or when you are ready for it (after it’s been in the freezer), thaw for 5-10 minutes and scoop with an ice cream scoop. Enjoy!
